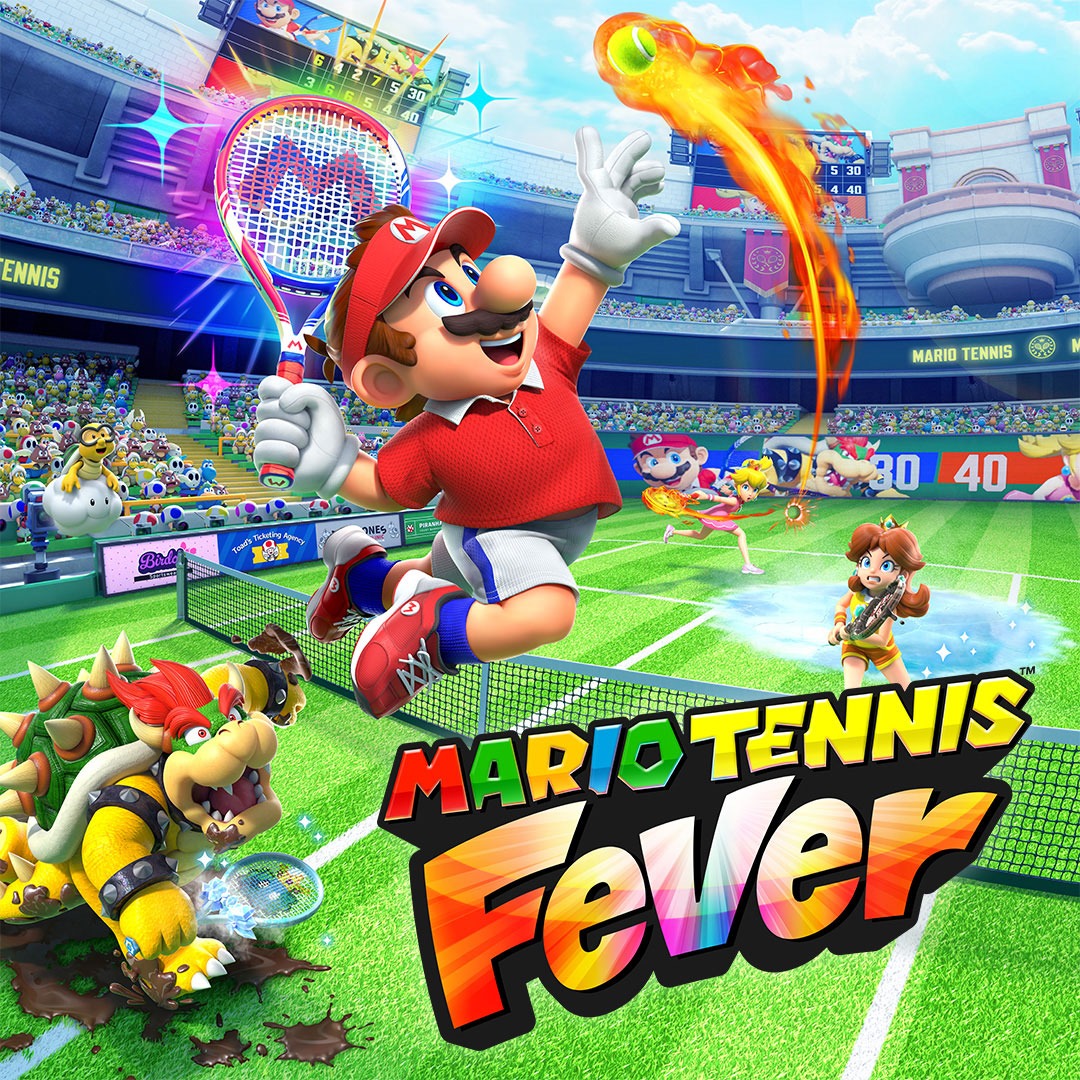

Baby Mario must relearn tennis at the Mushroom Tennis Academy before returning to the island where the group was transformed. Work through the academy ranks first, then follow the airship, Ice Ruins, Limestone Cave, Heavy Forest, Foggy Swamp and Valley of the Monsters to the final battles.
Shots and controls
These inputs use button controls. Adventure introduces the shots gradually, so complete the current lesson before expecting every advanced option to be available.
- Topspin: A. Use the higher bounce to keep a rally moving and push an opponent back.
- Slice: B. The lower, curving shot changes the angle of the rally.
- Flat shot: Y. Aim into open space when you have time to hit cleanly.
- Power shots: press the corresponding shot button twice quickly.
- Lob: A followed quickly by B. Send the ball over an opponent who has moved close to the net.
- Drop shot: B followed quickly by A. Bring a player forward when they are waiting deep behind the baseline.
- Fever Shot: X when the Fever Gauge is ready. The equipped Fever Racket determines the effect.
Move toward the ball before charging a shot. Starting a charge from the wrong position makes the next return harder. After hitting, recover toward the middle of the area you are covering. In doubles, watch your partner: occupying the same corner leaves the opposite side open.
Returning a Fever Shot
Watch the ball’s flight and intercept an incoming Fever Shot before it bounces when you can reach it safely. A successful return sends the threat back toward the other side. Running straight into a fire patch or an electrical hazard after the ball has landed can cost both health and the point.
Racket selection depends on the mode and match rules. Free Play can allow two Fever Rackets, with a change between points; that is separate from the equipment available during the current Adventure mission.
Mushroom Tennis Academy
Visit the academy office to receive Baby Mario’s player card. Follow the marked lessons and collect the required stickers before returning for the next assessment. Do the movement and shot tutorials first: later challenges expect you to recognize a ball’s height and select the appropriate return without stopping to think through the buttons.
JV Class: movement and basic shots
In the opening movement exercise, stay near the middle until the next group of balls appears, then move toward the highest-value cluster. Jump only when the gap requires it. A long leap in the wrong direction can leave you too far away from the next ball.
The shot lessons introduce topspin, slice and flat shots. Stand where you can reach the ball, press the requested button and aim at the marked area. In the first match, send a flat shot diagonally into open court, then move back toward the center before the opponent returns it. When a star marker appears, step into it in time to take advantage of the stronger shot.
Practice the double-tap power shots before finishing the class. Once you have the required stickers, return to the office. The Mini Mushroom Racket is an academy-progression reward.
Rank E: doubles and lobs
Baby Luigi joins you for doubles. Against Baby Wario and Baby Waluigi, spread out instead of both chasing the same ball. Move forward with Mario when Luigi is covering the back, but retreat if the opponents prepare a lob.
For the lob lesson, press A and then B quickly. Use that high return when the opposing player has moved to the net. A lob against a player already waiting at the baseline gives them time to set up a strong answer. In the promotion match, alternate deep shots and open angles rather than aiming at the same player every time. Clearing Rank E awards the Fire Flower Racket.
Rank D: drop shots and charging
In the boat exercise, steer around the barrels while hitting the Cheep Cheeps. Line up the next target before attacking; reaching a large target safely is better than losing control while chasing a smaller one.
For a drop shot, press B and then A quickly. Use it when the opponents are far back. If they run forward to retrieve it, the next deep shot or lob forces another change of direction. Charge only after you have read the incoming ball’s path. A fully charged shot is little help if Baby Mario cannot reach the ball.
Apply those choices in the promotion match and return to the office afterward. The reward for clearing Rank D is the Ice Flower Racket.
Rank C: choose the right shot
The practical tests combine earlier lessons. Use a quick flat shot when an opening appears, a lob against a net player and a drop shot against an opponent who stays back. Short exercises leave little room to recover from giving away an easy point, so play the reliable return before attempting a difficult angle.
For questions about player types, associate Tricky with awkward curves, All-Around with balanced abilities and Technical with precise placement. During doubles, cover the space Luigi leaves instead of duplicating his movement. Clearing Rank C awards the Star Racket.
Rank B: Fever Shots
Rallies build the Fever Gauge. Once it is ready, use X and aim the shot. Learn what the current racket changes before committing: ice affects movement, while Mini Mushrooms interfere with the opponent’s size and reach.
The counter lessons are about timing the return before the incoming Fever ball bounces. Wait where you can meet its flight rather than standing directly on the future hazard. On the ice court, make short corrections and allow for sliding. Large, repeated changes of direction can take you away from a ball you were already positioned to return. Clearing Rank B awards the Tornado Racket.
Rank A and the graduation tournament
Complete the preparatory match, then enter the final academy tournament. Work the opponents from side to side with clean shots. Save a difficult angle for a ball you can hit from a stable position; a rushed winner attempt can give away the rally.
Against Birdo and Toadette, watch for Fever Shots and leave enough room to react. If Mario is covering the front, let Luigi protect the back. Intercept their Fever balls when possible, then place your return away from the player who is already set to receive it. Finish the tournament to graduate and receive the Pokey Racket.
The airship
Baby Wario and Baby Waluigi interrupt the journey with a match. Their Flame Rackets can leave fire on your side of the court. Return a Fever ball before it lands when possible; if fire has already appeared, move around the affected area rather than crossing it to chase an awkward shot.
Put out the fire
Hit the water bubbles toward the burning sections of the ship. Match your shot to the target’s height: use a drop shot for a low target, topspin for a middle target and a lob for a high one. Line up a clear path before hitting, because obstacles can waste the bubble.
Below deck, change your angle to send water past the barrels. Deal with nearby flames first so that you have room to line up the farther targets. In the reactor room, cool the glowing pipes at the appropriate height while moving away from the shadows of falling hazards.
Boss: Bowser’s Battleship
Watch the landing markers and hit the incoming projectiles back toward the battleship. Move into position early instead of swinging from outside the ball’s path. If several projectiles approach, handle the nearest immediate threat and keep enough space to reach the next one.
Continue returning the attack until the encounter ends. You receive the Flame Racket, and the damaged airship brings the group to the Waterfall Basin.
Ice Ruins
Enter through the passage behind the waterfall. When a whirlwind blocks the route, complete the nearby challenge to clear it and open the next connection. Watch the approaching Swoops and swing when they enter Baby Mario’s reach. Swinging as soon as an enemy appears wastes the chance to return it.
Follow each newly opened bridge and passage through the ruins. In challenges with only three hearts, stop chasing an extra hit if another enemy is already approaching. Clearing the obstruction safely advances the route; rushing the last return can force you to repeat the whole attempt.
Boss: Ice Chomp
Break through the ice barriers before concentrating on Ice Chomp. Keep moving during its attack sequence, then return to a position where you can hit the next opening. When the barriers reappear, clear them again instead of wasting shots against the protected boss.
Use a Fever Shot during a clear damage opportunity, with enough room to dodge immediately afterward. Repeat the barrier-breaking and attack cycle until Ice Chomp is defeated, then collect the Ice Racket.
Limestone Cave
Donkey Kong accompanies Baby Mario along the underground river. Watch overhead hazards while lining up returns toward the large Cheep Chomp. Reposition between attacks rather than trying to stand in one firing position throughout the encounter.
Boss: Lightning Cheep Chomp
The powered-up Cheep Chomp adds electrical danger to the arena. Leave the marked hazardous area before attempting another shot. When the middle becomes unsafe, move around the outside while keeping the boss in view, then return a projectile from clear ground.
The Ice Racket gives you an opening to attack when its effect takes hold. Use that opportunity without staying in place after the boss recovers. If your health is low, prioritize avoiding the next hazard and wait for a clean return. Victory awards the Lightning Racket.
Heavy Forest
Use shots to clear the Piranha Plants obstructing the route. Tall Piranha Creepers require you to aim at the raised target; a lob can reach over lower obstacles. Let Donkey Kong cover the rear while you handle the immediate opening in front.
An optional match on Spike’s court introduces plant interference during rallies. Leave room to react to an altered bounce rather than standing directly at the net. Return to the marked route when you are ready to continue the story.
Boss: Petey Piranha
Daisy helps you against Petey Piranha. Return the mud projectiles when you have a clear shot; allowing them to land leaves less room to move. If mud already covers the court, reposition around it before committing to a charged return.
Keep Mario forward when Daisy is protecting the rear, but retreat if the next attack threatens your position. Spend a ready Fever Shot on an exposed target rather than firing while an obstacle blocks the path. After the boss, defeat Baby Wario and Baby Waluigi in the next match to obtain the Ty-foo Racket.
Foggy Swamp
The group needs a raft to cross the swamp. Hit the approaching stones toward the dead trees to obtain the material and clear the way. Read the stone’s line before swinging. Move away from fire instead of treating every hazard as a returnable ball.
While the Toads row, defend the raft from enemies at different heights. Use lobs for high targets, topspin for the middle and low shots for low targets. Scan left, center and right before choosing the next return, giving priority to an enemy about to hit the raft.
Boss: King Hisstocrat
Direct your returns at King Hisstocrat when the route is open. Lesser enemies can interrupt the line, so clear an immediate obstruction before attempting a shot at the boss. Watch where the fire will land and move before preparing the next swing.
On narrow or moving footing, establish your position first. A missed chance to attack is safer than falling or taking a hit while trying to reach an unsuitable ball. Continue through the attack cycles until the group can finish the crossing.
Valley of the Monsters
Return the incoming objects toward the indicated targets to dispel the dark fog. Look for the left, middle and right targets, changing shot height when the marker is above the normal line. Watch shadows on the ground so that falling enemies do not hit you while you aim.
For rock barriers, distinguish the smaller returnable projectiles from the large falling boulders. Dodge the large rocks, then use a safe return to break the obstruction. These short challenges provide little health, so clearing the route depends on surviving the sequence as well as landing your shots.
Bosses: Heavy Scuttlebugs
Aim the returned purple projectiles at the visible weak points. Use a lob for an elevated target and a lower shot when the weak point drops. Clear a blocking enemy or change your angle rather than repeatedly sending the ball into the same obstruction.
In the protection sequence, move between an incoming projectile and the threatened ally, then return it. Fire a Fever Shot when the target is exposed and your next movement is safe. The Heavy Scuttlebug encounters restore Luigi and Peach before the final confrontation.
Final battles: Bowser and King Scuttlebug
Continue returning the attack to build your Fever Gauge. The changing court conditions make positioning the main challenge: move in short corrections on ice and leave mud or fire before trying to charge a shot. A safe ordinary return is more useful than losing health while attempting a powerful one.
When Bowser’s shell becomes the object of the rally, follow its flight and meet it from a stable position. Return toward the target rather than rushing the swing as soon as it comes into view. Keep enough space to handle the next change in direction.
In the final hazard sequence, use the open ground between the affected patches and attack when King Scuttlebug is vulnerable. Use a ready Fever Shot during that opening, then continue defending until the encounter ends. Mario returns to normal after the final victory, and the group leaves the island.
After Adventure
Finishing the story does not unlock every character or complete every mode. Continue with the singles and doubles tournaments, Trial Towers and Score Challenges, and check the requirements for any missing fighter or racket. The academy rewards and the Flame, Ice, Lightning and Ty-foo Rackets come from different stages of Adventure; the remaining modes have their own progression.