
The complete solution to Donkey Kong Country Returns HD for the world “World 6 – Cliff”. On this page we help you search for all K-O-N-G letters and Puzzle Pieces.
6-1: Sticky Situation
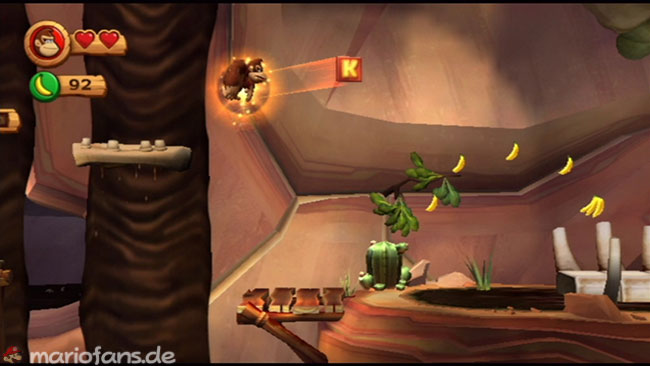
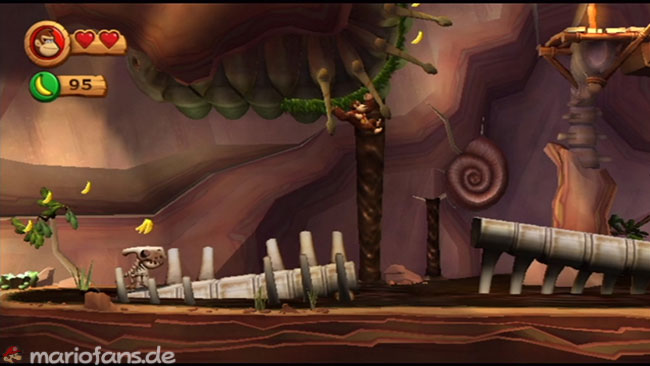
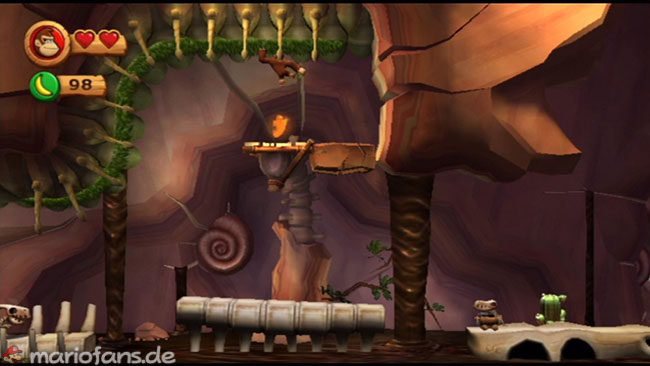
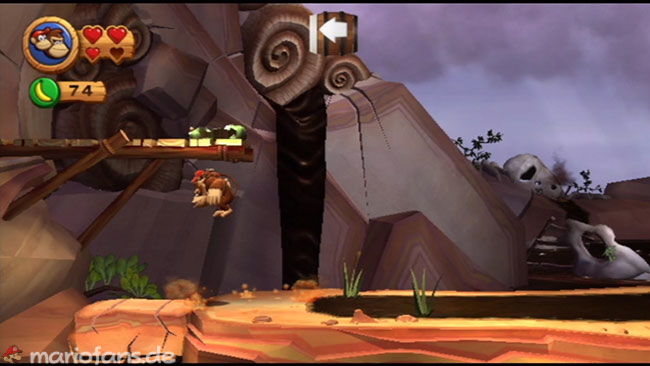
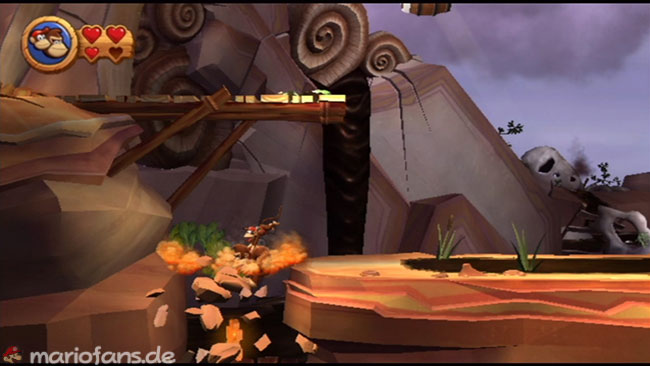
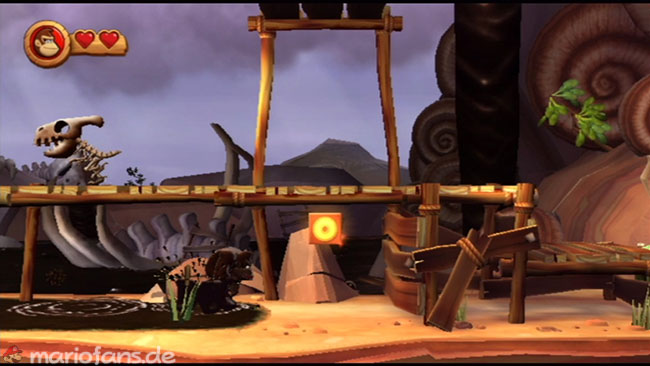
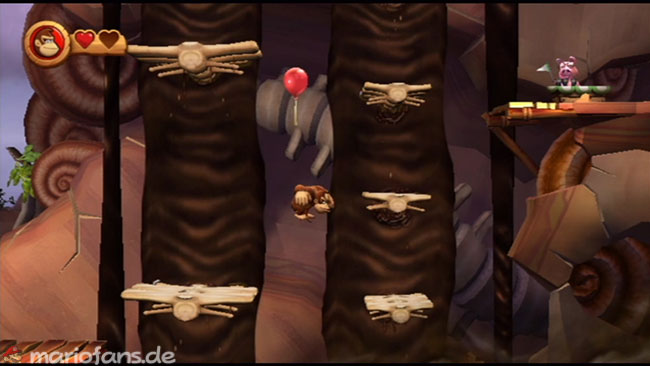
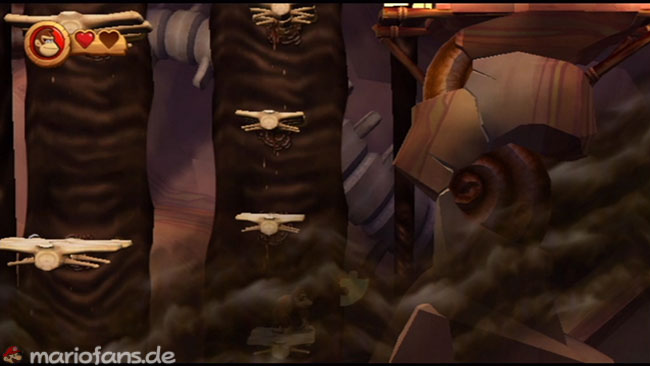
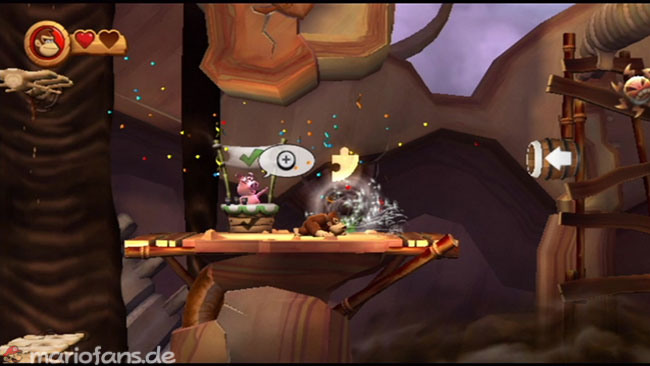
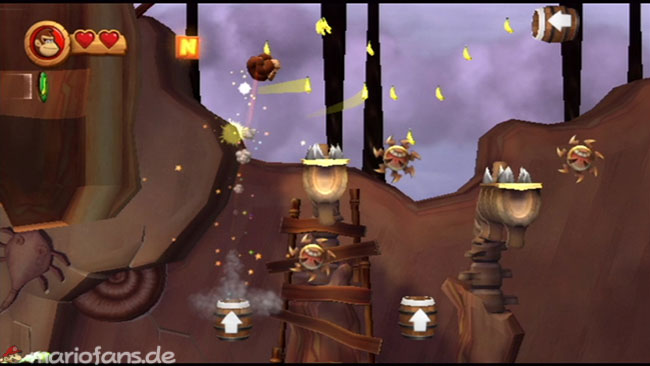
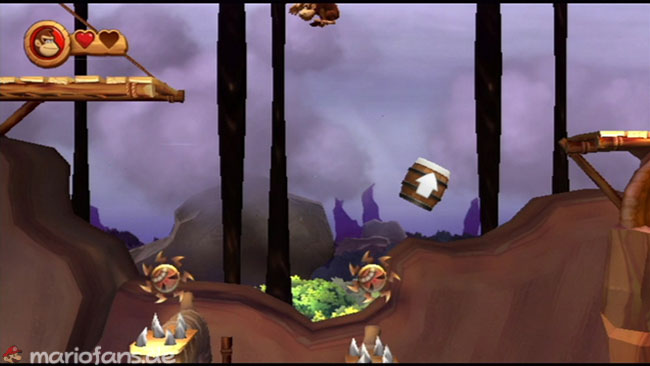
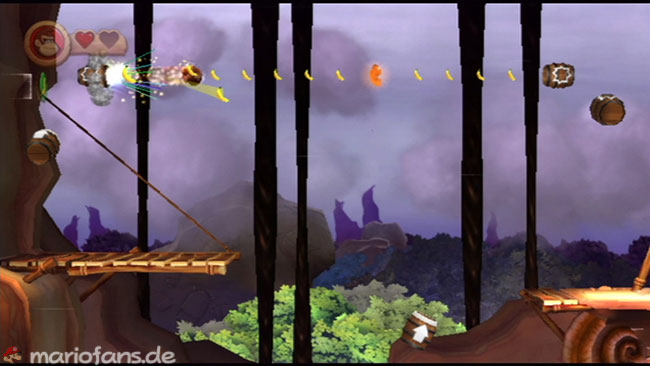
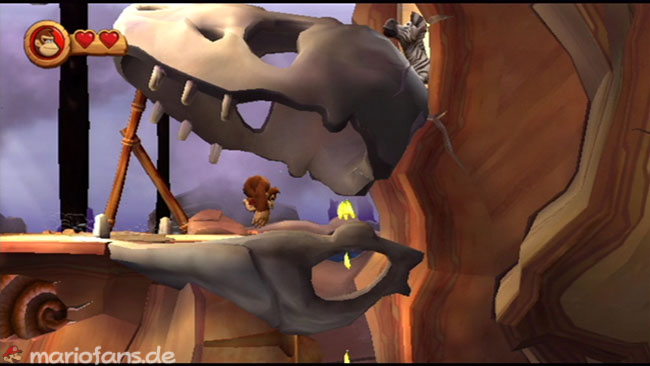
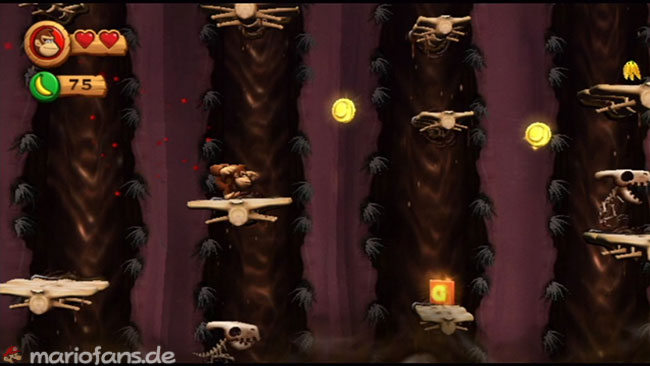
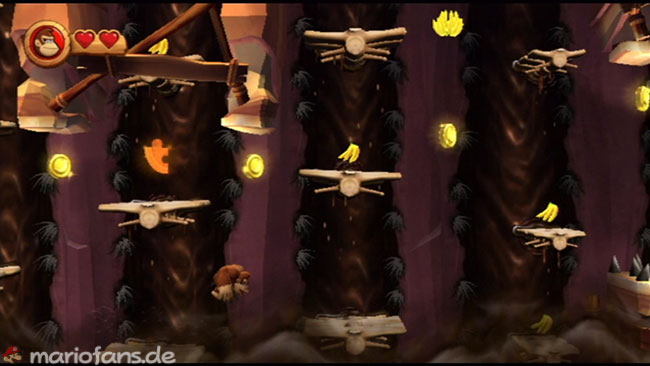
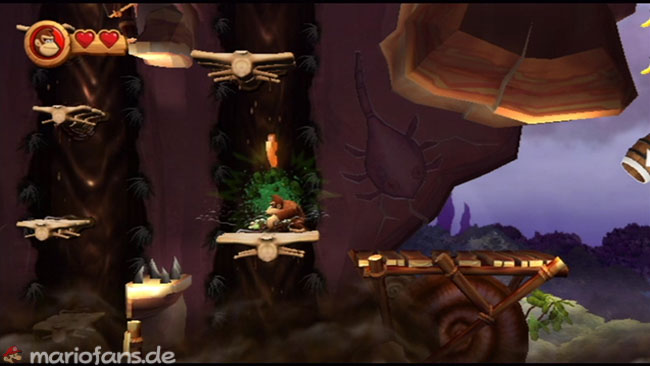
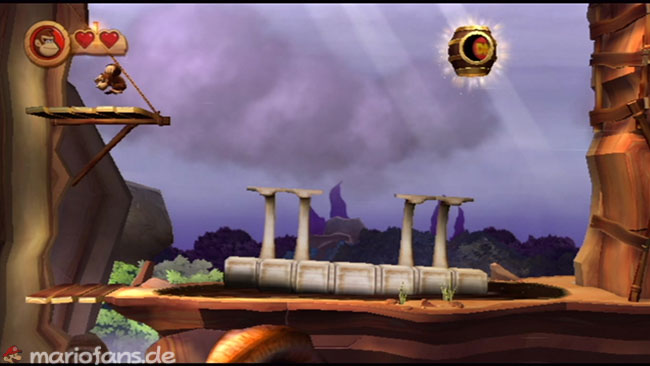
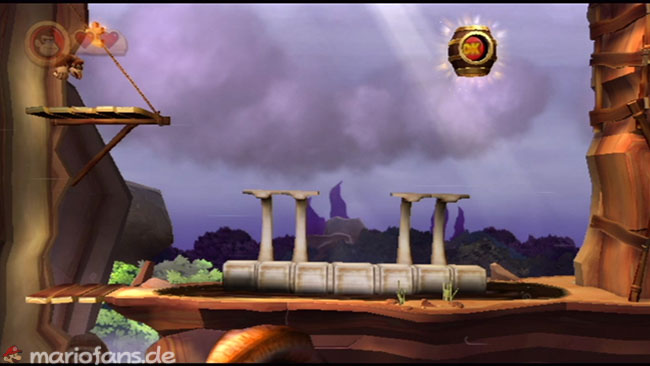
- K In this level there are several tar waterfalls. These waterfalls have small platforms from Bone that move down the waterfall at different speeds. Crosses the first row of tarfalls and jumps up to fetch the K-Crystal block.
- TIP:If you fall into a tar hole, jump out and hit the ground to shake off the tar. As long as you are covered with tar, you cannot jump high.
- Puzzle Piece 1
When you land on three platforms swimming on a tar lake, move to the second platform and clear it. Then go all the way to the right for the platform to tip in that direction, and then run to the left. Jump at the end to get to a grassy area above. Climb right to find a hidden area with a Puzzle Piece. - Puzzle Piece 2
If you encounter a platform with a barrel to the right of it, just jump off the edge instead of jumping into the barrel. Strike the cracked stone to fall down and get a Puzzle Piece. Then cross a tar lake and jump on a bone platform. Cut off the tar before moving to the right. - O
The O-Block is located under a platform. Jump from the left and jump through the tar lake to reach it. Hit the tar and then jump to the platform. - Puzzle Piece 3
When you get to another section of tar, get a balloon and move to the right. Save your progress at the checkpoint. Then go left and watch the tar fall right next to the checkpoint. Wait for a series of platforms to come down, and rise to the lowest. Drive down to get a Puzzle Piece, then quickly jump to the higher platforms to return to the checkpoint. - Puzzle Piece 4
Just to the right of the checkpoint, blow on the dandelion to get another Puzzle Piece. Jump into the nearby barrel and jump over some spike trap into another barrel and then onto a platform. - NN
Jump into a barrel. Instead of jumping to the right to reach another barrel, head left to fetch the N-Crystal block and land again on the platform. Now make your way through a few barrels while avoiding Tiki Zings. - Puzzle Piece 5
When you arrive at the top, where there is a giant skull, run left and jump from the edge to reach a platform on the left, where you will find another piece of the puzzle sack. - Puzzle Piece 6
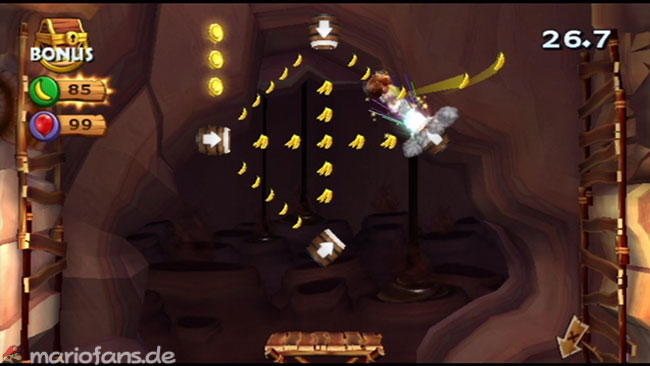
Again at the giant skull, running to the right and jumping up to get into a cave with a zebra. Here is a bonus area where you can collect coins, a balloon and many bananas. Get everything and you get a Puzzle Piece. - GG
After slipping down from the giant skull, run to the platforms of the tarfalls to fetch a balloon. You have to be quick to get the G-Block. Jump on the platforms again and again so that you do not fall completely down. - Puzzle Piece 7
After getting the G-Crystal block, watch the tar falls between two rocks. A Puzzle Piece will fall down here. Get it quickly and move to the right. - Puzzle Piece 8
When you reach the right tarfall, jump on a platform with a cactus and quickly hit it to get a Puzzle Piece. Then jump to the platform right and then a barrel to shoot you into a higher area. - Puzzle Piece 9 — Puzzle 9 As you approach the final barrel, clear the skull from the bone platform to tilt. Jump to the widest upper right point so that it tilts to the right. Then run to the left and jump to the high platform to get the last Puzzle Piece. Finally, the final barrel beats to finish the level.
6-2: Prehistoric Path
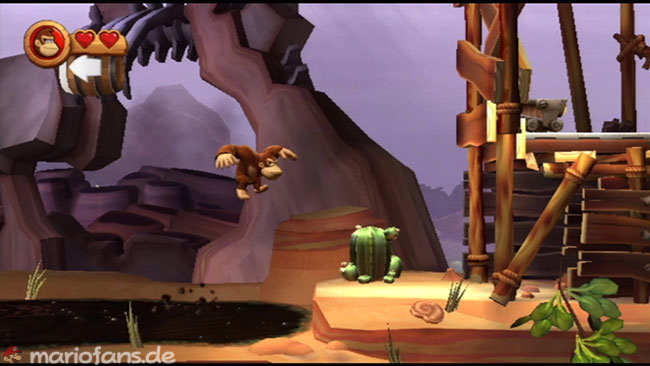
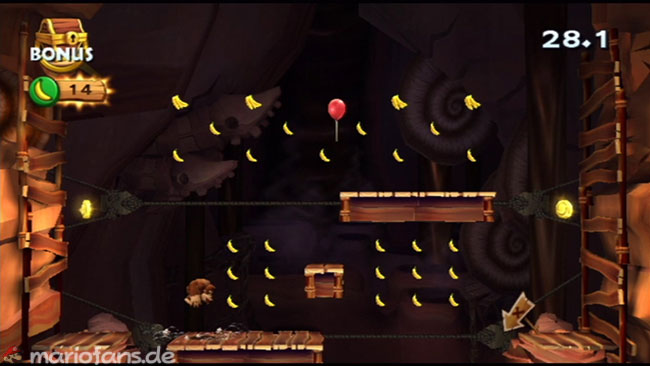
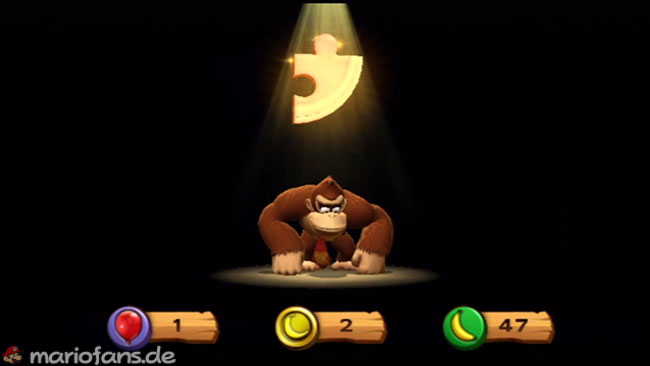
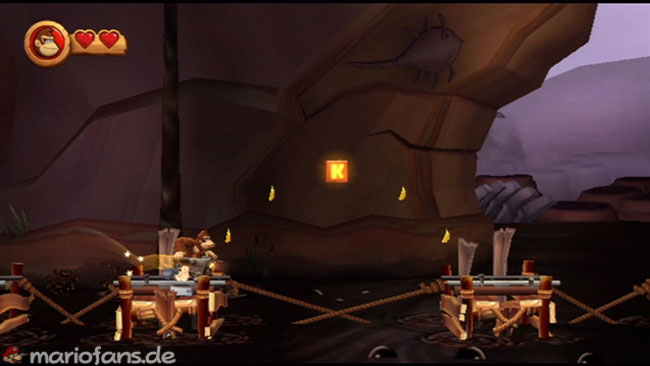
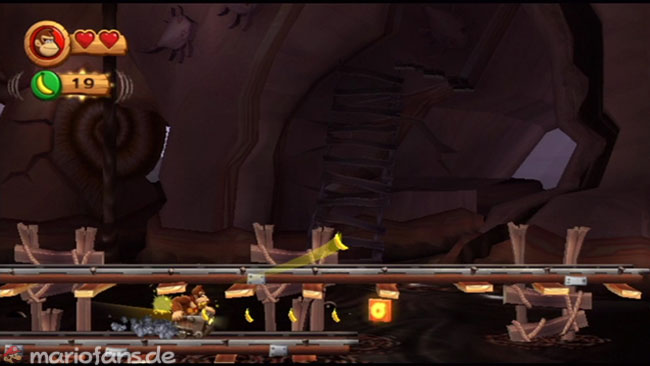
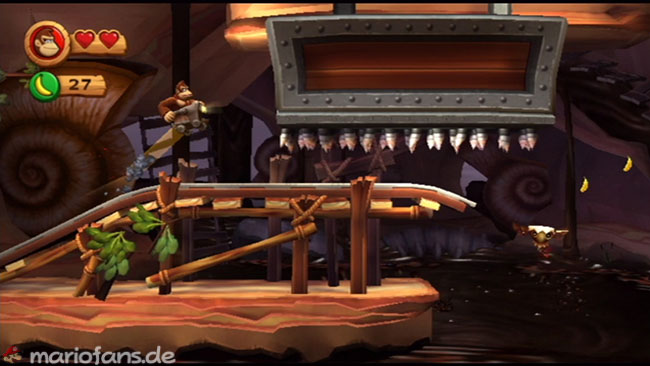
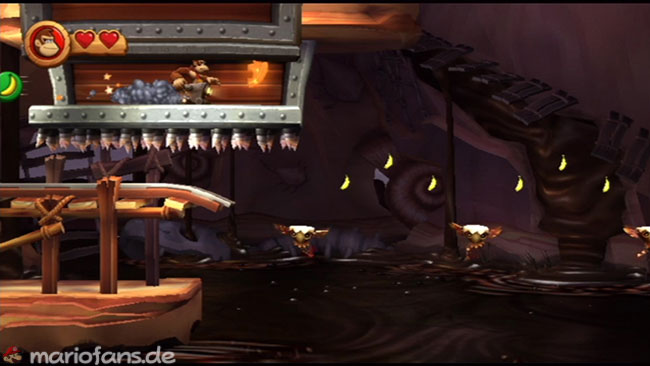
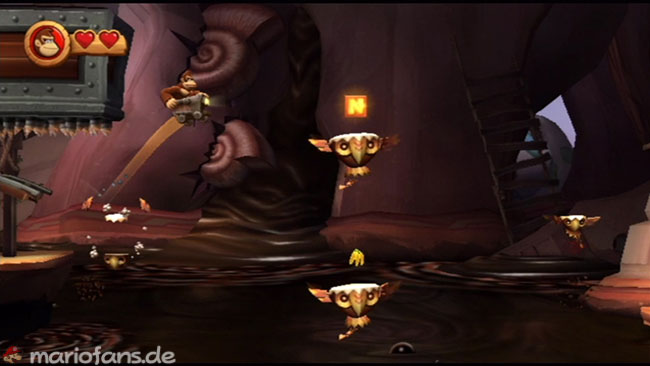
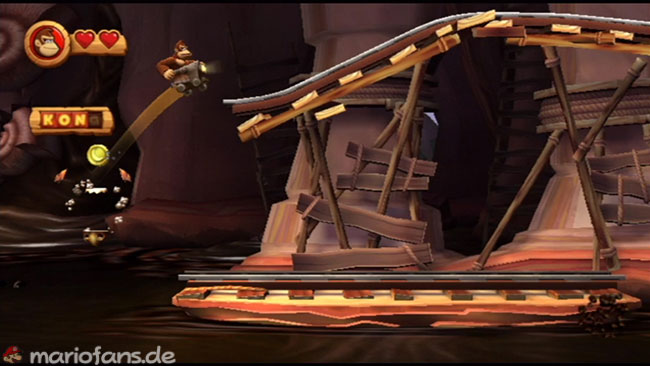
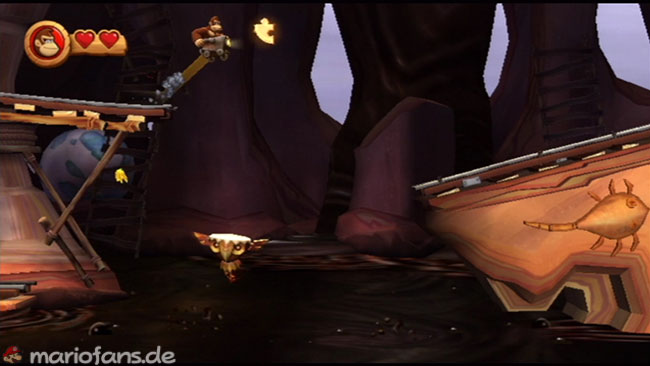
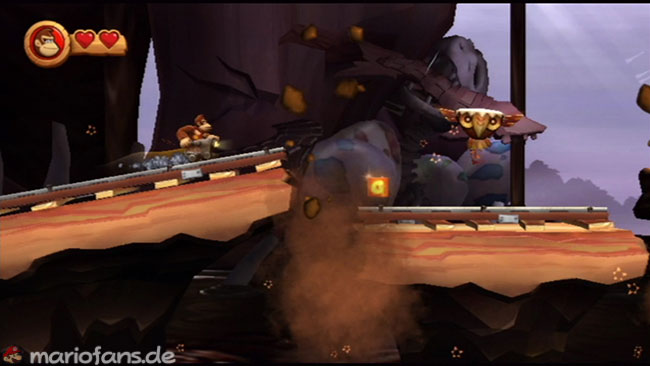
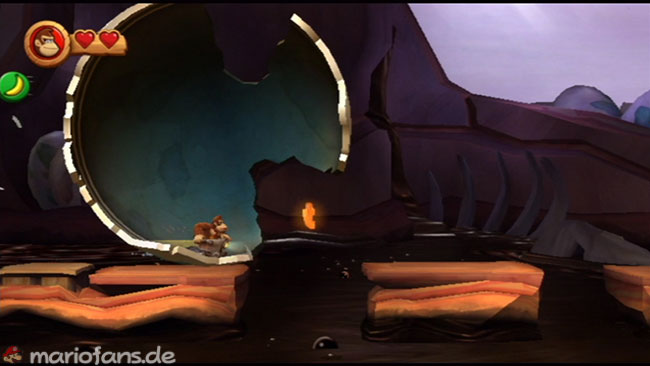
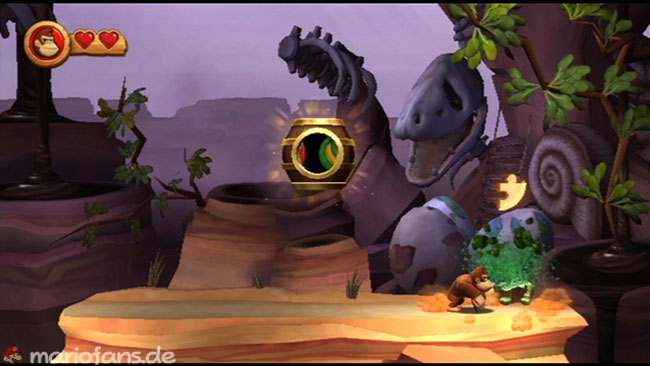
- Puzzle Piece 1 — Puzzle 1 When the level begins, move to the right. Instead of jumping into the barrel, drop down and jump through the tar hole. Move into the area below the track to get into a bonus area. Collect the balloons, coins and bananas to get the first Puzzle Piece.
- K
As soon as you roll in the car, you jump to a sinking section of the track at the foot of the first hill. You have to jump a bit before you reach the end of the track and land on a very short piece of track. Jump again immediately to get the K-Crystal block. - O
After you’ve slipped through under some large containers with Spike Trap at the bottom, stay on the bottom track and drive it to the end. Jump at the last moment to reach the O-Block and get on a higher track. - Puzzle Piece 2
When you hit the next container with Spike Trap, jump over the Spike Trap. This container is hollow and contains a Puzzle Piece. - NN
After passing the checkpoint, duck under a container with Spike Trap and then jump off a Tiki Buzz. So you can jump high enough to reach the N-Crystal block while jumping from the Tiki Tork directly under the letters. - Puzzle Piece 3
After jumping off the Tiki Tork, jump up from the next Tiki Buzz to get to a higher track. Follow the track to the end and jump up to get the next Puzzle Piece. - GG
Drive the car over a route that dissolves when driving. As you approach the G-Crystal block, just drop the pit to get the letter block. - Puzzle Piece 4
You fall into a large eggshell and roll through the level in it. Get the Puzzle Piece you pass by by jumping up and collecting it while rolling. - Puzzle Piece 5 — When you reach the final barrel, hit the cactus on the right first to get the last Puzzle Piece. Then hit the final barrel to complete the level.
6-3: Weighty Way
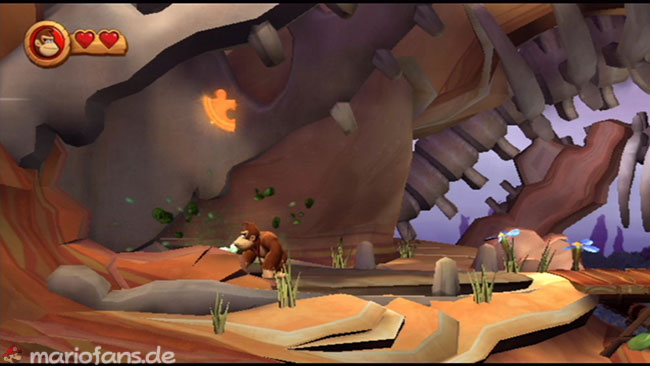
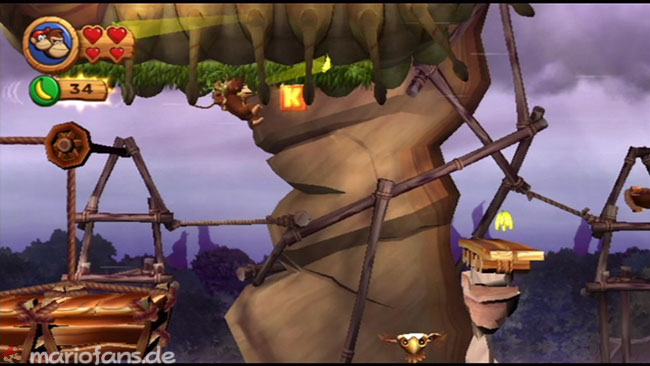
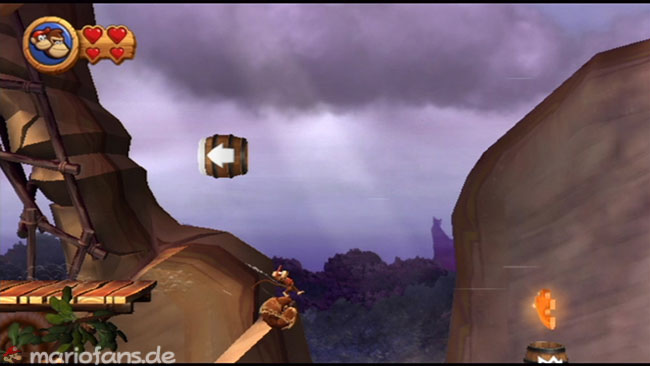
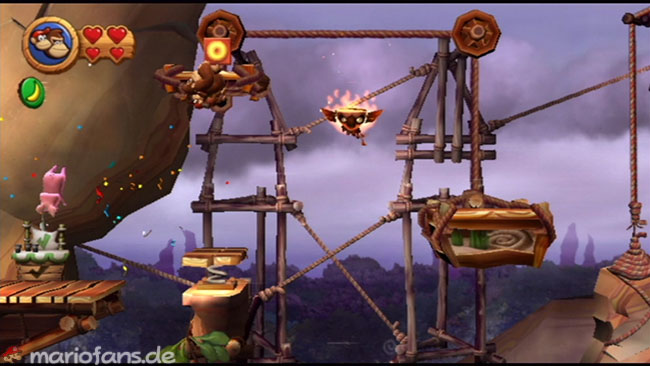
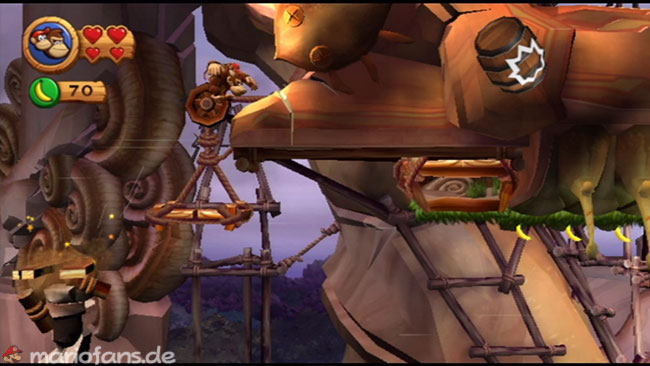
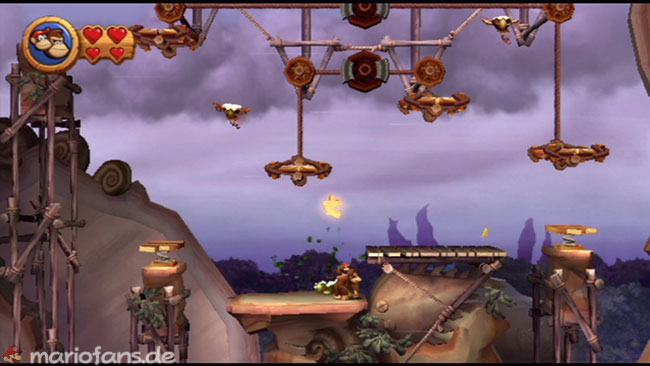
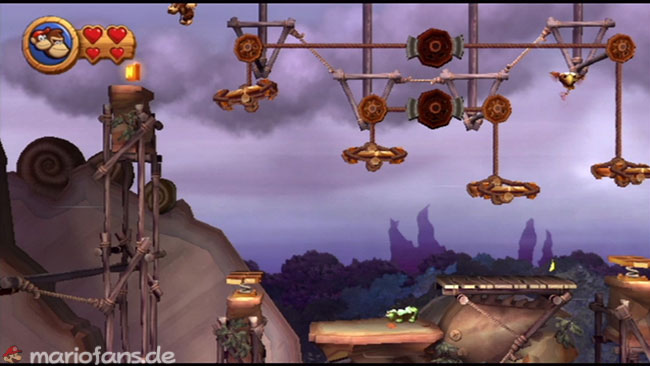
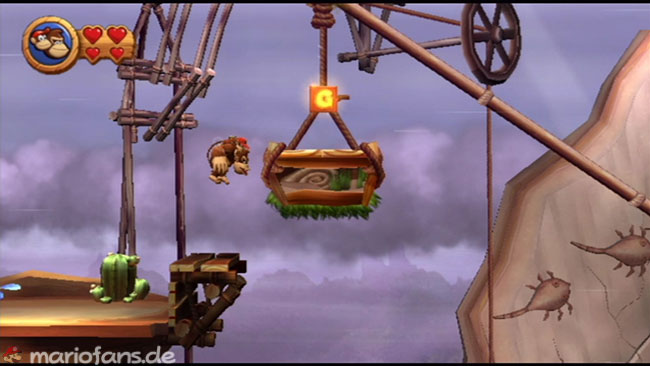
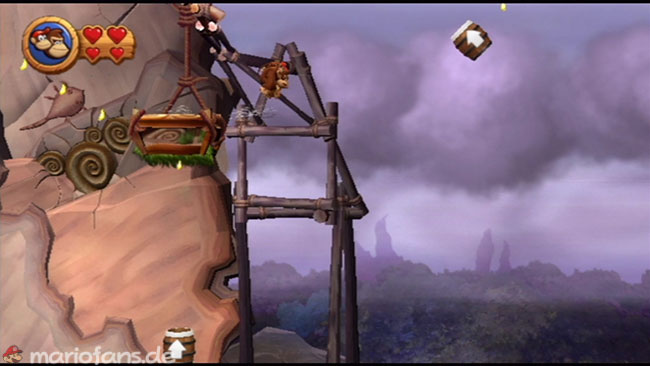
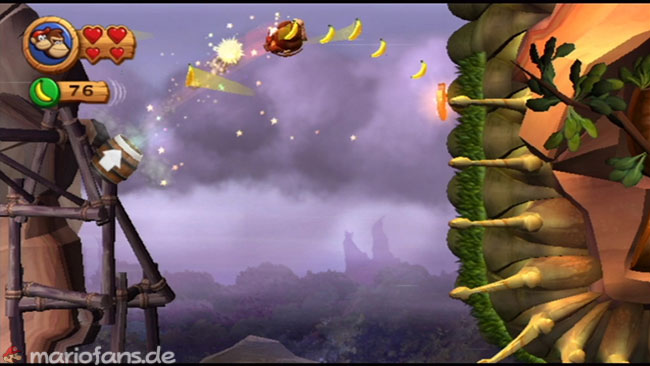
- Puzzle Piece 1 Right at the start, go left and hit a cactus to get the first Puzzle Piece. Go right and get the DK barrel.
- K
The first part of the area contains hanging platforms. If you’re standing on one, it sinks while the other lifts, unless there’s a Skellirex on one side. Cross the first pair and then, when you land on the left platform of the second pair, jump right with a floating jump and reach for the grassy level. Climb to the right to reach the K-Block. - Puzzle Piece 2
If you reach the platform at a barrel, do not jump into the barrel. Instead, roll to the right of the edge of the platform and jump in the air to fetch the Puzzle Piece. Then falls into another barrel directly below it. - O
After passing the checkpoint, jump on a springboard and jump up to get the O-Crystal block. - Puzzle Piece 3
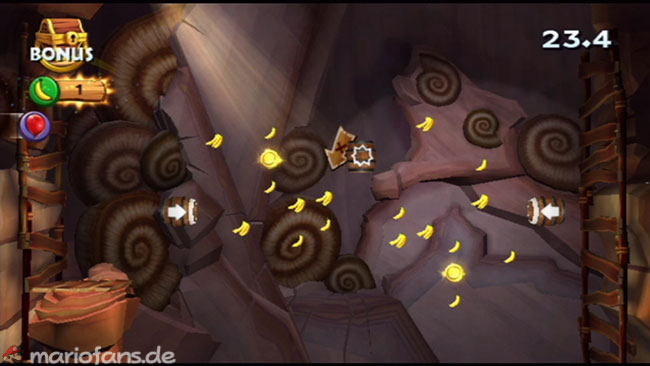
You reach a platform connected to a sliding block of grass. Jumps quickly up and right of the platform before it goes down. You enter a bonus area where you collect a few coins and bananas to earn a Puzzle Piece. - Puzzle Piece 4
After you pass the next checkpoint and a platform drives down a ramp, shoot yourself into a background area with a barrel. Hit the cactus near where you land to get a Puzzle Piece. - NN
From the Puzzle Piece, go up and right to hit another cactus and release a barrel. Then manipulate the platforms to the left to reach the N-Crystal block, which is on a platform on the left. Once you have it, go right back and jump into the barrel to catapult yourself to the main area of the level. - GG
When you get to another ramp, jump and reach for the grassy bottom of a platform to pull it down. Jump back to the left on the wooden step. From there, jump up to the platform to get the G-Block. - Puzzle Piece 5 — When the platform reaches the ground, run and jump to the right to get into a barrel that shoots you to the final Puzzle Piece. Hang on the grassy level, crawl down and right to reach the final barrel. Beat it to complete the level.
6-4: Boulder Roller
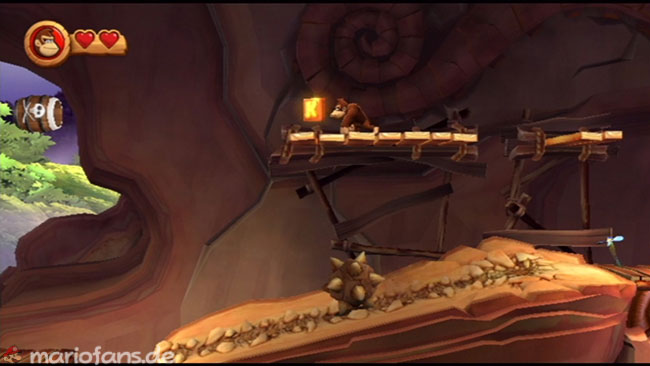
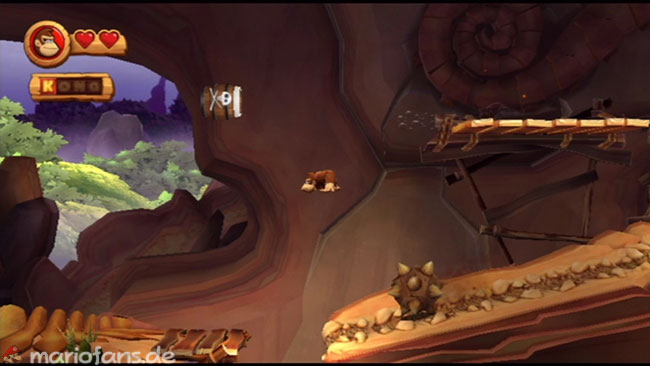
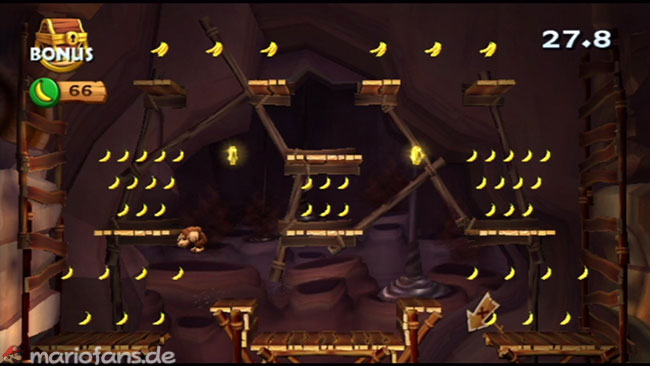
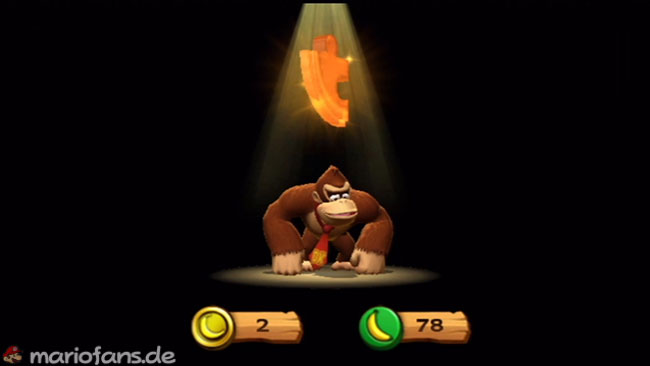
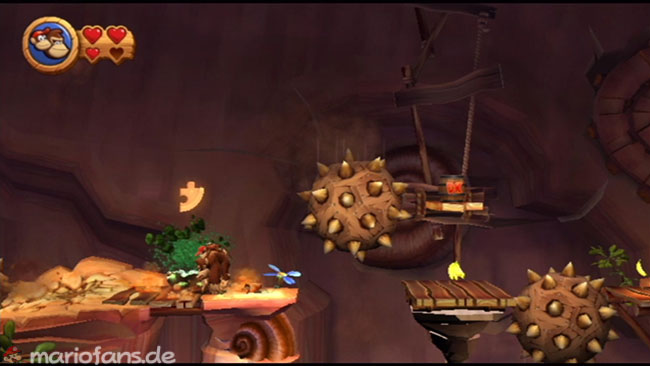
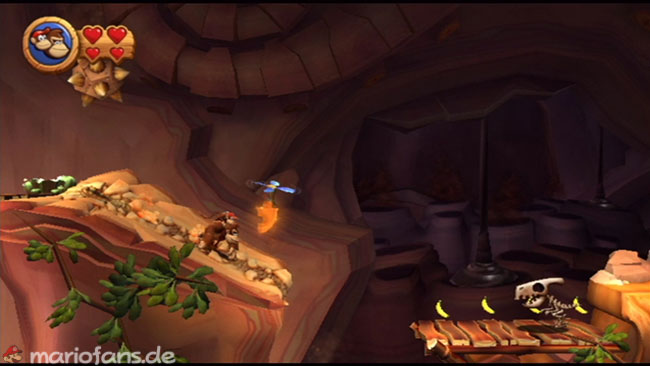
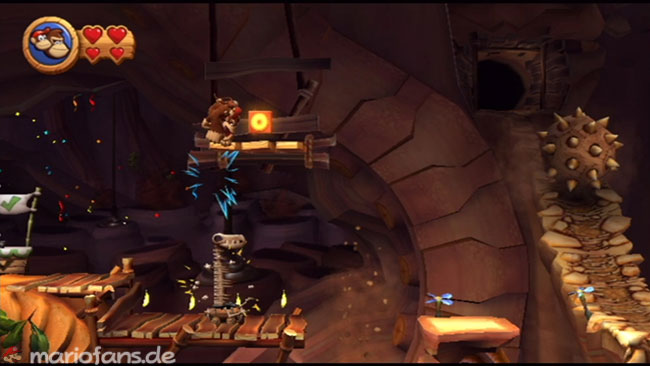
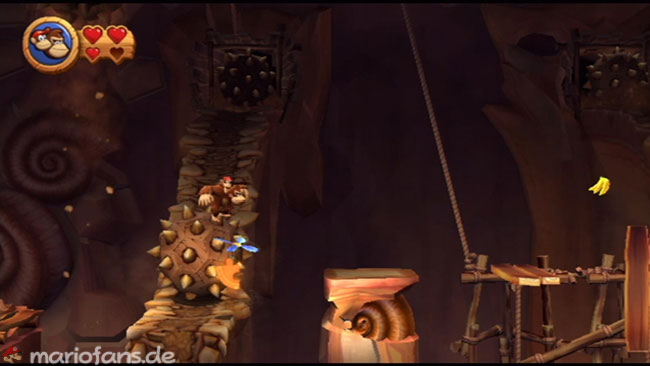
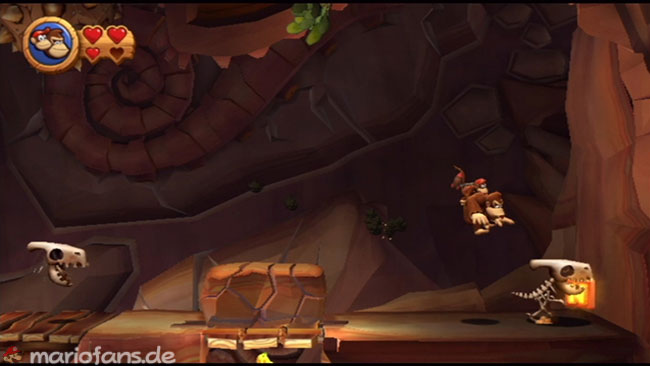
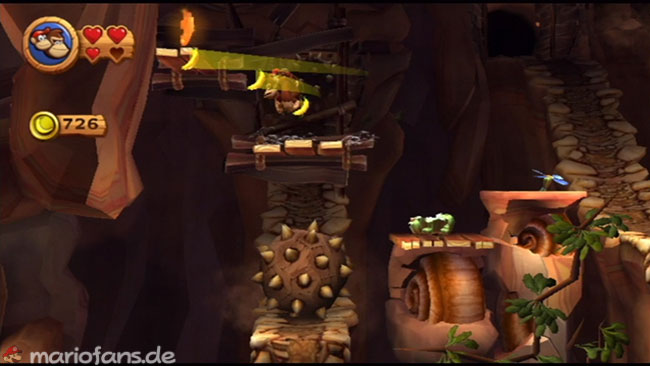
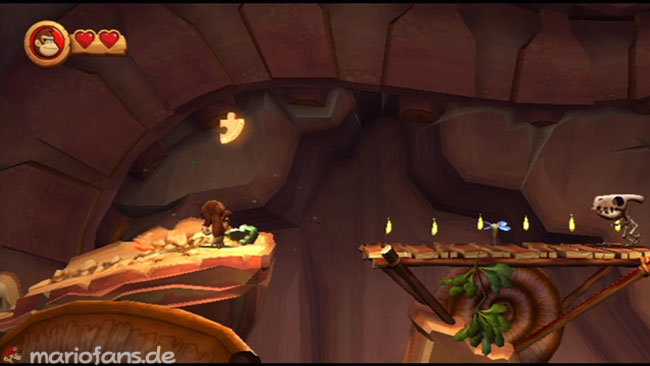
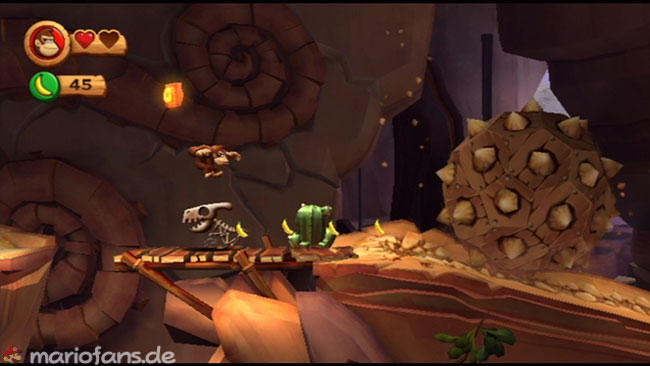
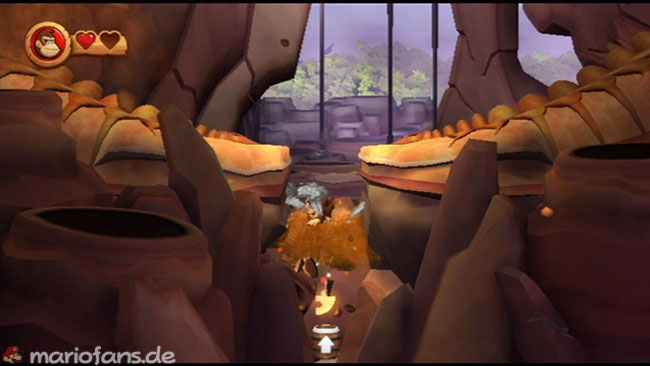
- K Immediately at the beginning puffs onto the windmill to lower a platform. Then jump on it and drive it upstairs. Jump over and pull on the liana to make a DK platform appear. Hit it, and pointy balls begin to roll. Continue your way to the right and jump on a Skellirex to get onto a wooden platform. Then go left to get the K-Crystal block.
- Puzzle Piece 1
Once you have the K-Crystal block, move on to the left, roll into a barrel and jump to land in a barrel that shoots you into a bonus area. If you have Diddy Kong with you, you can take a floating jump to get into the barrel. Clear out the bonus area to get the Puzzle Piece. - Puzzle Piece 2
Now go right and hit a cactus near a Bonehead Jed to find a Puzzle Piece. Get the DK Barrel on the platform on the right, as Diddy Kong will be useful. - Puzzle Piece 3
Continue to the right and hit a cactus for a coin, then pour on a blue flower to get another piece of the puzzle. - O and Puzzle Piece 4
After passing the checkpoint, jump on a Bonehead Jed when his head is high. Then jump to a platform where the O-Crystal block is located. Get it and then jump down to the right to land on a platform with a blue flower. Jumps over ramps, from which pointed balls roll. When you reach the end of a set, pour on the blue flower to release a Puzzle Piece. Jump quickly to the right to pick it up and then get out of the way. - NN
Get the DK barrel as you move on and reach a solid wall where you can get the N-Crystal block. Then hit the stone on the left to fall into an area where you can hit a cactus for a coin. - Puzzle Piece 5
Go right to a blue flower, then jump left to fetch another piece of the puzzle. - GG
Dodge some big pointed balls by ducking in depressions, and then hit a cactus to get a Puzzle Piece. Go ahead and cross two more big pointed balls before jumping onto a wooden platform. Jump on a Skellirex to gain enough height to grab the G-Block and complete K-O-N-G. - Puzzle Piece 6 — When you reach the end of two slopes, duck while a huge pointed ball rolls by. Strike through a few layers of stone and fall into a barrel, collecting the last piece of the puzzle along the way. Continue to the final barrel to complete the level.
6-5: Precarious Plateau
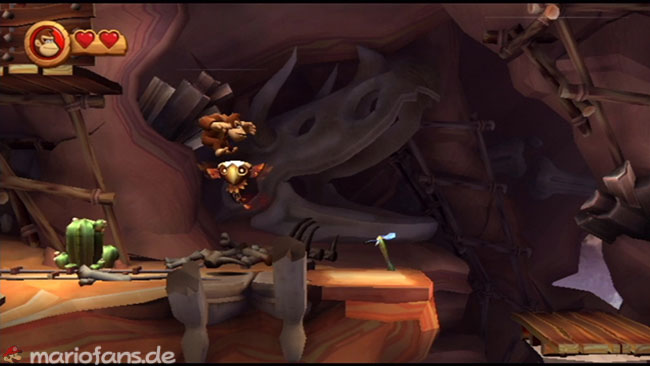
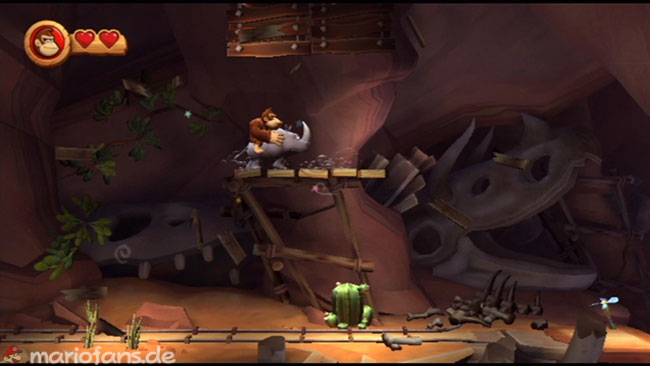
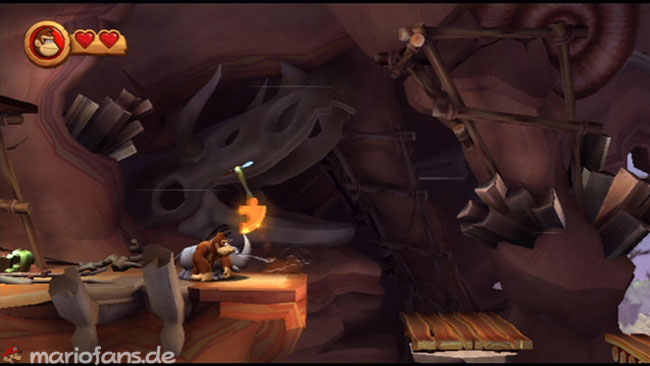
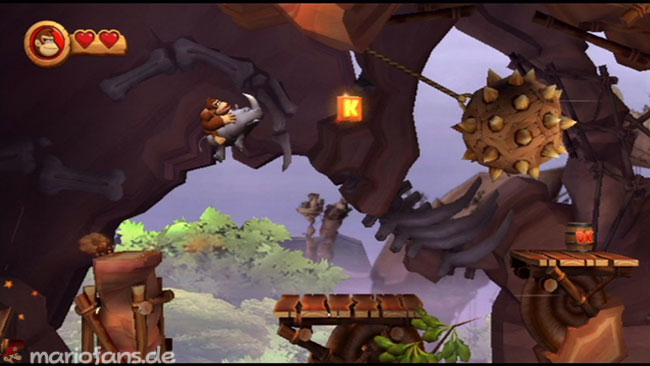
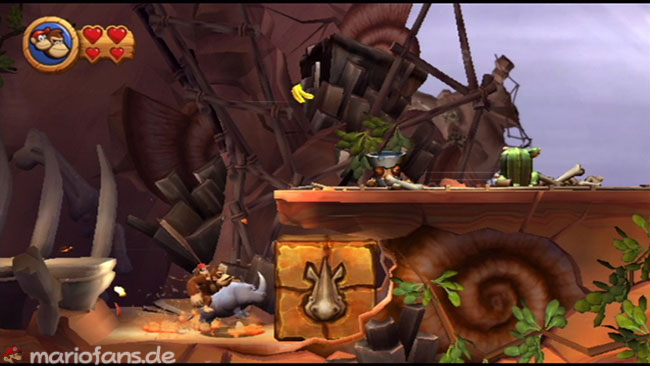
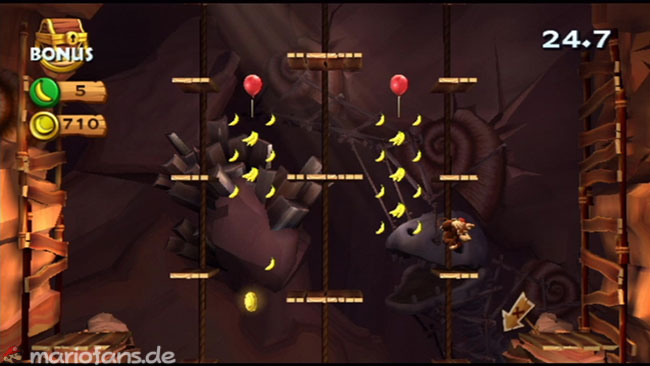
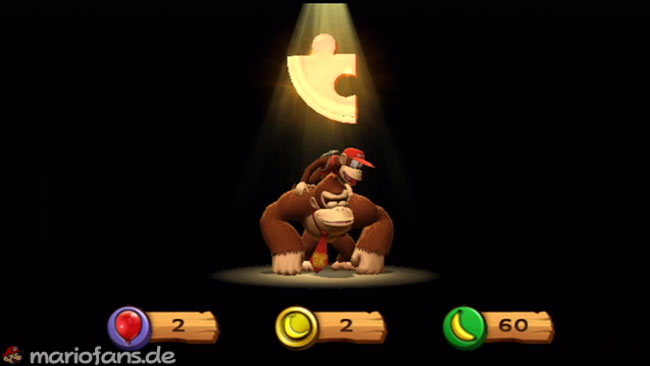
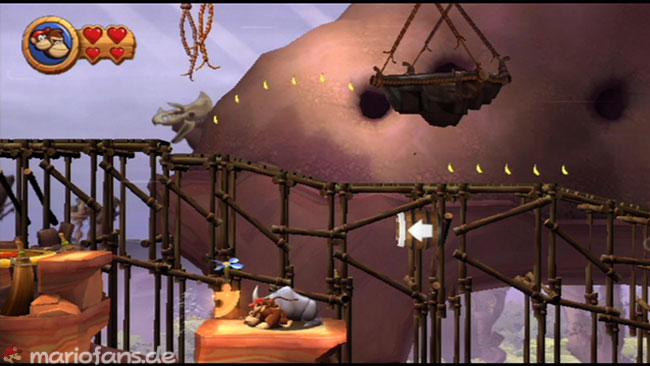
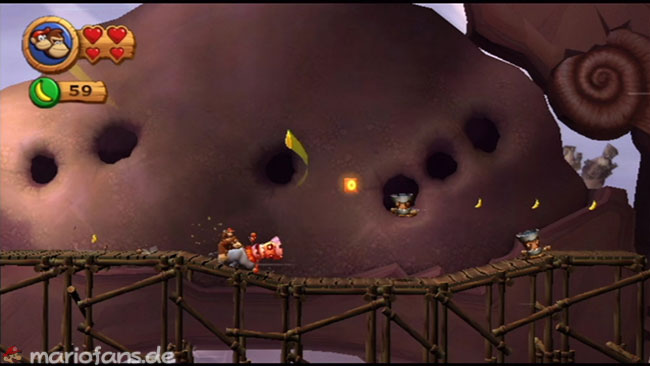
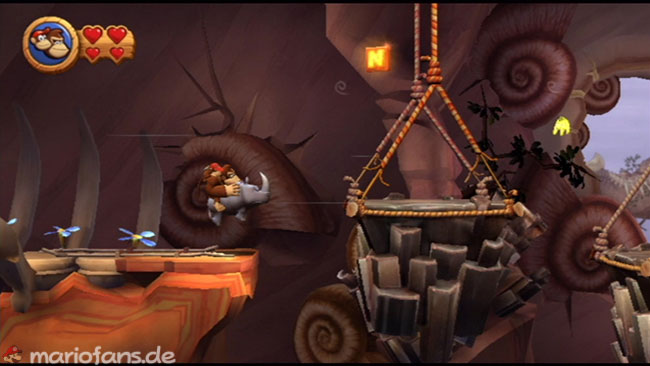
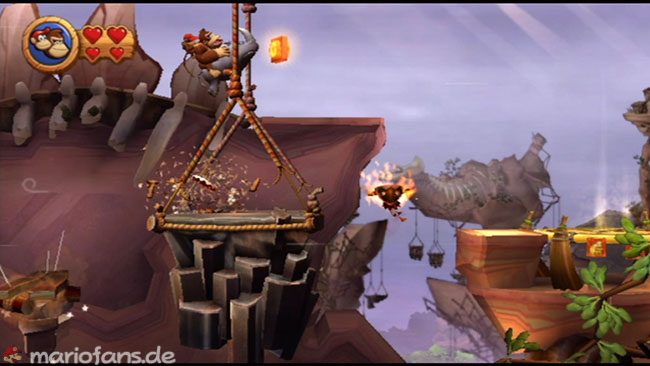
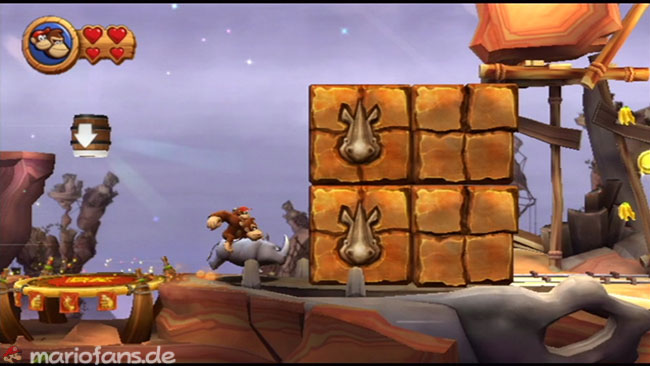
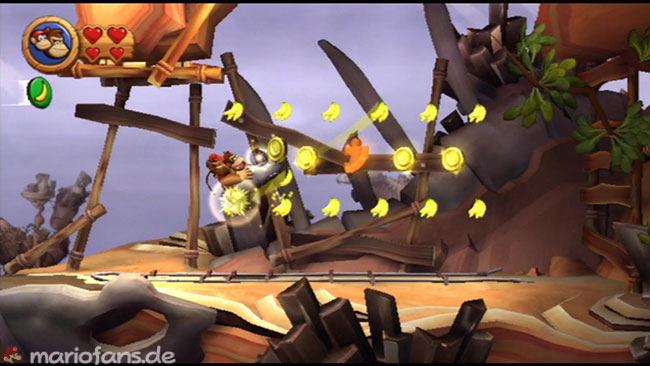
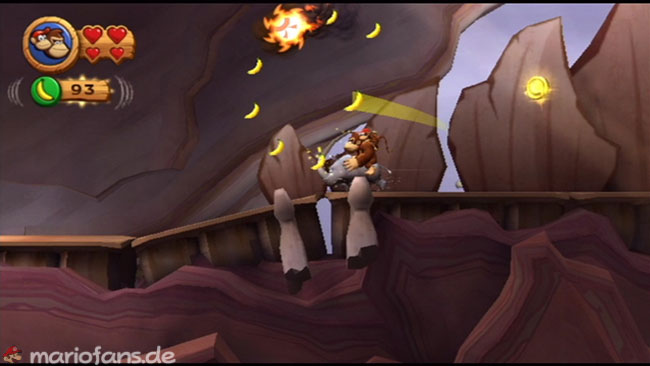
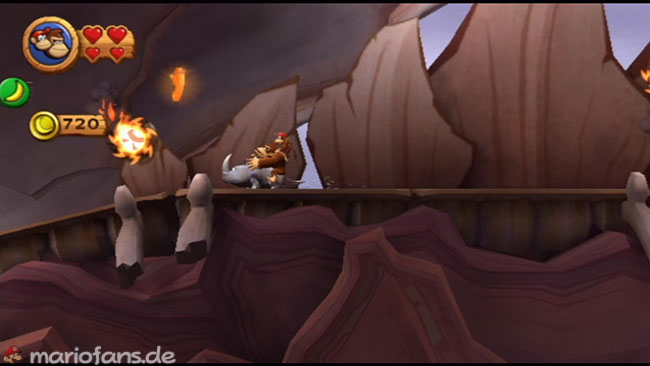
- Puzzle Piece 1 The first Puzzle Piece is located right at the beginning. Move to the right and pour on a blue flower to get the Puzzle Piece out of the ground. Now jump up and jump off a Tiki Buzz to gain enough altitude to get into the wooden box above the starting area. Hit the Crate and now you can ride Rambi through the level.
- K
Continue to the right until you reach the DK Barrel. Then jump to the left and get the K-Block as you dodge the swinging pointed ball. If you have Rambi with you, you can simply race through the pointed balls. - Puzzle Piece 2
To get this Puzzle Piece, you need Rambi. After the checkpoint, break through the Rambi-Crystal block to enter a bonus area. Here you have to collect bananas, balloons and coins to get the Puzzle Piece. - Puzzle Piece 3
Strike on the DK platform to break some large boxes and jump over to the platform. Before jumping into the barrel, descend from Rambi and blow on the blue flower for another piece of the puzzle. - O
While you are in the background area, you will need to quickly jump over some wooden platforms that collapse shortly after entering. Jump on the heads of the Tiki Tanks and get the O-Block as you move on. If you have Rambi, you can simply race through the Enemies and jump in time before the platforms collapse among you; then get the letters. If you collect all the bananas and the O, a balloon will appear after the path collapses. - NN
Once you return to the main area of the level, go over some hanging rock platforms. The N-Crystal block is located above the first platform. Once you enter these platforms, they begin to fall. To get the letter block, jump from the Tiki Goon to the fixed platform so that you reach enough height to get the N-Crystal block. Then quickly jump over the falling platforms to the checkpoint. - GG
The G-Crystal block hovers over another falling rock platform. Jump off the Tiki Goon on this platform to get high enough and get this letter block to complete K-O-N-G. Then move on. - Puzzle Piece 4
Strike on the DK platform to expose some Rambi blocks. Run through these as you ride Rambi. Get the Puzzle Piece on the other side, as well as four coins and many bananas. - Puzzle Piece 5 As you approach the final barrel in the background area, collect all the bananas floating around in circles. Each circle contains either a Fireball or Tiki Zings. Rambi can turn off the Tiki Zings, but you have to avoid the fireballs. Collect all the bananas in this area, and the last Puzzle Piece appears. Then just jump into the final barrel to complete the level.
6-6: Crumble Canyon
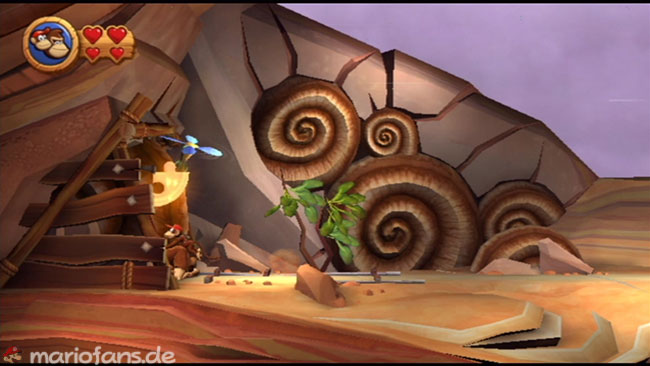
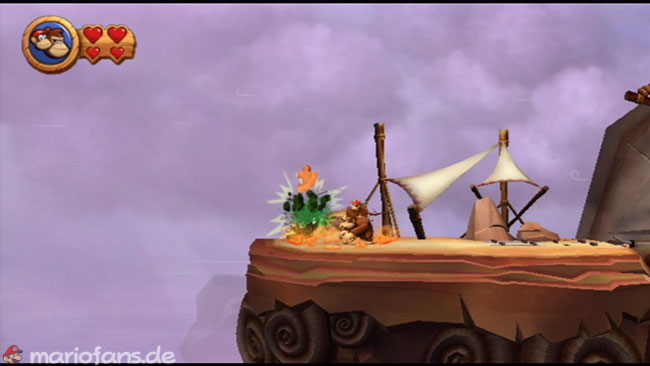
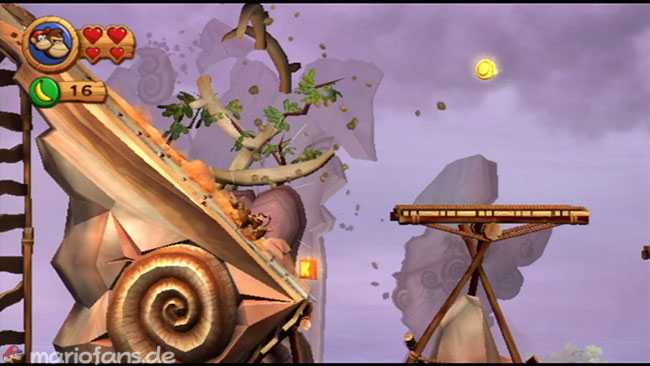
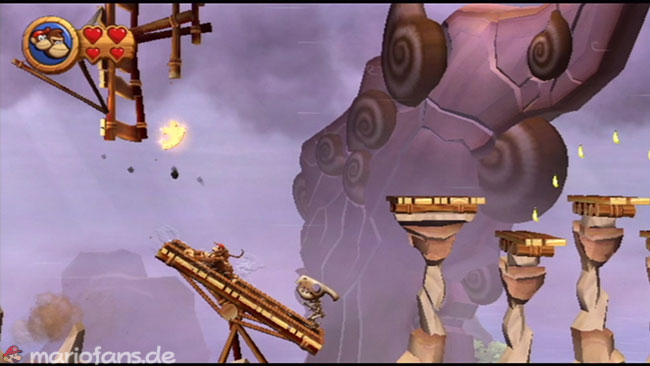
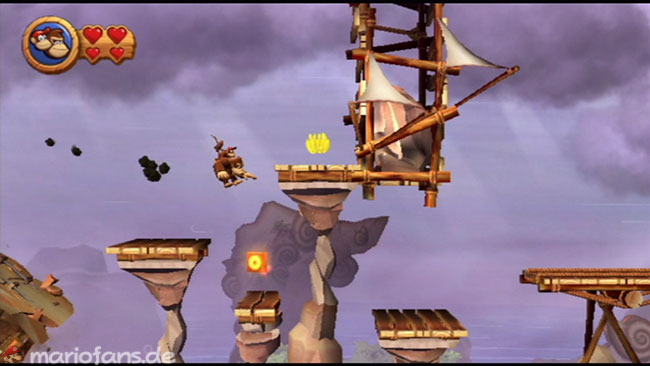
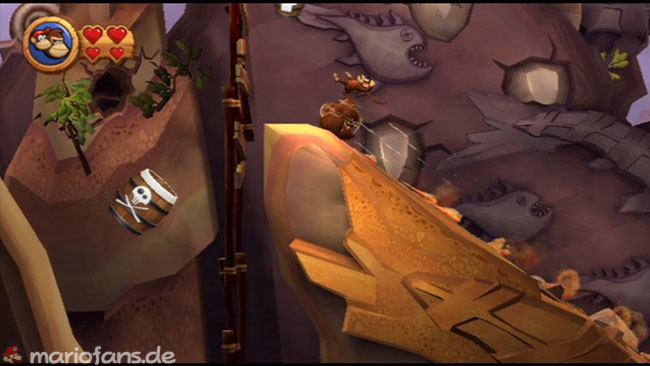
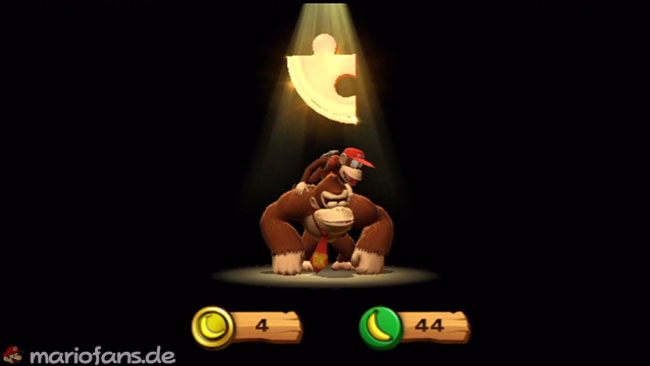
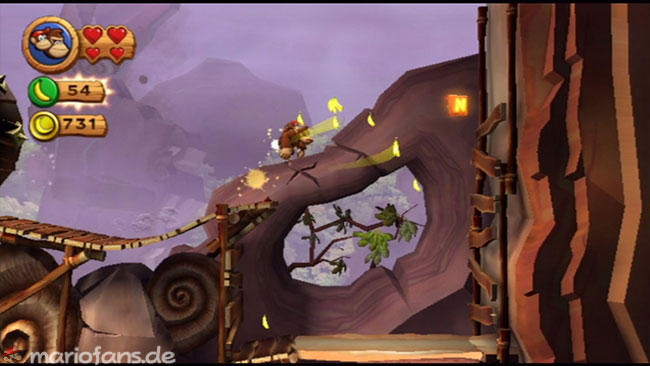
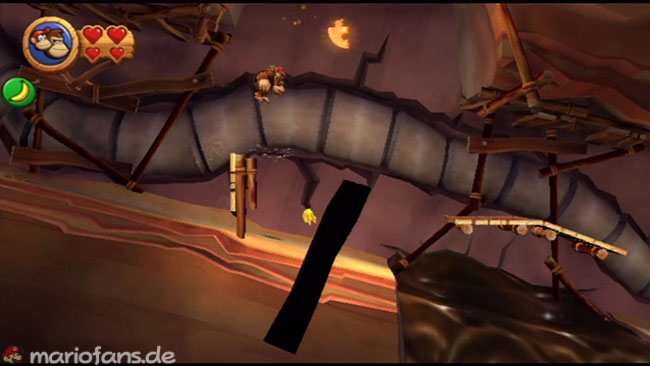
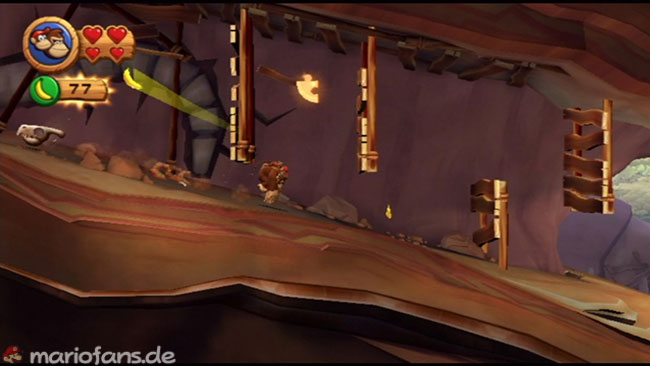
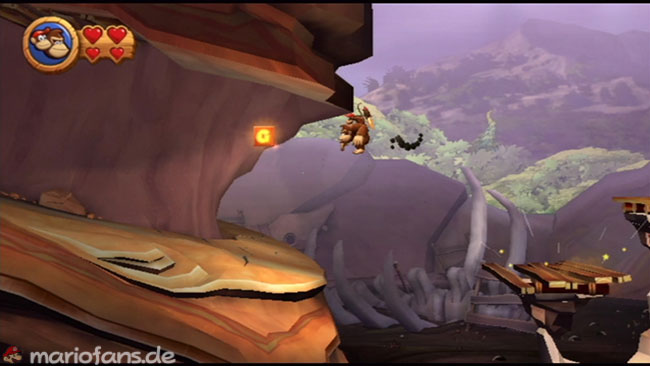
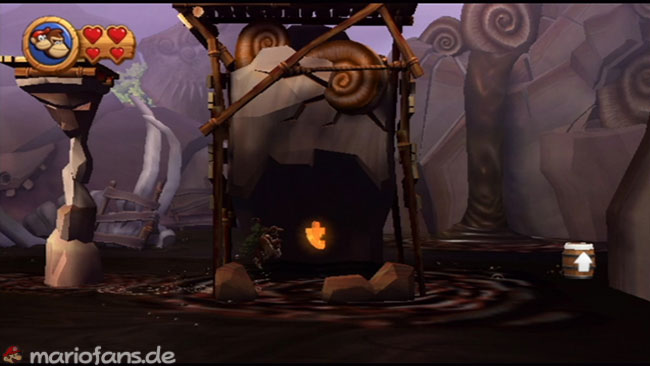
- Puzzle Piece 1 — Puzzle 1 The first Puzzle Piece you can easily get right at the beginning of the level. Just poke on the blue flower and the Puzzle Piece will emerge from the ground.
- Puzzle Piece 2
After shooting from a barrel across a gap, move to the left and hit a cactus on the edge of the platform to unlock another piece of the puzzle. - K
As you slide down this section after crossing a series of collapsing platforms, get the K-Block just before jumping to the next section. - Puzzle Piece 3
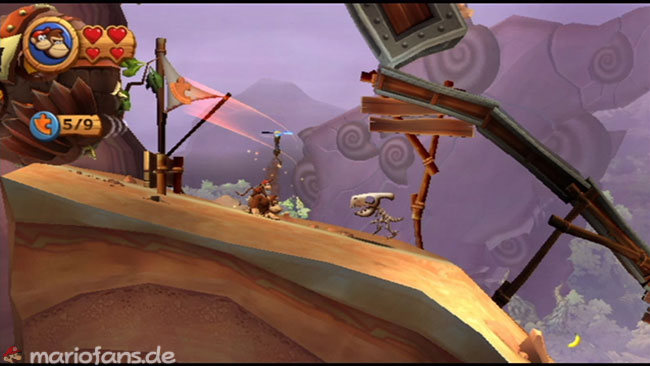
Continue moving over some collapsing wooden platforms until you reach a shaky platform with a Skellirex on it. Throw it off and then move to the right side of the platform to tip it. Now run fast and jump to the left to reach the Puzzle Piece in the air. - O
Continue your way through collapsing platforms and you will find the O-Block. Jump over it to the right and then drop to the left to get it. Move quickly to the right before the platform collapses under the letter block. - Puzzle Piece 4
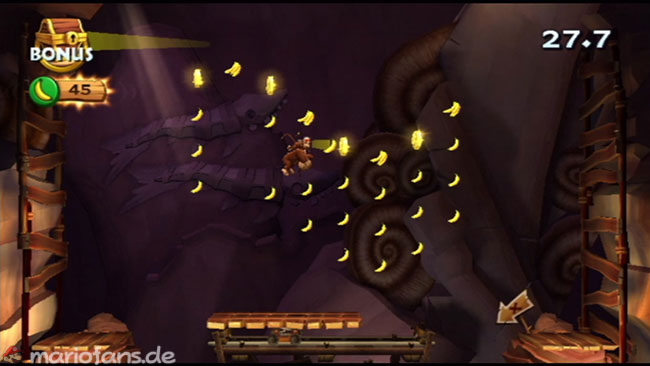
After being shot forward in a barrel, jump left instead of slipping down a slope to the right. Lands in a barrel and is shot into a cave where there is a bonus area. Collect the four coins and many bananas to get the Puzzle Piece. - Puzzle Piece 5
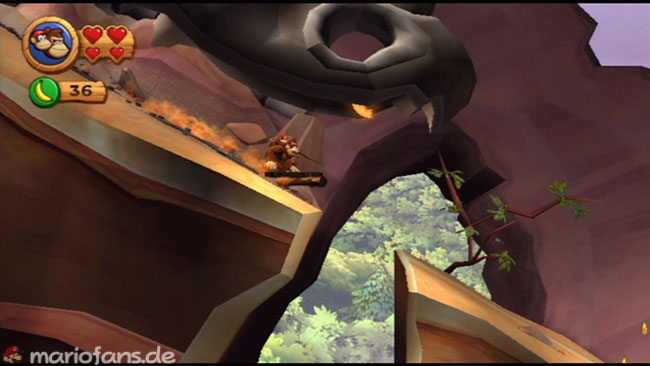
After the next checkpoint you will be followed by a large rock. Run down the hill in front of him, and then jump into a giant skull to get this Puzzle Piece. You have to time your jump well, as the rock is right behind you. - Puzzle Piece 6
After crossing a short fence, quickly puff on a blue flower to release another piece of the puzzle. - NN
At the end of the slope jump quickly, preferably with Diddy Kong so you can make a floating jump, and get the N-Crystal block. Then move to the left as the great rock rolls down. - Puzzle Piece 7
As you continue down the aisle and try to run away from the rock, jump on this chain link and then again to reach the Puzzle Piece floating high in the air. - Puzzle Piece 8
Move to the right and you will find the next piece of the puzzle in a shaft. You have to slow down and jump straight up to reach the Puzzle Piece. - GG
Continue on your way to escape the rock. Just before the end of the tunnel, you pass a few barriers and then jump up to get the G-Crystal block. Now you have spelled K-O-N-G. - Puzzle Piece 9 The last Puzzle Piece is located directly under the final barrel. Drop from the platform under the final barrel and jump through the tar to get the Puzzle Piece. Then jump into a barrel to catapult yourself back up to the platform so you can reach the final barrel and complete the level.
6-7: Tippy Shippy
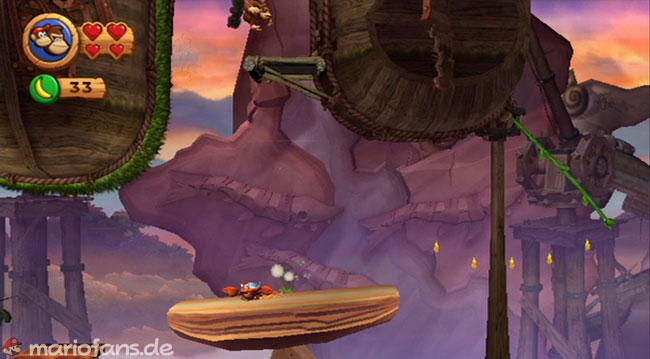
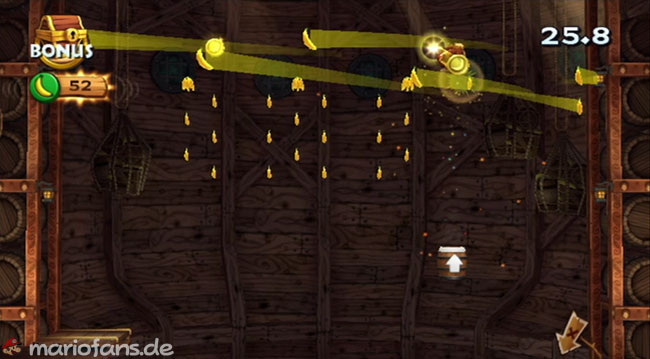
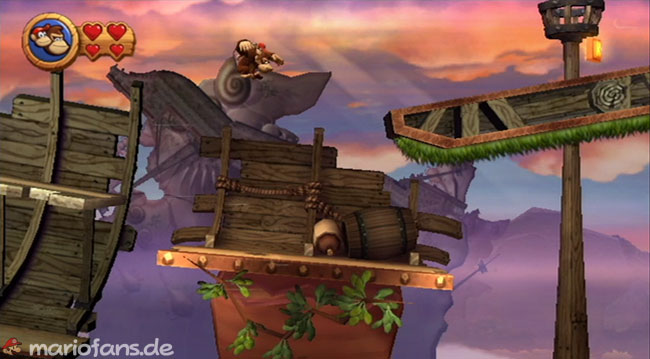
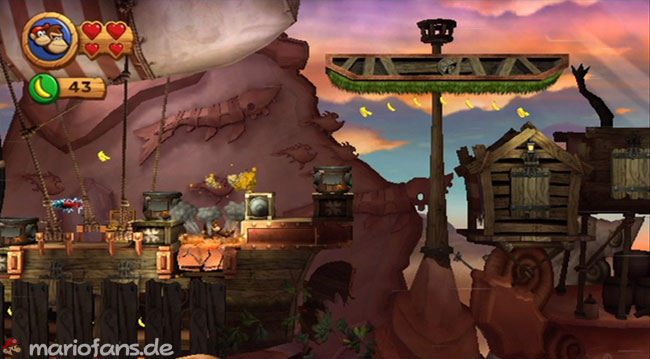
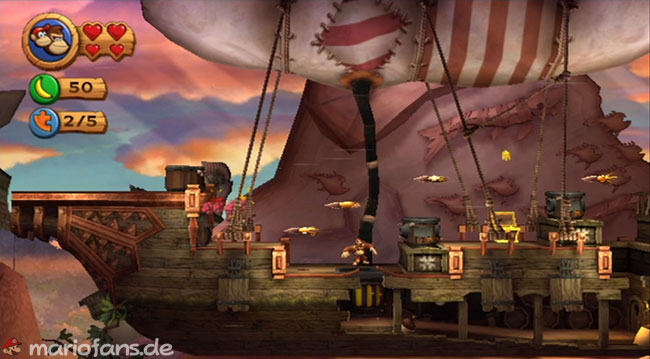
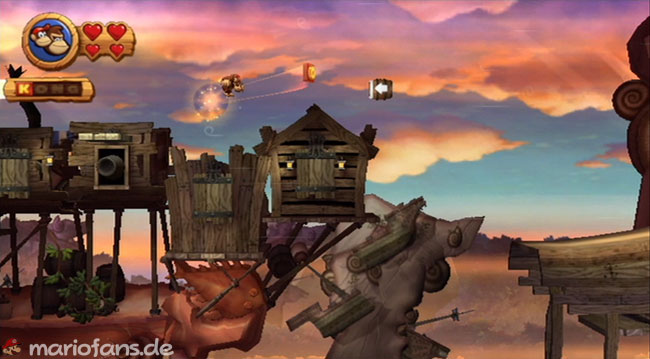
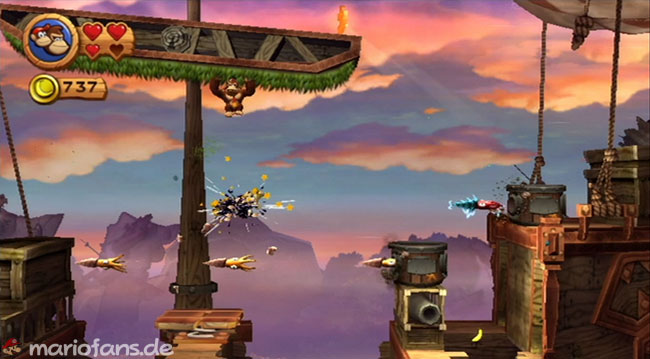
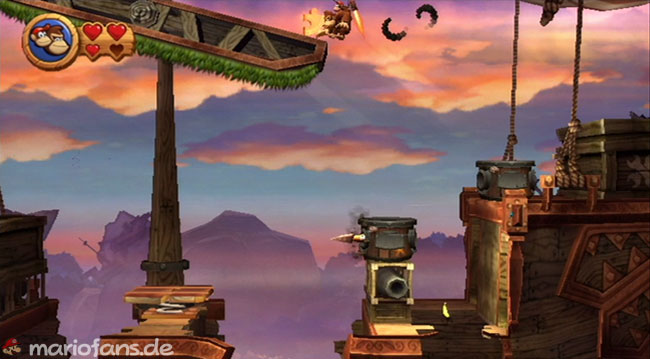
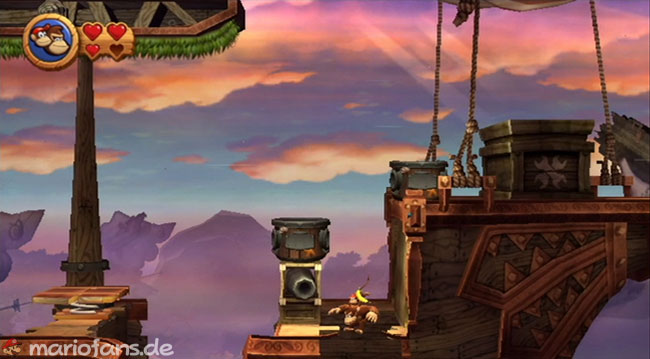
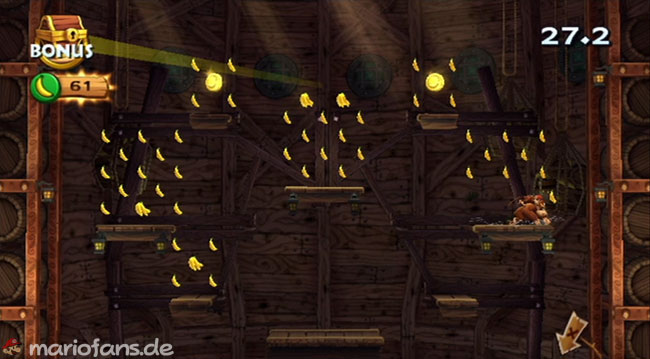
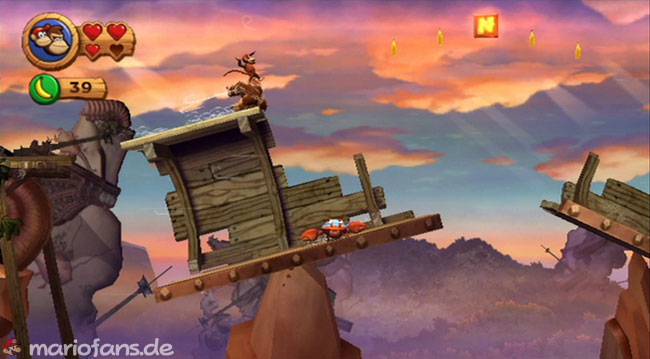
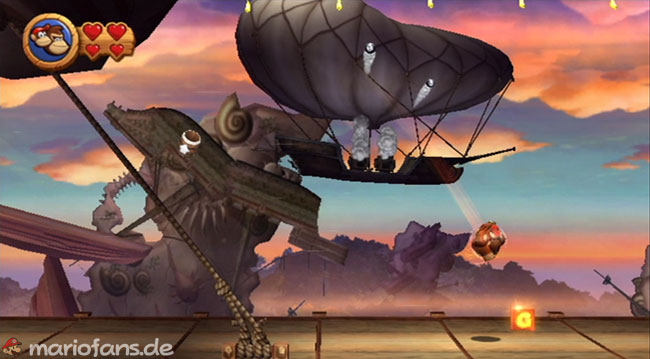
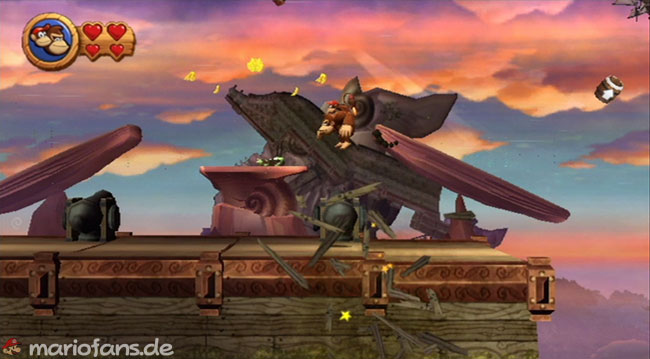
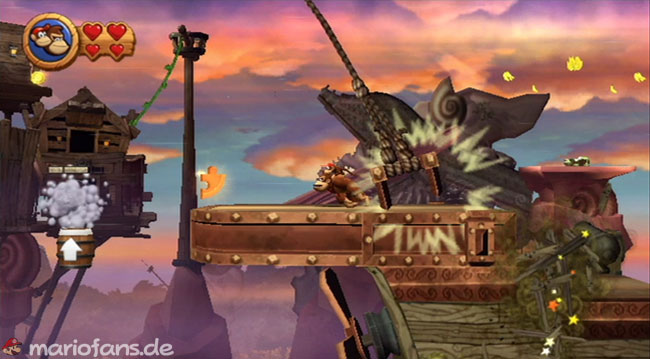
- Puzzle Piece 1 — As you climb along the grassy hull of this floating ship, hit the bottom left pit to get several coins and bananas. Then climb to the right and jump on the third hull’s gait plank. Enter the hull to find the bonus area. Clear it out to get the first Puzzle Piece.
- K
The K-Crystal block can be difficult to reach. First climb under the grassy mast to reach the checkpoint and collect the DK barrel. Diddy Kong’s floating jump will make this easier. Then go back to the tilting ship to the left of the K-Block, let the platform tilt left under the letters. On the upper deck, move all the way to the left so that the ship tilts to the left. Then run and jump over the upper deck to the right. Once you touch the deck, jump again and use the floating jump to prevent the ship from tipping to the right again. When you reach the right edge, float over the platform and land on it to get the K-Crystal block. - Puzzle Piece 2
Continue your way to the checkpoint until you reach a ship with some squid shots. Overcome the first two and hit the stone to get to the lower deck of the ship. Then move left to collect bananas and the next Puzzle Piece. Jump to the upper deck and move on to the right. - O
When you reach a building with cannons firing out of it, you must time your jumps to land on the open hatches. As soon as a Cannon fires, the hatch closes, so you have to be in the air and float near the next open hatch. Work your way through and get the O-Block on the way. - Puzzle Piece 3
When you reach the next ship, go to the stern. Look for a banana between the two rear squid shots and drop to get them. You will also fall into a bonus area. Clear out all the bananas and coins to earn the Puzzle Piece. - Puzzle Piece 4
After you leave the bonus area, jump on the grassy mast and climb to the right to have it tipped to the right as much as possible. Jump to the stern of the ship and then run and jump to the mast to get another piece of the puzzle. - NN
Go ahead and cross the next checkpoint. When you reach a destroyed ship, jump to the upper platform and jump over to get the N-Crystal block. Pay attention to the cannon balls. They will split the shipwreck into two parts. - GG
Work your way to the right. Jump into a barrel when you reach the end of a background area. It will shoot you directly at the G-Crystal block so you can complete K-O-N-G. - Puzzle Piece 5 Now goes left over the deck of the ship. Parts of the deck will fall away shortly after touching, so keep moving. On the bow of the ship collects the last Puzzle Piece and jumps into the barrel to be shot to the final barrel. Beat it to finish the level.
6-8: Clifftop Climb
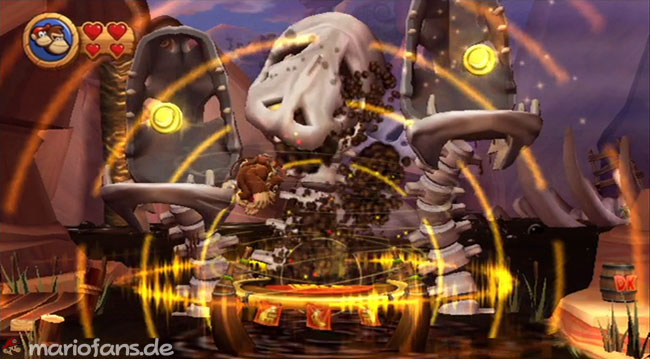
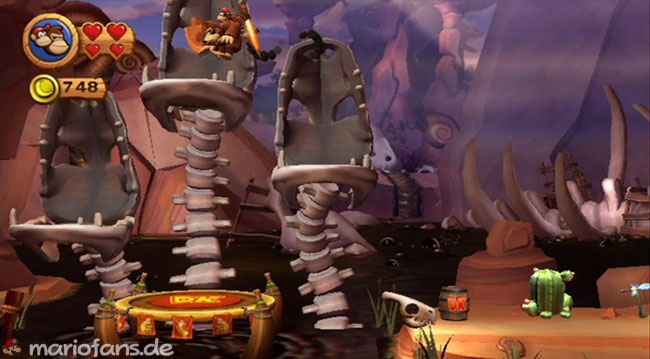
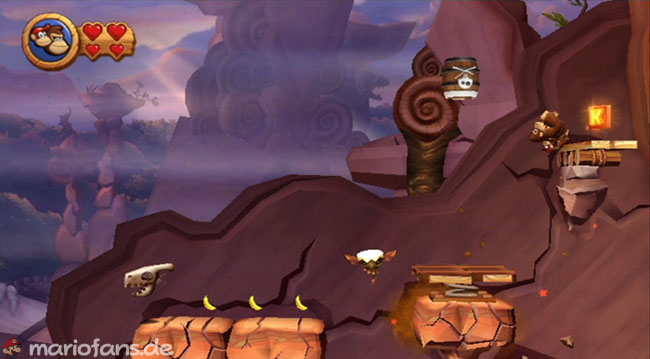
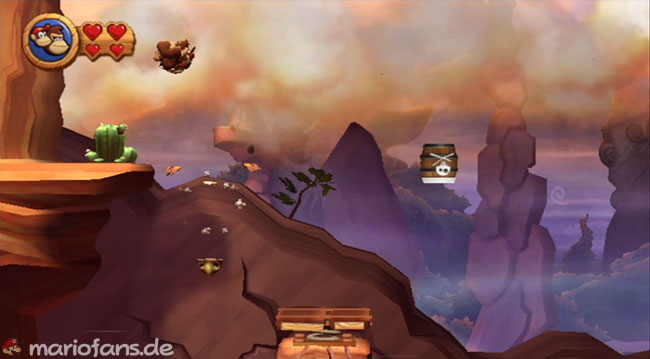
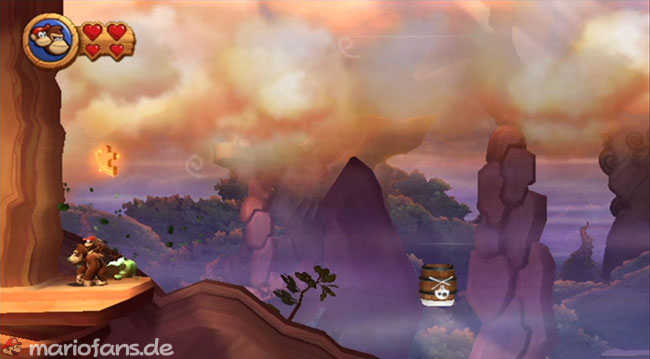
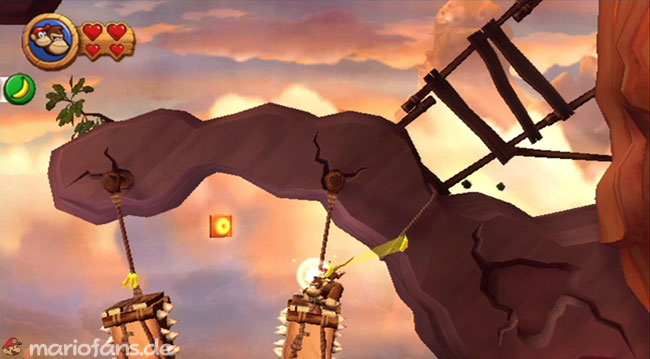
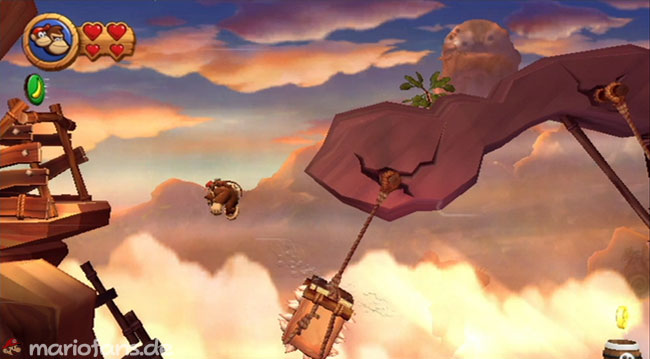
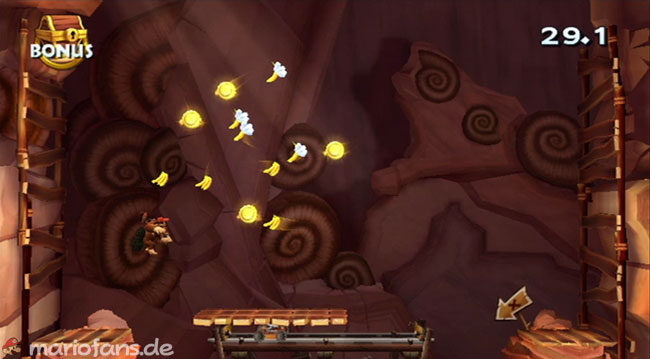
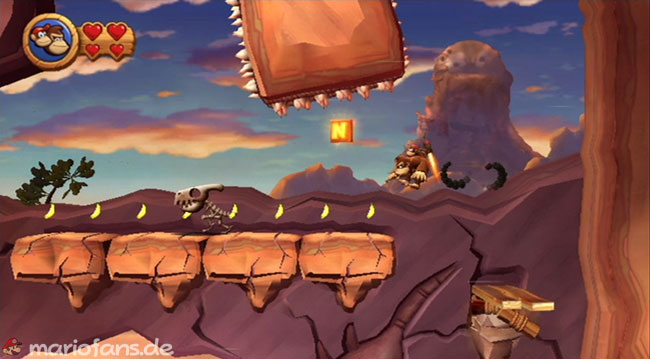
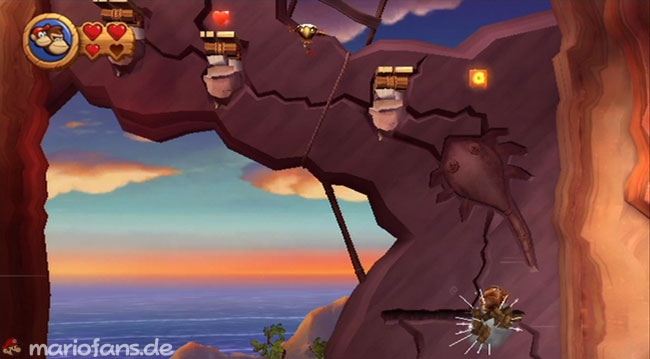
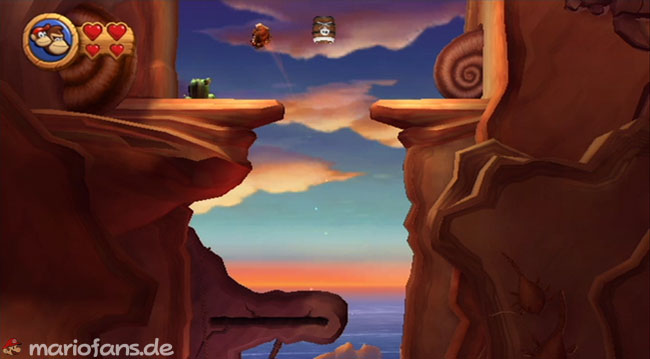
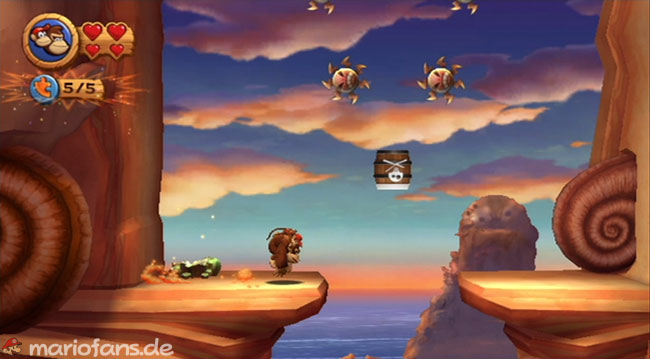
- Puzzle Piece 1 At the beginning of the level, hit the DK platform several times to make three skeletons appear. Jump into the skull to collect coins and a Puzzle Piece.
- Puzzle Piece 2
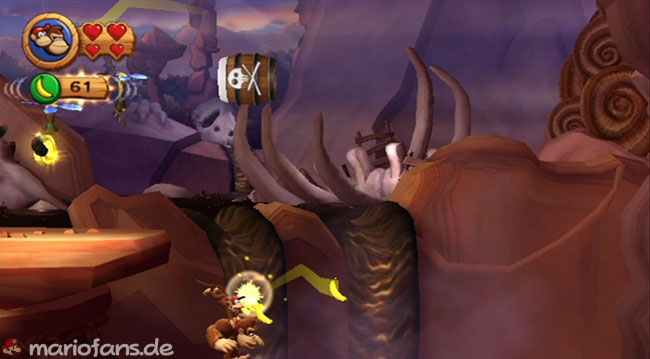
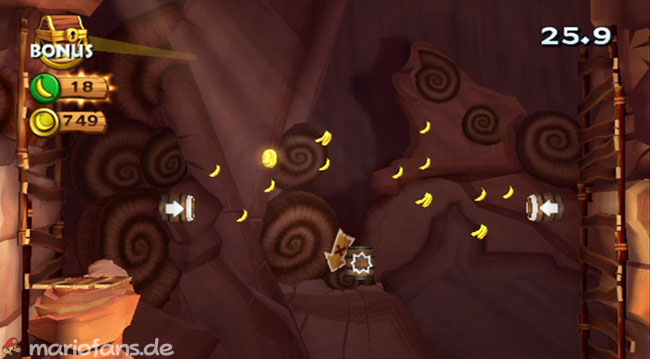
Move to the right edge of the first platform and drop instead of jumping into the barrel. You will fall into another barrel that shoots you into a bonus area. Clear out the bananas and coins to get the Puzzle Piece. - K
As you jump from collapsing rock platforms and springboards, look for the K-Block. If you jump up to get him, be careful, jump right and avoid the barrel. Once you have the letter block, jump into the barrel to continue. - Puzzle Piece 3
After shooting from a barrel near the K block, you work your way up a series of small platforms. Stay left and use a springboard to get to a platform with a cactus. Strike the plant to find another piece of the puzzle. Then jump right into the barrel to continue. - O
After passing the first checkpoint, you will be shot to swinging blocks. Jump from one crystal block to the other to the left. Along the way, collect the O-Crystal block for your collection. - Puzzle Piece 4
When you reach another pair of swinging blocks, jump up and float left into a cave. A bonus area is here. Collect the four coins and several bunches of bananas to get a Puzzle Piece. - NN
The N-Crystal block is located under a large swinging Crystal block covered with Spike Trap. Move over the collapsing platforms and gently jump over the Skellirex to get the letter block while avoiding the spike trap. This can be difficult because you have to keep moving or you will fall when the platforms disappear. - GG
The G-Crystal block hovers over a springboard. The platform under the springboard will break away after a while, so you’ll need to jump quickly, grab the G-Crystal block and jump left to land on the next platform. You only have one try, so make it a good one. - Puzzle Piece 5 Near the end of the level, as you are shot up with barrels, move to the left so you land on this platform. Hit the cactus to get the final Puzzle Piece, then jump into the nearby barrel and continue your way to the final barrel to complete the level.
6-K: Perilous Passage
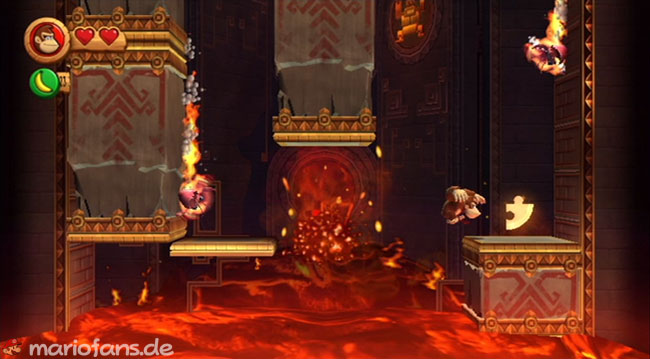
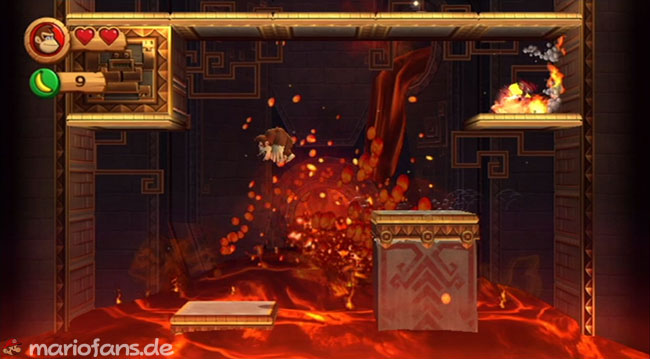
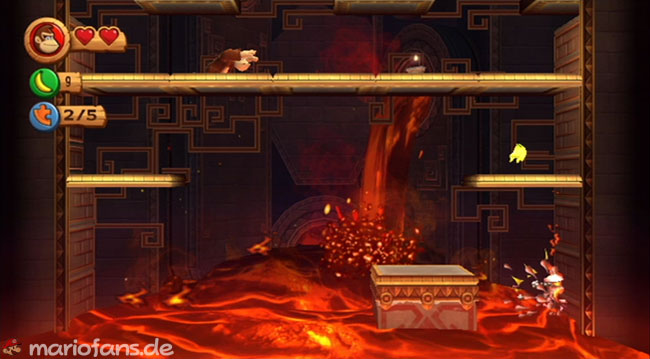
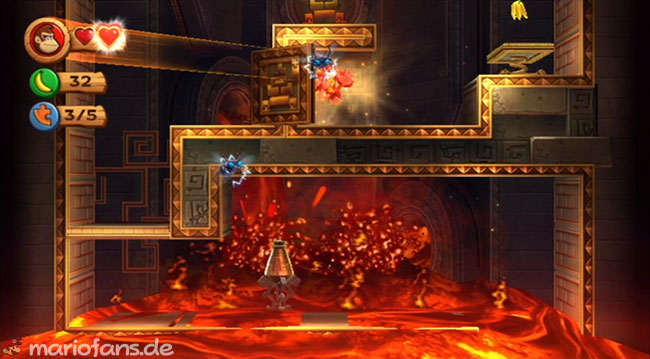
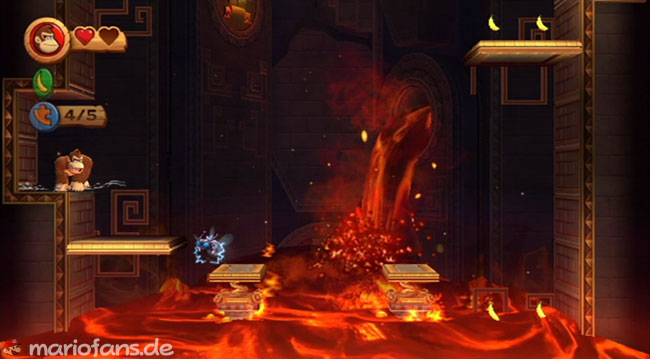
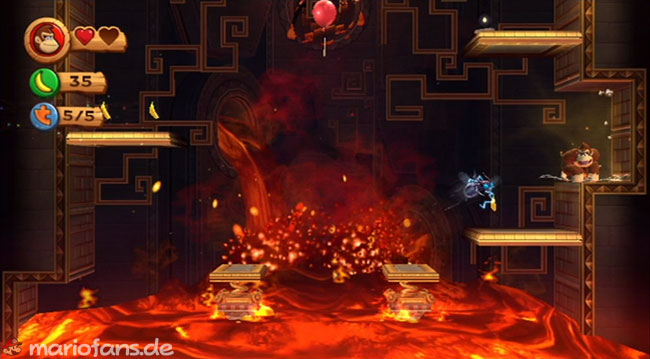
- Puzzle Piece 1 This level is essentially a large tower sinking into the lava. You have to jump on blocks and platforms to stay above the lava.
- Puzzle Piece 2
As you move up through the level, stay on the right center until the first Puzzle Piece appears. It will appear on a crystal block, which will fall down just when the middle platform is about to sink completely into the lava. Wait for the Puzzle Piece to appear, and then jump up and right to get it. - Puzzle Piece 3
As you climb further up, look for a crystal block hanging from a long platform going wall to wall on your left. Run and jump right on this crystal block; it is a hidden area with a Puzzle Piece. Jump to the long platform to continue. - Puzzle Piece 4
To master this section of the level, jump to mobile, sting-neutral platforms. Try to stay in the middle. If you get too far to the sides, you risk missing a jump to a spineless platform and falling into the lava. - Puzzle Piece 5
When you reach the area with a springboard on the right, move into the decorated Crystal block in the middle. You must enter this hidden area from the right side. It contains a Puzzle Piece. Get it and then use the springboard to jump to the next section. - Puzzle Piece 6
In this area, you will have to jump on springboards floating on the surface of the lava while avoiding various types of enemies. The fire bites move along the sides, so stay in the middle of this area and jump back and forth on the springboards. - Puzzle Piece 7
As you jump on the springboards, look for an area on the left wall where the edge looks much thicker. Jump to the platform at this point and go to the thick edge to uncover a hidden area with a Puzzle Piece. Get it and then jump back to the springboards. - Puzzle Piece 8
The last piece of the puzzle is in another hidden area—this time in the right wall. Look for a big point in the edge again and move in to get your prize. - Crystal Ball Move to the upper part of the tower and jump into a barrel that shoots you into the final chamber. Get the crystal ball to add to your collection.