
The complete solution to Donkey Kong Country Returns HD for the world “World 4 – Cave”. On this page we help you search for all K-O-N-G letters and Puzzle Pieces.
4-1: Rickety Rails
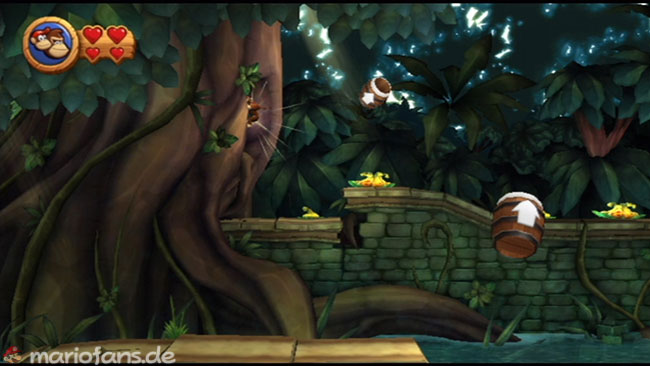
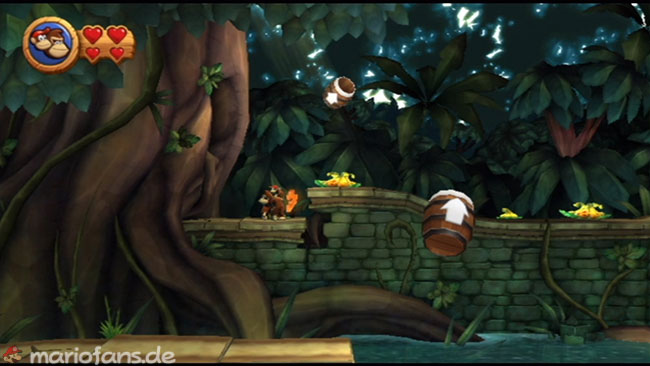
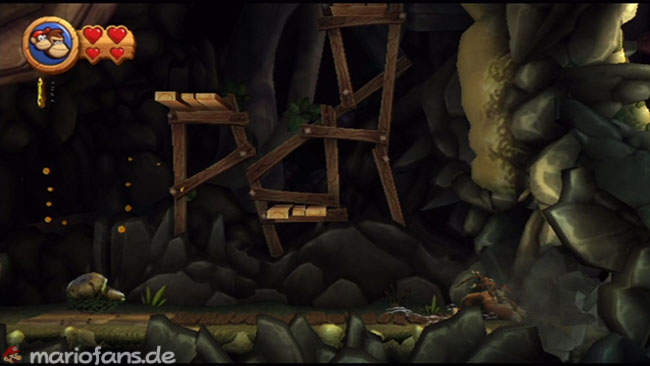
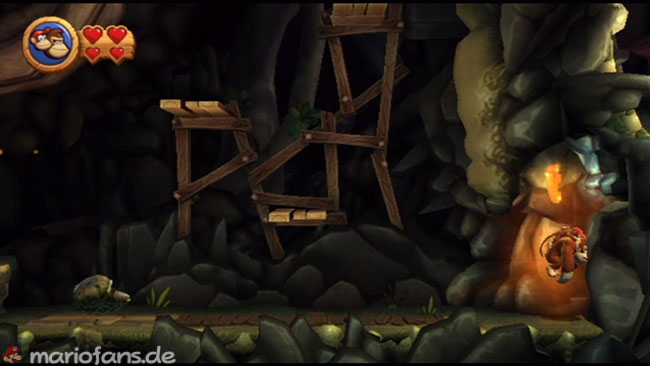
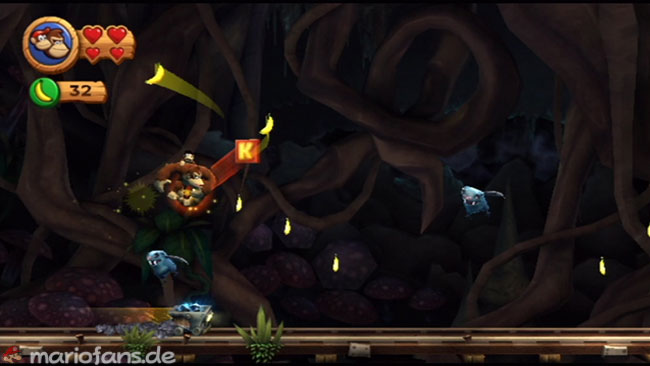
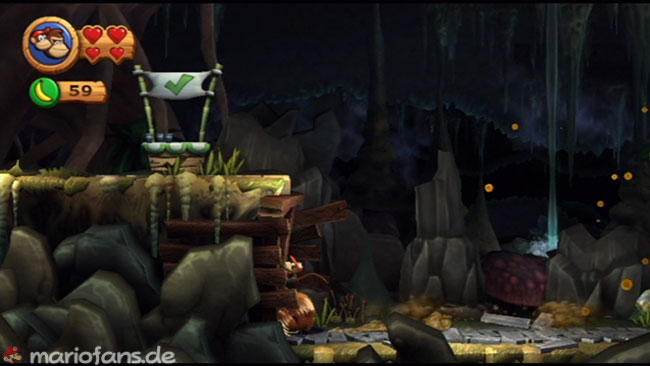
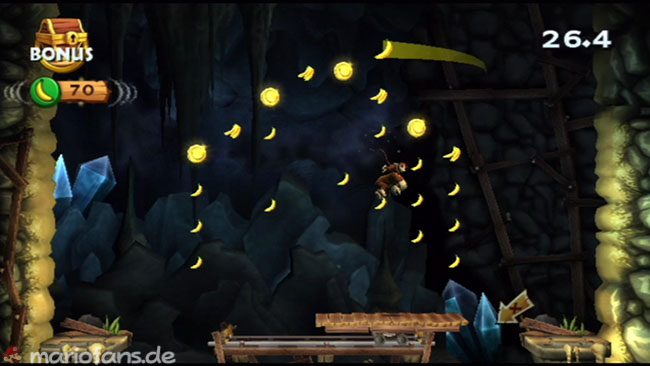
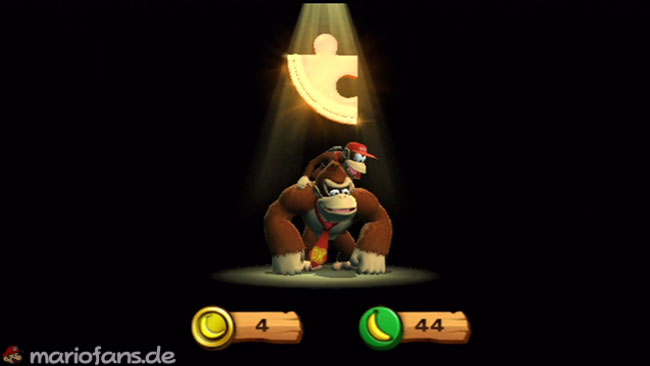
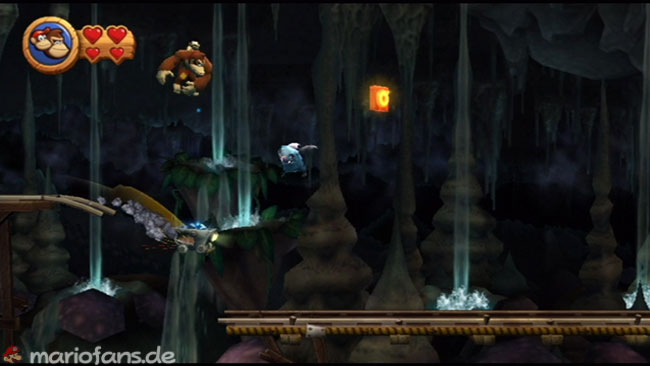
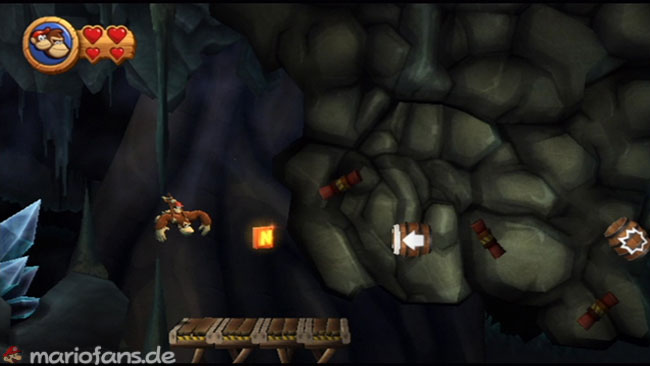
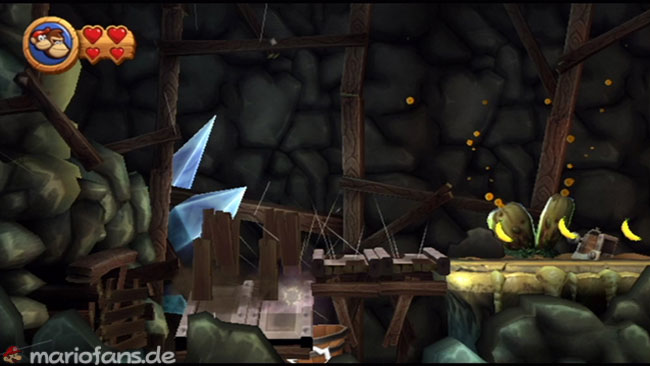
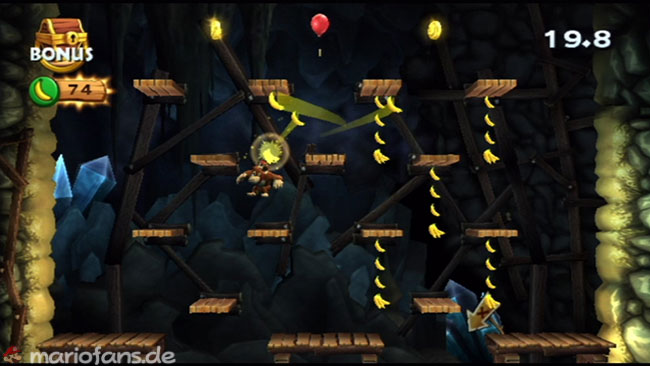
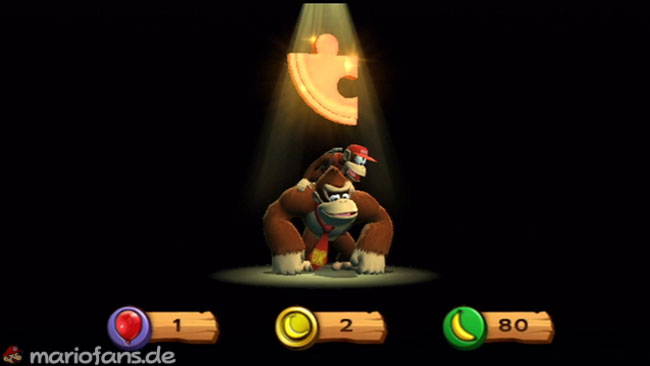
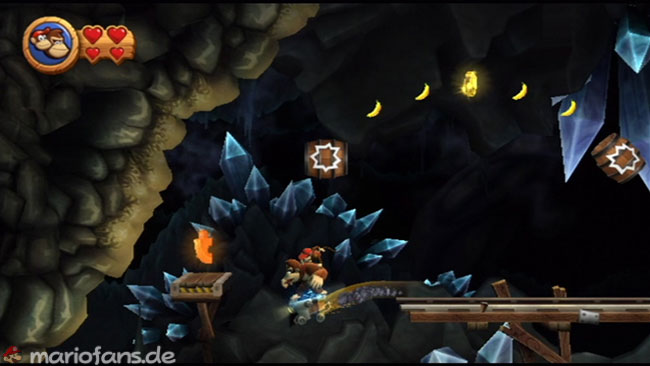
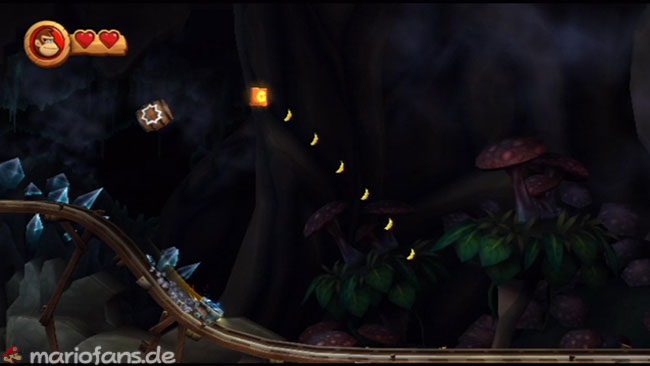
- Puzzle Piece 1 — Puzzle 1 At the beginning, jump into a nearby barrel to shoot yourself into an area in the background. Jump into the cave on the far left, where a Puzzle Piece shoots out. Smash pumpkins to collect some extras, and seek another barrel to return. Then pound on the detonator to uncover an entrance to the mine. Use another barrel to return to the background and enter the mine.
- Puzzle Piece 2 Move through the Cave. When you reach platforms that lead up, bounce against the rock face far right to open a hidden area with a Puzzle Piece.
- K Continue through the cave until you reach a large area where you ride a mine cart. At the second set of bananas, jump up to grab the K-Crystal block while dodging the flutterman
- Puzzle Piece 3 Shortly after the checkpoint, drop after the wooden platforms fall. Roll left into a small cave that leads you to a bonus area. Here you have to jump on a springy platform as it moves left and right, collecting coins and bananas in the air. Collect everything and leave the area with a Puzzle Piece
- After leaving, move on to the right. You land again on a mine cart. When a crystal falls from the blanket and destroys the track, jumps into the air to grab the O-Crystal block. Make sure to land on the mine cart again
- If your mine cart is going down a tipping distance, be ready to jump at the end and land on a shaky platform. Once you touch it, it begins to fall. Jump up quickly to fetch the N-Crystal block, then jump into the nearby barrel to move on
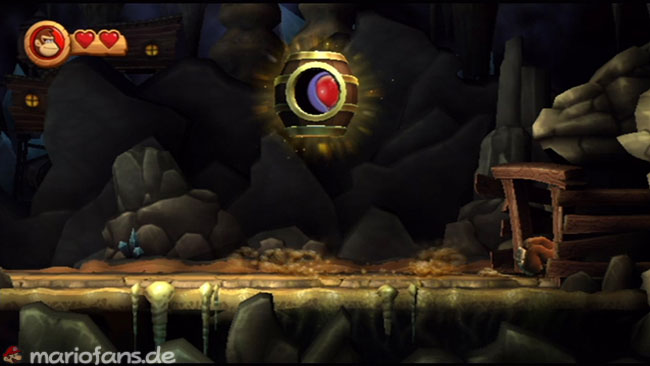
- Puzzle Piece 4 You fall through a mine shaft. Jump to the right before a platform falls, then jump to the left where the platform was and land in a barrel that shoots you into another bonus area. Here you have to jump on small platforms and collect bananas, coins and a balloon to get a Puzzle Piece at the end
- Puzzle Piece 5 After leaving the bonus area rises again to a mine cart. Drive to the right, then jump into a barrel and return to the left. Wait at the end until the mine cart begins to fall, and then jump to the platform with a Puzzle Piece. If you jump too early, you end up in the barrel. Get the Puzzle Piece and quickly jump into the barrel before the platform falls
- G After being back on a mine cart, jump into a barrel near the G block. This shoots you directly to the letter block. Make sure to land on the mine cart again. Then jump to the final barrel and activate it to complete the level.
4-2: Grip & Trip
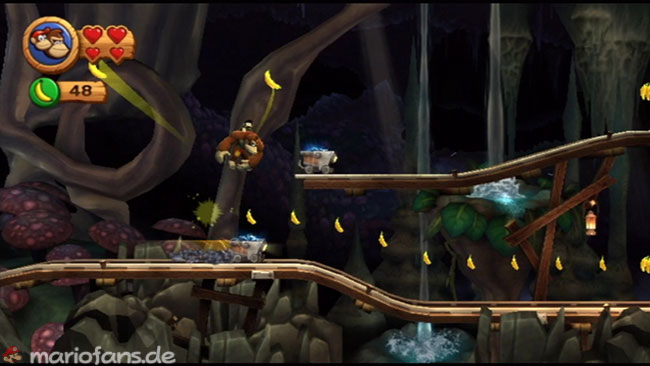
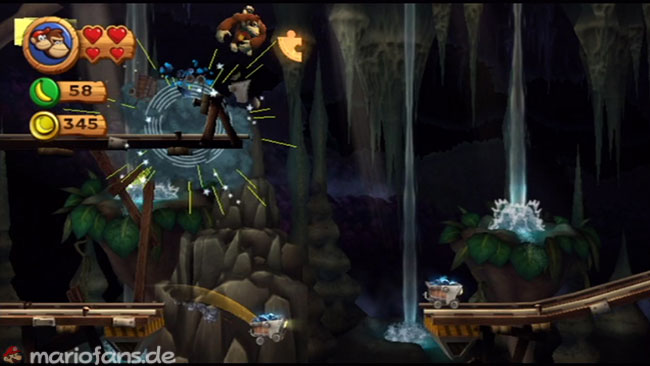
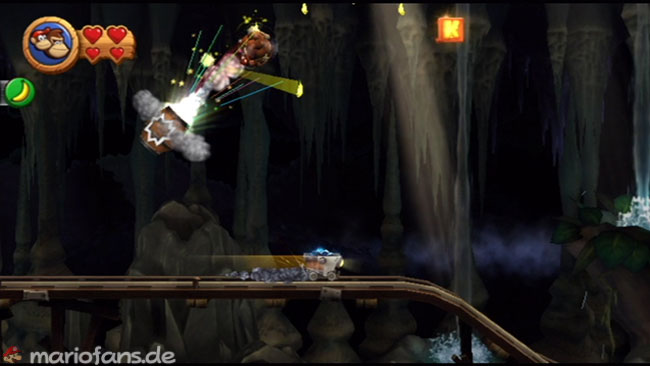
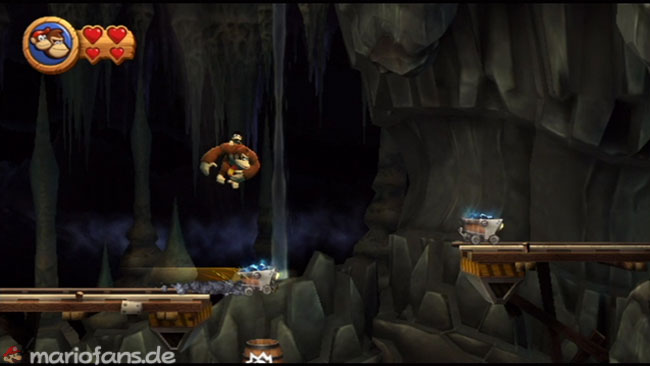
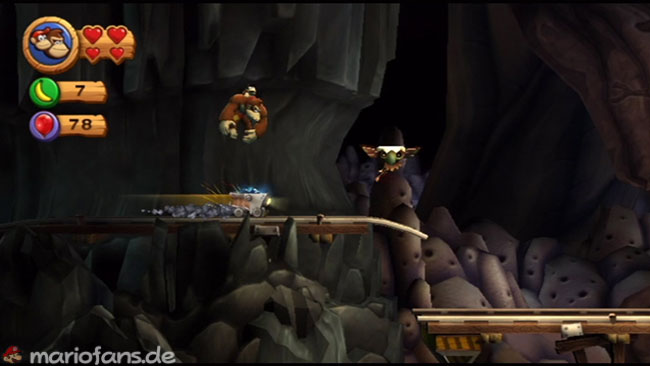
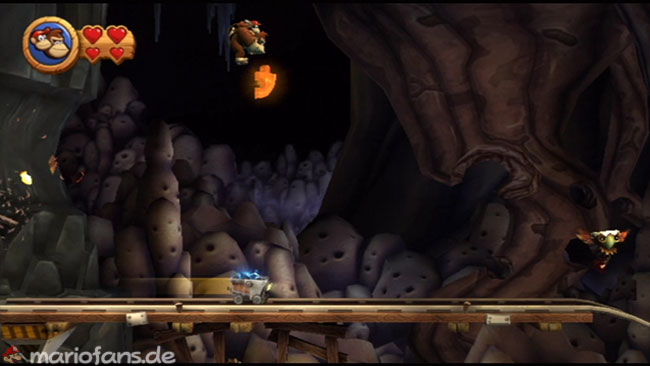
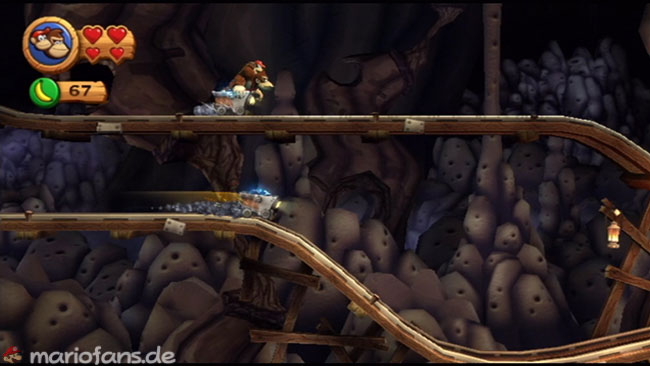
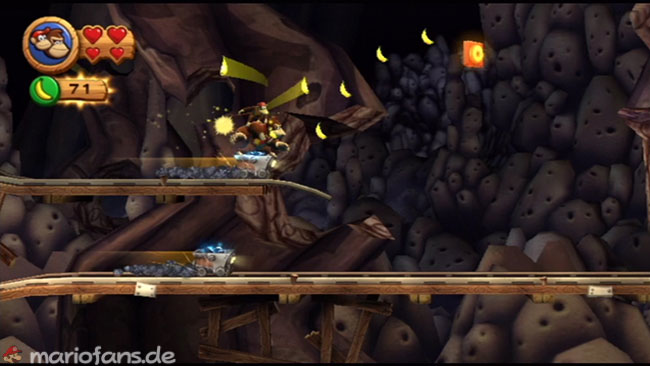
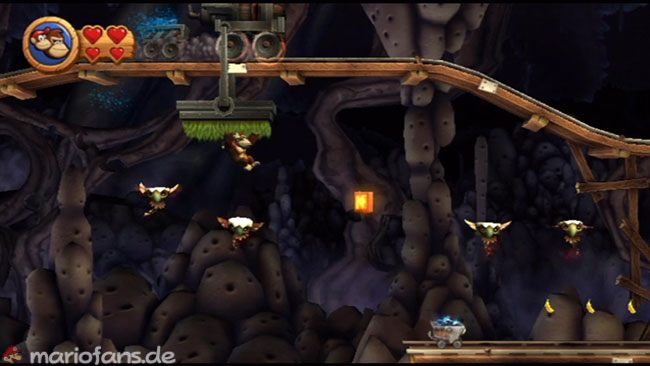
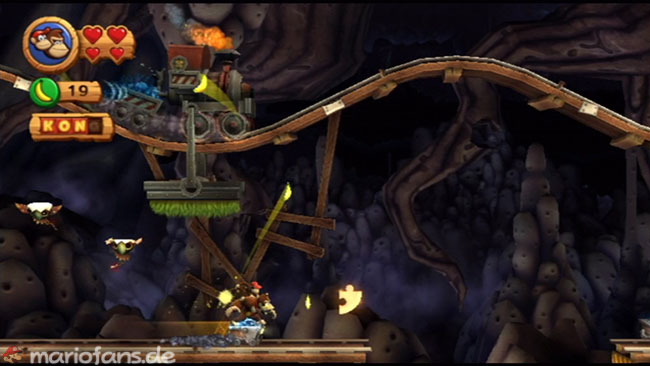
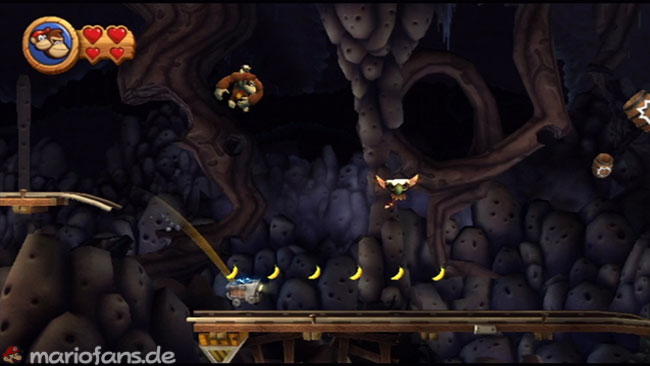
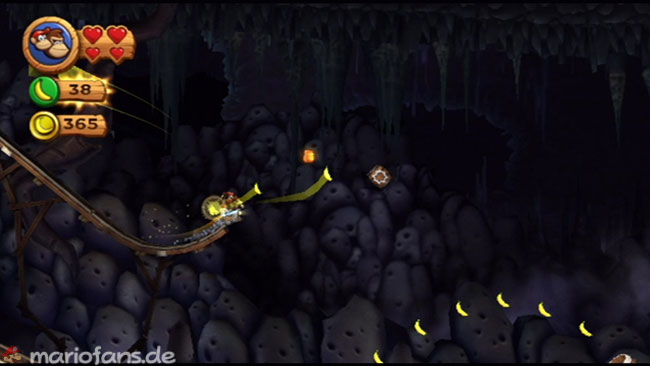
- Puzzle Piece 1 This is another ride in a Minecart. When you get to the place with two tracks, jump to the top track and be ready to jump out at the end to get the Puzzle Piece. After that, fall into another mine cart
- K After skipping some tiki buzzes to get a balloon, look for a barrel. Jump in, and it will shoot you to the K-Block. Make sure to land in your mine cart again and continue
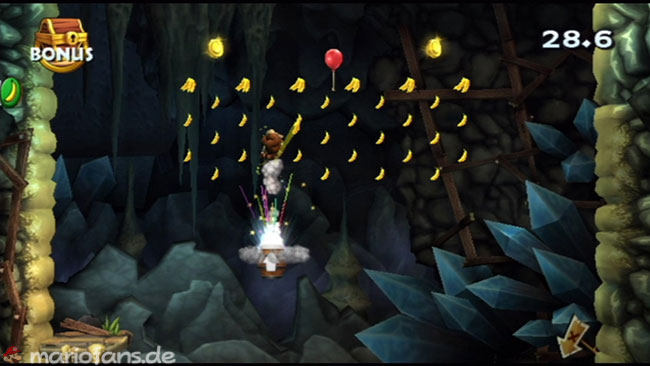
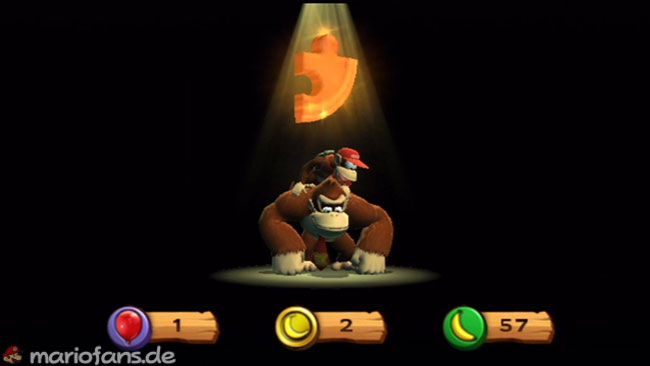
- Puzzle Piece 2 At the end of a track is a barrel below. Jump straight out of the mine cart and land in the barrel to get into a bonus area. Collect all the bananas, coins and a balloon to earn a Puzzle Piece
- Puzzle Piece 3 Once you are back in the Mine Cart, drive through a narrow cave. As you drive out, jump on a tiki buzz to reach another Puzzle Piece and then land back in your mine cart.
- When you reach two tracks again, jump into the mine cart on the upper track. Drive to the end and jump up to fetch the O-Block before falling back into a mine cart. When you see grass over you, jump up and hold on to it.
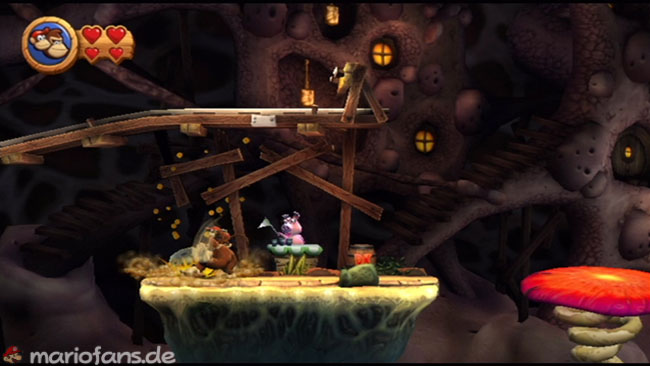
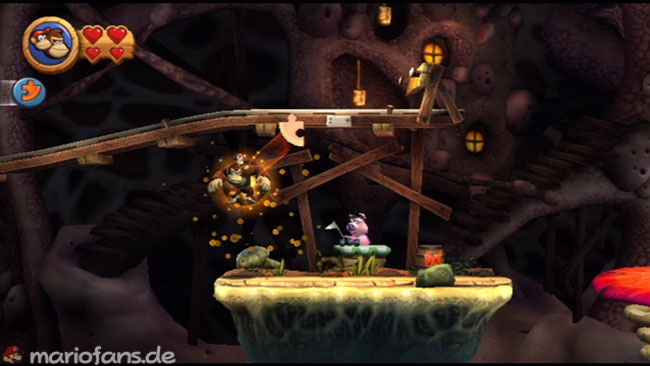
- Puzzle Piece 4 Drop at the checkpoint and stamp the nearby plant to find a Puzzle Piece. Here you can also throw a DK barrel to get Diddy Kong
- Puzzle Piece 5 Continue on with the Loren. At another point you have to hold on to the grassy underside of a mine train. Drive to the end of the route and drop to grab the N-Crystal block. Landing in another mine cart
- N Directly after the N-Crystal block, a short distance leads to another Puzzle Piece. Be ready to jump from there to another mine cart on the nearest tracks
- G In this new mine cart you jump on a tiki buzz and then into a barrel. This shoots you on a track in the background. Take the mine cart to the end of the route, where you jump off to grab the G-Crystal block and land in a barrel. This shoots you back to the main level, where you can continue to the final barrel. Activate it to complete the level.
4-3: Bombs Away
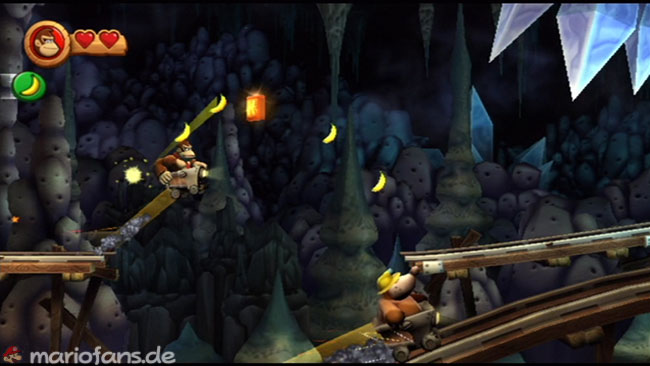
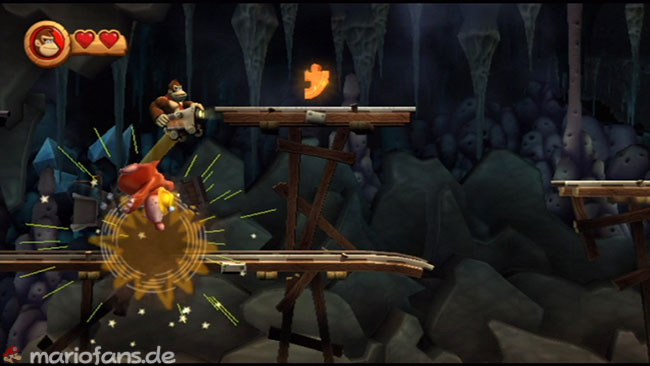
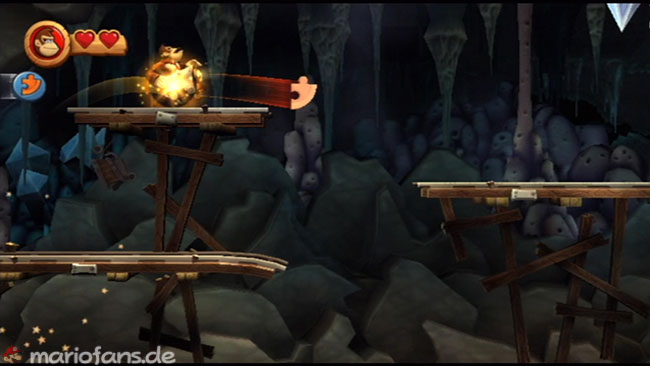
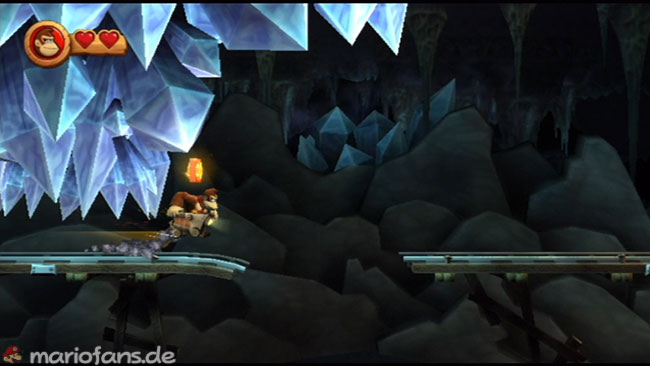
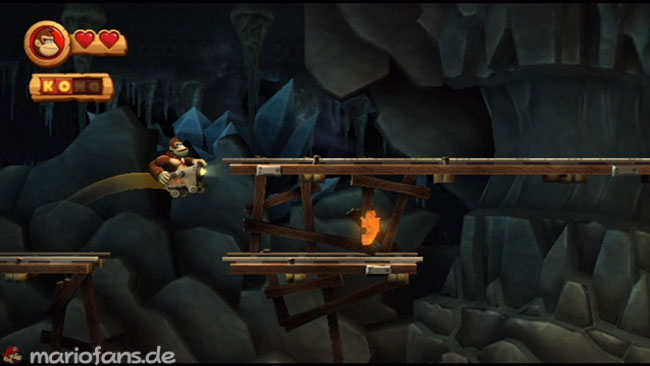
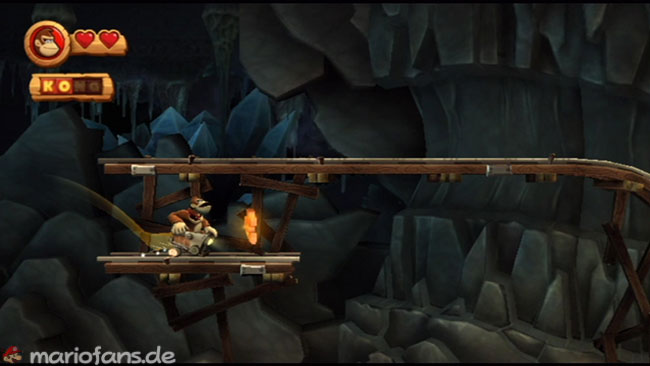
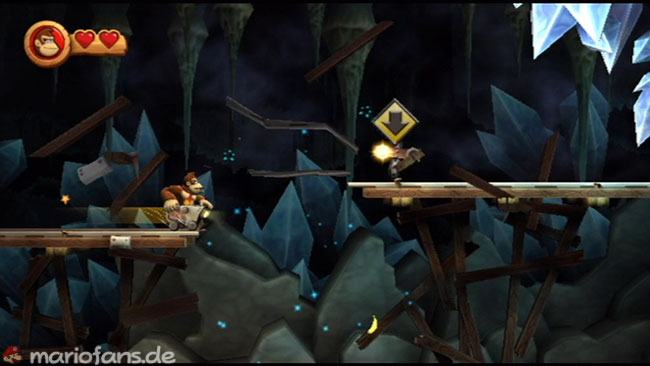
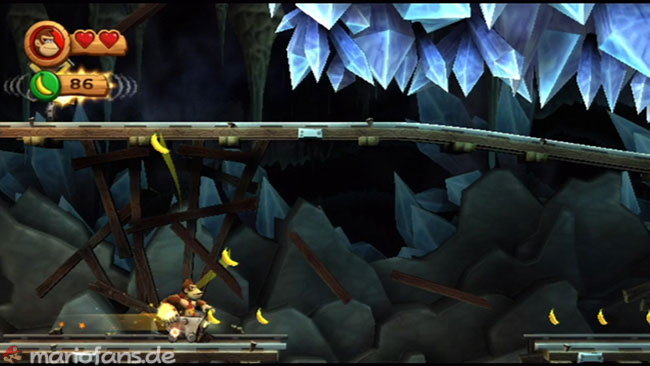
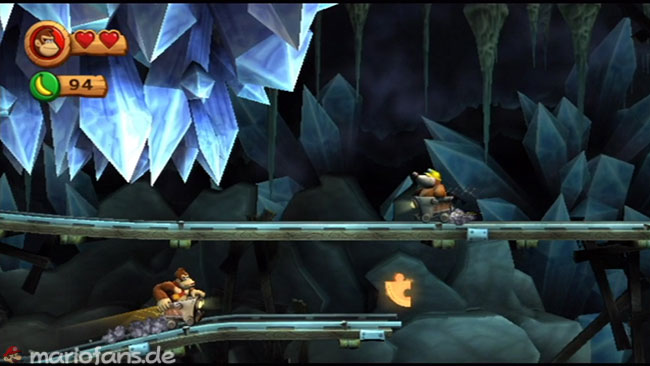
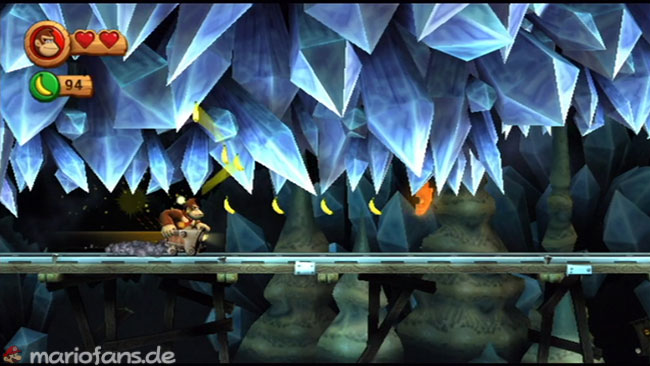
- K Once you are in a mine cart, prepare to jump through some bananas as you drive down a hill. Jump early to meet the little piece of track. From there, jump up to reach the K-Block
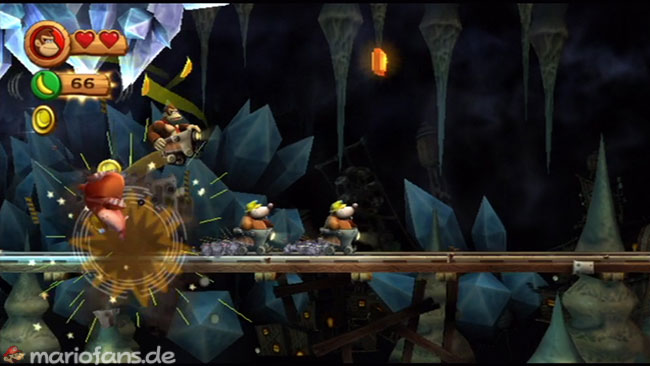
- Puzzle Piece 1 — After crouching under low-hanging crystals, jump on a mole guard in a mine cart to meet you. Once you meet him, jump again to get a boost to the upper track. There you can collect bananas and jump to a short track with a Puzzle Piece
- O Stay below to get through under further crystals. Jump over a few obstacles and then duck again. Upon leaving this area, be ready to jump to get the O-Crystal block and cross the gap to the next track
- Puzzle Piece 2 To cross the gap, perform a low jump by just briefly tapping the jump button. Land on the lower track to get the Puzzle Piece, and then jump quickly to the upper track to avoid falling down at the end
- Puzzle Piece 3 If you see a sign with an arrow down, do not jump to the next track. Instead, drop your mine cart over the edge. It lands on a lower track, which you can only see when falling. Continue on to get the next piece of the puzzle, then jump right back up to the top track before you drop down.
- Puzzle Piece 4 — Puzzle 4 After the checkpoint, duck when crystals fall off, then jump over a mole guard in a mine cart. Collect the Puzzle Piece as you pass the bananas, and quickly duck back to get under another falling crystal.
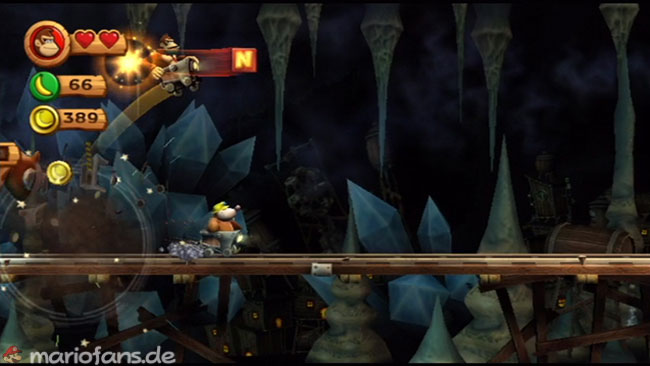
- N You reach an area where five mole guards ride in front of you in Loren. Make a low jump on the first guard and then on the second so as not to bump against the low blanket. In the fourth guard, however, you should jump high to reach the N-Crystal block before passing it.
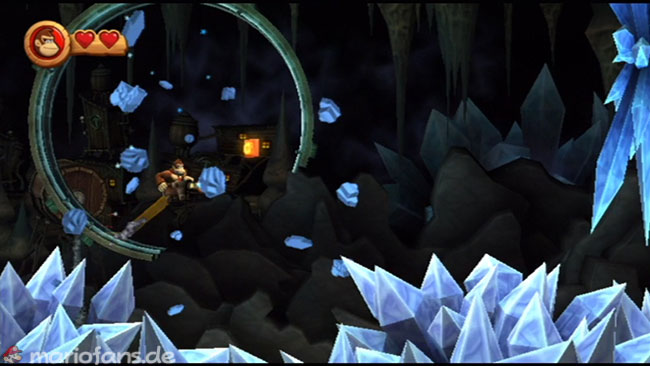
- G The mole guards try to stop you by blowing the track in front of you. Just jump over the gaps and move on. Finally, you reach a strongly curved rail piece that breaks off and acts like a wheel. Jump on opening to avoid falling down and grab the G-Crystal block during one of these jumps
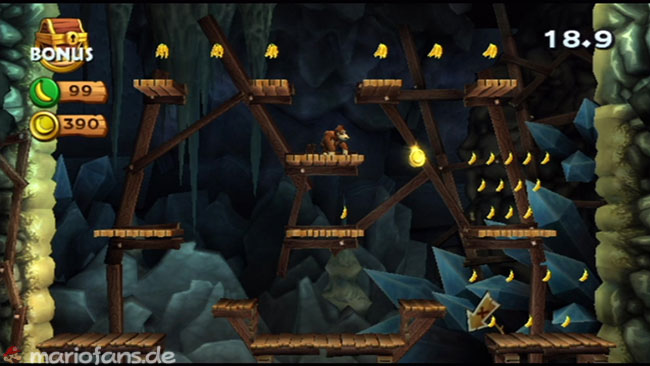
- Puzzle Piece 5 At the end of the level runs past the final barrel and rolls into the cave on the far right. There you enter a bonus area where you have to make many jumps between stationary platforms to collect several bananas and a few coins. After collecting everything, you get the last Puzzle Piece.
4-4: Mole Patrol
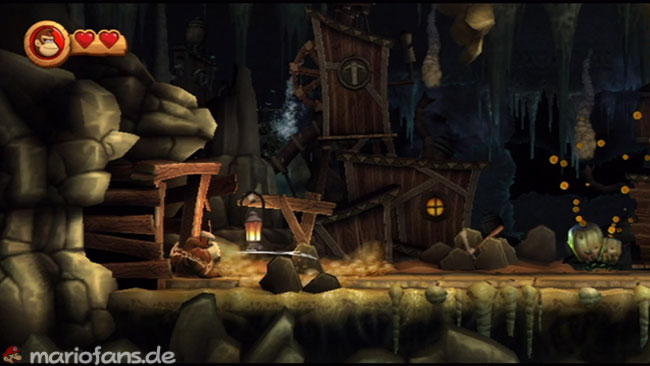
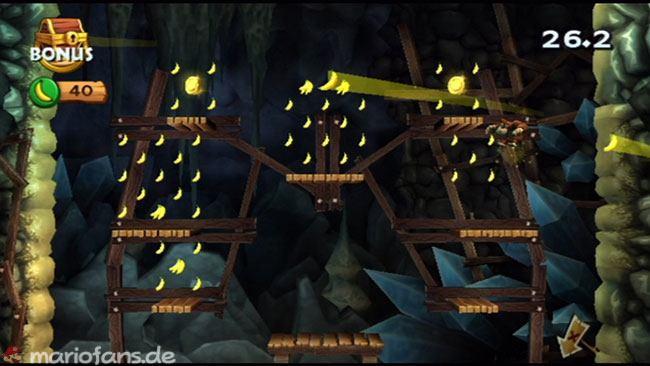
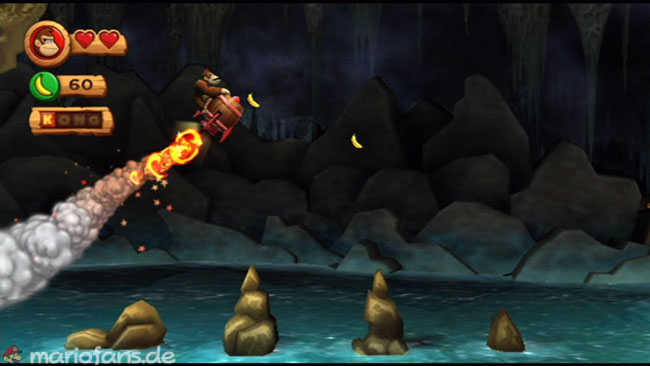
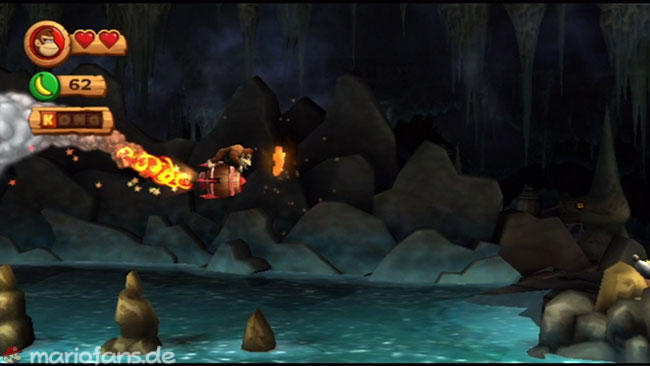
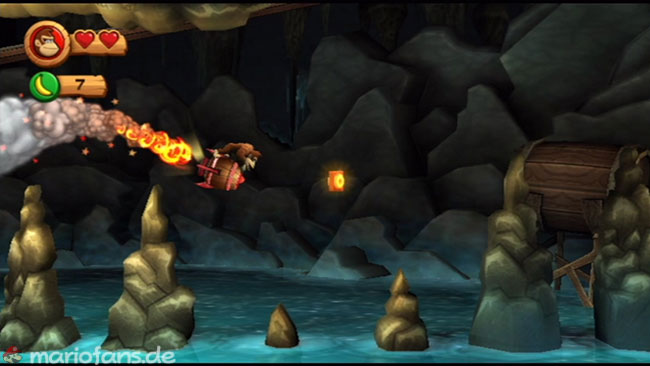
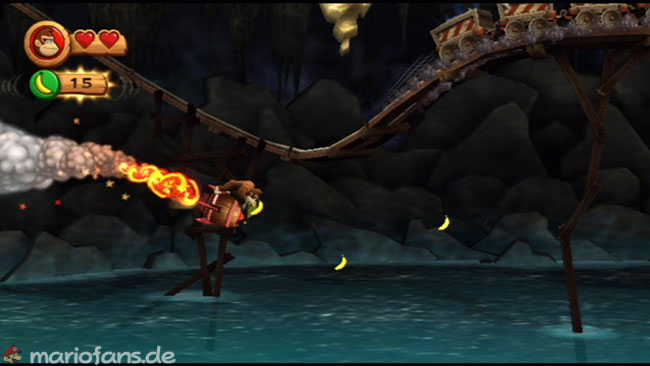
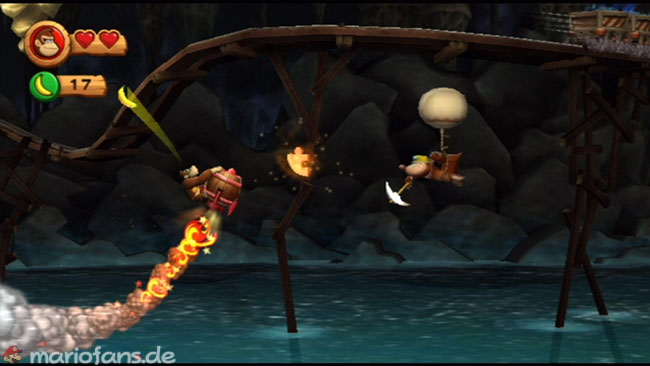
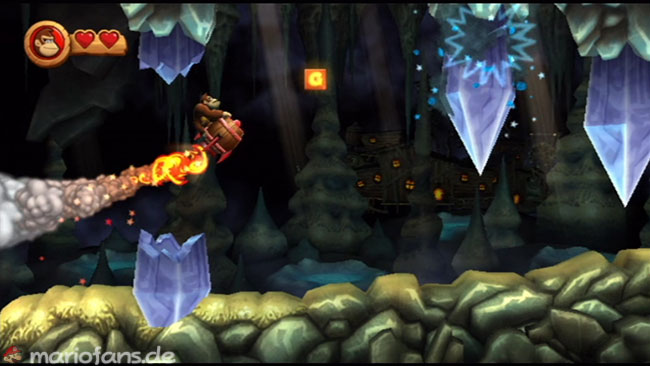
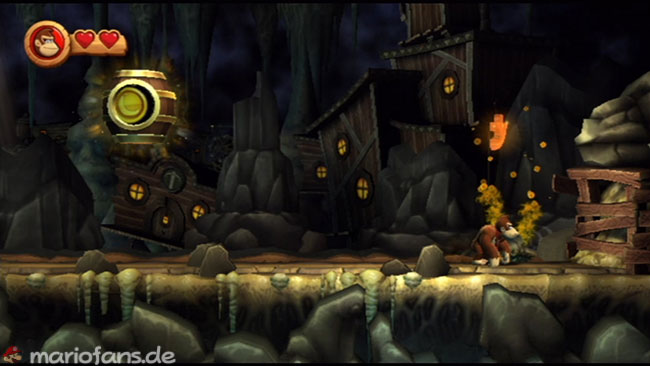
- Puzzle Piece 1 When the level starts, go left and enter the mine to reach a bonus area. Jump to the moving platforms to collect a few coins and a lot of bananas. Once you clear the area, you get a Puzzle Piece
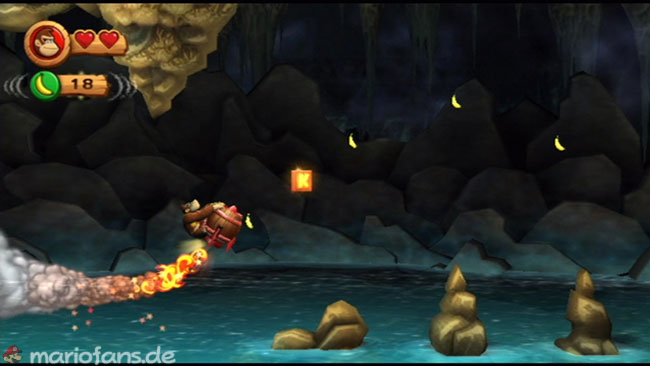
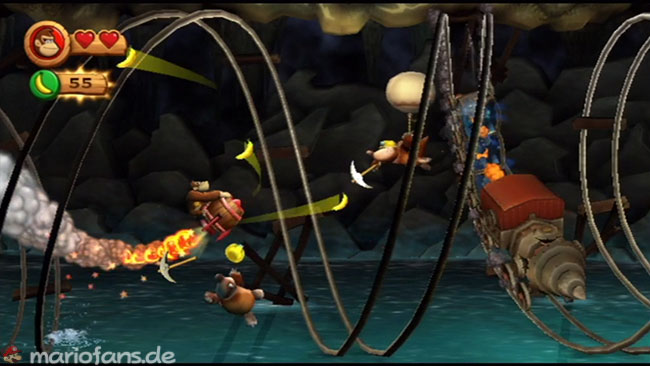
- K and Puzzle Piece 2 To get the second Puzzle Piece, collect all the bananas in the wave-shaped line. The K-Crystal block is located in this line. The banana right after the K is tricky, as you have to dive down a bit to reach it. The K-Crystal block is easy to get, especially if you collect the bananas to get the Puzzle Piece. However, be careful not to bump against the pointed rock hanging from the blanket just before this letter block.
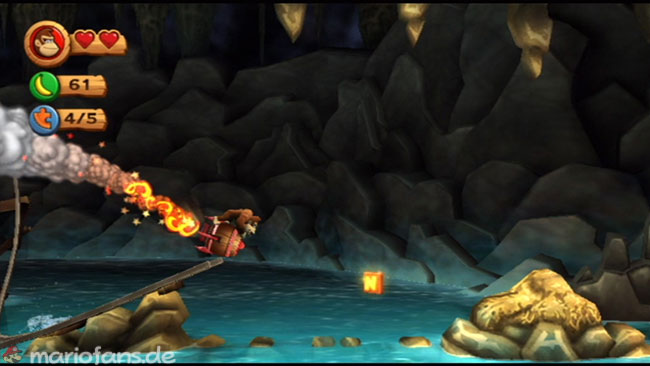
- O Fly carefully through the sharp-edged rocks that protrude from the ground, and then dip a bit down to fetch the O-Crystal block. Pull back up quickly so you don’t bump into another rock.
- Puzzle Piece 3 — Puzzle 3 Right after you pass the checkpoint, carefully collect all six bananas that form a wavy line. You will be rewarded with another Puzzle Piece.
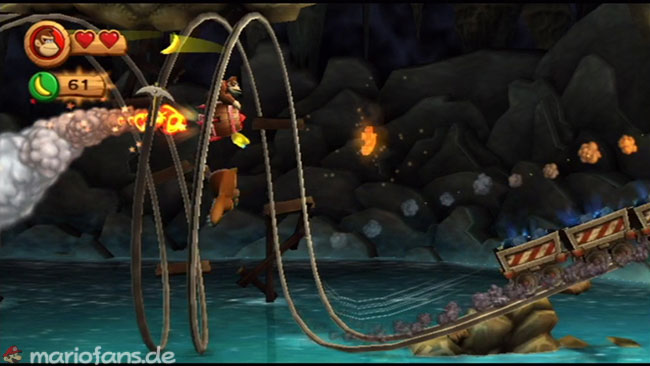
- Puzzle Piece 4 While the mine train passes through a series of corkscrew loops, four mole guards are dropped off on balloons. Fly over the guards and reach their balloons to make them burst and drop the moles. When you burst all four balloons, a Puzzle Piece appears that you can collect
- N Shortly after you reach the end of the corkscrew track, head down to get the N-Crystal block. Be ready to move up quickly
- G After leaving a cave, you have to deal with crystals that fall from the blanket. Stay high up and carefully dodge the sharp crystal pieces while collecting the G-Crystal block. After collecting the letter block, go down a bit and move to the final barrel
- Puzzle Piece 5, however, does not hit the final barrel immediately. Instead, walk past it and stamp the cactus to get the final Puzzle Piece. Then you can activate the final barrel to complete the level.
4-5: Crowded Cavern
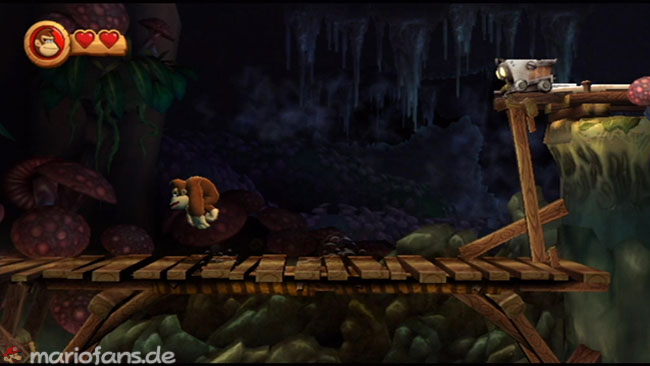
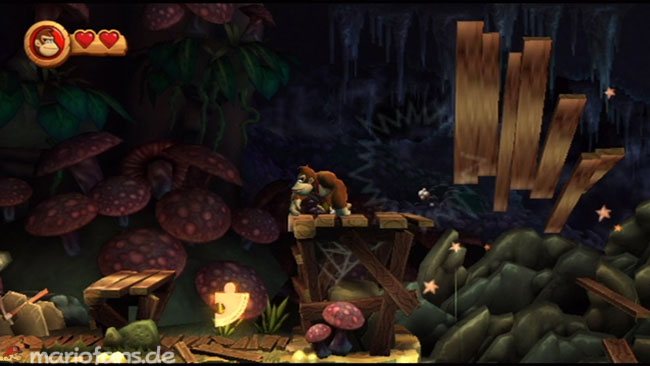
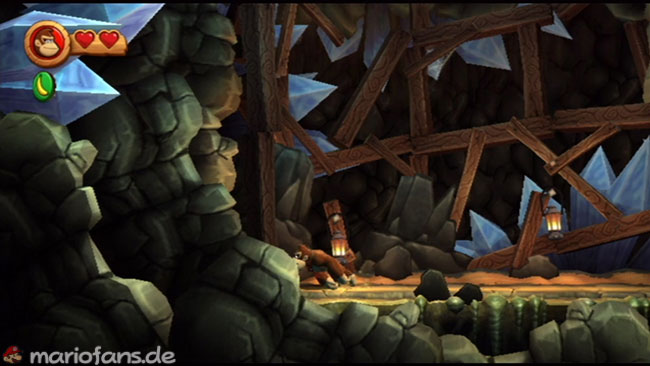
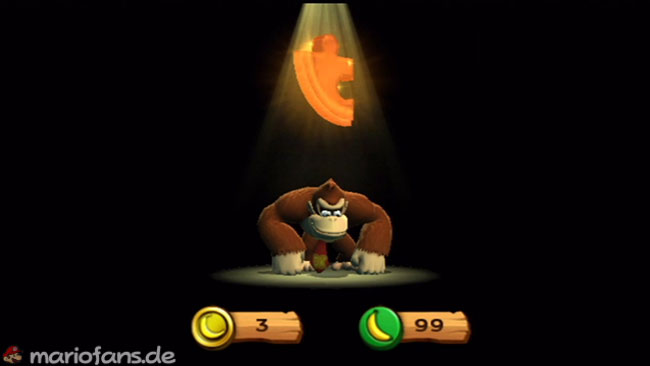
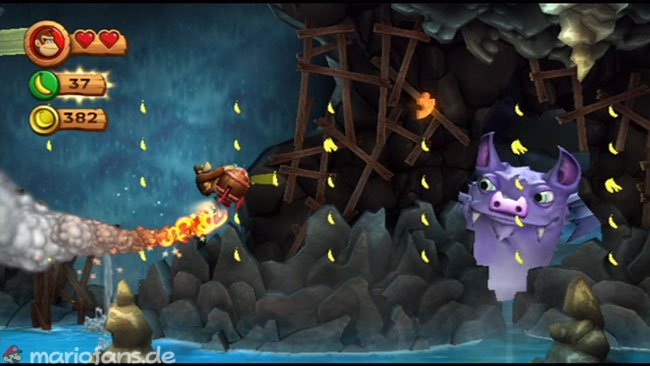
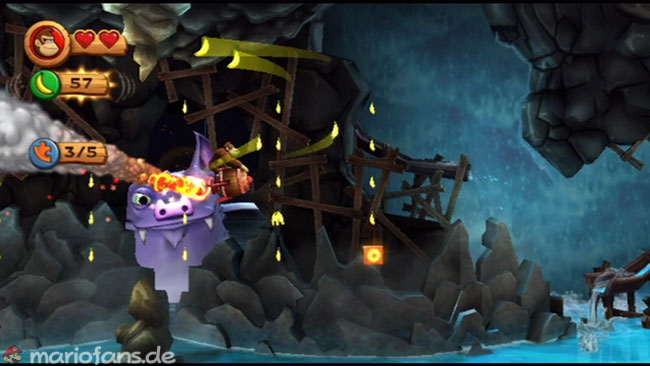
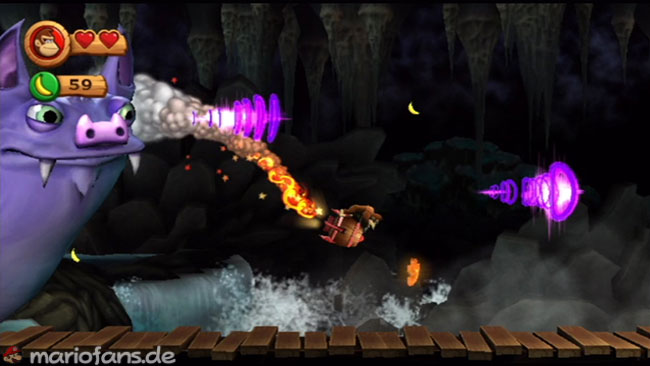
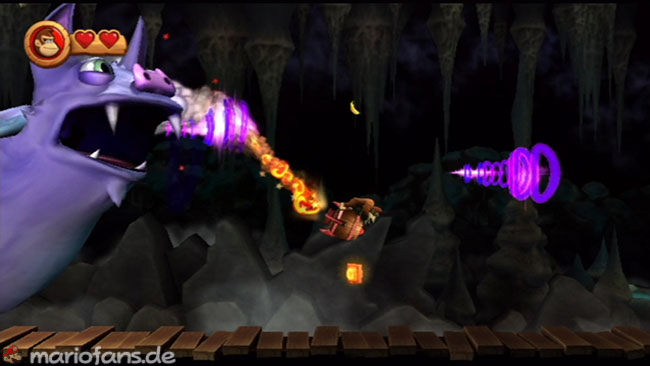
- Puzzle Piece 1 At the beginning jumps to the wooden platform, but remains on the left. The platform starts to wobble and then falls. Before it falls, jump back to the left, and a piece of the puzzle will fall that you can collect.
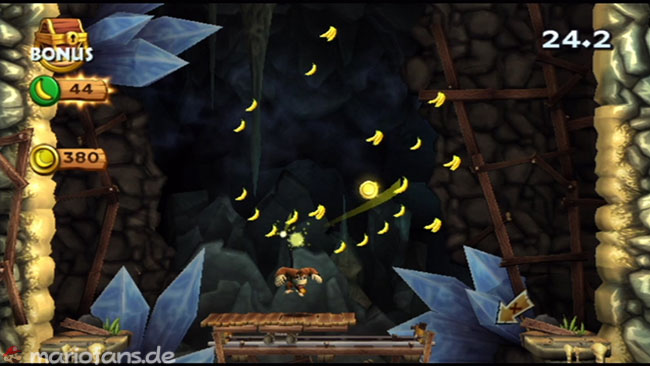
- Puzzle Piece 2 then jumps into the mine where the platform fell down. Move down to the left to enter a bonus area. Jump onto a springy platform and collect the coins and bananas that fly around in circles. Once you have collected everything, you get a Puzzle Piece
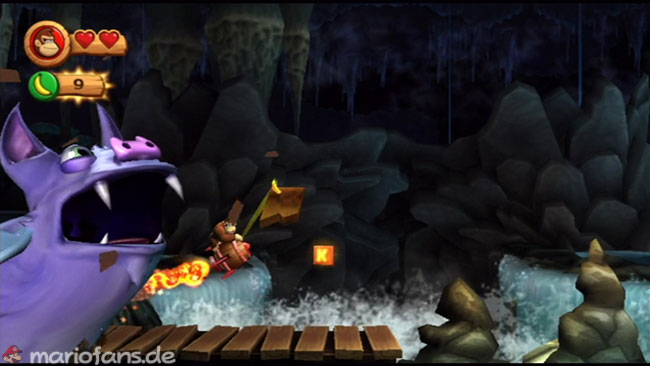
- After entering a barrel, you fly past a small flutterman, whereupon a big flutterman chases you. Stay just below the center of the screen so you can collect the K-Crystal block. Then quickly move up to avoid rocks and the great flutterman
- Puzzle Piece 2 — In an area with many bananas and coins in the air, you will find a Puzzle Piece near the top of the screen. Follow the path of banana bunches and coins to reach this Puzzle Piece
- Follow the banana path further down, and you can easily collect the O-Crystal block. Don’t pull up this time, but stay deep down so you don’t bump into a rock that reaches from the blanket to the center of the screen.
- Puzzle Piece 3 — After the checkpoint and a long section with many flutterers, you come to an area with wooden planks. Great Flattermann stretch their heads out of these planks. After flying over the first dives down to collect a Puzzle Piece
- N Stay a little lower as the next big flutterman falls off the blanket. Once you fly through under it, move up to get the N-Crystal block
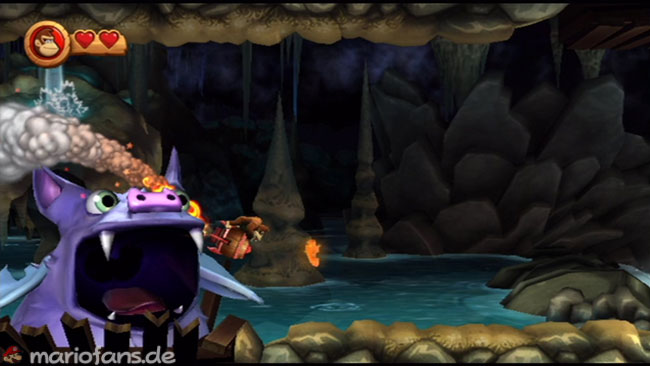
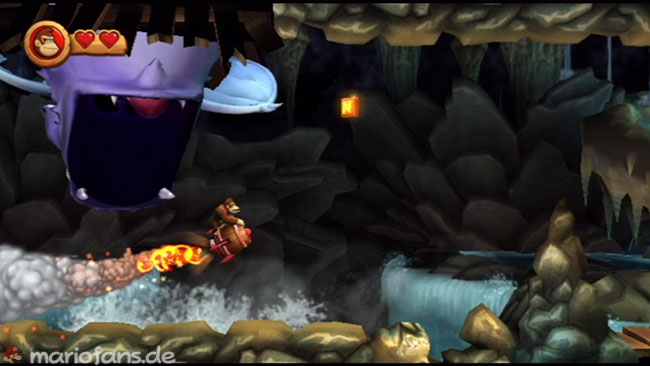
- Puzzle Piece 4 — After another checkpoint, you will be followed by a big flutterman who fires sound rings at you. Dodge up and down, but be ready to dive down to grab the final Puzzle Piece
- G Continues to avoid the sound rings and collect coins along the way. Stay in the middle to bottom of the map so that you are in position to collect the G-Crystal block that is at the bottom. Fly to the final barrel to complete the level.
4-K: Jagged Jewels
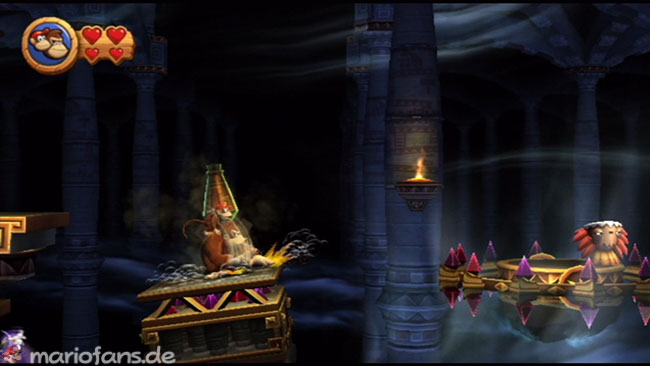
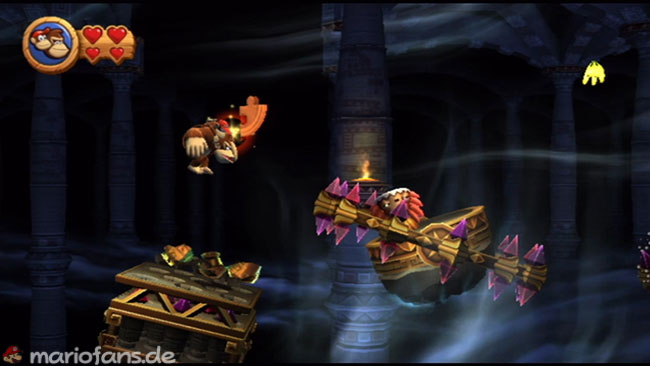
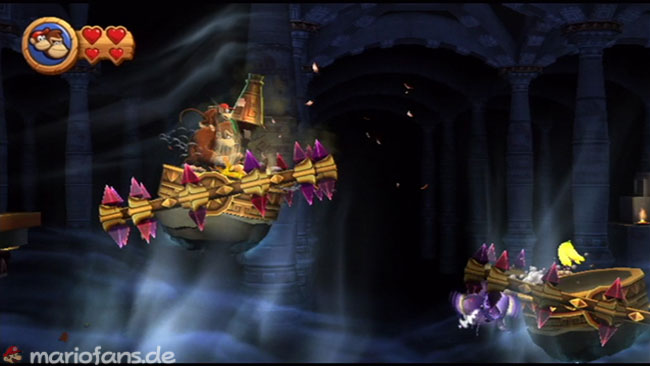
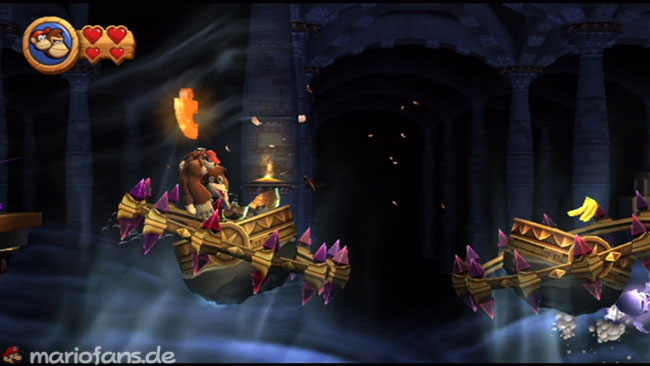
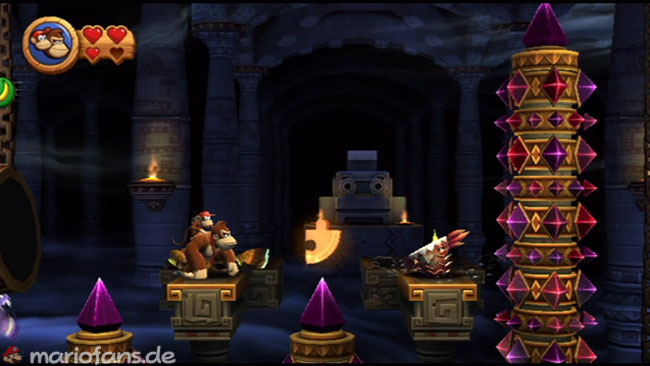
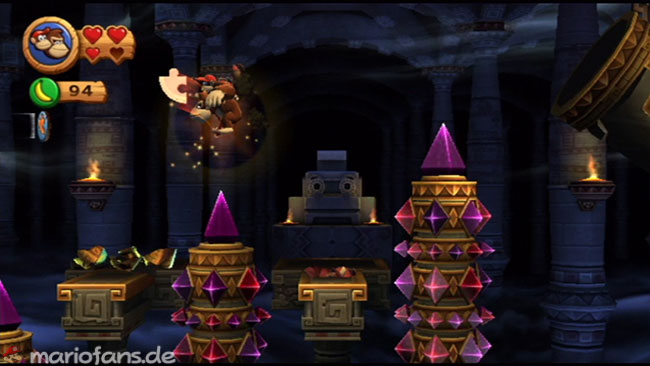
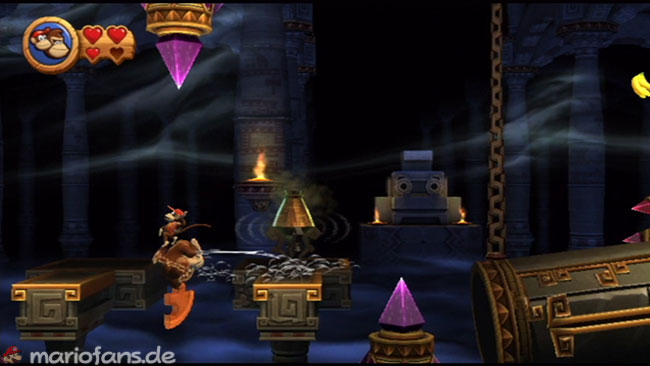
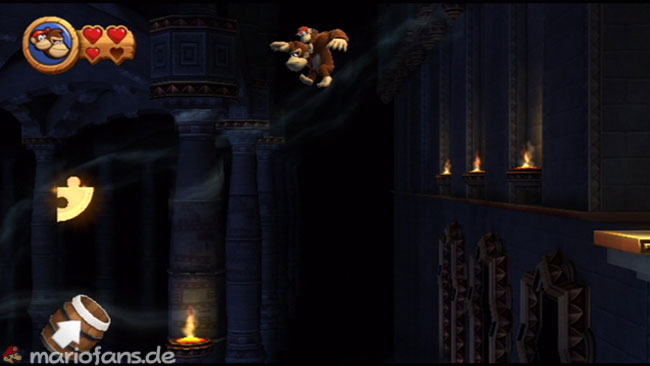
For this level, you must have found all K-O-N-G letter blocks in the levels beforehand.
- Puzzle Piece 1 It’s at the top of the first declining platform
- Puzzle Piece 2 Smash the Jar at the First Lilan Spike Trap
- Puzzle Piece 3 It is under one of the sinking platform, just before the climbing ceiling. Only by a rolling jump
- Puzzle Piece 4 Smash the jar over the climbing ceiling
- Puzzle Piece 5 Also this Puzzle Piece is located in a jar. This time at the top of the first climbing wall.