
The complete solution to Donkey Kong Country Returns HD for the world “World 7 – Factory”. On this page we help you search for all K-O-N-G letters and Puzzle Pieces.
7-1: Foggy Fumes
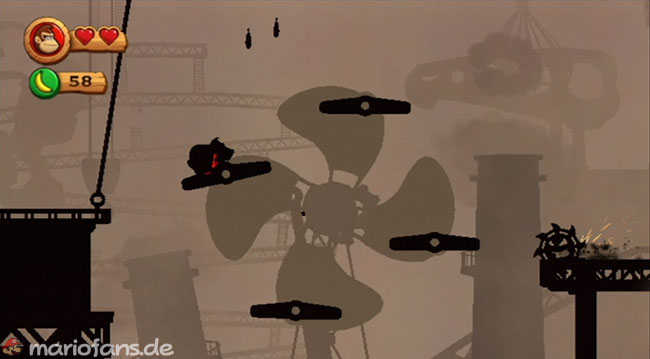
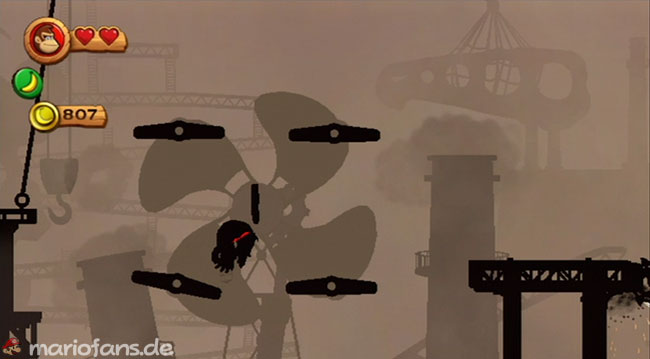
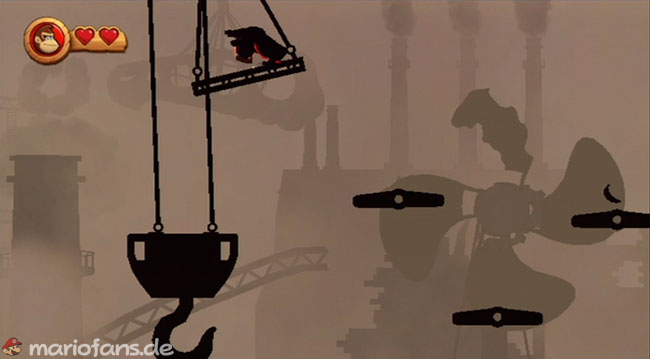
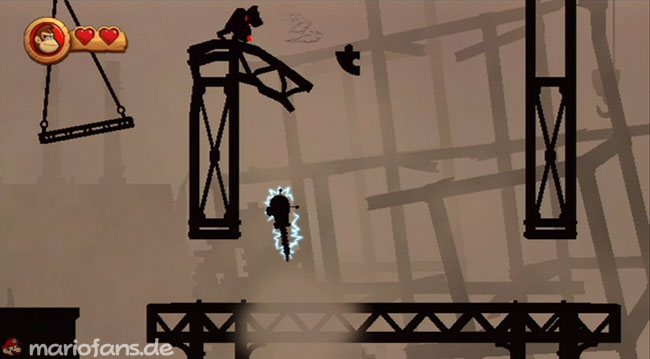
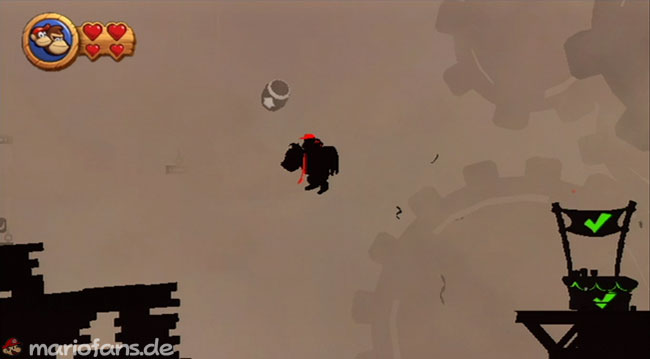
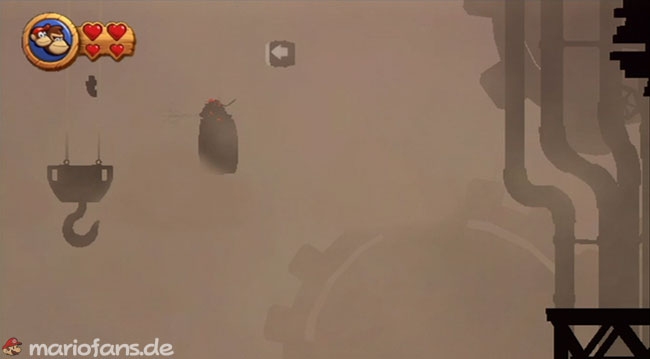
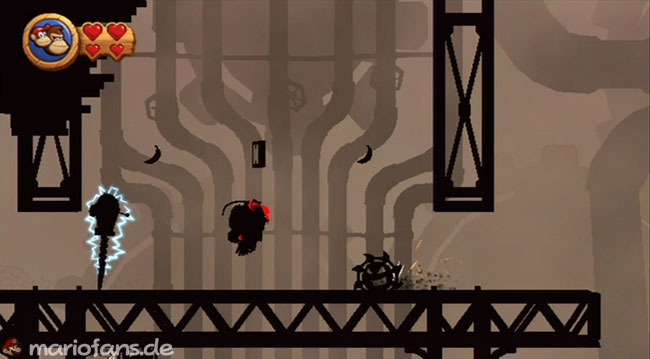
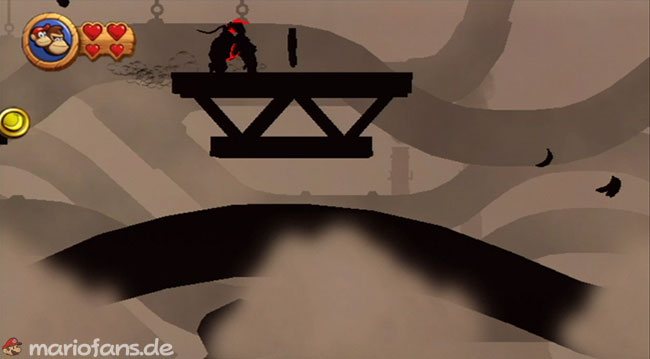
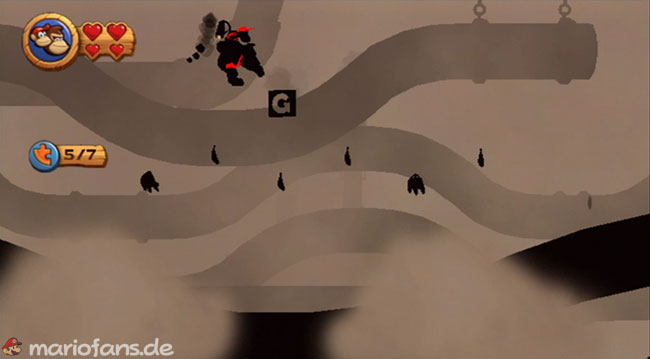
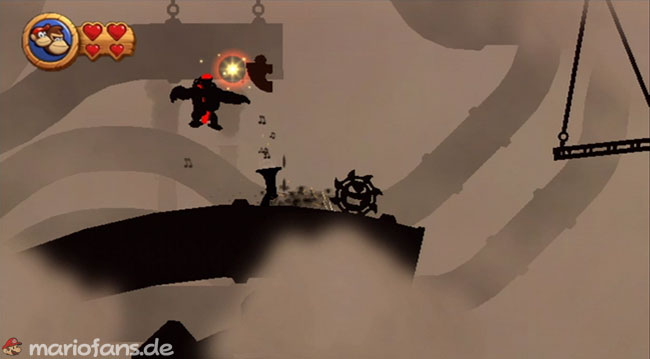
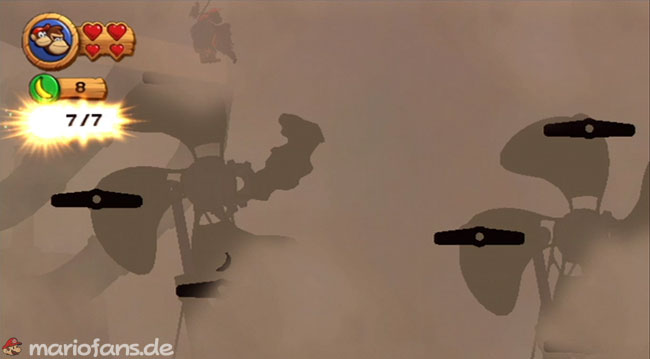
- Puzzle Piece 1 Once you get to the first little windmill, jump from platform to platform on its left side to power it and elicit banana after banana. If you continue to drive the wheel and manage to grab all the bananas, you will be rewarded with the first puzzle bag part.
- K The K is again to get hold of the second, broken wind turbine. Wait for the top left point of its rotation and then jump left onto the hanging platform with the letter block.
- Puzzle Piece 2 — For the second Puzzle Piece, you just repeat the same again on the third wind turbine, only in the other direction. Jump from the wheel to the platform at the top right and then further over the top of the screen to the right to the other side of the metal scaffold, where you glide directly into the Puzzle Piece.
- You can find Das O right after being catapulted into the background for the first time. Here you should be able to recognize it very faintly hidden in the dense fog at the bottom of the small platform. If you are still not quite sure, you can blow the fog out of the way for a short time to better recognize the way.
- Puzzle Piece 3 — After you have been shot to the first checkpoint, jump to the left by roll jump and you end up in a hidden area. Just jump from one smoking tube to the next here to finally get the next Puzzle Piece on the third.
- Puzzle Piece 4 This find is located at the very end of the section when you have been catapulted into the background for the second time. Work your way all the way to the right here to the platform immediately in front of the Blast Barrel and then blow the fog to the left of you from there to make the fourth Puzzle Piece visible.
- N The N can be found directly afterwards. Just jump into said barrel to get back to the foreground and run under the first metal scaffold where the N should float in the middle of the air.
- Puzzle Piece 5 — Puzzle Pieces 5 and 6 and G Follow the path behind the second checkpoint until you reach the platforms hanging from the Blanket, and then jump right from the second platform against the presumed Block to discover a secret room behind it. Grab the fifth Puzzle Piece here and leave the lead by roll jump on the right side to reach the G, and finally blow a few meters further right into the megaphone in a safe moment to uncover the sixth piece.
- Puzzle Piece 7 Now you just have to set the next wind turbine in motion, and you have already completed the next Puzzle Sack.
7-2: Slammin‘ Steel
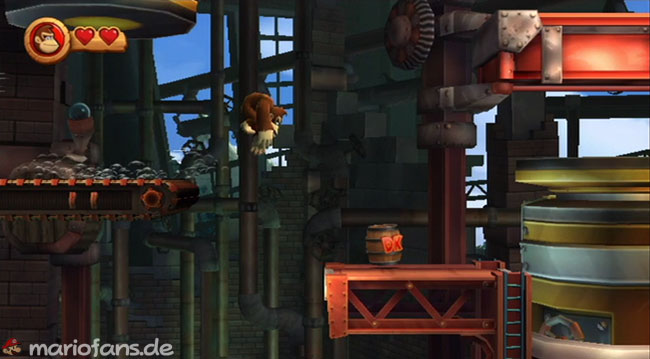
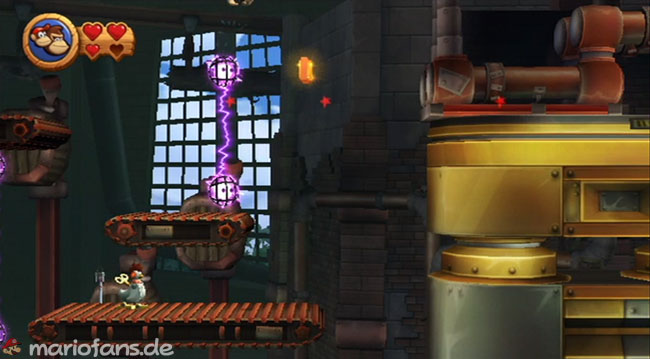
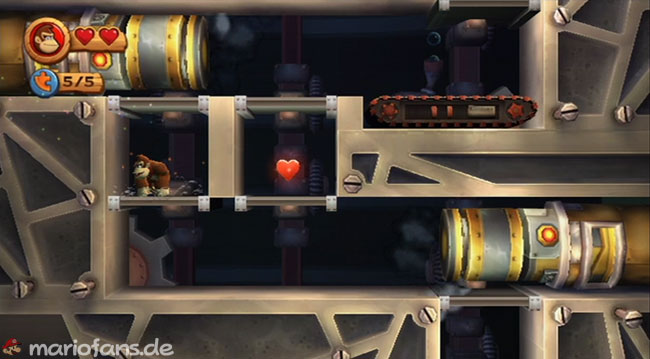
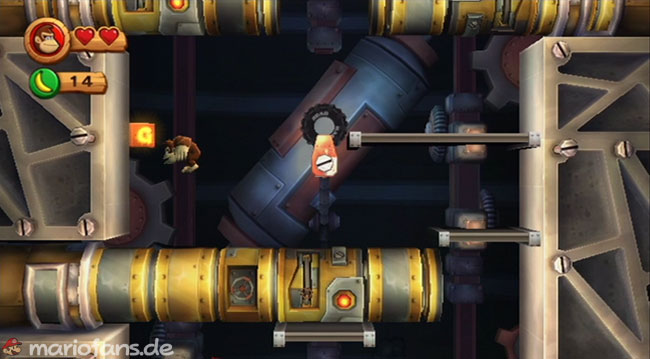
- Puzzle Piece 1
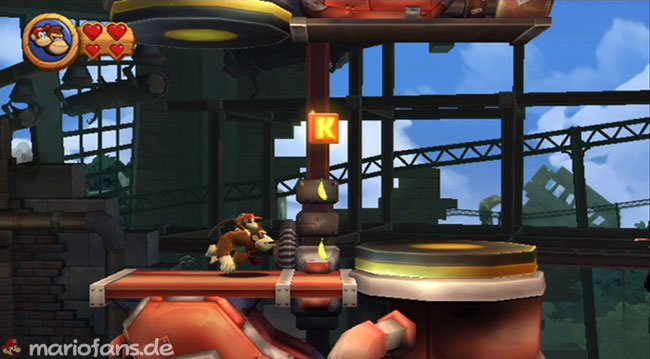
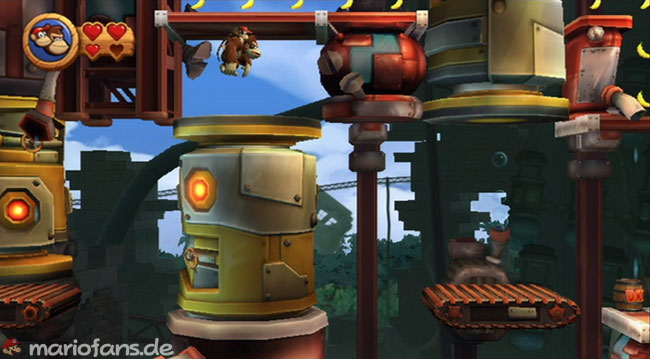
- When you get to the second large piston, jump to the right under it by roll jump to just reach the top of the next platform.
- K
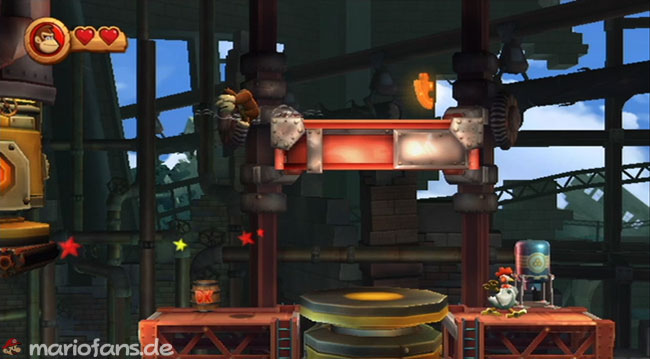
- Look for the K immediately between the next two pistons.
- O and Puzzle Piece 2
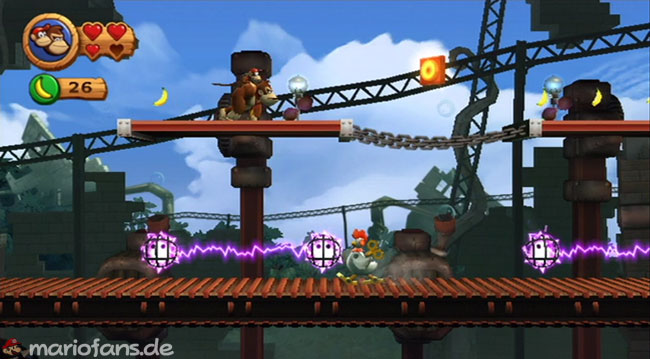
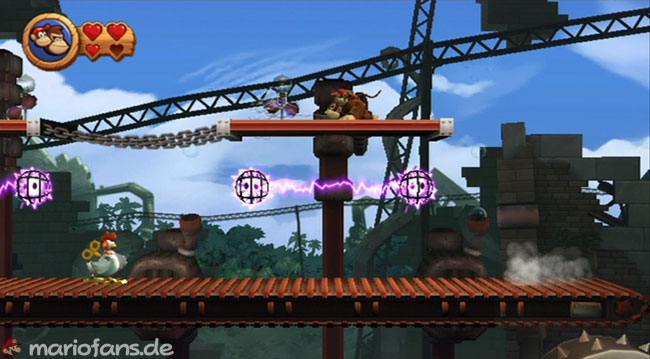
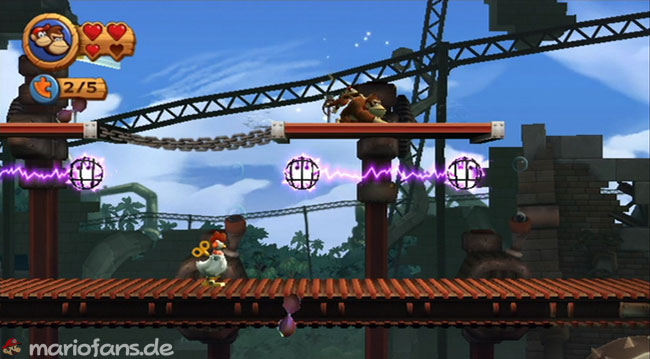
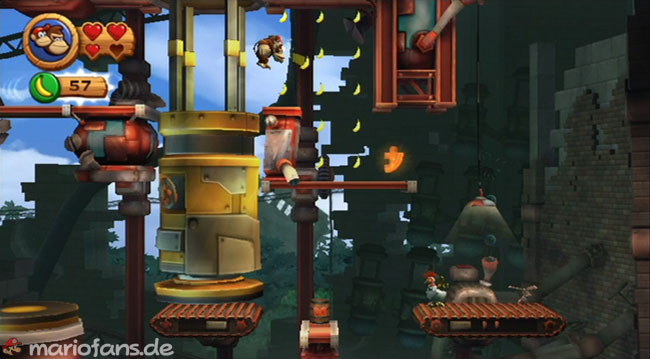
- A little later you finally get on a longer assembly line, on which you have to move against the direction of travel. Use the chickens here as trampolines to get to one of the two upper platforms, grab the K in their middle, and then blow into the small generator on the right platform to bring the second Puzzle Piece to light.
- Puzzle Piece 3
- From the second piston directly behind the first checkpoint you can catapult yourself into a secret area and get hold of the third Puzzle Piece on the right.
- Puzzle Piece 4
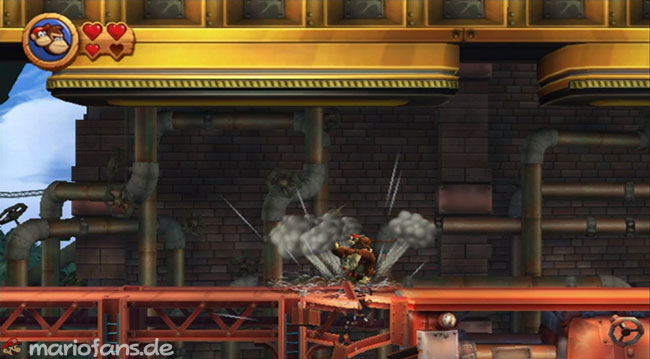
- Immediately afterwards you come to a gold-colored giant piston with some small gaps in the blanket, in which you can hide while hammering down. Pay attention to the brittle floor plate between the first two gaps and you can find the next bonus room underneath.
- NN
- You can grab the N right after you leave the section with the huge golden piston. Jump here to the highest platform directly over the purple current opponent and from there with a long jump and jetpack use to the right over to the N.
- Puzzle Piece 5
- You can hardly miss the fifth and final Puzzle Piece when you work your way up towards the end of the level at the section with the laterally rocking pistons. Simply sprint to the left with the second piston by rollers in order to be able to jump to the rear into the chamber with the found piece.
- GG
- Immediately after the three pistons lying directly on top of each other, you can see the G on the upper left of a wall. Just wait until the piston underneath moves out, and then moves over to the G.
7-3: Handy Hazards
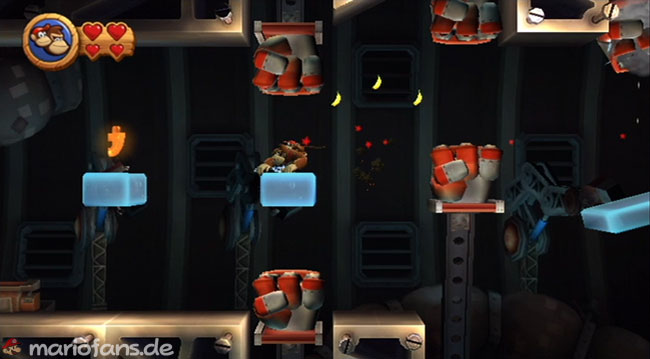
- Puzzle Piece 1
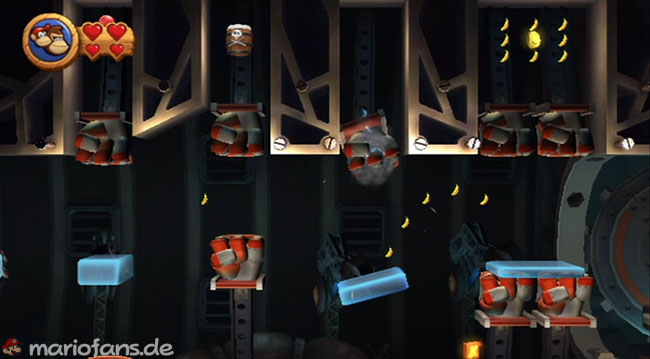
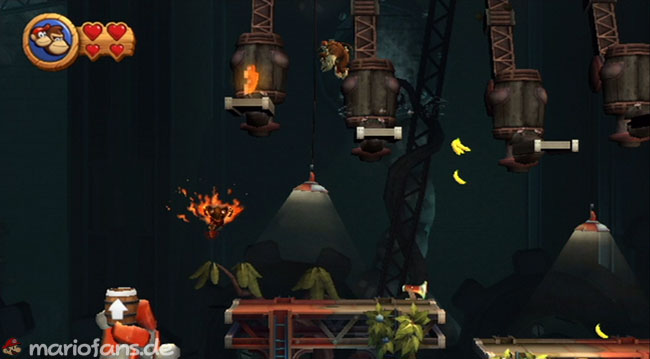
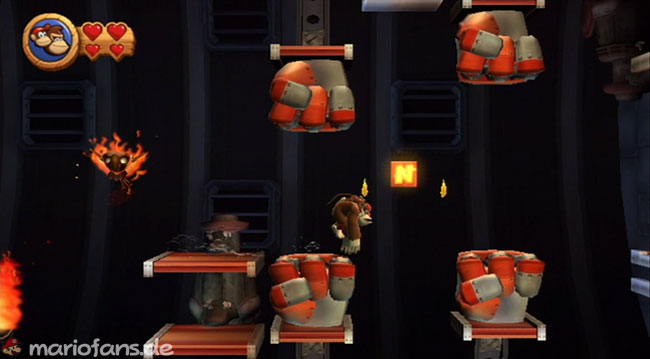
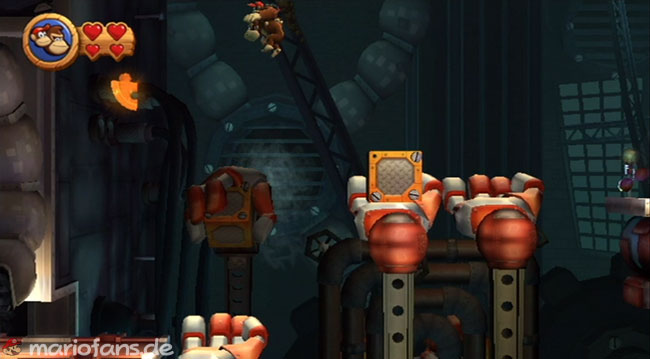
- You can easily discover the first Puzzle Piece right at the beginning on the blue Crystal block above you. Just go to the second lower fist and drive up with her to jump left onto the blue platform between the first two fists. From here it is now easily to the next Crystal block with the first Puzzle Piece.
- Puzzle Piece 2
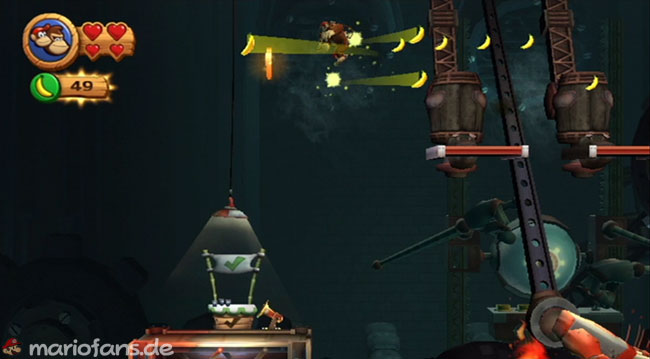
- Immediately afterwards you can also jump to the right on the top of the fist from here, grab the balloon up in the shaft, and then hop on to the next fist to get directly into a bonus room via the cannon barrel above.
- K
- A little further you find yourself on a slightly inclined blue crystal block and should be able to recognize the first letter block immediately to the right among you. Just wait until the two fists are down and you can jump down to the K.
- Puzzle Piece 3
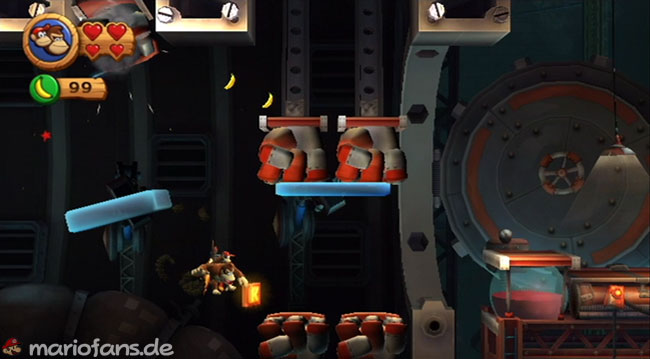
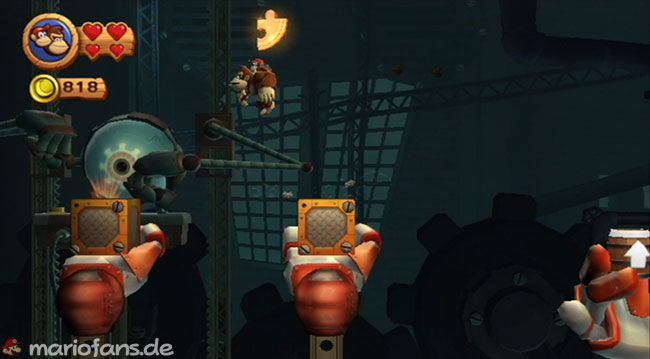
- If you are a little later in the right of the two up and down cannon barrels, you have to fire at their highest point to the left and work on the metal pistons up to the Puzzle Piece.
- O and Puzzle Piece 4
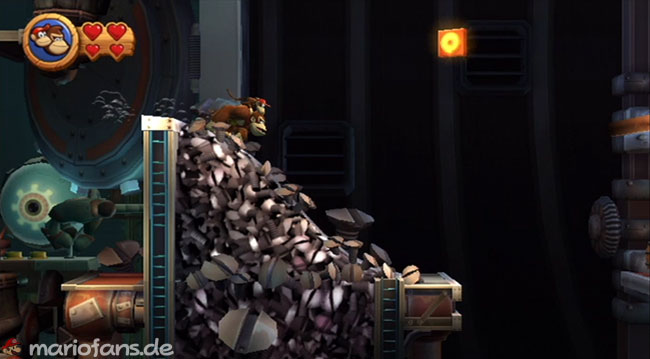
- Shortly after the following checkpoint you will find yourself on the top of a small mountain of garbage. While you can grab the second letter block from here with a roll jump to the right, it continues to the top left to a few metal platforms. Just jump onto the first copper-colored platform and from there by roll jump to the next with the fourth Puzzle Piece.
- NN
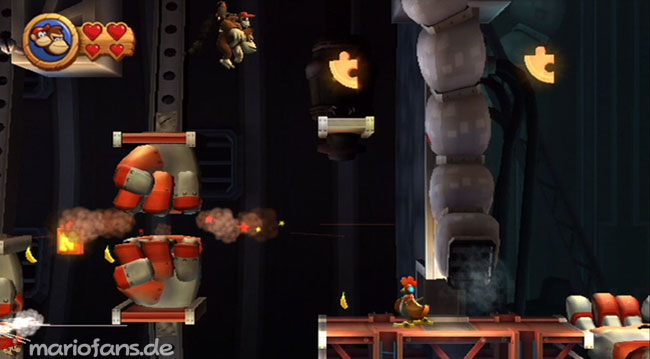
- You can hardly miss the N if you work your way through the following section with the fists beating against each other. Just wait until your fists open, and you can easily grab the letters while skipping the abyss. Then jump immediately to the left on the upper fist to get from there over the next fist to the fifth Puzzle Piece.
- Puzzle Piece 6
- If you are on the small platform with the fifth Puzzle Piece, you should already be able to see the sixth one on the right behind the wall. Jump here from the metal platform into the palm of the left hand and quickly hop on to the Crystal block in the hand next door while a Crystal block is placed on the left. From its top you should now jump with a long jump to the sixth Puzzle Piece.
- Puzzle Piece 7
- Once you get to the row of four hands shortly afterwards, you must carefully use the blocks to grab all the coins floating over it. Only then will the seventh Puzzle Piece be recognizable.
- GG
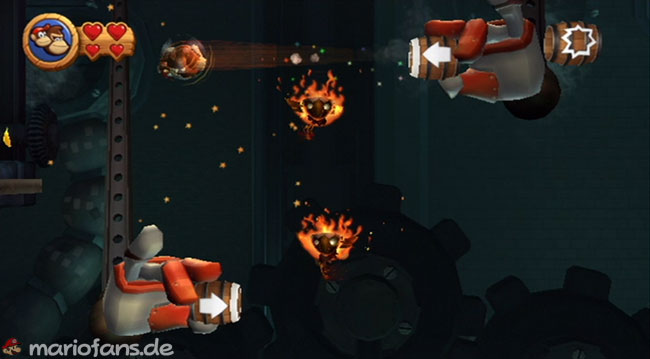
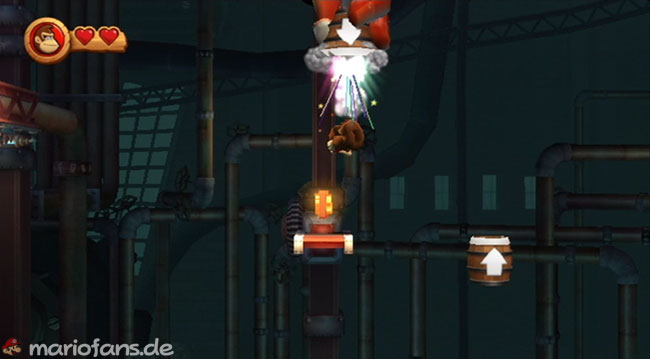
- And again, a little bit later, you will be upside down in a cannon barrel and be able to see the G on a narrow platform right below you. Just fire yourself at the right moment to land on it, and the KONG Letters are complete.
7-4: Gear Getaway
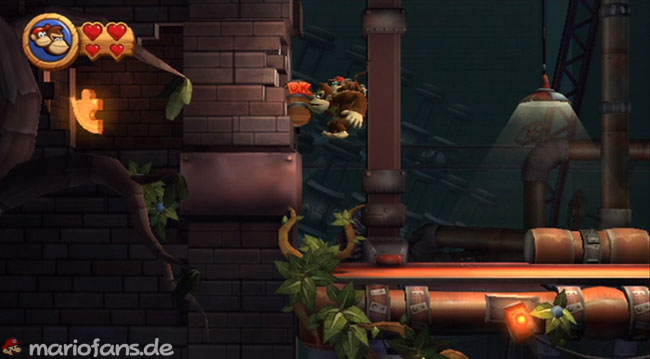
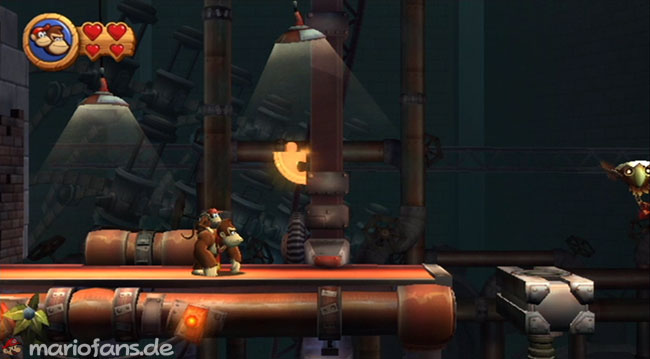
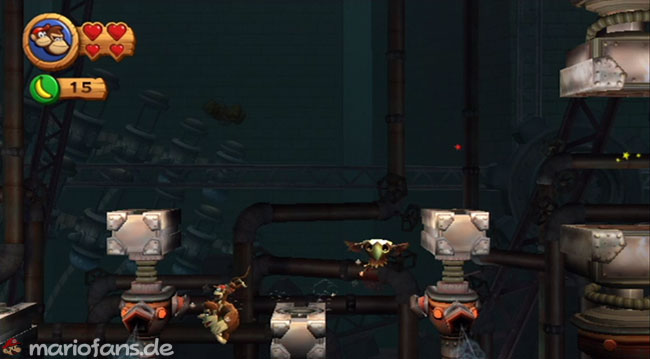
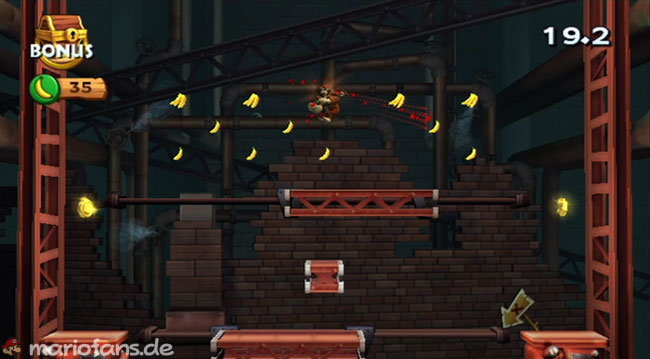
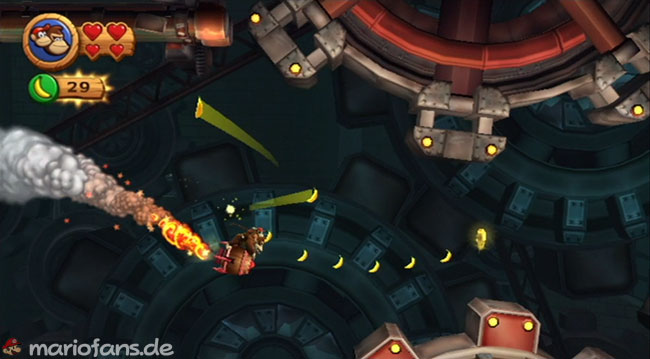
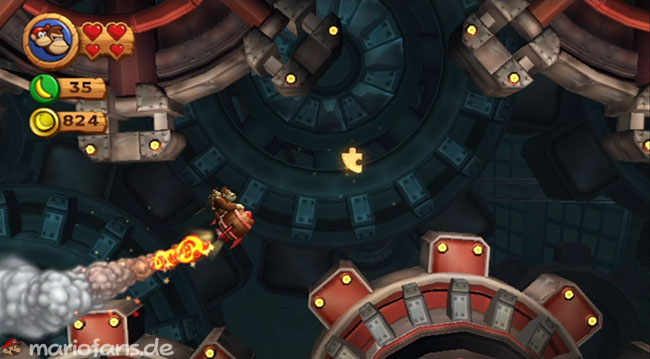
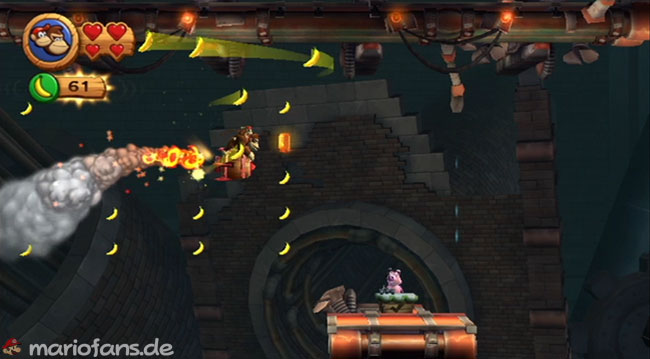
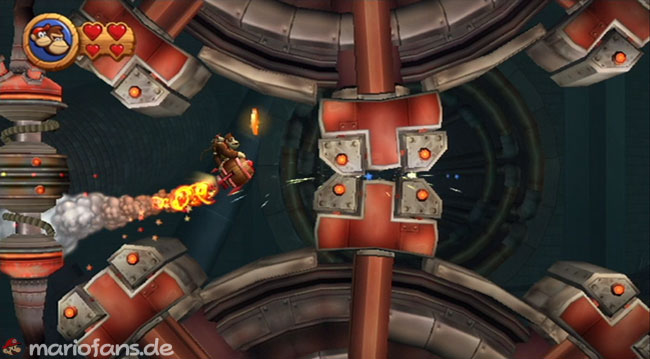
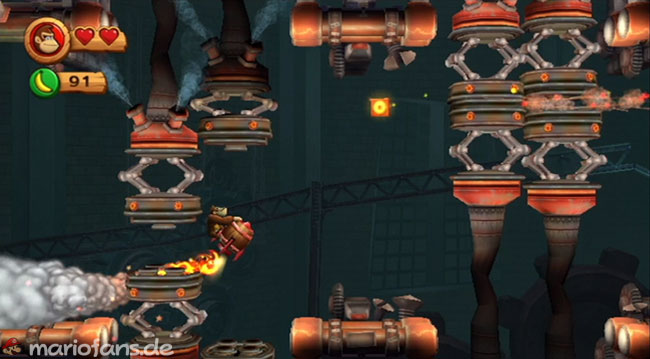
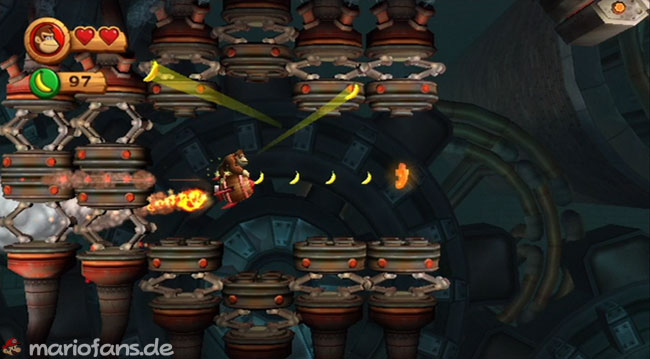
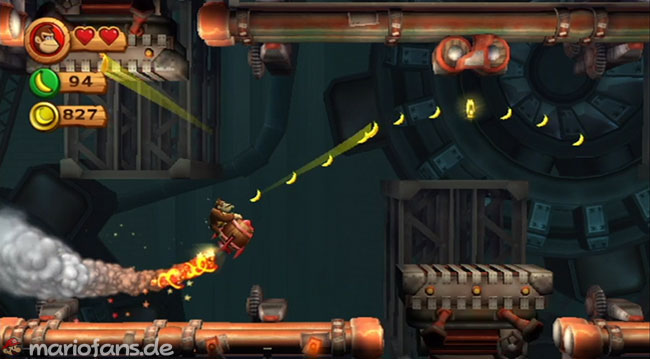
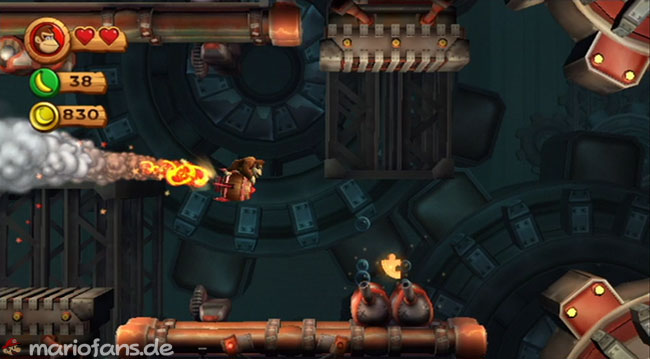
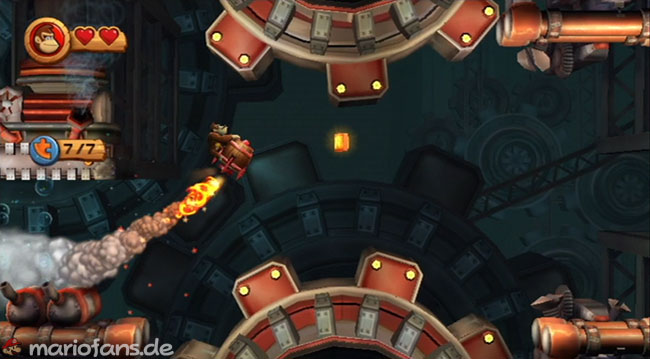
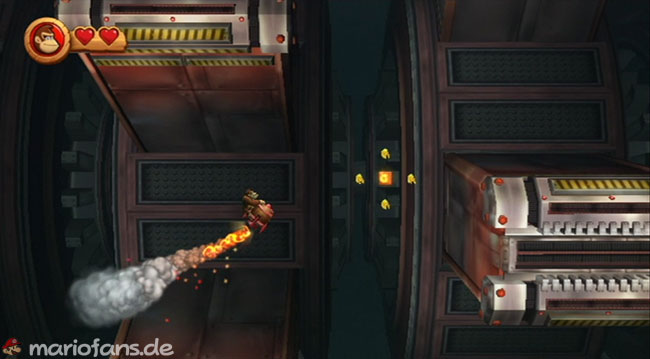
- Puzzle Piece 1
- The first find is located right to the left of the start of the level, but is hidden by a massive stone wall. So grab the explosive barrel a little further to the right and throw it against the mark on the wall to clear your way.
- Puzzle Piece 2
- The second piece of the Puzzle Sack can also be grabbed directly at the starting point, where it is well hidden in the second pendant lamp on the right above the pig. So jump right up on the first bulb and then jump from there against the lamp to shake out the found piece.
- Puzzle Piece 3
- And Puzzle Piece number 3 is also not far away, just drop into the hidden barrel between the second and third pistons and you get directly into a bonus room.
- Puzzle Piece 4
- Immediately after entering the rocket barrel you have to follow the first trace of bananas and grab every single one of them. Only then will the fourth Puzzle Piece be recognizable.
- K
- After four letter blocks in a row, it is now time for the first letter block. Continue flying until you get to the large grid of bananas, and then grab the K high up in the rearmost column.
- Puzzle Piece 5
- The fifth piece of the Puzzle Sack can be picked up immediately after the checkpoint. Fly between the four pistons moving apart and then hold yourselves at the following number wheels to discover it between two teeth.
- O
- Then keep your eyes open after a red balloon at about medium altitude, because directly behind the following piston you have to quickly climb up to reach the O.
- Puzzle Piece 6
- You can hardly miss it. The banana trail between the long row of pistons will lead you right through.
- Puzzle Piece 7 and N
- Immediately behind the second checkpoint, grab all the items in the Snake to make the seventh and final Puzzle Piece appear. The N is only a few meters further between the two gears.
- GG
- So only the G is missing, which is located at the end of the level at medium height right behind the second huge gear.
7-5: Cog Jog
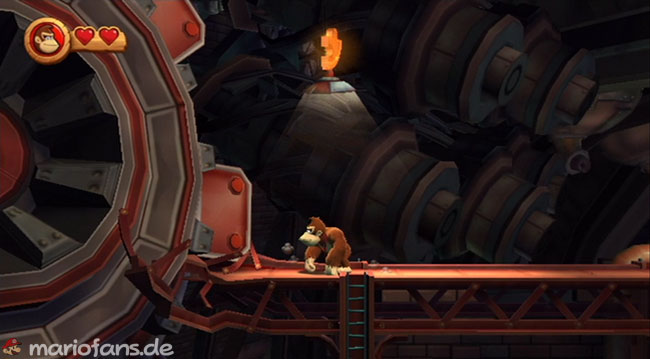
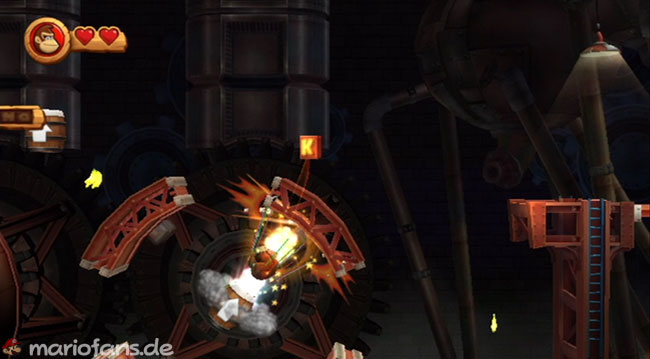
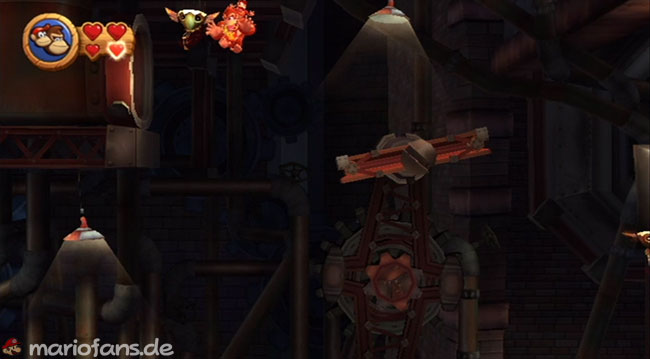
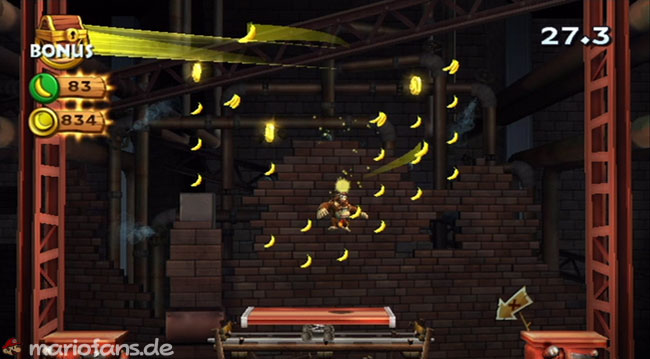
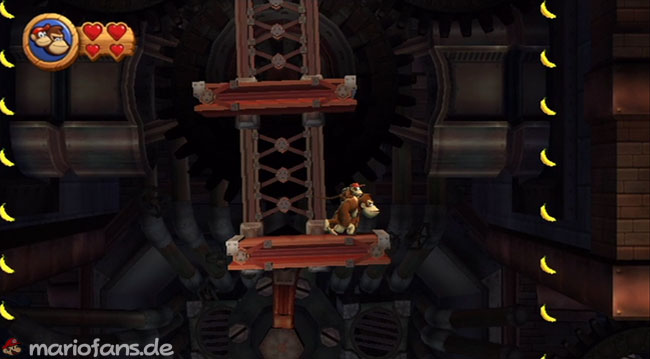
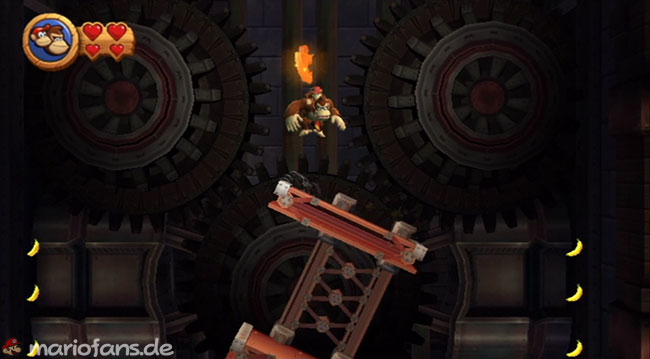
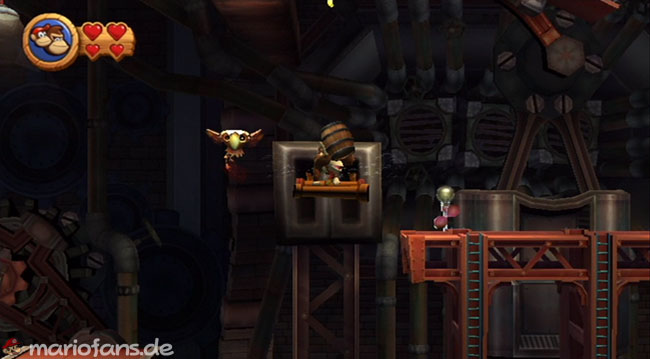
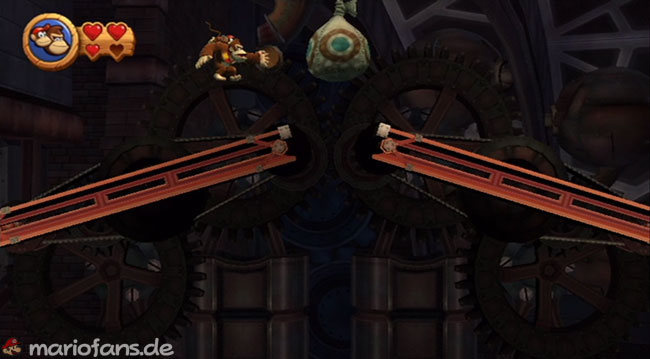
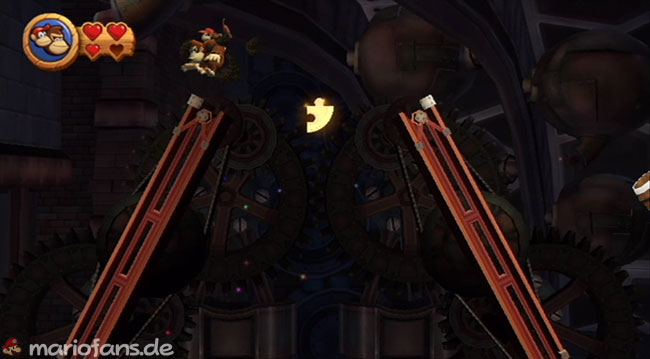
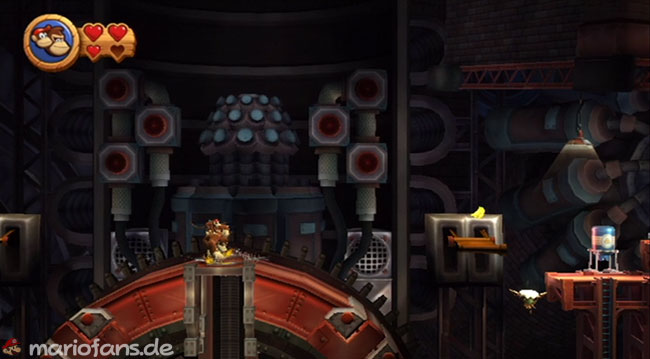
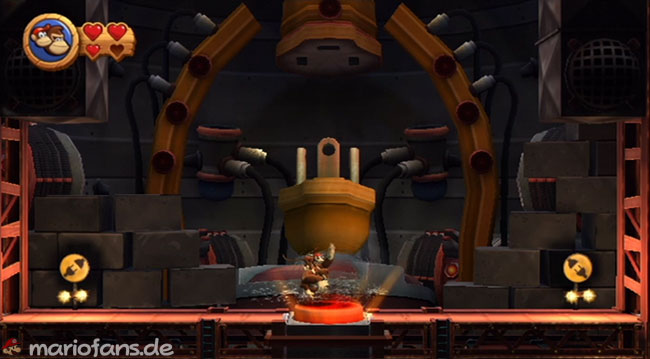
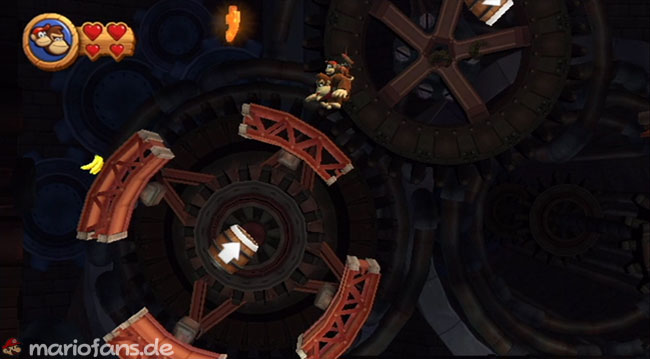
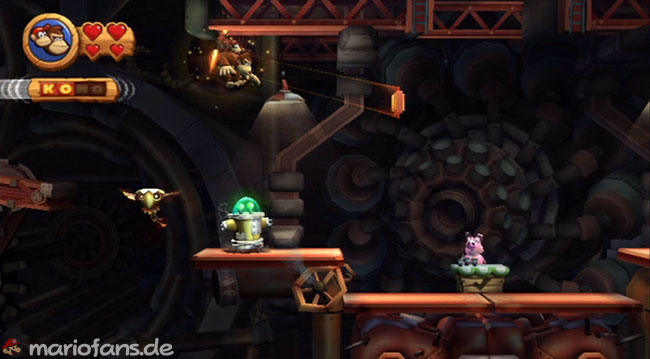
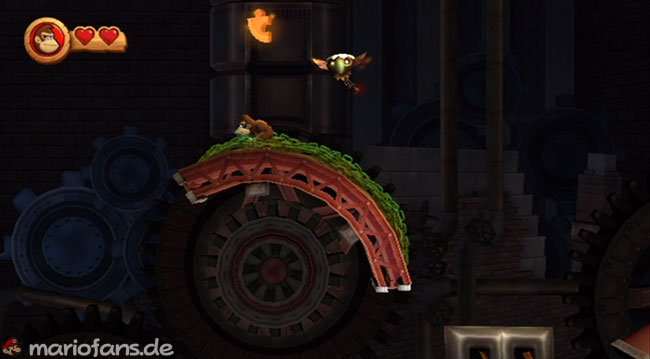
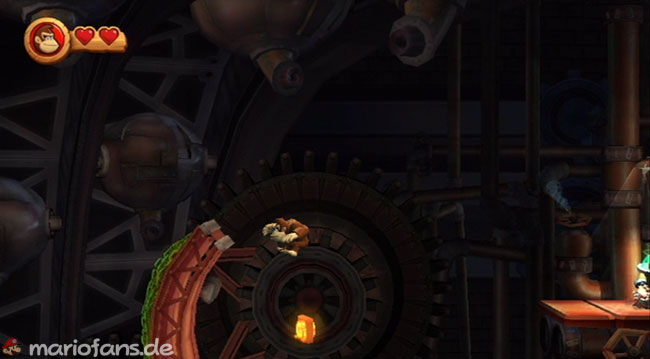
- Puzzle Piece 1
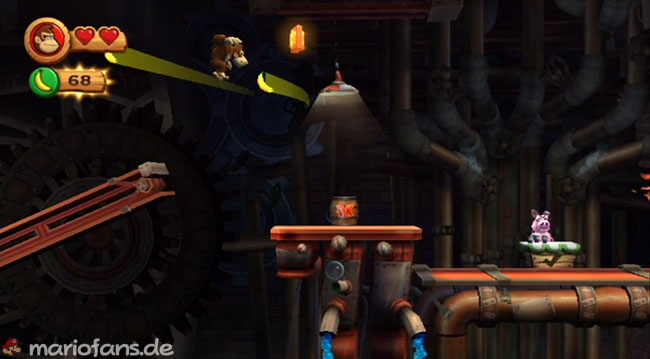
- Run directly to the left from the start and shake the pendant lamp to elicit the first piece of the puzzle sack.
- K
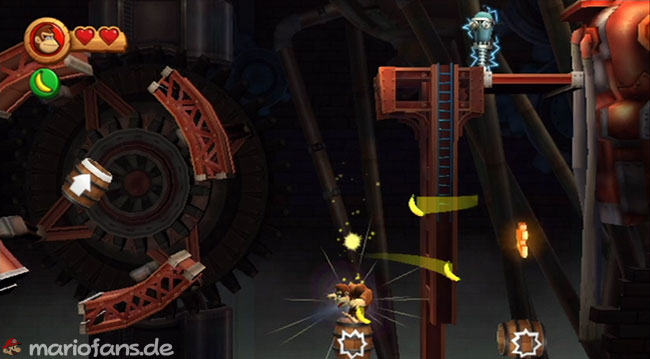
- You should see the K when you are in the cannon barrel surrounded by four metal parts. Wait until the K is just above the opening and then fire out.
- Puzzle Piece 2
- Then you fire through the opening to the right onto the platform and drop directly to the left to land in a hidden cannon barrel.
- Puzzle Piece 3
- Once you are on the swinging, elongated platforms with the gears in the background, look for the small wind turbine generator on the platform. This gives you the next puzzle bag part for your collection.
- O
- At the end of the same section you can get the O when jumping from the last platform towards the checkpoint.
- Puzzle Piece 4 — Puzzle Pieces 4 and 5
- Just to the right of the checkpoint, you jump onto one of the circled platforms and jump against the pendant lamp first to find Puzzle Pieces 4, and then on the left floating Enemies. So you can push yourself into the pipe next to it and get to the next bonus room.
- Puzzle Piece 6
- A little later you should come to an elongated platform with explosive barrel and wind turbine generator. Ignore both for now and jump instead to the peculiar moving metal scaffolding over you. As you climb to the top and wait for its highest point of view, you should be able to see the sixth Puzzle Piece above you.
- Puzzle Piece 7
- Then grab said explosive barrel and wait for the right moment to jump on the moving platform further to the right. Let yourself go a little further up there and you can throw the barrel against the sandbag.
- Secret rocket launch button
- Shortly thereafter you land on a huge metal ball. If you hit the ground here at the point where the banana arrow points, the bullet will set in motion and finally move a bottom plate up to a slightly different bonus room, which includes the first of three secret rocket launch buttons. If you also activate the other two during the next level, you secure access to the boss of this world.
- Puzzle Piece 8
- At the next cannon barrel in the middle of the four metal pieces, you can again see a Puzzle Piece above you. Fire yourselves with the Blast Barrel to the next platform and then jump by roll jump to the left to the find.
- NN
- Immediately afterwards, you have to push yourself off the floating Enemies when jumping from the platform to get the N at the top.
- Puzzle Piece 9
- As soon as you hang on the first rotating metal arch, drive for the ninth and last Puzzle Piece to the very top.
- GG
- And again a little further on, the last letter is in the middle of such a metal arc.
7-6: Switcheroo
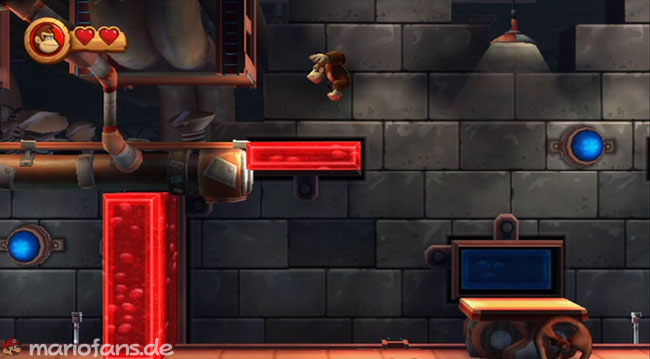
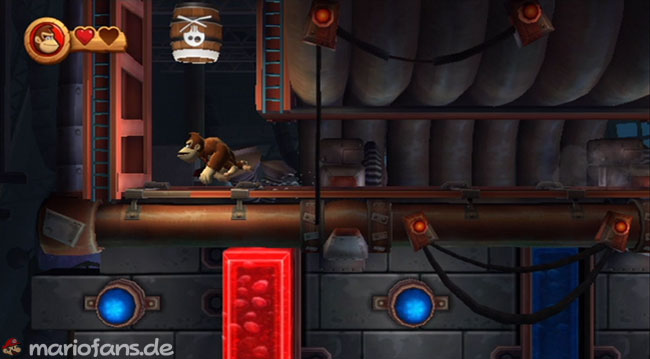
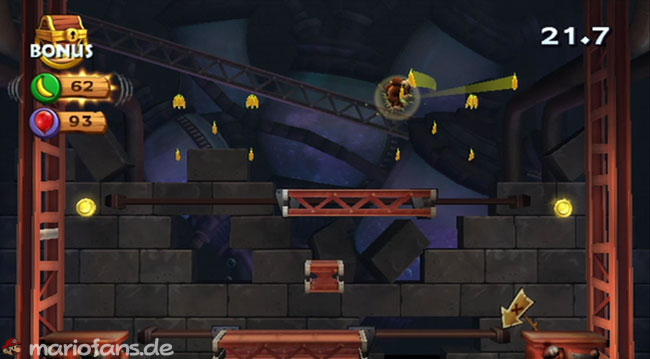
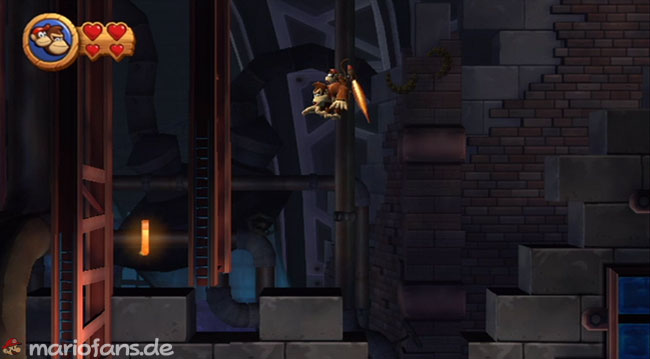
- Puzzle Piece 1
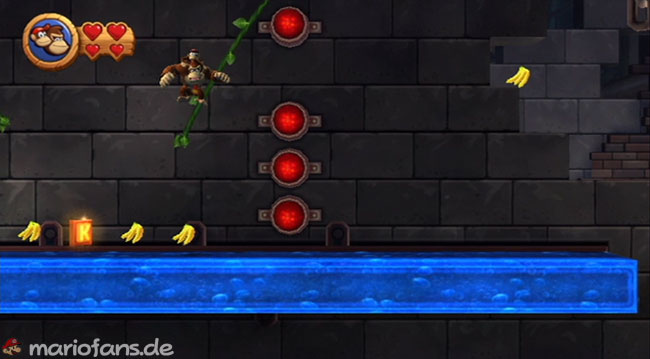
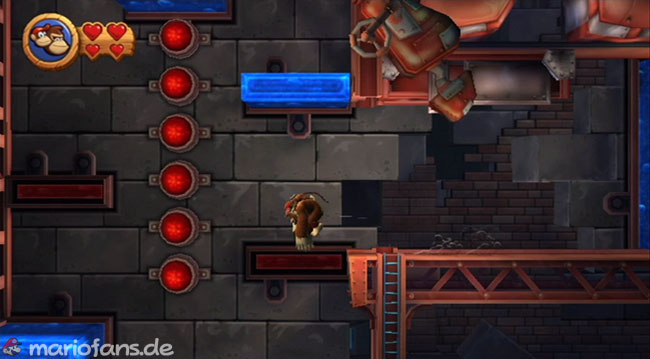
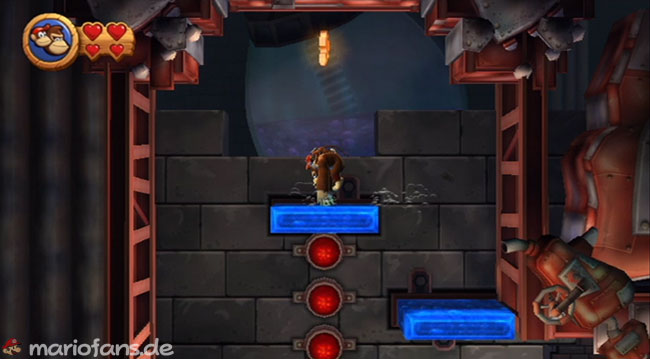
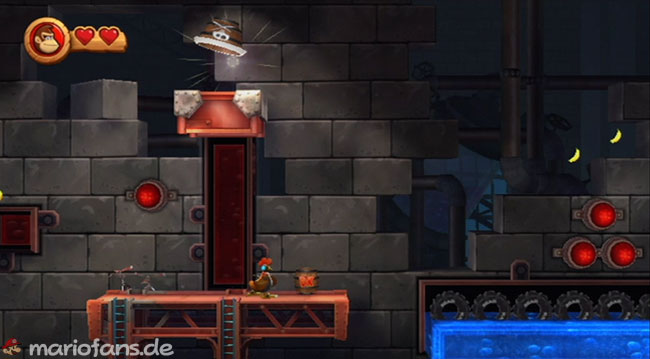
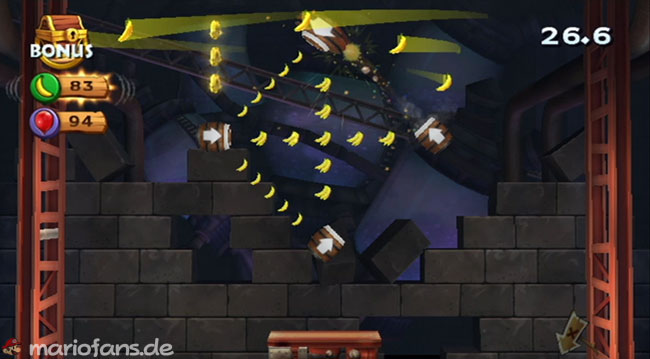
- Go past the three goals right at the beginning and jump from the following blue platform by roll jump to the top left into the shaft, which leads you via a cannon barrel ultimately to a bonus room.
- K
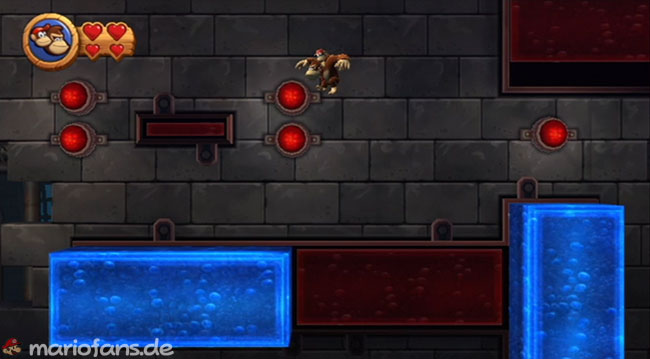
- The K can be found a little further on the long blue platform. Place yourself under the first two red color switches and jump through them to the oncoming Liane at the right moment. The platform should be deployed again and you can grab the first letter block.
- Secret rocket launch button
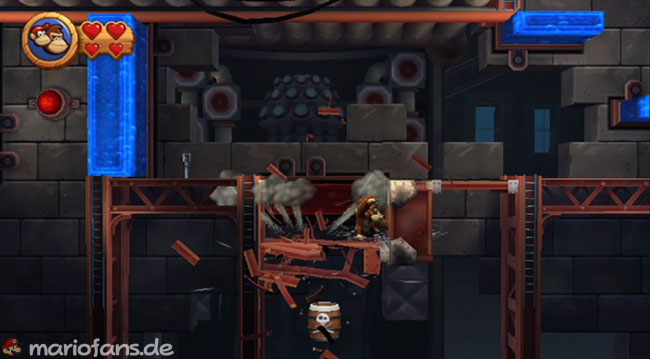
- Shortly after leaving the blue platform, you should be able to spot a brittle metal plate under the red bottom block on close inspection. Simply remove it with the Color Switch a little further to the right, and then hit through the floor plate into the underlying drive room with the next rocket launch button. If you pressed the same in the previous level, you now only lack the third to get to the boss of the world.
- O
- You should be able to recognize the O a little later quite easily when climbing the shaft over the extendable platforms.
- Puzzle Piece 2
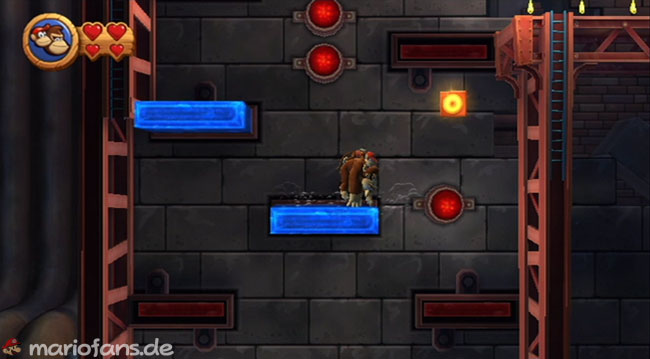
- The second Puzzle Piece is a bit harder to get. To do this, you have to manage to get to the left of the top blue platform by roll jump to the right into the shaft without activating one of the vertical red color switches. Then it goes with another roll jump right through the Color Switch to the left to land on the expansive red platform. Now you just have to jump up and since you arrived at the second Puzzle Piece.
- Puzzle Piece 3
- The third Puzzle Piece can also be played in a bonus room. Jump right behind the second checkpoint on the upper blue blocks and then jump from the last by roll jump and jetpack into the hidden cannon barrel.
- NN
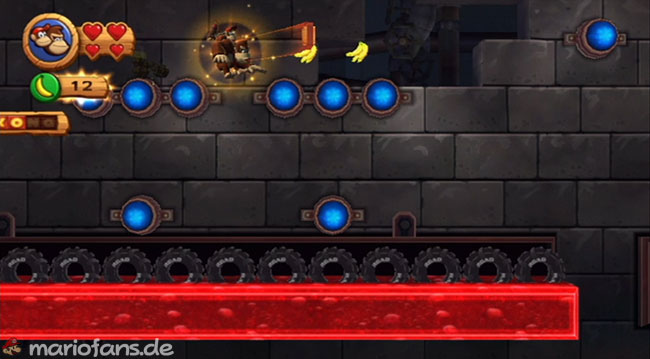
- Not long after you see the N directly above the long red, tire-covered platform. Hop very low over the first of the low ground switches to not activate a Color Switch, and you can jump up to the N from the center.
- Puzzle Piece 4
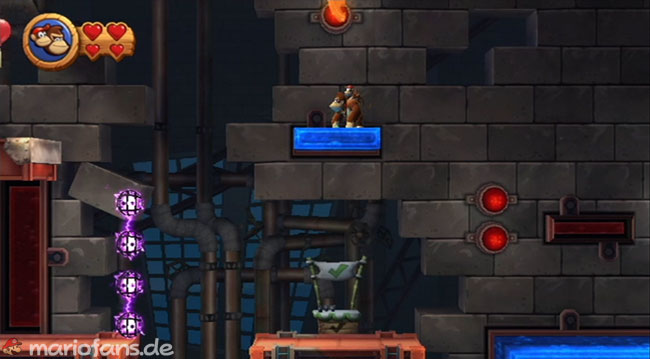
- Stand on the second blue Crystal block behind the next checkpoint and then jump to the left by roll jump through the Color Switch on the small red platform. Another roll jump to the left leads you directly to the fourth Puzzle Piece above the blue platform.
- GG
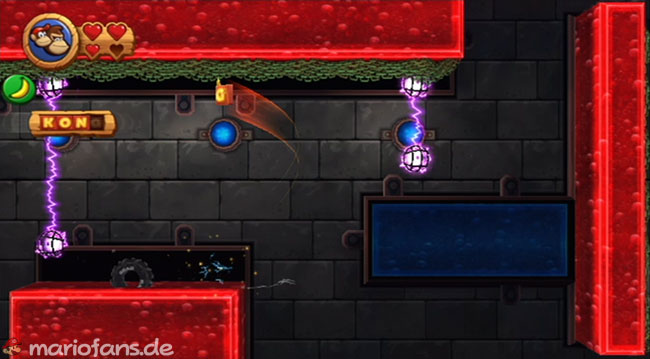
- Once you hang on top of the chains under the red Crystal block, you will see the N at the edge of the platform below you. Let it plump you down and claw you.
- Puzzle Piece 5
- Towards the end of the level, you will arrive at a long metal platform with several superimposed colored blocks and two switches in the middle. Just drive out the lower blue platforms and jump from the left by roll jump into the secret hallway with the fifth and last Puzzle Piece.
7-7: Music Madness
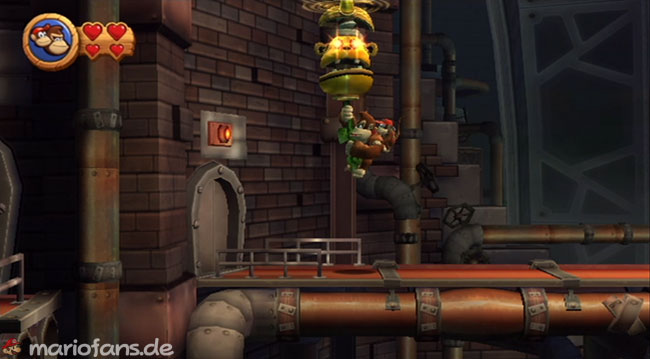
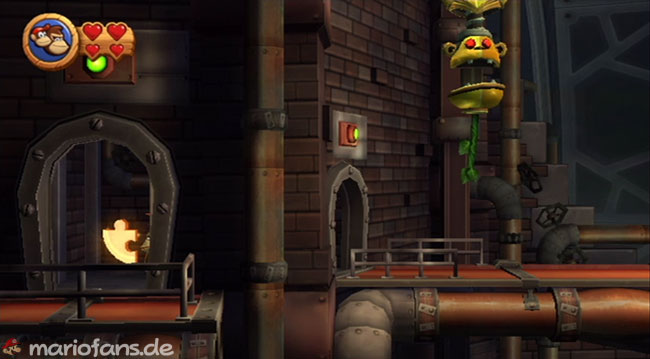
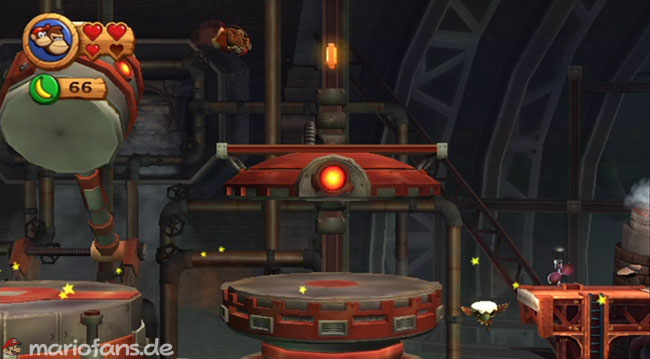
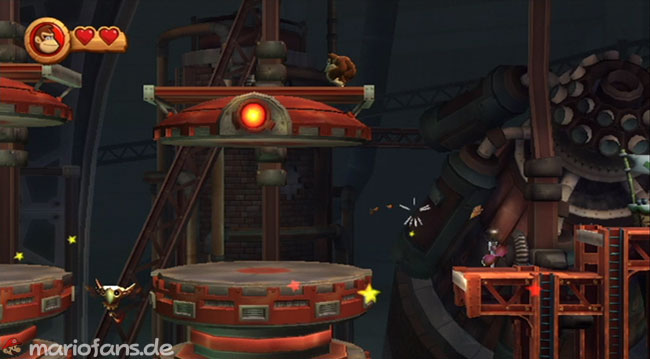
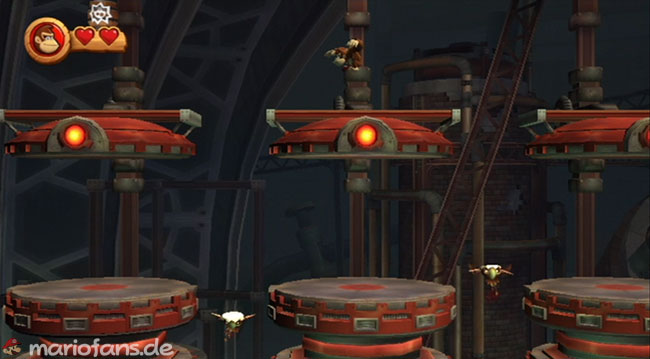
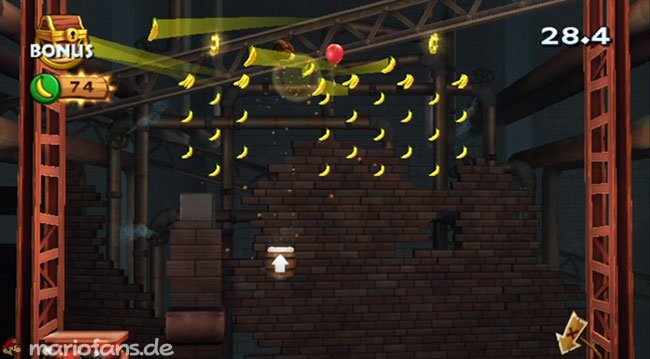
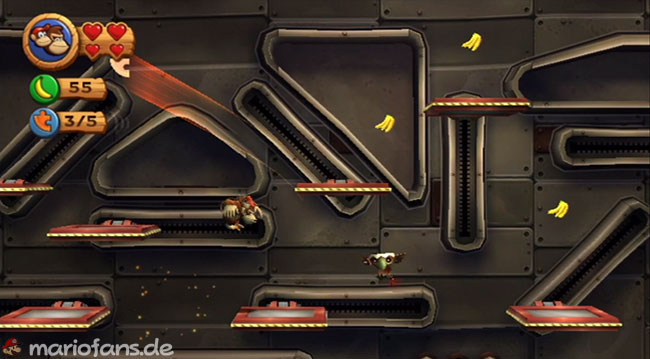
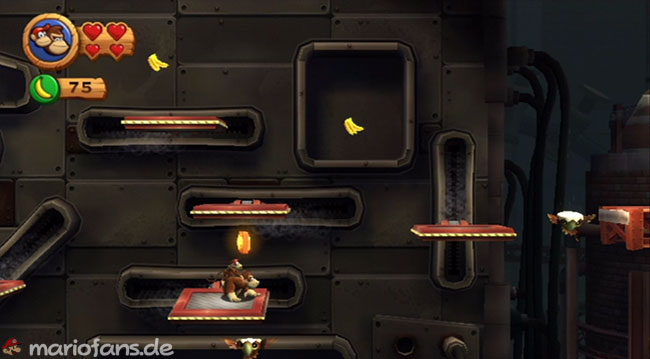
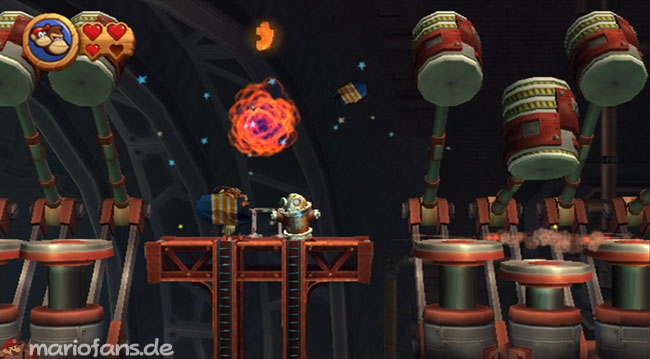
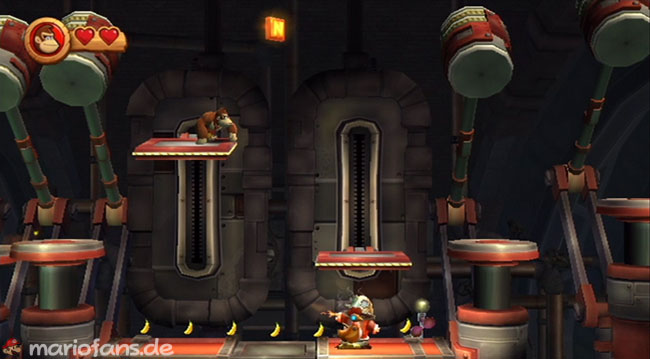
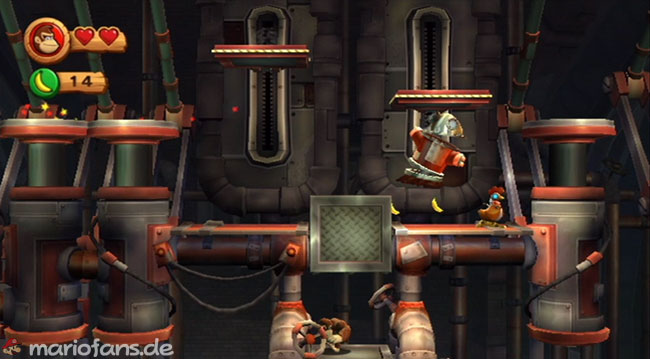
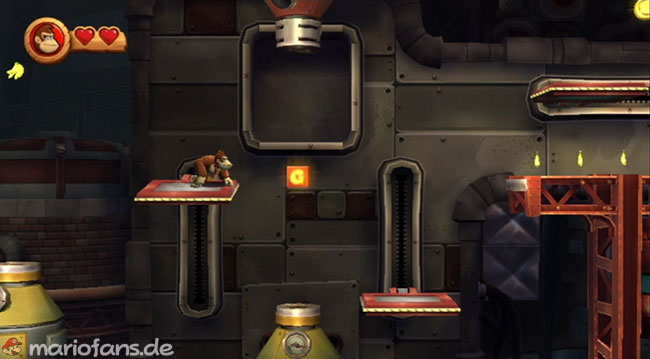
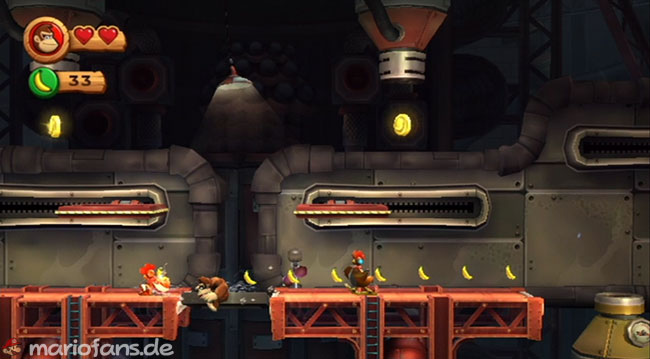
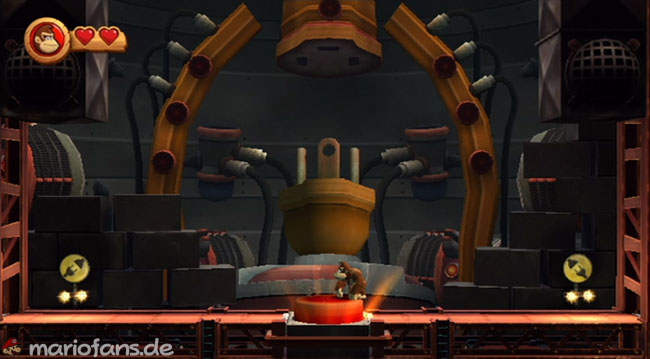
- Puzzle Piece 1
- Go left right from the start and hang on the liana to open the gate to the first Puzzle Piece.
- K
- In the following section you should see a banana floating over the abyss behind the third giant hammer. Drop down at this point and turn right on the next flight to land directly on the first letter block.
- Puzzle Piece 2
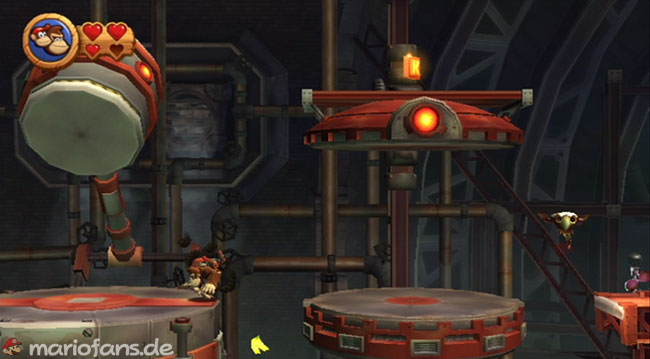
- Only a few meters further you come to a section with three huge round platforms with a flying enemy in between. Use one of them to kick off to the top of one of the sweeping plates, and then let the cannon barrel over the left plate fire you into the next bonus room.
- Puzzle Piece 3
- Continue your path and you will soon arrive in front of a huge field of back and forth small plates. Just stay here at the bottom of the picture, because whenever the second lowest platform moves to the right, the third Puzzle Piece moves up.
- O
- Keep yourself on the lowest platforms and you should automatically pass the O.
- Puzzle Piece 4
- Immediately after the checkpoint you will come to a series of five large hammers. Smash the canister on the next platform and the fourth Puzzle Piece is yours.
- N and Puzzle Piece 5
- The N in turn you find after the second sequence of giant hammers. Simply collect it from the highest point of one of the two platforms and then hit the small metal plate directly underneath to reach Puzzle Piece number 5.
- GG
- You can’t really miss the G. It is located at the end of the section, where you have to jump over the water and fire pumpers, immediately in the middle between the last two spits. Just roll through when the left platform is at the top, and you’ll land safely on the right.
- Secret rocket launch button
- So only the third and last rocket button is missing. Jump from the G to the next long platform and rush through the metal plate in the ground. If you have also activated the two buttons in the two previous levels, you will now unlock the boss of World 7.
7-K: Treacherous Track
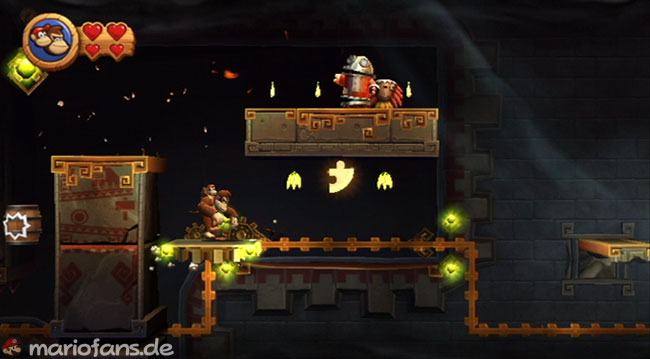
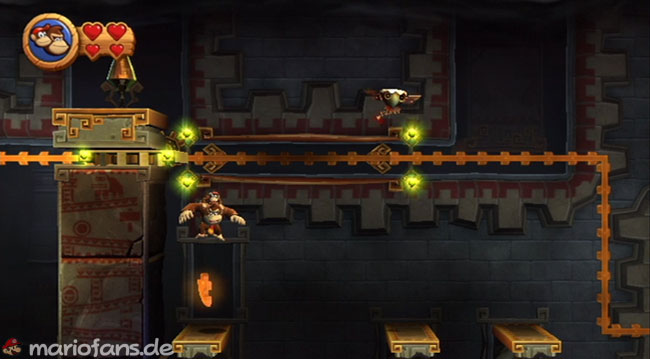
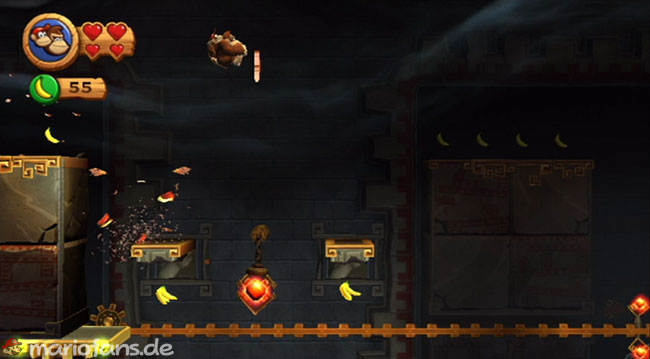
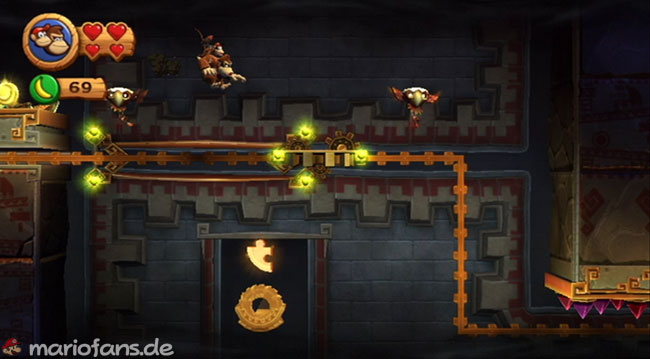
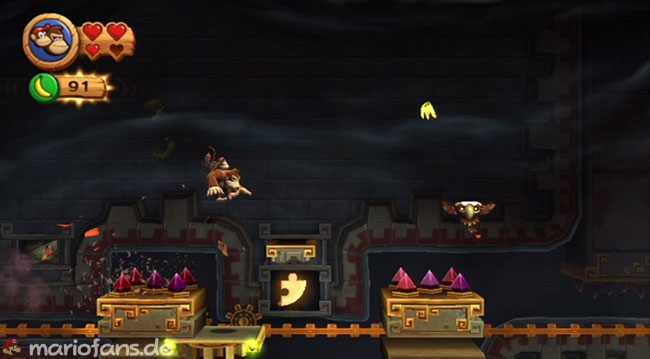
Unlock Level 7-K by collecting all Puzzle Pieces and every KONG Letter in World 7.
- Puzzle Piece 1
- If you can hardly overlook, you drive directly under it as soon as you have skipped the blocking lead by barrel.
- Puzzle Piece 2
- You should also recognize this quite easily. Stay on the platform and then drop directly behind the small lead with the urn to the find. Now you just have to jump right over the small platforms to get back on the track.
- Puzzle Piece 3
- Immediately afterwards you should be able to see a golden tire on the railway. Jump over it on the small overlying projection and to the right of the following Crystal block you can then push yourself off to the third find.
- Puzzle Piece 4
- A little later you should pass by two flying enemies. First get them out of the way and then drop down to the fourth Puzzle Piece before jumping back to the right on the moving platform.
- Puzzle Piece 5
- The fifth and final Puzzle Piece is located shortly after the next Color Switch right behind the larger lead with the urn on it. Jump straight to the first platform and then jump to the right from there, landing on the mobile base between the flying Enemies and the next small platform. This is the only way to get to the last find.