

The complete solution to Mario & Luigi: Brothership for the section in the “Color-Full Sea”. On this page we help you connect the islands with Shipshape Island. We also explain the labyrinth on Merrygo Island, the two numerical codes on Lottacoins Island, the search for the morass on Allersande and the boss fights against Ten, the mega-snaptor and Sharpcask.
Desolatt Island
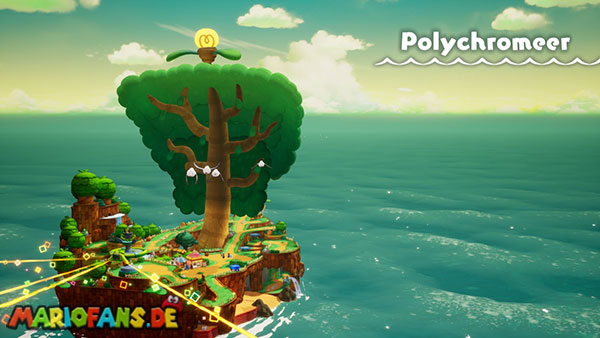
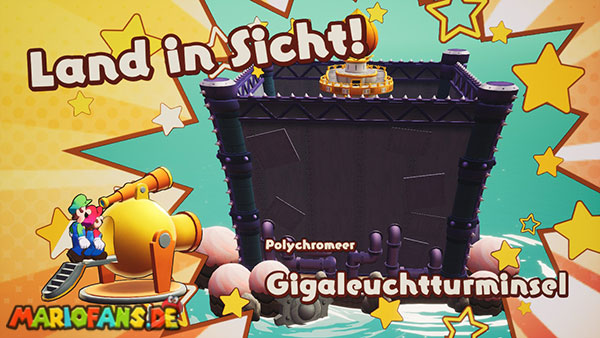
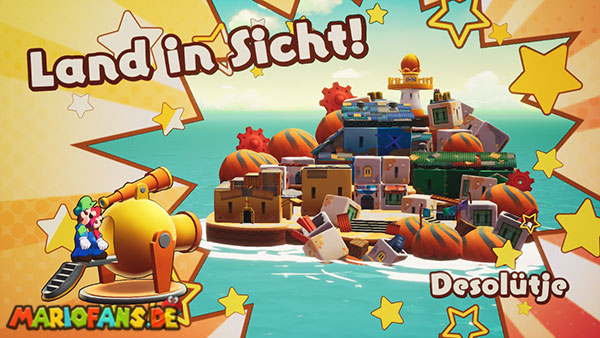
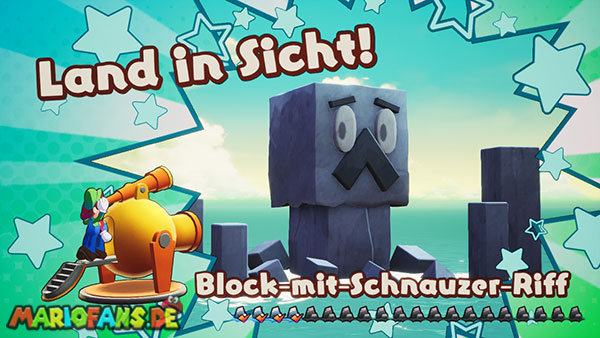
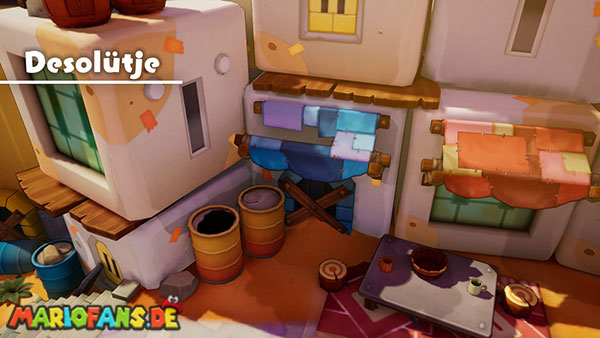
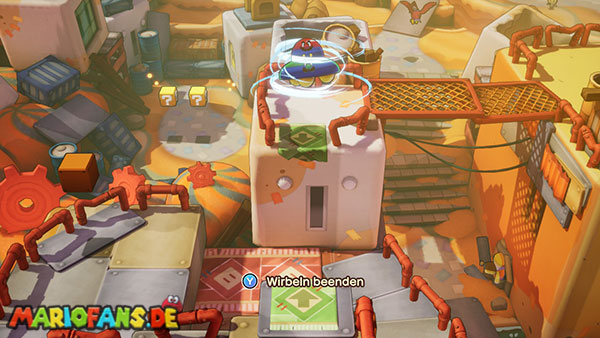
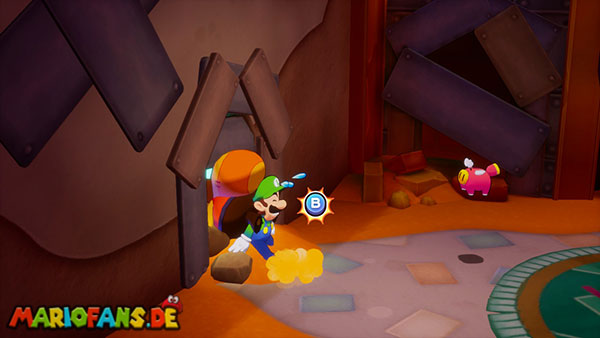
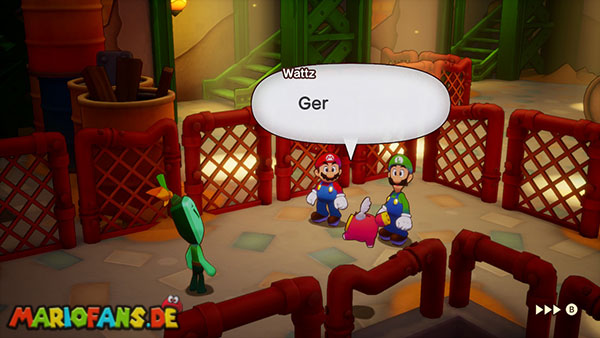
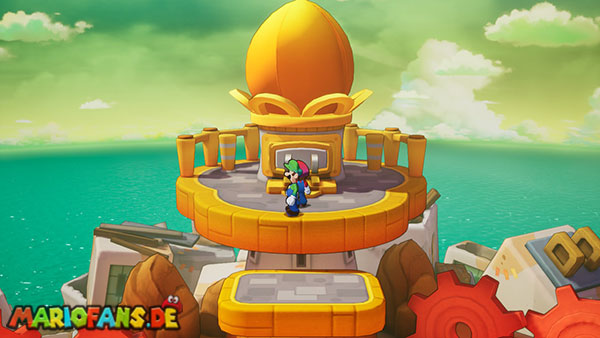
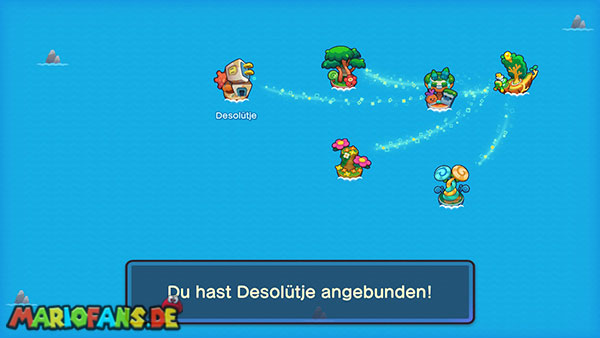
After defeating Gobblick, Shipshape Island leaves the Lushgreen Sea and reaches the Color-Full Sea. The next giga lighthouse is already visible on the Ocean Map, but is protected by a sturdy metal wall. A direct attack is not possible at first.
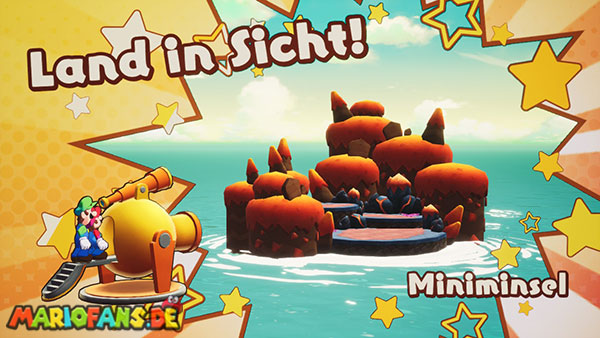
Arc therefore recommends first connecting another island and looking for a way to break through the metal wall. Follow the new current with Shipshape Island and use the telescope as soon as an unknown island appears within reach.
After discovering Desolatt Island, you can shoot Mario and Luigi on the island with the Cannon. If necessary, buy new equipment beforehand and replenish your stock of mushrooms, nuts, syrup jar and fresh roots.
IDLE
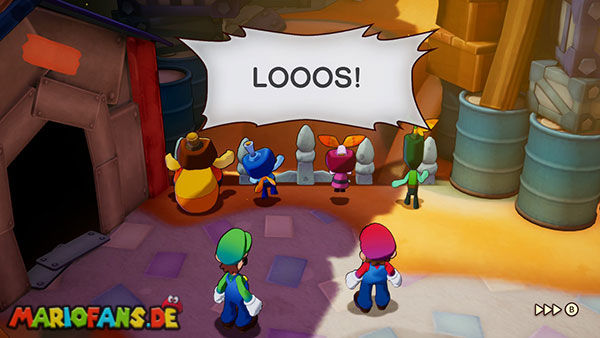
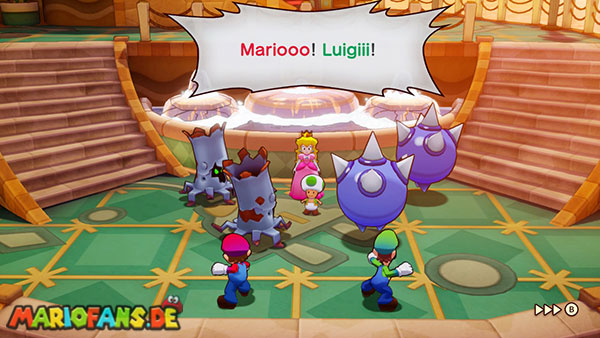
After landing, follow the path to the central square. There, Mario and Luigi meet the four children of IDLE: Ireen, Dulles, Loog and Ellow.
During the conversation, several Snaptors fly over the island and transport captured residents to the lighthouse. Mario and Luigi want to help immediately, but IDLE only lets them pass when they pass an exam.
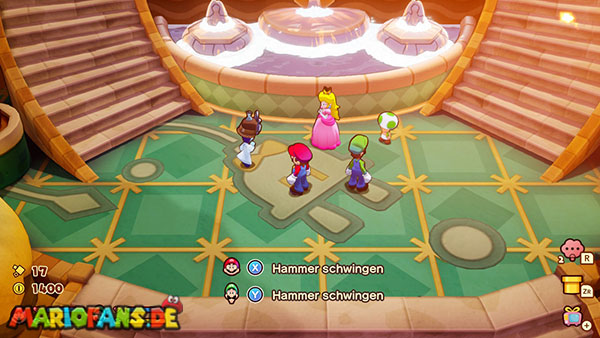
Ireen waits in the square while the three other members hide in the houses of Desolatt Island. To unlock the path to the lighthouse, you need to find all three.
The Green House
First enter the green building in the northeastern area of the island. Inside, several holes lead back and forth between the floors.
Climb over the green stairs to the second floor and jump back down through the left pit. Run up the stairs again and walk to the next row of floor holes.
Jump through the left opening here as well. Repeat the path across the stairs one last time. In the third group, you jump through the extreme left pit. This will land you directly with the hidden member of IDLE.
The Yellow House
The second child is stuck in the door of a yellow building in the western part of Desolatt Island. First enter the neighboring yellow house at the still closed conectar flower.
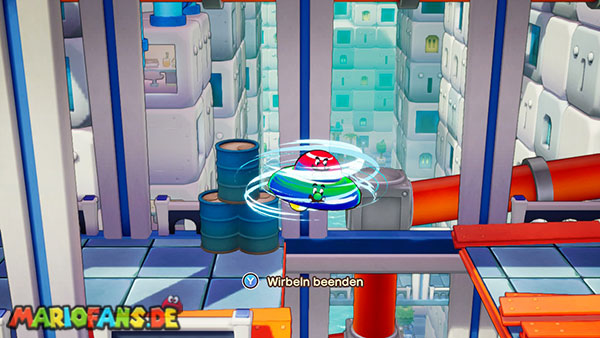
Inside are several platforms separated by large gaps. Use the UFO maneuver to float over the green jump fields to the other side.
Get up to the roof and use the UFO maneuver again to reach the neighboring building. Jump down through the opening in the roof.
Activate Luigi’s idea. Luigi pushes the stuck team member from the inside out of the door frame and frees it.
The Blue House
The last hidden child is in the blue building in the north of the island. In front of the entrance there is also an eye-catching turnip, under which you will find a Grampy turnip.
Inside the house it is almost completely dark. Hit the hammer against the yellow color switch near the entrance. However, the light remains on for only a short time.
Jump over the blue boxes and look for more light switches along the way. Strike them with the hammer in time before the room gets dark again.
You cross larger gaps with the UFO maneuver. At the right end of the building you will find the last member of IDLE.
The Road to the Lighthouse
After all three children are found, you return to the central square. IDLE recognizes Mario and Luigi’s abilities and opens the great gateway to the north.
Follow the accessible path towards the lighthouse. Use the healing block along the way and save your progress. Behind the next pass, the first boss of the polychromeer is waiting.
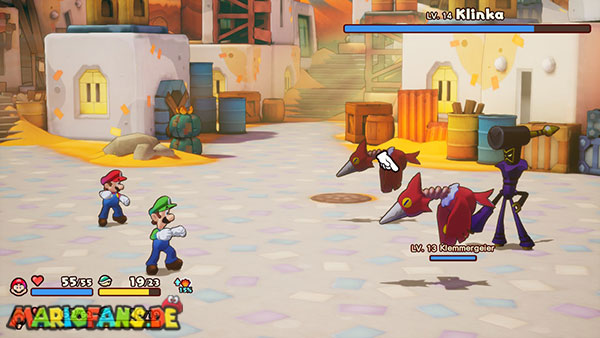
Boss: Ten – Level 14
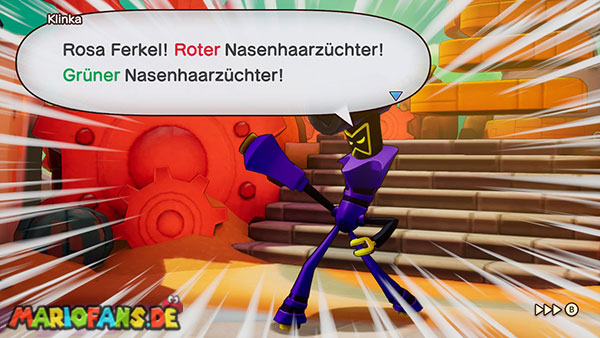
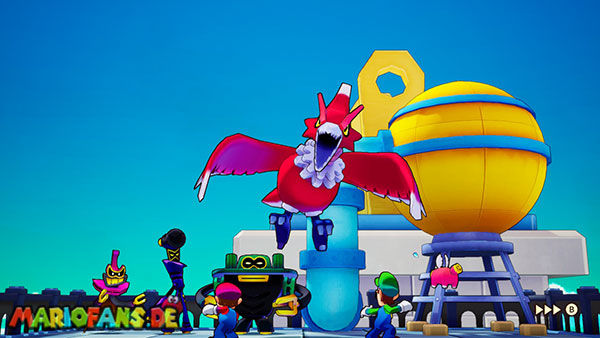
In front of the lighthouse, Mario and Luigi meet the Extension Corps again. For the first time, their leader Zokket also appears. He leaves Ten to fight the brothers.
Ten can be injured with jumps and hammer strikes alike. Use your bros. Attacks if there is enough BP and focus all attacks on Ten.
If Ten summons additional Snaptor, you should usually ignore them. If you defeat one of them, Ten can summon a new one. This prolongs the struggle unnecessarily.
fend off the mirror balls
In one of his most important attacks, Ten makes several mirrors and glowing energy balls appear. The balls are flung back and forth between the mirrors before flying towards one of the brothers.
- When a ball strikes a red mirror, it flies towards Mario.
- If a ball last impacts a green mirror, it flies towards Luigi.
Remember the order and wreck the bullets with the corresponding brother’s hammer. Later, Ten fires several bullets in succession. Stay calm and always orient yourself on the last touched mirror.
Klinka’s energy ball
In another attack, Ten faces a large purple ball and rolls toward Mario and Luigi.
Repeat the ball one by one with the hammers. After three successful hits, she shatters and Ten falls to the ground. Strike the hammer again to cause additional counter damage.
If you miss one of the hammer strokes, the bullet can hit one or even both brothers. Therefore, pay attention to their rhythm and do not get too early.
Attacks by Snaptor
The summoned Snaptor can grab one brother and roll on the other. Jump with the free brother over your trapped partner. If you accidentally land on him, he suffers additional damage.
The birds also throw various objects at Mario and Luigi. Observe the trajectory and only jump if the object is actually flying towards the brother near the ground.
The First Battle Plugs
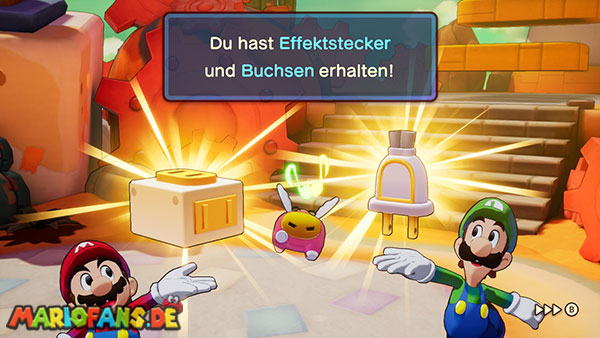
After the victory, Ten loses a power connection and the first battle plugs. He returns briefly and tries to take it back to himself.
The following short battle serves as an introduction to the Battle Plugs. First of all, equip the plug that facilitates countering. Defend Klinka’s attack.
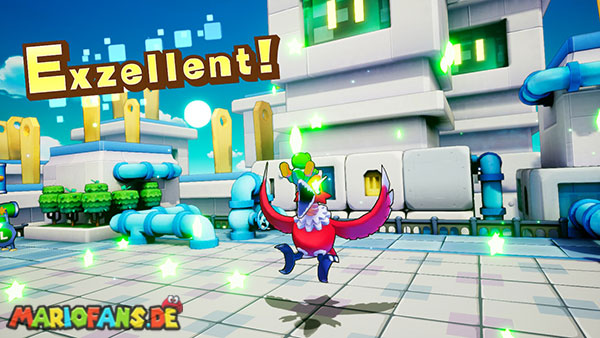
Then insert the exploder. Complete a normal jump or hammer attack with EXCELLENT for a shock wave to occur and hit both Ten and the called snaptor.
After the introduction, Ten flees. Snoutlet now explains how to make more battle plugs from the energy of the glowing buds.
Make at least one new plug. The ball hailer or a plug for state changes is a good addition at this time.
After that, go to the lighthouse and pull out the large plug. Desolatt Island is connected to Shipshape Island. IDLE then decides to accompany Mario and Luigi on their journey.
Merrygo Island
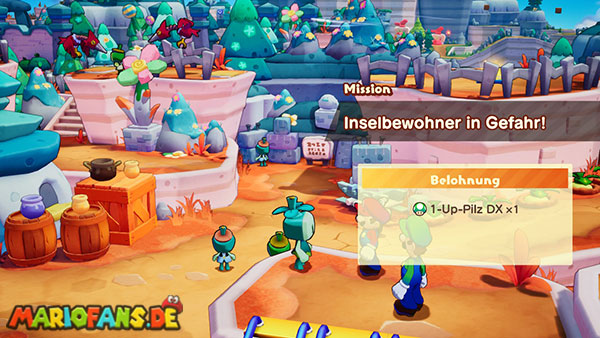
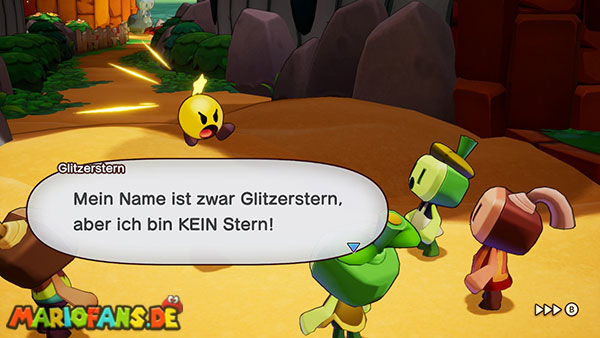
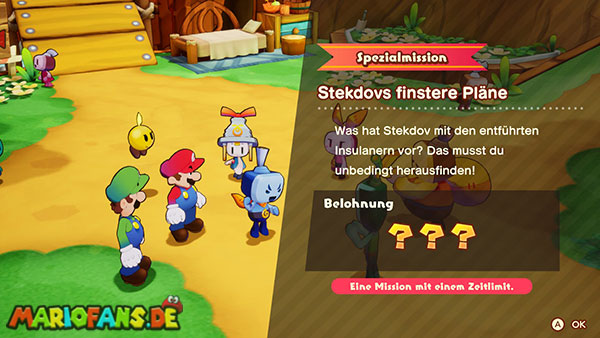
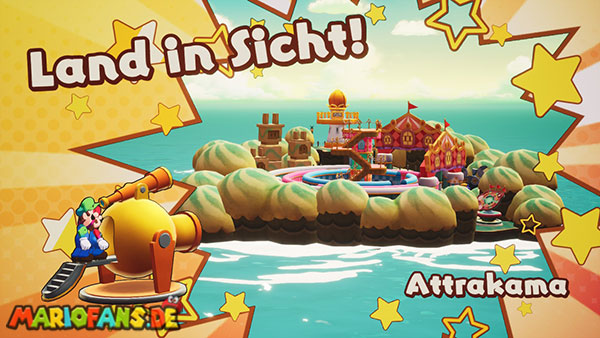
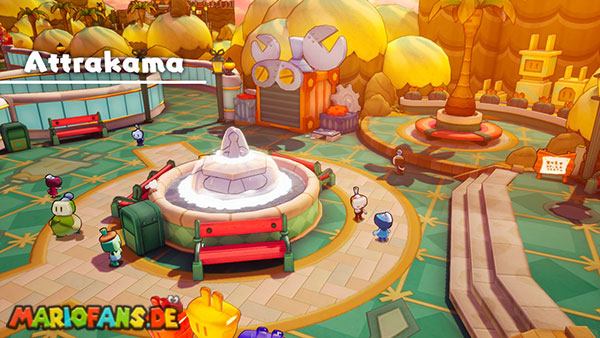
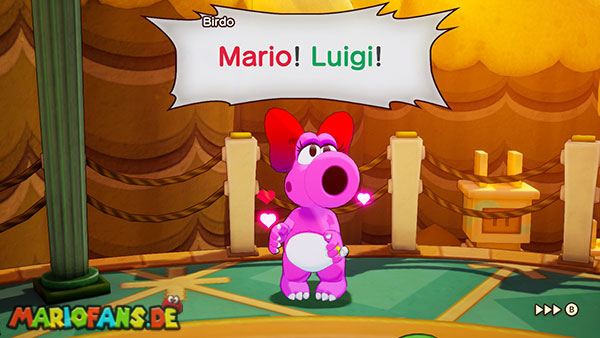
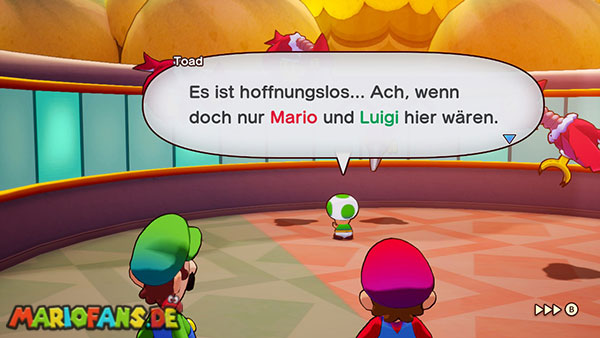
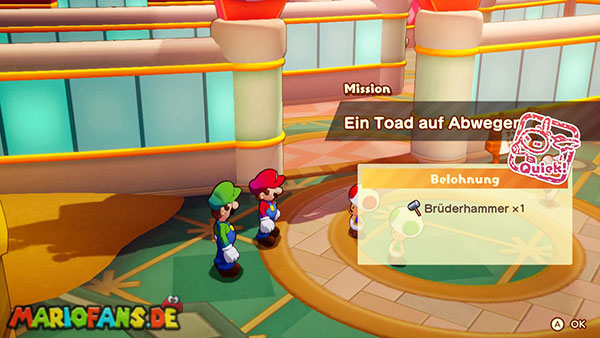
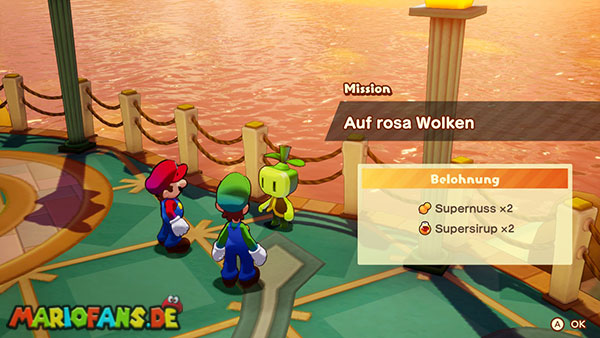
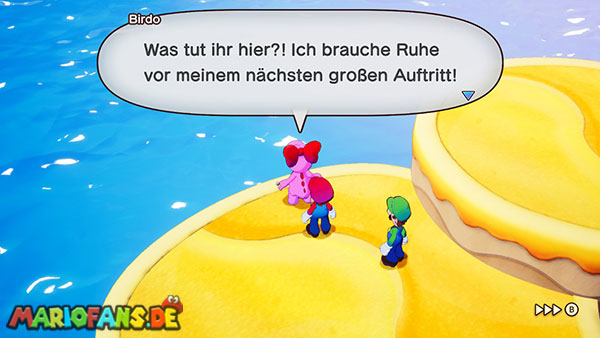
Back on Shipshape Island, IDLE first introduces itself to Connie. Shortly thereafter, a call for help sounds on the beach. There, Starlow waits, who is completely dissolved from the abduction of Princess Peachs reported.
The new indications connect another current on the Ocean Map. Go with Shipshape Island to the southern area of the Polychromeer and discover Merrygo Island by telescope.
The entrance to the labyrinth
After landing, two residents point you to the great labyrinth. Princess Peach is said to have been brought by pinch vultures in his direction.
Go to the entrance and talk to the resident in front of the labyrinth. He shows you three important points:
- the observation tower in the center,
- a second observation tower in the western area,
- the exit to the northeast.
The red flags on the passages help you with orientation. Since the wall rings rotate later, already used paths can be closed again.
To the central observation tower
Enter the labyrinth and go first to the left through the only open archway. Follow the outer path and enter the labyrinth again.
Stay in the direction of the furthest right opening. Run through the open passageways until you reach the place with the central observation tower.
Hit the Color Switch at the foot of the tower. Luigi has an idea and stays behind on the Color Switch while Mario climbs the tower.
From above you can see the entire labyrinth. Press the button once so that Luigi presses the Color Switch. The inner wall ring rotates and opens a path to the second observation tower.
The second observation tower
Get down from the tower with Mario and walk through the northwest opening. Follow the open passageways until you reach the second tower in the western area.
Let Luigi press the color switch there once. As a result, the outer wall ring rotates. At the same time, a path back to the central observation tower is created and the exit is properly aligned.
Return through the now open archways to the central square. Let Luigi stand on the Color Switch again and climb the tower with Mario.
Press the Color Switch again. The inner ring now rotates so that a continuous path to the exit in the northeast is created.
Walk through the northeast opening and follow the open passageways until you leave the labyrinth.
Saving Technikki
Behind the exit, a resident is harassed by several clamping vultures. Defeat the Enemies. Then she introduces herself as Technikki.
Technikki has developed various safety mechanisms of the island and explains that Princess Peach is located near the lighthouse.
Princess Peach
Enter the labyrinth again through the northern opening at the exit. Follow the path until you reach the only open passage on the right.
Mario and Luigi meet Princess Peach. She was kidnapped but managed to escape her guards. After the conversation, she accompanies the group back to the lighthouse.
Climb the stairs and pull out the big plug. Merrygo Island is connected to Shipshape Island.
Back on the ship, Princess Peach meets Starlow again. Together with IDLE, she is developing a plan to find the Extension Corps prison.
Lottacoins Island
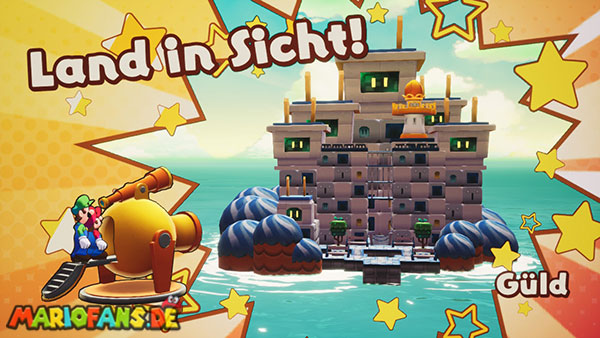
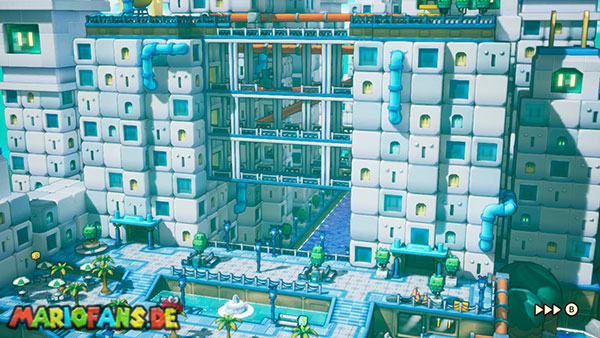
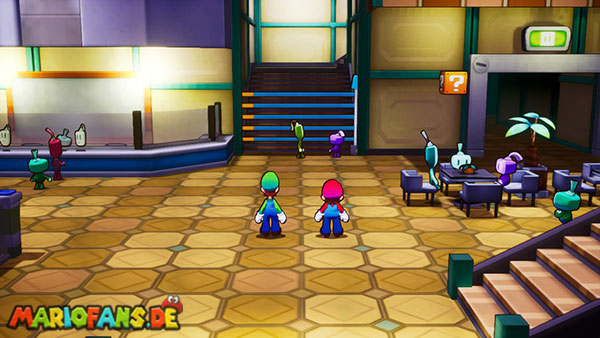
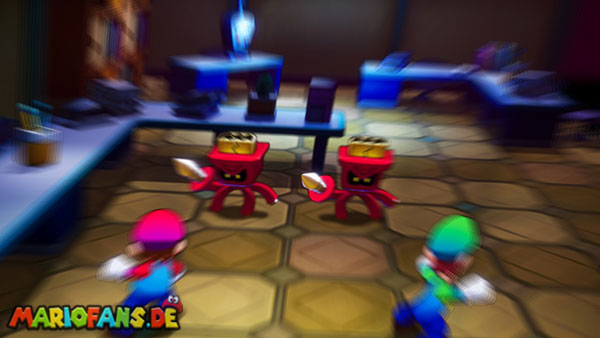
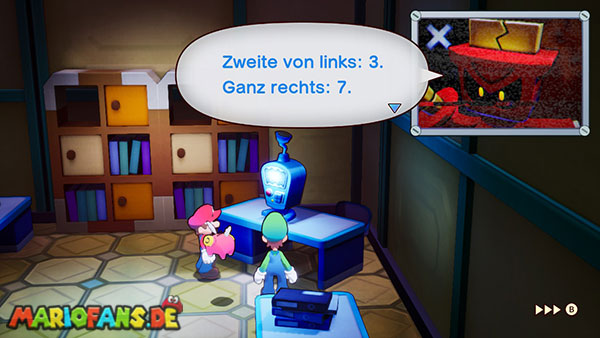
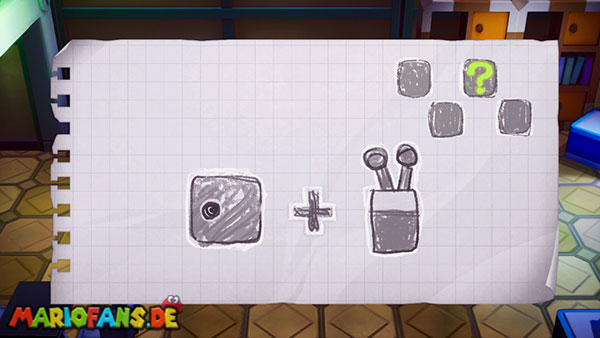
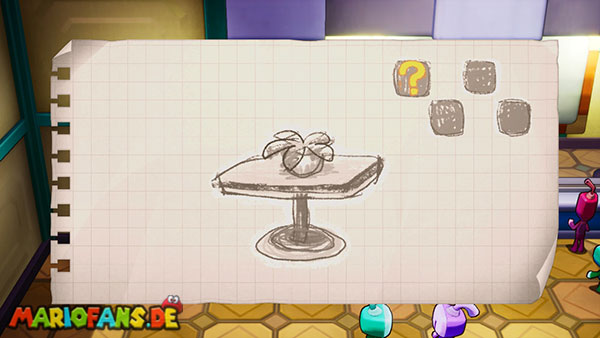
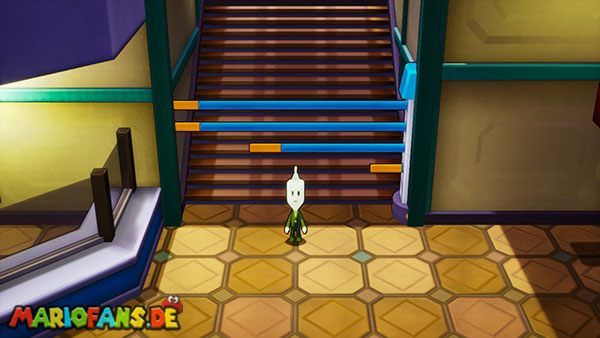
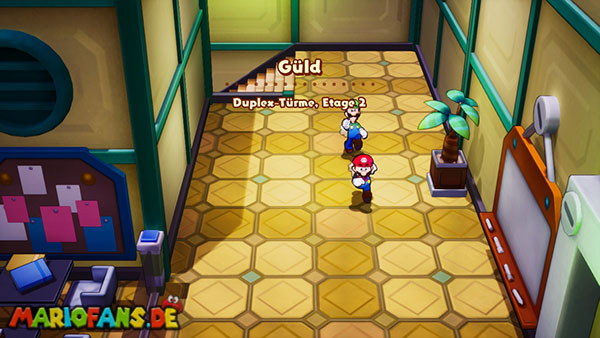
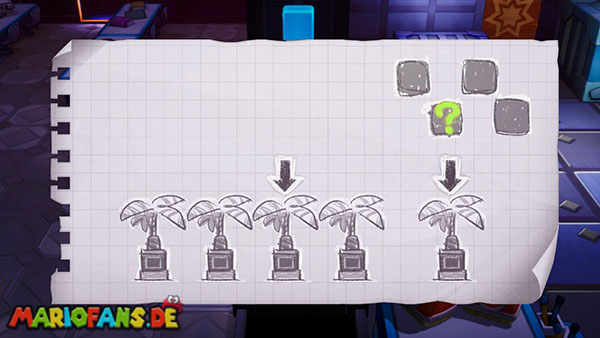
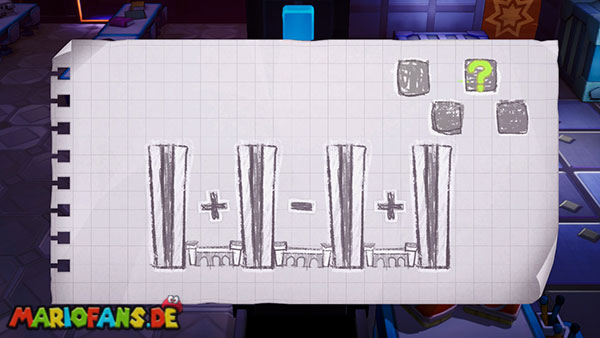
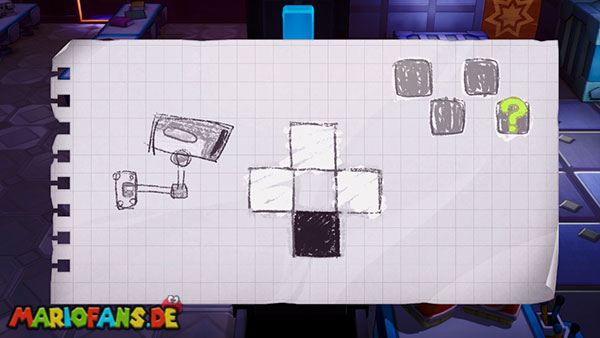
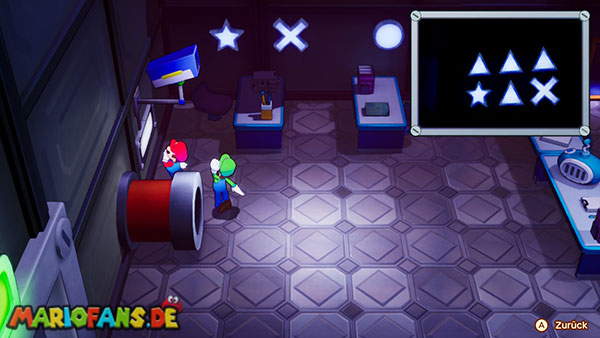
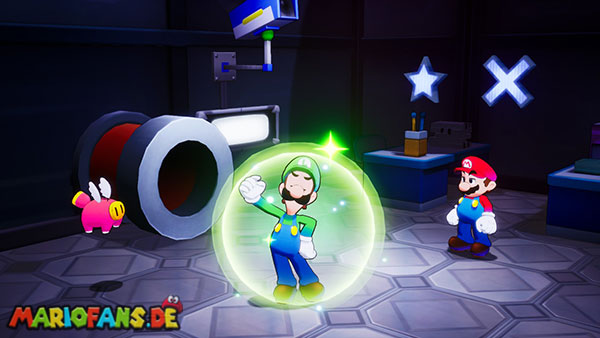
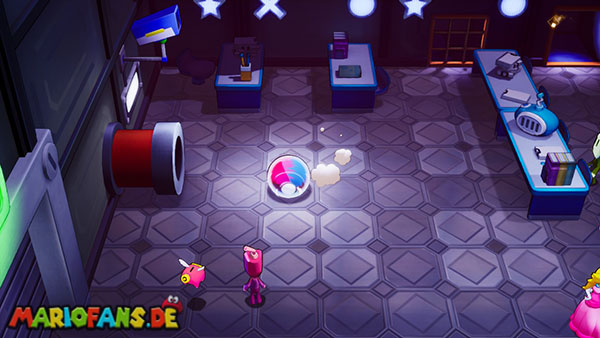
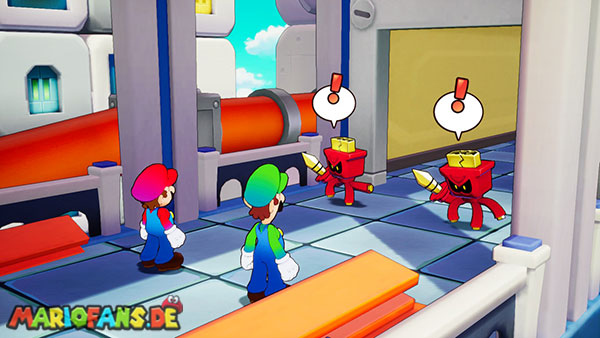
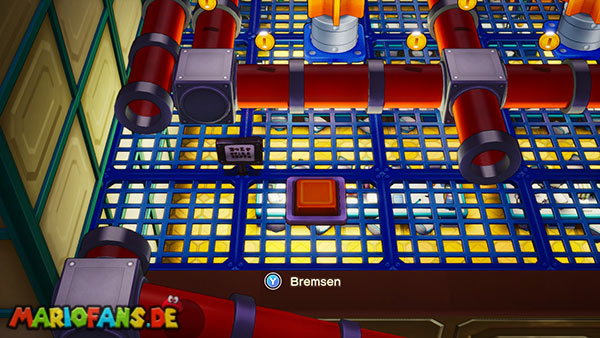
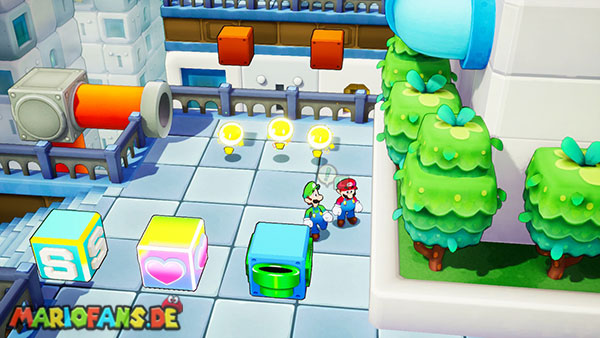
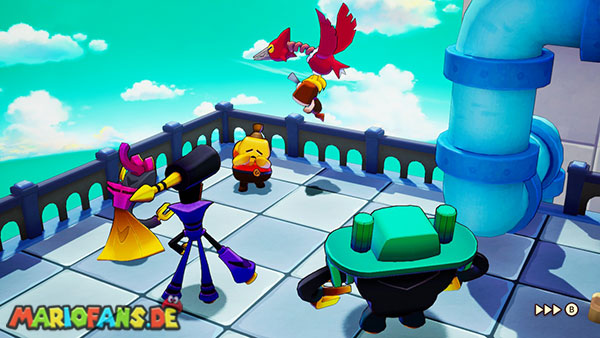
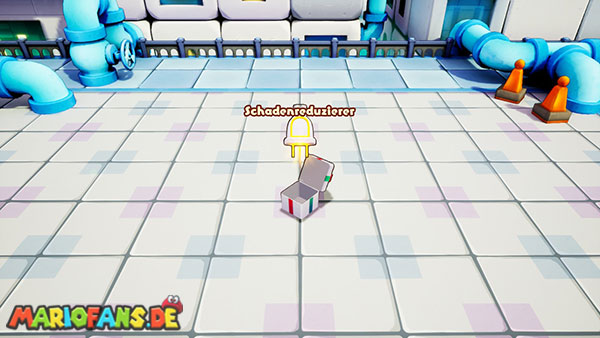
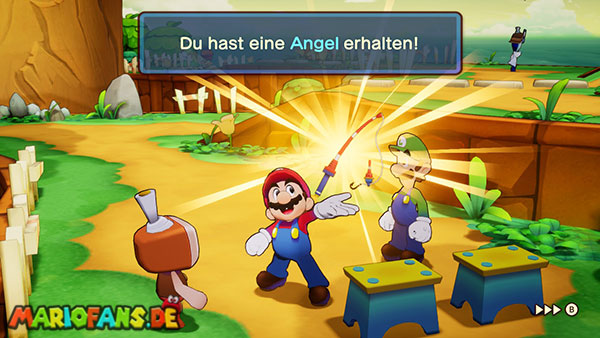
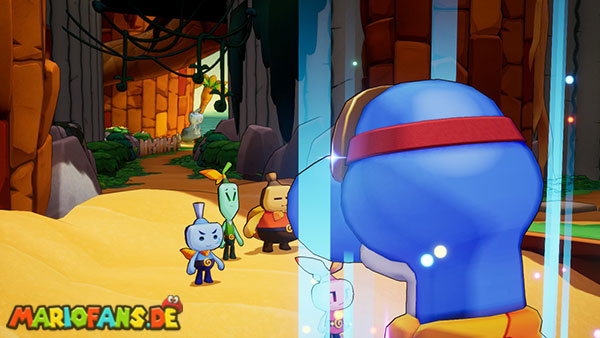
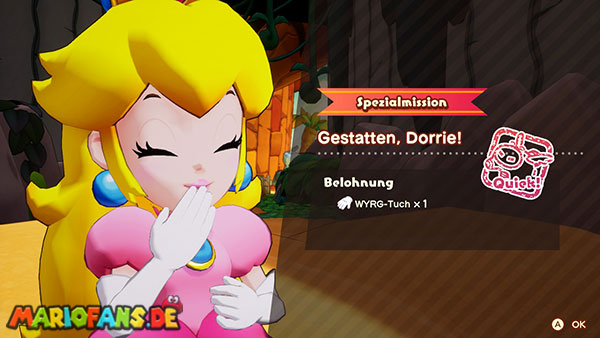
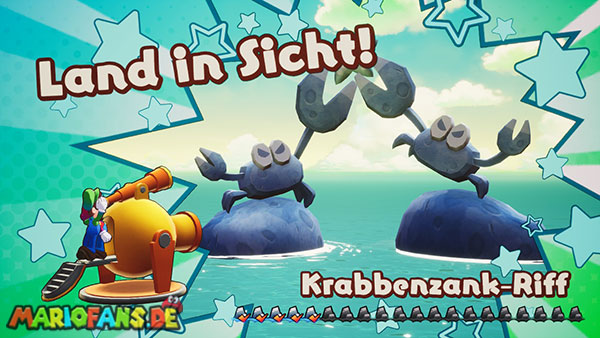
The Extension Corps is said to hold numerous residents captive on Lottacoins Island. To find out the location of the prison, either Princess Peach or Luigi must be intentionally abducted.
Princess Peach or Luigi as a decoy?
The decision changed some scenes and a short section in prison. The basic course and the rewards remain the same.
- Choose Princess Peach: Luigi accompanies Mario throughout all battles and puzzles. This variant is simpler.
- Choose Luigi: Mario has to manage a part of the island alone. For this you get additional scenes from Luigi’s point of view.
For the complete solution, we recommend choosing Princess Peach as a decoy. With Luigi as a combat partner, the Enemies on Lottacoins Island are much easier to defeat.
After the decision, you will receive a call from the kidnapped person. It is located in the large office building on Lottacoins Island.
Entering the office building
After landing, IDLE joins the search. Follow the way west. Along the way, you will pass a shop where you can buy new equipment and healing items.
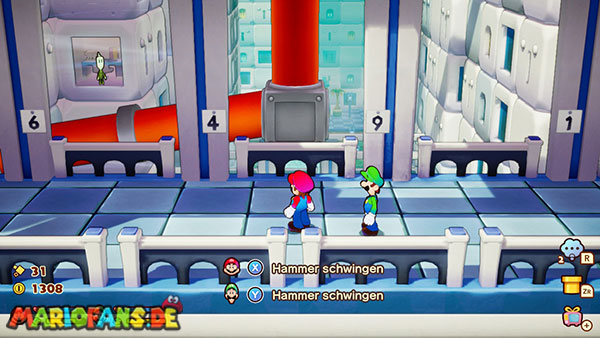
The entrance of the large building is on the far left. In the foyer the direct path is blocked. A door on the right requires a four-digit number code.
First go up the stairs. Before the next passage, a guard stops you and sends you back.
In the previous room, IDLE helps to cross the guarded bridge. Defeat the Enemies on the other side and enter the office.
First numerical code: 5387
Examine the voice system on the desk. From a guard you get a part of the code. The remaining information can be found at the person at the reception as well as at one of the residents on the ground floor.
The full code is:
5387
Return to the locked door in the foyer and enter the four numbers. Access to the upper floors opens.
The Fourth Floor Prison
Climb above the stairs. Along the way, several members of Stekdov’s troops face you.
If you have chosen Princess Peach as a decoy, Luigi stays with Mario. Cross the broken bridge with the UFO maneuver.
If Luigi was selected as a decoy, the game takes over briefly at this point his perspective. Destroy the boxes in the cell with his hammer. Behind some boxes are small openings through which Luigi can crawl.
Follow the passages until Luigi reaches the other side of the broken bridge. After that, both brothers jump into the lower area and are reunited.
Second numeric code: 6529
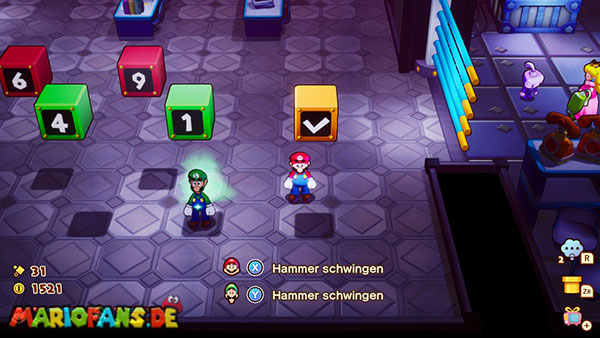
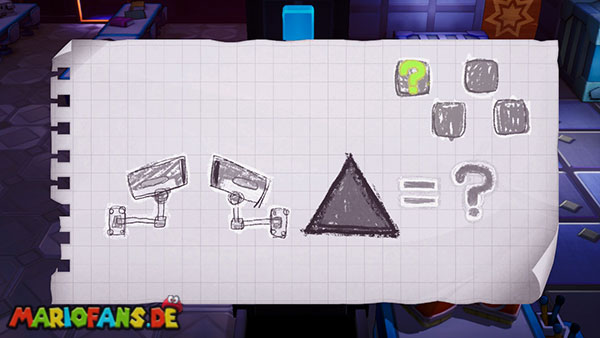
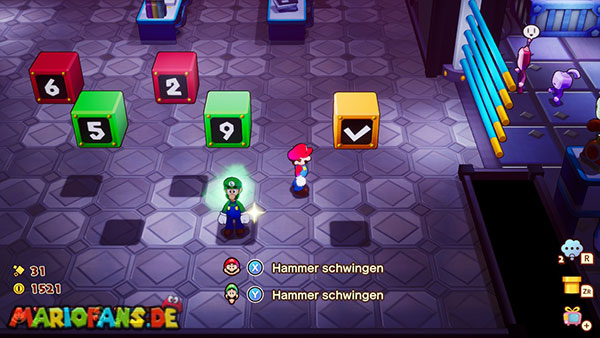
There is another locked door in prison. Talk to Princess Peach and the other prisoners. Their clues lead to several colored blocks of numbers on the floor.
Red blocks can be activated only by Mario and green blocks only by Luigi. If you want to shorten the search, the correct code is:
6529
Enter the numbers in that order. The cells open and the prisoners can leave the building.
The Bro Ball
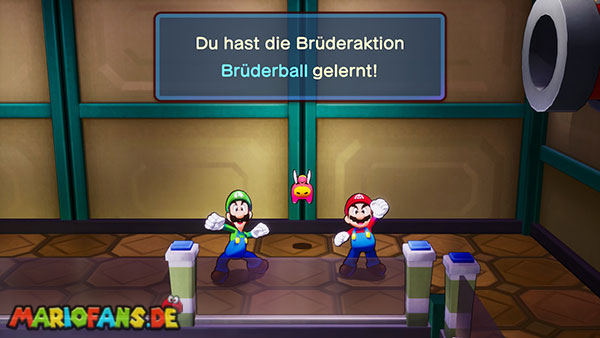
Near the prison entrance is a large open warp pipe. Examine them so that Mario and Luigi learn a new Bros. maneuver.
In the Bro Ball, the brothers curl up into a ball. This allows them to enter round tubes, move quickly over the ground and cross quicksand.
Use the new maneuver and roll through the open warp pipe. It leads back to the lower part of the office building.
Ellow was kidnapped
Return to the fourth floor and talk to the freed prisoners. Then go back to the entrance hall to IDLE.
There, the group discovers that Ellow has disappeared. The Extension Corps dragged him to the roof of the building.
Go back to the fourth floor. Use the large warp pipe in the area with the broken bridge and roll in with the bullet maneuver.
The tube puzzle
In the next room are two large valves. Use the UFO maneuver on both to rotate the connected tubes.
Align the pipe sections in such a way that a continuous connection is produced from the inlet to the outlet. Pay attention to the openings at the ends of each tube.
Once both pipes are properly connected, roll in again with the bullet maneuver. The Warp Pipe brings Mario and Luigi to the roof.
Use the healing block there, activate the green warp pipe to the store and save your progress.
Boss: Mega-Snaptor – Level 16
On the roof, the Extension Corps holds Ellow captive. After she releases him, she incites the mega-snaptor on Mario and Luigi.
Since the boss flies during a large part of the fight, you should mainly use jump attacks. The Battle Plugs flight opponent specialist is especially helpful, as jumps against flying Enemies cause critical damage.
Countering picking attacks
The mega-snaptor stretches his neck forward and tries to hit a brother with his beak. Hold the hammer ready and strike just before the beak reaches Mario or Luigi.
Later he picks several times in succession for both brothers. Change between X and Y and always focus on the brother in front of whom the head of the bird appears.
The Captive Brother
The Mega-Snaptor can grab Mario or Luigi and fly with him over the battlefield. The free brother must now react to the falling objects.
- If a rock near the ground is flying towards you, you have to jump over it.
- If the imprisoned brother is dropped and rolls towards you, you also jump over him.
- Light objects that fly high above the ground can be passed without jumping.
- You can touch a falling mushroom to get 30 HP back.
Never jump on the imprisoned brother. He would suffer additional damage as a result.
The Tornadoes
In another attack, the mega-snaptor generates several tornadoes. Watch their movement and jump over the vortices as soon as they reach Mario or Luigi.
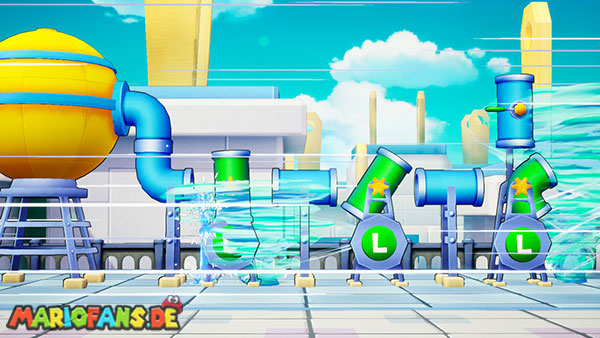
After the attack, the water pipes in the background are twisted by the tornadoes. Now the symbol for a Luigi Logic appears.
Luigi Logic against the mega-snaptor
Activate Luigi’s idea and align the water pipes properly again. Turn the pipe sections so that the water can flow from the lower connection to the outlet above the boss.
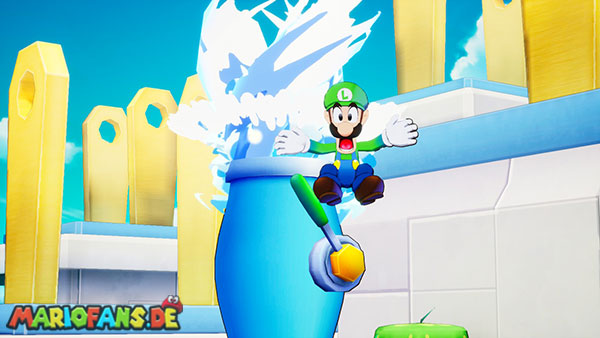
If the puzzle succeeds, the mega-snaptor is hit by a strong water jet. He falls to the ground, becomes dazed and temporarily has a smaller defense.
As long as the boss is on the ground, you can also use hammer attacks. Put your strongest bros at this stage. Attacks and offensive battle plugs.
Repeat as soon as the mega-snaptor creates tornadoes again. Heal both brothers early, as several of his attacks can pull off a large part of the CCP.
After the victory, the Extension Corps flees. Ellow returns to IDLE. As a reward, you will also receive a new battle plug.
Role subsequently through the Warp Pipe behind the battlefield. It leads directly to the lighthouse. Pull out the big plug to connect Lottacoins Island to Shipshape Island.
After returning, the fishing site on Shipshape Island will also be unlocked. There you can pull different fish and objects from the sea during longer journeys.
Allersande
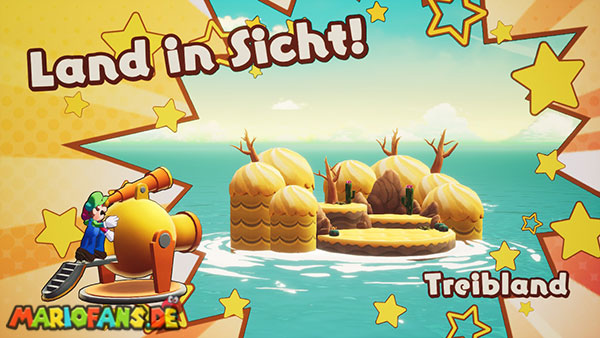
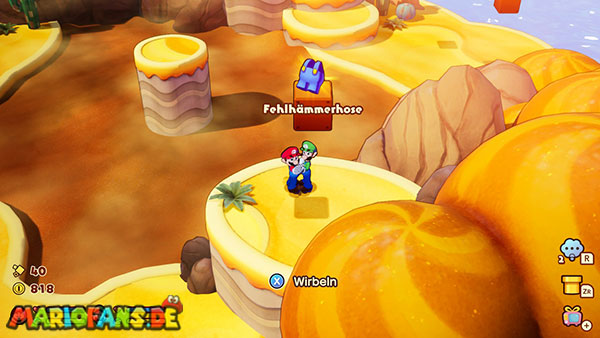
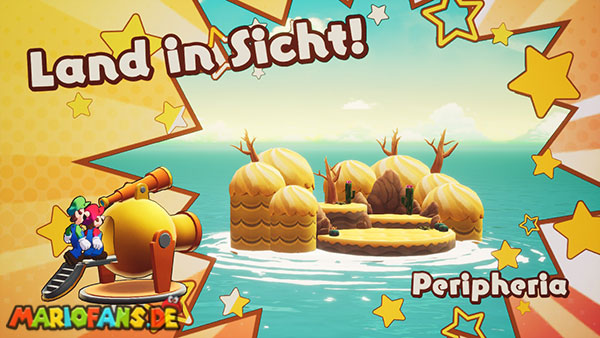
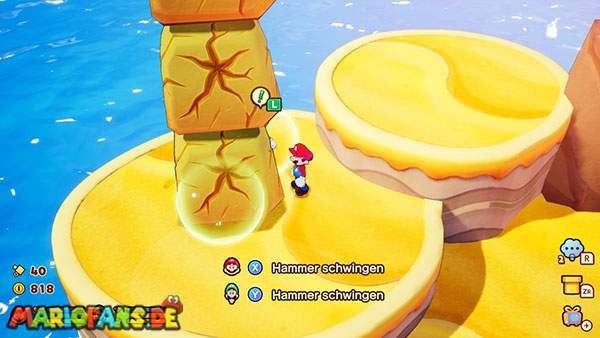
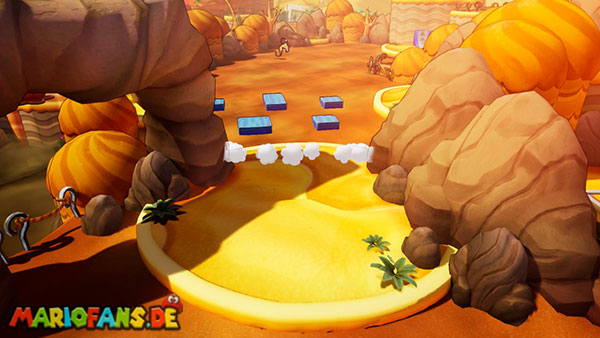
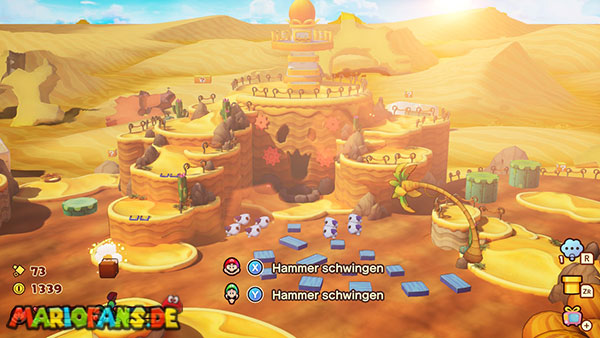
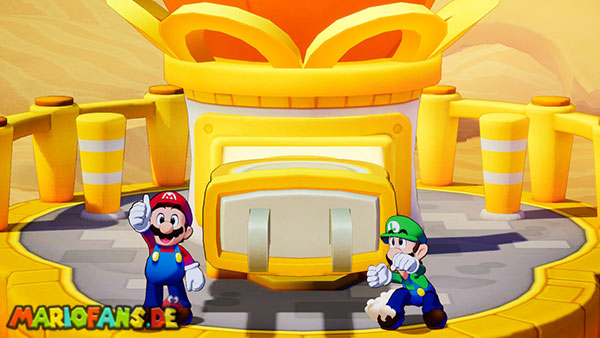
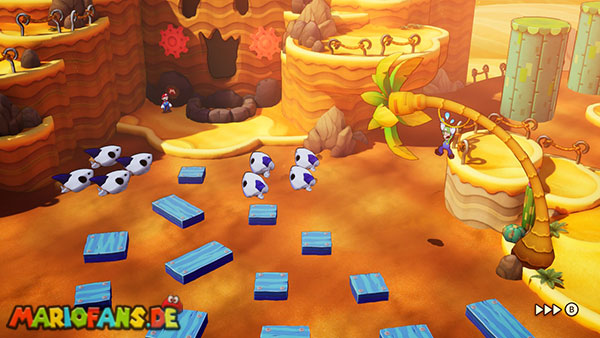
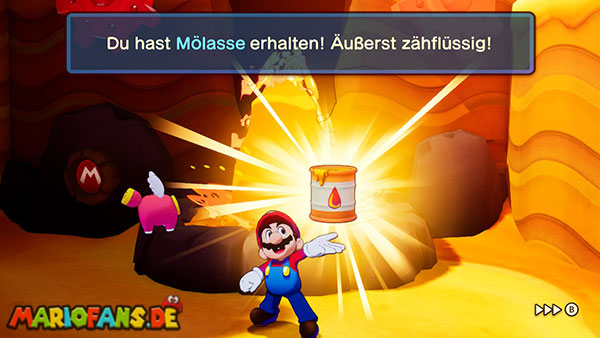
The second giga lighthouse is still protected by a metal wall. Snoutlet therefore develops the plan to build a large Mini Rocket and thus blow an opening into the wall.
In order for the individual parts of the Mini Rocket to hold together, he needs a particularly sticky material: the Mölasse from Allersande.
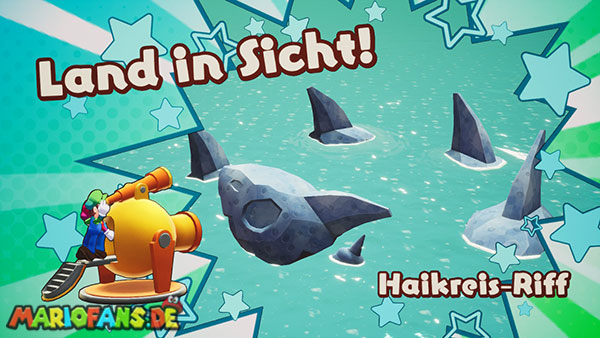
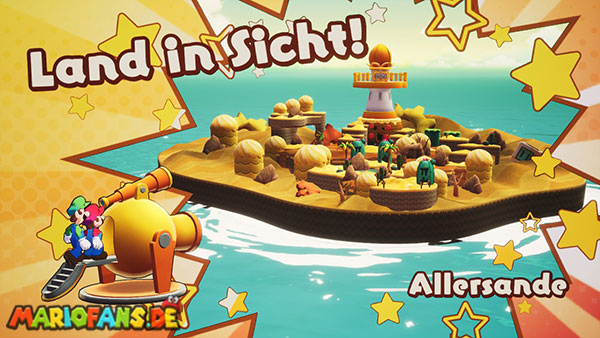
Set a course for the newly accessible current on the Ocean Map. Discover Allersande with the telescope and then use the Cannon.
With the bullet through the quicksand
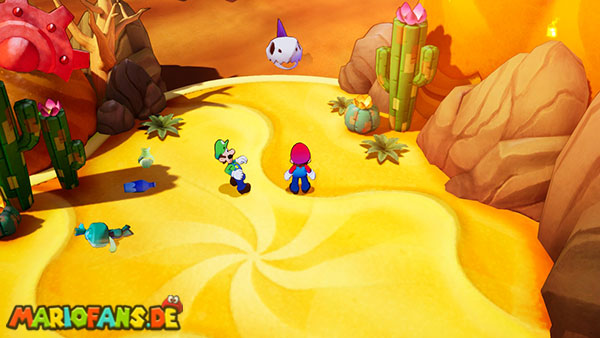
After landing, follow the way north. Already in the first area you reach large areas of quicksand.
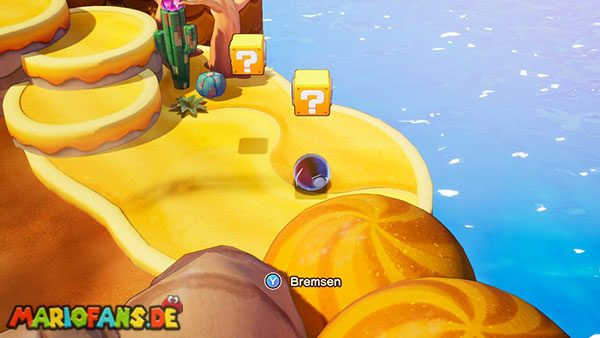
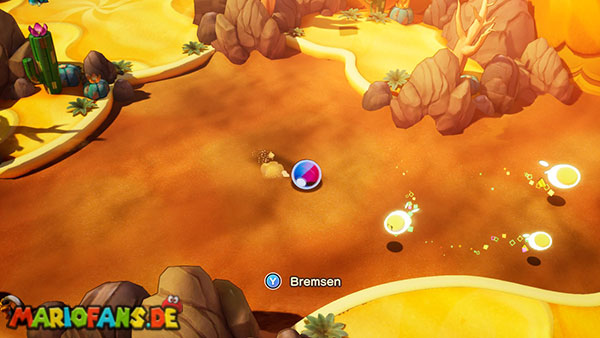
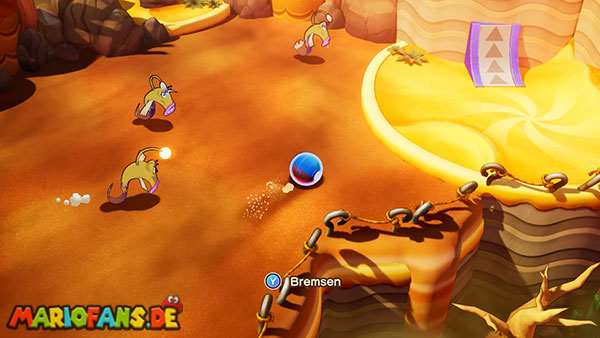
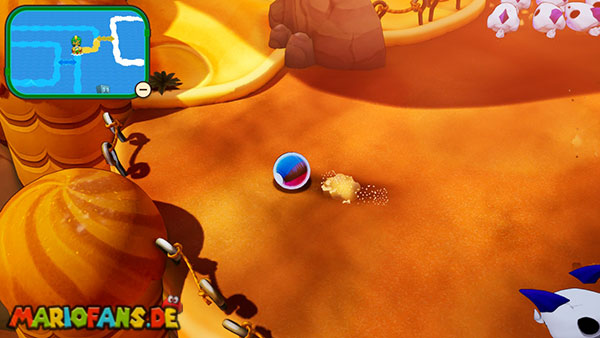
Mario and Luigi cannot cross the sand on foot or in normal jumps. Activate the bullet maneuver and roll over the surface.
If you stand too long, the brothers will sink. Therefore, keep moving until you reach solid ground again.
Beware of the sand sharks
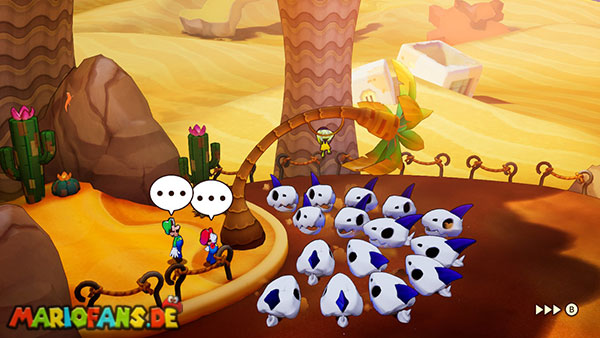
In the next area, an exhausted resident warns you about the sand sharks. These Enemies already have Level 40 and are significantly stronger than Mario and Luigi at this time.
Don’t try to defeat them. If you still get into a fight, you should immediately choose the Flee. Even a single hit can make a brother incapable of fighting.
In the upper world, the sand sharks swim straight through the quicksand. Roll laterally out of their path as soon as they shoot at you. Since they hardly change their direction during the attack, you can escape them with a quick evasive movement.
The village and the oasis
Role to the island on the far left. There you will find a shop, a memory block and a green warp pipe. If necessary, buy new equipment and activate the abbreviation.
There is an oasis nearby. From there you go to the right and roll through the next quicksand area to the second permanent island.
Hit the Color Switch. This opens the grid on the neighboring island.
The floor plate puzzle
Go to the open grid. Let Luigi stand on the floor with his Luigi Logic. On the other hand, blue platforms appear.
Jump with Mario across the platforms and go through the open gate. Climb right over the projections and destroy the rocks with the hammer.
Pick up the green cube. Run back down with Mario and the dice. Call Luigi away from the bottom plate and place the cube on the Color Switch instead.
The gate now remains permanently open and both brothers can continue together.
Reaching the molasses
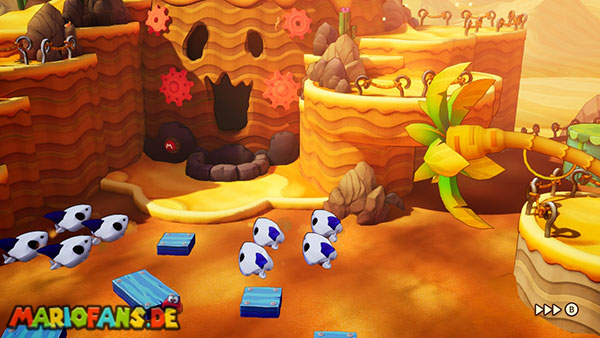
Follow the road north. Along the way, you’ll encounter shower fish and invisible vaschmäleons. For invisible enemies, you should listen to their steps to see the right time to dodge.
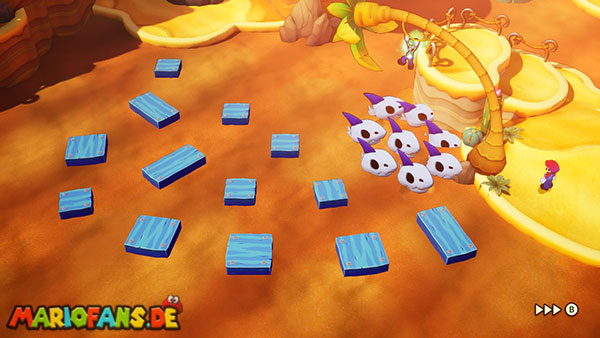
In the following area, you will see the molasses on a small island. However, several sand sharks guard the surrounding platforms.
If you try to jump right over, the sharks destroy the blue blocks. A fight against the entire group is not a sensible solution either.
Save the inhabitants of the Palm
Role instead to the extreme left island of the area. There a resident hangs on a palm tree while several sand sharks wait under him.
Talk to him. In the following scene he saves himself with a sweeping maneuver on the palm tree. Luigi sees this as a way to distract the sand sharks.
Return to the island in front of the molasses. Examine the palm tree there and let Luigi hang on it.
The sand sharks now gather under Luigi. However, the distraction lasts only for a limited time.
Steer Mario quickly over the blue platforms to the moasses. Do not wait on the sand sharks, but jump from Block to Block without interruption.
On the other hand, you hit with Mario’s hammer against the Color Switch. This will give you the required moasses.
Then return to Luigi and reunite the brothers.
Connecting all sands
Role to the island with the lighthouse. Rise above the projections and pull out the large plug.
Allersande is connected to Shipshape Island. Snoutlet receives the molasses and can complete the work on the Mini Rocket.
Note: The blue and white ramps on Allersande cannot be used on your first visit. For this you need a later improvement of the bullet maneuver.
Giga lighthouse #2
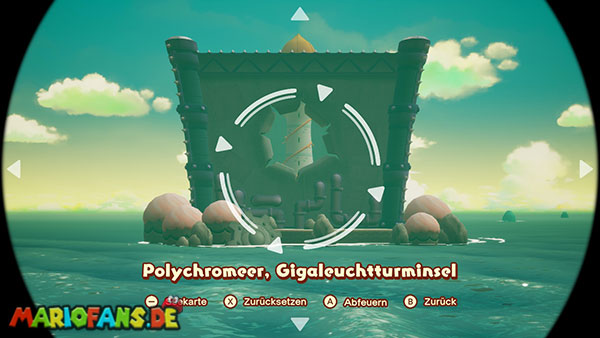
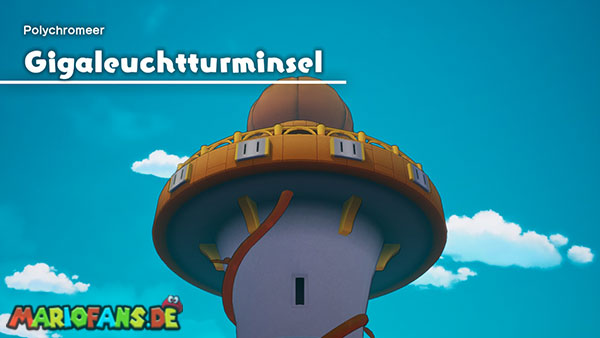
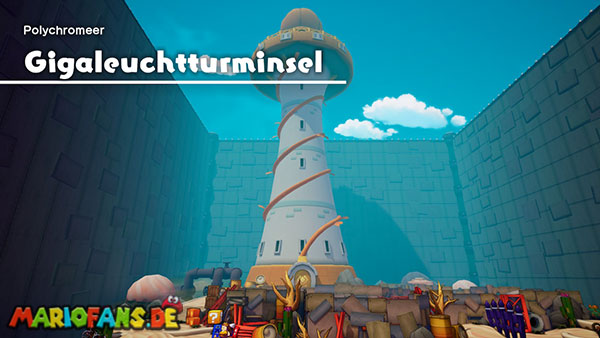
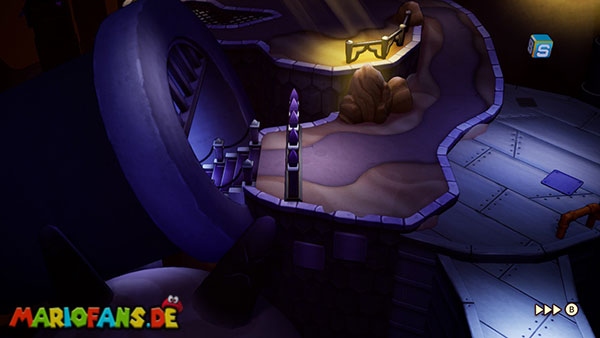
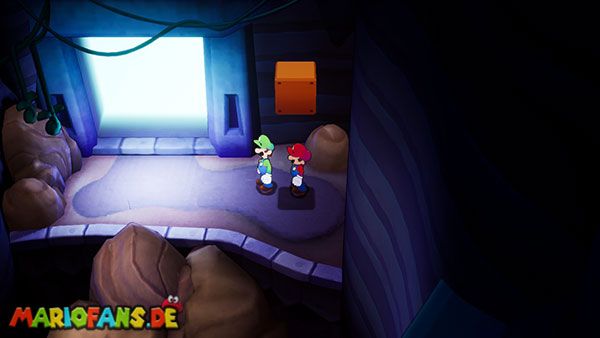
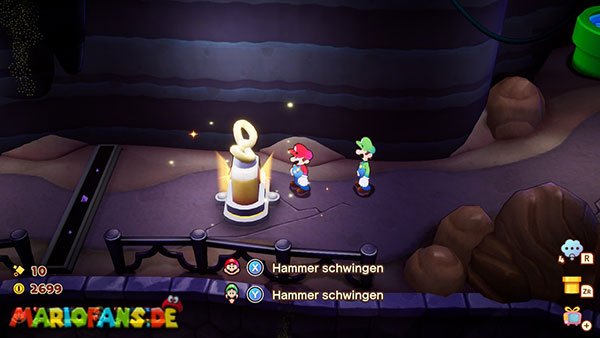
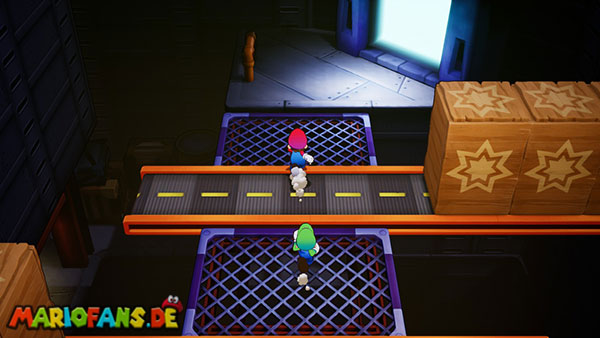
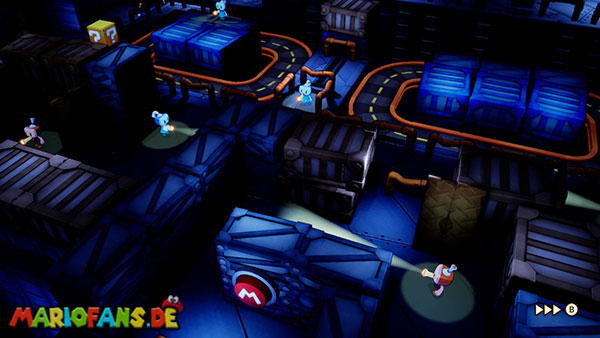
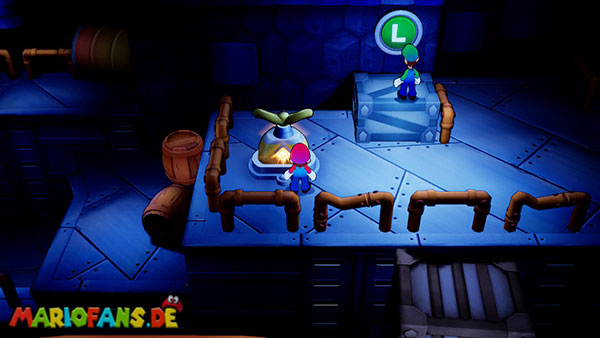
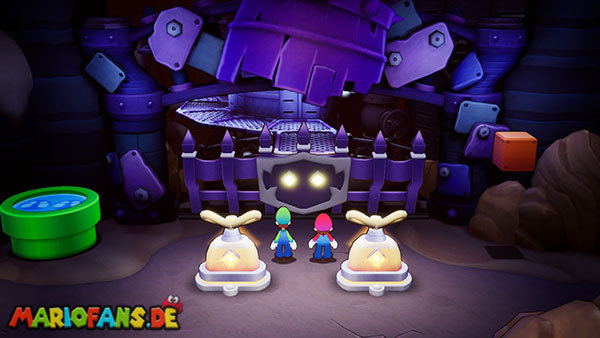
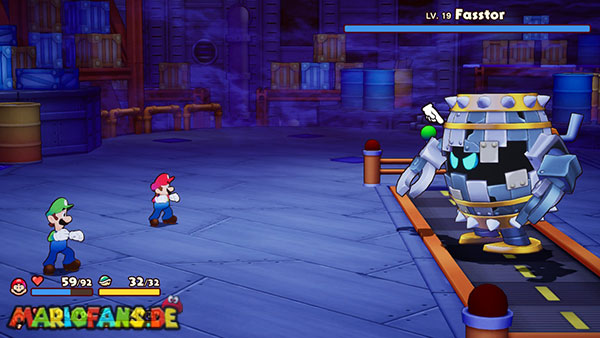
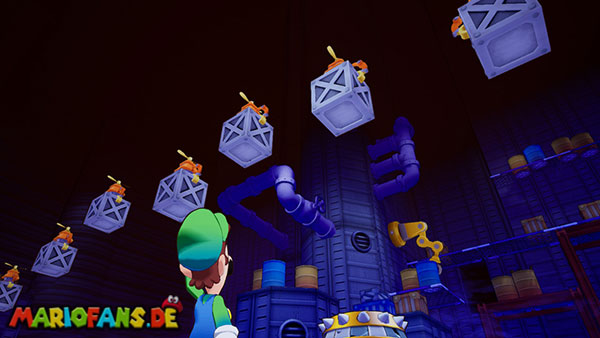
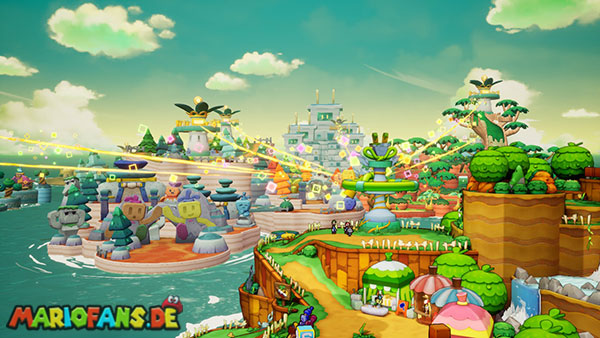

After the Mini Rocket is completed, Shipshape Island sets a course for the second giga lighthouse. Use the telescope once you reach the metal wall.
IDLE volunteers to control the Mini Rocket. After launch, it breaks through the metal wall and opens an access to the Giga Leuchtturminsel.
Use the telescope again and shoot Mario, Luigi and Connie with the cannon through the opening.
Sharpcask has level 19. Mario and Luigi should therefore also be approximately at this level. Fill up your stock of super mushrooms, supernuts, syrup jar and fresh roots.
The side entrance
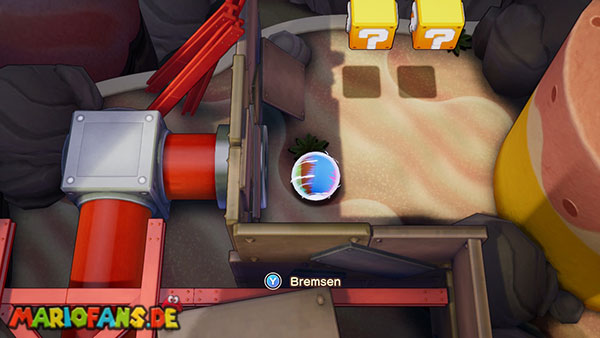
The large door at the front of the giga lighthouse is locked. Go right around the building and activate the bullet maneuver.
Roll through the tube system until you arrive at the exit with a red M-Color switch. Strike against it with Mario’s hammer. The outer gate opens and Connie can follow the brothers.
Sneak past the guards
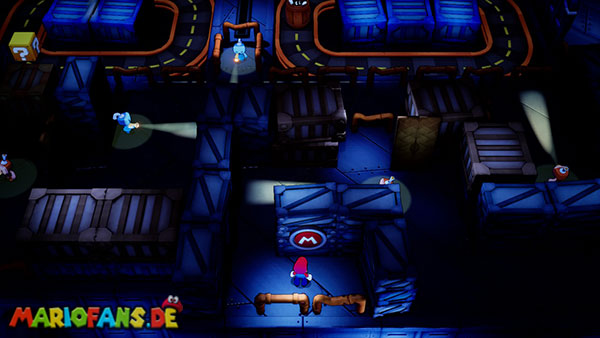
In the first basement, walk through the southern door. Several residents patrol the room and are not allowed to discover Mario and Luigi.
On the first attempt, you will be automatically caught. After that, Luigi has an idea. He hides in a large barrel and can help Mario distract the guards.
Activate Luigi’s idea. Luigi moves independently in the barrel near Mario.
At the first guard, Luigi puts herself in their field of view. Run with Mario behind the barrel. Alternatively, you can jump on the barrel and reach the raised platform behind the guard.
In the second guard, Luigi positions herself again in front of her field of view. Wait until she is completely distracted from the barrel, and walk by with Mario.
In the next section you put Luigi in front of the high lead. Use the barrel as a step step and jump up with Mario.
Continue running until Luigi appears on the other side of the guards. Jump on his barrel again and put Mario on the orange floor plate. The door to the conveyor belt chamber opens.
The first conveyor belt chamber
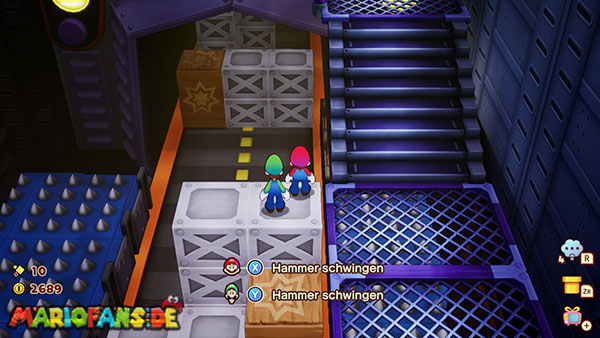
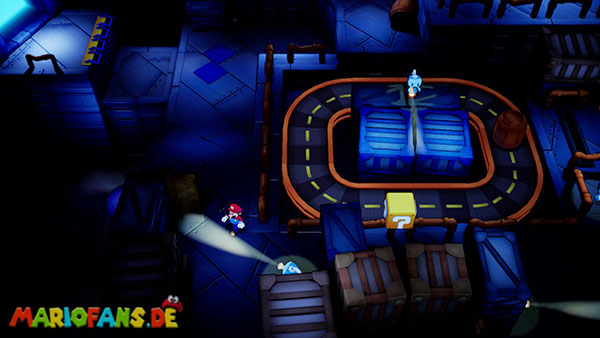
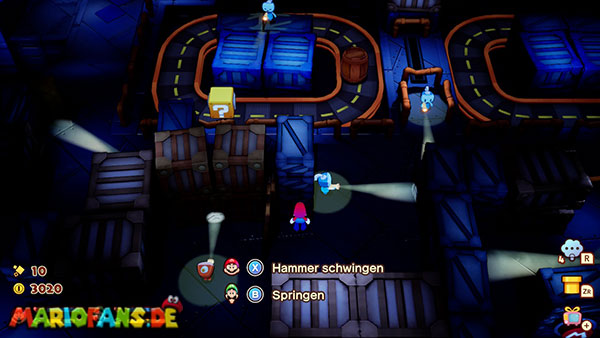
Go east and destroy the wooden boxes in front of the spring bar. Swing to the elevated entrance and enter the next room.
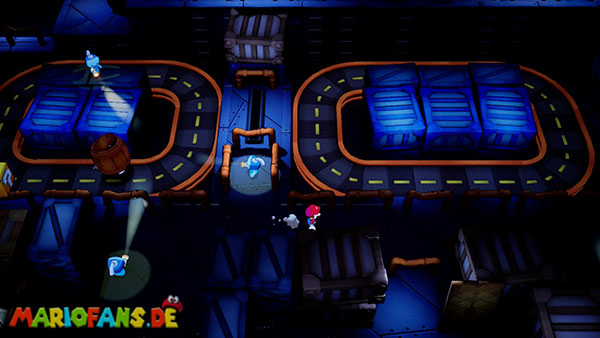
Wooden and metal boxes appear on the Conveyor Belt. Only destroy the wooden boxes. The metal boxes remain standing and gradually form a staircase.
Once enough metal boxes are stacked, jump to the top platform. Strike against the exclamation mark block to open a gate in the main area.
Leave the room through the northern door. In the conveyor belt area, walk through the second door on the western side. It is located next to a collapsed resident.
In the room behind, hit the red M-Color Switch. A staircase is lowered and Connie can follow the brothers into the second basement.
The second basement
In front of the big gate are two empty sockets. To open it, you need two power plugs.
First activate the green tube block next to the gate. This creates a shortcut to the entrance of the island.
The first energy plug
Go east from the main gate and through the door to the storage room. You can defeat the Enemies or continue directly through the northern door.
In the next conveyor room you destroy the wooden boxes again. Let the metal boxes stand until they form a staircase to the raised platform on the right.
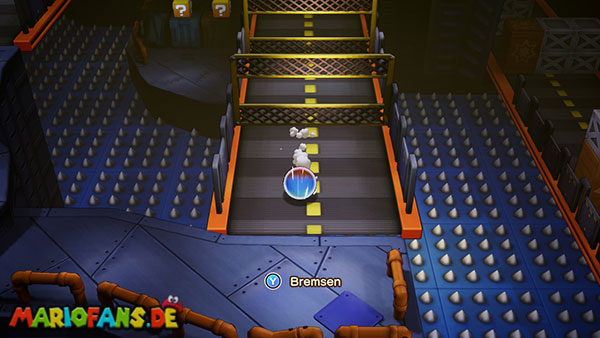
On the following Conveyor Belt, two yellow grids block the path. Roll up with the bullet maneuver and jump in spherical form through the narrow openings.
First, ignore the door and roll onto the third Conveyor Belt. Jump through the grids in spherical form there too.
Then go to the left and through the door. Strike against the exclamation mark block. This opens the gate back to the main area.
Enter the previous room again and leave it through the southwestern door. There you will find the first energy plug.
Don’t take him to the main gate yet. Instead, insert it into the jack at the locked gate to the west. The gate opens and releases a staircase into a new area.
The box machines
Follow the path east until you reach two large hammer machines. In front of them are a red M- and a green L-Color switch.
Mario in front of the M-Color Switch and Luigi in front of the L-Color Switch. Press the Color Switch with X and Y when a wooden box passes the respective machine.
Destroy all wooden boxes. The metal boxes remain on the Conveyor Belt and form a path to the northern door.
Jump over the metal boxes and enter the next room. Defeat the Enemies or run past them.
The second stealth puzzle
In the next area, more guards patrol. Luigi hides again in the barrel and moves on a round Conveyor Belt.
The blue guards usually stay in place. Let Luigi jump out of the barrel with B in front of them. The guard turns to Luigi and Mario can walk by.
The red guards move on fixed paths. Wait until they turn their backs on Mario and follow them with some distance.
Pay attention to the bright circles around the guards. When Mario enters one of these areas, he is discovered and the section begins again.
Distract the first blue guard with Luigi’s jump. Wait at the red guard until she leaves, and run to the next safe corner.
In the following two blue guards you have to jump again at the right moment with Luigi. Mario can sneak by as long as the guards look at the barrel.
In the last section you follow the first red guard from behind. Hide in the side niche before it turns.
Wait until it runs back, and then go to the red M-Color Switch. Strike against it with Mario. The gate at the Conveyor Belt opens and Luigi can leave the area.
The second energy plug
Return to Luigi and walk through the open passageway. Get on the platform and follow the path to the left.
Pull the second power plug out of its socket. After that, beat Luigi against the green L-Color Switch. A stairway back to the main area is extended.
Insert the second plug into one of the two sockets in front of the large main gate.
Then go to the western gate and get the first energy plug out of the socket. The side gate closes, but you are already on the right side.
Also insert the first plug into the main gate. The passage to the boss room opens.
Be sure to use the healing block and save your progress.
Boss: Sharpcask – Level 19
In the next room, Ecks and the rest of the Extension Corps are waiting. Ecks brings in Sharpcask, a large mechanical barrel that has been reinforced with especially many indistinct lights.
Sharpcask owns Spike Trap. Therefore, equip the Battle Plugs barbed opponent specialist. Hammer attacks against him thus cause critical damage.
Also, offensive plugs such as ball hailers, attack amplifiers or drowsiness attack are helpful. For the defense, car mushroom and step-safe protection are suitable.
Cask rolls
Sharpcask rolls across the battlefield and attacks Mario or Luigi several times in a row.
Jump only shortly before the boss reaches the respective brother. With good timing, you land on him and cause counter damage.
Later, Sharpcask rolls faster and switches more frequently between Mario and Luigi. Pay attention to his direction and do not press the jump buttons at the same time if the brothers are attacked one after the other.
Cracked barrels
Sharpcask can throw several small barrels at the brothers. Watch their trajectory and jump over the barrels as soon as they roll near the ground towards Mario or Luigi.
Some barrels jump over the ground themselves. In this case, wait a short moment so you don’t jump right into the barrel.
Countering the metal box
In another attack, Sharpcask carries a large metal box and runs towards a brother. Meanwhile, it alternates forward and backward.
Only strike with the hammer when Sharpcask leans backwards and can hardly hold the Crate.
If you meet at the right moment, the Crate falls on Sharpcask and causes damage. If you strike too early while he leans forward, the Crate lands on Mario or Luigi instead.
Ecks‘ support
Ecks occasionally appears on the sidelines during the fight and cheers on Sharpcask. This increases its power and defense for one round.
At this stage, at low HP, use a cure. Your attacks cause less damage, while Fastor’s next move is more dangerous.
Fasstors‘ armour
After losing part of his HP, Sharpcask retreats into his reinforced tank. His defense increases sharply and he restores some HP.
Normal attacks are now hardly effective. Wait for the symbol of Luigi’s idea and activate it.
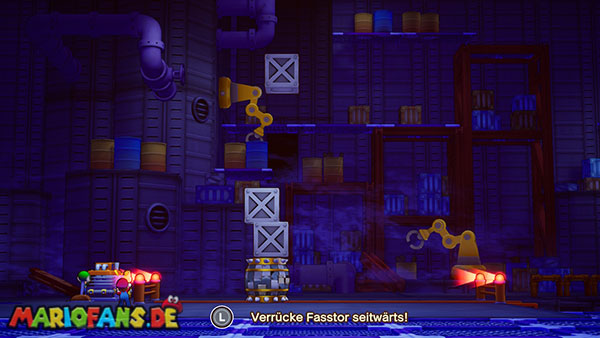
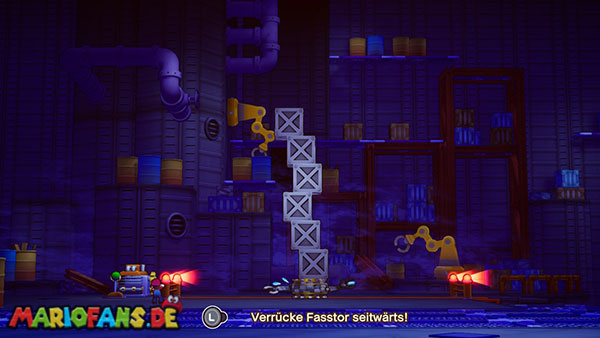
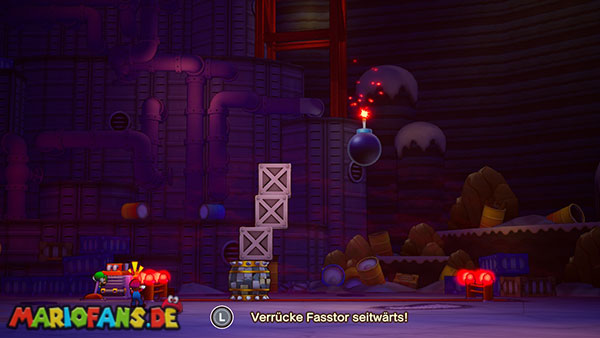
Luigi Logic: Stacking Boxes on Sharpcask
Mario and Luigi must balance Sharpcask on a Conveyor Belt and stack a total of six boxes on it.
Steer the boss to the left and right so that he rolls under the falling boxes. Catch each crate centrally so that the stack does not tip over.
From the second use of the Luigi Logic, additional bombs appear. Avoid them. If a bomb hits the pile, several boxes are destroyed and you have to collect them again.
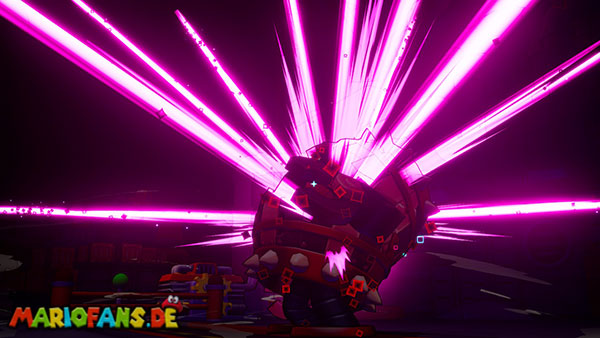
Once six boxes are stacked, Sharpcask loses its balance. He rolls over the Conveyor Belt, is hit several times and then remains dazed.
His defense is significantly lower during this phase. Now use the barbed opponent specialist, your Bros. Attacks and other offensive battle plugs.
The Angry Phase
At low HP, Sharpcask becomes angry. His rolling attacks become faster and can hit both brothers several times.
He can also make Mario or Luigi dazed and then perform a particularly strong jump attack. Heal the condition immediately with a refreshing herb or use car herb.
Keep both brothers as much as possible over half of their CP. Nuts are especially practical in this fight because many attacks can hit Mario and Luigi at the same time.
Repeat the Luigi Logic when Sharpcask reactivates its protective tank. Attack outside the dazed phase mainly with critical hammer strikes.
After the victory, you will receive the Sharpcask Hammer. In addition, numerous clarifiers are released, which Snoutlet collects for the further journey.
Igniting the Giga Lighthouse
After the fight, go to the elevator at the end of the room and drive to the top floor.
Follow Connie to the big glow bud. It restores the energy of the giga lighthouse and connects another part of Konektanias.
After the following scenes, Shipshape Island leaves the Color-Full Sea and heads to the next area: the Brrrning Sea.Brrrning Sea