
The complete solution to Mario & Luigi: Brothership for the section in the “Gulchrock Sea”.
On this page we help you reconnect the lost islands with Shipshape Island. We also explain the secret route to Wayaway Island, the boss fights against Bowser and Glohm Bowser, and the examination of Conductorius.
Offandon Island
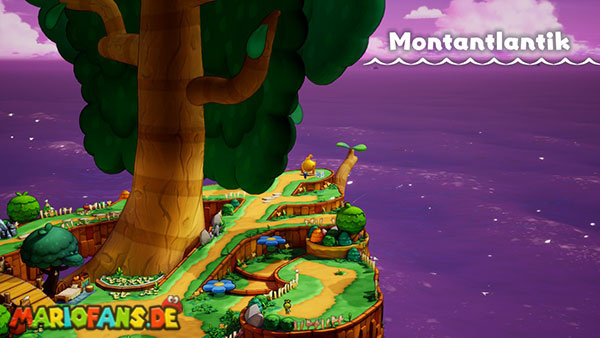
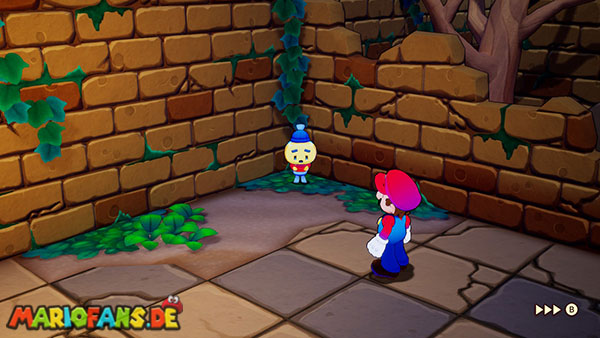
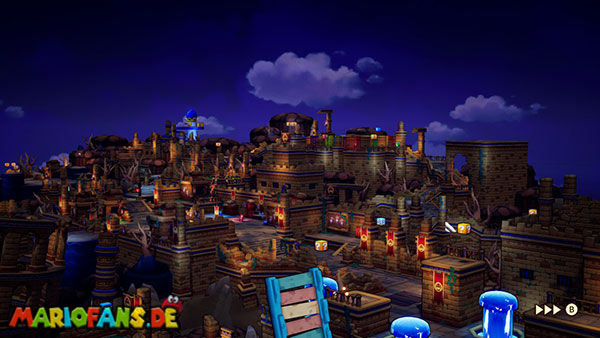
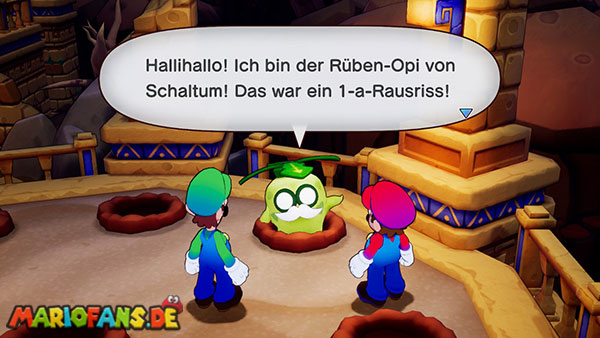
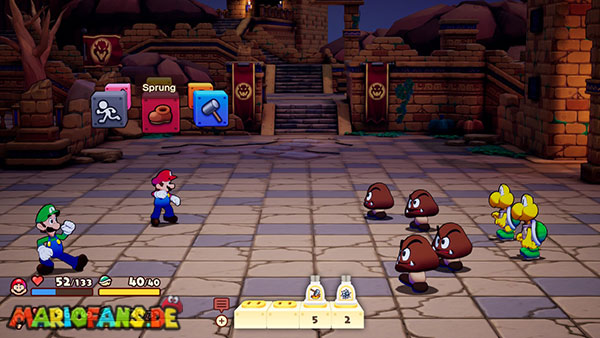
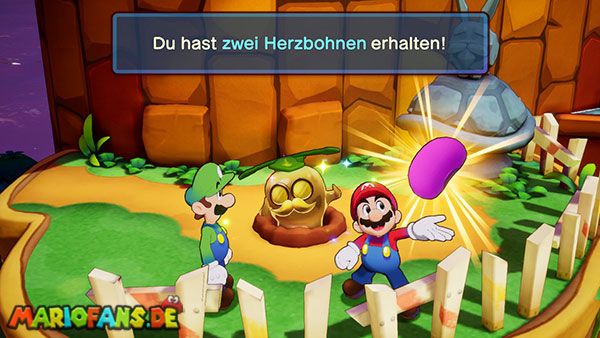
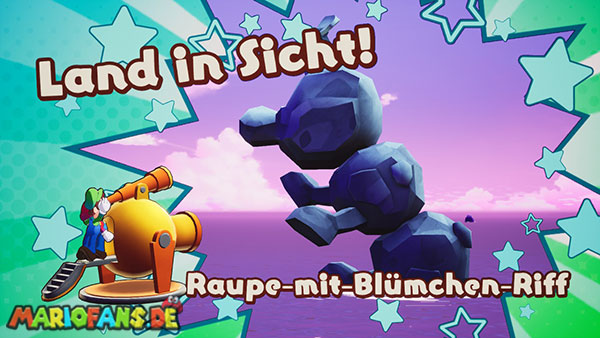
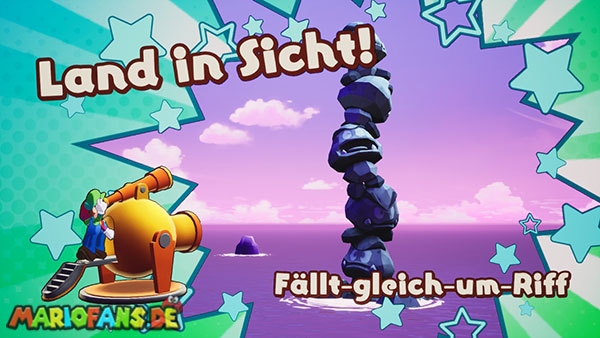
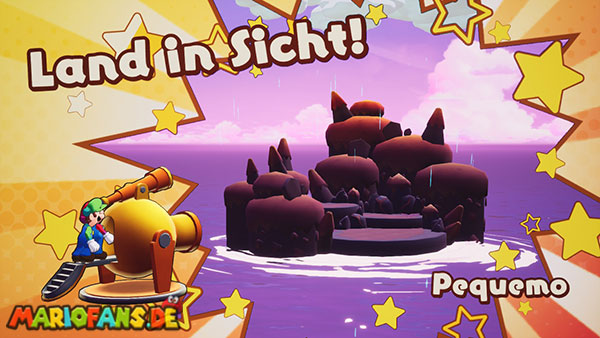
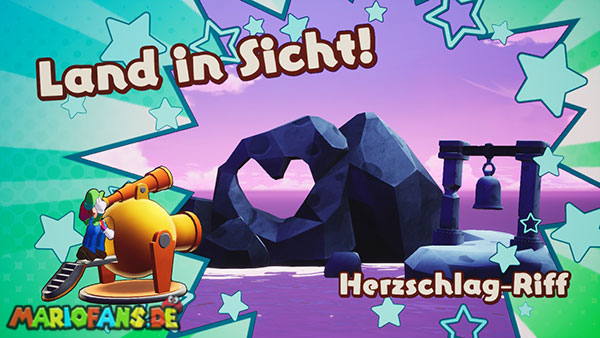
After igniting the third giga lighthouse, Shipshape Island gets between Bowser’s troops and Zokket’s soldiers. During the attack, Mario and Luigi are thrown off the ship and drift to an unknown island.
The brothers land on Offandon Island. Shipshape Island is not accessible for the time being, so you first have to find the island’s lighthouse and make a new connection.
Get rid of Kamfred
After landing, follow the way north. Nearby are a dealer, a healing block and a storage block. Buy new items as needed and save your progress.
Then walk along the curved path. Soon after, you hear someone calling for help. Destroy the big boulder with the hammer.
Under the stone is Kamfred. He belongs to Bowser’s troops, but does not want to fight Mario and Luigi. Instead, he explains that the brothers landed on Offandon Island.
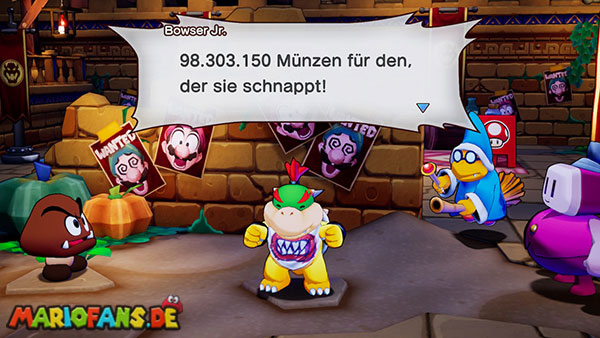
Follow Kamfred through the island. Near the village square you will learn that Mario and Luigi are wanted by Bowser’s troops. Kamfred therefore shows the brothers a secret way to the lighthouse.
The secret passageway
Activate the bullet maneuver and roll through the narrow warp pipe. Follow the underground path and defeat the Enemies guarding the passage.
Behind the tube aisle, the path leads through several elevated platforms. Along the way, you will encounter Goombas, Koopas and stone-throwing opponents.
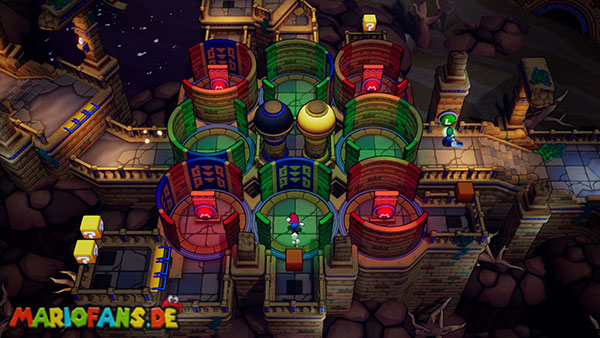
At the end you will reach a large bridge with several rotating walls. Mario and Luigi must separate for this puzzle.
The Mystery with the Rotating Walls
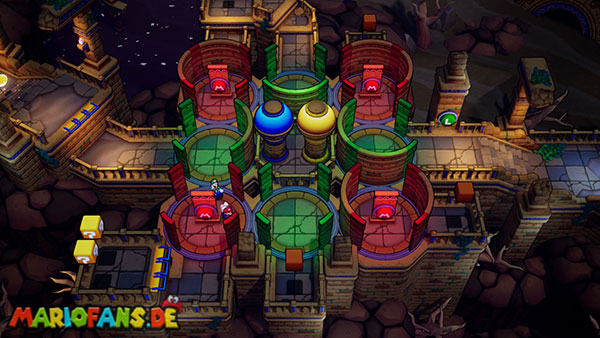
Leave Luigi on the green L-Color Switch on the left side of the bridge. Strike his hammer against the Color Switch. This turns the walls and Mario can reach the lower path.
Run with Mario to the orange exclamation mark block and activate it. Then a new path to the red M-Color Switch on the upper right side opens.
Beat Mario against the M-Color Switch. This allows you to reach the blue exclamation point block.
Activate this crystal block. Part of the walls is lowered and Luigi can cross the bridge. Unite both brothers and follow the path further to the left.
The Enemies track Mario and Luigi through the following section. Therefore, run as far as possible without detours in the direction of the lighthouse. You can defeat the Enemies, but you should not go back unnecessarily.
At the end of the trail you will reach the lighthouse of Offandon Island. Pull out the large plug to connect the island to Shipshape Island.
The attack has consequences
After returning to Shipshape Island, the scale of the attack becomes visible. Parts of the ship have been damaged and two already connected islands have detached from the Connectar again.
The Lost Islands are Heat Free and Twistee Island. Both are now drifting through the Gulchrock Sea and must be found again.
Heat Free and Twistee Island
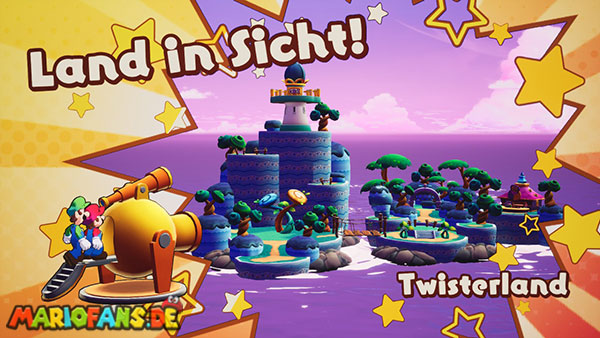
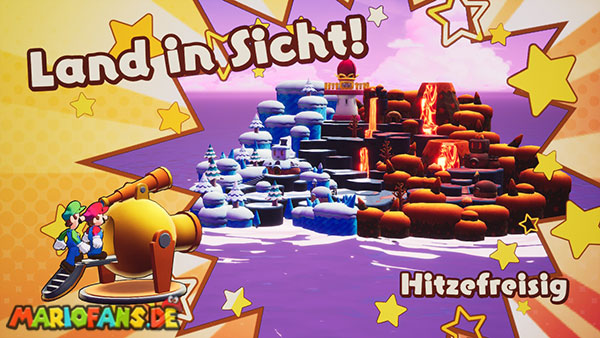
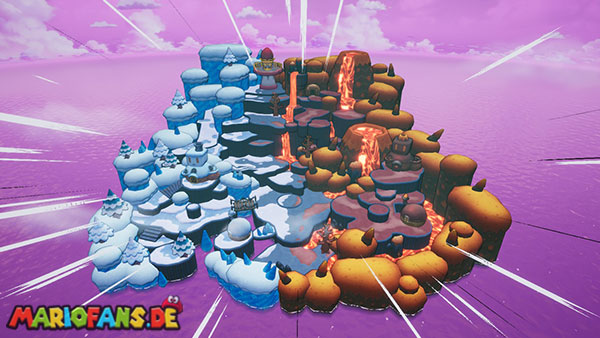
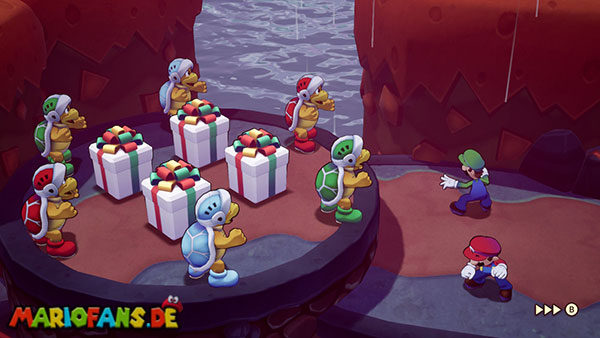
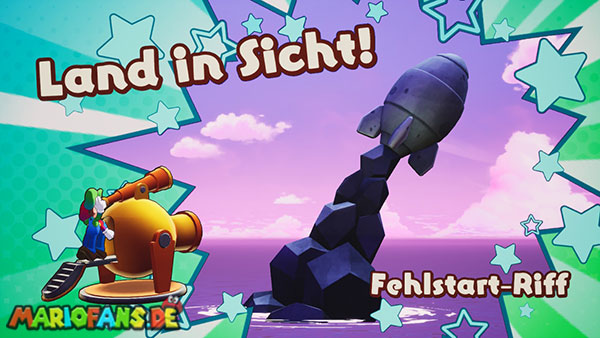
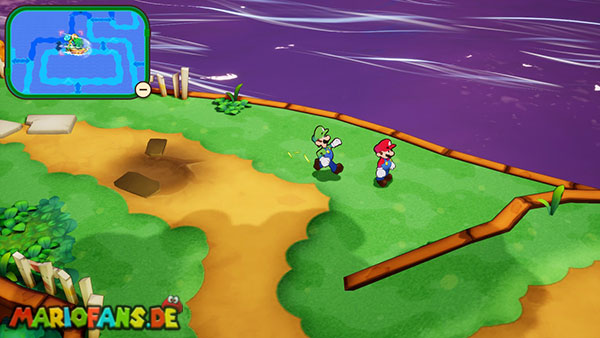
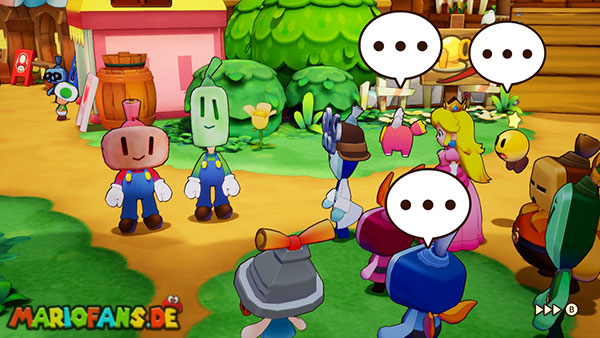

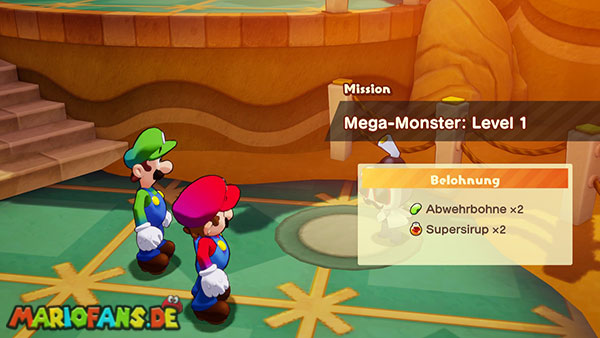
Heatfree and Twistee Island can be reconnected in any order. For this complete solution, we travel first to Twistee Island and then to Heat Free.
Twistee Island to reconnect
Open the Ocean Map and follow the current in the southern part of the Montantlantic. Once Twistee Island is within reach, use the big Cannon.
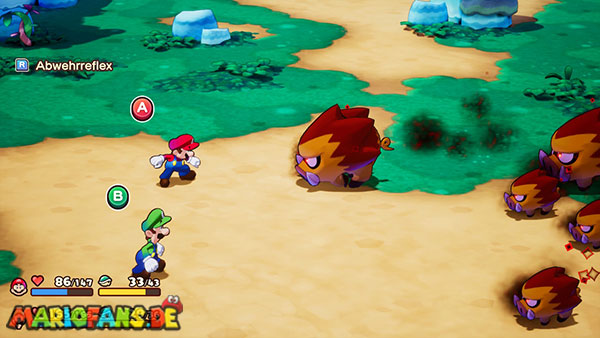
Immediately after landing, a resident is attacked by several ohminous rage pigs. Defeat the Enemies and use a fruit iodide if needed if Mario or Luigi receives the state Ohminous.
After the fight, you will learn that the inhabitants of the island are also beset by ohminous opponents. In addition, the big twist Sprout has shrunk again.
Go east to the village square. There is another group of ohminous rage pigs waiting. Defeat them and then use the green warp pipe.
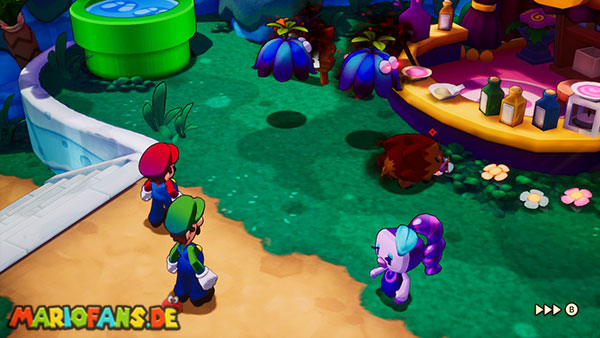
Choose Twista’s store as your destination. She too is attacked by ohminous opponents. Defeat the group and then return to the village square with the warp pipe.
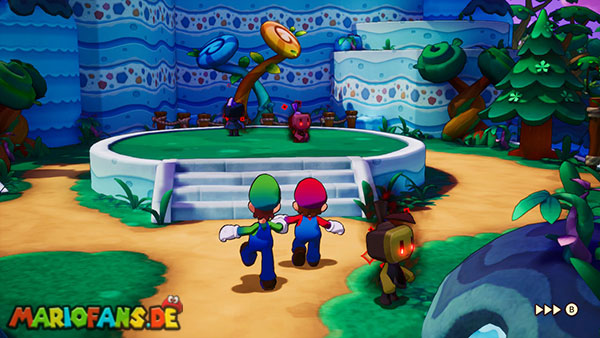
Go to the stage. Dyode and Emmit are also surrounded by opponents. After the fight, they ask Mario and Luigi to participate in their dance performance again.
The Second Dance
Press the keys in the correct rhythm. The full order is:
A – B – A – B – Y – X A – B – A – B – Y – A – B – A – B – B – X
After the successful dance, the twist Sprout grows again. Go west from the village square and climb over its leaves and tendrils.
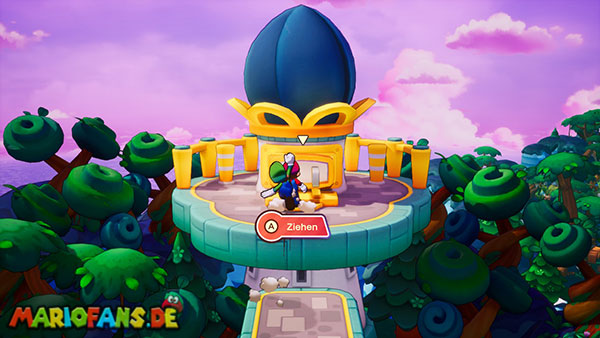
Jump to the lighthouse and reinsert the pulled-out plug. Twistee Island will once again be connected to Shipshape Island.
Heat-free reconnection
Heat free floats in the northern part of the Montantlantic. Set a course and use the Cannon as soon as the island is accessible.
After landing, you will be immediately attacked by several Stachis. Defeat them with hammer attacks. Don’t jump on the spiky Enemies.
Go north and use the nearby dealer if necessary. Follow the tunnel to the entrance of the large cave. Save your progress before you enter it.
In the cave, several Bob-ombs attack. Try to defeat them before their counters run out. After the fight, their explosions destroy part of the rocks and open a new path.
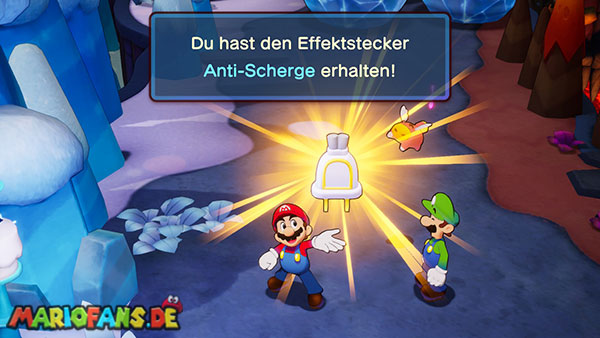
As a reward, you will receive the Battle Plugs for Bowser’s army. He reinforces your attacks against Goombas, Koopas, Bob-ombs and other members of Bowser’s troops.
Fire and Ice
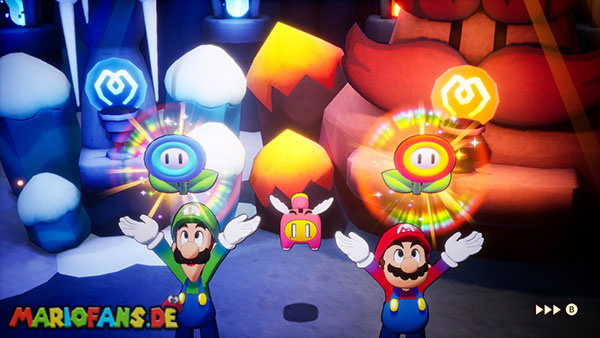
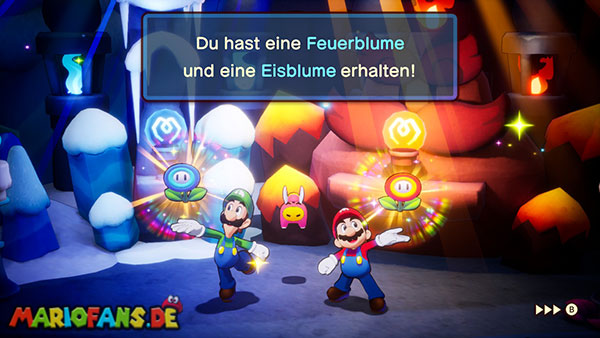
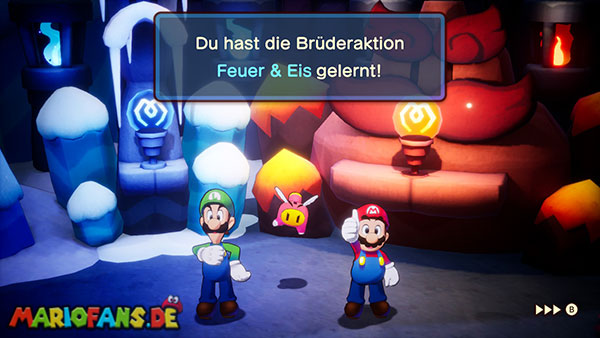
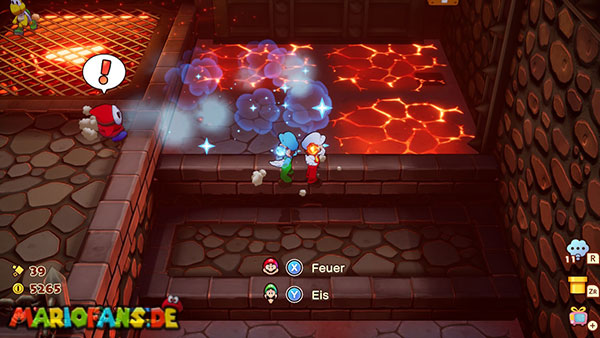
Follow the open path to the two talking statues. They give Mario a Fire Flower and Luigi an Ice Flower.
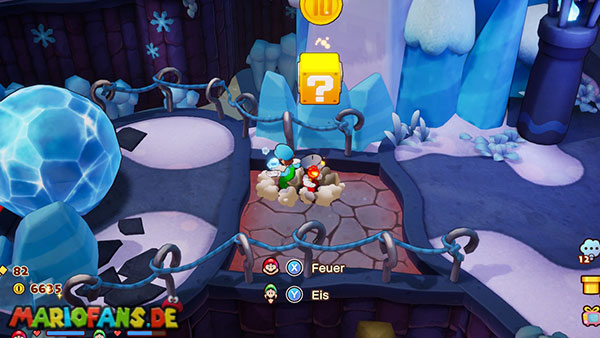
This unlocks the fire-and-ice maneuver. Mario can now melt ice while Luigi cools lava and freezes water.
- Use Mario’s Fire against large ice balls.
- Use Luigi’s ice against lava surfaces.
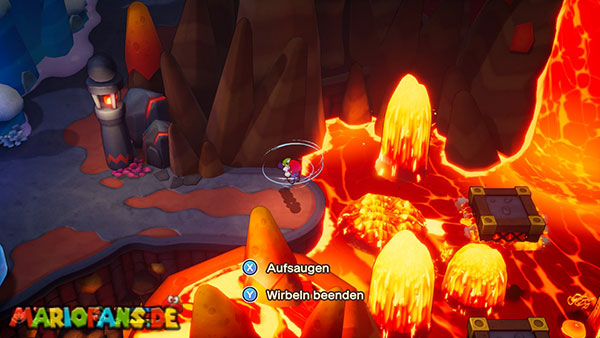
- Freeze the water fountains as soon as they shoot from the ground.
The frozen water fountains form temporarily stages. Jump over them before they thaw again.
Follow the path through the cave and leave it on the other side. Go to the lighthouse and put the plug in again.
Heatfree is now also connected to Shipshape Island again.
The Search for Fruit Iodides
After returning, Dr. Vulko that a larger amount of fruit iodides is needed. Only with them can the numerous inhabitants and islands affected by Glohm be healed.
Bowser apparently has a large stockpile of these fruits. To find his hiding place, Mario and Luigi must travel to Offandon Island again and spy on his troops.
Island with three trees
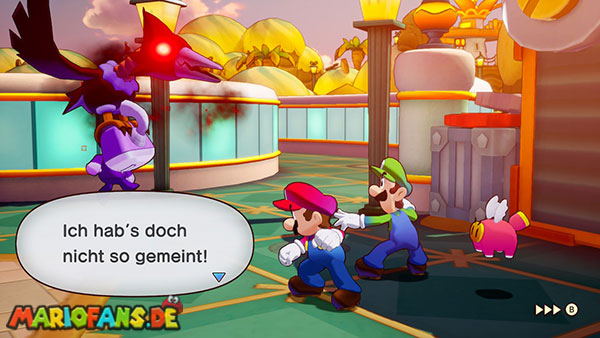
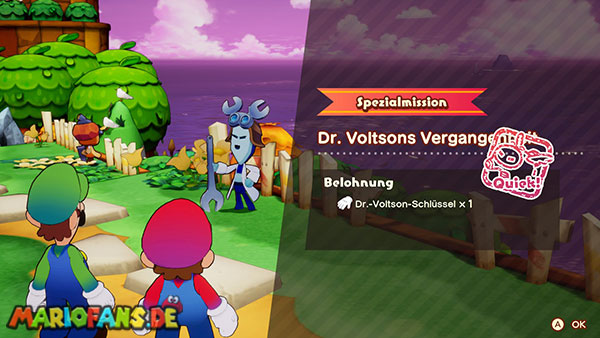
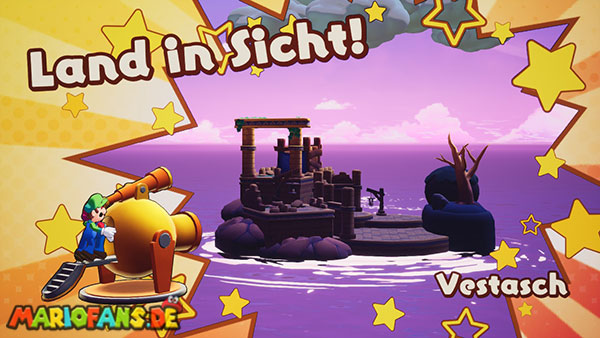
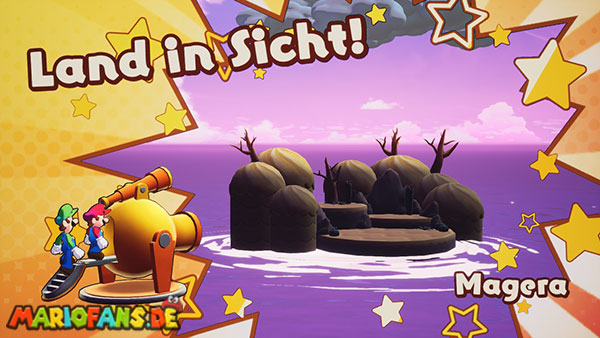
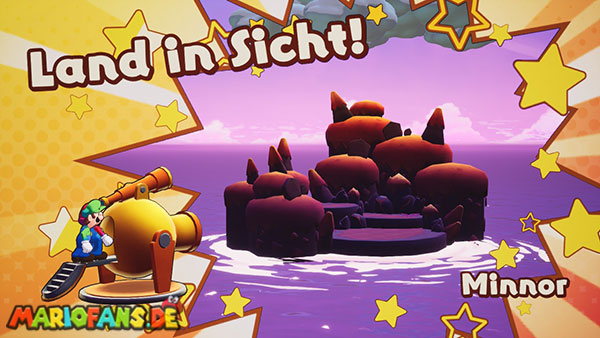
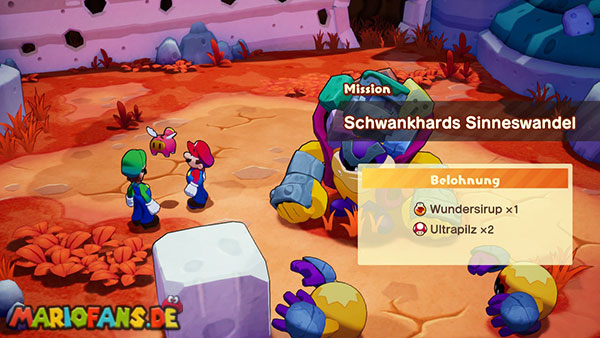
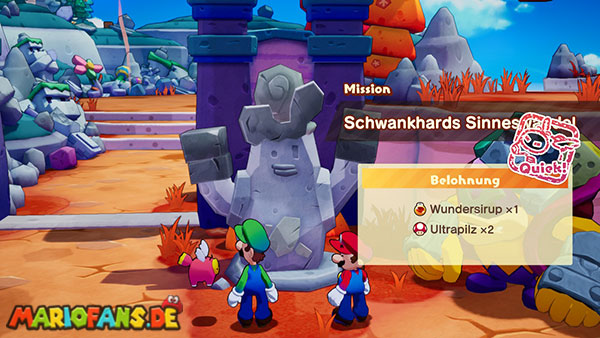
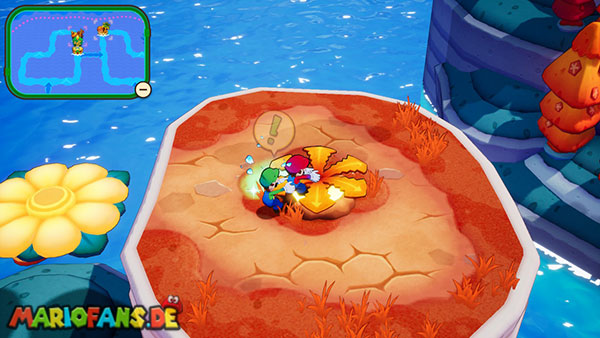
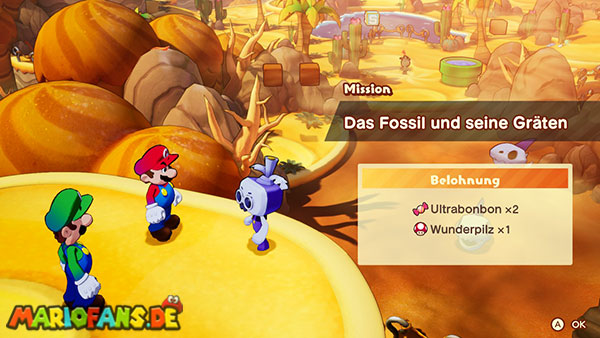
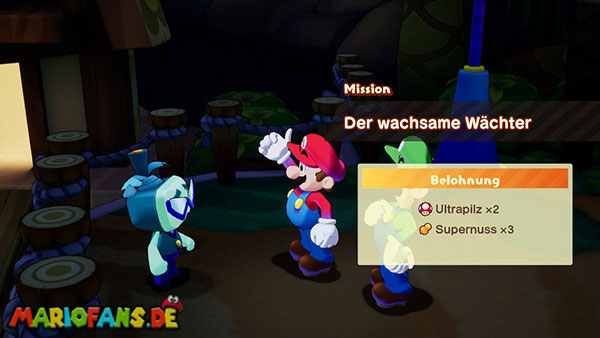
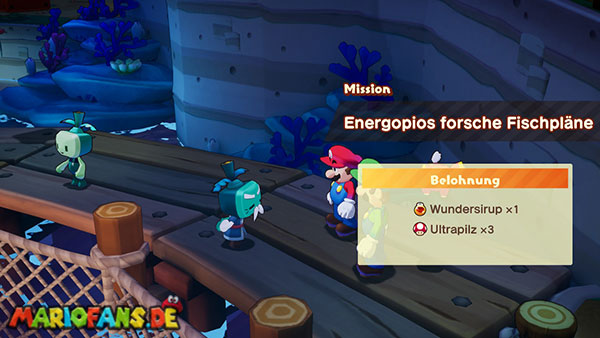
Mario and Luigi are given disguises with which they can mix under Bowser’s troops. Use the travel tunnel on Shipshape Island and return to Offandon Island.
Listen to Bowser
Go to the large village square in the middle of the island. Put on the panels before entering the place.
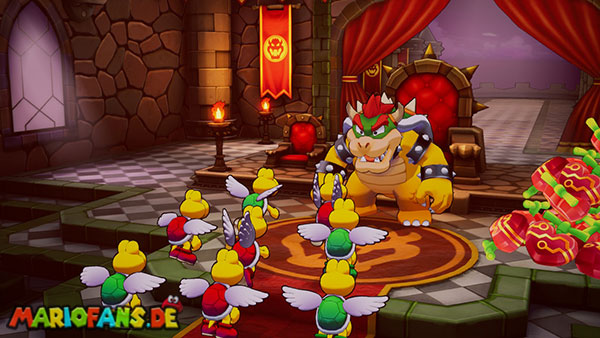
Two Goombas consider Mario and Luigi initially for new members of Bowser’s troops. Shortly after, Bowser appears and talks about his fight against Zokket.
After the conversation, a warp pipe is opened near the square, which later forms a shortcut to the entrance of the island.
Go south from the square. There two Koopas talk about the secret way to Bowser’s Castle. The entrance is said to be hidden on a small island with exactly three trees.
The cladding flies
Return to the village square. Bowser’s troops now realize that the alleged soldiers are Mario and Luigi.
The brothers are overwhelmed and taken to a prison cell.
First examine the right wall of the cell and try to destroy it with the hammer. Then examine the small stone on the left.
Since none of the escape attempts work, Mario and Luigi call for help. Kamfred hears them and opens the prison cell.
Go to the right and free the prisoner in the neighboring cell. In another cell you will also find a miracle mushroom.
Climb the stairs and follow the trail to the eastern end of the new island area. On the way, you will face several Koopas and Goombas.
The Dark Cave
Enter the Cave. Inside it is almost completely dark. Several guards move with headlights through the corridors.
Use the bullet maneuver to roll through the tubes. Watch out for the light cones of the guardians. If you are discovered, you must start the current section again.
After some time, the warp pipe ends at a misaligned connection. Look around for the red M-switches.
Some color switches are hidden behind wooden boxes. Destroy the boxes and operate the Color Switch until the middle pipe section is aligned correctly.
Roll through the full warp pipe and leave the cave.
Kamfred and Bowser Jr.
Go north and hit with Mario against the red M-Color Switch on the bridge. This will lower it.
Immediately afterwards you will be attacked by a larger group of Bowser’s troops. Defeat the Enemies.
After the fight, you watch a conversation between Kamfred and Bowser Jr. Then you will get back to the starting area of Offandon Island.
Use the healing and storage block and then return to Shipshape Island via the Warp Pipe.
Finding the Island with Three Trees
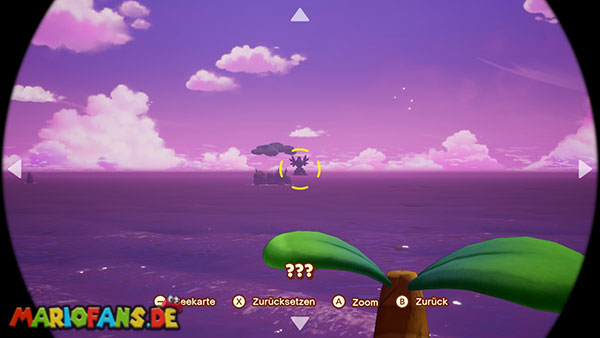
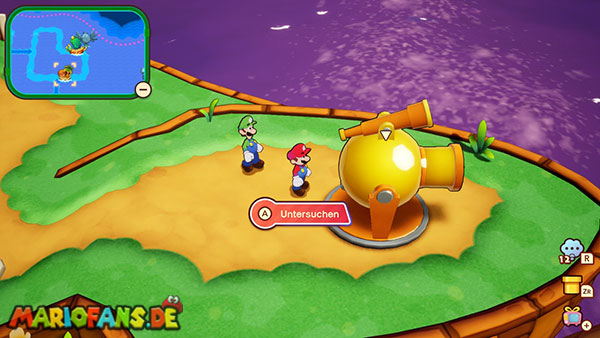
Open the Ocean Map and select the small island in the northwestern part of the Montantlantic. Shoot Mario and Luigi over with the Cannon.
Go right on the small island and use the green warp pipe. She takes you to another small island.
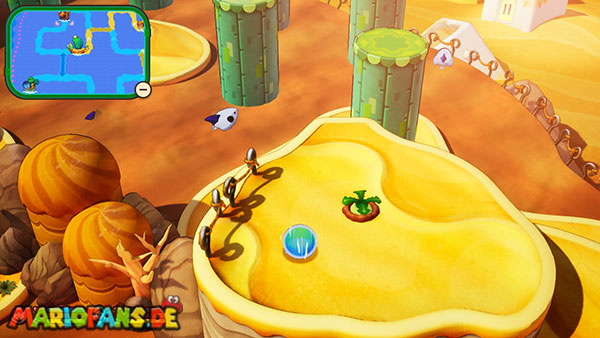
Take the southern green warp pipe there. You reach a platform where three trees are close together.
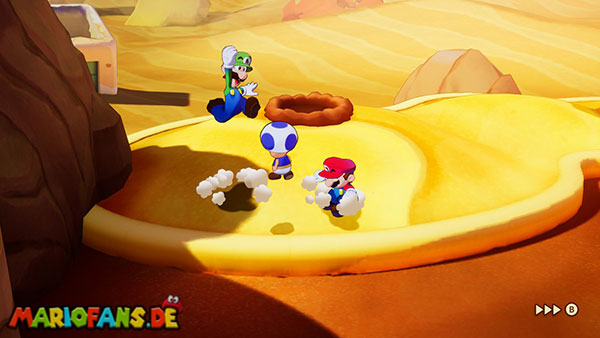
Examine the striking elevation in the ground between the three trees. Then hit it with Mario’s hammer.
From the floor appears a hidden green warp pipe. It leads directly to Wayaway Island and thus to Bowser’s Castle.
Wayaway Island
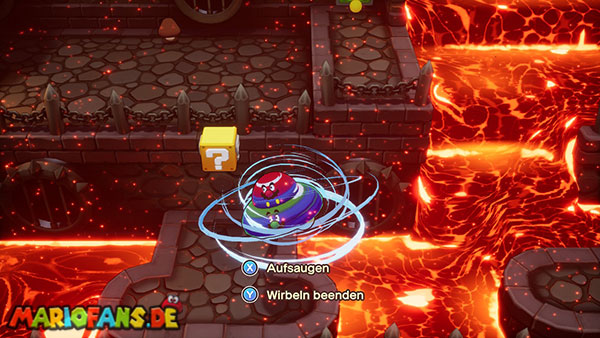
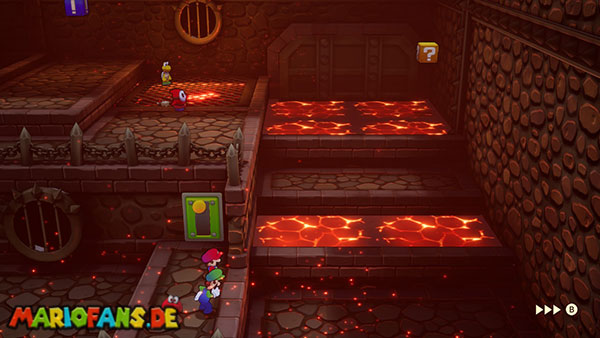
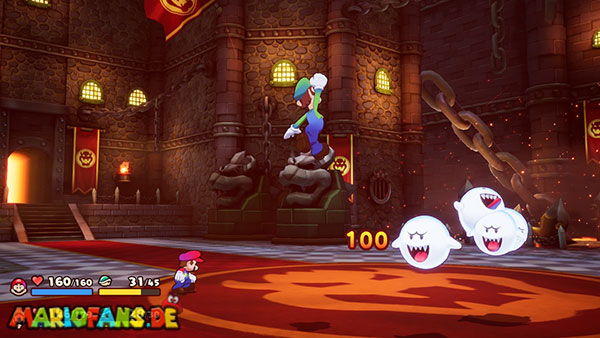
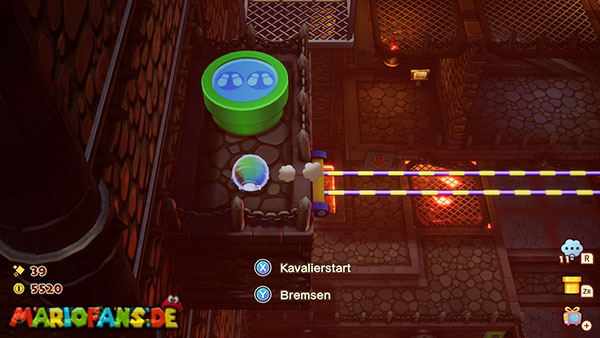
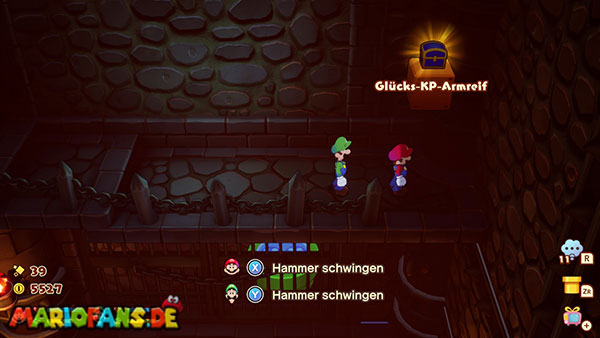
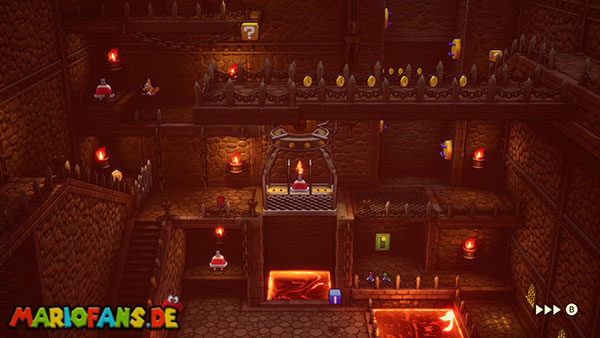
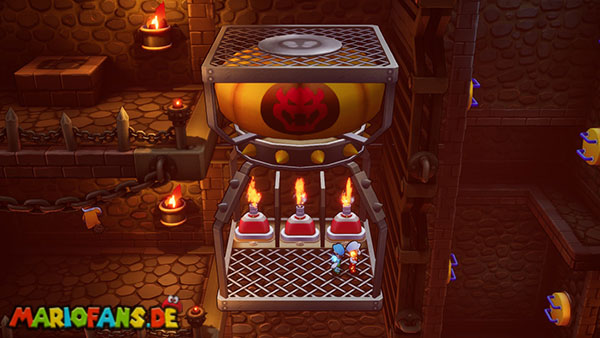
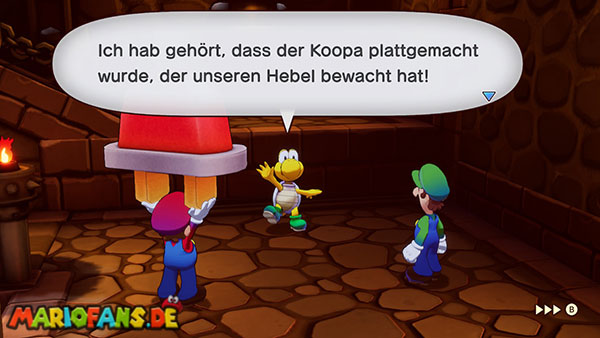
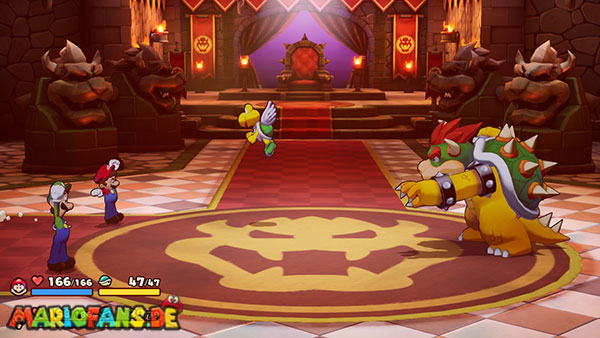
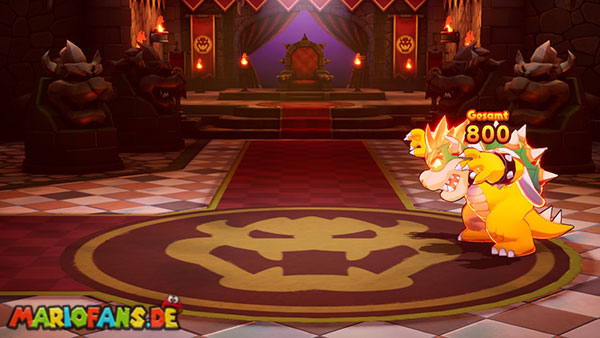
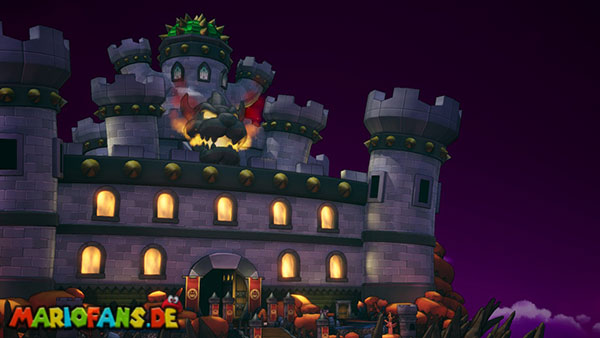
Mario and Luigi arrive at Wayaway Island just outside Bowser’s great castle. Kamfred is already waiting at the entrance and wants to find Bowser Jr.
In front of the castle are a dealer, a storage block and a green tube block. Buy enough mushrooms, nuts, syrups, fresh roots and 1-up mushrooms.
Bowser has Level 33. Mario and Luigi should therefore have reached approximately level 32 to 34.
Activate the green tube block before entering the castle. This allows you to return directly to the entrance later.
Entering the Castle
Go over the bridge to the main gate. Kamfred appears and runs into the castle. Follow him.
Inside, the operation of the elevators is first shown. Shortly after, Mario and Luigi are discovered by Bowser’s troops.
You have to fight against three Goombas, a Koopa and two Kameks. Defeat the Kameks first, as their magical attacks are the hardest to fend off.
After the fight, much of the castle is flooded with lava. The central elevator is initially not reachable.
Stopping the lava flow
Take the left path and use the roundabout UFO to reach the platforms above the lava.
Follow the path to the big lever and activate it. This stops part of the lava flow.
Some small lava surfaces remain. Use Luigi’s ice to cool them down and create a safe path.
Then hit the blue exclamation mark block. The elevator goes down.
The burner plugs of the elevator
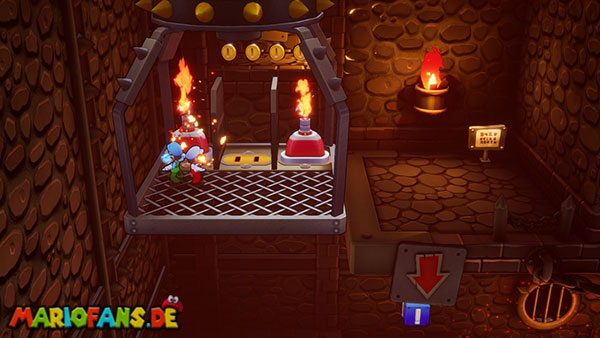
The elevator is controlled by several burner plugs. The more plugs are ignited, the higher it goes.
Use Mario’s Fire to ignite an inserted plug. As a result, the elevator moves up one floor.
On the next floor you will find a second burner plug. Insert it into the free socket of the elevator.
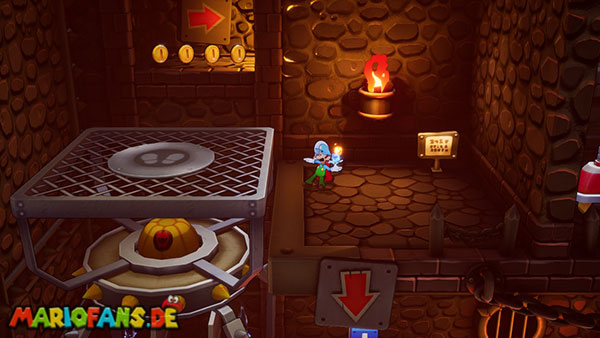
Stay on the platform and extinguish the already burning plug with Luigi’s ice. The elevator moves down and its roof can now be used as an additional platform.
Jump onto the roof and from there onto the path marked with an arrow. At the end of the corridor you will find a third burner plug.
Carry it back to the elevator and put it in the last free jack.
- An ignited plug brings the elevator to the first floor.
- Two ignited plugs bring it further up.
- Three ignited plugs lead to the top level of this area.
Use Mario’s Fire and Luigi’s ice to change the height of the elevator.
The right part of the castle
On the upper level, follow the way east. On the way, activate the green tube block at the storage block.
Walk through the main hall and then into the room on the right. Jump down to the lowest level.
Follow the path counterclockwise and cross the big gap with the gyro UFO.
At the end of the path is another lever. Press it to stop the lava flow of this room.
Return to the elevator. Get the extra burner plug on the left and insert it into the free socket.
Ignite both plugs to move up two floors. Defeat the Enemies guarding the third plug and insert it into the elevator as well.
Go up and hit the exclamation mark block. This opens a grid on a lower floor.
Extinguish two burner plugs with Luigi’s ice and drive down to the newly opened path.
The central elevator
Follow the way back to the main hall. A Koopa guards the last lever. Defeat it and operate the lever to completely stop the lava flow.
Then hit with Mario against the M-Color Switch. A staircase to the lower level is extended.
Examine the central elevator. One of its burner plugs is defective and marked with an X. Pull it out and put it down next to the elevator.
Hold a working burner plug from one of the two lateral elevators and carry it to the main hall.
On the way back you will be stopped by Bowser’s troops. Defeat them and place the working plug in the central elevator.
First, ignite two burner plugs. This way you reach a floor with an exclamation mark block. Activate it to open another grid.
Then ignite all three plugs. The central elevator takes Mario and Luigi to the entrance of Bowser’s throne room.
Activate the green tube block, use the healing block and save your progress.
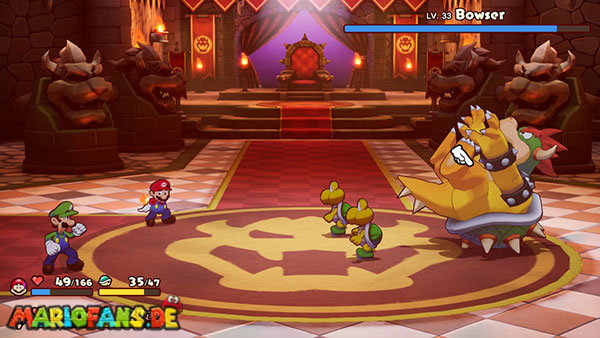
Boss: Bowser – Level 33
Bowser is supported during the battle by various members of his army. Defeated helpers can be replaced after a short time.
Therefore, focus your strongest attacks on Bowser. Bros. Attacks that hit multiple targets simultaneously hurt his helpers.
The Bowser Army Specialist and the Exploder are particularly useful in this battle. Also take enough Syrup Jar with you, as you regularly Bros. Attacks should be used.
Bowser’s fire breath
Bowser has several steel balls roll over the battlefield and then spews Fire.
Jump on one of the steel balls to gain sufficient height. From there you can jump over the long fire jet.
Bowser’s individual attacks
Bowser attacks a brother with a longer combination. He deceives his movements several times.
- Jump in his tamping attack as soon as he turns in the air.
- Jump at the fire breath only when the flames come out of his mouth.
- Jump in the swipe attack as soon as Bowser turns his body clearly to the side.
If you press the jump button too early, Bowser waits and meets the brother after landing.
The Tank Attack
Bowser retreats into his tank and throws himself at Mario or Luigi.
Hit back the tank with the hammer. Bowser then bounces towards the other brother. Resist it again with the appropriate hammer.
After several successful hits, Bowser lands on his back. His own helpers then run against him and cause additional damage.
Bowser’s Army
Bowser successively sends Goombas, Koopas, Parakoopas, Bob-ombs and Stachis on a brother.
- Jump on Goombas and Parakoopas to hurl them back to Bowser.
- Jump over Bob-ombs and Stachis without landing on them.
- Stay with high-flying parakoopas on the ground when they fly over the brother.
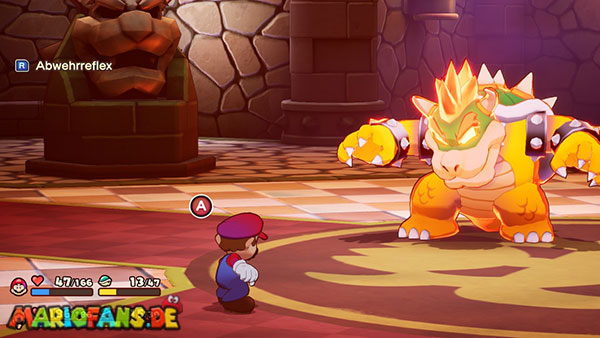
At the end of the attack, Bowser storms forward with a charged fist stroke. Jump on him at the last moment.
If the fist strikes, the affected brother is thrown out of the fight for several rounds. If the remaining brother is defeated during this time, the fight ends.
Bowser’s Angry Phase
At about 40 percent of his CP, Bowser gets angry. His attacks now take longer and contain more individual hits.
Keep both brothers over half of their CP. Use nuts when Mario and Luigi were injured at the same time.
Do not try to defeat each helper individually. Keep grabbing Bowser with Bros. Attacks and eliminate the smaller Enemies through surface attacks and counterattack.
Bowser Jr. is kidnapped
After the victory, the Extension Corps appears and kidnaps Bowser Jr. Follow her through the northern arch.
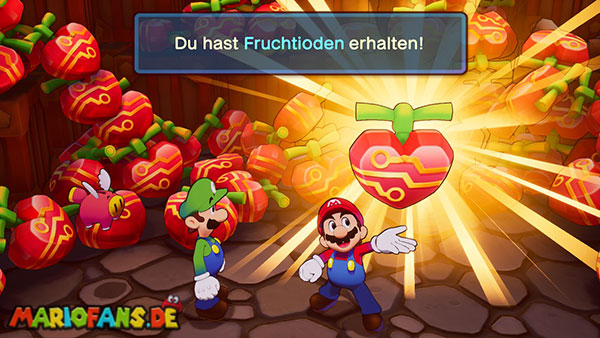
Kamfred tries to save Bowser Jr. but is infected with Glohm. Fortunately, Bowser’s Castle has large amounts of fruit iodides.
Return to the throne room and walk through the door on the right. There you will find Bowser’s entire stockpile of fruit iodides.
The fruits are automatically transported to Shipshape Island. Leave the throne room and use the green warp pipe at the entrance of the castle.
Travel across the small islands back to Shipshape Island. Dr. Vulko can now treat the infected residents.
You also get the Battle Plugs Car Fruit Tiode and Zokket Specialist.
Giga lighthouse #4
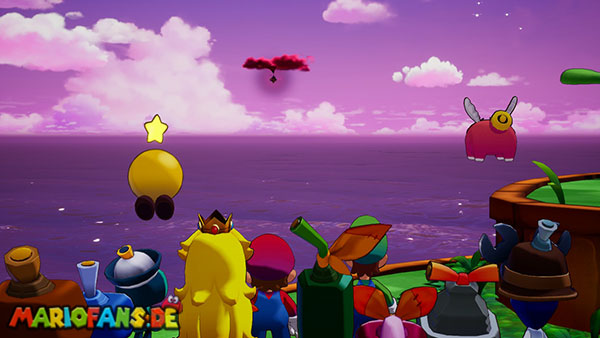
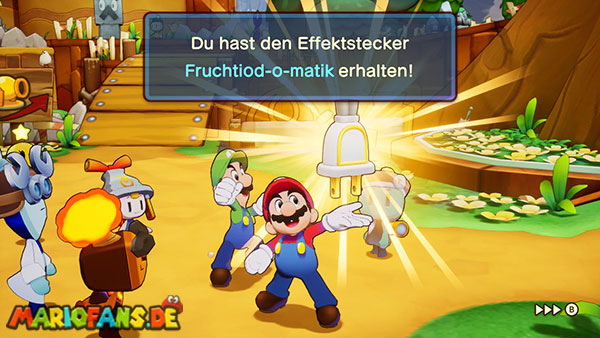
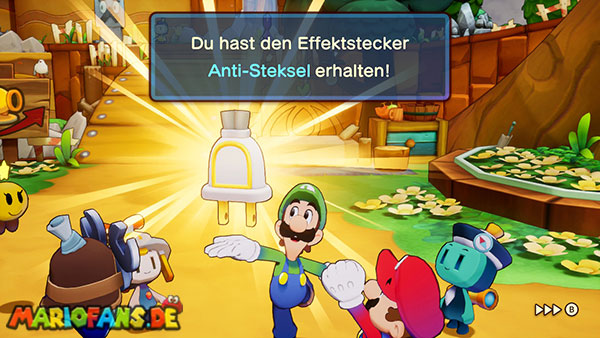
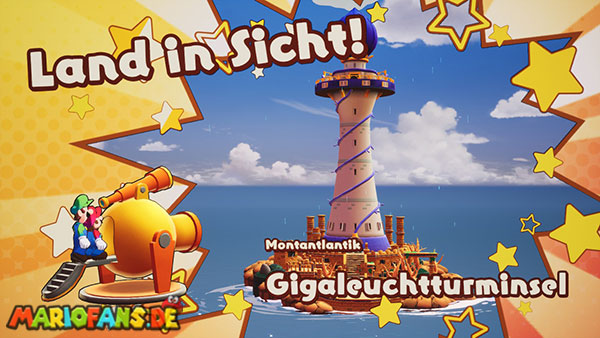
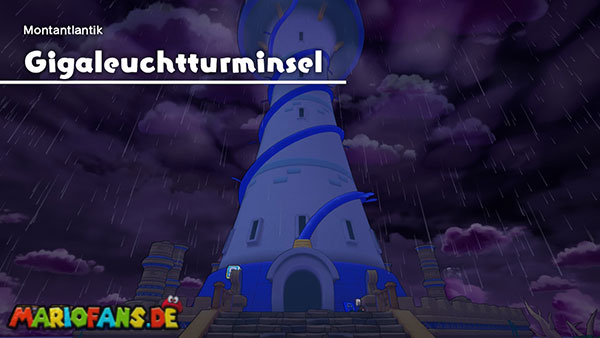
The fruit iodides can largely repair the damage in the Gulchrock Sea. At the same time, a new flow opens up to the fourth and last giga lighthouse.
Set a course to the Giga Lighthouse on the Ocean Map and use the Cannon.
Note: There is no boss fight in this giga lighthouse. Instead of a large puzzle area, several floors full of Enemies await you.
With the elevator up
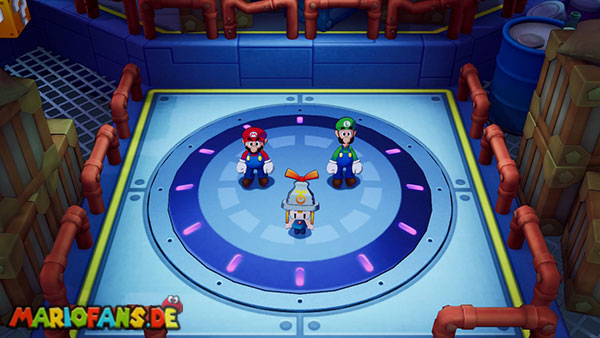
Enter the giga lighthouse and go to the elevator in the middle. Select the top floor as your destination.
The elevator first stops on the second floor. There are several ring and barbed soldiers from Zokket waiting.
You can defeat the Enemies or search the boxes for items. Then use the lift again.
On the third floor you will be attacked by a group of Stekdov’s soldiers and ohminous Stachis. Defeat all Enemies so that the elevator can be used again.
Pay attention to the state ohminous. Use a fruit iodide or equip Car fruit so that Mario and Luigi can continue to use their joint attacks.
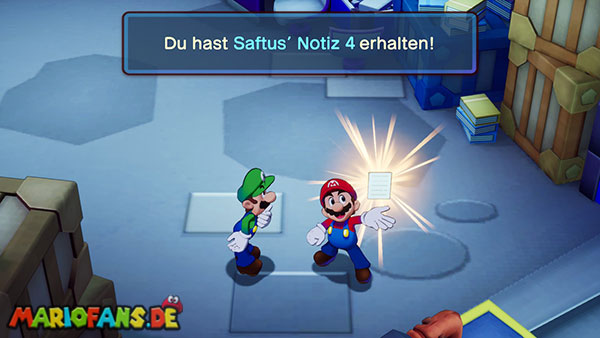
The elevator then stops again on another floor. There you will find records of Stekdov’s plans and his soldiers.
Defeat the Enemies if necessary and use the elevator one last time.
Lighting the Last Giga Lighthouse
Leave the elevator on the top floor and head south. Climb over the outside stairs to the large light bud.
Connie restores the energy of the giga lighthouse. This means that all four Giga Leuchtturm Konektanias are active again.
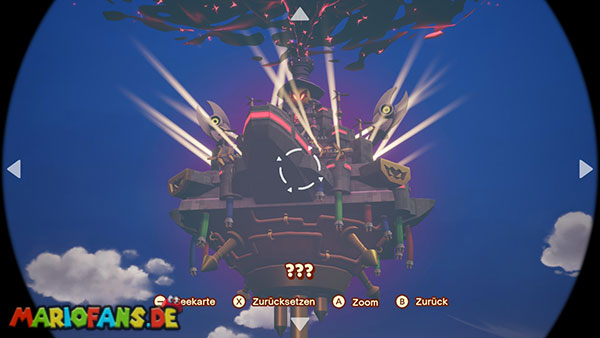
Through the light a new flow becomes visible. It leads directly to Stekdov’s great castle.
Fortress Zokket
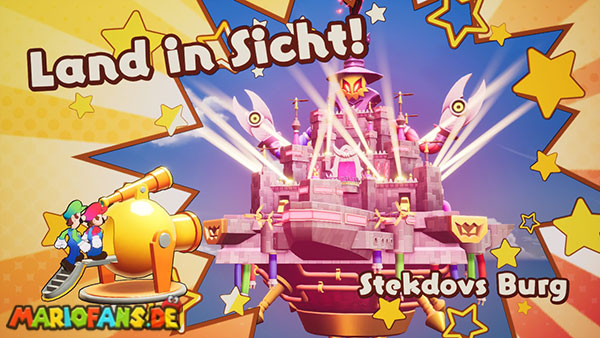
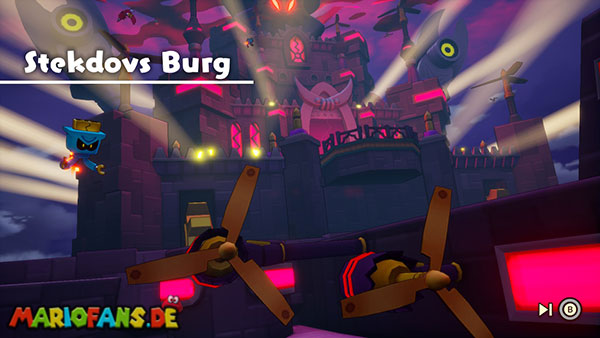
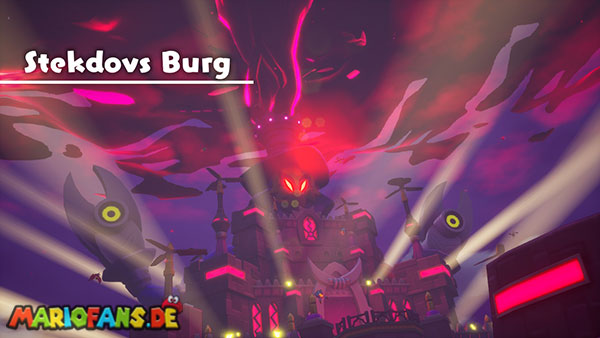
Take a course on Fortress Zokket. Fill up your stock of miracle mushrooms, miracle nuts, miracle syrup, fruit iodines and 1-up mushrooms before you leave.
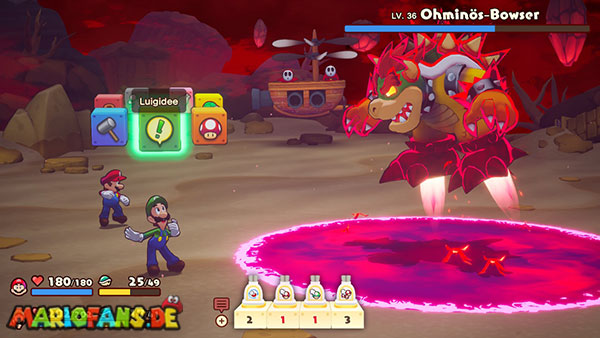
Glohm Bowser has Level 36. Mario and Luigi should have reached about level 35 to 37.
For the coming battle, these battle plugs are particularly suitable:
- Anti-flight specialist
- Bowser Army Specialist
- Zokket specialist
- Car-Fruit
- Ohminous protection
- Pair attack amplifiers
Glohm Bowser belongs to the flying opponents, Bowser’s army and Stekdov’s ohminous troops. If several specialists meet him, the damage is increased accordingly.
The Road to the Elevator
Mario and Luigi land on the outside of the second floor. A dealer is waiting nearby. Buy better equipment there if necessary.
Enter the castle through the eastern entrance. Inside, jet, ring and barbed soldiers patrol.
Walk through the large archway to the north. On the way, use the healing and storage block.
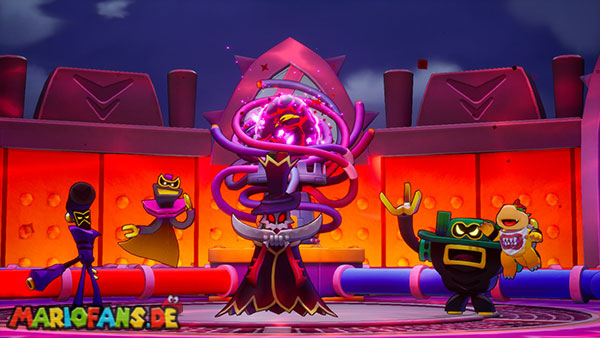
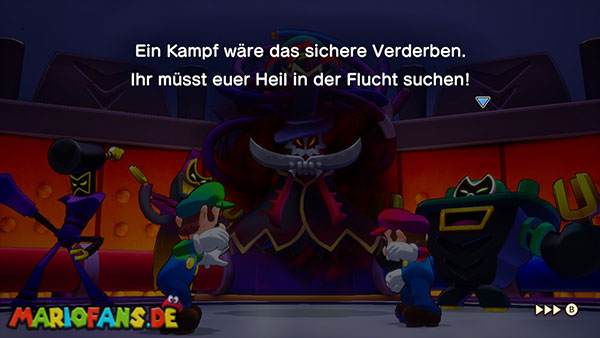
During the elevator, Mario and Luigi meet Zokket and the Extension Corps. Bowser is also there demanding the release of his son.
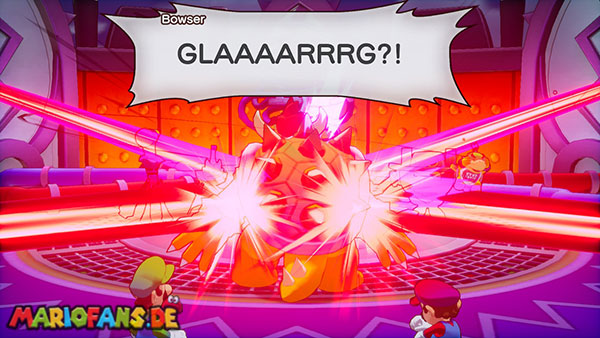
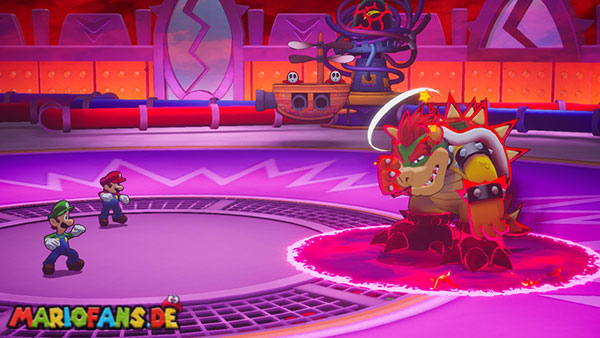
Zokket points his Ohminous Cannon at Bowser. The Koopa king is hit by the dark energy and transforms into Glohm Bowser.
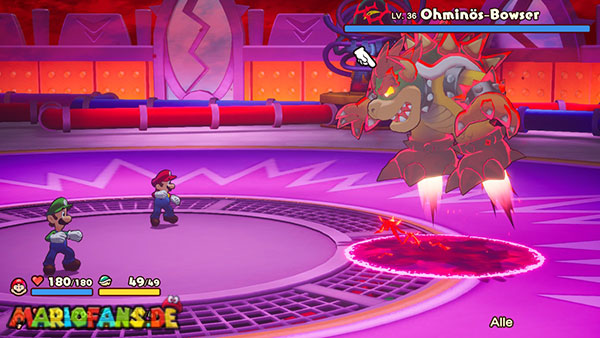
Glohm Bowser – Level 36
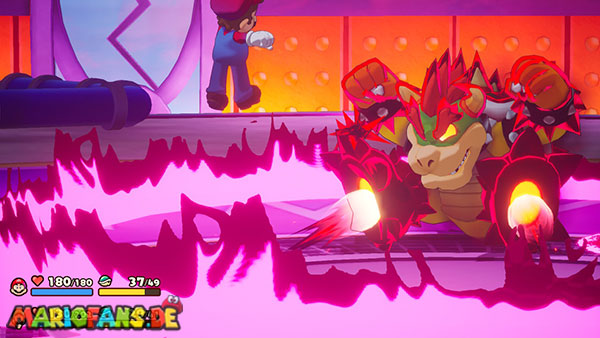
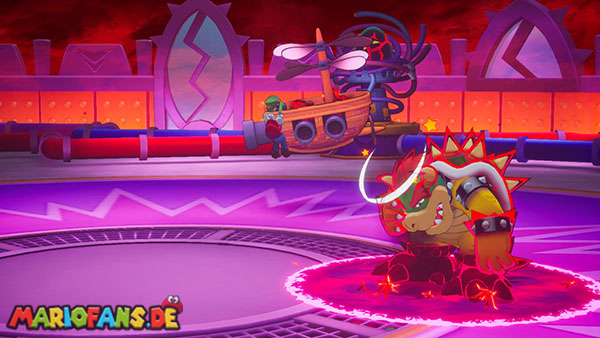
Glohm Bowser hovers in the air for most of the fight. Normal Hammer Attacks and Bros. Attacks that only hit targets on the ground therefore do not work at first.
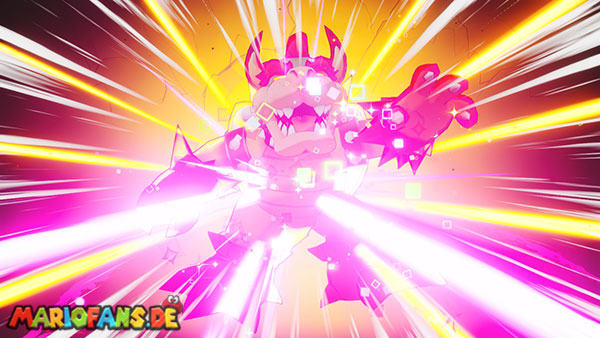
Use jumps and bros. Attacks that can reach flying Enemies. If Bowser is dazed, he falls to the ground and can also be hit with hammers.
The Growing Ohminous Field
At the beginning of the fight, Bowser creates a dark ohminous field. It spreads further over the ground with each round.
When the field reaches Mario and Luigi, both lose additional HP at the end of their moves. The fight should therefore not be dragged on unnecessarily.
Use your strongest bros. Attacks and restore the BP if necessary with Syrup Jar.
Ohminous tank attack
Bowser retreats into his tank and attacks the brothers with a tamping or falling attack.
Watch for the clear audible feast. As soon as Bowser falls down, you have the hammer of the affected brother ready.
Meet him just before the impact to ward off the attack and cause counter damage.
Bowsers attack combination
In his longest attack, Bowser fakes several movements. Only react to the actual execution:
- Jump in the tamping attack as soon as Bowser turns in the air.
- Jump over the subsequent shock waves.
- Jump at the fire breath only when flames come out of his mouth.
- Jump in the swipe attack as soon as Bowser turns the upper body to the side.
The sequence becomes faster in further combat and can contain additional attacks.
The tube bomb
Bowser locks Mario and Luigi into a big warp pipe and shoots fireballs into it.
The brothers have their hammers ready within the warp pipe. Do not strike until a Spark appears immediately before Mario or Luigi.
A successful hammer strike throws the bullet back to Bowser.
The Flying Ship of the Shy Guys
After a few rounds, a flying ship with several Shy Guys appears. They fire cannonballs over the battlefield.
Watch where the Cannon aims:
- If she aims directly at a brother, the bullet flies straight ahead.
- If she targets the ground, the Cannonball jumps once before the hit.
Strike the bullets back with the hammer. A hit can make Glohm Bowser dazed.
Luigi Logic: The Shy Guy Flying Ship
As soon as Bowser lies dazed on the floor, the Luigi Logic appears. Activate them only at this stage.
If Bowser is still conscious, he destroys the flying ship immediately and you have to wait for the next one.
Luigi takes over the Shy Guy ship. Fire cannonballs at Glohm Bowser without interruption.
At the same time, you have to avoid Bowser’s bullets. Already one hit destroys the flying ship. However, damage caused remains.
If you survive the section long enough, you can remove a large part of its HP.
The final phase
The ohminous field continues to spread. Therefore, keep the CCP of both brothers as high as possible and attack consistently.
Use car fruit or ohminous protection so that a hit doesn’t hit your bros. Attacks blocked.
Repeat the Luigi Logic as soon as another flying ship appears and Bowser has been dazed.
After the victory, you will receive the Battle Plugs damage charge. It also unlocks the fifth jack for battle plugs.
Flee from Fortress Zokket
Zokket now turns his Ohminous Cannon on Mario and Luigi. Run immediately south and do not stop.
Press the faded buttons to jump over obstacles. At the end of the platform, a mysterious voice prompts the brothers to jump into the deep.
Pressures A and B. Mario and Luigi leave the castle and land on a seemingly abandoned island.
Conductor Island
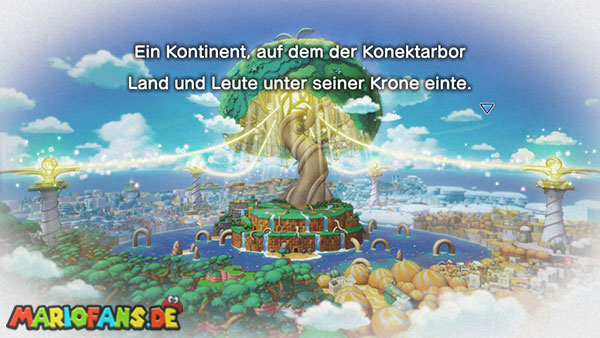
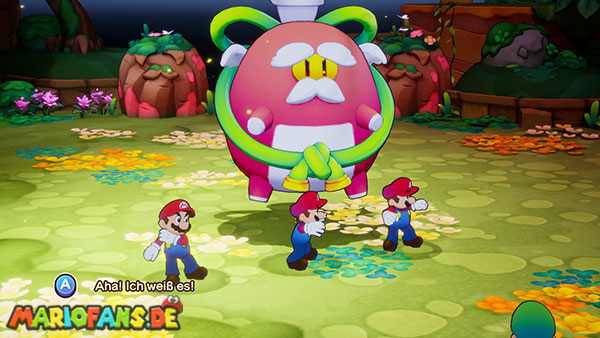
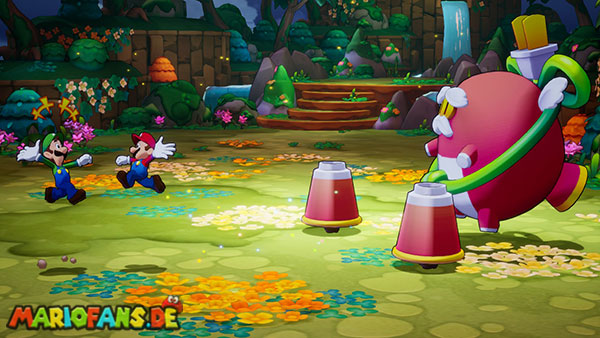
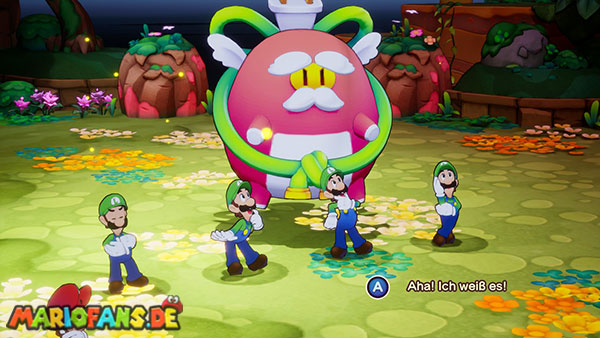
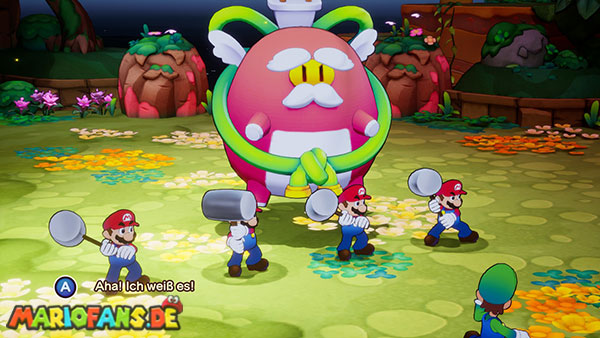
Mario and Luigi wake up on a well-known beach. It is the same island where Mario landed in Concordia at the beginning of the adventure.
After the fight against Glohm Bowser, the brothers have a new power connection. It allows the use of five effect plugs at the same time.
Destroying the Great Rocks
Follow the path east. Shortly thereafter, a large boulder blocks the passage.
A mysterious voice challenges Mario and Luigi to connect their fire and ice powers.
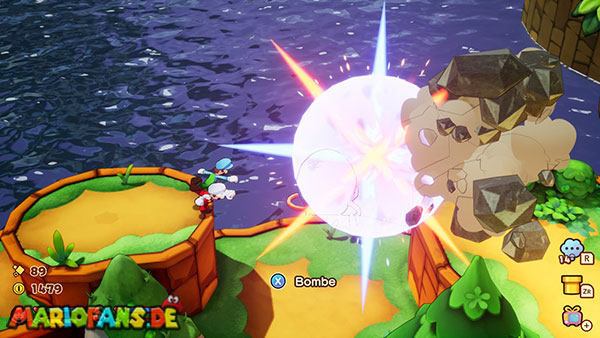
Select the fire-and-ice maneuver and hold X down. Before the brothers, a large ball of both elements is created.
Release X once the ball is fully charged. The Boulder is destroyed.
With this reinforced maneuver, especially large stones and other stable obstacles can be eliminated in the future.
Follow the path and destroy all the big rocks. In the case of the two? blocks, the voice speaks again and explains that she has called Mario and Luigi to Concordia.
Go further east. Activate the green tube block so you can return here directly from the beach later.
Use the healing and storage block. Behind the next path awaits a special examination.
Conductor
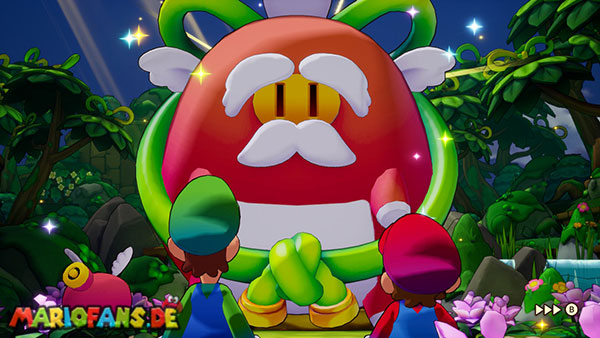
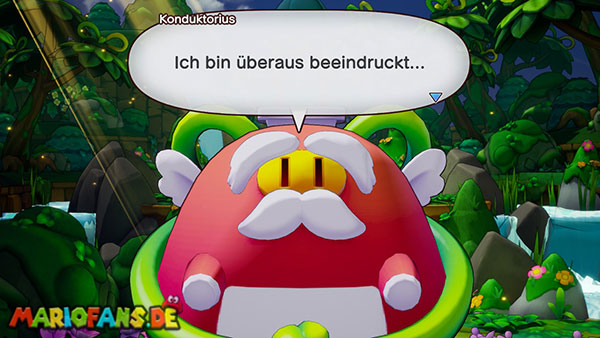
The mysterious voice belongs to Conductorius, an ancient protector of Concordia.
Snoutlet explains that he is actually the assistant of Conductorius. Conductorius called the brothers to Concordia and helped them several times during the journey.
He also reveals the truth about Zokket: Behind the mask is Peretta, Connetta’s lost teacher.
Peretta was influenced by an even more dangerous force and turned into Zokket. To save her, Mario and Luigi must prove that their brotherly bond is strong enough.
Boss: Conductorius – Level 36
The fight against Conductorius is more a test than an ordinary boss fight. Normal attacks are hardly helpful.
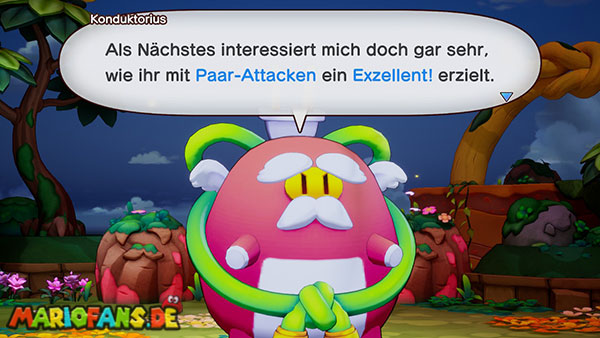
Conductorius heals the damage completely if it is not completed with EXCELLENT Bros. Attack or a successful counterattack was caused.
Therefore, use Bros. Attacks whose inputs you surely master. The red and green tanks are particularly suitable.
The Battle Plugs Car-EXCELLENT can make the examination much easier.
Finding the real brother
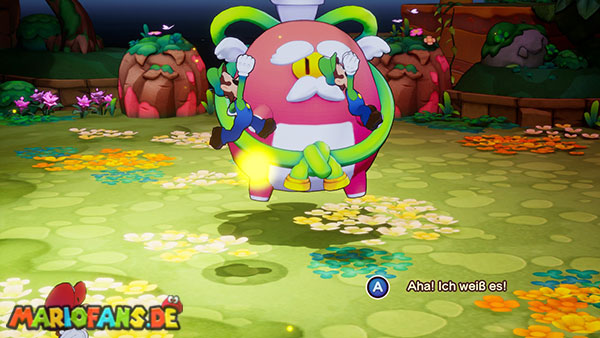
Conductorius captures one of the brothers and hides him under one of several pink cups. Among the other cups are copies.
Watch the movements closely before attacking a cup.
- The real Mario circles standing with his right arm and holds the hammer over his shoulder.
- The real Luigi reaches out his Dark Star Core during the jump and points up with one finger while standing.
Attack the cup with the real brother. If you make a copy, you must continue the search.
In the later phase, the cups are mixed after the movement. Keep an eye on the cup with the real brother throughout the exchange.
Damaging the cups during attacks
Conductorius runs the cups in a long row across the battlefield. Jump over the cups that come to the free brother.
However, stay on the ground when Conductorius himself passes. If you jump on him, you will be hit.
In another attack, the cups jump out of the way and Conductorius falls from above. Hold the hammer ready and strike it back shortly before landing.
By jump and hammer counters you can also damage the cup with the real brother.
EXCELLENT bros. Attacks
Once the real brother is freed, Conductorius calls for a bros. Attack.
Complete the attack with EXCELLENT. A lower rating is not enough and the damage caused is healed again.
In the further course, conductorius requires several different bros. Attacks. First, use the simplest variants and save enough BP for the following tasks.
Recover your BP with Syrup Jar if the exam takes longer. Since it is a test, you do not have to defeat Conductorius by ordinary damage.
After several successful Bros. Attacks acknowledges the connection between Mario and Luigi.
Car-Luigi and the connection of the island
As a reward, you will receive the Battle Plugs Car-Luigi. With him, Luigi can occasionally perform an additional action after his normal move.
Head north to the lighthouse and connect Conductor Island with Shipshape Island.
After returning, the group notices that Fortress Zokket was surrounded by an impenetrable ring of ohminous thorns.
Mario and Luigi must now find a way to overcome this barrier and free Peretta from Stekdov’s control.
This marks the beginning of the final stage of the complete solution in the Stormstar Sea.Stormstar Sea