
The complete solution to Mario & Luigi: Brothership for the section in the “Lushgreen Sea”. On this page we help you connect the islands with Shipshape Island. We also explain the puzzles on Rumbla Island, Twistee Island, Raynforst Island and Florall Island as well as the boss fights against Gorumbla and Gobblick.
Twistee Island and Raynforst Island can be visited in a different order. In this solution we travel first to Twistee Island and then to Raynforst Island.
Shipshape Island
After the events on Conductor Island, Mario and Luigi arrive at Shipshape Island. First, follow the way up and talk to Connie. She tells you that Concordia has broken into numerous individual islands. In order to reunite the country, the lighthouses of the islands must be connected to the new uni tree on Shipshape Island.
Before the journey begins, you can look around Shipshape Island. As the game progresses, shops, workshops and various facilities are created here. The green tubes, with which you will visit islands already connected later, are also on Shipshape Island.
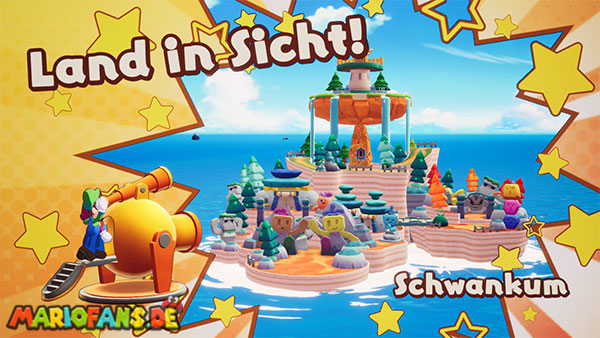
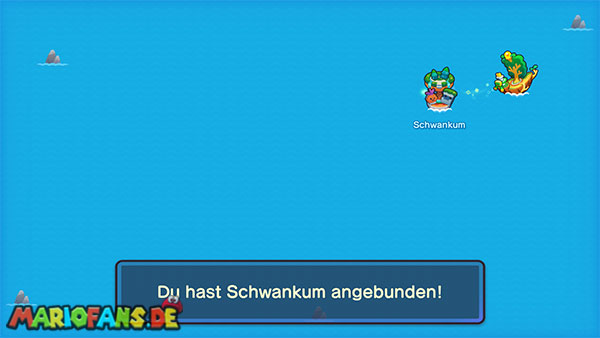
Then go to the Ocean Map and follow the marked ocean current. Once an unknown island is within reach, use the telescope. Once you have discovered the island, you can shoot Mario and Luigi with the big Cannon.
Your first destination in the Lushgreen Sea is Rumbla Island.
Rumbla Island
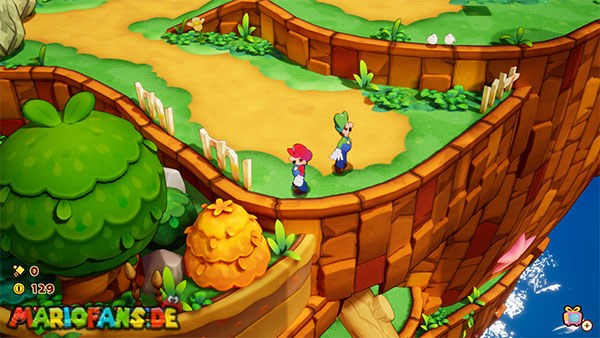
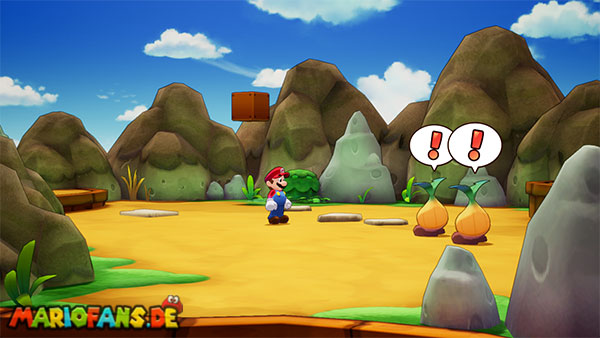
After landing on Rumbla Island, head north from the beach. Along the way, you will meet the first swarms. In this battle, you will learn how Mario and Luigi perform their normal attacks together.
Pay attention to the stance of their arms. If they hold their hands in front of the body, you can hit them with a jump on the head. If they protect their head, you should use a hammer. On your first visit, however, you do not have any hammers, which is why you can only attack the unprotected areas at first.
Follow the path further north and climb together with Luigi on the elevated platforms. Shortly afterwards you reach a grid with a red M-Color Switch. Jump with Mario against the Color Switch. Since the green L-Color Switch is on the other side, the Luigi Logic is used for the first time.
Press the faded button and let Luigi slip through between the grid bars. On the other hand, it activates the second color switch and thus opens the passage.
The village of Rumbla Island
Activate the green tube block in the village. This creates a shortcut to the beach. Nearby you will also find a storage block, a healing block and the first shops.
Then continue north and defeat the squirrels that devastate the village. Then you get to know Hammaria. Since she has back pain, Mario and Luigi have to carry both Hammaria and her toolbox home.
First pick up Hammaria and bring her to her house in the western part of the village. Place them at the marked location and then get their toolbox. Put it on the designated surface.
As thanks, Hammaria opens the way to the lighthouse. In addition, you will learn that her children Maykit and Billdit are on other islands.
The swaying shells
On the way to the lighthouse, the passage is blocked by a large gate. To open it, you need to place several blue swaying bowls on the matching bases.
The first shell is located directly near the gate. Carry them to the free base. This opens access to the eastern area.
There you will find a large Seesaw and a rotary switch. Press the Color Switch to change the orientation of the Seesaw. Place Luigi on one end with his Luigi Logic and run with Mario over the raised side. Take the second shell and place it on the next base. Several handles then appear on the wall.
In the western area, another rocker task awaits. Position Luigi on the Seesaw and let Mario reach the rotary switch. Then carry the heavy weight up and drop it on the raised end. Luigi is thrown onto the opposite platform and can pick up the last swaying rock shell there.
Bring this shell to the gate as well. Once all the bases are occupied, the path opens. Defeat the group Schwankerle in front of the wall and then jump up with Mario and Luigi on the handles.
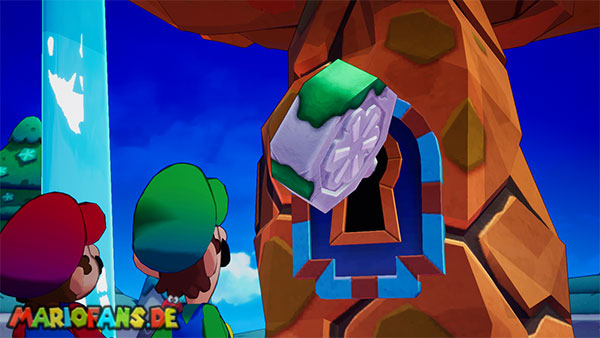
The lighthouse is still closed. The required key can be found on the western projections. Get it, open the lighthouse and then pull out the big plug.
Rumbla Island is connected to Shipshape Island. At the same time, a warp pipe is created in the center of Shipshape Island, through which you can return directly to Rumbla Island in the future.
Arc and the Search for Hammers
Back on Shipshape Island, a sealed capsule is washed on the beach. In it is the Navigator Arc. Since the capsule cannot be opened with bare hands, Mario and Luigi need hammers.
Hammaria explains that her children can make hammers. Maykit is on Twistee Island, while Billdit is on Raynforst Island. Which island you visit first has no decisive influence on the action.
Twistee Island
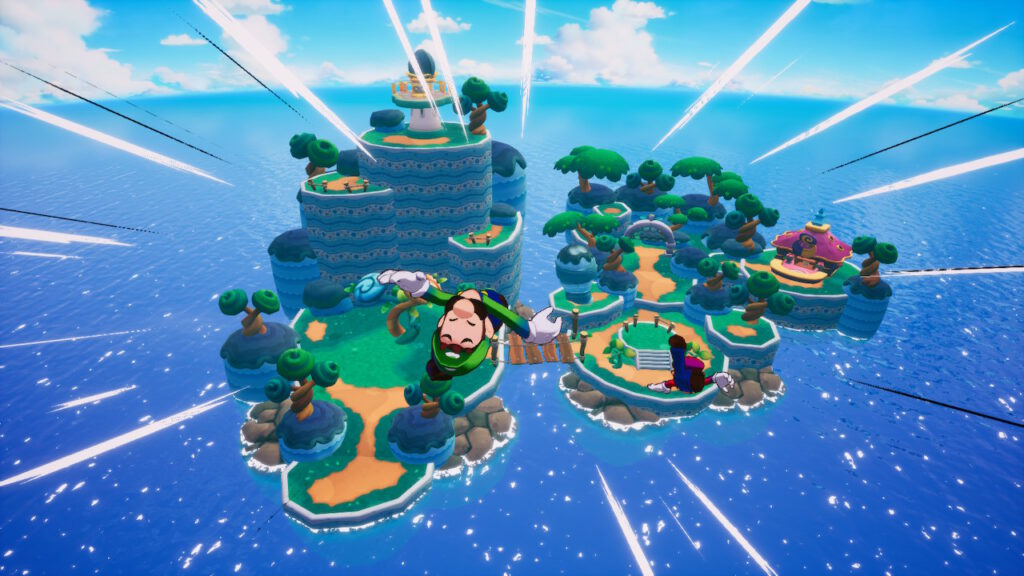
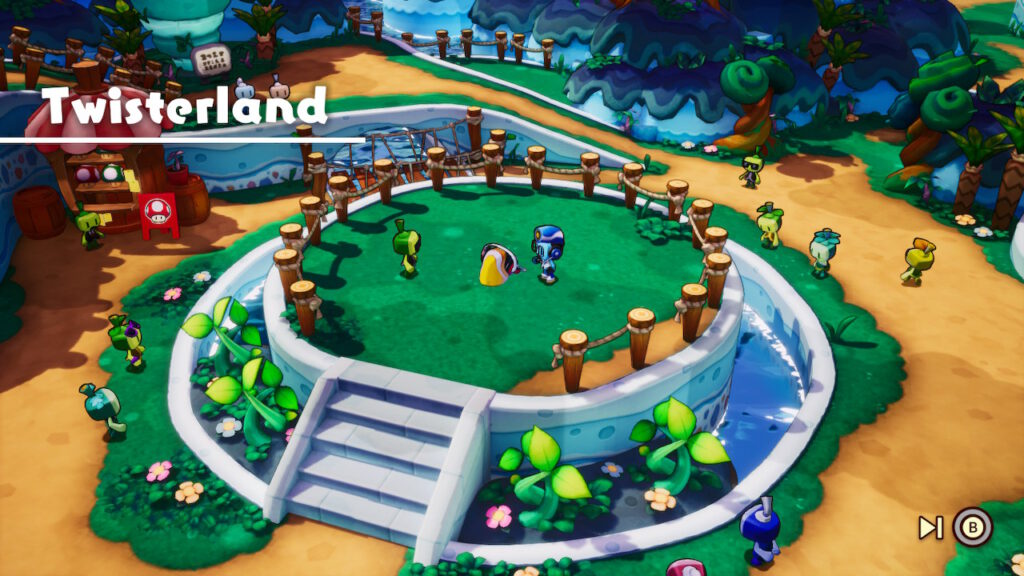
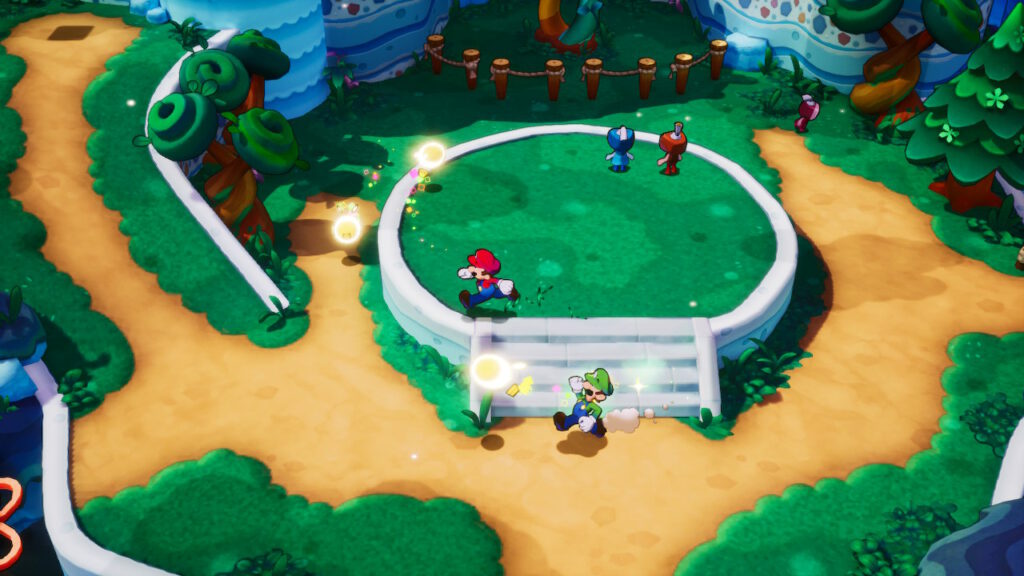
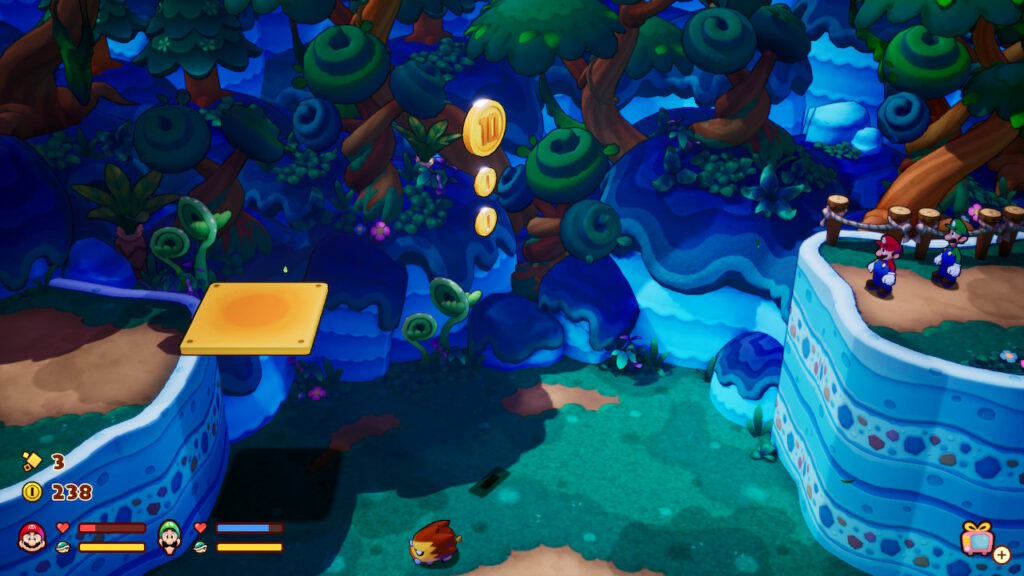
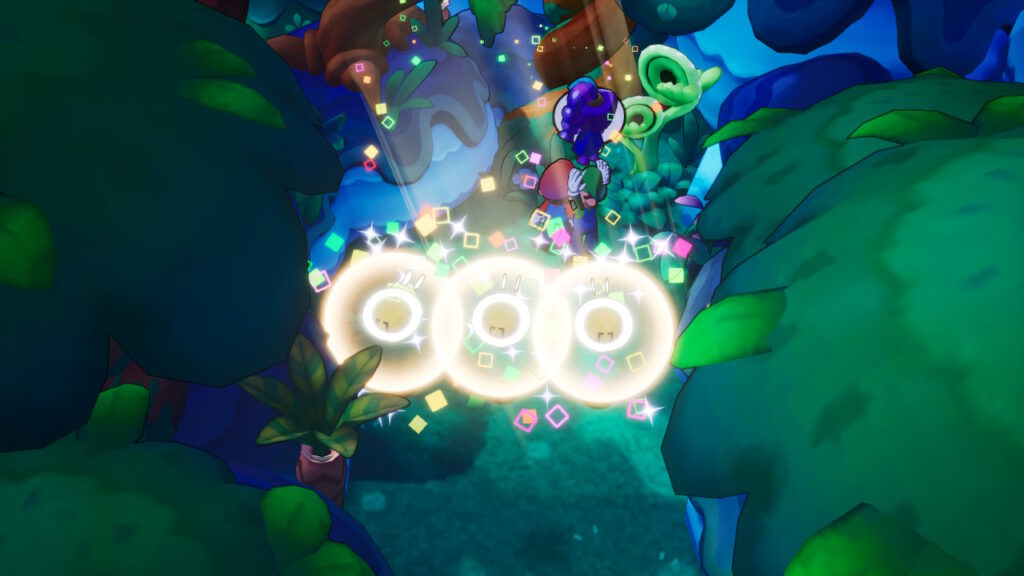
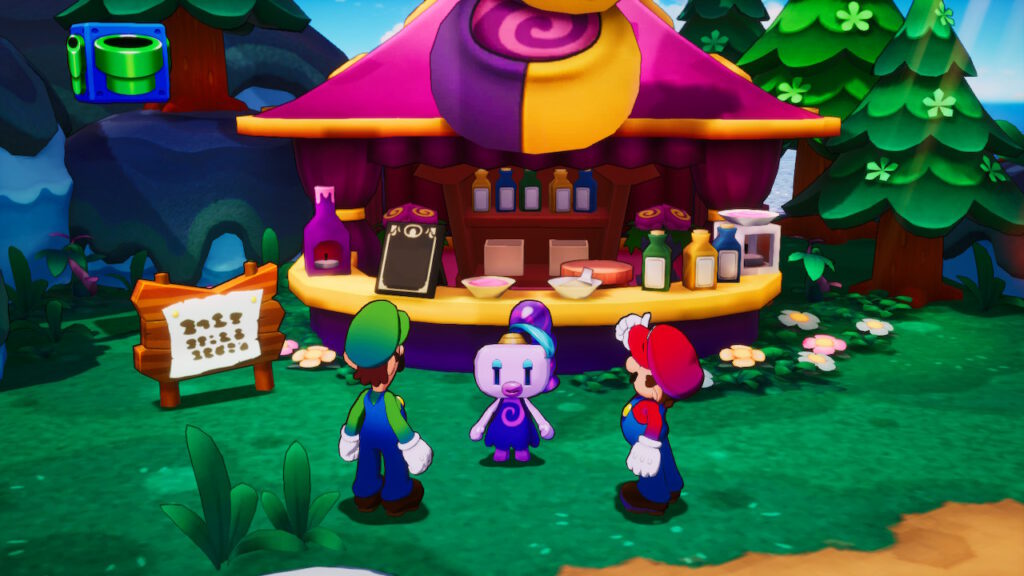
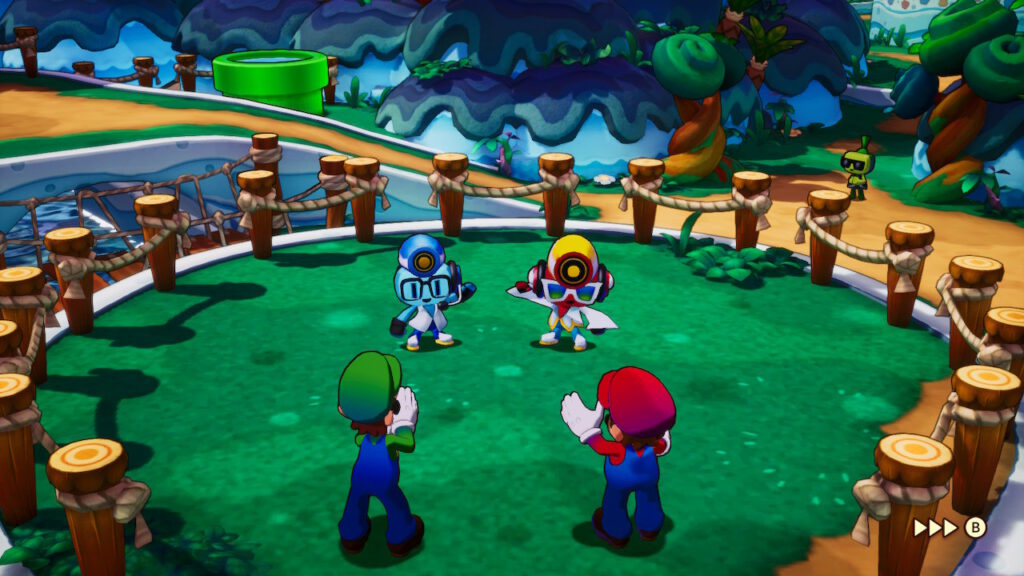
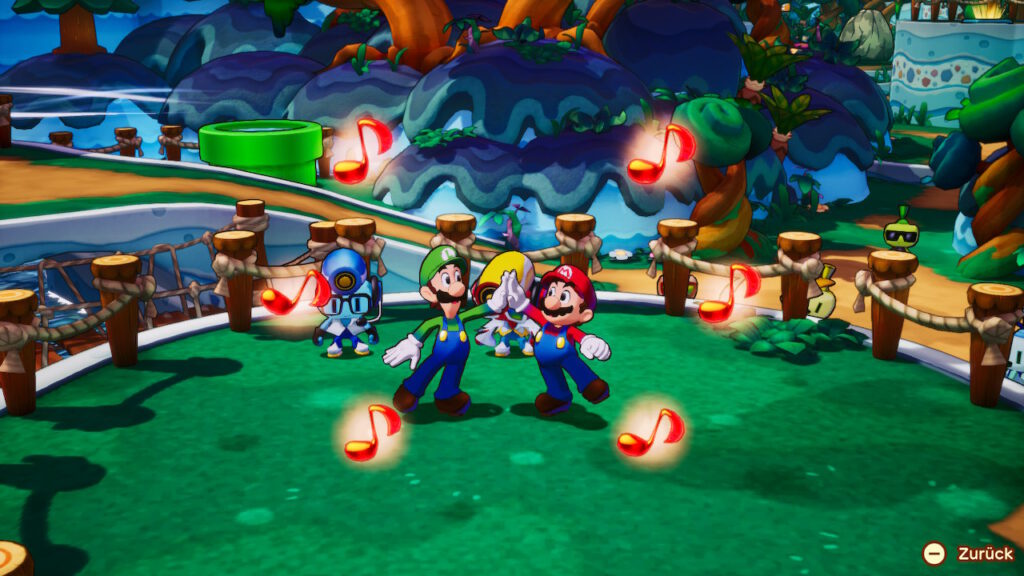
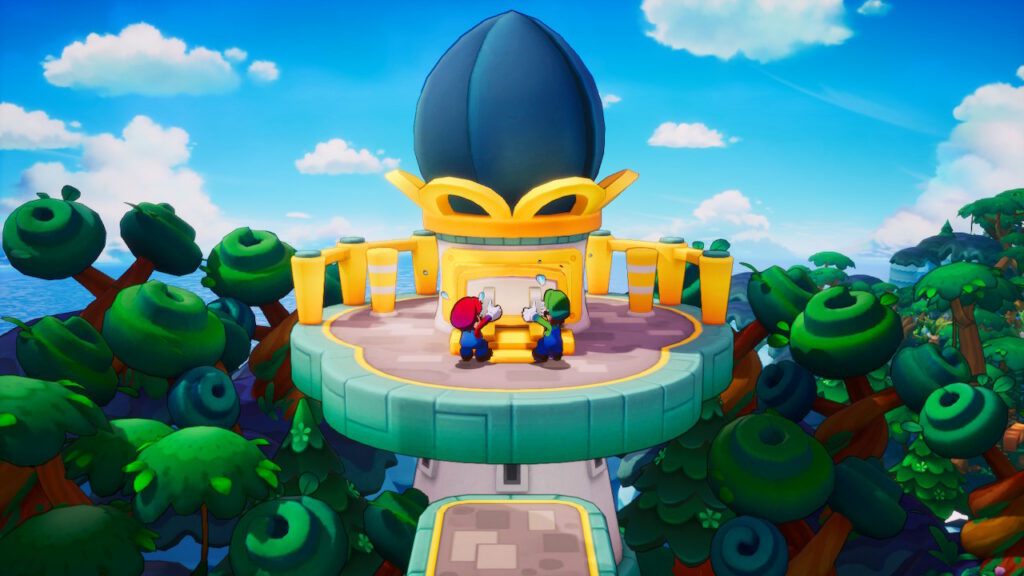
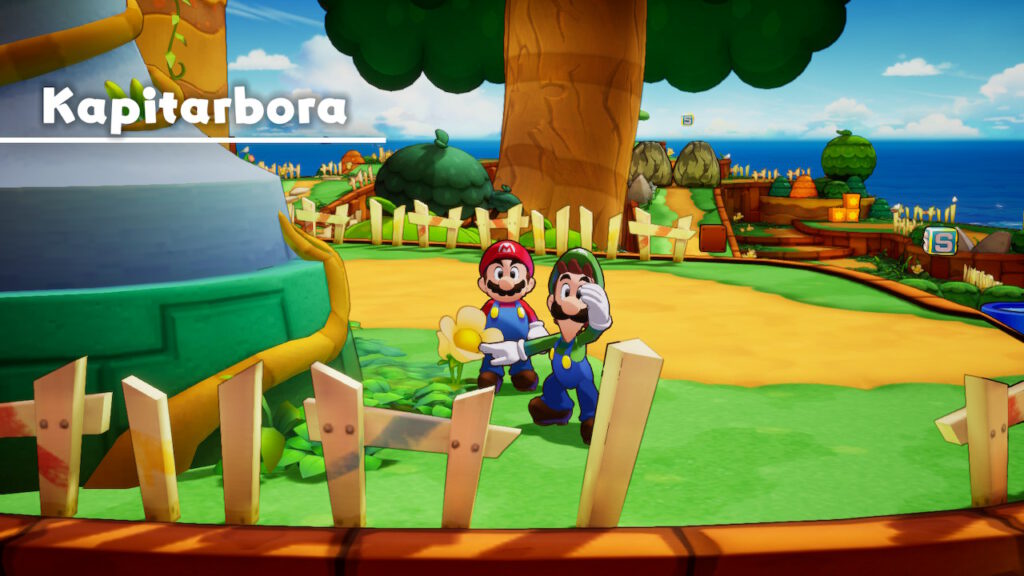
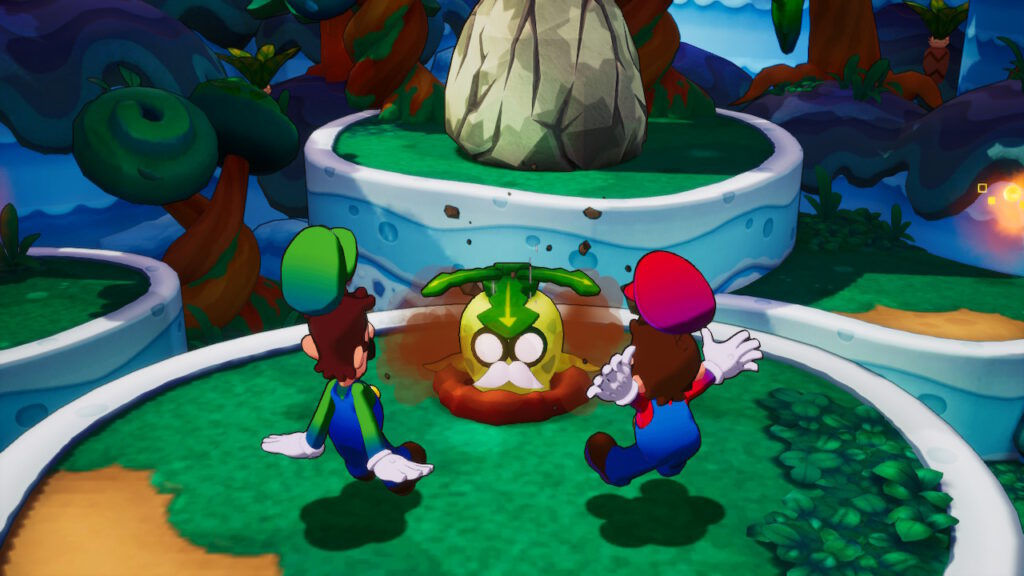
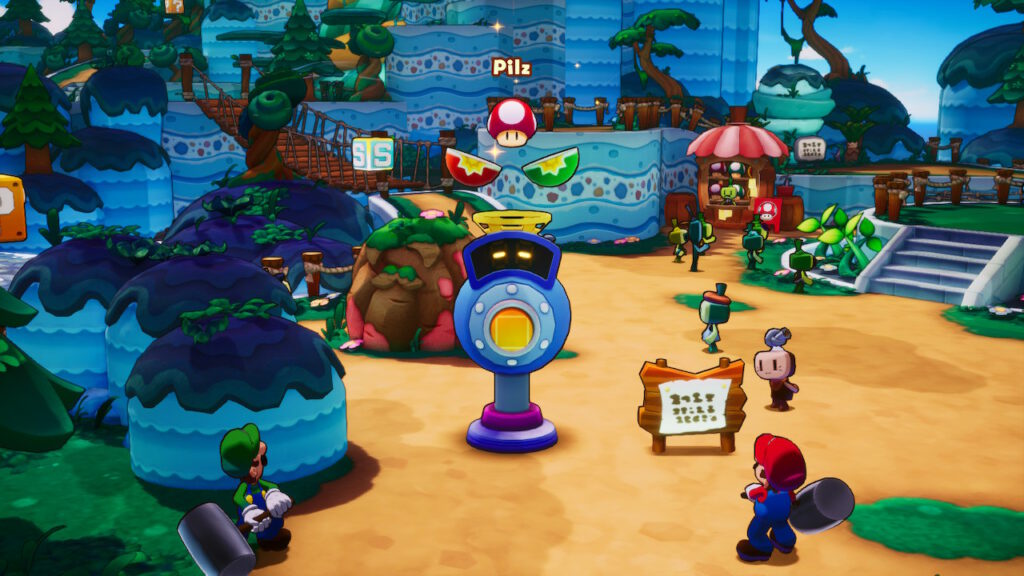
Set a course to Twistee Island on the Ocean Map and use the Cannon as soon as Shipshape Island reaches the island. After landing, you go north. There you will see the lighthouse and Maykit, which is located on an unattainable platform.
The great twist Sprout has dried up. Unless he recovers, you will not be able to reach Maykit or the lighthouse.
The missing groove
Go east to the village square. There you will meet Dyode and his Theets Emmit. Dyode has lost his groove because he lacks the right hair growth remedy. You should get the MaxGlam Wax for him.
Leave the square in a northeast direction and follow the forest path. On Twistee Island you will encounter, among other things, rage pigs and flying Enemies. If possible, start fights with a jump or hammer strike to make a first strike.
Behind a stone arch you can see the violet spiralia on a raised platform. First, move north, climb right onto the rocks and save on the storage block.
Then cross the bridge. Use the moving yellow platforms until you reach the upper level. Climb the lead with Luigi’s help and jump down to Spiralia on the other side.
Carrying Spiralia to the Store
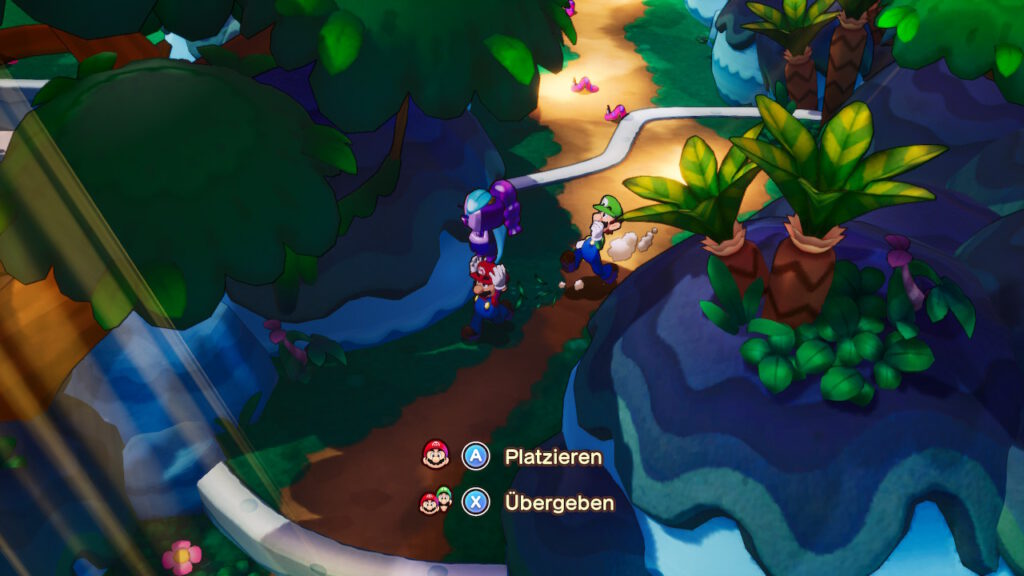
Spiralia possesses the wax sought, but cannot reach her shop alone. Mario and Luigi must carry them back through the forest.
Pick up Spiralia and go back to the stone arch. On some protrusions you have to throw them back and forth between the brothers. Press the faded button to pass Spiralia to Luigi. Mario can then jump upstairs and accept her again.
Pay particular attention to the small worms on the way. If Spiralia sees one of the worms, she is frightened and the transport task begins again. Therefore, wait until the animals clear the way, or walk past them with sufficient distance.
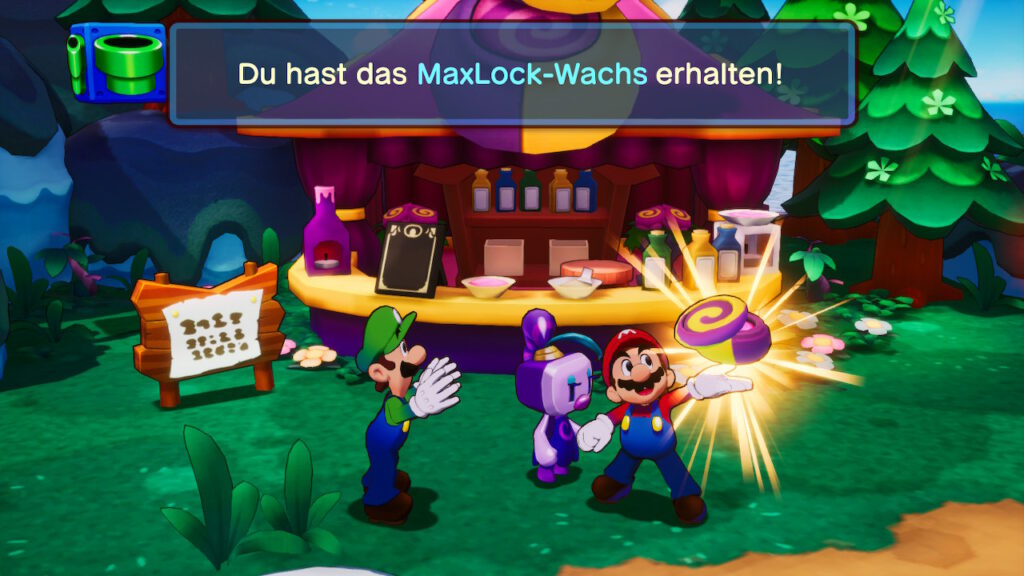
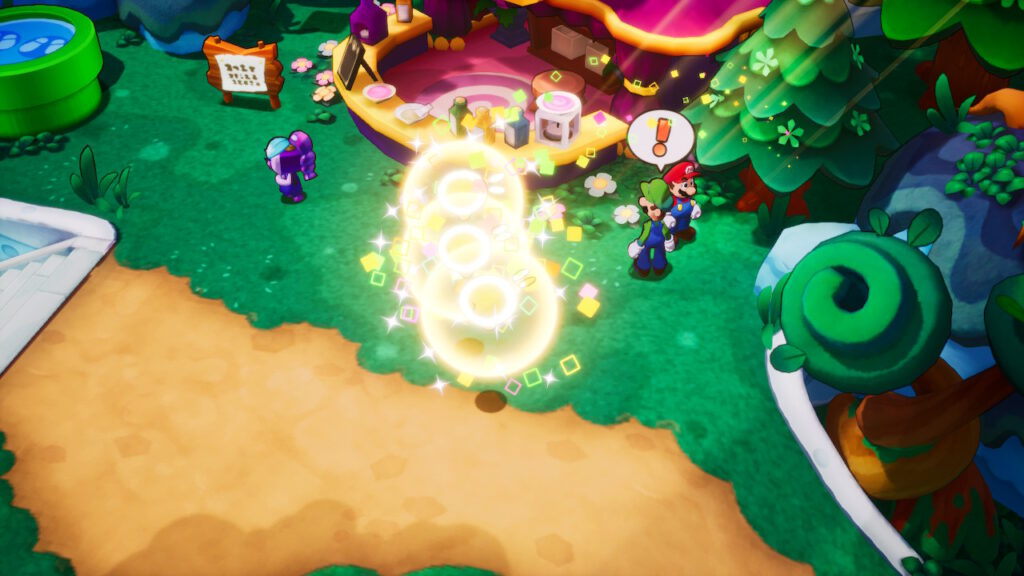
Bring Spiralia to her shop in the southeast area. There you get the MaxGlam Wax. Then activate the green tube block next to the shop and return directly to the village square.
Diodelf’s dance
Give Emmit the MaxGlam Wax. Dyode finds his groove again and begins to dance. Mario and Luigi will support the demonstration.
Press the keys in the appropriate rhythm. The order is as follows:
A – B – A – B – Y – X
If the dance succeeds, the twist Sprout awakens. Its large leaves and tendrils now form a way up.
Go west from the village square and climb over the leaves of the tree. Talk to Maykit above and then jump to the lighthouse. Unplug to connect Twistee Island to Shipshape Island.
If Twistee Island was your first of the two islands, Maykit makes the hammers for Mario and Luigi on return. If you have already visited Raynforst Island before, the next part of the story follows instead.
Tip: After connecting the island, you can find a Grampy Turnip on a lead west of the starting area. For this, pull the eye-catching turnip out of the ground.
Raynforst Island
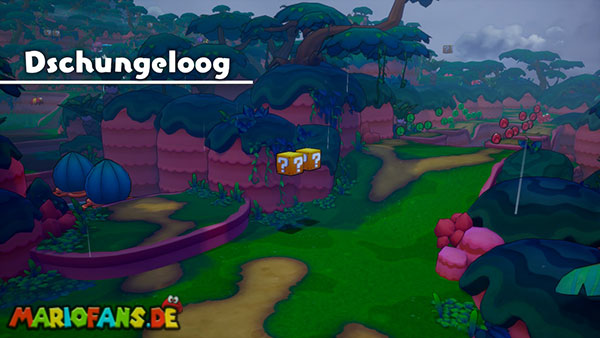
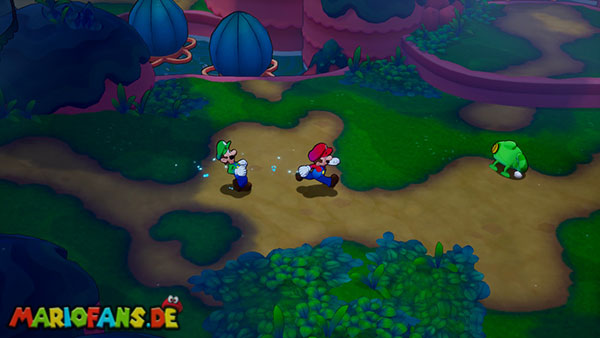
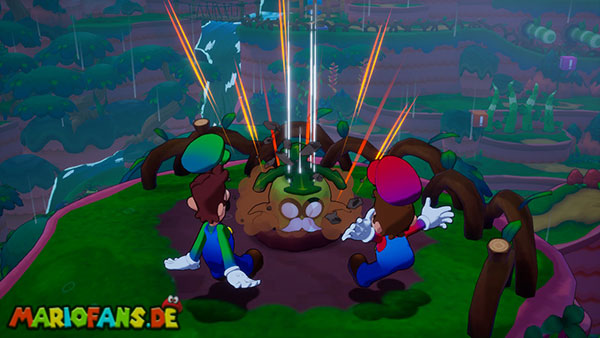
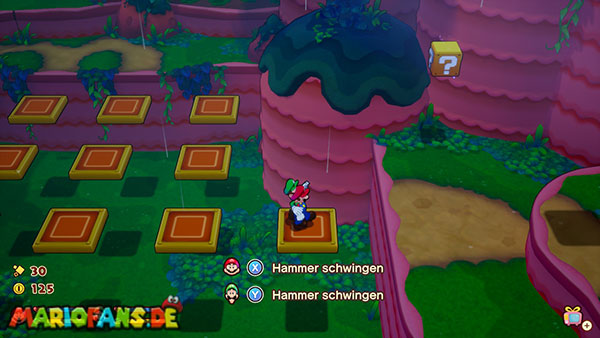
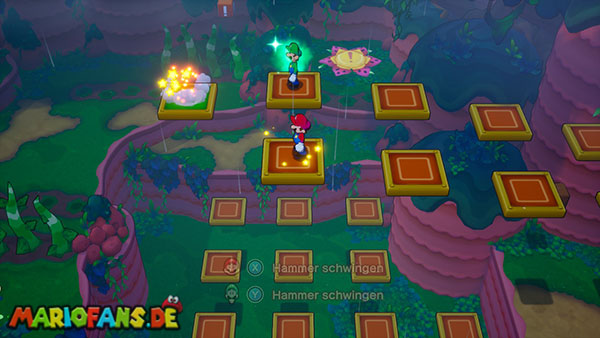
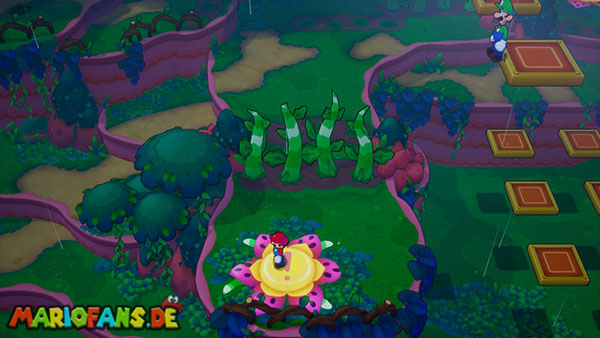
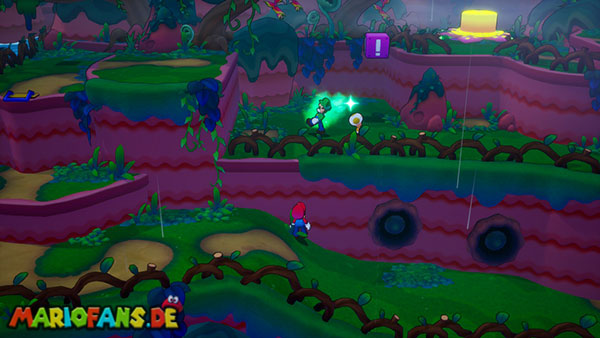
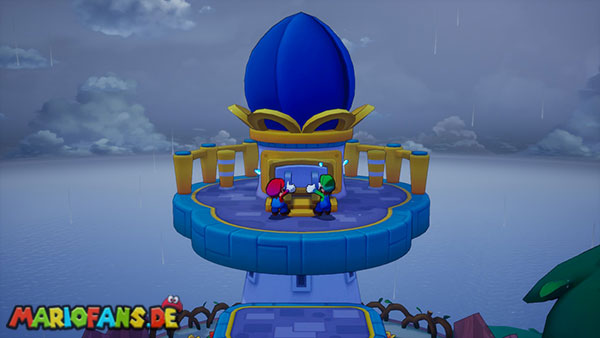
Travel with Shipshape Island to Raynforst Island and shoot Mario and Luigi with the Cannon to the island. From the starting point, follow the way east.
On a raised platform you will find a large stone cube. Pick it up with Luigi and carry it back down. Since a brother cannot jump with an object, you must pass the cube on the projections.
Let a brother jump upstairs and throw the dice to him. Then place it on the marked spot. The cube now serves as a step step, through which both brothers reach the higher level.
Follow the path and split Mario and Luigi at the colored coins. Mario collects the red coins while Luigi independently follows the green trail. Coins in the matching paint bring an additional bonus.
In the process, you will reach a dealer. On the hill west of it you will find another Grampy Turnip. Pull the eye-catching turnip near the house off the floor.
The Four Flower Switches
Continue north from the dealer. After a big golden turnip you meet Billdit. He would like to make hammers for Mario and Luigi, but can only use his workshop when Raynforst Island is reconnected.
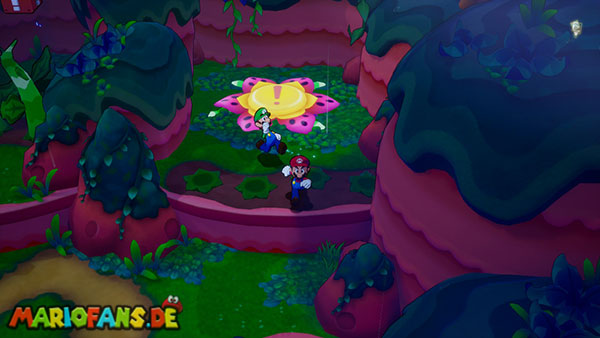
The path to the lighthouse is blocked by a large flower gate. To open it, you need to activate four yellow flower switches.
First hit the orange exclamation mark block. This changes the roots in the area and you can reach the purple crystal block. Also activate this to clear the eastern path.
Jump with both brothers to the first yellow flower switch. At the gate, the first of four symbols lights up.
Then climb up in the northeast section. Another orange crystal block removes the roots in front of the second flower switch. Activate it with both brothers.
A little further south floats a green platform with an L. Let Luigi jump on it. Then a red platform for Mario appears. Take turns with both brothers on the colored surfaces. With each right platform, the next section of the path is created. At the end you land directly on the third flower counter.
The Three Toads
Return to the previous area and use the violet exclamation mark block to open the western path. There you will meet a violet toad. He wants to be brought together with his two friends.
The yellow Toad is near behind a barrier. Use Luigi’s idea and let him operate the raised purple crystal block. Speak to the liberated Toad, pick him up and throw him to Luigi.
The green Toad waits west behind the bridge. Take him back with you. On the way, place it briefly on the floor plate so that the grid with the stone cube opens. Get the cube out and put it down next to the path first.
Bring the green Toad to Luigi. Then throw the stone cube over so that Luigi can reach a higher level. Take the green Toad back and follow Luigi.
Finally, place the stone cube at the edge of the violet Toad. Once all three Toads are combined, you can activate the fourth flower switch. The large gateway to the lighthouse opens.
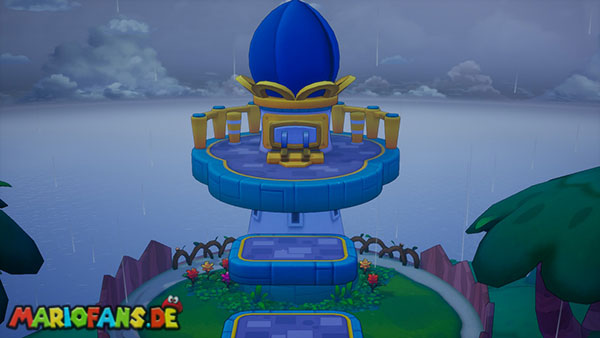
Go north, save your progress and jump up the trunk with Mario and Luigi. At the lighthouse, pull out the plug to connect Raynforst Island to Shipshape Island.
Back on Shipshape Island, Billdit makes the hammers, if you have not already received them to Twistee Island. Then strike several times with Mario’s Hammer against Arc‘ capsule. The navigator is freed and explains the way to the giga lighthouse.
Rumbla Island #2
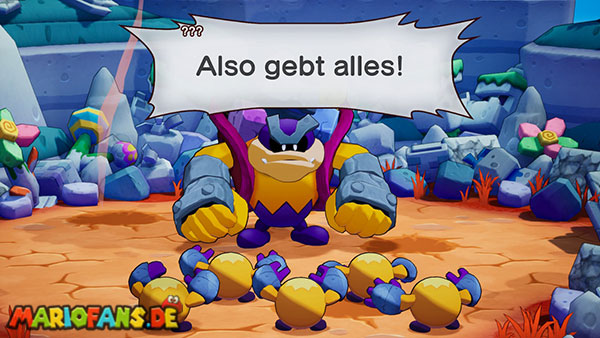
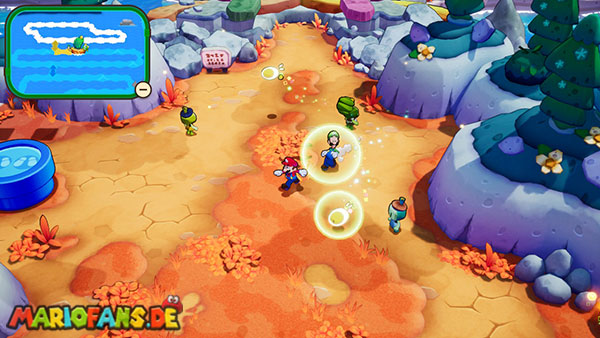
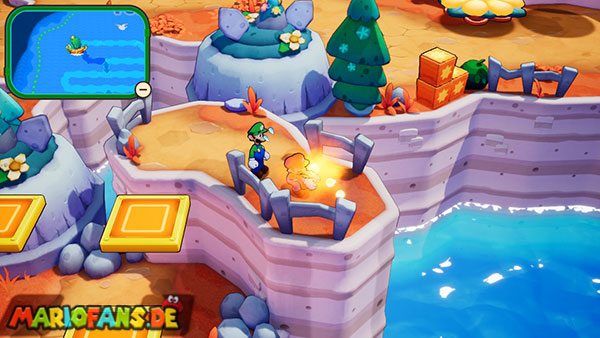
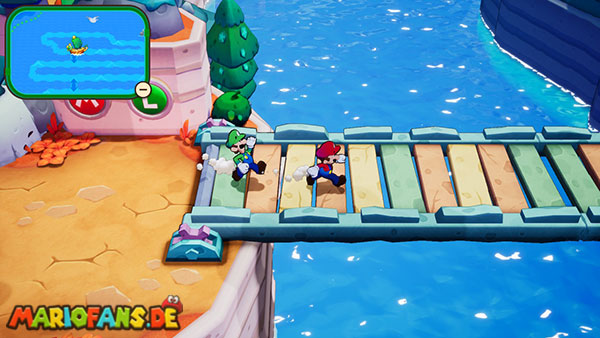
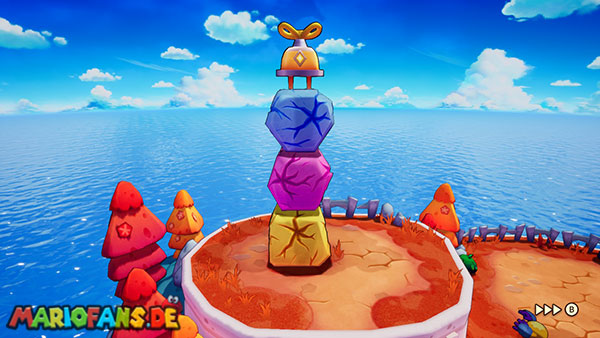
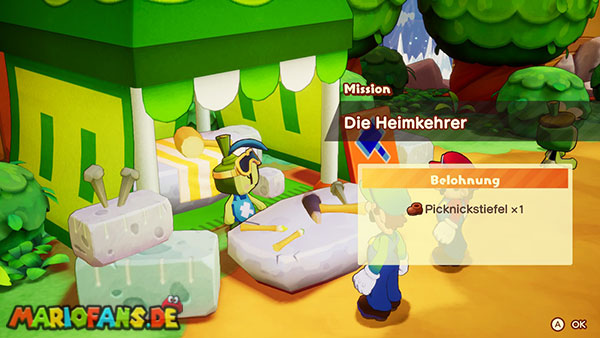
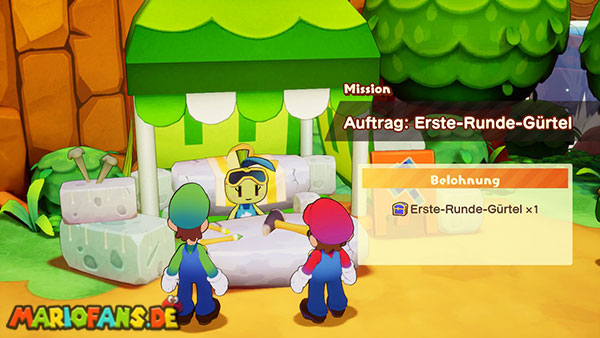
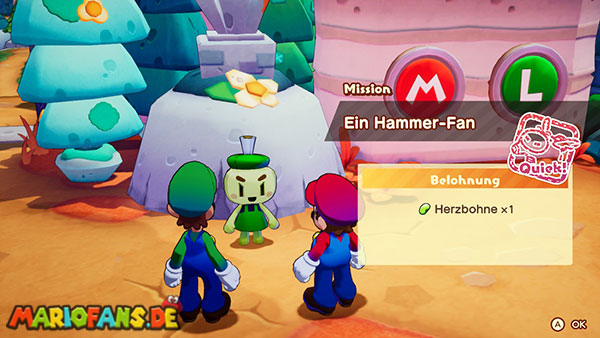
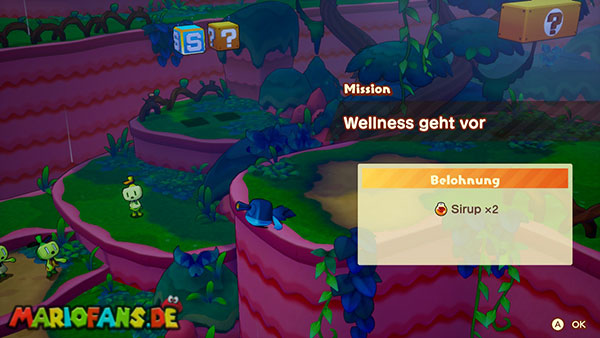
After Maykit and Billdit are found, the group receives a message from Rumbla Island. The island is again attacked by swarms. Prepare on Shipshape Island, buy some mushrooms and nuts and then use the Warp Pipe to Rumbla Island.
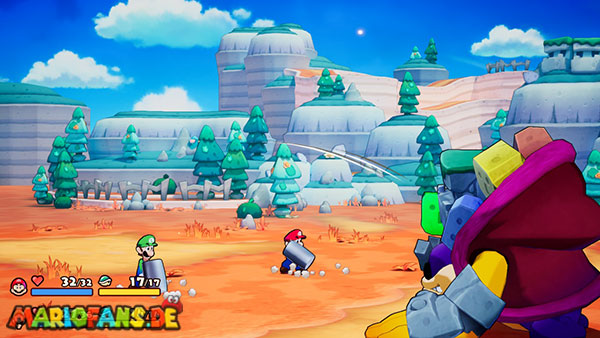
Already on the beach you are attacked by several swarms. Since Mario and Luigi now own hammers, you can specifically avoid the cover of the Enemies:
- Hands in front of the body: Jump on the head.
- Hands over your head: Attack with the hammer.
After the fight, use the green warp pipe to the village square. If necessary, purchase additional healing items and save your progress.
The Road to Gorumbla
Go north from the village square and then east. On the wall are a red and a green color switch. Let Luigi hit the green color switch with the hammer and hit with Mario against the red one. This lowers the bridge.
On the other hand, you reach a large door. To open, you need two door plugs.
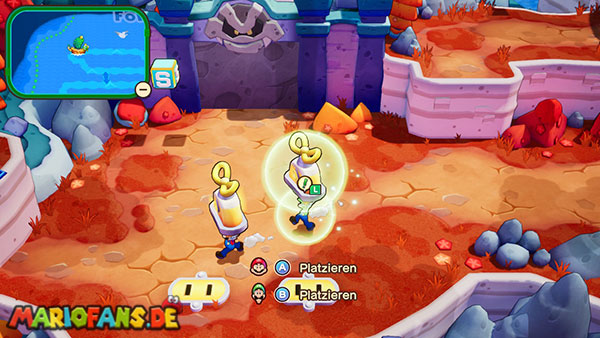
First, go east and destroy the stack of colored rocks. Pick up the blue boulder and carry it to the marked spot in the southwestern part of the area. This creates a rise to the elevated plane.
Climb up and walk to the right at the intersection. Use the common jump technique to achieve the high lead. There begins another task with red and green platforms.
Let Luigi jump on the green L platforms and steer Mario on the red M platforms. Always switch to the brother whose platform appears next. At the end you will find the first door plug behind the rocks.
Carry the plug back to the intersection. Now go to the left, destroy the rocks on the way and get the second door plug.
Jump back down with both plugs and insert them into the two sockets in front of the big door. Be sure to use the healing block and save your progress before entering the room behind it.
Boss: Gorumbla – Level 7
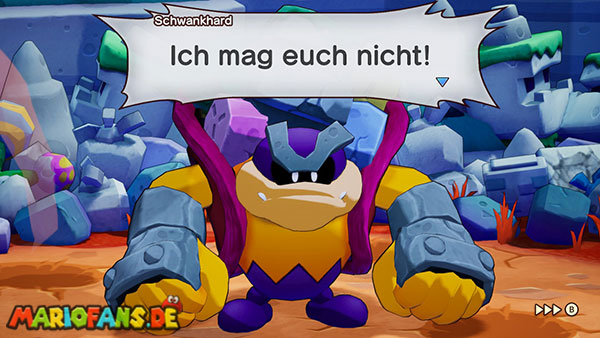
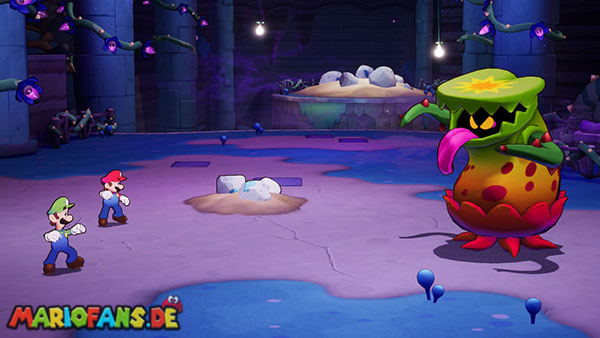
Gorumbla is similar to the Schwankerlen, but has much stronger attacks. His arm posture also decides here which attack is effective.
- Arms in front of the body: Use jump attacks.
- Arms over head: Use hammer attacks.
If you hit its protected side, the damage is greatly reduced. Therefore, before each attack, check where his hands are.
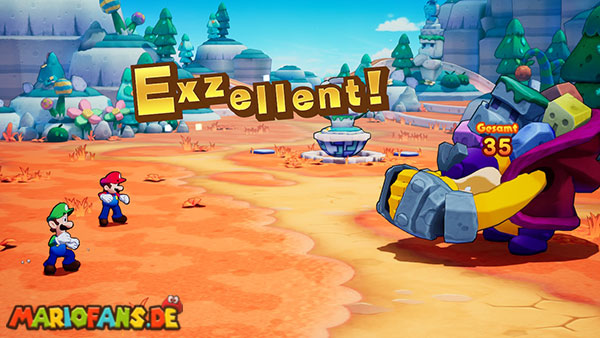
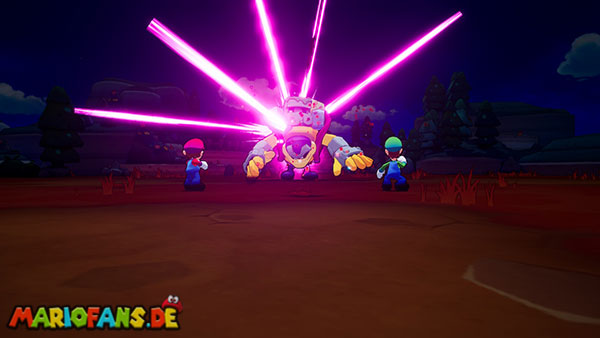
Gorumbla can slide over the ground or rush towards the brothers several times in succession. Jump only when he almost reaches the respective brother. If you land on his head, you simultaneously cause counter damage.
In another attack, it strikes the ground and generates several shock waves. The shock wave of his right hand moves towards Mario while the left hand attacks Luigi. Jump over the waves with both brothers one after the other.
Occasionally Gorumbla drops rubble on Mario and Luigi. Pay attention to the paint or position of the objects and strike them back with the hammer.
Luigi Logic against Gorumbla
After the rubble attack, a large boulder lands in the statue at the edge of the battlefield. As soon as the symbol appears, you activate Luigi’s idea.
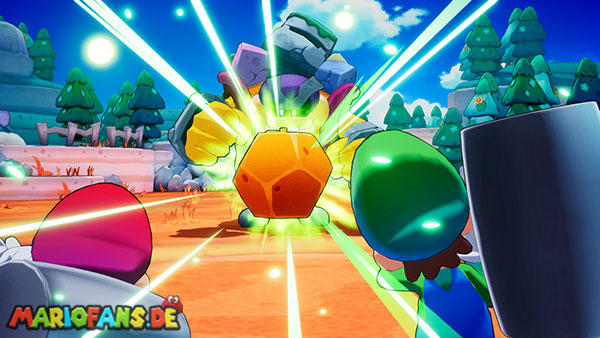
Luigi removes the stone from the statue and throws it at Gorumbla. The boss catches the chunk and throws it back. Stop him first with Mario’s hammer and then hit him again with Luigi in the direction of Gorumbla.
If the maneuver succeeds, the boss is dazed for a short time and his defense sinks. Use this opportunity for your strongest jump and hammer attacks.
Nuts are especially practical in this fight because multiple attacks can hit both brothers. Heal early and try not to wait for the next Luigi Logic with very low HP.
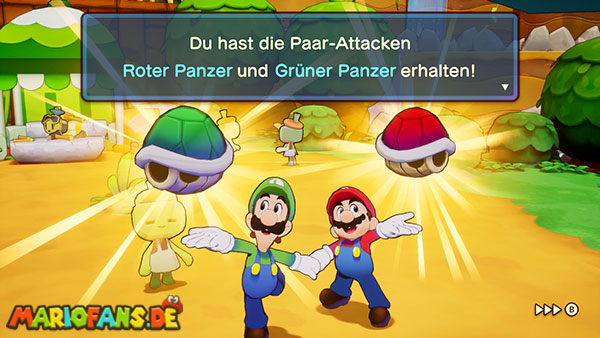
After the victory, Gorumbla is brought to justice by Hammaria. Back on Shipshape Island, Mario and Luigi receive their first Bros. Attacks: the red and the green tank.
Florall Island
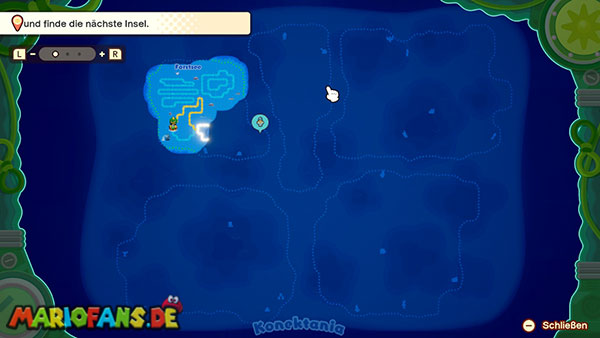
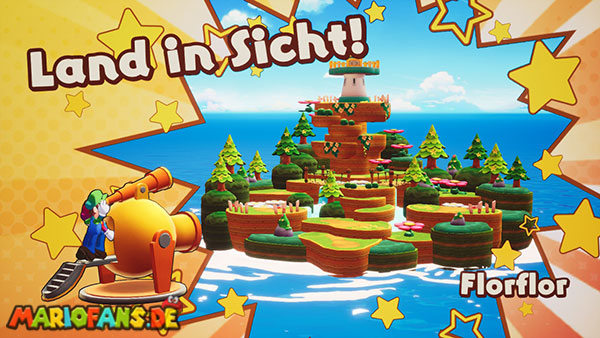
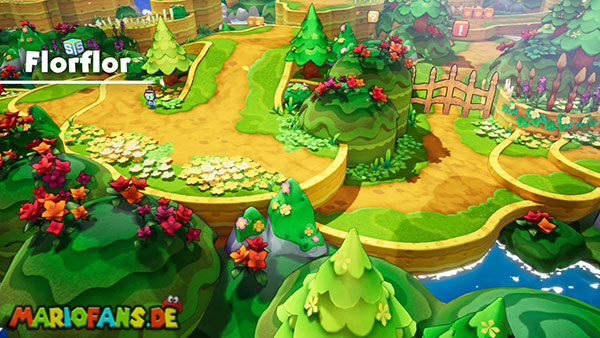
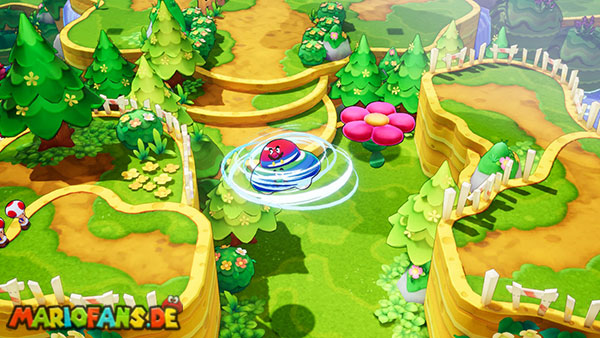
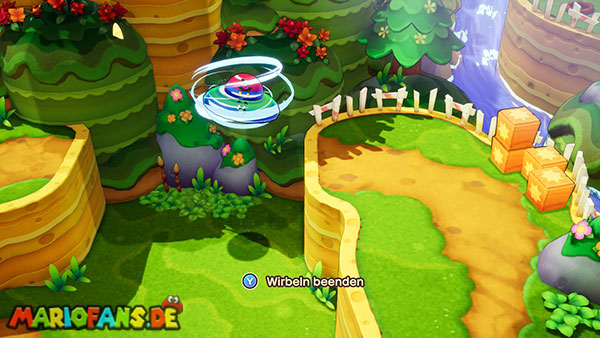
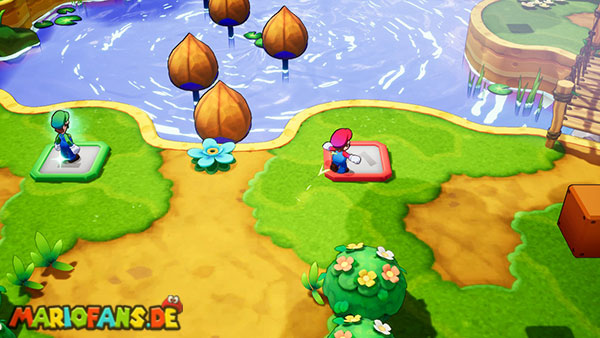
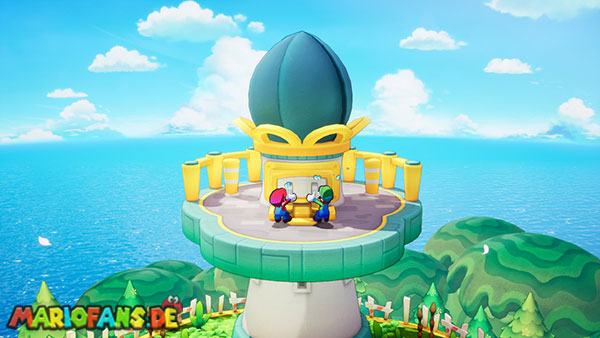
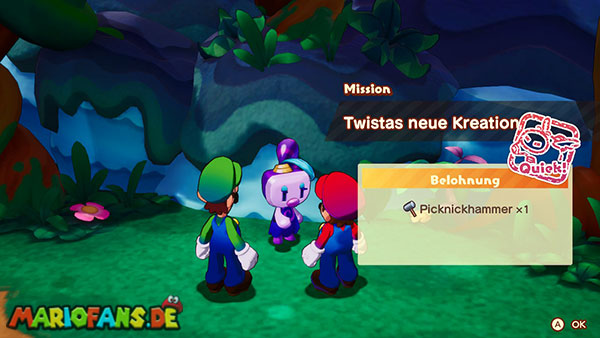
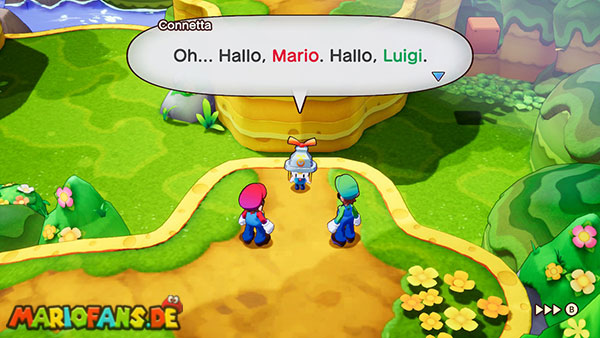
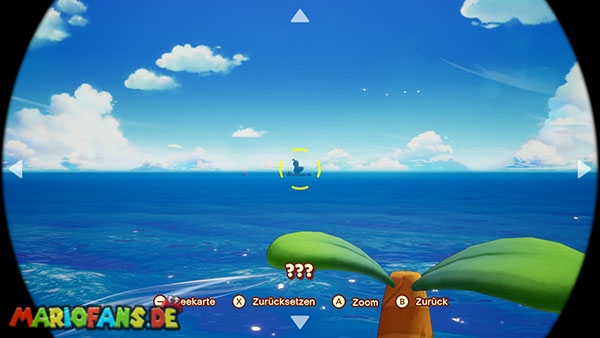
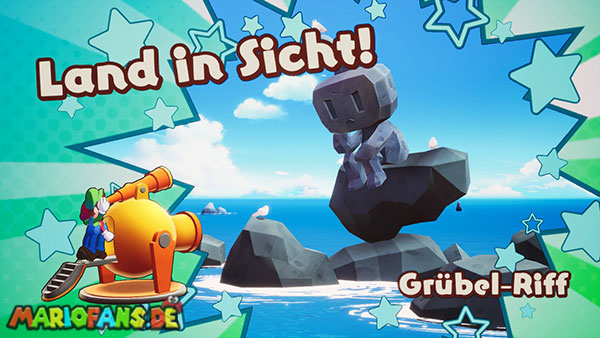
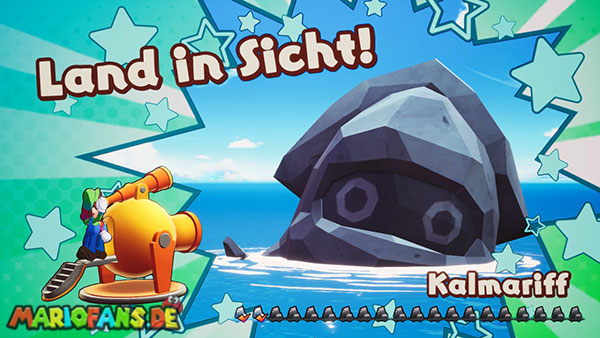
After the victory over Gorumbla, a new current becomes accessible in the southeastern area of the Forstsee. Set a course there on the Ocean Map and use the Cannon to reach Florall Island.
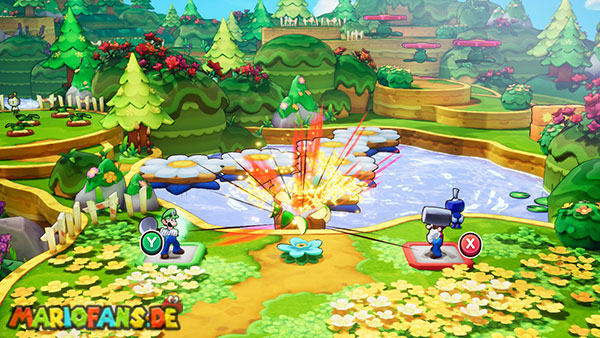
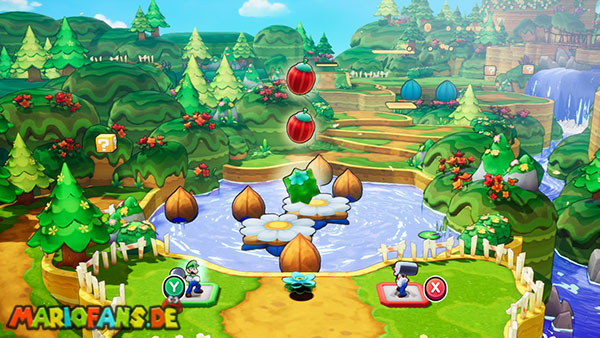
Follow the way east and jump over the big flowers. At the pond you will discover three closed buds. To open them, you have to complete a rhythm game.
The First Flower Mystery
Let Luigi step on the green field and put Mario on the red field. From the blue flower, colored seeds are then shot.
Red seeds belong to Mario and are hit with X. Green seeds belong to Luigi and are met with Y. Do not strike until the seed is approximately above the hat of the appropriate brother.
The order of the first puzzle is:
- X – X – Y
- X – Y – X – Y – X
- X – X – Y – Y – X – Y – X
After the successful play of rhythm, the buds open and form a flower bridge. Cross them and follow the northern path.
Strike against the exclamation block to remove the eastern chain link. Then go south. On the western rock two Toads appear. Climb right up.
The UFO Maneuver
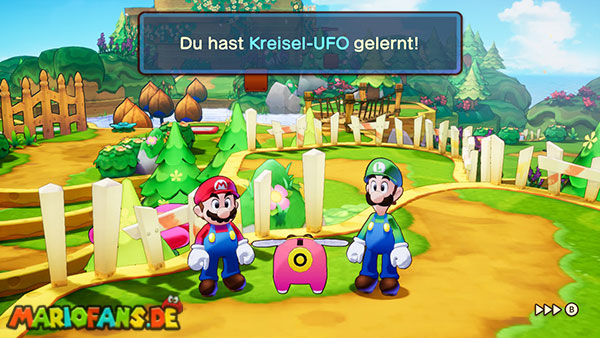
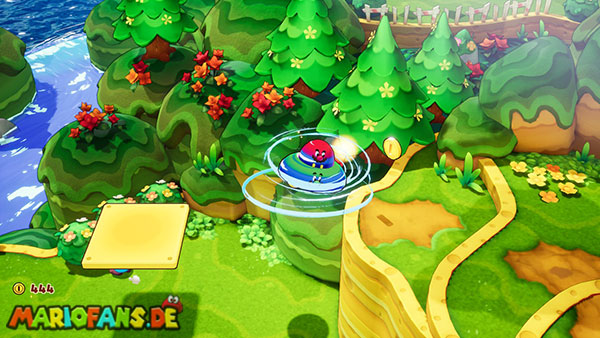
This is where Mario and Luigi learn a new Bros. maneuver. Turn the right stick in the indicated direction and press the faded button. The brothers turn like a UFO and can thus cross larger gaps.
First fly to the Toads on the left. Follow the trail and use the UFO maneuver again to cross the next wide gorge.
Go south in the following area and strike against the exclamation point block. The chain link disappears and you return to the vicinity of the starting area.
The Second Flower Bridge
With the UFO maneuver you can now take the previously unreachable path in the northwest. Fly first to the small platform and then to the western side.
Wait at the moving yellow platform until it moves up. Start the UFO maneuver and land on it. Once it stops in the south, fly on to the left.
In the second rhythm game, X applies again to Mario and Y to Luigi:
- X – X – Y
- Y – Y – X
- X – X – Y – Y
- X – Y – Y – X – Y – X
- Y – X – Y – Y – X – X
After the puzzle, the second flower bridge is created. Follow the northern route to the moving platforms.
Use the UFO maneuver to get to the first platform. Wait until it stops at the next lead, and fly on. The following two platforms can also be reached with normal jumps.
For the last platform you should use the UFO maneuver again. Land on the platform as it travels through the coin row and fly from its right position to the next rock.
The Last Rhythm Game
Strike against the exclamation block to open the last chain link. This is followed by the longest flower puzzle on Florall Island:
- X – X – Y – Y – X – Y
- Y – Y – X – X – Y – X
- X – Y – X – Y – X – X
- Y – X – Y – X – Y – Y
- Y – X – Y – X – Y – X
- X – X – Y – Y – X – Y
- Y – X – Y – X – Y – X
Cross the last flower bridge and follow the big flowers up. At the end you reach the lighthouse. Unplug to connect Florall Island to Shipshape Island.
After returning, Arc declares that all requirements for the trip to the Giga lighthouse are now met. However, Connie must accompany you to restore his energy.
Follow Connie back to Florall Island and talk to her. After the conversation, the interrupted ocean currents combine and the path to the giga lighthouse becomes clear.
Giga lighthouse
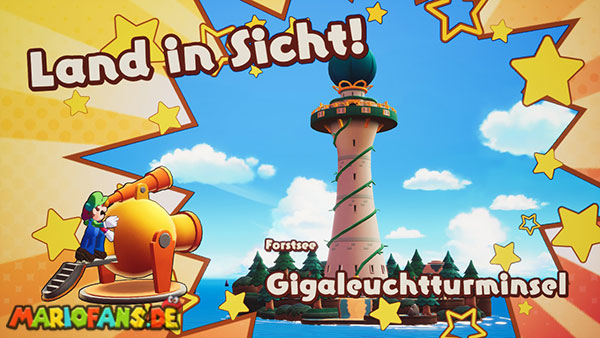
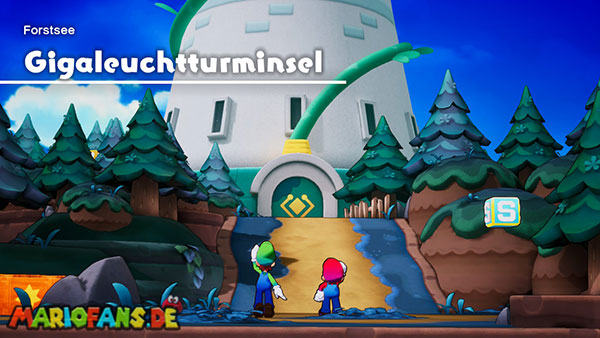
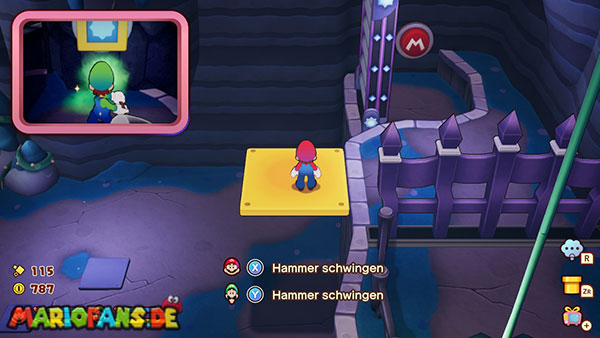
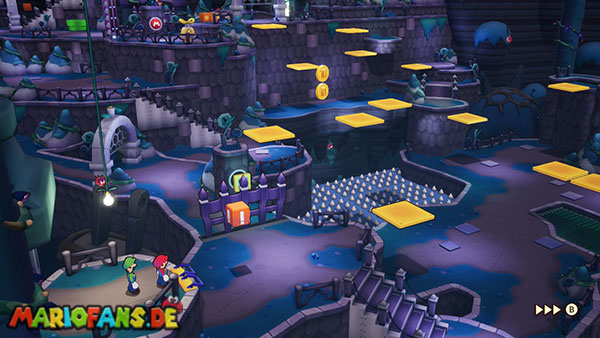
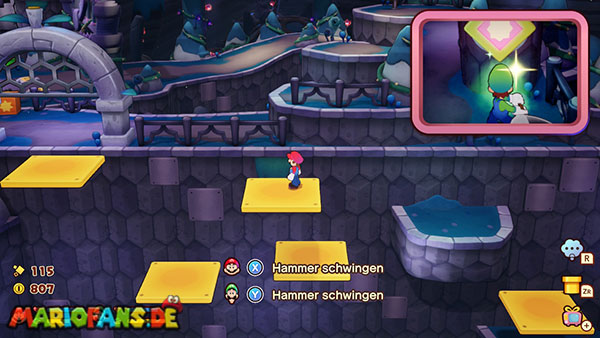
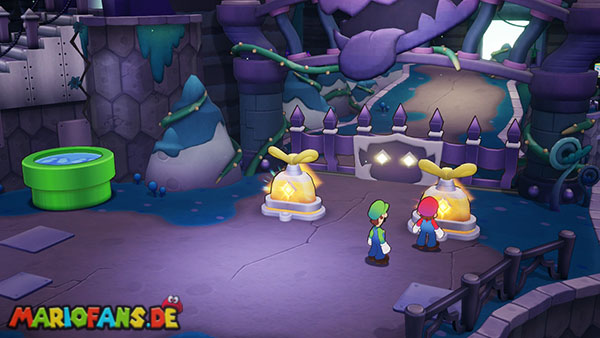
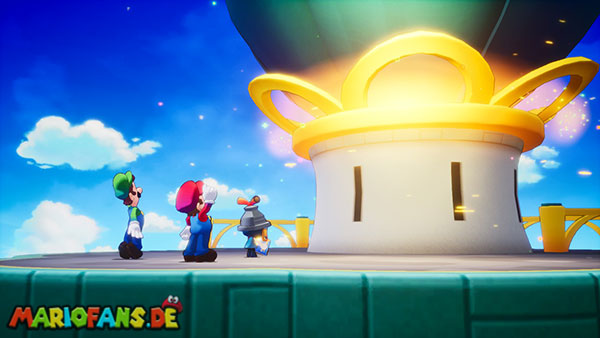
Back on Shipshape Island, the ship gets a function for faster travel. Open the Ocean Map and use the faded button to reach the destination without long wait.
Before the Cannon can be used for the giga lighthouse, you need to talk to the new consultants in the southern area of Shipshape Island. They check your level and equipment on request.
Then prepare for the upcoming boss fight. Mario and Luigi should have reached about level 12. Take several mushrooms, nuts, syrups and fresh roots.
The entrance to the Giga lighthouse
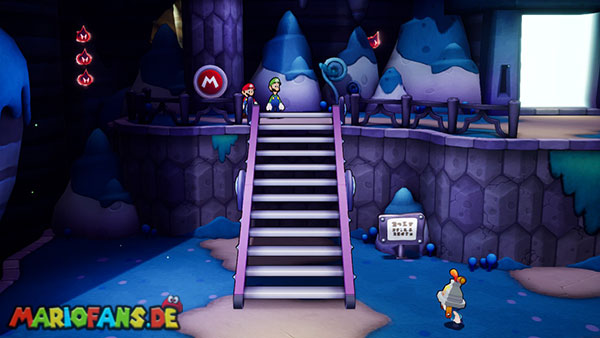
The large front door is locked. Go right on the island and use the smaller side entrance there.
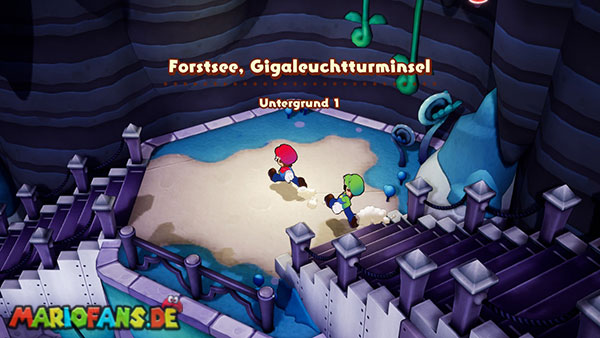
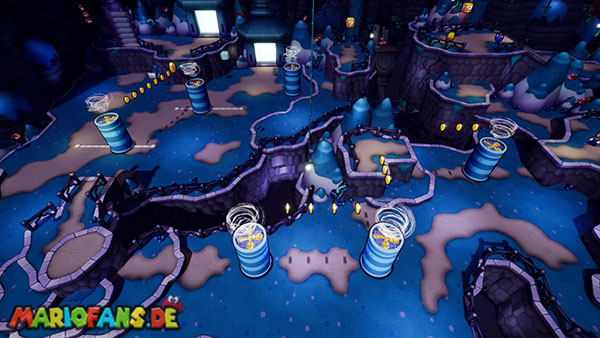
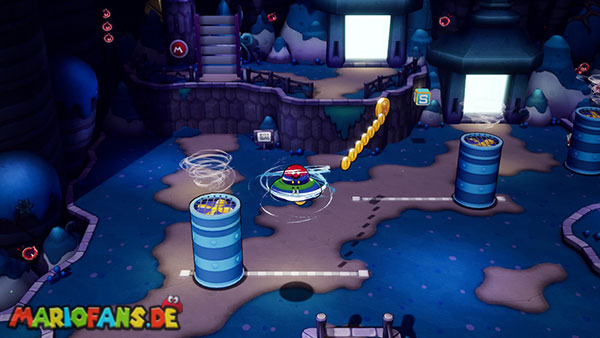
In the first basement you go south through the only open door. Then fight your way to the eastern end of the room and hit the large Color Switch. This causes several fans and platforms to move out of the ground.
Use the UFO maneuver to let the air flows carry you. You can collect additional coins on a longer path or fly directly to the platform with the raised stairs.
Beat Mario against the M-Color Switch. The stairs are lowered and Connie can follow you.
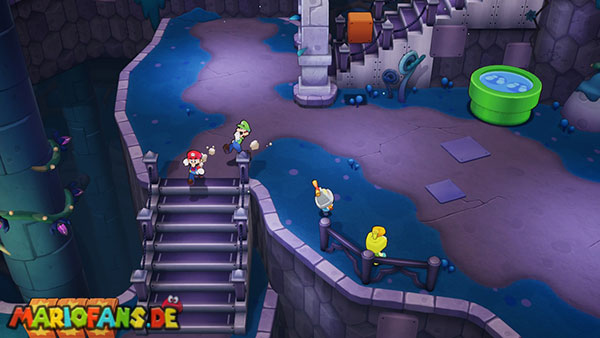
Walk through the new door and then down the stairs. In the second basement, you meet a resident who warns you of the monster behind the big gate.
Activate the green tube block nearby. This creates a shortcut to the entrance of the island.
The two energy plugs
The large gate is controlled by two sockets. You need two power plugs.
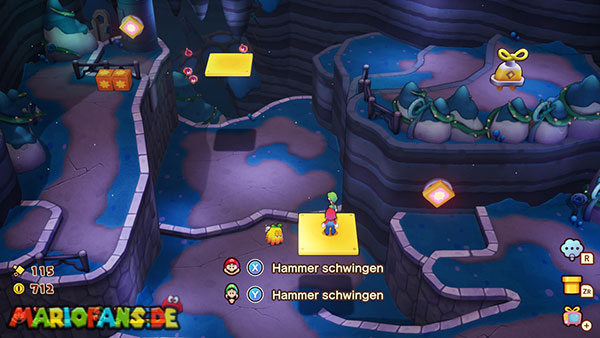
First, go to the northern area. Strike the hammer against the Color Switch to activate the mobile platform. Drive with her across the gorge. In the next section, repeat the process and finally reach the first energy plug.
Jump down with the plug. Don’t put him in the big gate yet. Instead, carry it south and put it in the socket in front of the small side gate. The passageway opens.
Go down the stairs, cross the arch of the gate and walk over the bridge to the next chamber.
In the southern part is a Color Switch for several mobile platforms. Leave Luigi on the Color Switch with the Luigi Logic. Luigi can move the platforms by a hammer strike.
Drive Mario with the first movement to the middle platform. Afterwards, let Luigi strike again so that Mario reaches the opposite side. Press the M-Color Switch there to lower a staircase for Luigi.
Open the small gate and return to the main room together.
Now go to the second plug. First hit the exclamation mark block to open the access. Leave Luigi at the platform switch again and control Mario over the moving surfaces.
In the second section you have to vote Mario’s jumps with Luigi’s hammer strokes. Wait until Mario is safely on a platform before Luigi changes her position.
At the end you get the second energy plug. Hit the M-Color Switch to lower the stairs and bring both brothers back together.
Now get the first plug from the socket of the small gate. Carry both plugs to the large main gate and insert them into the free sockets.
Before entering the next room, use the storage and healing block.
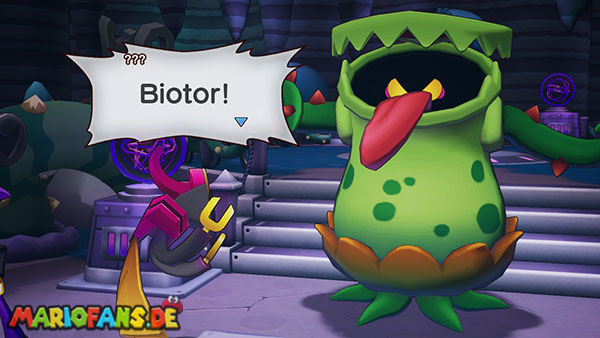
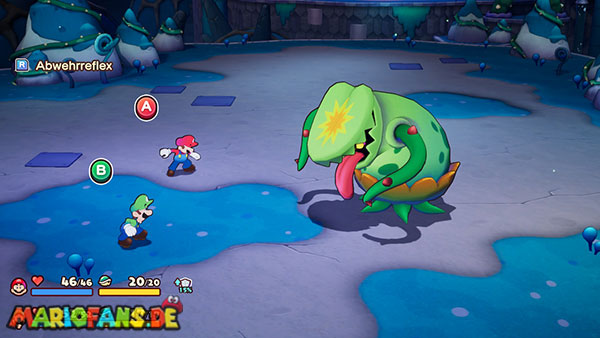
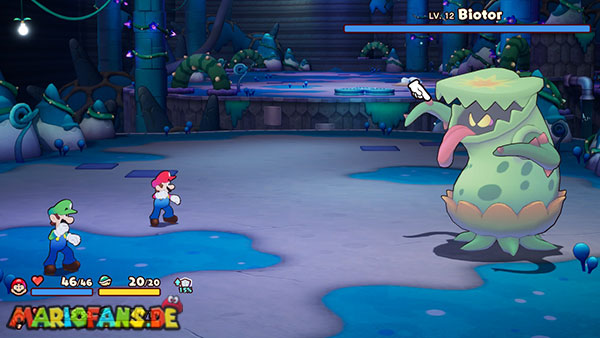
Boss: Gobblick – Level 12
Gobblick can be injured with jumps as well as hammer strikes. Particularly important in this fight is a secure defense and the correct use of the Luigi Logic.
His vine attacks can make a brother dazed. As soon as a Vine appears in front of Mario or Luigi, you pick up with the appropriate hammer. Do not strike until the Vine is immediately in front of the brother.
In his rubble attack, Gobblick throws various objects over the battlefield. First, pay attention to the drumming on his stomach:
- A normal rhythm announces low jumping objects. Jump over it.
- A longer recovery announces high objects. Stand still and let them fly over the brother.
After Gobblick has lost part of his HP, the large fans are activated at the edge of the battlefield. At the same time, a Luigi Logic appears.
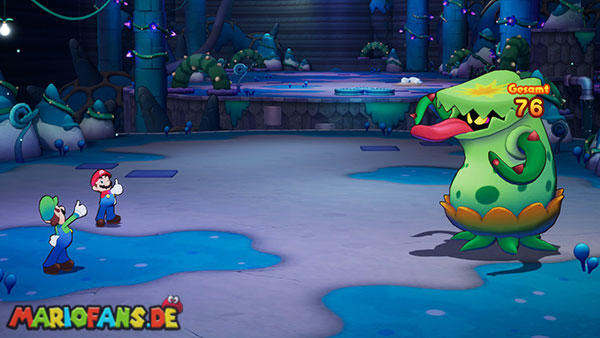
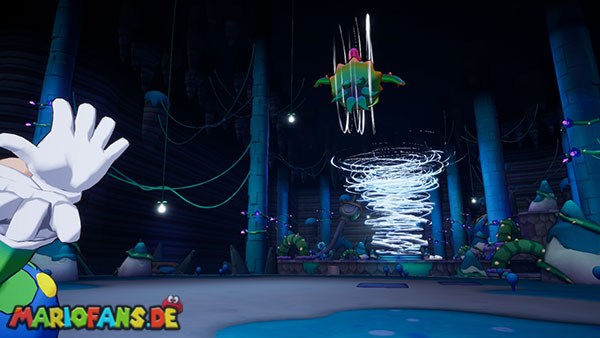
Luigi grabs Gobblick’s tongue and begins to throw him in a circle. Wait for the boss to point towards the air vortex, and then press the displayed button. If Gobblick is thrown into the vortex, he is dazed for several rounds.
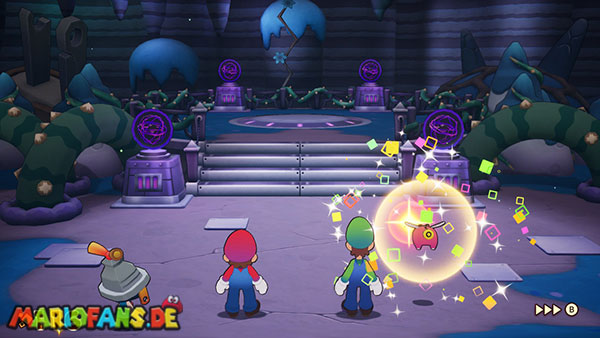
Use the defenseless phase for your Bros. Attacks with the tanks. In front of Luigi Logic, make sure that both brothers have sufficient BP.
Later Gobblick becomes angry and his attacks become faster. During his swiping attack, a vine moves over the entire floor. Jump over it one by one with Mario and Luigi.
When Gobblick approaches a brother, he prepares a feeding attack. Wait for the right moment and strike him back with the hammer. If a brother is swallowed, Gobblick heals himself and then spits his victim on the other brother. Jump in time to prevent additional damage.
Fresh roots help against drowsiness. Heal an affected brother as soon as possible, otherwise he can neither attack nor ward off the next attack.
Repeat the Luigi Logic as soon as the fans are ready again. The dazed phases are the best opportunity to quickly reduce Biotor’s HP.
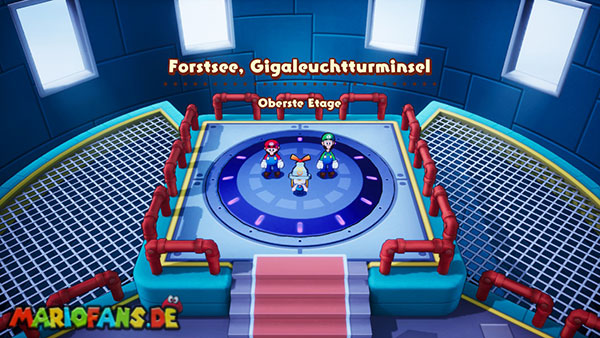
After the victory, you will receive the Gobblick-Boots. Take the elevator up and follow Connie to the top of the giga lighthouse.
Connie ignites the light again. This will continue the connection in Concordia and Shipshape Island can go to the next sea.
After the final scenes, the next section of the complete solution begins in the Color-Full Sea.Color-Full Sea