

The complete solution to Mario & Luigi: Brothership for the section in the “Brrrning Sea”. On this page we help you connect the islands with Shipshape Island. We also explain the investigation on Bulbfish Island, the dispute on Heat Free, the puzzles on Skorcheen Island and Slippenglide Island, the preparations for the wedding and the boss fight against Pipegunk in the third giga lighthouse.
Skorcheen Island and Slippenglide Island can be completed in any order after the first visit to heatfree. In this complete solution we travel first to Skorcheen Island and then to Slippenglide Island.
Bulbfish Island
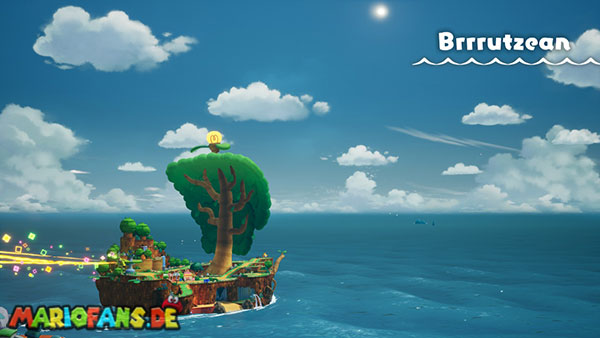
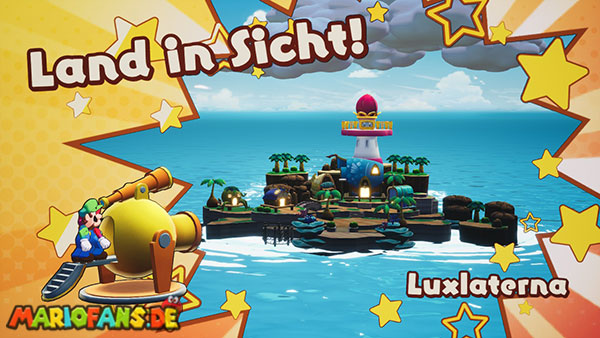
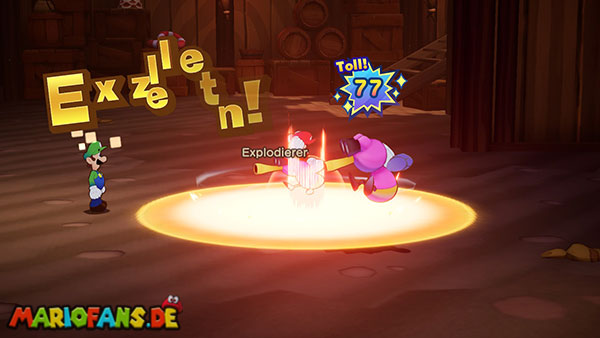
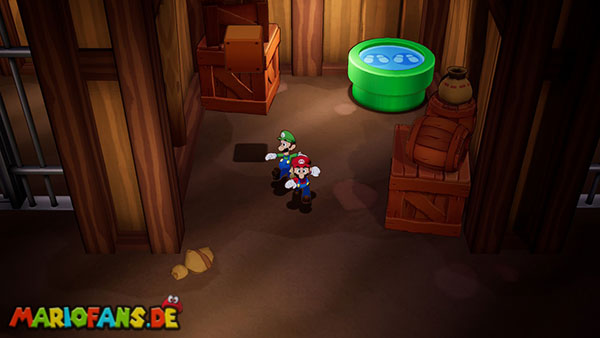
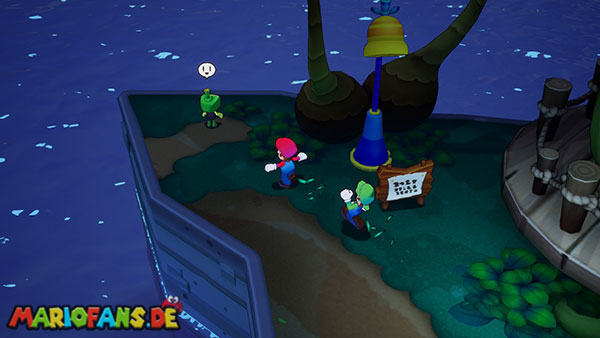
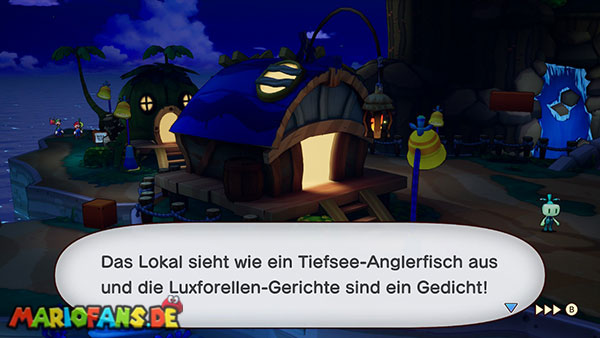
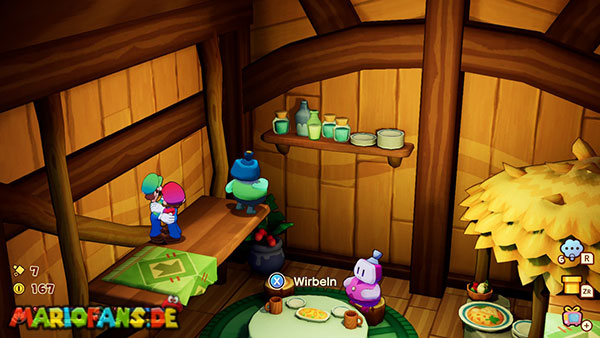
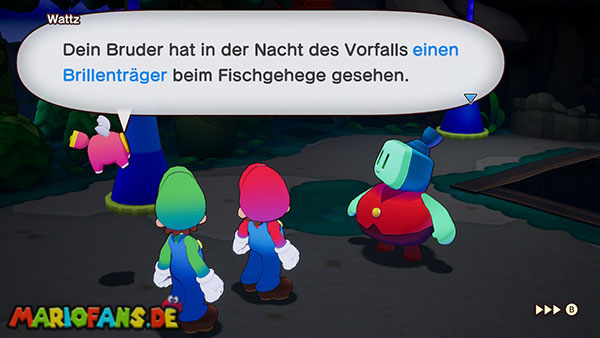
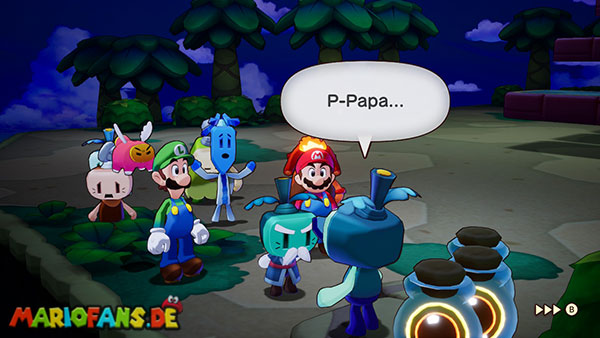
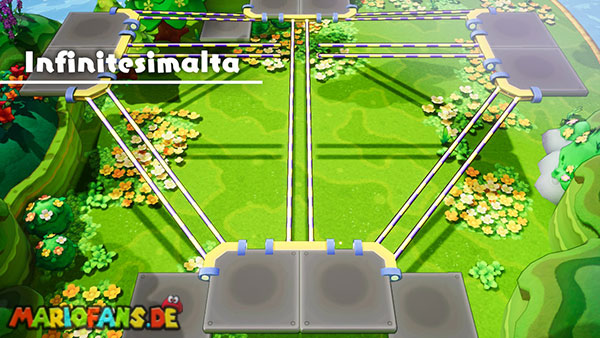
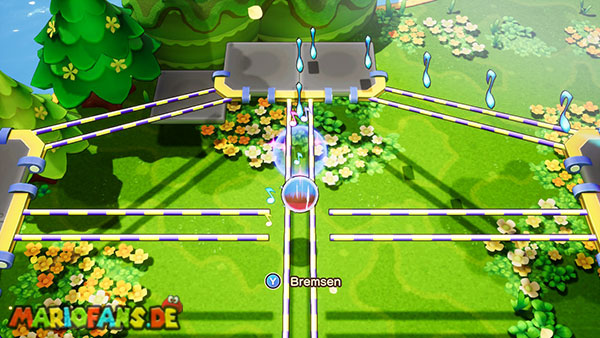
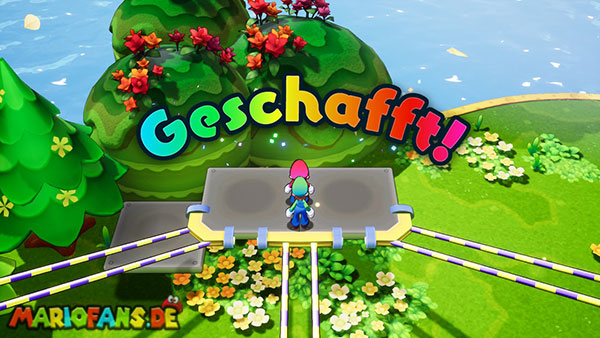
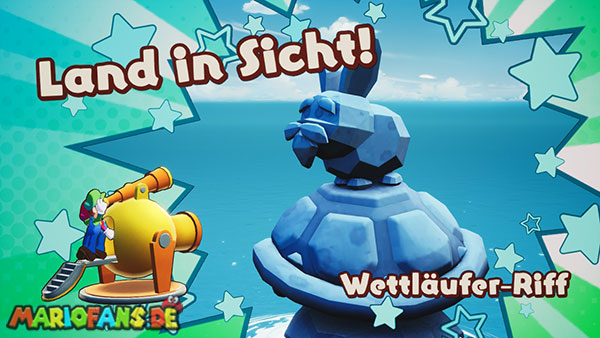
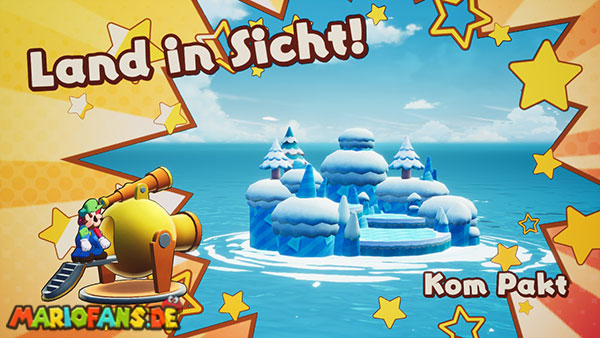
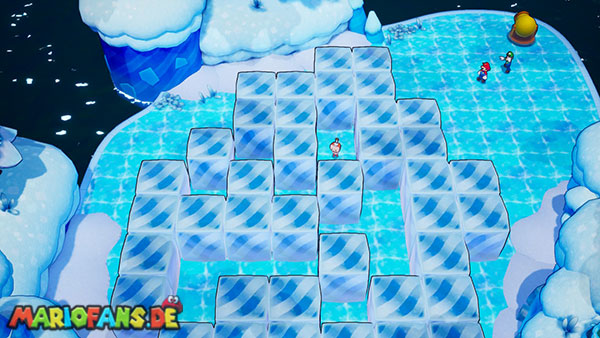
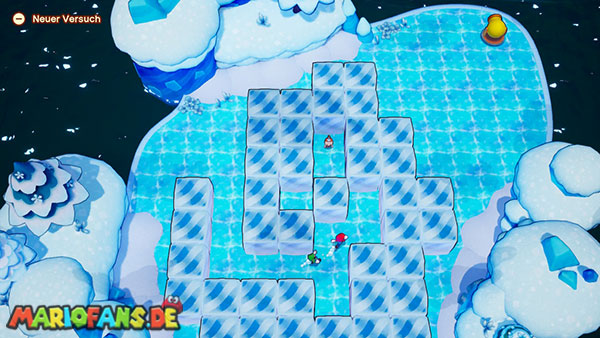
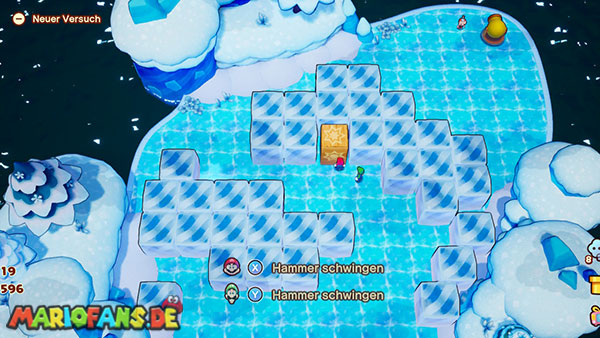
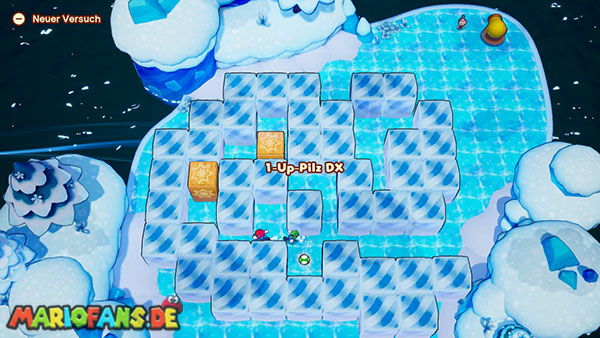
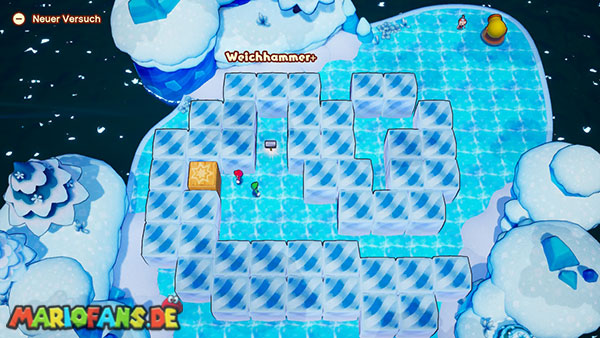
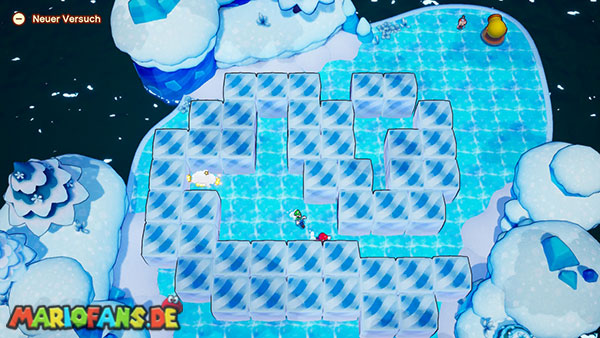

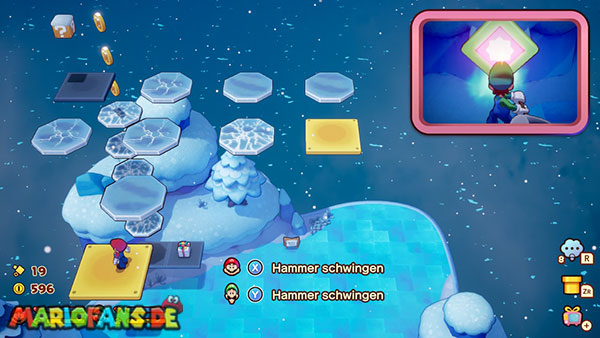
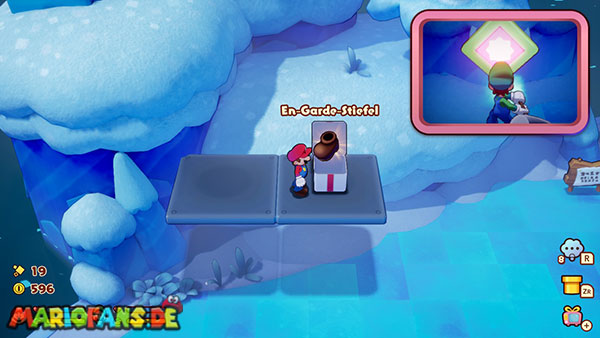
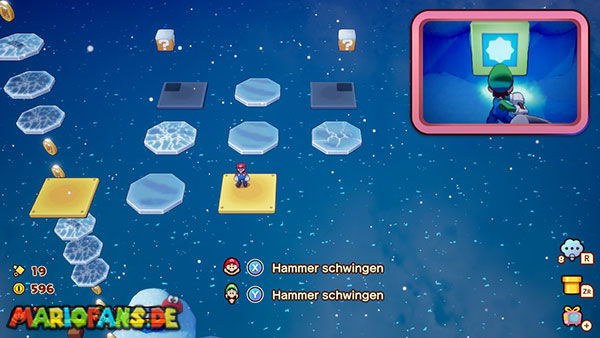
After defeating Sharpcask, Shipshape Island sails into the Brrrning Sea. The new sea consists of hot and icy areas. Before the next giga lighthouse can be reached, several islands must be connected to the uni-tree again.
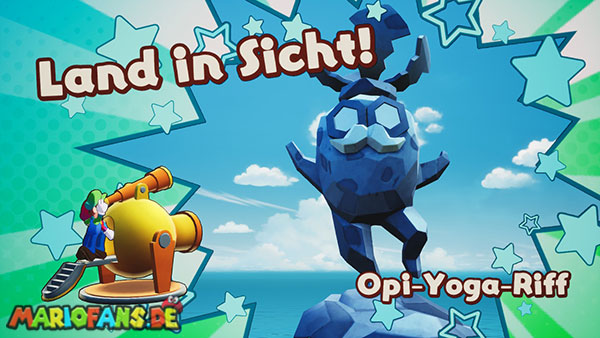
Follow the available current and discover Bulbfish Island by telescope. Then use the Cannon to shoot Mario and Luigi to the island.
The disappeared Lux Trout eggs
Go north from the starting point. There you will meet Chilliam and Burnadette. The couple hails from two warring villages on Heat Free and have fled their home island together.
Follow the path to the main square. The inhabitants of Bulbfish Island are upset as all Lux trout eggs have disappeared. Many of them blame their leader Leyden.
Enter the big house in the north and talk to Leyden and his assistant. Leyden asks Mario and Luigi to find the eggs and expose the real thief. In return, the brothers may later use the lighthouse of the island.
In front of the house you will learn from the residents that there is a guarded underground world on the eastern side. There the thief could have hidden the disappeared eggs.
Turn on the street lights
First, go to the western part of the island. There is a color switch on a wall. Strike him with Mario’s hammer to turn on the streetlights on Bulbfish Island.
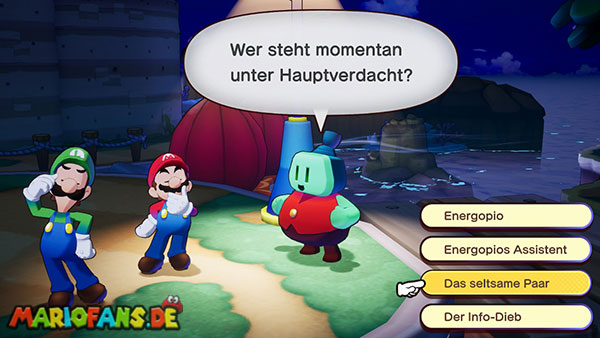
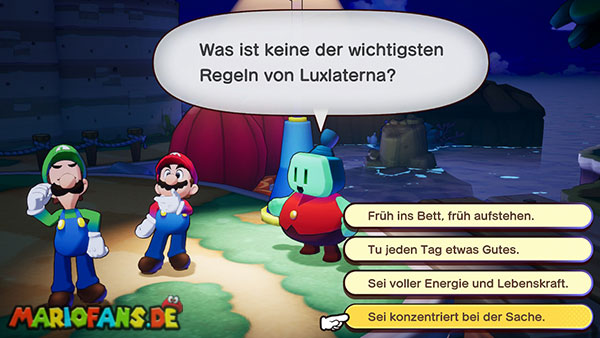
Through the light, the guardian wakes up before the access to the underground world. However, he only lets Mario and Luigi pass if they answer his questions correctly.
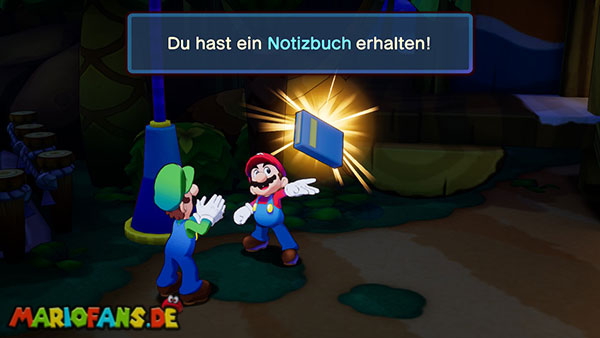
You can find out the answers by talking to the residents. For the last task, you also need the guardian’s notebook. It is located near the defective lantern near Energopio’s house.
The Guardian’s Quiz
Return to the Guardian with the notebook. For the first two questions, choose these answers:
- The most suspicious is the strange couple: Chilliam and Burnadette.
- The statement that you should focus on only one thing is not one of the most important rules of the island.
- At the last question, hand over the guard’s notebook.
After the right answers, the guard opens the gate to the underground world.
Investigating the Underground World
Go down the stairs and follow the path north. In the underground world, several new Enemies await you. Activate the green tube block between prison cells. The resulting warp pipe leads directly to the entrance of the substrate and is still needed later.
Go northeast from the cells and then south. Jump onto the wooden box to reach the elevated level.
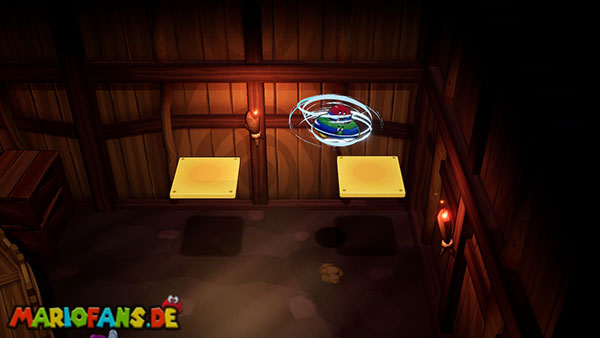
Follow the upper path to the north and jump onto the moving yellow platform. Use the gyro UFO to get to the next platform and finally to the opposite side.
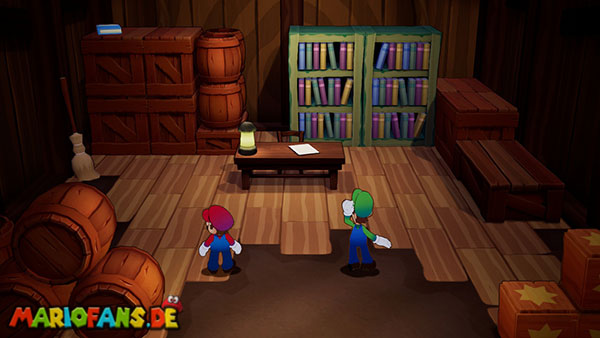
Jump down there and enter the office of Energopio’s assistants. Examine the note on the table as well as the Ragged Diary over the wooden box. The records make the assistant suspect.
Leave the room through the southern door and follow the aisle back out.
Chilliam and Burnadette arrested
After the examination, Mario and Luigi are placed in a room. Leave the room. Energopio’s assistant now accuses Chilliam and Burnadette of stealing the Lux trout eggs.
Since both are from another island and have previously been hidden, the residents believe the assistant. Chilliam and Burnadette are imprisoned in Underground World.
Return to Underground World and use the green warp pipe to get straight to the prison cells. Talk to the couple. In order to free the two and transfer the assistant, you need the guardian’s key.
Receiving the Guardian’s Key
Leave the underground world and talk to the guard at the bridge. He only leaves his key to you if you get information about his younger brother.
Return to the Color Switch in the west and turn off the streetlights again. Behind one of the lanterns north of the counter, a secret informant now appears.
Give him the found report and ask him about the guard’s younger brother. He sends you to the restaurant on the western side of the island.
Enter the restaurant. The wanted resident stands on an elevated level. Use the gyro UFO to cross the gap in the upper area.
The younger brother asks you a question. The only person on Bulbfish Island wearing a Dark Star Core is Energopio’s assistant.
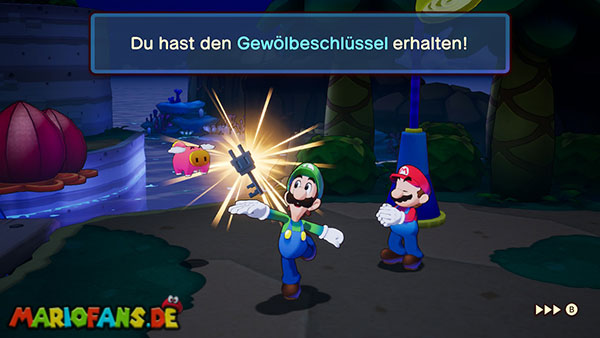
Return to the Guardian with this information. After the conversation, you will receive the key for the locked gates in the underground world.
The color plate puzzle
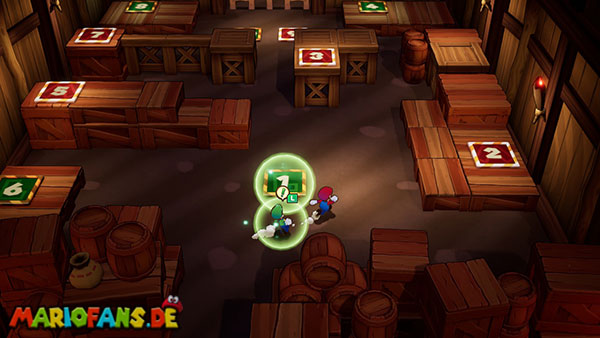
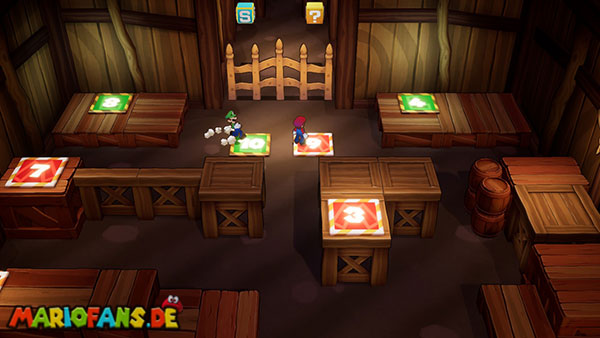
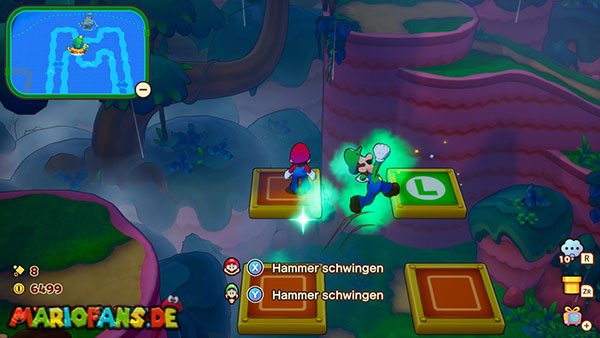
Go back to underground world and open the gate next to the assistant’s office. In the following room, Mario and Luigi must enter ten numbered floor plates in the correct order.
Mario takes over the red plates, Luigi the green. Activate Luigi’s idea and follow this order:
- Luigi: green plate 1
- Mario: Red Plate 2
- Mario: Red Plate 3
- Luigi: green plate 4
- Mario: Red Plate 5
- Luigi: green plate 6
- Mario: Red Plate 7
- Luigi: green plate 8
- Mario: Red Plate 9
- Luigi: green plate 10
Run with Mario already to the next red record, while Luigi independently runs towards his next green record. After the tenth plate, the gate opens.
Pursue the real thief
In the next room, Mario and Luigi meet members of Stekdov’s troops. Defeat the Enemies and pay special attention to their boomerangs, as a hit can lower the brothers‘ defenses.
After the fight, Energopio’s assistant flees with the Lux trout eggs. Follow him back to Energopio’s house. The previously locked upper area is now accessible.
Get into the mezzanine and walk through the left door. It leads to the lighthouse.
There, the assistant is finally exposed. He stole the eggs and worked with the Extension Corps. At the same time, it turns out that he is Energopio’s son.
After the confrontation, the Lux Trout eggs are rescued and Chilliam and Burnadette are relieved.
Go to the lighthouse and pull out the big plug. Bulbfish Island is connected to Shipshape Island.
Tip: With the guard key you can also open the additional grid in the underground world. Behind it you will find a Grampy Turnip.
Heat-free
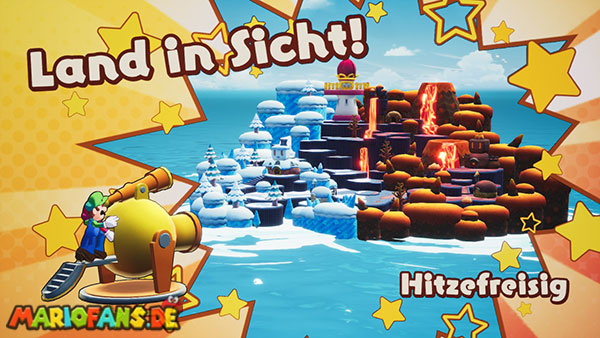
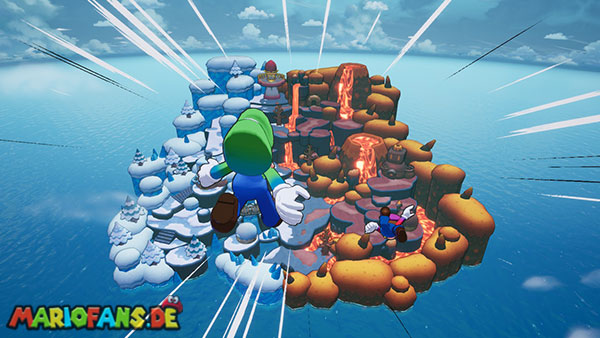
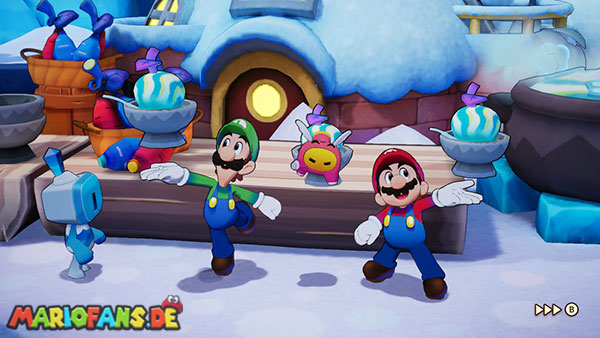
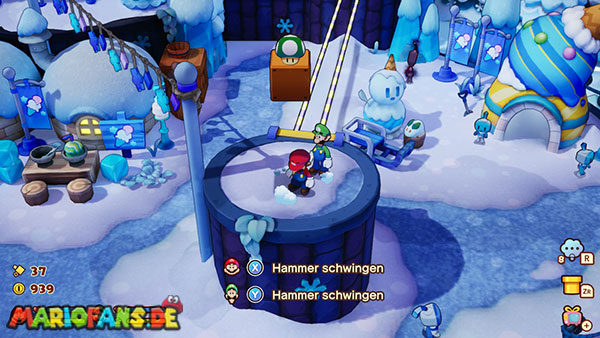
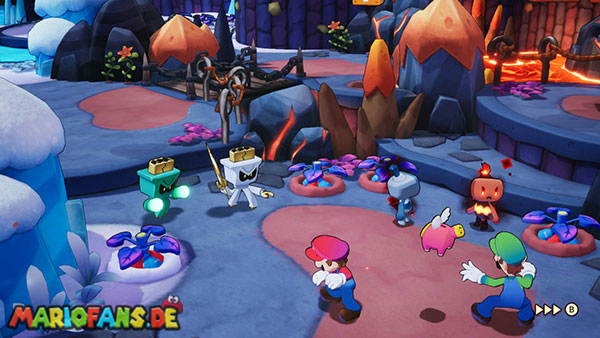
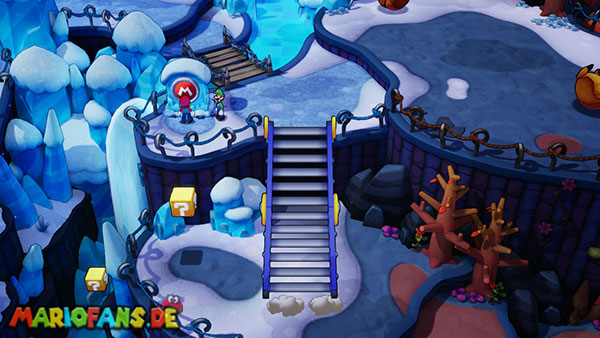
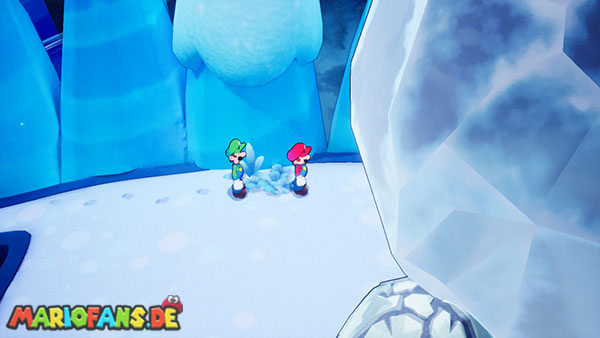
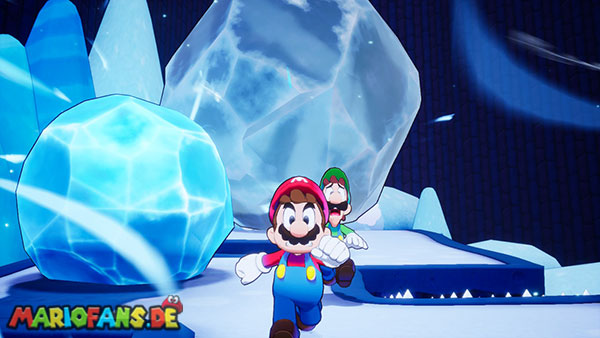
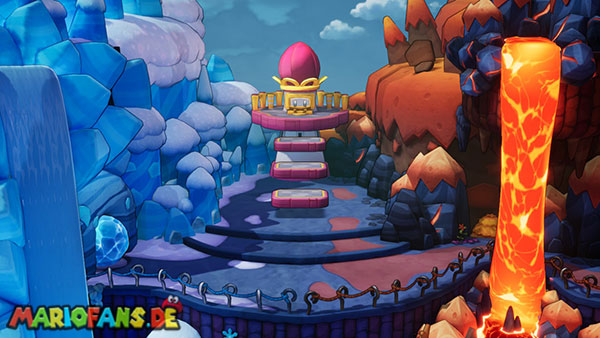
After returning to Shipshape Island, Chilliam and Burnadette ask the brothers for help. Heat-free is divided into an icy and a volcanic area. The inhabitants of both sides have been arguing for a long time about which lifestyle and which food are better.
Set a course to the newly accessible flow and discover heat free with the telescope.
The dispute over the specialties
Go to the left after landing. Along the way, you will encounter several residents arguing about the benefits of heat and cold.
Before the road to the lighthouse, a larger group is waiting. The inhabitants only let Mario and Luigi pass if the brothers first taste the specialties of both villages and then decide which one is better.
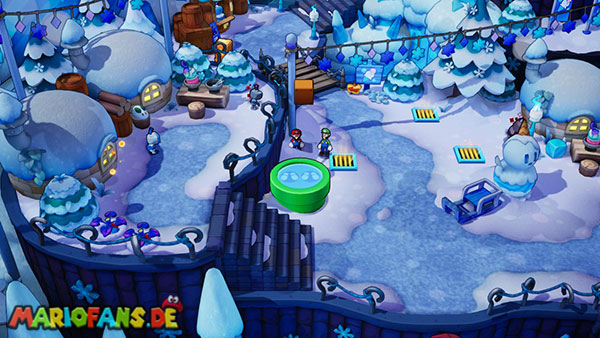
The cold village is in the west. Follow the signs through the icy settlement to the stand with the potato gelato and try the food.
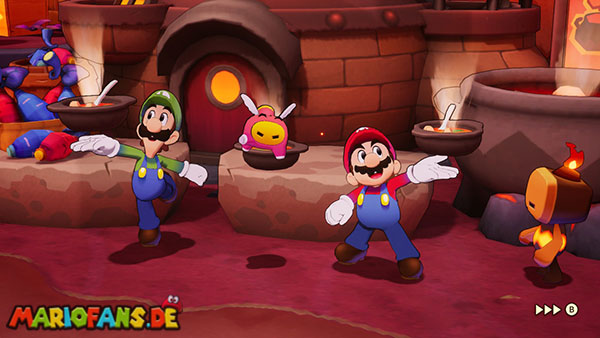
Then return and go to the hot village in the east. Go up the paths and stairs until you reach the stand with the hot potato stew.
After Mario and Luigi have tried both dishes, you return to the gathered group. For the further course, it is not important which specialty you prefer. The dispute does not end completely, but the way is cleared.
The Extension Corps
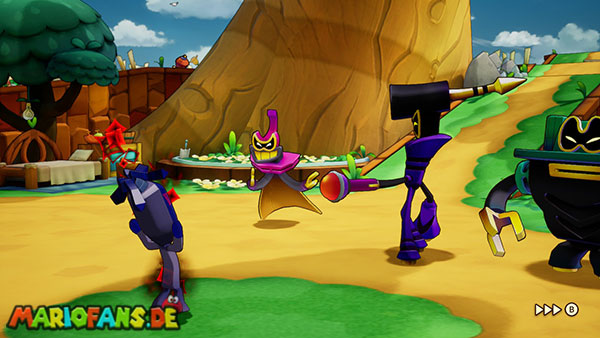
Follow the new path. Shortly thereafter, other residents clash. During the conversation, Mario and Luigi are attacked by ring and boomerang soldiers from Stekdov’s troops.
Defeat the Enemies and then go west. Along the way, you will encounter ice and lava opponents. If possible, use fire attacks against icy Enemies and ice attacks against fiery Enemies, if the corresponding Battle Plugs are already available.
The narrow bridge
In front of you lies a very narrow bridge supported by two rods. Use the bullet maneuver to roll over safely.
Behind the bridge begins a strong snowstorm. The brothers are pushed back as soon as they run up a slope.
Wait for short breaks in the wind and run to the next protected rock. The rocky outcrops serve as safe intermediate stations from which you can observe the next section.
The Cave of Ice and Lava
At the western end of the slope is a color switch. Strike him with Mario’s hammer to lower the bridge.
Cross the bridge, save on the memory block and enter the cave. A statue tells you the basic mystery: ice and lava must be used against each other to open the way.
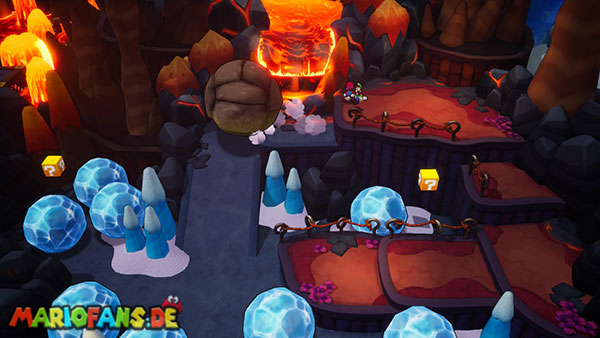
Keep going until several large ice balls block the path. They cannot be destroyed directly with the hammer. Jump over them first and follow the path to the large boulder above the lava flow.
Crush the rock with the hammer. The lava now flows into the previously icy area.
Leave this part of the cave and go downstairs. There is another boulder. Strike him too. He rolls down the slope and destroys the large ice balls.
Follow the open path. In the next area, a snowstorm awaits you again. Use the ice balls and rocks as protection as the wind gets stronger.
Look at the spike pits. If you continue at the wrong moment, the wind can push the brothers directly into the tops.
Freezing the lava path
At the upper end of the area, a particularly large ice ball blocks the path. Strike the two smaller boulders on the left and right sides.
This detaches the large ball, rolls down and cools the lava flow. The previously impassable area is opened.
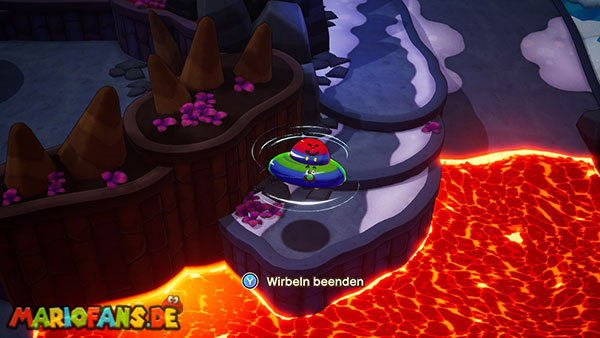
Follow the new path and leave the cave. Use the gyroscope UFO outside to fly across the lava from platform to platform.
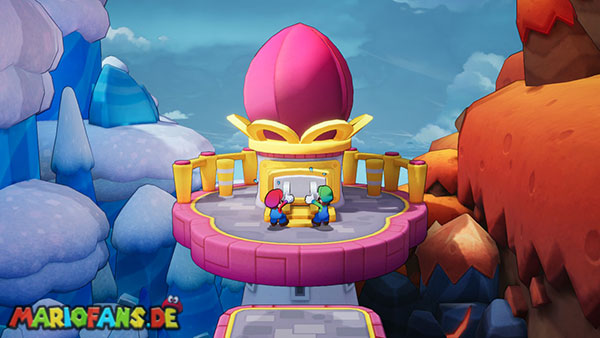
When you reach the lighthouse, you climb up and pull out the plug. Heat-free is connected to Shipshape Island.
Chilliam becomes ohminous
After returning to Shipshape Island, the Extension Corps appears. She releases a dark energy called Glohm and infects Chilliam.
Chilliam suddenly rejects Burnadette and wants nothing more to do with her or the other residents. The group therefore urgently needs a cure.
You can now either travel to Skorcheen Island first and Dr. Search for Vulko or track the Extension Corps on Slippenglide Island. Both orders lead to the same result.
Skorcheen Island
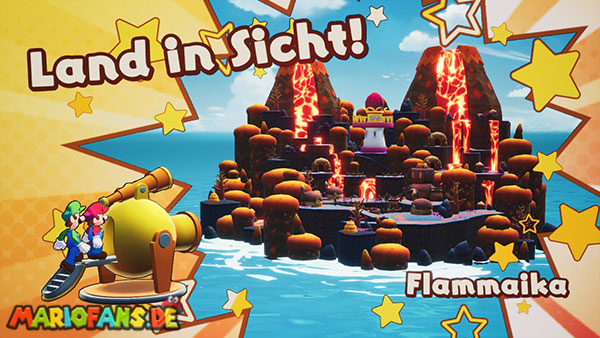
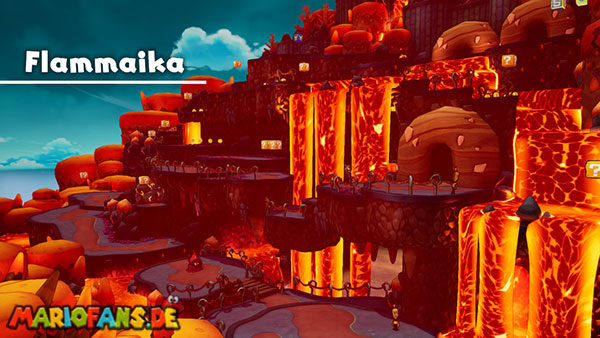
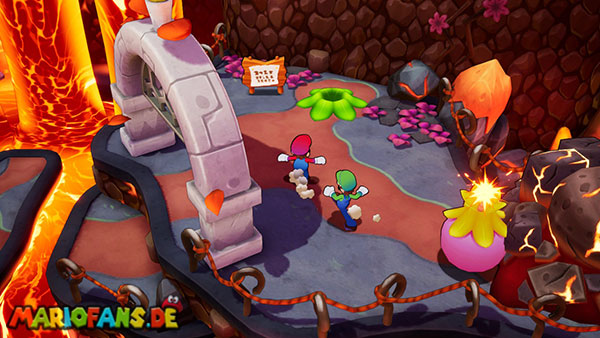
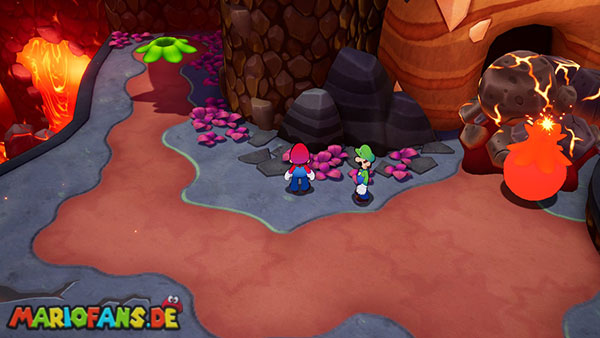
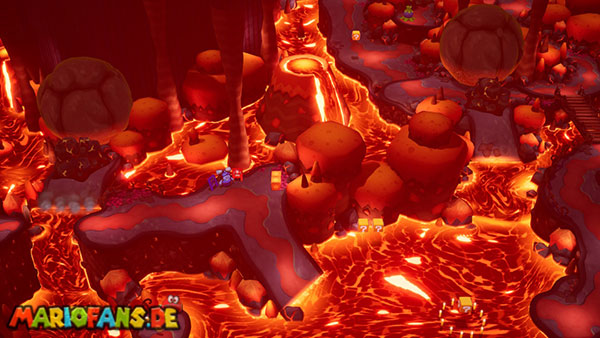
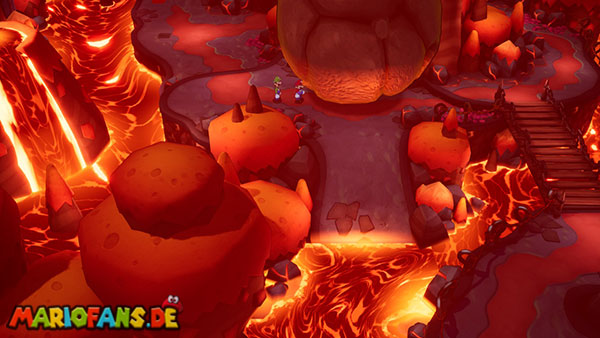
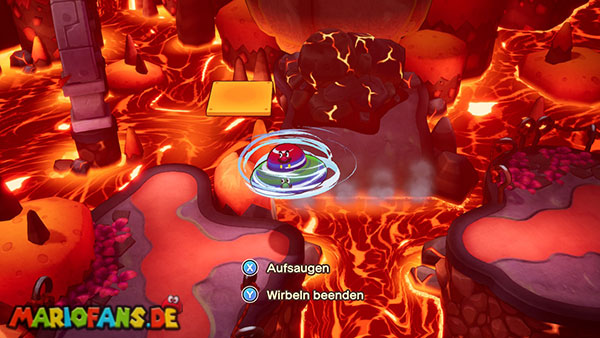
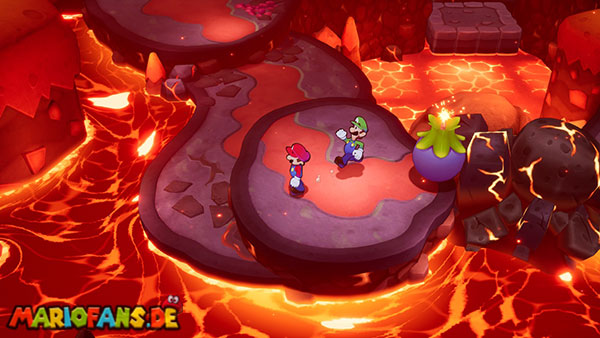
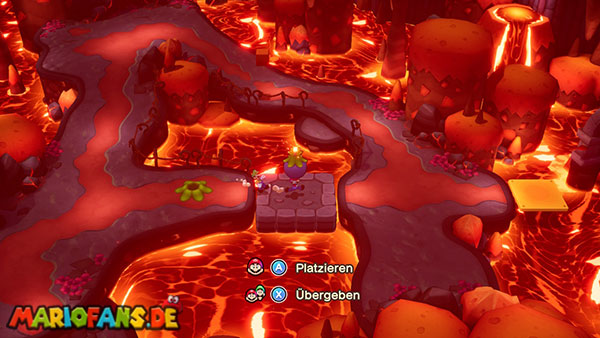
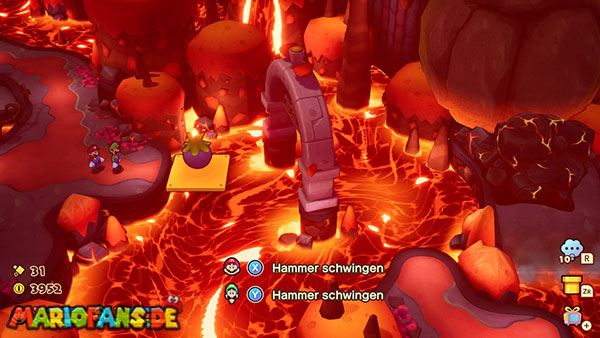
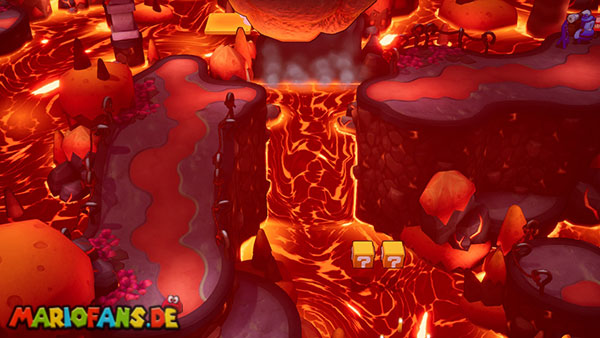
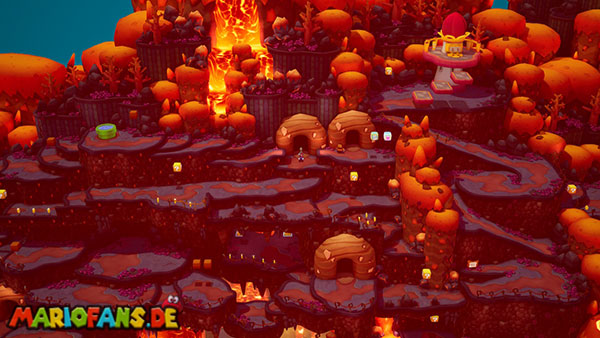
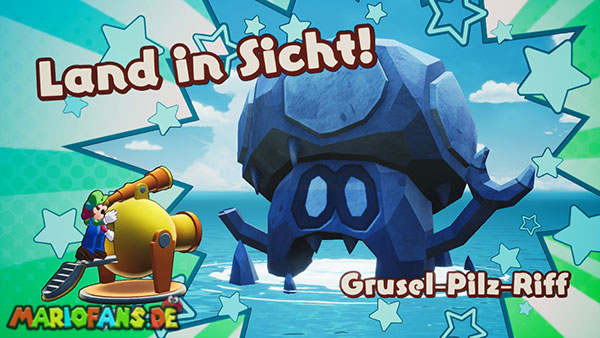
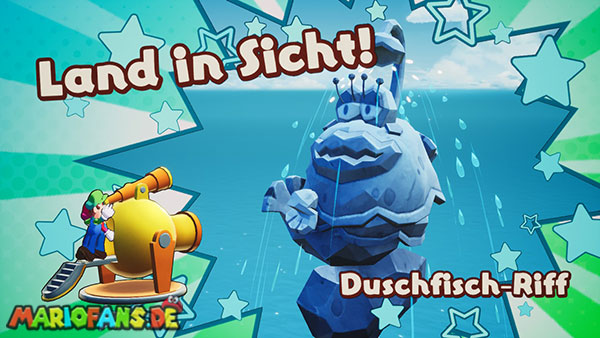
On Skorcheen Island, Dr. Stop Vulko. He might know a remedy for the condition Ohminous. Set a course to the volcanic island on the Ocean Map and use the Cannon.
Dr. Searching for Vulko
After landing, a resident welcomes you at the village square. He recommends that you first talk to the leader of the island.
Go west from the village square and cross the northern bridge. Speak to the leader at the staircase and ask for Dr. Vulko.
Then go north from the village and through the stone arch on the right.
Behind the gate, the path of Geröll is blocked. Nearby, an explosive bud grows. Pick them up and put them down quickly before the rubble. After a few seconds, the bud explodes and clears the way.
Follow the path east and then through the next arch to the north. There you see Dr. Vulko on an unattainable lead. To get to it, you have to take a detour through the caves.
The first lava cave
Return to the intersection in the village and head west. Take the explosive bud in the upper area and place it in front of the debris at the cave entrance.
In front of the cave you will be attacked by a group of Bob-ombs. Defeat them as quickly as possible. When the countdown of a Bob-omb reaches zero, it explodes and damages one or both brothers.
Enter the Cave after the fight and follow the path north. There, high lava fountains block the passage.
Strengthening the gyroscope UFO
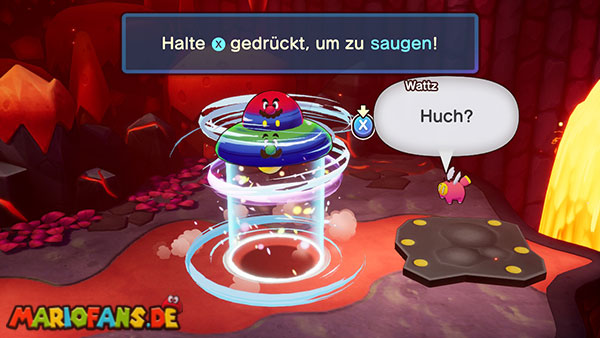
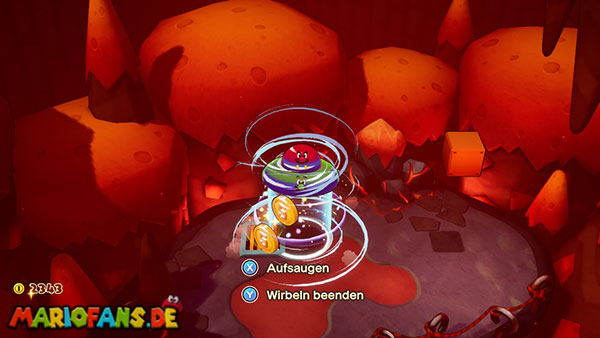
Luigi has a new idea and extends the gyro UFO with a suction function. Activate the UFO and press the faded button to suck the metal plate from the floor.
The plate is held among the brothers and protects them from the lava fountains. Fly with her between the fountains to the other side.
Follow the path east and then south. Activate the green tube block to create a shortcut to the entrance of the cave.
Leave the cave and use the roundabout UFO to cross the gaps in the outdoor area. Watch for the piranha plants along the way.
Also activate the next green tube block. This allows you to travel directly between the village and the northern part of the island.
The second lava cave
Go east to the second cave entrance. In front of the cave are a storage block and a healing block. Use both before you move on.
Inside, follow the path north and then to the right. Cross the bridge and pick up the explosive bud.
Throw the bud to Luigi, let Mario jump to the higher edge and then throw it back to Mario. Put it in front of the rubble before it explodes.
Behind the destroyed debris you will find another explosive bud. Repeat the handover and place it at the debris in the southern section.
The explosion solves a large boulder. It rolls into the lava flow and blocks it. This makes new paths accessible in the cave.
Continue with the mobile platforms
Return to the intersection at the cave entrance and head north. At a dealer, you can buy healing items and better equipment.
Then use the roundabout UFO to cross the gorge. Then fly to the moving yellow platform and let it carry you to the other side.
In the southwestern area you will again find an explosive bud. Carry them over the projections and blow up the rubble in the south. As a result, a stone platform extends and forms a shortcut to the movable platform.
In the last debris, the timing is particularly important. Wait until the yellow platform moves to the left. Then pick up the explosive bud and place it on the platform just before it moves back to the right.
The platform transports the bud to the rubble, where it explodes in time and opens the exit of the cave.
Fight against Fire, Ice and Hammer brothers
Leave the cave and jump down to the exit of the first cave system. Move to the right and follow the way up.
In front of the lighthouse, Mario and Luigi face a Fire Bro, an Ice Bro and a Hammer brother.
Focus your attacks on the Fire or Ice Bro first. Their attacks can burn or freeze the brothers. A temperature protection plug or sufficient fresh roots facilitate the fight.
The Hammer brother throws several hammers one after the other. Observe their height: Low hammers must be skipped, while high throws fly over the brother.
After the victory, the path to the lighthouse is clear. Get up and pull out the plug. Skorcheen Island is connected to Shipshape Island.
Dr. Vulko can now be freed. After returning, he explains that only a fruit iodine can cure the condition Ohminous.
Slippenglide Island
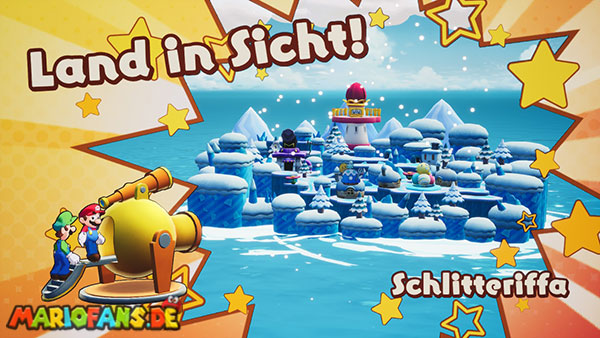
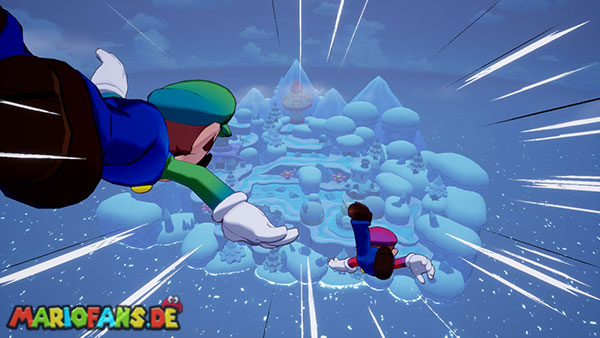
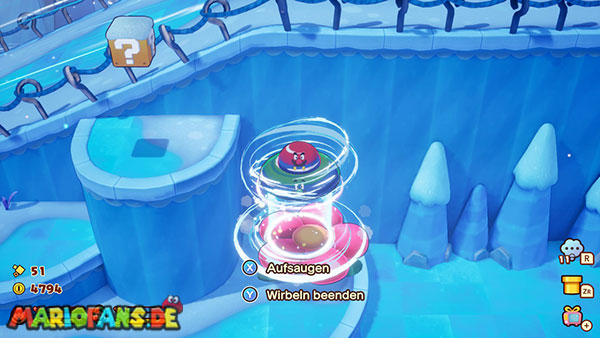
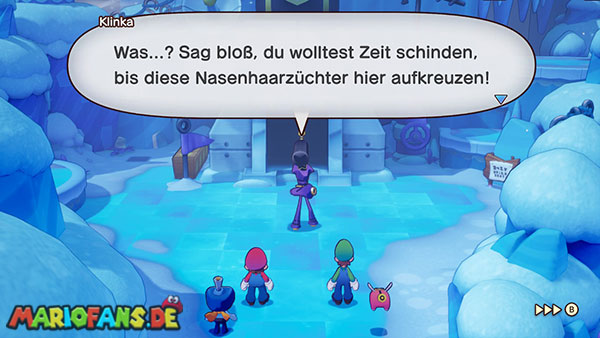
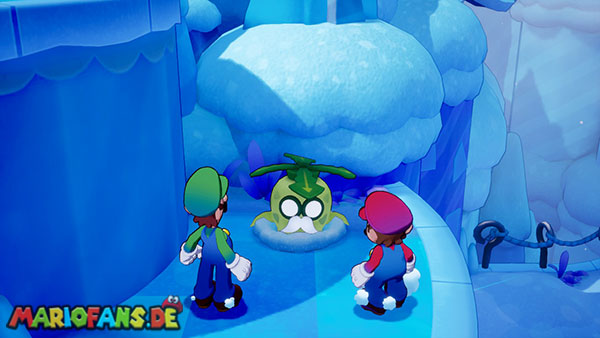
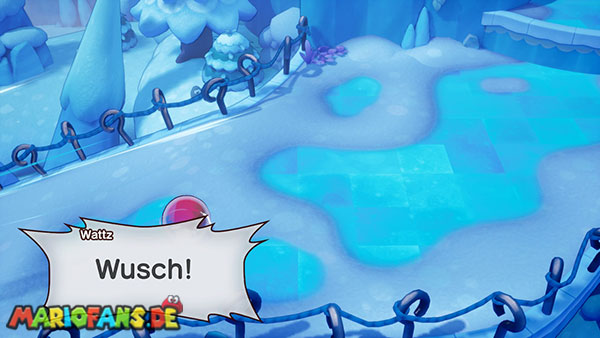
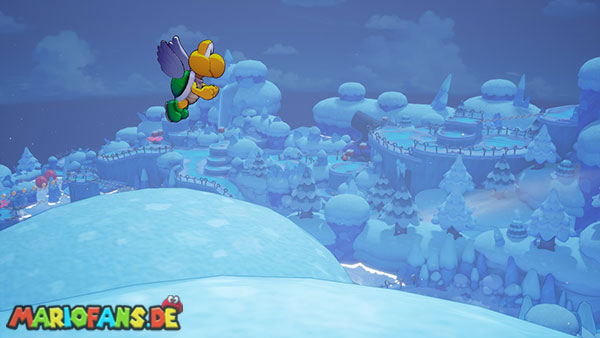
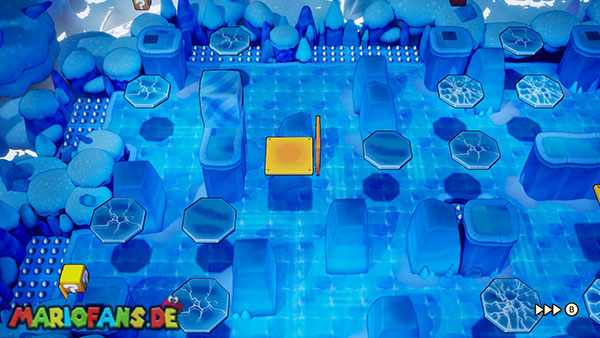
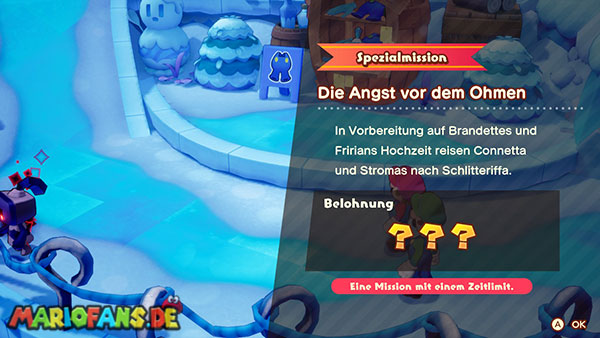
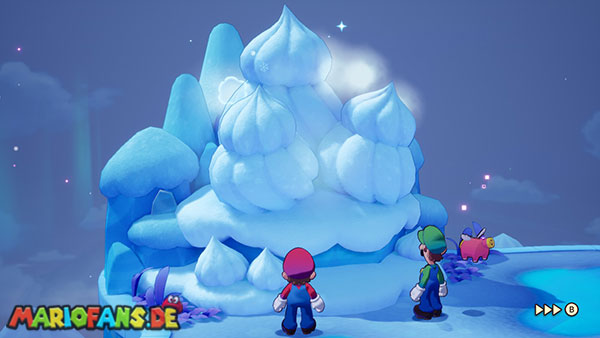
On Slippenglide Island is a secret laboratory of the Extension Corps. Mario and Luigi hope to find more information about Glohm and the cure for Chilliam there.
The island can be completed before or after Skorcheen Island. On the Ocean Map, set a course to the northern current of the Brrrutzean.
The narrow paths
After landing, head left and follow the path until you meet Fririan’s father and other residents. They report strange events and the dark energy on the island.
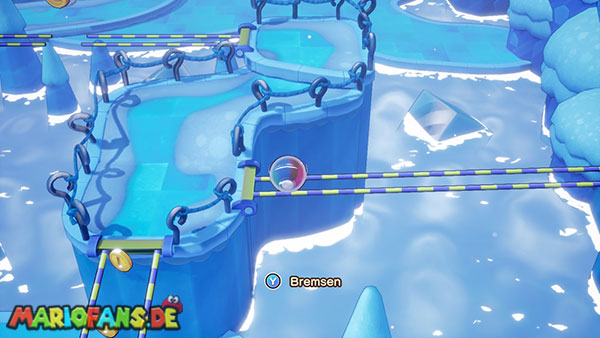
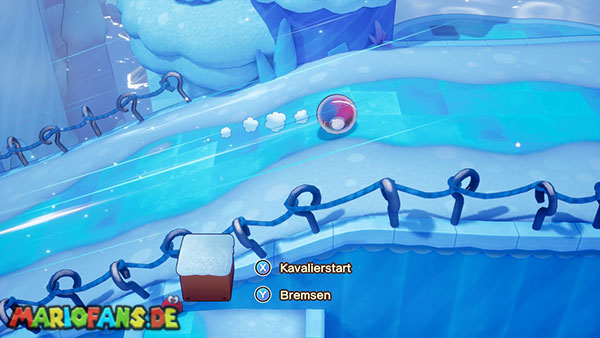
In front of you lies a very narrow path between two pipes. Use the bullet maneuver to roll over.
On Slippenglide Island, these narrow paths occur several times. If there is a gap in the way, you jump over it in spherical form.
Behind the first bridges you land on a field of small ice floes. Each plaice can be entered only to a limited extent. After the first contact she gets cracks, the next she breaks completely apart.
Plan your path so that you touch each plaice only once. Jump quickly from one platform to the next and avoid unnecessary changes of direction.
The Secret Laboratory
Follow the western path and defeat the Enemies. Shortly afterwards, you will reach the hideout of a member of the Extension Corps.
After the scene, the Enemies flees. Help the unconscious member of IDLE and then follow the path towards the laboratory.
Save your progress before entering the heavy snowstorm.
Improving the bullet maneuver
The storm is too strong to roll up the slope with the normal bullet maneuver. After the short scene, Mario and Luigi get an improvement.
Activate the bullet maneuver again and hold the faded button. The brothers begin to build energy. If you release the button, shoot it forward at high speed.
Use this bullet turbo to race up the slope against the wind.
Further up you reach a moving narrow bridge. Charge the ball turbo and drive with sufficient speed over it before the orientation changes again.
Examine the laboratory
On the other hand, the fled member of the Extension Corps is waiting. After the conversation, you can enter the laboratory.
Examine the devices, vital paper and test setups in the building. Although the research explains more about Glohm, it does not yet provide a ready-made cure.
On the ground floor of the laboratory there is a hidden passageway behind one of the shelves. Go right behind it to get an extra room with one? Reaching block.
The Cave with the Ice Blocks
Leave the lab and move to the right. Another snowstorm blocks the way. Use the bullet turbo to get to the end of the slope.
There, a large ice cube blocks the cave entrance. Strike him with the hammer and push him out of the way.
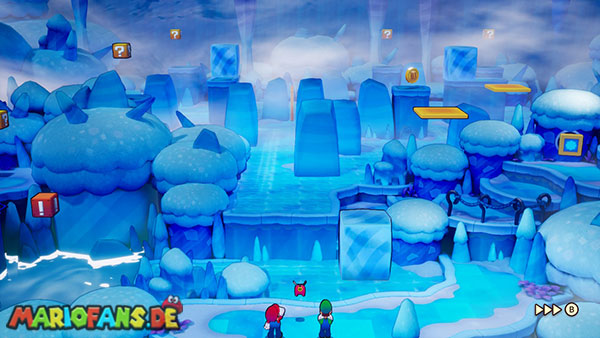
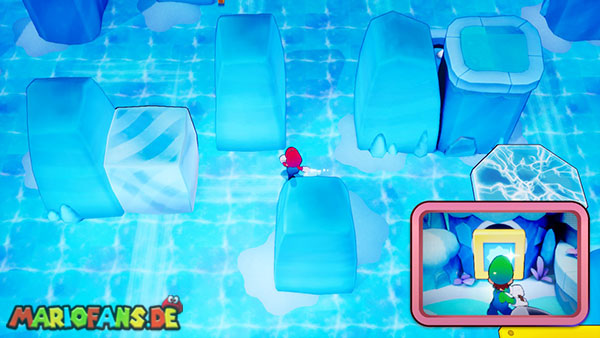
In the cave you have to transport three blocks of ice into the water on the left. The blocks then form a bridge to the exit.
Examine the sign at the entrance to get an overview of the room. Subsequently, push each Crystal block with hammer strokes in the appropriate direction.
Make sure that the blocks do not get stuck on a wall or other obstacle. As soon as all three are in the water, you can continue over the bridge.
Goombas and Koopas
Behind the cave are a healing block, a storage block and a short-circuit tube. Prepare for two fights in a row.
First, a larger group of Goombas attacks. After their victory follows a Koopa army. If you defeat only one Enemies, another one can advance.
Therefore, use Bros. Attacks and battle plugs that hit multiple targets at the same time. Exploders and ball hailers are particularly suitable against the large groups.
After both fights, Bowser Jr. appears. However, he does not attack the brothers and leaves the island.
The path to the lighthouse is now clear. Unplug to connect Slippenglide Island to Shipshape Island.
Chilliam healing
Once Skorcheen Island and Slippenglide Island have been completed, return to Shipshape Island. Dr. Vulko uses a fruit iodine to rid Chilliam of Glohm.
Chilliam remembers Burnadette again and apologizes for his behavior. Shortly after, they both decide to get married.
The Wedding
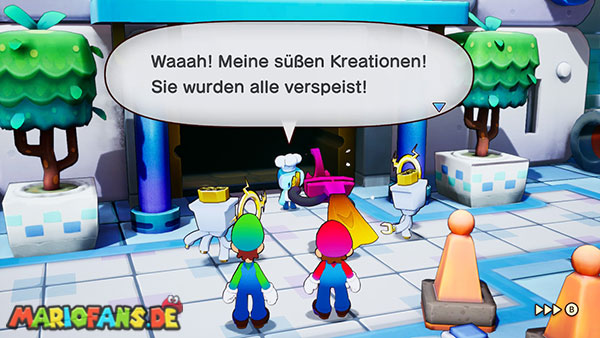
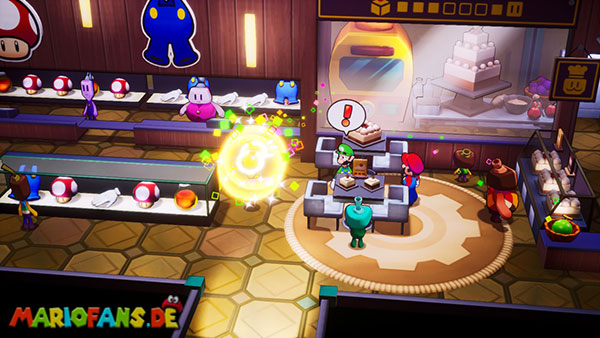
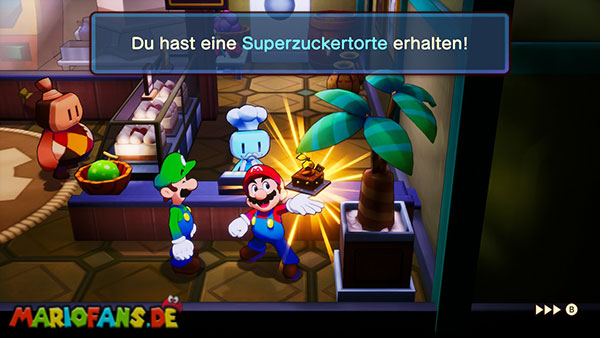
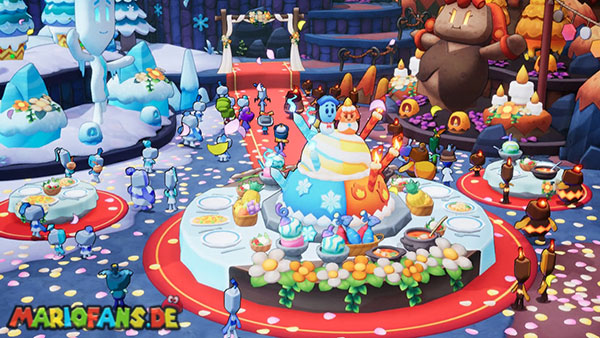
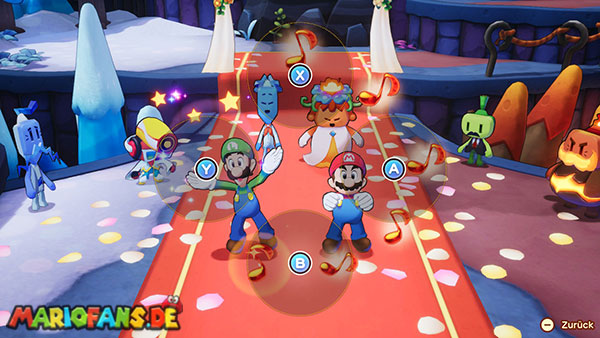
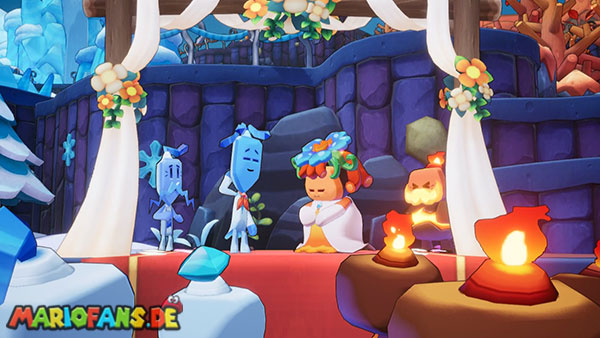
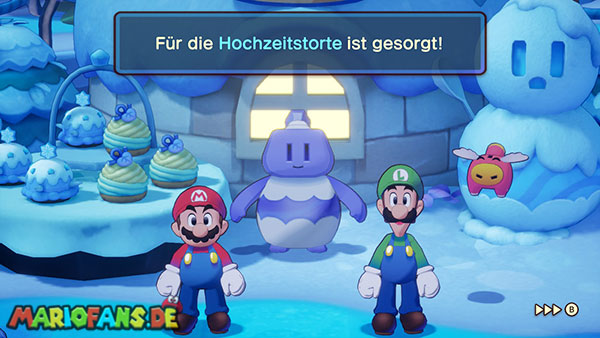
Chilliam and Burnadette want to celebrate their wedding on heat free. For the ceremony, however, a wedding cake and a crown of flowers are needed.
You can choose between two plans. The decision mainly changed the appearance of the cake and the Elder Princess Shroob during the wedding. The rest of history remains the same.
The Friends‘ Plan
With this plan, get the flower crown on Florall Island and the wedding cake on Slippenglide Island.
Travel first to Florall Island and use the green tubes to quickly get to the northern part of the island. Talk to the florist. He makes from the flowers of the island a suitable Elder Princess Shroob for Burnadette.
Travel to Slippenglide Island. The baker still needs a special sweet ingredient for the cake. Follow the marked path through the island and get the required material.
Return to the baker. She makes a large and richly decorated wedding cake.
This plan leads to the most appealing cake and flower crown and is recommended for the wedding.
The Suspicious Trader’s Plan
Alternatively, you can get the cake on Lottacoins Island and the flowers on Raynforst Island. The dealer promises a particularly fast and easy process.
However, the Extension Corps is trying to sabotage the preparations. On both islands, therefore, additional fights and smaller tasks await you.
At the end you will also receive a cake and a flower crown. However, both look simpler or more unusual.
Regardless of your choices, Chilliam and Burnadette are happy. There is no other reward and the action does not change.
Inviting families
After receiving Cake and Elder Princess Shroob, you return to Shipshape Island. Connie and Arc help invite the fathers of Chilliam and Burnadette to the wedding.
Afterwards, travel to Heatfree and go to the central square. This is where the wedding ceremony begins.
Wedding on heat free
During the celebration, the inhabitants of the hot and cold villages come together. The relationship between Chilliam and Burnadette shows them that the two sides can get along despite their differences.
After the ceremony, the group returns to Shipshape Island. The Uni-Tree connects a new current and opens the way to the third giga lighthouse.
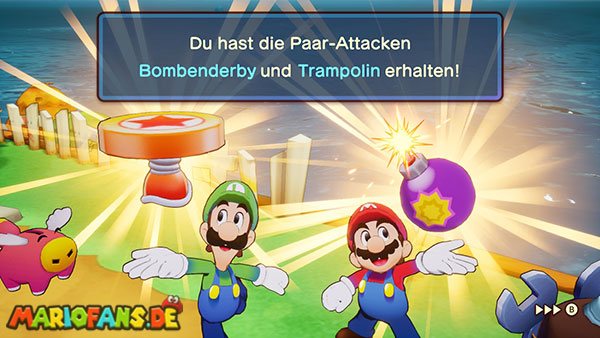
Before the journey continues, you will receive new Bros. Attacks. Take the opportunity to upgrade your equipment and charge your battle plugs.
Giga lighthouse #3
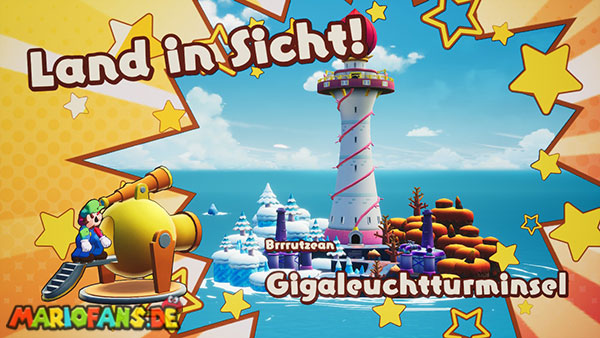
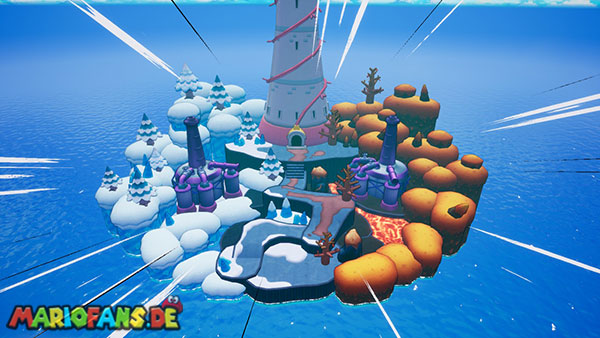
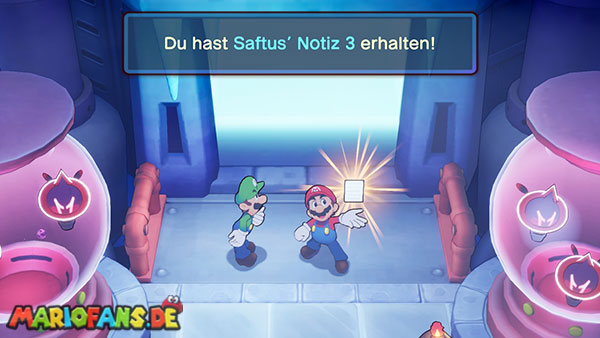
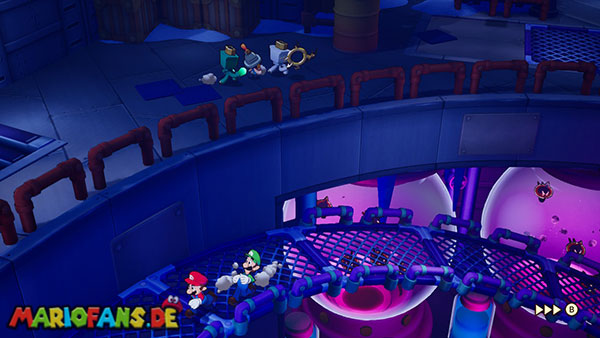
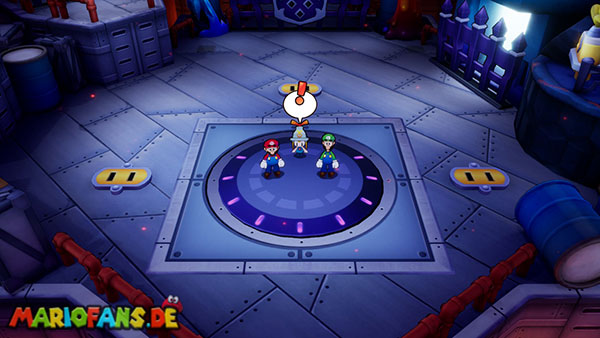
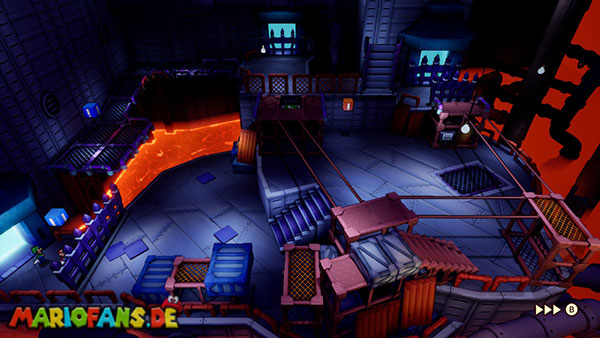
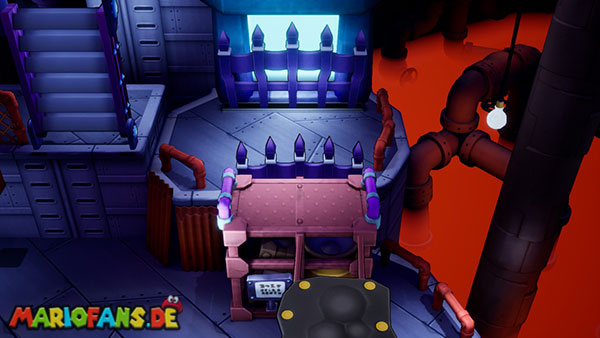
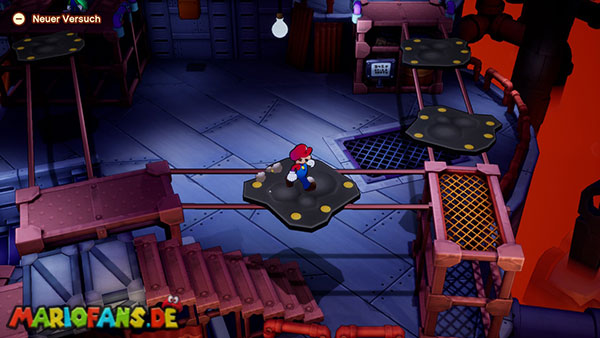
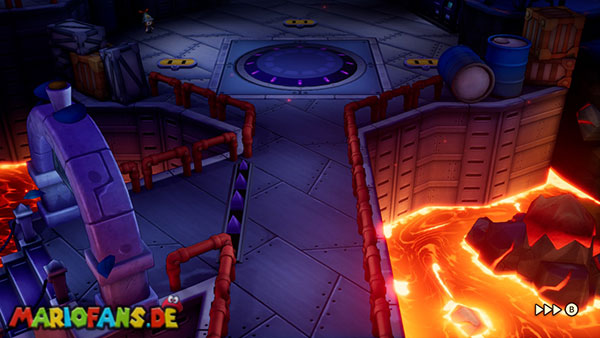
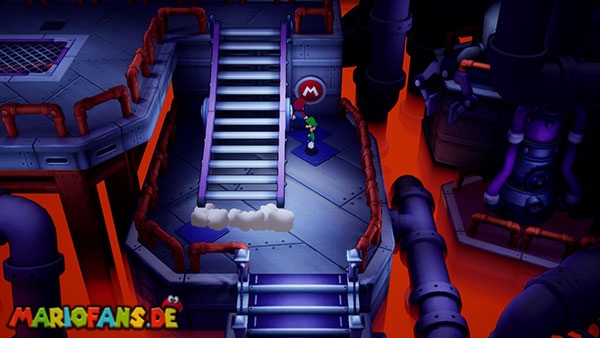
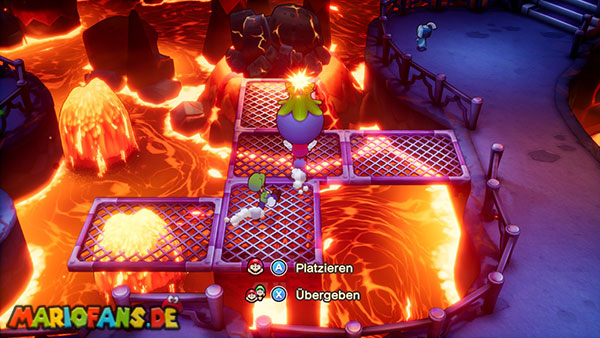
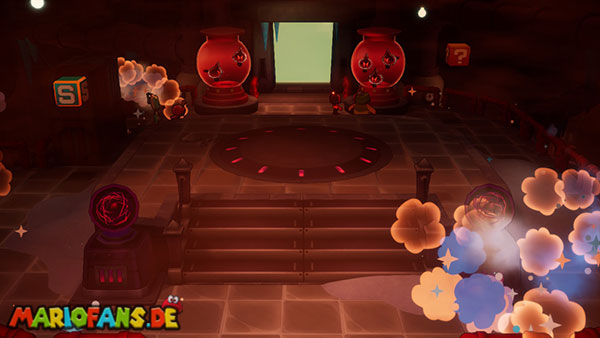
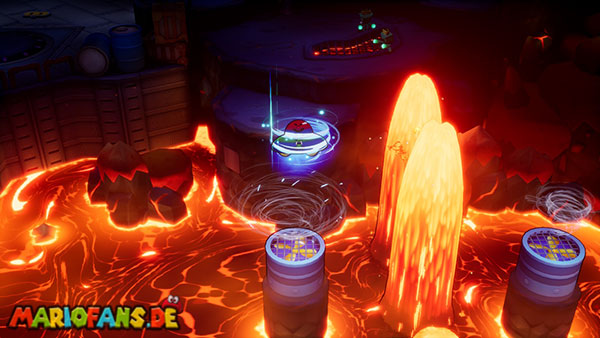
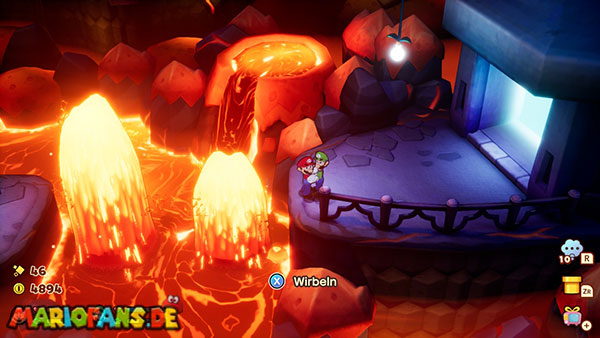
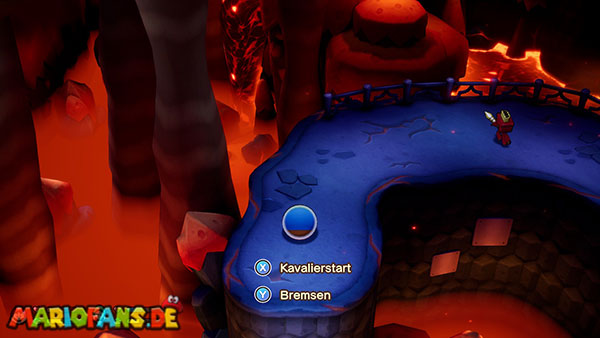
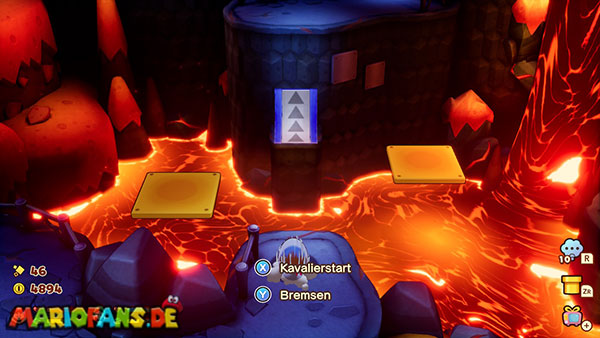
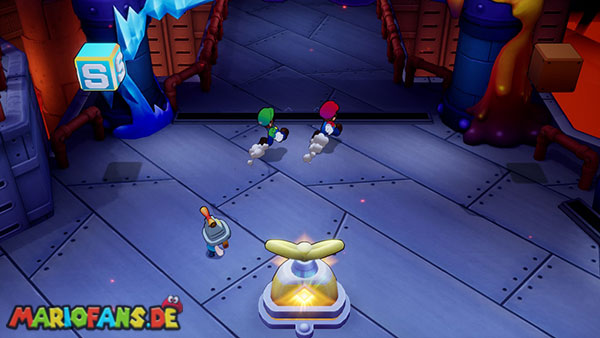
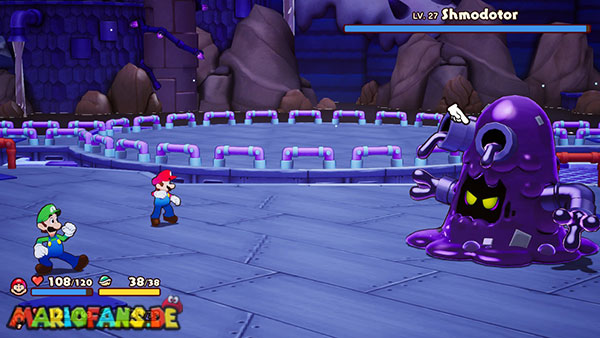

Set a course for the third giga lighthouse on the Ocean Map. Once the island is within reach, discover it by telescope and then use the Cannon.
Pipegunk has Level 27. Mario and Luigi should therefore have reached approximately level 26 to 28. Buy enough super or ultra mushrooms, nuts, syrups and fresh roots before departure.
The temperature protection plug is particularly important for the boss fight. He prevents Mario and Luigi from being burned or frozen by the fire and ice attacks.
Separated from Connie
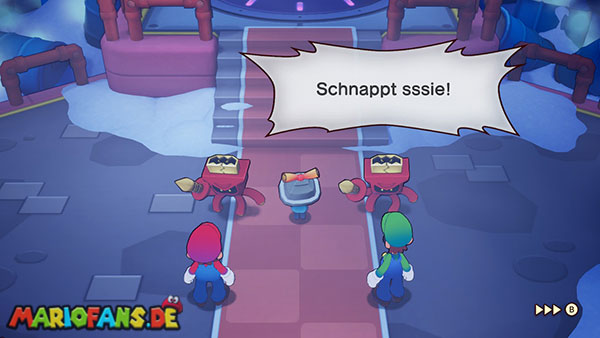
Enter the open entrance after landing. Stekdov’s troops notice the group and separate Connie from Mario and Luigi.
The brothers are imprisoned in the first basement. Go down the stairs and follow the path to the left.
Sneak past the red guards
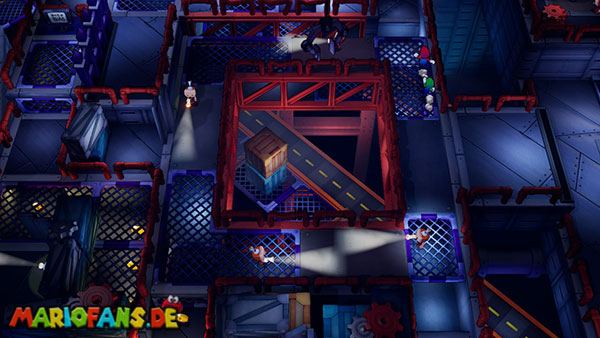
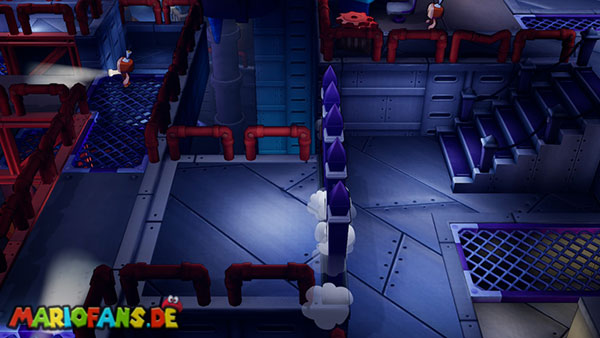
In the next room, four red guards patrol. Three of them move simultaneously between the corners, while the fourth runs the outer edge of the area.
First, watch their ways. Run to the next safe area whenever the guards of Mario and Luigi leave.
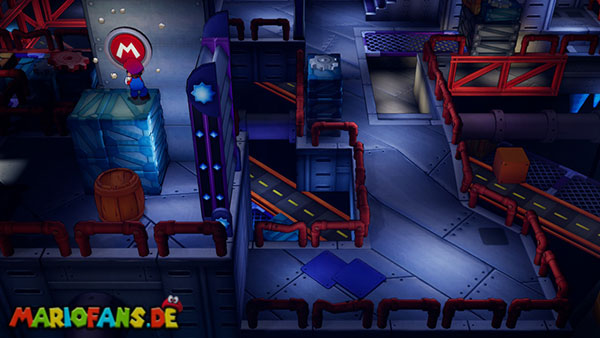
Reach the red M-Color Switch at the end of the section and hit it with Mario’s hammer. The previous gate closes while a new passageway opens.
Luigi hides in the barrel
In the following area, Luigi’s barrel cladding is again used. Activate his idea and let him independently take the appropriate positions.
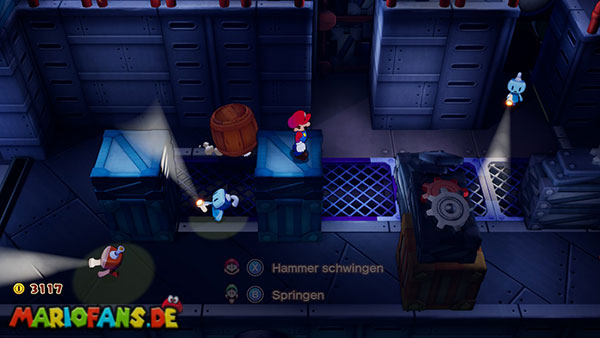
At the first blue guard, Luigi stands behind her. Jump out of the barrel with Luigi to distract the guard and walk by with Mario.
At the next guard, Luigi places the barrel in their cone of light. As long as the guard focuses on the barrel, Mario can reach the other side unnoticed.
Wait at the red guard until she turns her back on Mario. Run into the open area and then hide behind Luigi’s Barrel while the guard returns.
After that, jump on the barrel and from there on the boxes. Hit the top of the M-Color Switch to open a staircase and the next passageway.
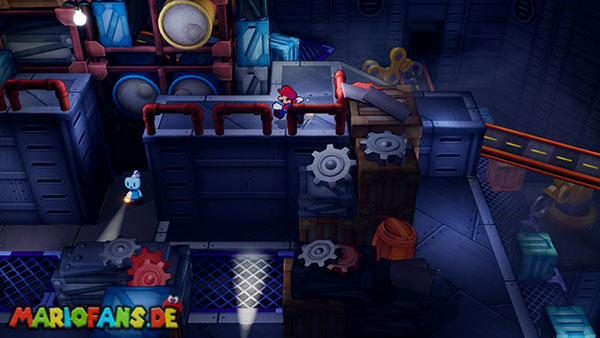
Also in the following area you use Luigi as cover and step level. Let him stand in front of the metal boxes, jump over him and wait for the red guards to walk.
In the end, Luigi takes on the increased lead. Jump up his barrel and follow the path to the last M-Color Switch.
The exit to the main area of the first basement is opened.
Freeing Connie
Go through the northern door. In the following gang, more soldiers patrol. You can try to walk past them, but get involved in a fight in the back anyway.
Defeat the Ring and Boomerang soldiers. After that, Connie is freed and rejoins the brothers.
Return to the main area and use the elevator. Go to the second basement.
The three energy plugs
In front of the big gate there are three empty sockets this time. To open the boss room, you need to find three power plugs in the giga lighthouse.
First energy plug
Go through the southern door and then through the western exit. In the next room you have to cross several lava surfaces.
Use the roundabout UFO and land on the raised platforms between the lava fountains. Wait at a fountain until it disappears into the ground again before you fly on.
At the end of the area you use the bullet turbo. Wait until the moving platform is in front of the ramp and race up the slope.
For the next ramp, two floating platforms must be suitably aligned. Charge the ball turbo and start only when both form a continuous path.
In the adjacent room, you hit with Mario against the M-Color Switch. The gate opens and you get the first energy plug.
Place it in one of the three jacks in front of the main gate.
The Rubble Mystery
Return to the southern room and walk through the eastern door. First hit the blue exclamation point block to open the first gate.
Then press the orange crystal block. In the room appear several movable metal debris.
Use the suction function of the gyro UFO to pick up the debris and place it in the right places.
Place two pieces of debris on the long road to the locked gate. On the middle way, only one metal part is needed.
Then leave Luigi with his idea on the green L-Color Switch. As long as he holds the Color Switch, the gate remains open.
Jump with Mario alone over the deposited rubble and reach the second blue exclamation point block. The hit opens several gates and a staircase for Luigi is extended.
Reunite both brothers and return to the main area.
Second energy plug
Behind the now open gate lies a wide lava area. Use the gyro UFO and fly from one increased airflow to the next.
The air currents give the UFO a new boost. Land just above them before flying on to the next platform.
On the other hand, you will find the second energy plug. Jump down to the left and insert it into the next jack in front of the big gate.
Triggering the lava eruption
The open gate in the southwest leads to a small area full of lava. Cross it to the eastern side.
There is an explosive fruit there. Pick them up and pass them on between Mario and Luigi to overcome the different elevation differences.
Place them in front of the debris that blocks a large lava fountain. The explosion clears the way.
The lava now shoots up and melts the large ice balls in the first basement. This opens up a new path to the last plug.
Third power plug
Return to the elevator and move into the first basement. Take the left path, which was previously blocked by the ice balls.
Follow the corridor and descend the stairs back to the second basement.
The third power plug is located behind a gate. Let Luigi hit the green L-Color Switch on the wall with the hammer.
Take the plug and take it to the main gate. After all three sockets are occupied, the path to the boss room opens.
Activate the green tube block, heal Mario and Luigi at the healing block and save your progress.
Boss: Pipegunk – Level 27
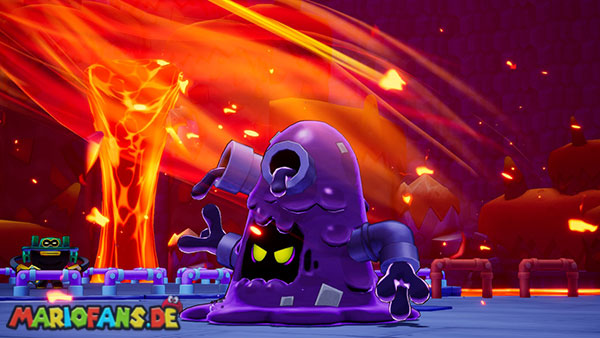
In the boss room, Mario and Luigi meet Zokket and the Extension Corps again. Shun presents his own creation: the slimy Pipegunk tube monster.
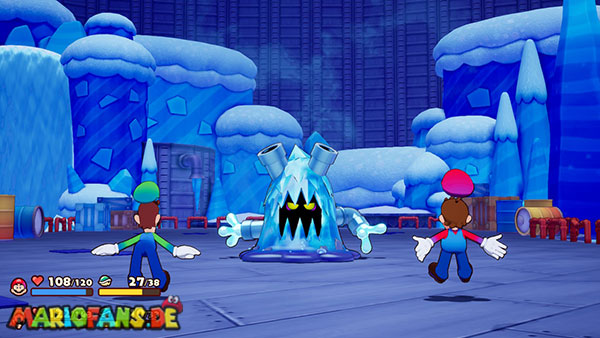
The boss changes his form depending on the temperature of the battlefield. In the neutral environment, he can be equally injured with jumps and hammer strikes. In its fire or ice form, its defense increases significantly.
If possible, equip these battle plugs:
- Temperature protection
- Fire attack
- Ice attack
- Pair attack amplifiers
- Car mushroom or car herb
Switch between fire and ice attack as soon as Pipegunk changes its shape. Against the fire form you use ice, against the ice form Fire.
Shmodotors onslaught
Pipegunk pulls his body backwards and then storms toward a brother. Hold the hammer ready and strike just before the boss reaches Mario or Luigi.
Later, he attacks several times in succession. Always orient yourself at the side of the battlefield on which it appears.
The poison balls
In its normal form, Pipegunk throws slimy poison balls at the brothers. Jump on the ball just before it touches Mario or Luigi. This makes it burst.
After several bullets have been destroyed, Pipegunk himself rolls up into a large slime ball. Jump on this ball too.
The boss is pressed flat on the floor. Jump on him again to cause additional counter damage.
The Fireform
After Pipegunk loses part of his HP, Shun appears in the background and turns on the hot side of the battlefield.
Pipegunk turns into a lava creature. His defense increases and he can restore some HP at the end of a round.
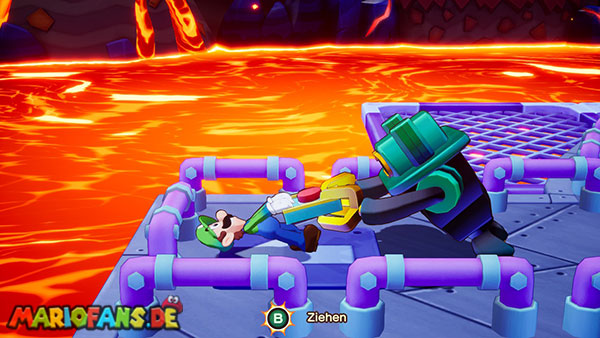
In his lava attack, he throws a large bullet at a brother. After the impact, a burning puddle remains. Jump repeatedly until the lava is completely gone.
More fireballs fly in a row over the ground. Jump over it with Mario and Luigi at the right moment.
In another attack, Pipegunk shoots fireballs into the air. Wait until a bullet appears directly above a brother and strike it back with the hammer.
A mushroom may occasionally appear between the fireballs. If you hit him with the hammer, the corresponding brother gets HP back.
The ice shape
When the cold side of the battlefield is switched on, Pipegunk turns into an ice creature.
It creates a dense frozen fog and disappears into it. Watch his dark silhouette. If he approaches a brother, you strike in time with the hammer.
In his ice salvo he shoots several crystals near the ground on Mario and Luigi. Jump with the brothers over the individual floors.
Hits can freeze a brother. This condition is prevented by the thermal protection plug. Without the plug you should take enough fresh roots with you.
Luigi Logic against Pipegunk
After a change of forms, the symbol for Luigi’s idea appears. Luigi tries to take Shun off the remote.
Follow the faded buttons to take control of the combat field temperature.
Always choose the environment opposite Shmodotor’s current form:
- If Pipegunk is a fire creature, you switch to the ice surface.
- If Pipegunk is an ice creature, you switch to the lava surface.
The sudden temperature change causes the boss great damage and makes him dazed for a short time.
Use this phase for your strongest bros. Attacks. The pair attack amplifier and the performance bonus are a particularly good combination.
Pipegunk can transform and heal again after some time. Therefore, do not wait too long with the Luigi Logic and exchange your battle plugs to match its current form.
The final phase of the struggle
At low HP, Shmodotors attacks become faster. The fire and ice salvos contain more shells and his rushes are more often in succession.
Keep both brothers over half of their CP. Use nuts when Mario and Luigi were injured at the same time.
Only reach in the reinforced forms with your most expensive bros. Attacks if you use the appropriate element plug. You continue to cause the highest damage after a successful temperature change.
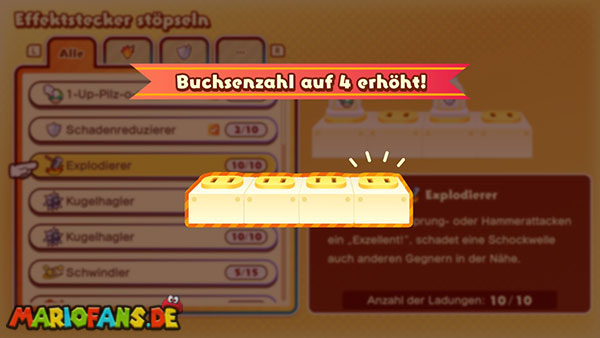
After victory, you will receive the Pipegunk Boots. Shun also leaves behind another power connection. As a result, Mario and Luigi will have an additional jack for battle plugs in the future.
Lighting the Third Giga Lighthouse
After the fight, return to the main area of the second basement and talk to Connie.
Use the elevator and go to the top floor. Follow Connie to the big glow bud.
Connie restores the energy of the giga lighthouse. The uni-tree connects another part of Konektania and opens the flow to the next area.
After returning to Shipshape Island, however, a new attack begins immediately. Bowser and his troops attack Stekdov’s Castle. During the battle, several already connected islands are separated from the Connectar again.
This marks the start of the next phase of the complete solution in the Gulchrock Sea.Gulchrock Sea