
The complete solution to Mario & Luigi: Brothership for the section in the “Stormstar Sea”. On this page we will help you with the final preparations for the attack on Fortress Zokket. Then we gather the power of the gang, cross the soli tree and face the final boss Reclusa in the supposed mushroom kingdom.
Before attacking Fortress Zokket again, you should upgrade your equipment, purchase enough healing items, and complete open-ended, time-limited side tasks. After the victory over Zokket, Concordia changes permanently and several tasks can no longer be started.
Jellyfish Island
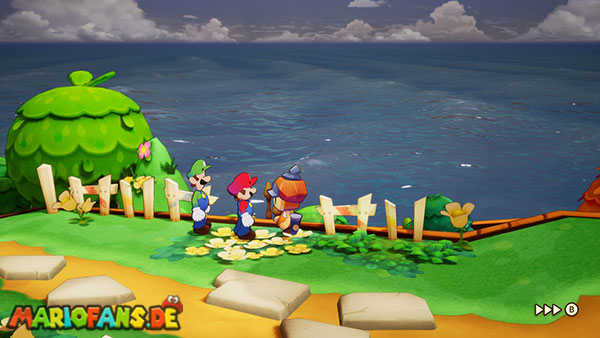
After testing Conductorius, Mario and Luigi return to Shipshape Island. Fortress Zokket is now protected by an impenetrable thorn barrier. Even the great Cannon can no longer shoot the brothers close enough to the building.
Peretta is said to be trapped in the castle. To save her, Shipshape Island needs a new way to overcome the barrier. Conductorius advises the brothers to look for inventor Adaphne on Jellyfish Island.
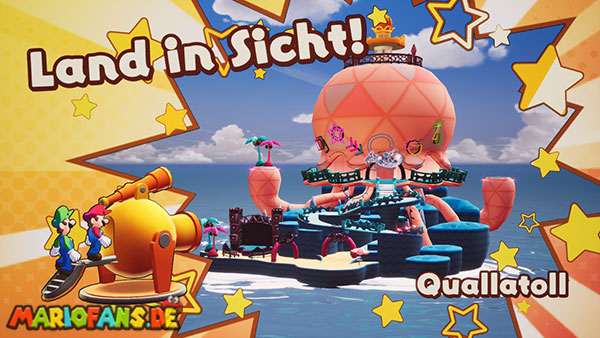
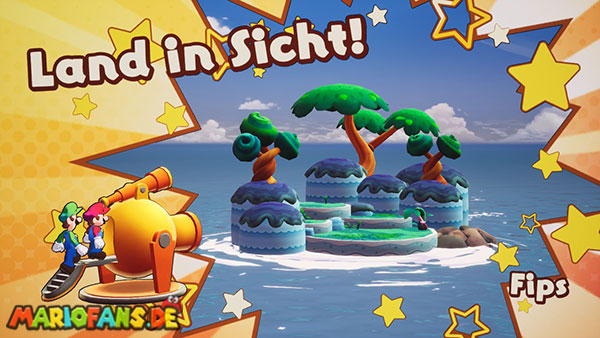
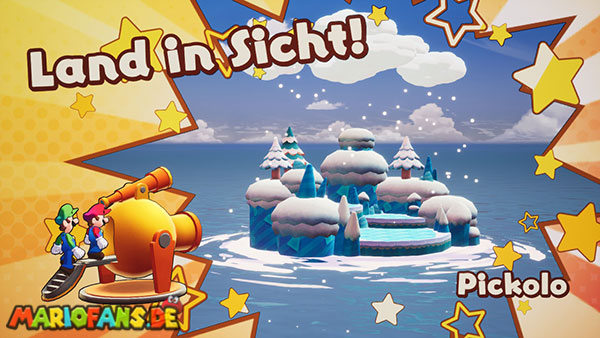
Open the Ocean Map and follow the new current in the northern part of Storm Hazard. Discover Jellyfish Island by telescope and then use the Cannon.
Entrance tickets for the club
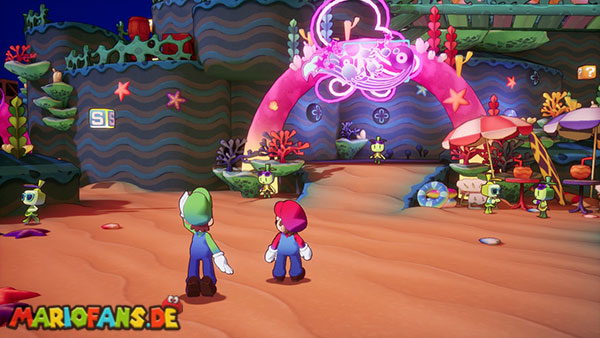
After landing, you will learn from the residents that Adaphne is usually in the big club of the island. However, the bouncer only lets Mario and Luigi in with valid tickets.
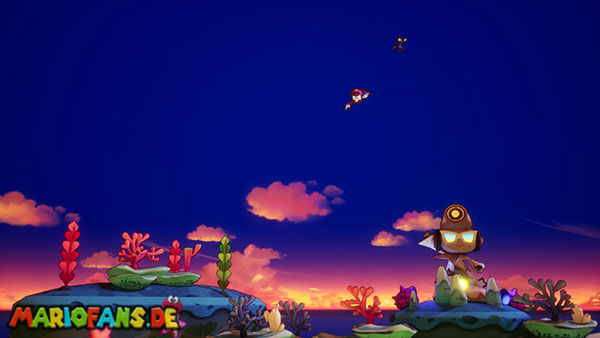
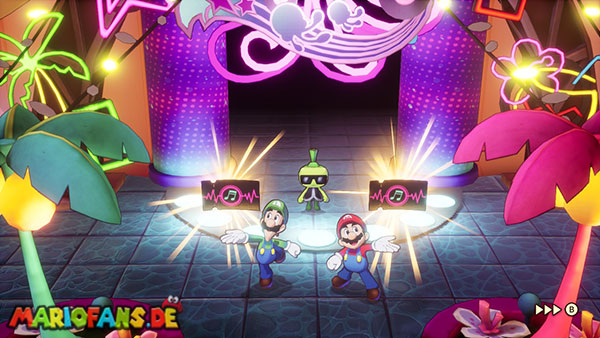
Go west from the starting point. On stage, Dyode and Emmit perform. Talk to them and agree to join their dance number again.
In the rhythm game, you have to press the faded buttons at the right moment. For the tickets you must first make no mistake.
If the task is too difficult, you can repeat it. After several attempts, the requirement can be simplified.
After a successful dance, you will receive the tickets. Go to the entrance of the club in the upper part of Jellyfish Island and show it to the bouncer.
Wake up adaphne
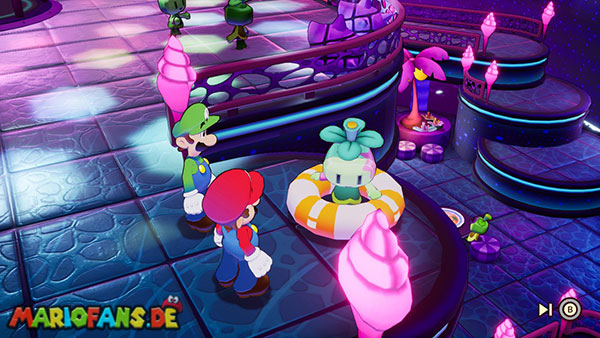
Enter the club and cross the western path to the lower level. By the pool you can see Adaphne sleeping in a swimming ring.
First, talk to the green resident on the stairs of the pool. He suggests waking Adaphne by jumping into the water.
Return to the upper level and speak to the right of the entrance with the resident who wants to jump into the pool. Without a swimming ring, however, he does not dare.
Go down again and talk to the yellow-green resident at the pool bar. Listen to his complaints about Adaphne until the end. He then returns to his rental stand and leaves Mario and Luigi with a swimming ring.
Bring the floating ring to the resident on the upper level. He jumps into the pool and hurls Adaphne out of her own ring.
Preparing jellyfish pizza
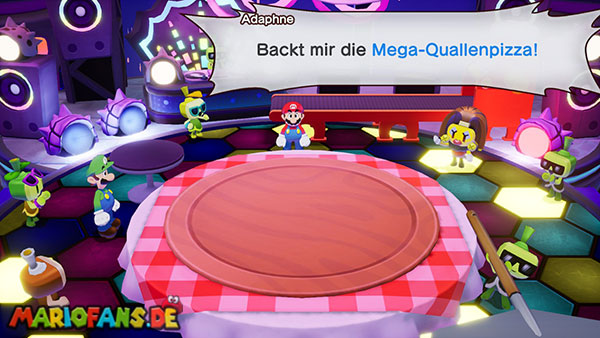
Speak after the scene down by the pool with Adaphne. The inventor is basically ready to help, but requires a freshly prepared jellyfish pizza beforehand.
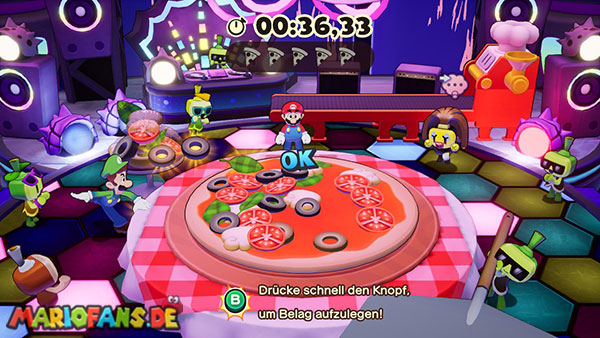
For the first part of the mini-game, you have to make four pizzas within 50 seconds:
- Take the dough with A.
- Repeat X pressures to roll out the dough.
- Repeat B pressures to top the pizza with ingredients.
Only ever work on a pizza and then put it on the intended area. Start immediately with the next one.
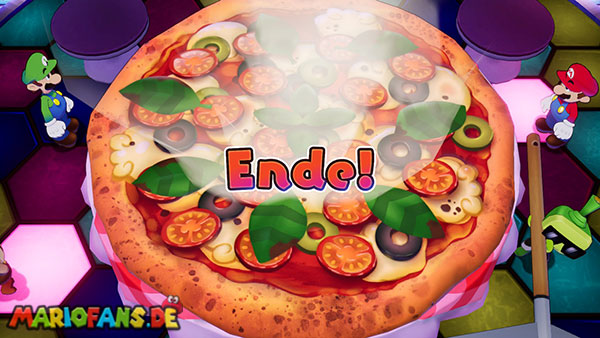
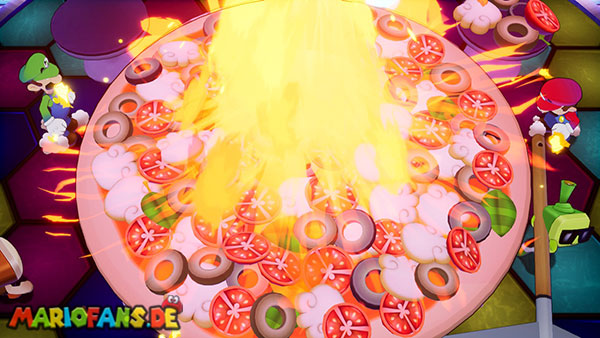
After the four normal pizzas, a particularly large jellyfish pizza follows. There are only 30 seconds available for this task.
- Mario edits his part with A.
- Luigi takes his part with B.
- Finally, press A and B repeatedly at the same time.
Once you have finished the big pizza in time, Adaphne agrees to come to Shipshape Island.
Jellyfish Island Connection
Through the successful preparation, the elevator is repaired in the club. Use it to go to the roof.
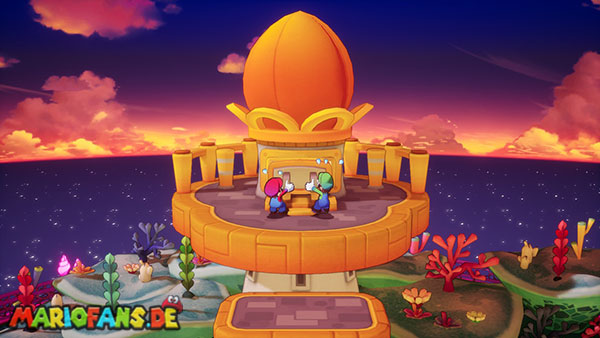
Follow the short path to the lighthouse and pull out the large plug. Jellyfish Island is connected to Shipshape Island.
Technikki or Adaphne?
Back on Shipshape Island, Technikki and Adaphne develop two different plans:
- Technikki’s plan: Shipshape Island receives an aircraft engine and crosses the mandrel barrier from above.
- Adaphne’s plan: Shipshape Island receives an underwater engine and dives under the barrier.
The decision changes the appearance of the later journey and some dialogues. It has no decisive influence on the course of the action, the rewards and the reachable areas.
With both upgrades, you’ll also get the ability to move Shipshape Island directly to previously discovered currents via the Ocean Map.
Regardless of your choice, the inventors need a powerful component made of Bowser’s airship. The part you are looking for is in his castle on Wayaway Island.
Engine component
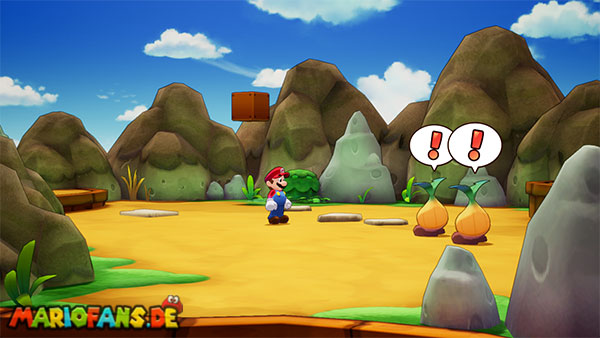
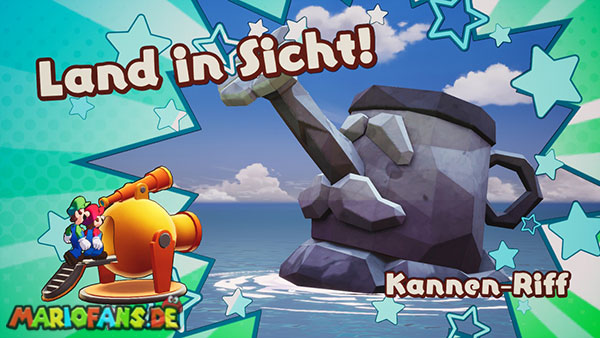
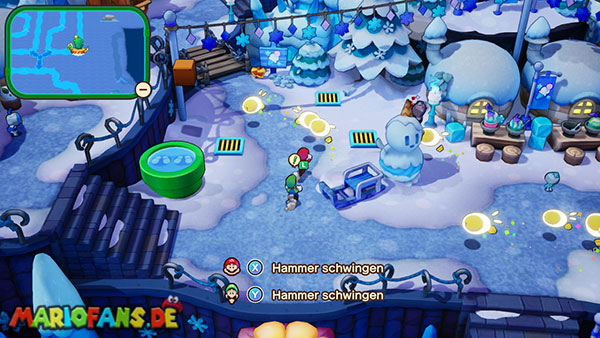
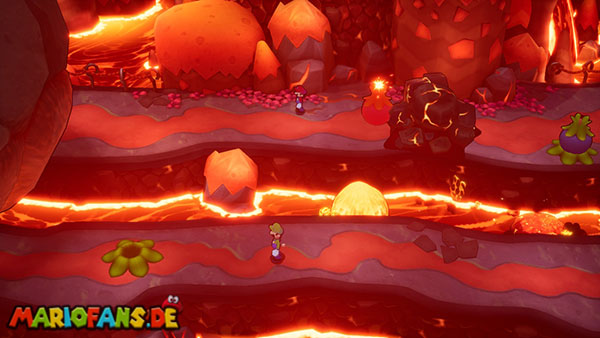
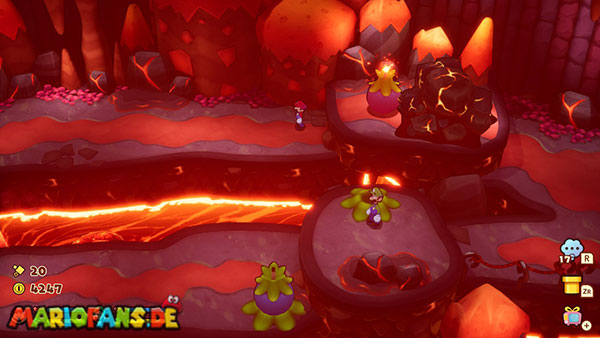
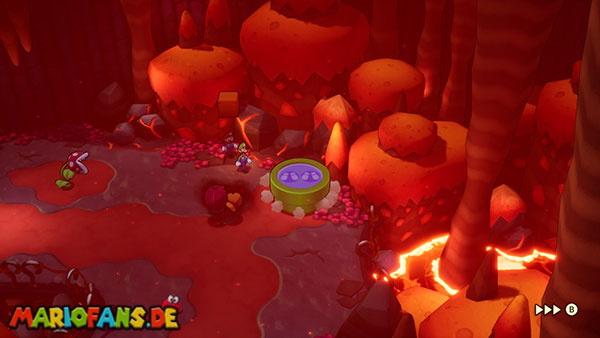
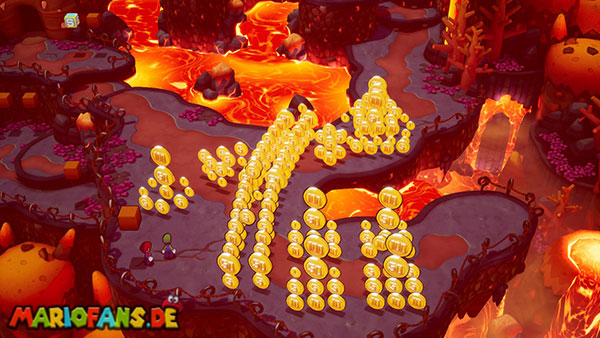
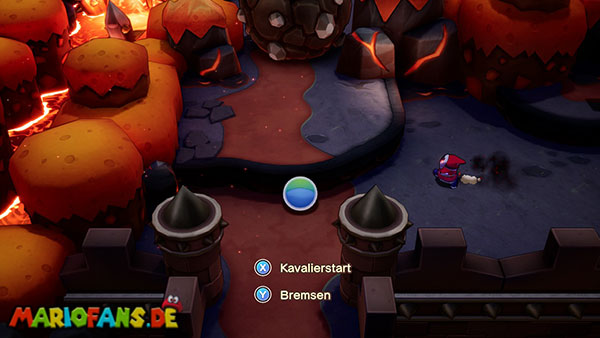
Travel across the green tubes and the small islands back to Wayaway Island. You don’t have to enter Bowser’s Castle through the main entrance this time.
Walk east on the island and follow the narrow path on the outside of the castle. A large boulder blocks access to the supplier entrance.
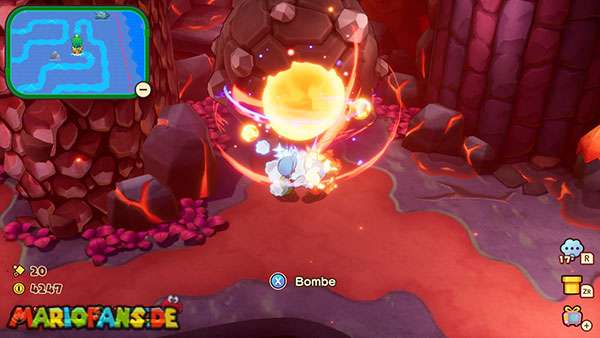
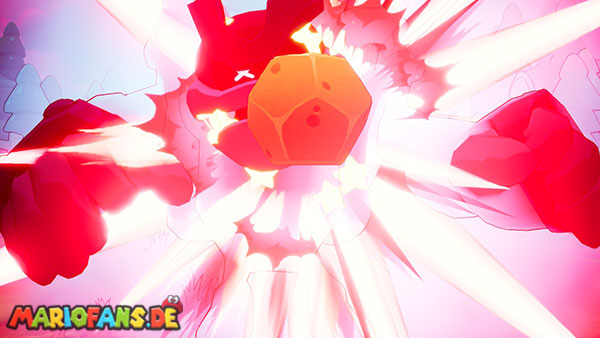
Activate the charged fire-and-ice maneuver. Hold the displayed button until the elemental ball has reached its full size and then release it onto the rock.
After the explosion, the side entrance is open.
Through the supplier input
Follow the path through the upper floors of Bowser’s Castle. In the storage rooms, several Enemies from Bowser’s army await you. The Bowser Army Specialist increases your damage caused here.
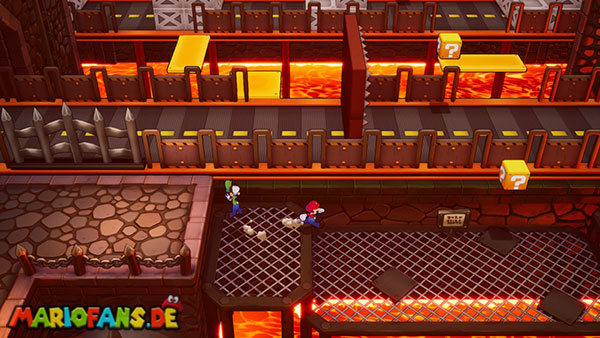
On the fourth floor you reach a long corridor with several conveyor belts. At the end there is a locked door to the warehouse with the airship parts.
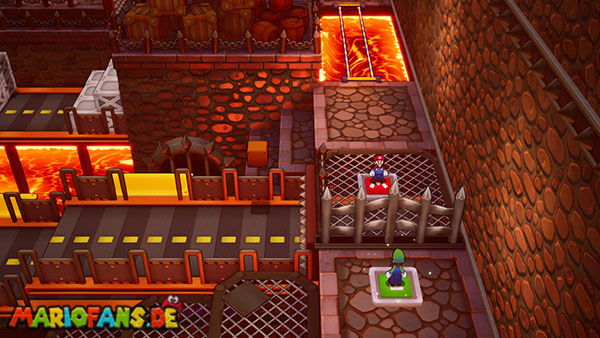
Let Luigi stand on the green L-floor. As long as he holds the plate down, the first grid on the Conveyor Belt remains open.
Drive Mario through the Conveyor Belt. Jump over the metal boxes and avoid the obstacles. At the end you reach a red M-Color Switch.
Strike against it with Mario’s hammer. A staircase is extended and Luigi can leave the floor plate.
Rolling through the grids
Unite both brothers and follow the open path. In front of you lies a long area of lava and fast-running conveyor belts.
Use the bullet turbo to rush past the ramps and lava surfaces. Stay in spherical form afterwards.
The narrow openings in the grids can only be crossed with the ball maneuver. Roll through the first opening, drive across the Conveyor Belt and jump in spherical form through the next grid.
On the last section you have to land on a mobile platform. Wait until it is in front of the exit, and then roll over it.
Finding the airship component
Activate the green tube block in front of the warehouse. This creates a shortcut to the entrance of the castle.
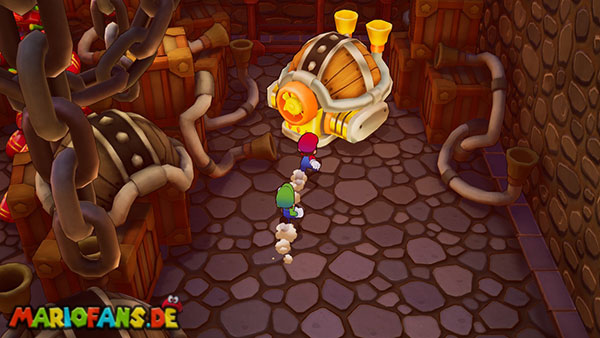
Enter the camp and follow the path to the rear end. There you will find the desired component from one of Bowser’s airships.
After the short scene, the part is automatically transported to Shipshape Island. Leave the camp and use the green warp pipe.
Shipshape Island improved
Return to Technikki or Adaphne. The selected inventor installs the airship component in Shipshape Island.
Depending on the decision, the ship can now fly or dive. Open the Ocean Map and select any discovered current to try out the new fast travel feature.
The barrier around Fortress Zokket can now be overcome. Before you attack the castle again, however, you should still complete open tasks.
Optional preparations
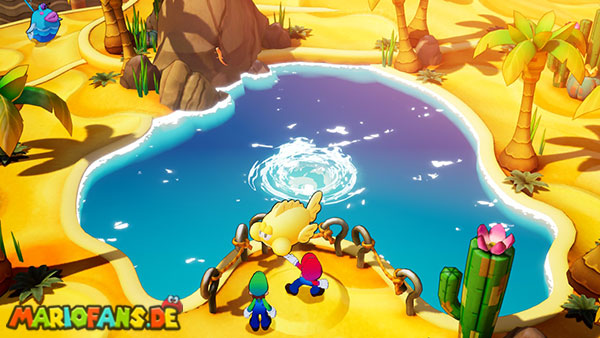
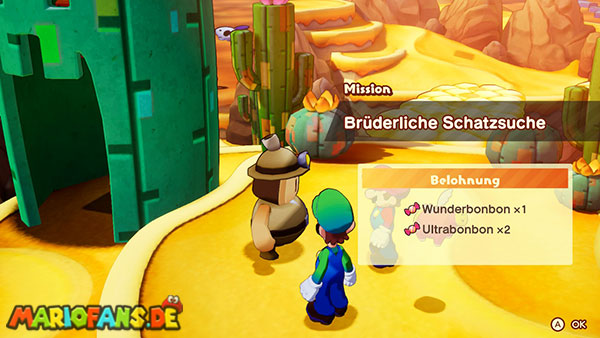
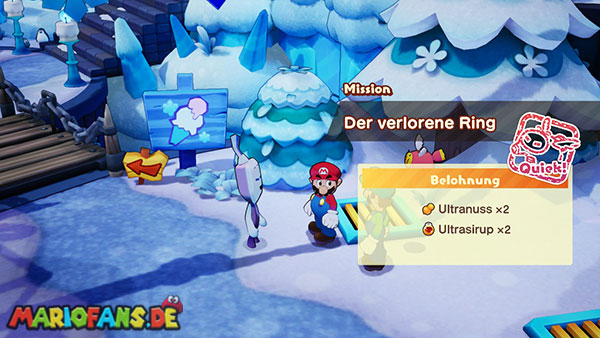
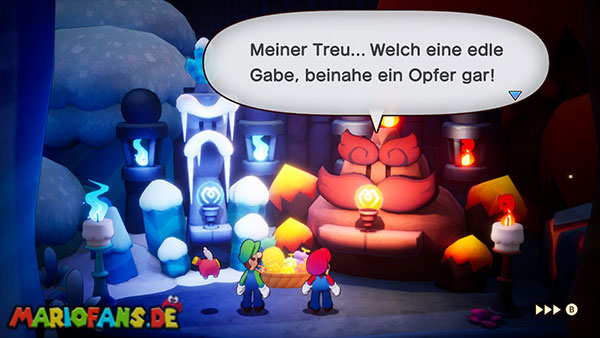
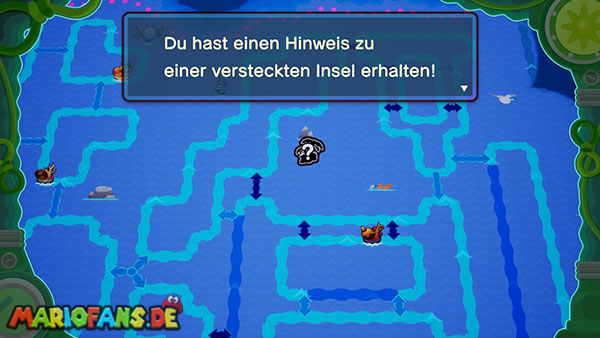
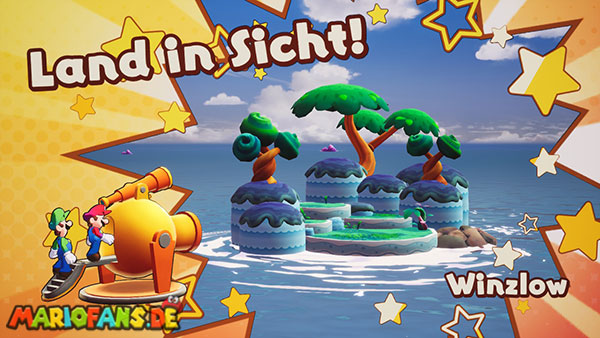
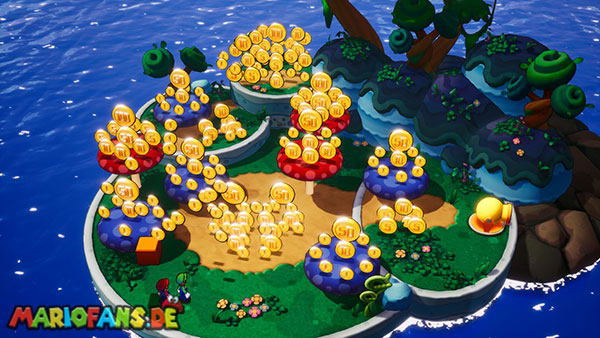
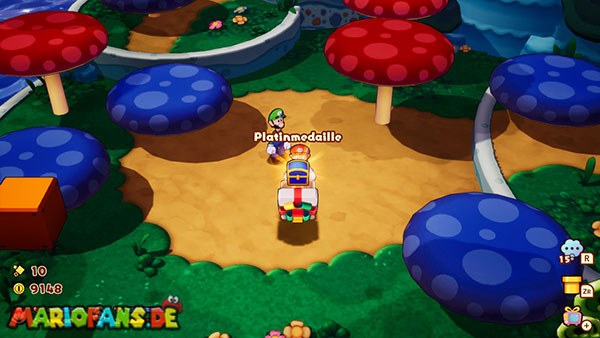
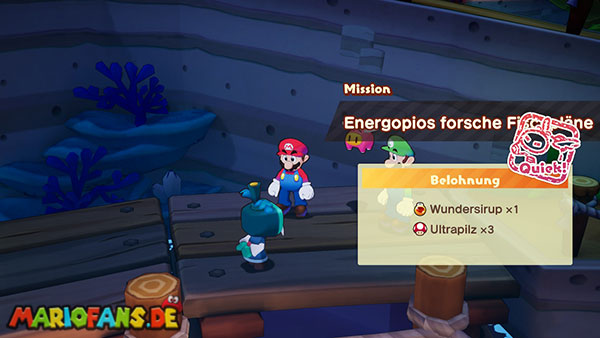
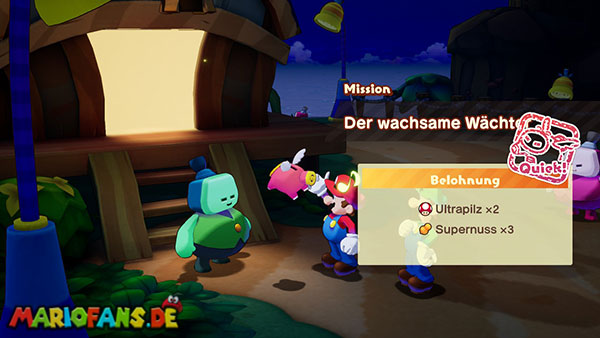
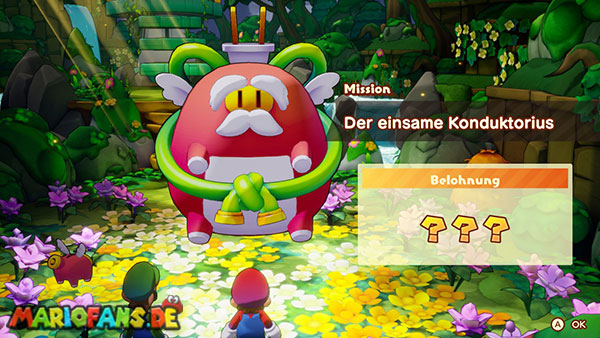
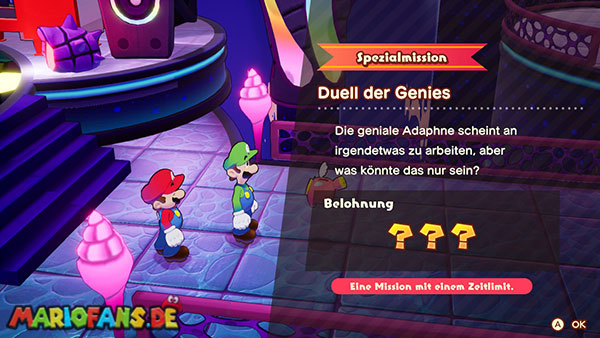
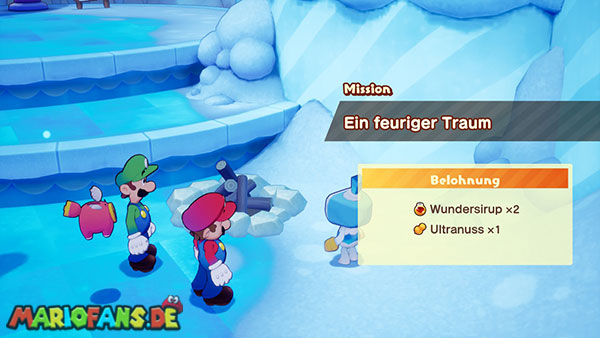
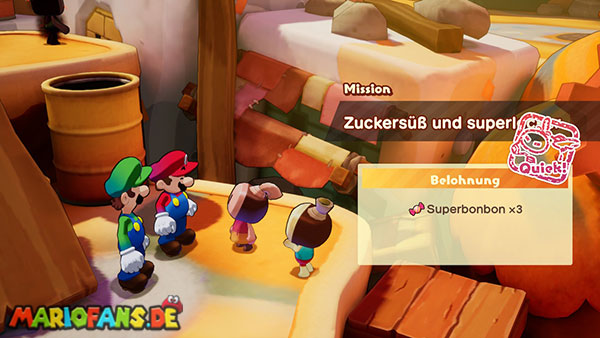
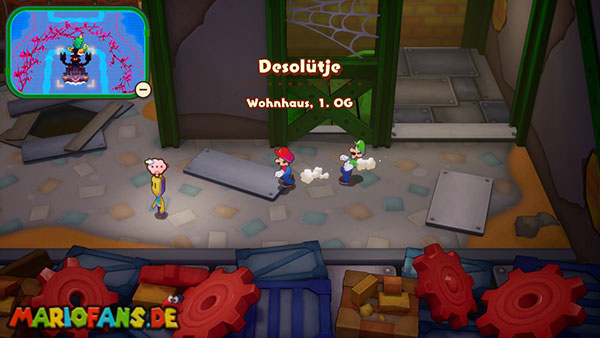
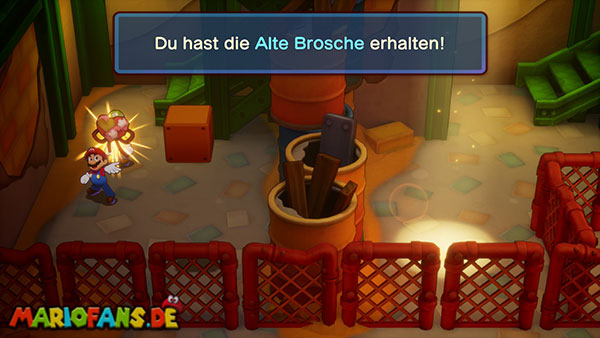
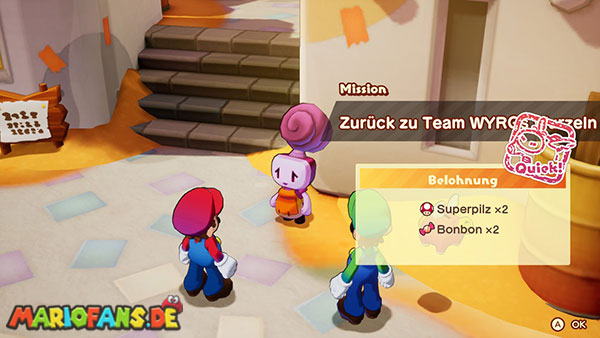
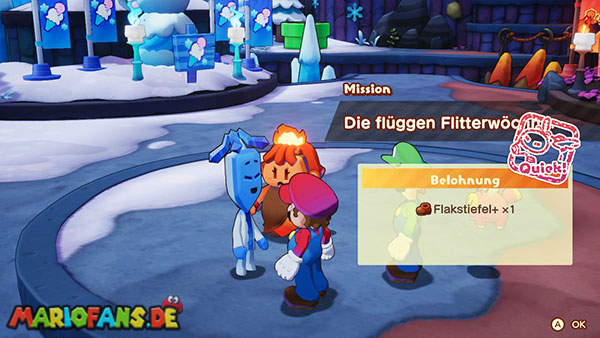
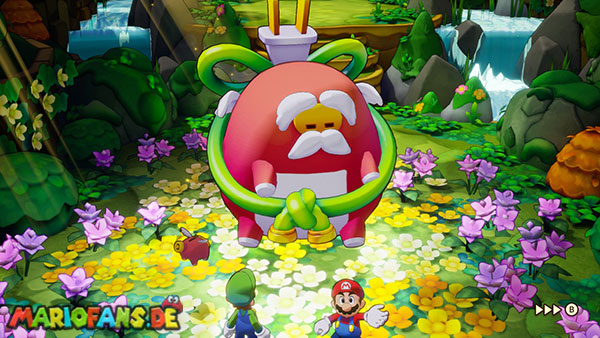
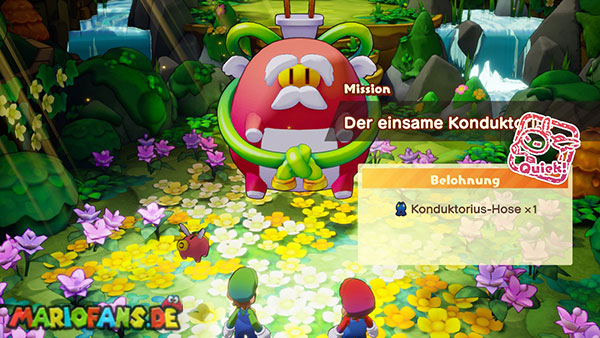
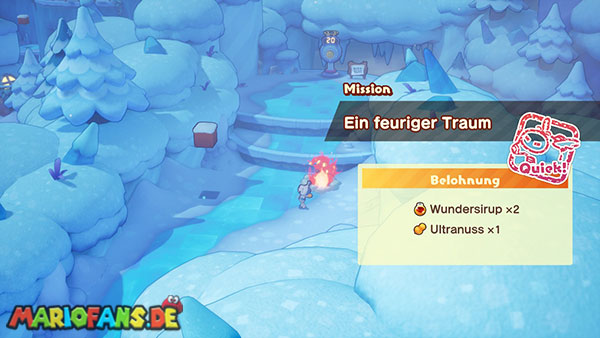
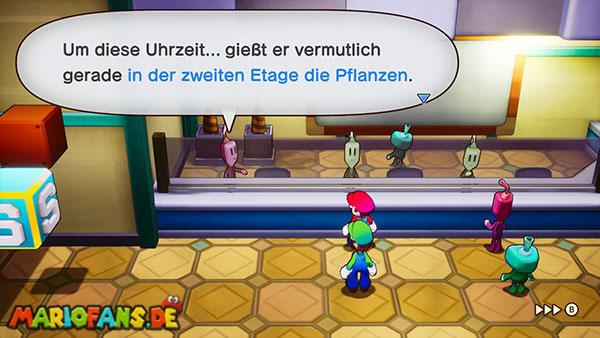
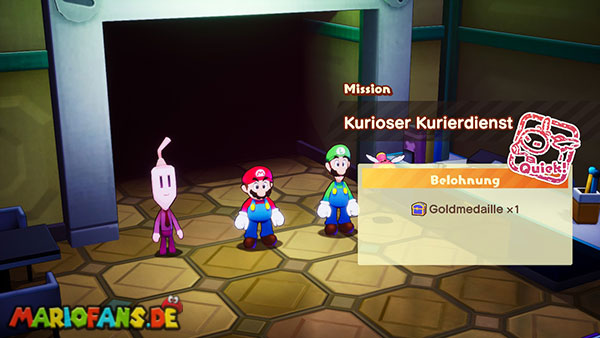
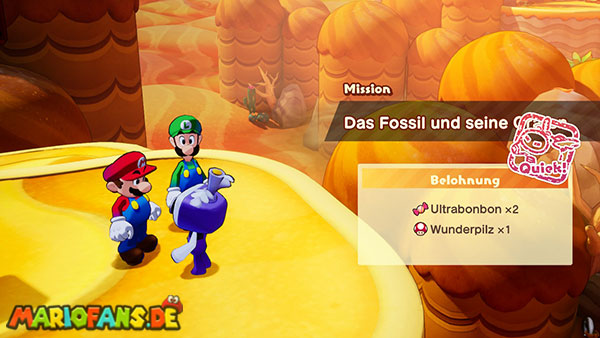
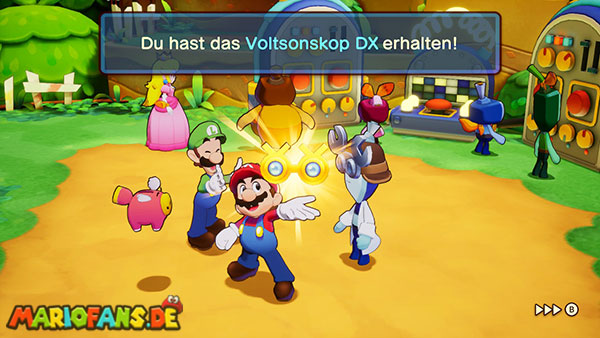
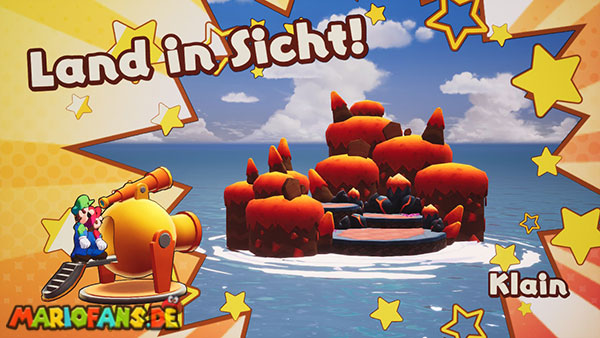
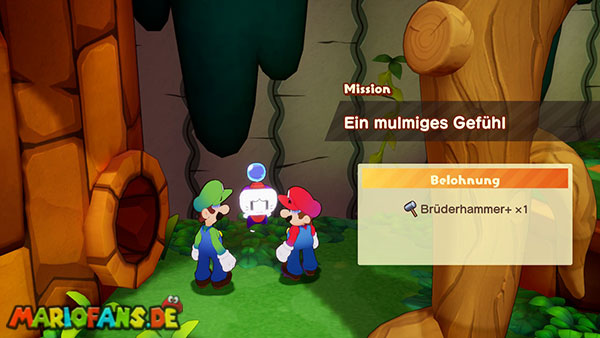
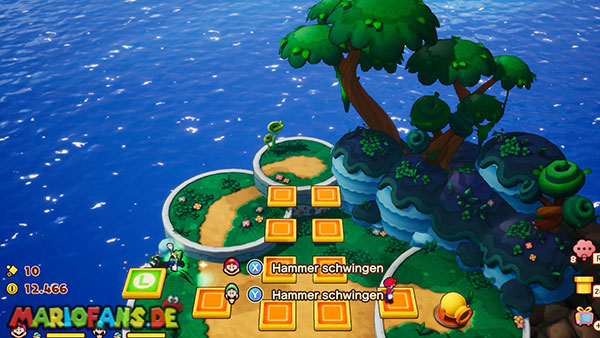
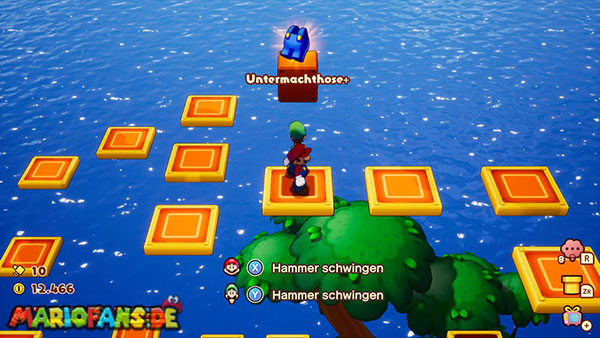
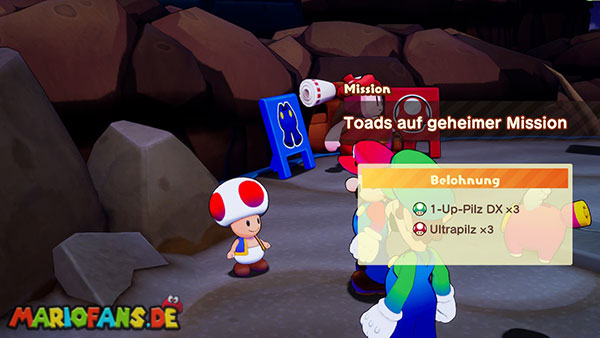
After the improvement of Shipshape Island, several new side tasks and particularly strong optional Enemies will become available. Some of these tasks disappear after the next big section of the action.
Save on your own point before you leave for the second trip to Fortress Zokket.
Secondary tasks of the two inventors
Technikki and Adaphne want to prove which of them is the better inventor. Talk to the inventor whose engine you haven’t chosen and complete her new task.
Also on Wayaway Island appears a temporary task around Bowser’s condition. Starlow wants to check if Bowser has fully recovered after contact with Glohm.
Complete such tasks as soon as possible. After the victory over Zokket, they can no longer be started.
Optional Ohminous Bosses
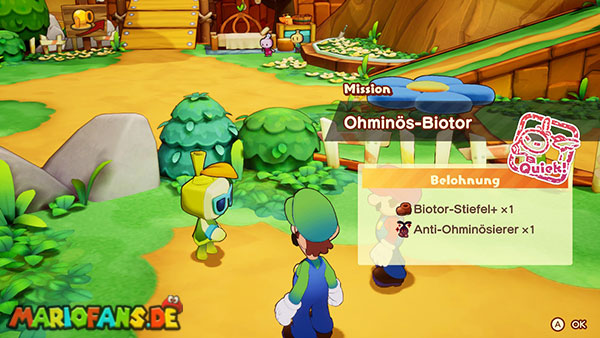
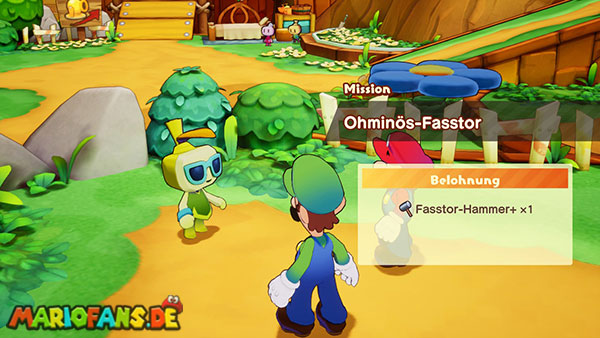
On Shipshape Island, an enthusiastic resident awaits, who sends Mario and Luigi to particularly difficult rematches. The former bosses were considerably strengthened by Glohm.
The battles are unlocked one after the other:
- Glohm Gobblick: Recommended from approximately level 35.
- Glohm Sharpcask: Recommended from approximately level 39.
- Glohm Pipegunk: Recommended from approximately level 43.
Travel to the corresponding giga lighthouse and return to the former boss room.
The Enemies have significantly more HP and cause higher damage than in the first encounter. Equip ohminous protection or car fruit tiode and use the specialists who fit the respective boss.
Other Monster Tasks
On Lottacoins Island, further levels of Monster Challenges will be unlocked. For this you have to defeat particularly strong opponent groups under difficult conditions.
The last tasks are aimed at Mario and Luigi from about level 40. They are good for collecting Experience Point and testing your defense before the final.
Preparation for Fortress Zokket
Mario and Luigi should have reached approximately level 39 for the next section. Buy as many of these items as possible:
- Miracle mushrooms and miracle nuts
- Miracle syrup
- 1-Up mushrooms
- Fruit iodides
- Fresh wort
Also, make missing battle plugs. Particularly helpful are:
- Explosives and ball hoppers
- Zokket specialist
- Pair attack amplifiers
- Performance bonus
- Protectus
- Cargo bank
- Car fruit or ohminous protection
Equip the best equipment available and fully charge your main plugs. After that, you can travel directly to Fortress Zokket via the Ocean Map.
Fortress Zokket #2
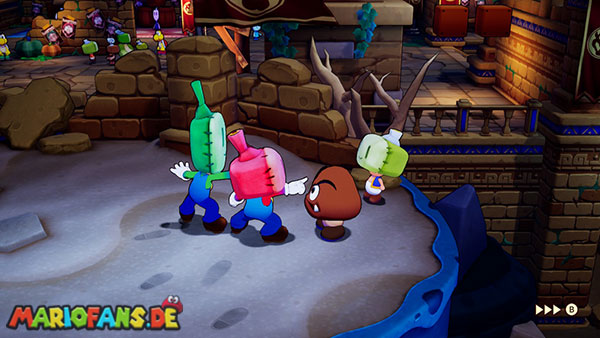
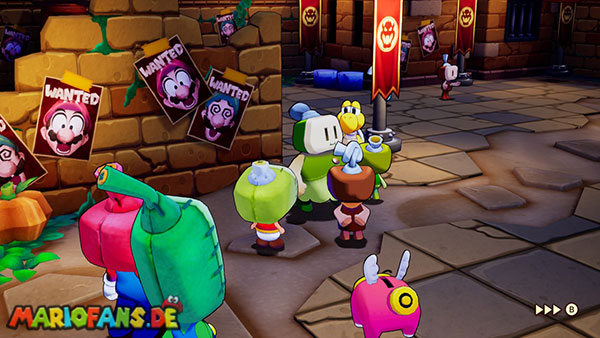
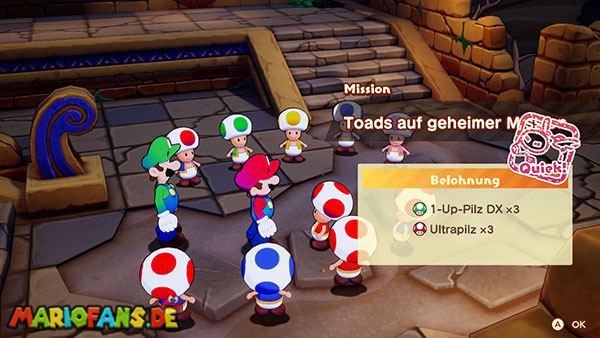
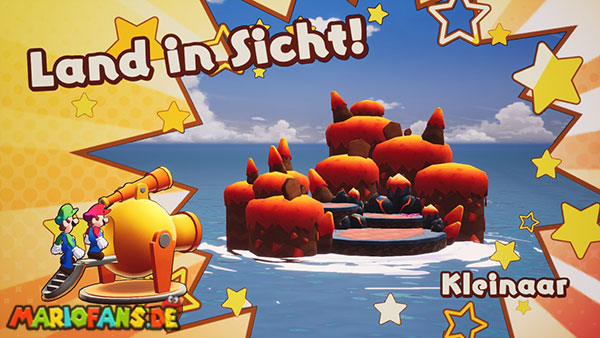
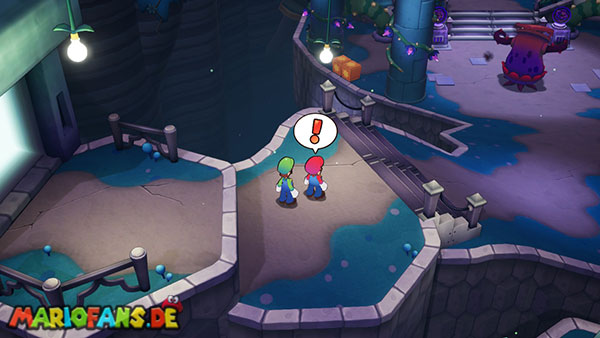
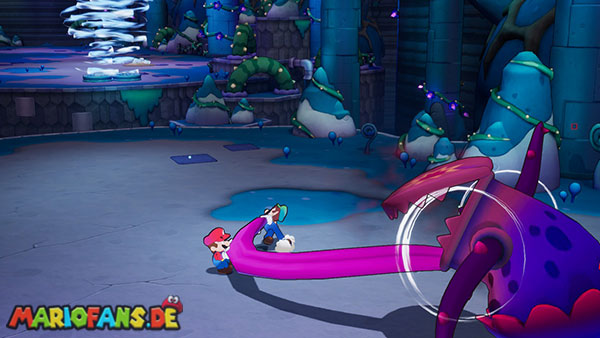
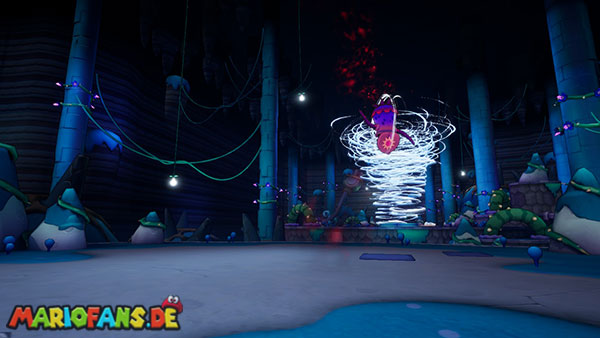
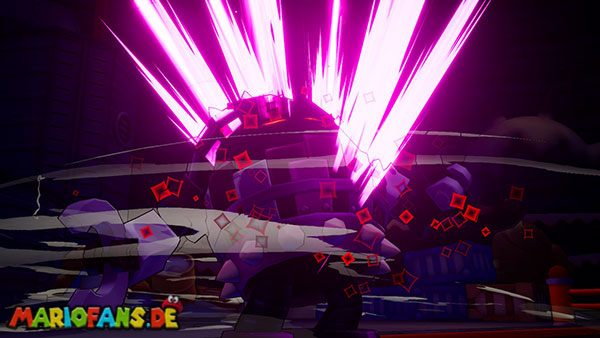
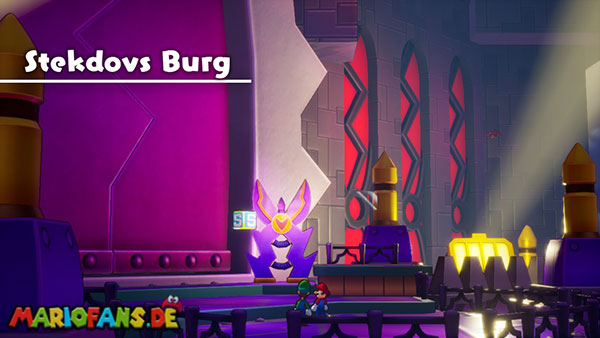
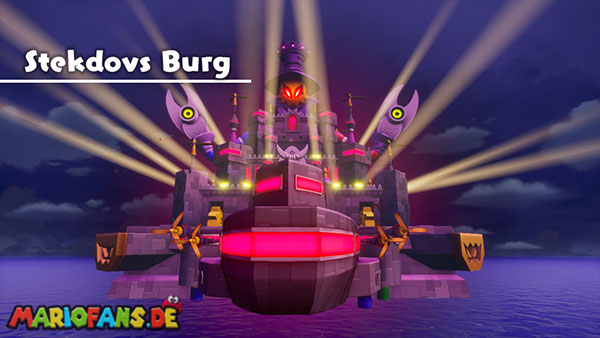
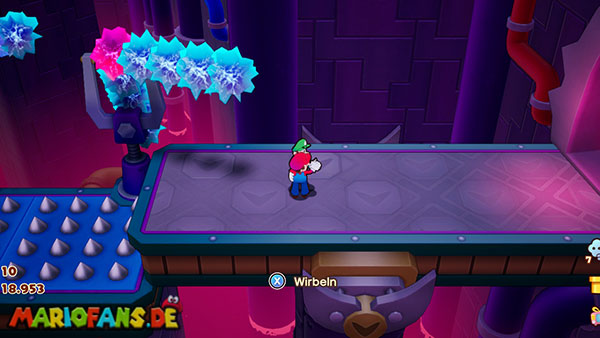
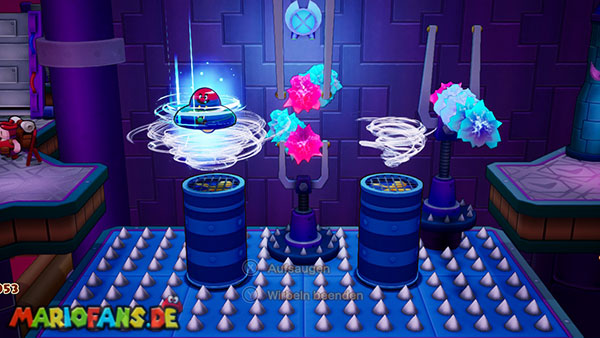
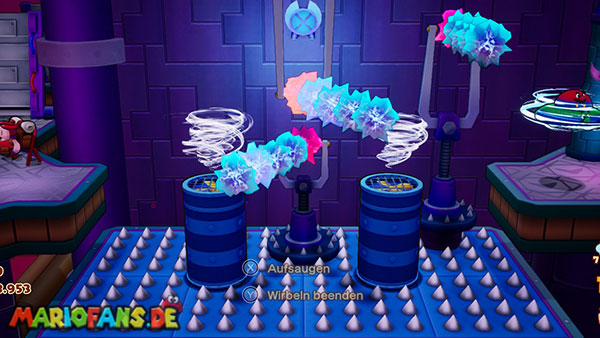
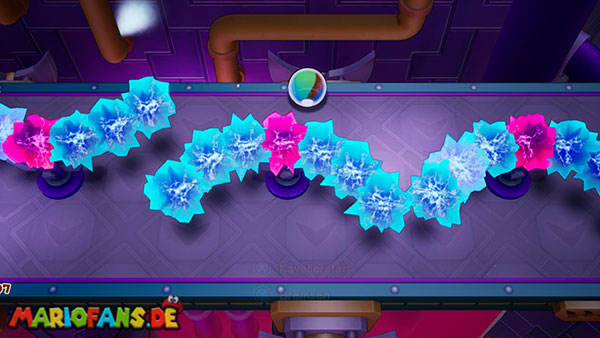
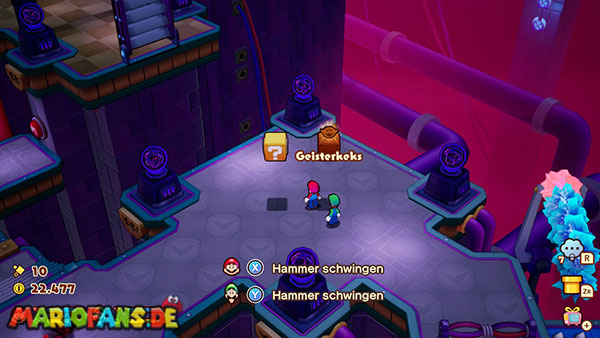
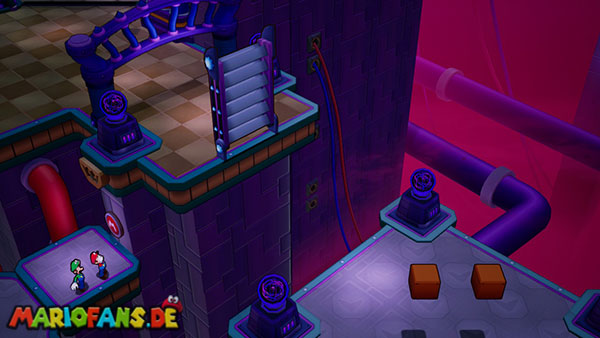
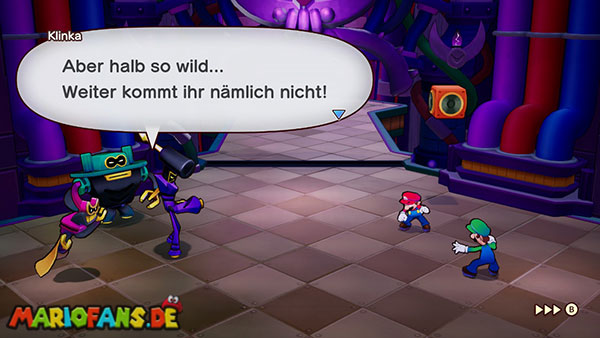
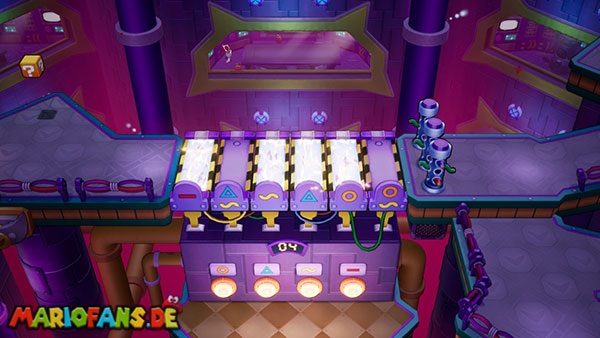
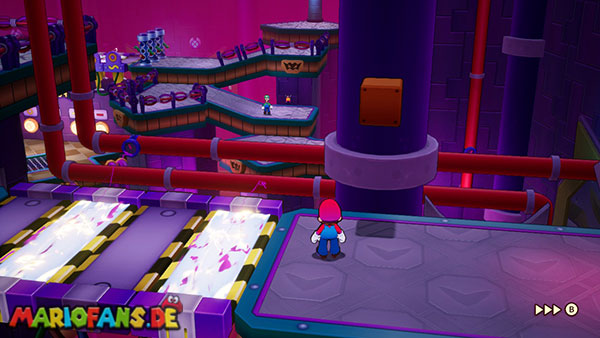
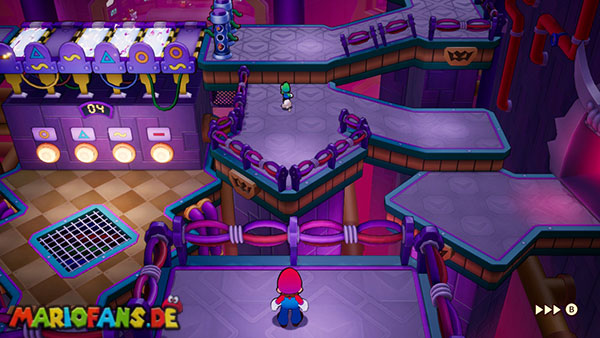
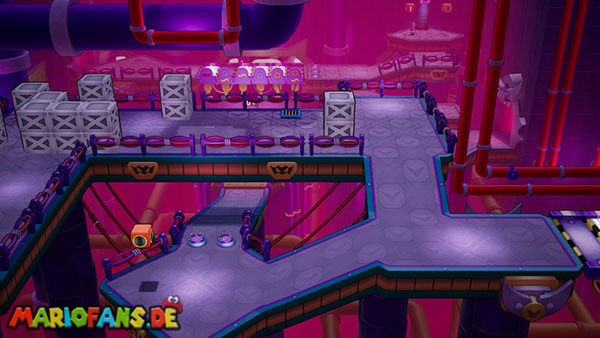
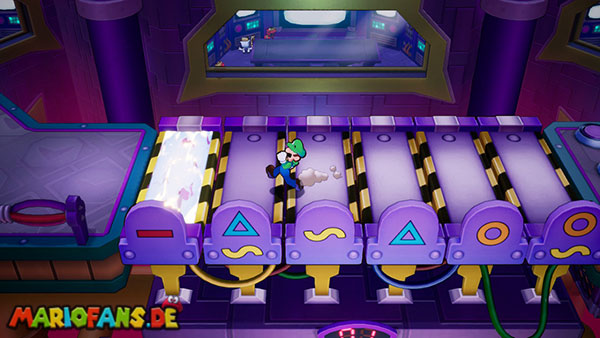
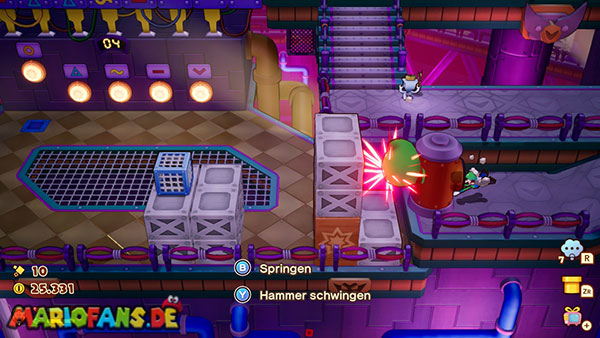
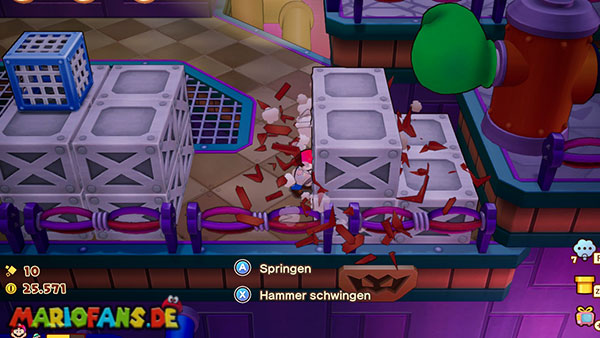
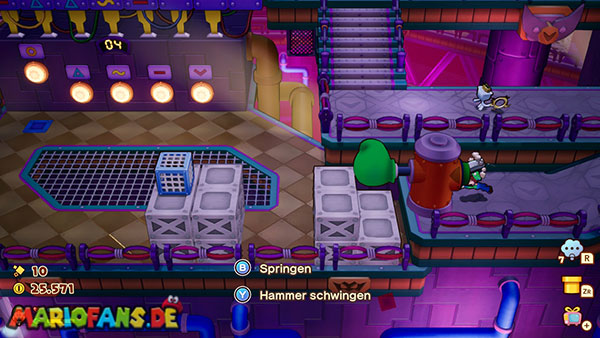
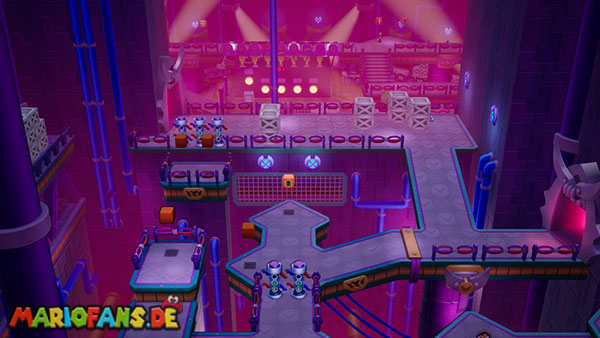
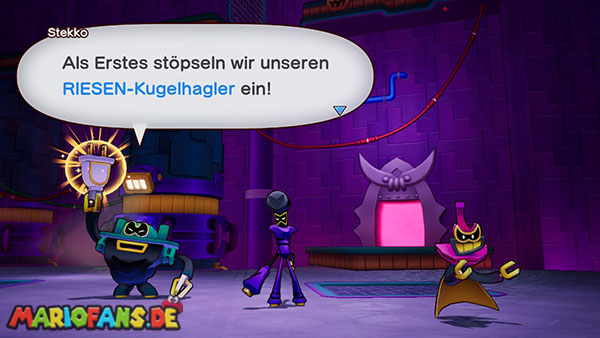
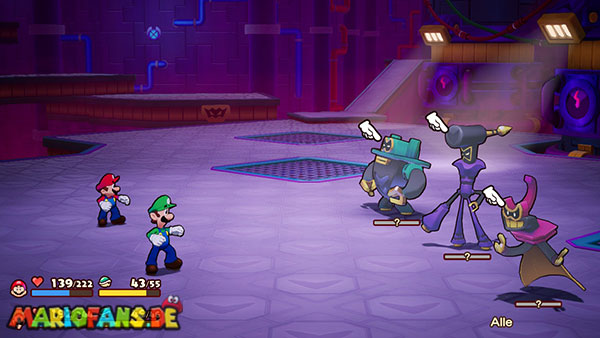
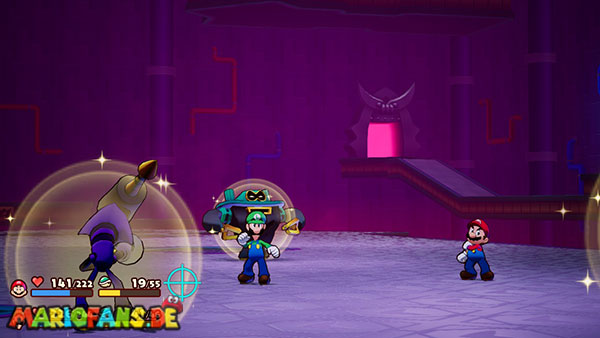
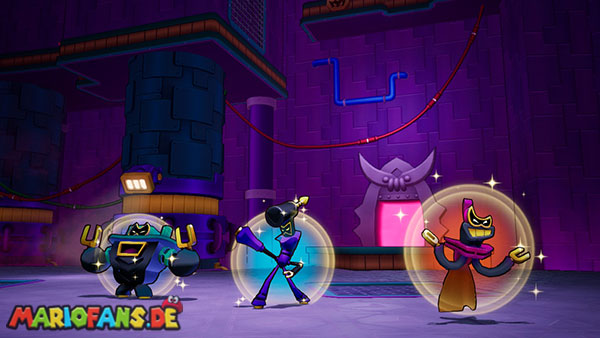
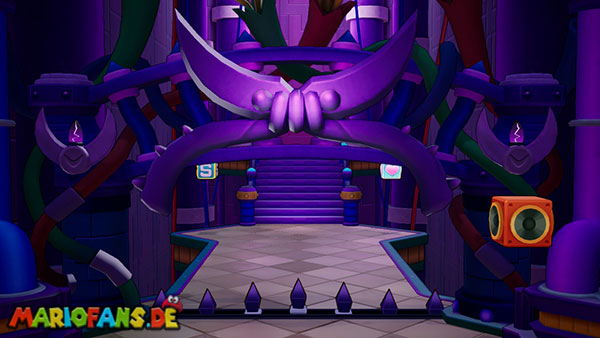
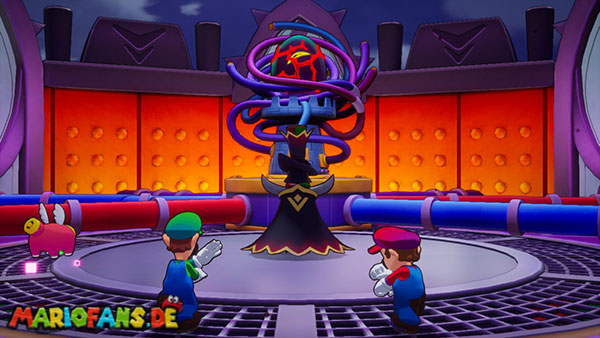
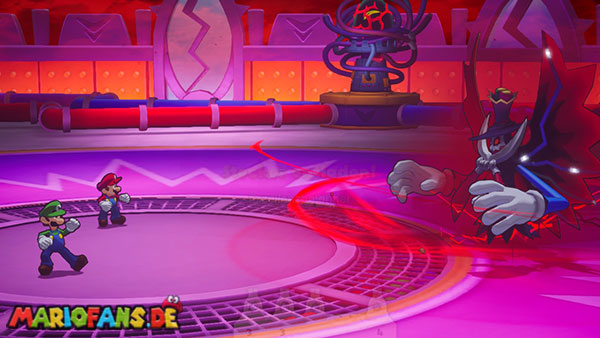
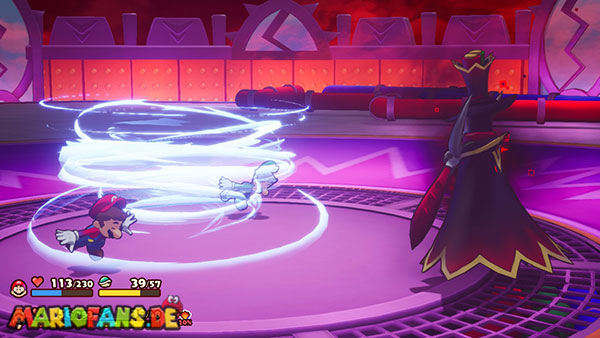
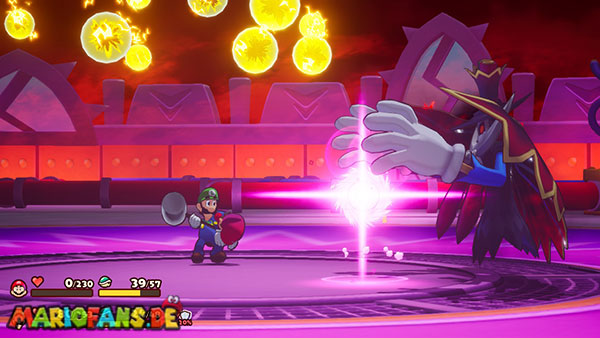
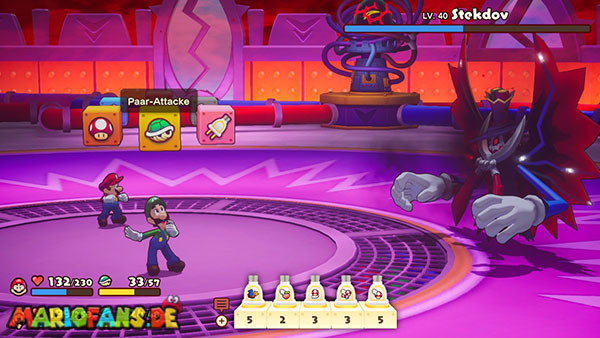
Select the current of Fortress Zokket on the Ocean Map. Thanks to the new engine, Shipshape Island overcomes the thorn barrier.
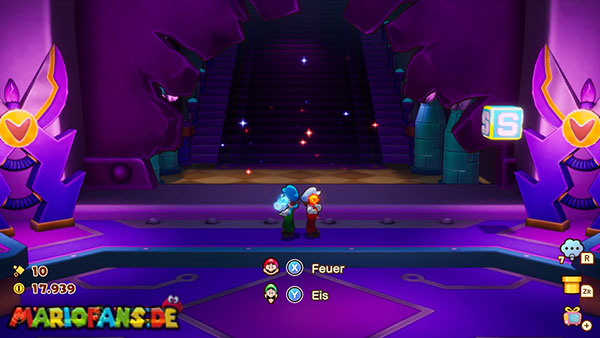
Use the memory block in front of the castle. The large entrance gate is blocked by an ohminous flower. Destroy them with the charged fire-and-ice maneuver.
Through the obstacles
In the first area you have to combine all Bros. maneuvers.
Roll with the ball maneuver through the rotating bar obstacles. Wait until a sufficiently large gap appears, and then drive through without stopping.
Wide gorges you cross with the Kreisel-UFO. For the particularly fast barbed rollers you need the ball turbo.
Follow the path through the box-filled rooms and destroy the wooden boxes with the hammer. Metal boxes can be used as protection or tread.
With the curved sting obstacles, you should not try to run towards them. Wait until the opening turns in your direction, and then follow its movement.
At the top, a trader appears. Purchase healing objects and Syrup Yar again before you move on.
Mario and Luigi are separated
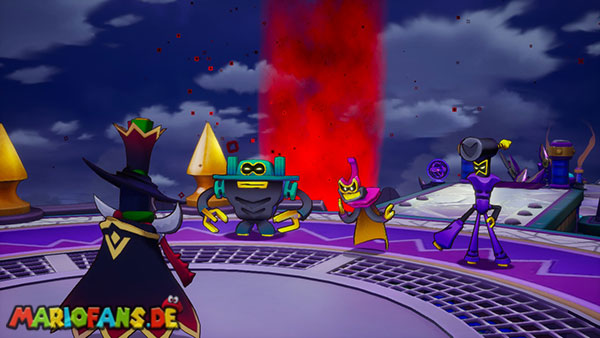
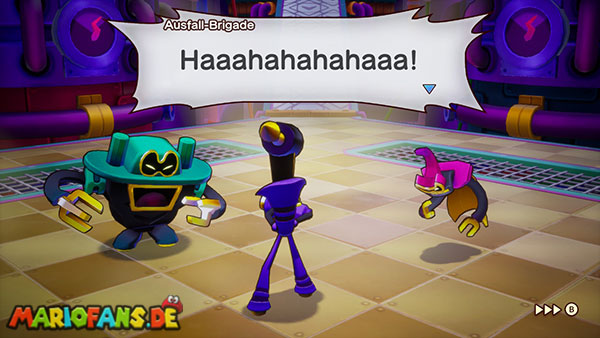
In the central room, the failure brigade is waiting. She activates a trap and Luigi plunges into a deeper level.
From now on, the brothers must solve several puzzles separately. Fight with a single brother only when absolutely necessary. Without the partner there are no Bros. Attacks are available and many enemy attacks are more difficult to fend off.
Luigi’s way
You control Luigi first. Save your progress and follow the path through the electric floor plates.
Wait until the plate is no longer lit, and then jump to the next safe surface.
At the end you reach a transfer block. Activate him to switch to Mario.
Mario’s way
Go back a bit with Mario. A further transmission block is now active there. Use it and remove the blockage before the next gang.
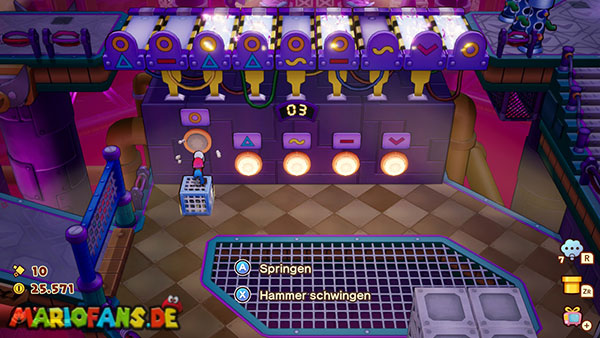
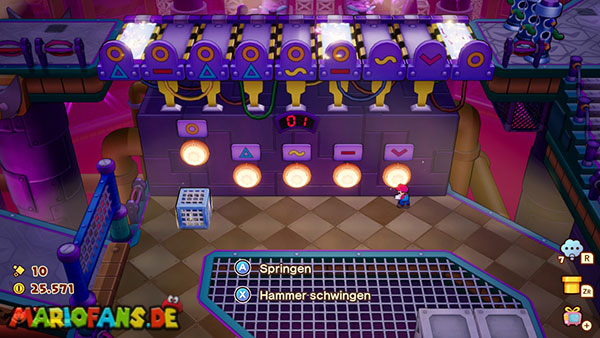
Follow the path to a machine with which the electric fields can be moved on Luigi’s bridge.
The machine allows only three movements. Therefore, only operate the first three color switches. Their order does not matter.
Then switch to Luigi. The electric fields are now so that he can cross the bridge. At the end, jump over the last still active plate.
First, ignore the exclamation point block and switch back to Mario.
The second switch puzzle
Destroy with Mario the wooden boxes next to the large green glove.
Change to Luigi and hit the green glove. This causes a crystal block to fall to Mario’s level.
Drive Mario again. Record the crystal block and place it in front of the color switch with the yellow circle.
Press these four color switches on the machine:
- Orange circle
- blue triangle
- Yellow wavy line
- Pink V
Change back to Luigi and strike against the exclamation point block. The electric bridge is aligned correctly.
Cross them and follow the path until Mario and Luigi are reunited.
The Road to the Boss Rooms
Go northwest together and beat Mario against the red M-Color Switch. A bridge is lowered.
Behind the bridge appears a dealer. If necessary, buy more items and then use the healing and storage block.
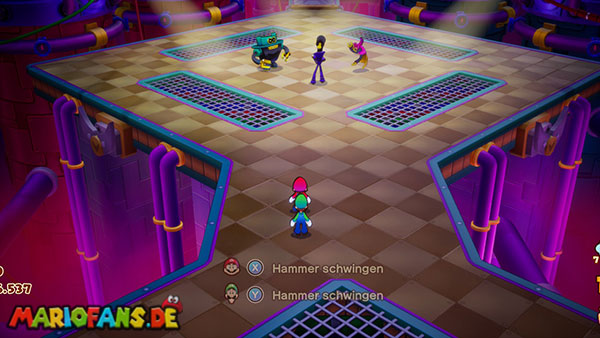
In the next room, the entire failure brigade is waiting.
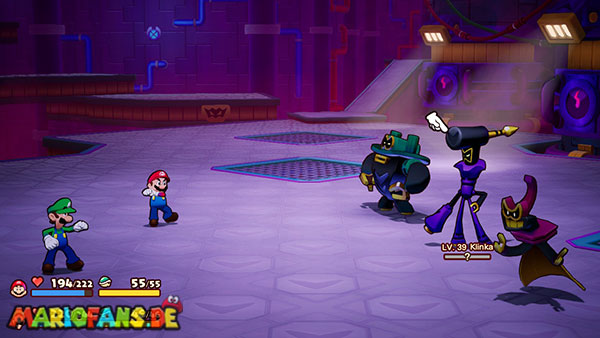
Boss: Failure Brigade – Level 39
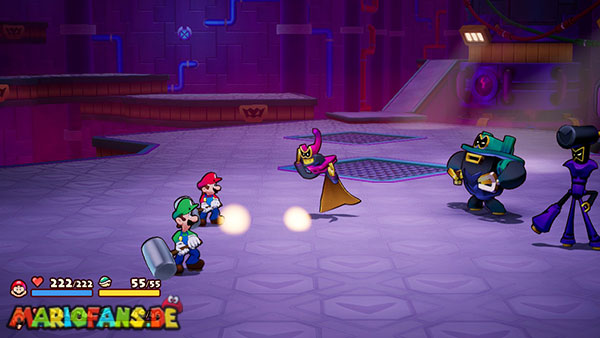
Ten, Ecks and Shun will face Mario and Luigi simultaneously this time. Since you fight three targets, area attacks are particularly effective.
Equip the Exploder together with the Ball Hagler and the Zokket specialist. Attack with normal attacks prefers Ten in the middle. The shock wave usually reaches the other two members.
With the Bros. Attacks you should choose variants that hit several Enemies.
Ecks
Ecks can approach a brother and steal an equipped battle plug. Hold the hammer ready and strike as soon as it comes within reach.
If the theft succeeds, Ecks uses the plug himself temporarily. In this case, focus your attacks on him until you get the plug back.
Klinka’s bullet attack
Ten stands on a large energy ball and rolls towards Mario and Luigi.
Hit the ball back and forth three times with the hammers. Then Ten falls down. Strike her with the hammer one more time to cause additional damage.
Klinka’s single attack
Ten attacks a brother with several different movements. Your foot movements announce the order.
Keep the hammer ready and react only when the respective attack is actually carried out. It can use a head shock, an energy ball or a quick sword strike.
Stekkos dumbbells
Shun raises a large barbell and turns to one of the brothers. Jump with the brother he looks at.
If he throws several small dumbbells, Mario and Luigi have to jump one after the other. A successful counterattack throws the dumbbells back and can hit all three Enemies.
Joint attack
The three members occasionally attack together. First, dodge the markings on the ground and jump over the passing corners.
Then a large sandbag is thrown at a brother. Strike him back with the hammer.
Beware of the harmful mushroom effect
Later, Shun activates a Battle Plug that causes damage to Mario and Luigi.
Instantly remove Car-Mushroom from your sockets. Heal with nuts during this phase, as they meet both brothers and are not affected by the harmful effect.
The Invulnerable Phase
At low HP, the failure brigade inserts a plug that makes all three members invulnerable. Your attacks do not cause any damage now.
Do not attack further. Defend yourself and heal Mario and Luigi. After about five rounds, the plug overloads and explodes.
Protektus and cargo bank help to survive the dangerous phase without much damage.
After the explosion, the three members are vulnerable again. Finish the fight with your strongest bros. Attacks.
Save before Zokket
After victory, follow the way up and activate the green tube block. It connects the area to the second floor of the castle.
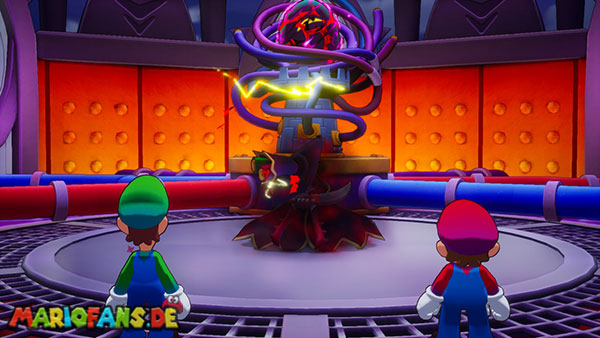
Use the healing and storage block again. In the elevator, the fight against Zokket is waiting.
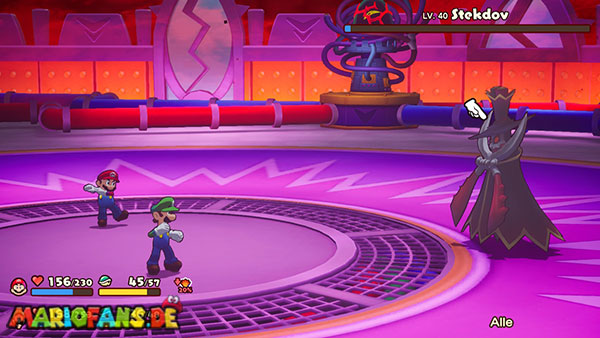
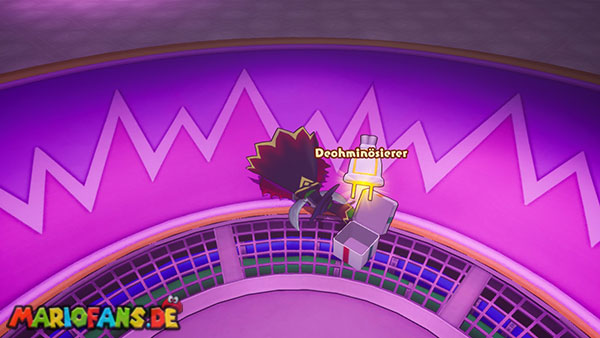
Boss: Zokket – Level 40
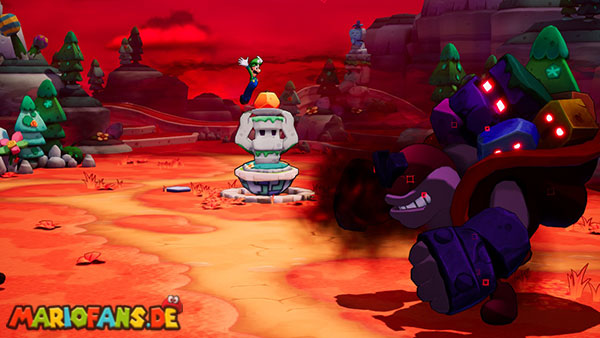
Zokket has a high defense and can infect Mario or Luigi with Glohm. Therefore, equip car fruit or ohminous protection.
If possible, use one bros in each move. Attack. The pair attack amplifier coupled with the performance bonus causes a lot of damage without using up your BP too quickly.
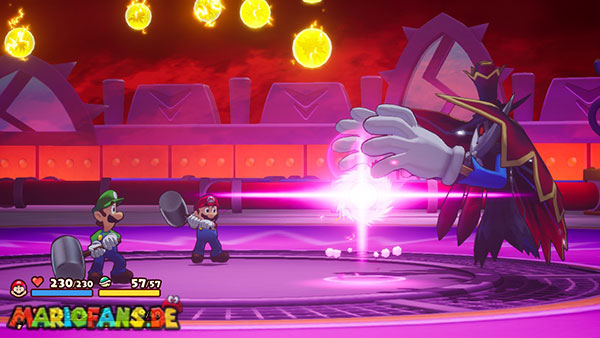
Yellow and violet energy balls
Zokket produces several yellow balls and then a larger purple ball.
Watch his hands:
- If he uses his right hand, Mario is attacked.
- If he uses his left hand, Luigi is attacked.
Strike the yellow balls back with the hammer one after the other. After that, keep the hammer ready and also wrest off the purple ball.
Lightning attack
Zokket raises a hand and charges a lightning. The raised hand shows again which brother is hit.
Do not jump until the Lightning is fully charged. In further combat, Zokket fires several lightning flashes directly one after the other.
The boomerang
Zokket hurls a large, crescent-shaped boomerang over the battlefield. Meet him with the hammer as soon as he appears before Mario or Luigi.
The boomerang then flies to the other brother. Strike him back again to meet Zokket and lower his defense temporarily.
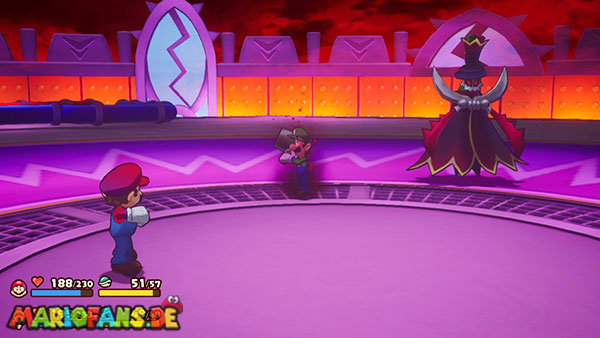
Ohmine brother
Zokket can infect Mario or Luigi with Glohm. The affected brother then attacks his partner with the hammer.
Defend the first three strokes with the hammer of the healthy brother. As soon as the infected brother loses his weapon, you must not hit him again.
Instead, wait a minute. He recovers by himself and returns to the fight.
Triangular section lines
Zokket draws a shining triangle around the brothers.
- If you stand within the triangle, you jump when it contracts.
- If you stand outside, you jump when it spreads outward.
Later, several triangles appear one after the other. Always focus on the line that Mario or Luigi reaches first.
Fast red flashes
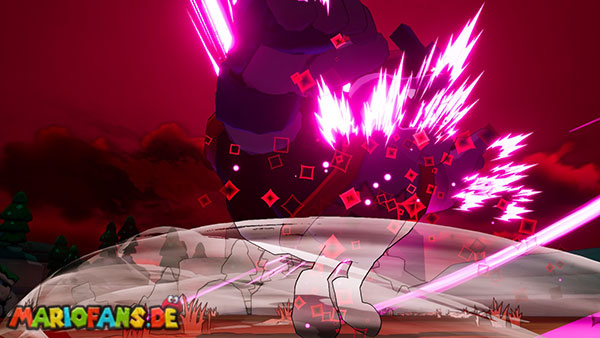
At low HP, Zokket employs a rapid sequence of red energy beams. Jump as soon as the respective beam is fully charged.
Hold the CP of both brothers above half, as a single error can cause several hits in a row.
Peretta’s Return
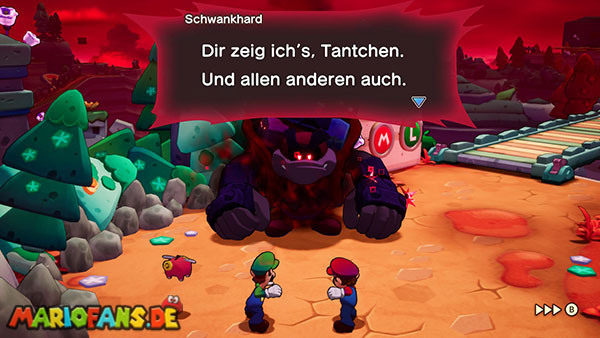
After the victory, Stekdov’s mask breaks. Peretta, Connetta’s missing teacher, appears.
Peretta had not voluntarily become Zokket. The mysterious egg had influenced her memories and will.
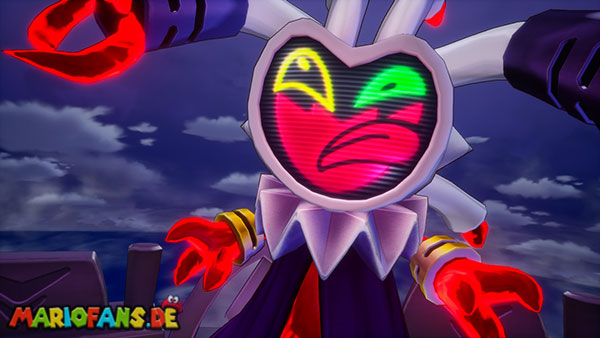
Before the group can react, the egg opens. Reclusa hatches and reveals that he only used Zokket for his rebirth.
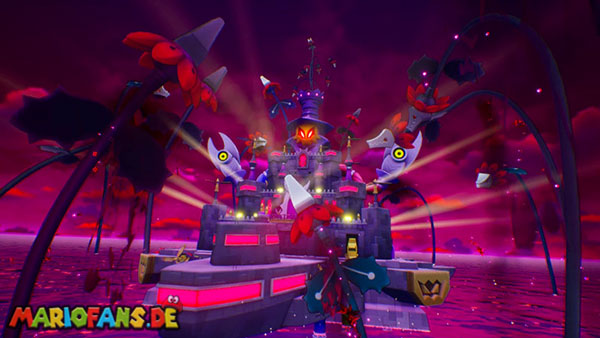
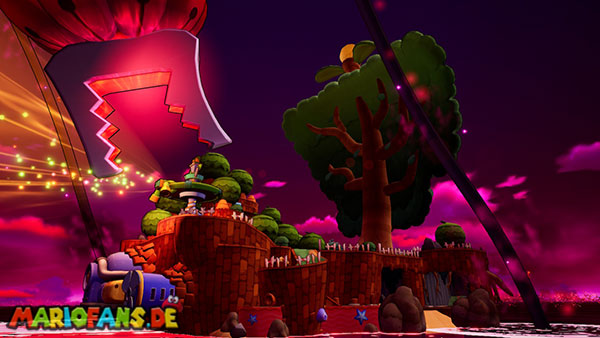
Reclusa transforms the castle into the massive soli tree. Throughout Concordia, dark dream flowers grow, keeping residents trapped in false desire worlds.
Mario, Luigi, Connie and Peretta escape. In order to break through Amperfide’s power, the group needs the bonds that arose during the journey between the inhabitants.
Gathering the power of the gang
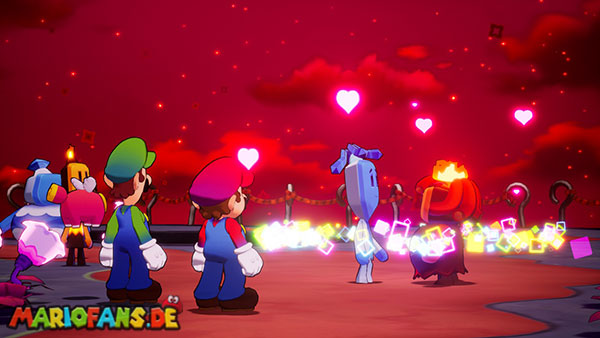
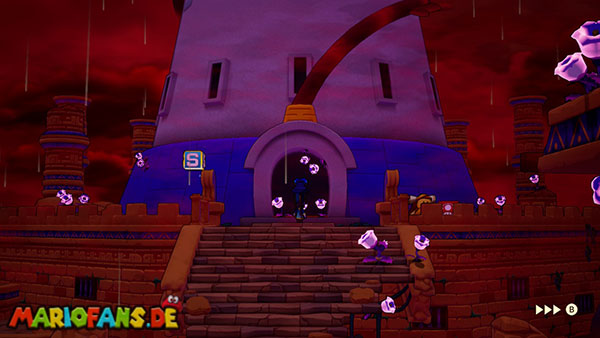
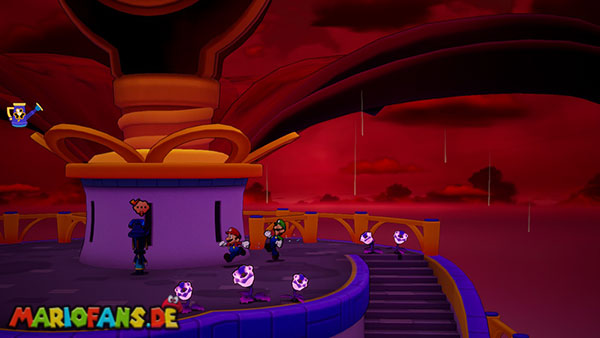
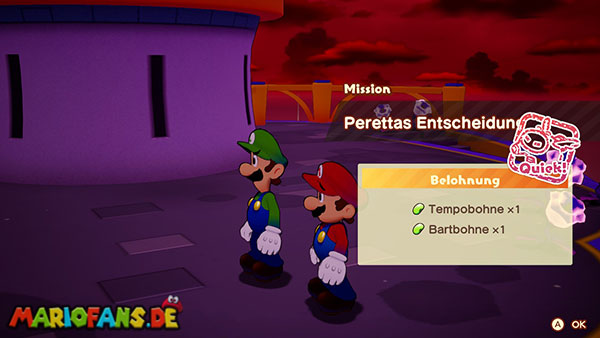
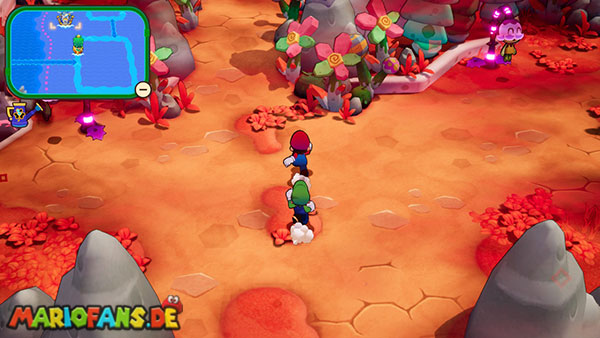
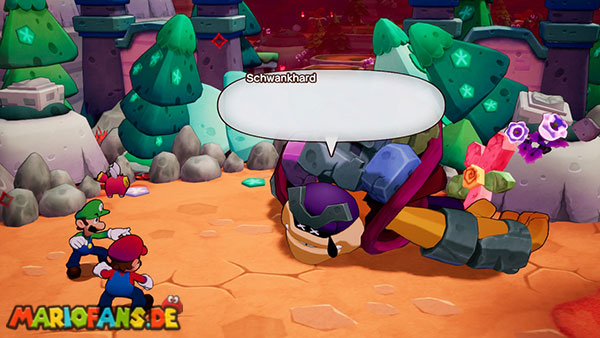
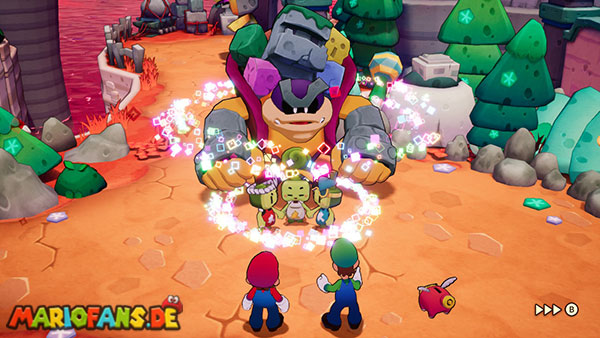
Back on Shipshape Island, Peretta Connie hands over a special Watering Can. The connection between the two already fills the first part.
Six more gangs are needed. The tasks can be done in any order.
Chilliam and Burnadette
Travel to Heat Free and use the green warp pipe to the northeastern part of the island.
Go to the exit of the big cave. There you will find Chilliam and Burnadette. Talk to the couple to get the power of their connection.
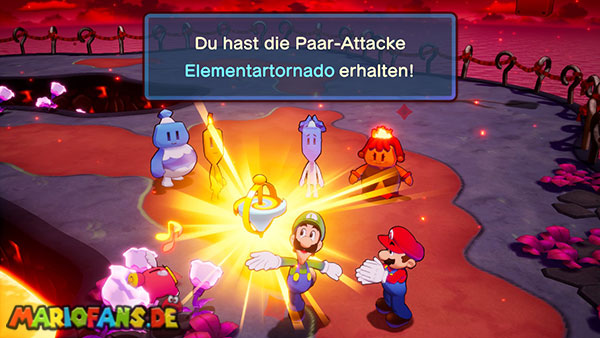
As an added reward, you learn a new Bros. Attack.
Princess Peach, Starlow and IDLE
Princess Peach and Starlow are located on a small island in the eastern part of Storm Hazard. Travel there and free them both from the dark flowers.
Three members of IDLE are being held on another small island in the north. Defeat the ohminous Enemies and free the children.
Return to Shipshape Island. When Princess Peach, Starlow and IDLE are reunited, you get their gang power together.
Hammaria’s family
Travel to Rumbla Island and go to Hammaria’s house.
Gorumbla was influenced by a dream flower and attacks his family. Defeat the ohminous Gorumbla and then use a fruit iodide to heal it.
After the reconciliation between Hammaria, Maykit, Billdit and Gorumbla, you get the strength of their family ties.
Dyode and Emmit
Travel to Twistee Island and go to the village square. Take part in Diodelfe’s and Strahley’s dance performance.
After that, they both move on to Merrygo Island. Follow them to the central square of the labyrinth and complete the second dance round.
The final screening will take place on the stage of Jellyfish Island. Also complete this rhythm game to strengthen the bonds between Master and Theets.
Kamfred and Bowser Jr.
Travel to Offandon Island and go to the central village square. Bowser Jr. is attacked there by ohminous members of Bowser’s army.
Defeat the Enemies and heal those affected with fruit iodides if necessary.
Kamfred and Bowser Jr. are reconciled. This gives you the power of their friendship.
The Failure Brigade
First, travel to Conductor Island and talk to Conductorius. He gives Mario and Luigi another Bros. Attack that is helpful for the search.
Then fly to Slippenglide Island and go to the laboratory in the northwestern part of the island.
There you will find Ten, Ecks and Shun. Although they have worked for Zokket for a long time, the three continue to hold together.
After the conversation, you also get the power of their gang.
The watering can is filled
Once all six tasks are completed, you will return to Shipshape Island.
Connie and Peretta unite all the collected gangs. The Watering Can is now strong enough to weaken Amperfide’s dark energy.
Open the Ocean Map and travel to the former location of Fortress Zokket. This is where the soli tree is now.
Soli-Tree
Use the telescope at the location of the deconfectarbor. Before the shooting, many residents say goodbye to Mario and Luigi.
Connie transfers the collective power of the gang to the brothers. Then they are shot with the Cannon to the soli tree.
Destroying the Flower Barrier
At the entrance, a wall of large ohminous flowers blocks the path.
Press the button displayed to prepare the charged fire-and-ice maneuver. Release the elemental ball on the flowers and destroy the barrier.
Falling ohminous seeds
In the lower area, large seeds constantly fall from the blanket. If a brother is hit, he loses consciousness and is hurled to another place.
Watch the shadow of a seed:
- A bright shadow means that the seed is still high up.
- The darker the shadow, the closer the impact.
Use the bullet maneuver or the fire-and-ice maneuver to keep Mario and Luigi close together.
If Luigi is hit on the first pass, you go west with Mario and wake him up. If possible, avoid all Enemies.
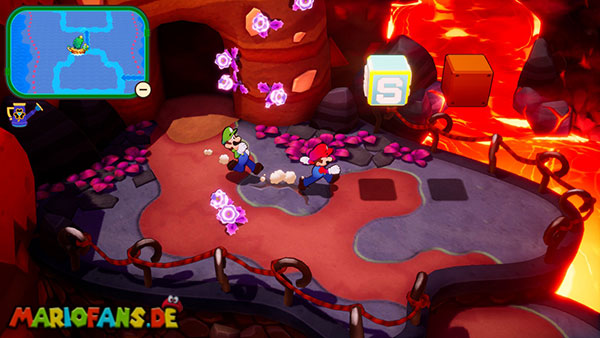
Then go east together and destroy the big Ohminous flower with the charged maneuver.
The main hall
Enter the eastern passage and activate the green tube block in the main hall.
In this room are seven locked gates as well as several red and blue jacks. To open the gates, you need a total of seven bomb plugs.
Take the first plug to the right of the input and insert it into any socket.
- Red jacks are activated with Mario’s Fire.
- Blue sockets are activated with Luigi’s ice.
After activation, the northern gate opens.
Northern area
Follow the straight path and avoid the falling seed. If possible, use the bullet maneuver so that no brother is left behind.
At the end, you let Luigi operate the green L-Color Switch. A staircase is extended.
Then go west and destroy the great Ohminous flower. Cross the gap with the gyro UFO and take the second bomb plug.
Return to the main hall, insert it into a socket and activate it with the appropriate element.
Western area
The western area consists of a long obstacle course with electric balls and rays.
Cross the first gap with the gyro UFO. Wait with the rotating electric balls until a sufficiently large opening arises, and move along with the rotation.
With the horizontal rays, you run into the next safe zone as soon as they move up.
In the following section, you must keep the gyro UFO permanently active. Use the platforms and airflows to avoid crashing.
On the large platform you operate the red M-Color Switch. A Conveyor Belt transports the bomb plug to the other side.
Follow him over the last electrical obstacles and take the third plug.
Eastern area
In front of the entrance is a small number puzzle. Luigi first enters the green 1, then Mario follows the red numbers. Activate all plates in ascending order.
In the actual room, the numbers 1 to 25 must be entered:
- Mario takes the even numbers.
- Luigi takes the odd numbers.
Luigi runs independently to his next record. Therefore, move Mario to the next even number before Luigi reaches his record.
After the number 25, the gate to the fourth bomb plug opens.
South-eastern area
Follow the path through the falling seeds until you find an ordinary energy plug.
Put it in the first socket. The grid in front of the red M-Color Switch opens.
Strike the Color Switch to pull out stairs. After that, get the power plug out of the first socket.
Carry him up the stairs and insert him into the second socket. The next gate opens.
Take the fifth bomb plug behind it and return to the main hall.
South-Western area
Use the bullet turbo on the ramp in front of the southwestern entrance.
In the room, several walls of ohminous flowers block the way. Destroy them one after the other with the charged fire-and-ice maneuver.
At the increased transition, activate the orange exclamation mark block. A bridge is lowered.
Continue south and destroy the great flower. Then fly with the gyro UFO to the other side.
Take the sixth bomb plug and let Luigi operate the L-Color Switch. This creates a shortcut to the entrance of the room.
North-eastern area
In the northeastern region, the bomb plug moves over a long distance and returns to the beginning after a short time.
Repeatedly use the ball turbo to follow the plug. Stop at the corners, realign Mario and Luigi and immediately charge the next turbo.
If you reach the plug in time, you can remove it from its holder and return to the main hall.
Northwestern area
The last room contains several rockers. Luigi must be on the right end for Mario to reach the elevated platform.
Place Luigi first on the right side of the first Seesaw. Jump with Mario to the second Seesaw and then send Luigi to their right side.
Let Mario jump to the opposite end. Luigi is thrown up and can actuate the pink exclamation mark block.
In the next area, Mario activates the M-Color Switch. This puts several platforms in motion.
Send Luigi to the left of the Seesaw and let Mario jump down from the opposite end. Luigi reaches the orange exclamation mark block.
After that, use the stairs and activate the next pink crystal block. The bomb plug is lowered again.
Behind some wooden boxes is a secret room with several beet opis. Destroy the boxes if you want to find the hidden group.
In the last part you have to align five seesaws appropriately. Use the moving platforms, the bullet turbo and the wall handles to get Mario and Luigi to the opposite sides.
At the end, press the last color switch and take the seventh bomb plug.
The way up
Insert the last plug into the free socket of the main hall and activate it with the appropriate element.
Once all sockets have been activated, the central elevator opens.
Drive to the middle level of the discontinuous boron. There Connie finds her injured teacher Peretta.
Connie remains with her, while Mario and Luigi go on alone. In the next room, the brothers get into a dream world created by Reclusa.
Supposed Mushroom Kingdom
Mario and Luigi seemingly awaken in the Mushroom Kingdom. Princess Peach waits outside her castle and claims that all the events in Concordia were just a dream.
The environment is initially peaceful. However, several details do not fit the real mushroom kingdom.
The wrong levels
Talk to Princess Peach and then enter the courses offered.
Complete the simple sections and pay attention to the strange? blocks. Some of them look distorted and release dark smoke when hit.
After several courses, Reclusa appears briefly in the background. Return to the castle.
As soon as you walk through the castle gate, the dream world starts all over again. This time a big celebration is held on the square and even Bowser behaves unusually friendly.
Track Reclusa with Lakitus Camera
A Lakitu camera transfers images to the upper right corner of the screen. The recording shows paths and platforms that are invisible in the normal view.
Also, pay attention to the orange symbols representing Amperfide’s laughter. They show his approximate position.
First hiding place
Go to the castle and use the invisible platforms that can only be seen in Lakitu’s camera.
Jump up to the balcony and hit against the strange Block.
Second hiding place
Return to the square and go west. Reclusa hides at the big tree.
Examine the environment and destroy the striking Block.
Third hiding place
Go to the eastern side of the square. Follow the orange salmon symbols and use the camera again to detect invisible obstacles.
Meet the next distorted crystal block.
Fourth hiding place
In the western part of the area there is a small castle. Use the invisible platforms and jump on its roof.
There is the fourth crystal block.
Last hiding place
Go all the way east. Over the dark water, several invisible platforms appear in Lakitu’s recording.
Follow them to the great rock. Destroy him with the charged fire-and-ice maneuver.
Then follow Reclusa to the castle. Mario and Luigi finally realize that the Mushroom Kingdom is just an illusion, and break out of the Dream world.
Before the final fight
Back in the upper part of the disconfectarbore, numerous Enemies block the way. Bowser appears with his airship and bombs the group.
Take the opportunity and walk to the green tube block. Activate the abbreviation and then use the healing and storage block.
Reclusa has Level 45. Mario and Luigi should have reached approximately level 44 to 46.
Equip your strongest equipment and the following battle plugs:
- Extra train
- Pair attack amplifiers
- Performance bonus
- Protectus
- Cargo bank or fast charger
Fill your inventory with miracle mushrooms, miracle nuts, miracle syrup and 1-up mushrooms. Behind the next door, the multi-part final fight begins.
Final Boss: Reclusa – Level 45
The struggle consists of several fundamentally different phases. Your HP and BP are not automatically filled in between sections.
Phase 1: Track Reclusa
Mario and Luigi stand on a flying plug and follow Reclusa through the air.
Avoid opponents and obstacles. Destroy approaching fire and ice balls with the opposite element.
Reclusa alternately surrounds itself with a fire or ice sheet:
- Use Fire against his ice sheet.
- Use ice against his fire shield.
Once the sign is gone, you fully load up the fire-and-ice maneuver. Meet Reclusa with the large elementary ball to make him dazed.
During the dazed phase, you switch to normal combat. Put your strongest bros right away. Attacks.
After a few rounds, Reclusa flees again. Repeat the pursuit and destroy his next sign.
Phase 2: Amperfide tree design
Reclusa connects with the soli tree. Four large dark flowers appear before him.
Snoutlet is caught in one of the flowers. If possible, attack the flower in which it can be seen.
Surface attacks are particularly helpful in this phase, as they weaken the remaining flowers at the same time.
The flowers attack with tendrils, seeds and rays of energy. Jump over low tendrils and strike back larger seeds with the hammer.
Once Snoutlet has been freed, a Luigi Logic is available.
Flying up the trunk
Activate Luigi’s idea. Mario and Luigi fly up at the tribe of the Diskonektarbor.
Destroy the approaching fire and ice projectiles with the respective matching counter element. Avoid the branches and dark obstacles.
In a collision, you fall back to the flowers and have to free Snoutlet again.
Near Amperfide’s head appears a huge energy ball. Charge the fire-and-ice maneuver and throw the bullet back.
After a successful hit, the path to Amperfide’s interior is opened.
Phase 3: Amperfide core
Inside the Deconectarbor, you fight against Amperfide’s weeping core.
The core analyzes each Bros. Attack:
- On the first use, the analysis begins.
- In the second deployment, the analysis is completed.
- From the third use, the same attack is strongly repelled.
Therefore, change regularly between your bros. Attacks. Do not use the same attack three times in a row.
With the extra train you can get two different Bros in one round. Perform attacks and significantly accelerate the fight.
Hand attack
Reclusa wipes with a big hand over the battlefield. Jump over your hand.
If one brother is subsequently thrown through the air, the other brother must catch him with another jump.
Fruit and elementary balls
Several fruits fall on Mario and Luigi. Hit them back with the hammers.
For the small ice balls, you use the hammers individually. The great Spark must be fought back together by Mario and Luigi.
Spike trap on the floor
Reclusa creates a series of Spike Trap that wanders across the battlefield.
Jump over the Spike Trap with both brothers. In the further course, their speed changes several times.
Role core
The core repeatedly rolls towards Mario and Luigi. Strike him back with the hammer on every pass.
In the final attack, both brothers must strike at the same time.
Small and large balls
Jump over the small energy balls that fly one after the other towards the brothers.
The final large ball cannot be skipped. Strike them back with the hammer.
Copies and target markers
Reclusa creates several copies and marks Mario or Luigi.
Remember which copy targets the marked brother. Do not jump until this copy begins its attack.
Letter sequence
On Amperfide’s face appears an episode from Letter Block. Remember the order and then press the corresponding jump buttons.
The sequence becomes longer with each bet. First, focus on the first letter block and repeat the series in an even rhythm.
The Last Attack
After the core is apparently defeated, the ground collapses. Mario and Luigi fall into the depths together with Reclusa.
Wait until the power of the gang is fully charged. As soon as both brothers light up, you press the faded button.
Mario and Luigi now repeatedly beat Reclusa with their hammers. Press the buttons at the right moment. The time window becomes shorter with each hit.
The final joint hammer strike finally destroys Reclusa.
The end
With Amperfide’s defeat, the soli tree and the dark dream flowers disappear. The inhabitants of Konektania awaken from their false desire worlds.
Peretta and Connie can restore the real uni tree. All the islands are reconnected to form a contiguous country.
For Mario, Luigi, Princess Peach, Bowser and the other visitors from the Mushroom Kingdom, a portal finally opens home.
After the credits, you can reload your point. You return to the Soli Tree immediately before the trip and can complete open side tasks, collectibles and challenges.