

The complete solution to Donkey Kong Country Returns for the world “World 5 – Forest”. On this page we help you search for all K-O-N-G letters and Puzzle Pieces.
5-1: Vine Valley
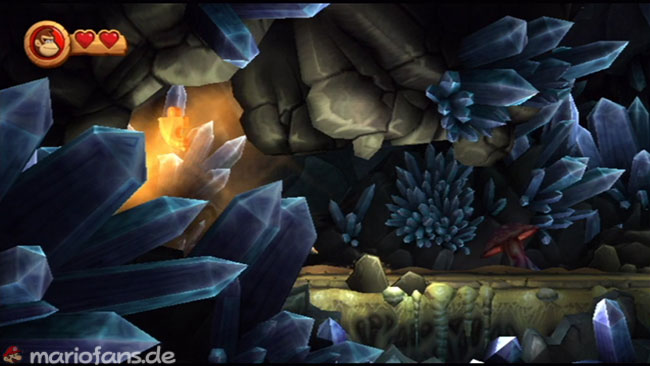
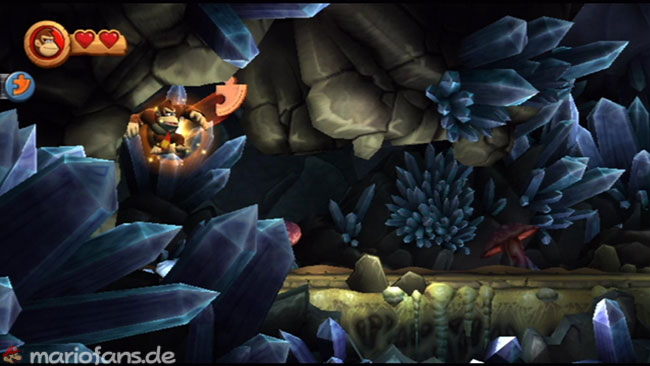
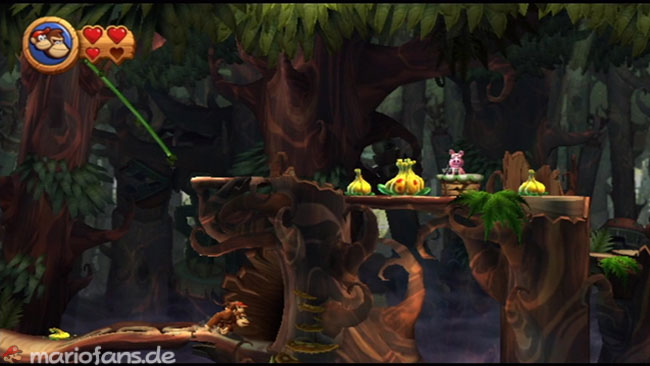
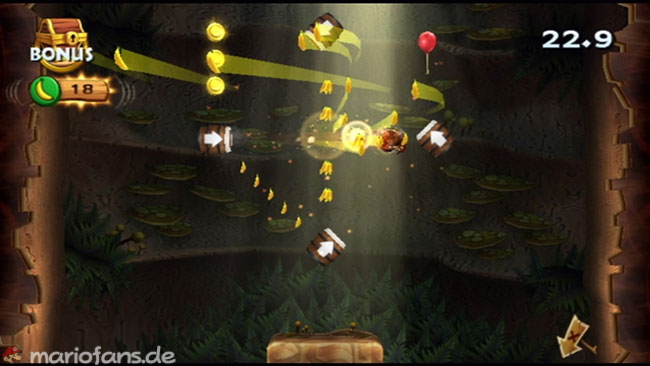
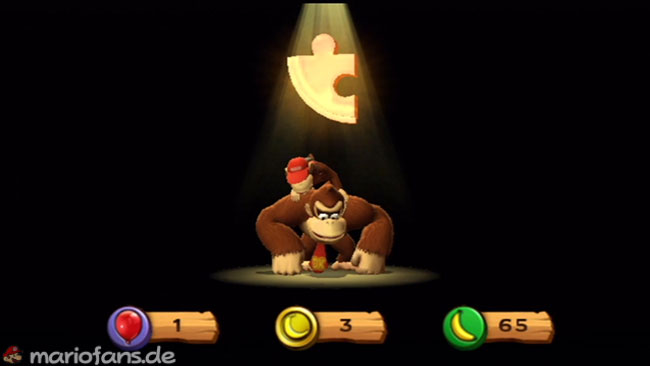
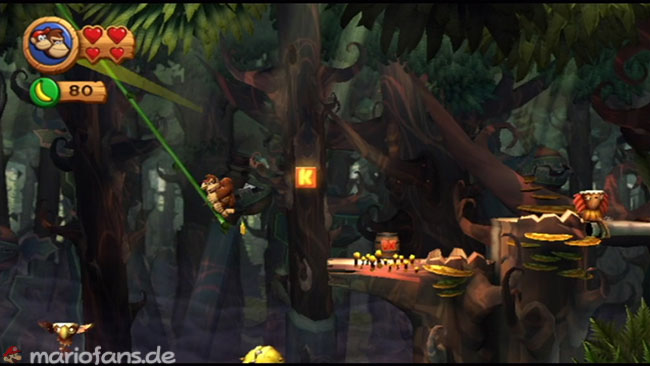
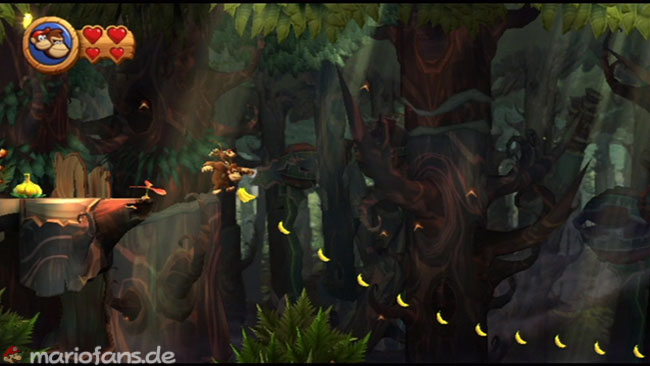
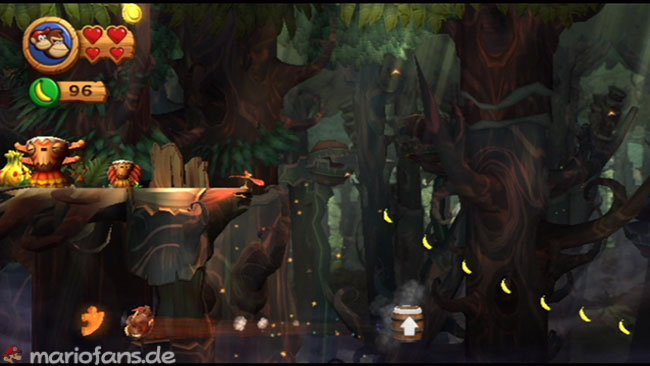
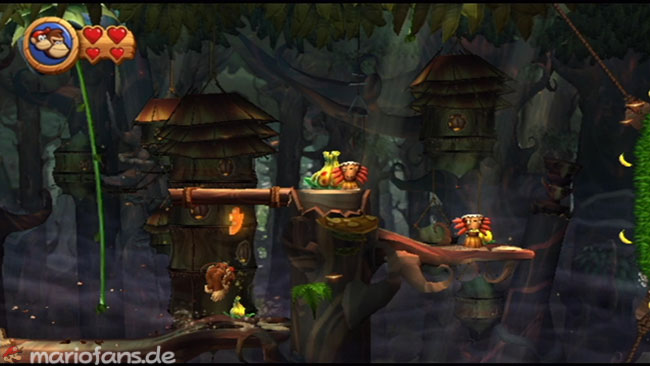
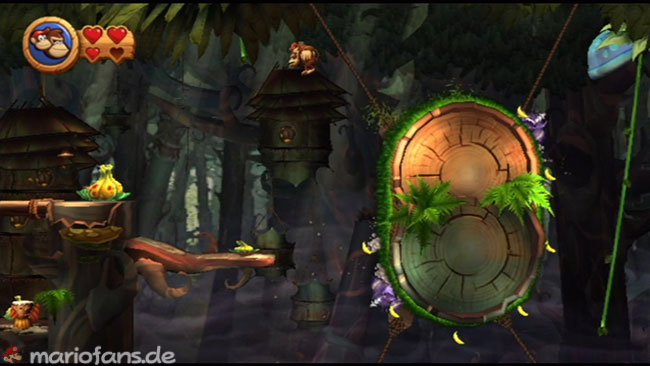
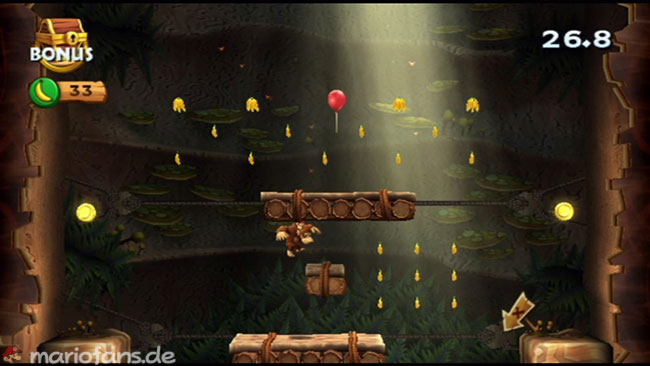
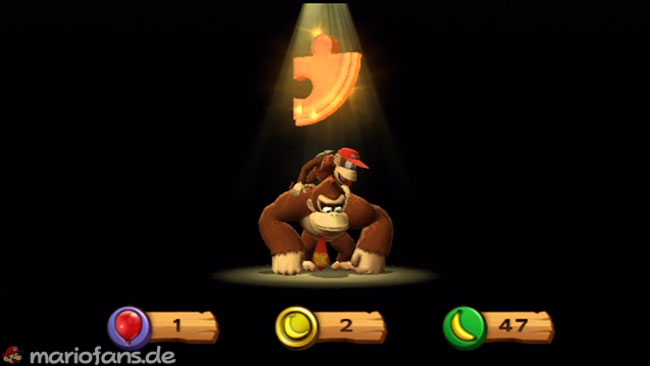
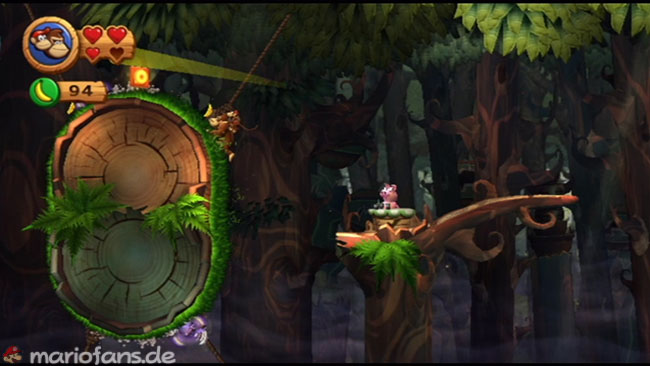
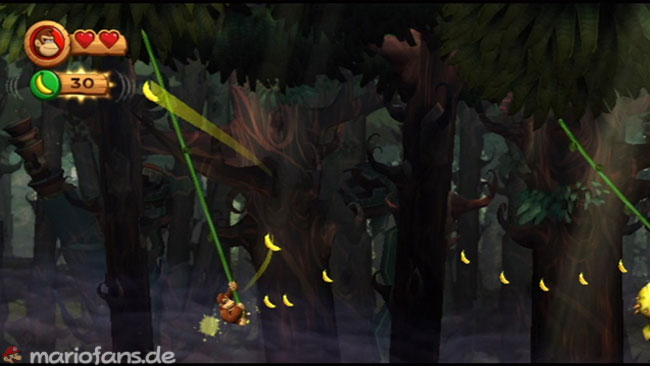
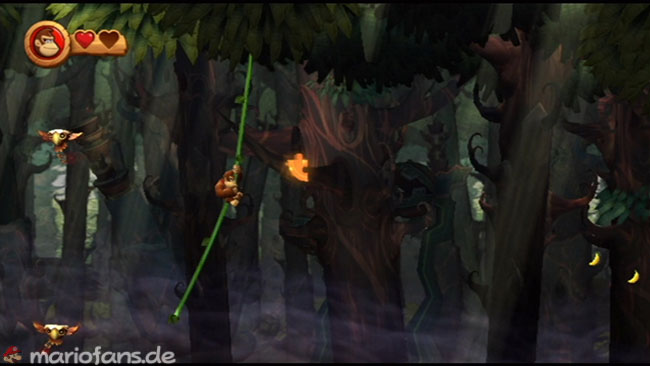
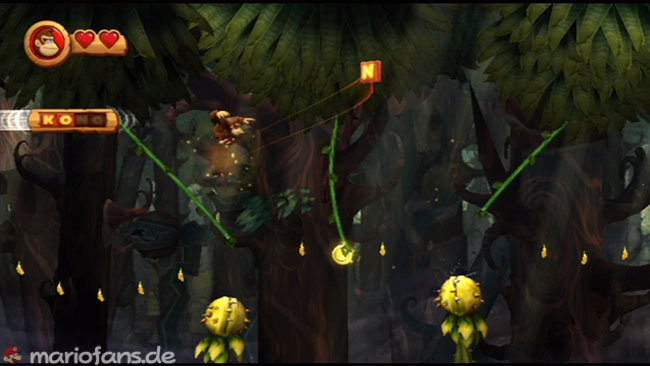
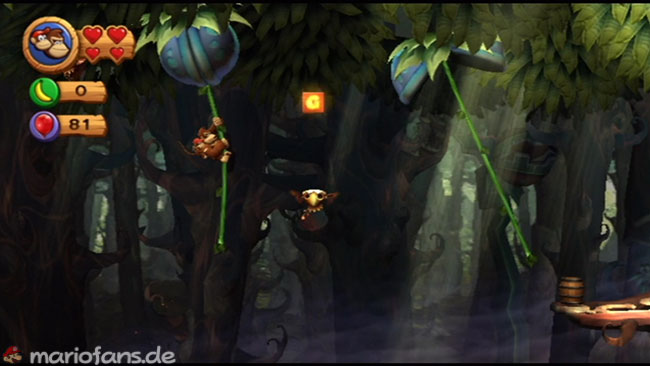
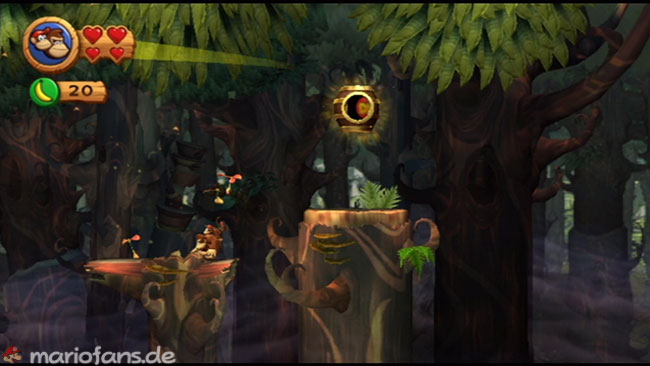
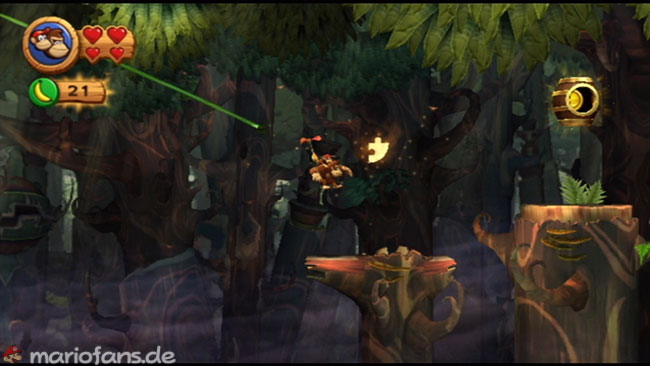
- Puzzle Piece 1 The first Puzzle Piece is located directly at the beginning. Just go left into the crystals and jump up to collect it. A great start for your collection at this level.
- Puzzle Piece 2 — After reaching the upper part of the level, go right and get the DK Barrel; you will need Diddy Kong. Swing over some lianas, then drop and enter this opening to a bonus area. Clear the area to get the Puzzle Piece.
- After passing the checkpoint, swing over four lianas, collecting coins, bananas and a balloon. At the end you jump off the last liane and get the K-Crystal block before landing on solid ground again. Get a DK barrel if you need it; Diddy Kong makes the level a bit easier with its hover jump.
- Puzzle Piece 3 — At the right edge of the platform where you found the DK barrel, jump down into a group of sheets. You end up in a barrel that shoots you to the left to get a piece of the puzzle; another barrel shoots you back to the platform.
- Puzzle Piece 4 Move to the next platform. Hit a pumpkin in the lower right corner to find another piece of the puzzle. You can also collect some coins and a heart here, so take care of enemies and break more pumpkins to collect the extras.
- Puzzle Piece 5 Jump to this grass-covered log and climb to the top as you dodge the buzzbites. Arriving at the top, jump to the left and grab a hard-to-visit liana hanging from the treetops. Climb them up to get a Puzzle Piece.
- O Jump on and crawl over the grass-covered trunks. At the top of the third trunk you can collect the O-Crystal block. Move carefully to avoid the buzzbites, then jump to the platform where another checkpoint is waiting. Save your progress.
- Puzzle Piece 6 Keep swinging over Lianen. Collect all the bananas under the first line of lianas, and a Puzzle Piece appears in the air. Climb up on the second liane to fetch it, then swing further to the right.
- As you swing over a few chomps, collect the N-Crystal block. Be careful with this jump, for these voracious plants stretch out to bite you. When you land on the next platform, get a DK barrel to restore your hearts and bring back Diddy Kong if necessary.
- G The next lianas you swing over have hungry plants at the top. Once you grab the liana, the plants will slowly pull you towards their mouths. Keep moving, and when you reach the end of this section, jump between two lianas and get the G-Crystal block. This is difficult because it is close to the mouths of two plants.
- Puzzle Piece 7 — Puzzle 7 When you reach the final barrel, jump down to a platform to the left. Leaves on the propeller flowers as they float up. Get all the bananas. Once you have done this, the last Puzzle Piece will appear.
5-2: Clingy Swingy
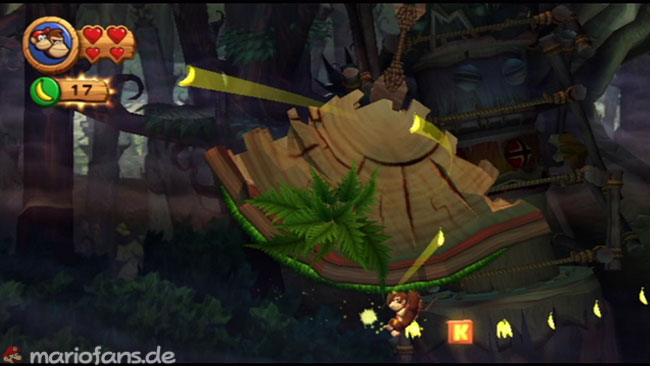
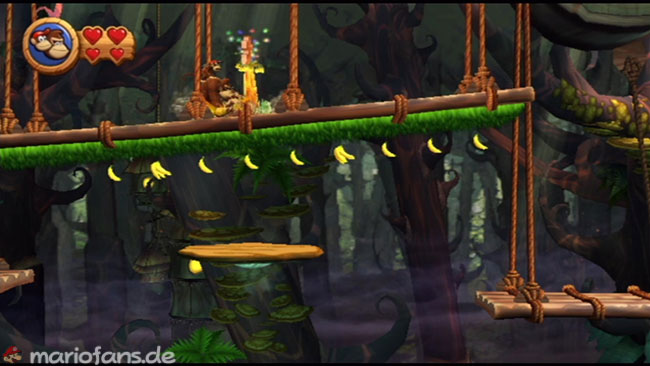
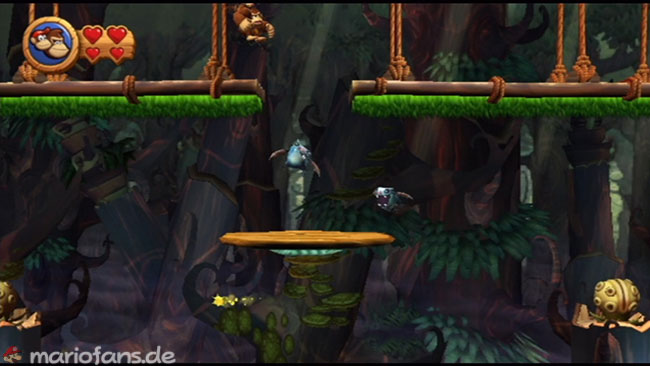
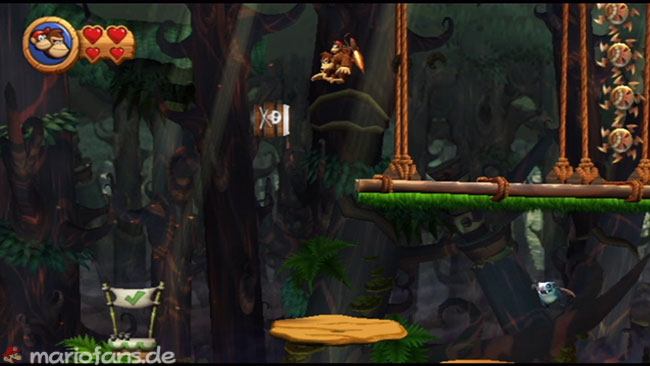
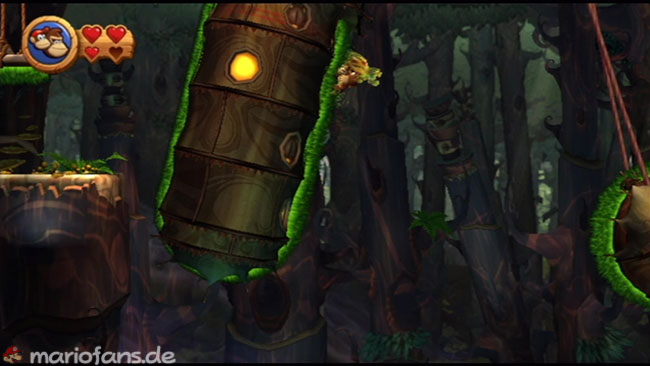
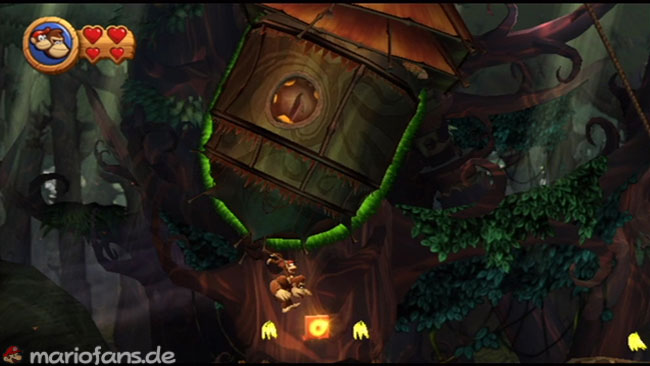
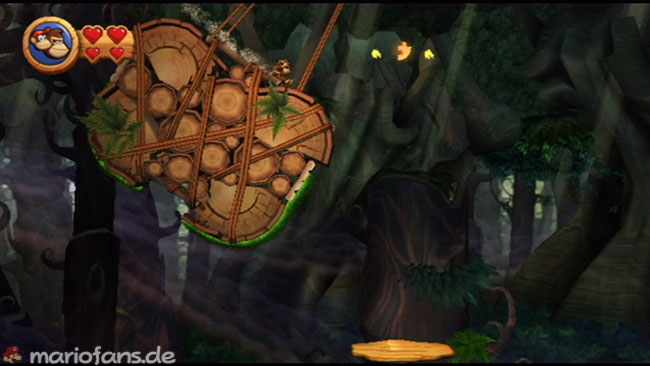
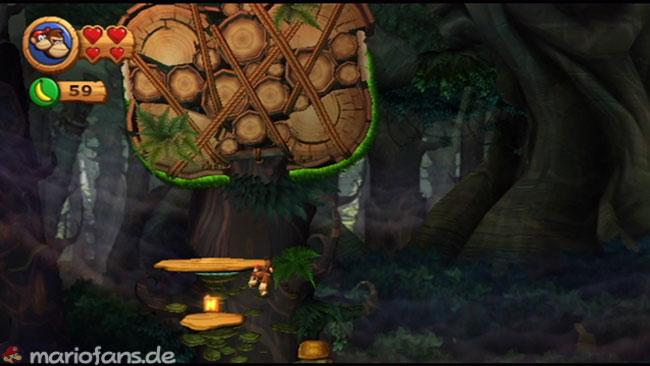
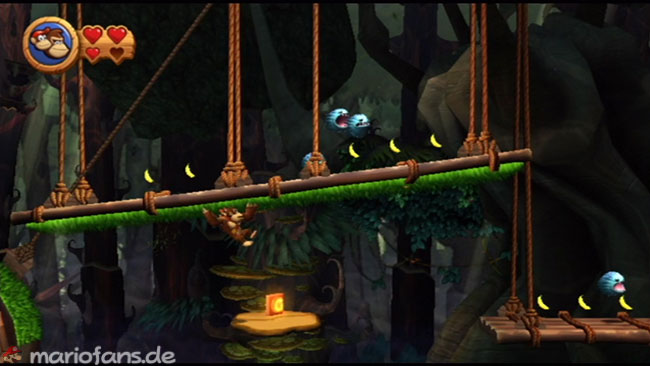
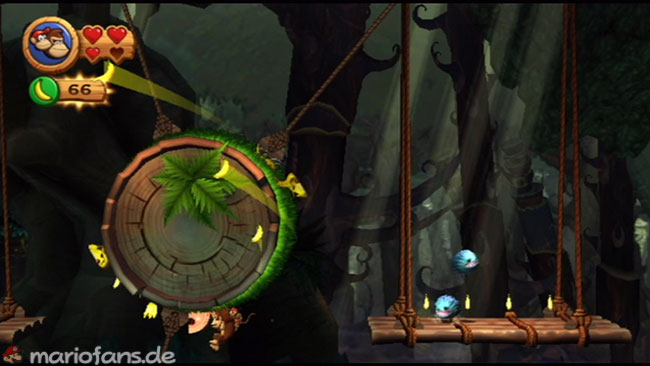
- K Get the DK barrel at the beginning and then make your way across hanging platforms and grass-covered trunks. Collect a few coins while going to a swinging trunk. Grab the grassy underside and get into the middle as the trunk swings down. So you can collect many bananas and the K-Block.
- Puzzle Piece 1 — Puzzle 1 Keep going until you reach a long platform with a grassy floor. Turn right over this platform and jump to another one. From there, you can jump left over another trunk and squash a pumpkin on a grassy platform to unlock a Puzzle Piece.
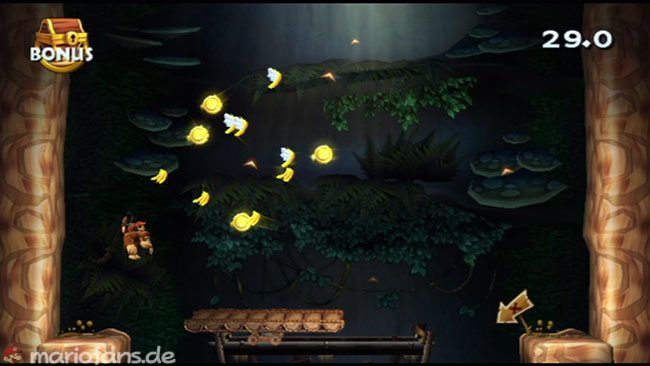
- Puzzle Piece 2 — Puzzle 2 When you reach two long platforms with grassy floor, climb over to a swinging cottage. Then jump left back to the top of the grassy platform and move left to avoid the Tiki Zings. Jump into a barrel at the end to reach a bonus area. Clean it up to collect a Puzzle Piece.
- Puzzle Piece 3
Return to the swinging house and climb to the right side. Strike the pumpkin growing there to find another piece of the puzzle. - O
Continue your way across the grass-covered trunks and swinging huts. When you reach the next swinging cottage, climb down to the bottom and jump onto the platform to get the O-Crystal block. Jump back to the hut and take her to the checkpoint. - NN
When you get to a wide, swinging trunk, climb to the bottom and jump to a platform. Then jump right onto another platform and then left to get the N-Crystal block. When the trunk swings back, jump to the grassy area on the right side of the trunk. - Puzzle Piece 4
When the tribe reaches the end of its swing, jump to a platform. When the wide trunk swings back, use the hover jump to get to the top and ride with it to a Puzzle Piece floating in the air above the trunk. You have to jump further during your stay on the trunk, or you slip off the edge. Once you have the Puzzle Piece, go back to the platform right or jump to the platform below the trunk and then climb back up. - GG
The G-Block is located on a small platform under a grassy platform. Climb over and drop on the crystal block to complete the word K-O-N-G. - Puzzle Piece 5 Move to the right and jump on a grass-covered trunk to watch out for the moving Cling Cobras. Climb quickly along the bottom to get the final Puzzle Piece, then jump to the right platform to escape the Cling Cobras. Continue your path to the end barrel to complete the level.
5-3: Flutter Flyaway
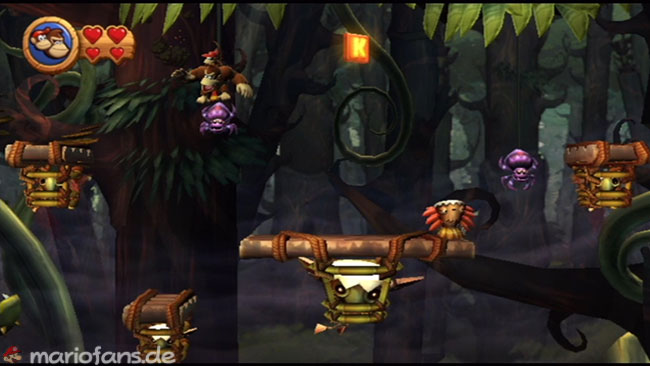
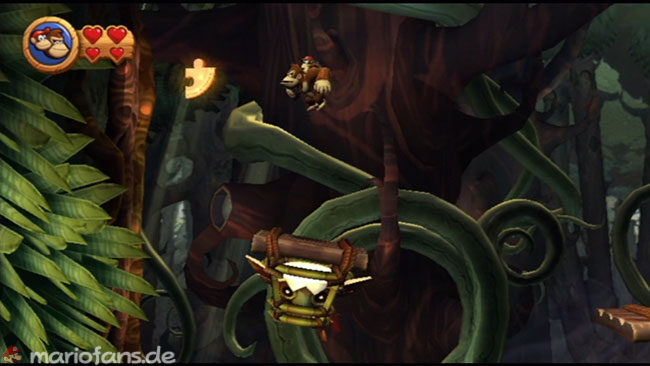
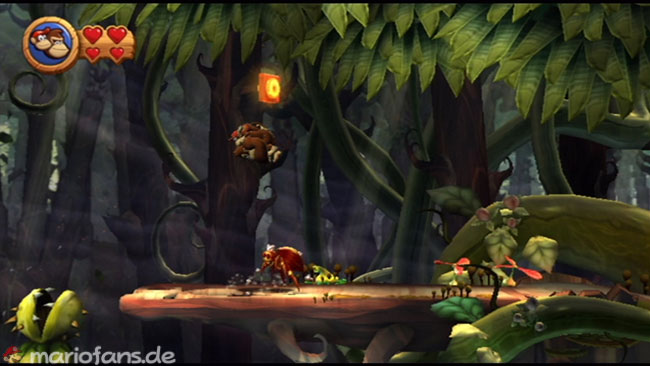
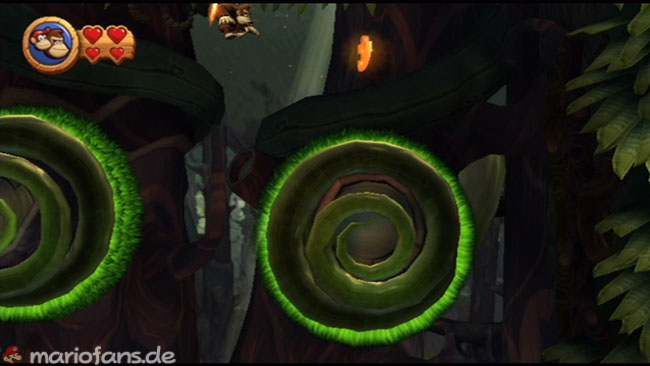
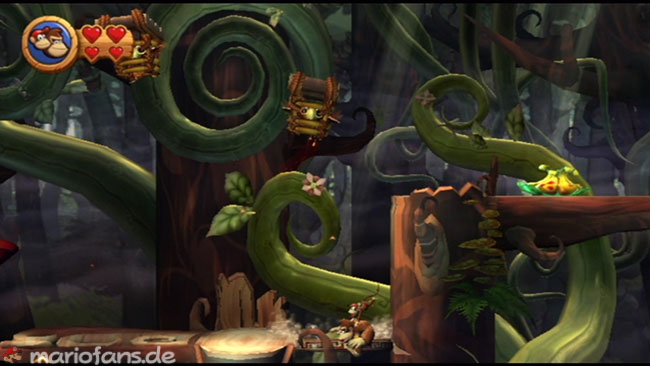
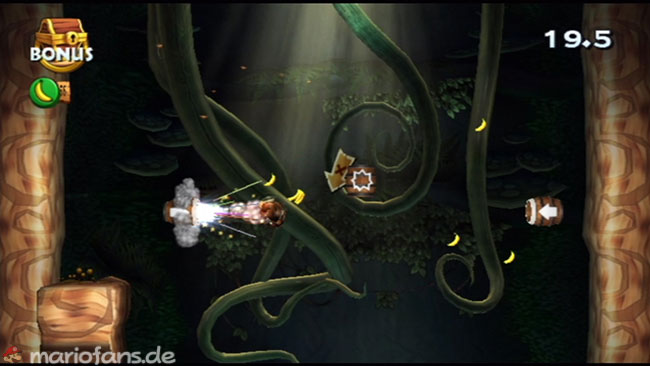
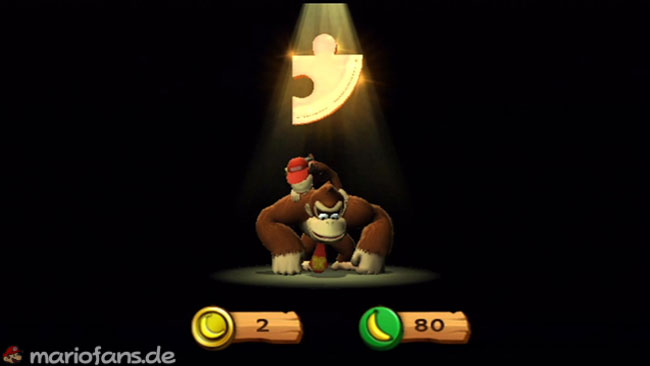
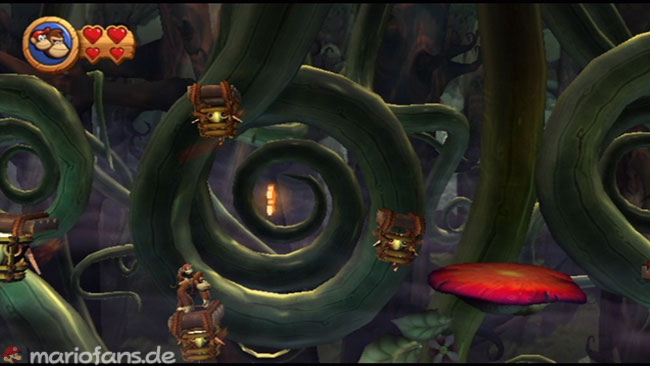
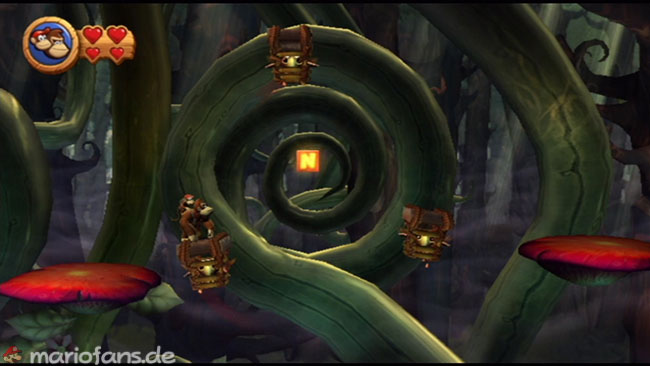
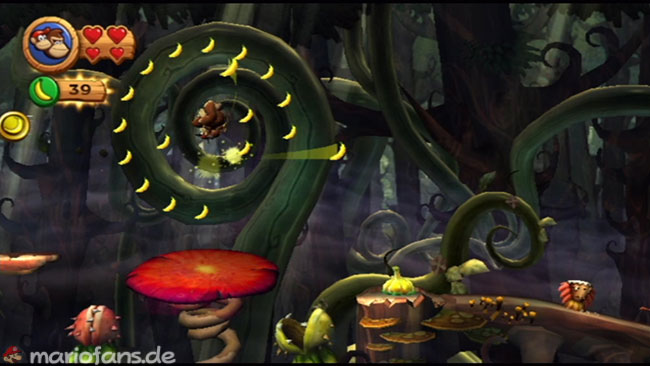
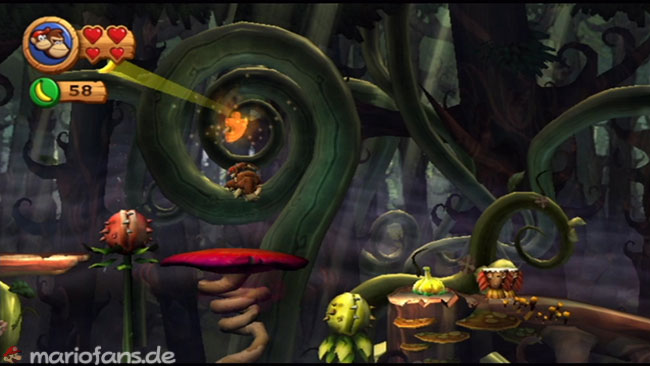
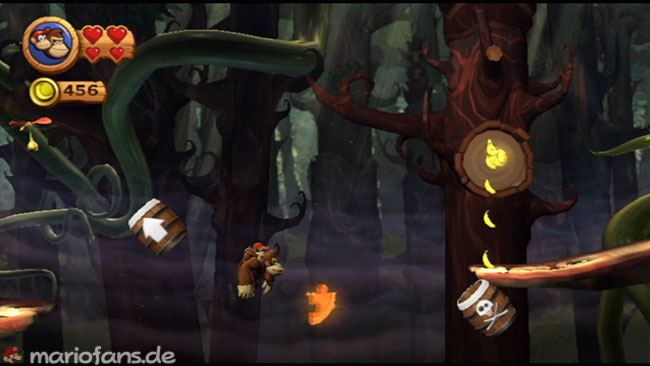
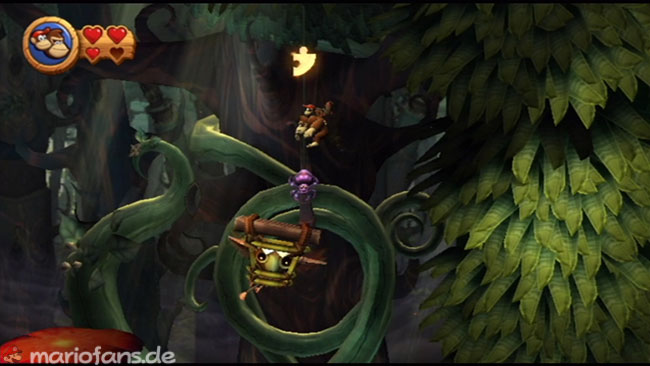
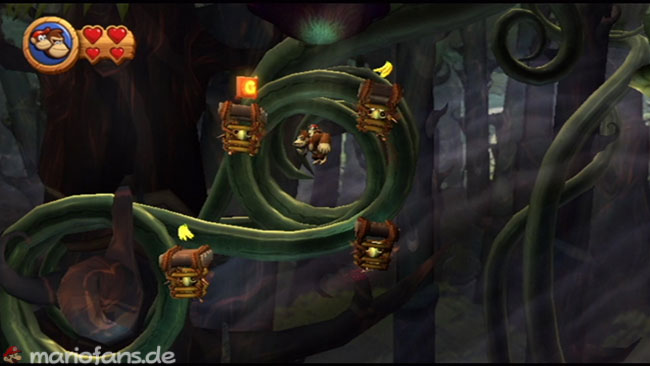
- Puzzle Piece 1 Start by jumping to the moving platforms. Get the DK barrel so you can use the hover jump. Head to a larger platform and avoid Skittlers, Chomps and Tiki Goons. Once you’re on the platform, jump up to get the K-Block.If you get to a few platforms swinging in a scooter coaster pattern, jump on one and go up with it. Jump left to get a Puzzle Piece and float back to the next platform when it comes back.
- O
After the checkpoint, take the DK barrel and jump over a few chomps. Get the O-Crystal block hovering over the next platform and watch out for the Skittlers falling off the tree to attack you. - Puzzle Piece 2
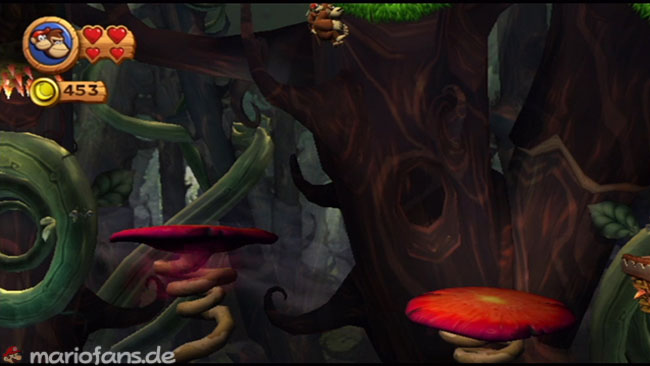
When you get to large, springy mushrooms, jump on a grassy trunk and climb up. Jump from there to the right and get a Puzzle Piece. - Puzzle Piece 3
Drop from the grassy trunk to a lower mushroom and then jump to a platform to the right. Move to the round trap door and hit it to enter a bonus area. Clear everything to get a Puzzle Piece. - Puzzle Piece 4
Continue your way to the right and you will find the next Puzzle Piece. It is surrounded by three small moving platforms. Drive one down and then jump up to fetch the Puzzle Piece. Land cautiously on another platform. - NN
To the right of this are three other platforms orbiting the N-Crystal block. Use the same trick to get that letter block, and then proceed. - Puzzle Piece 5
Look for a springy mushroom that lies between two chomps. Many bananas fly in a circle over the mushroom. Jump up and collect them all so that a Puzzle Piece appears. Get that and continue your path on the platform on the right. - Puzzle Piece 6
If you arrive at a barrel to the right of a platform, don’t jump in immediately. Instead, roll off the edge. After passing the barrel, jump as you roll to fetch the Puzzle Piece floating in the air and land on the right in the barrel. - Puzzle Piece 7
After the checkpoint, go with a group of small platforms and jump to another group that will take you to a large mushroom. From there, jump onto a platform that leads up in a scooter coaster pattern and contains a Puzzle Piece. To get it, you’ll have to jump up and land on a skittle, then quickly jump down to get the Puzzle Piece and land again on a platform. - G Spring to a mushroom and wait for a group of platforms to pass by. One of them has the G-Crystal block on it. Jump to this platform to complete K-O-N-G. Continue your path to the end barrel to complete the level.
5-4: Tippin‘ Totems
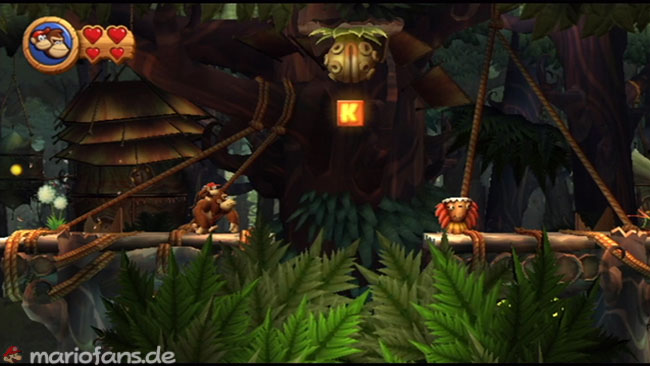
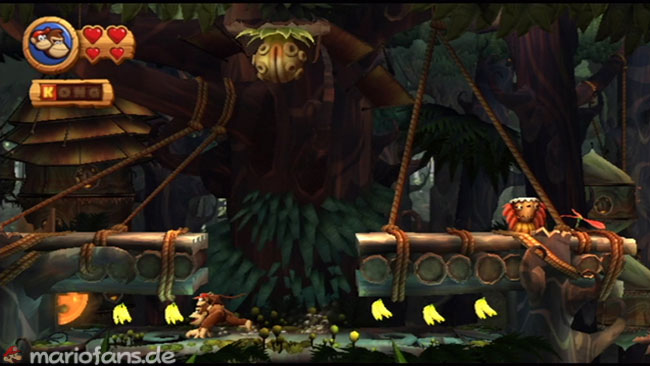
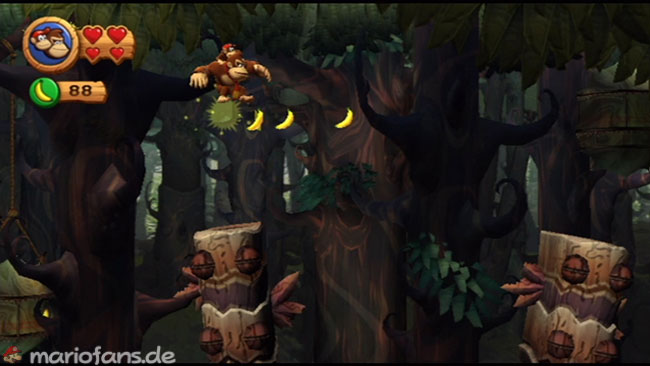
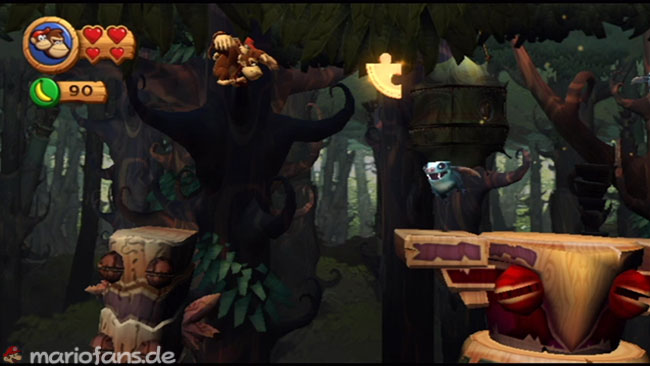
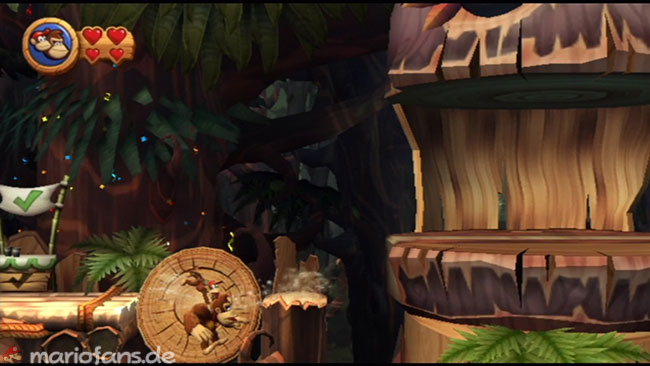
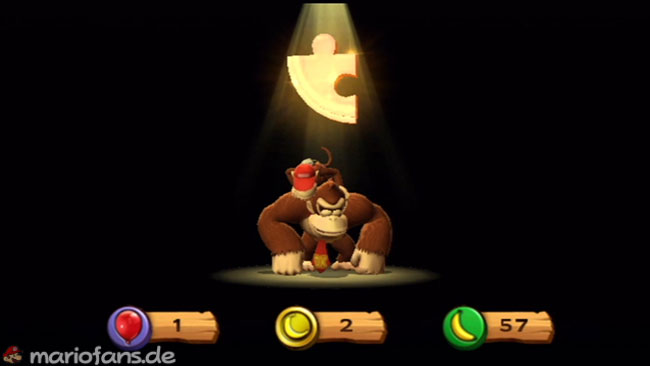
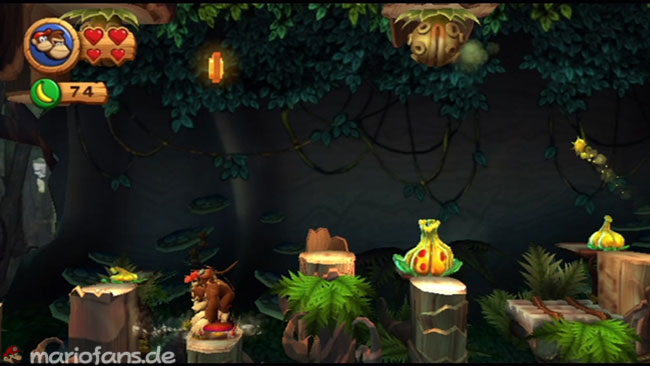
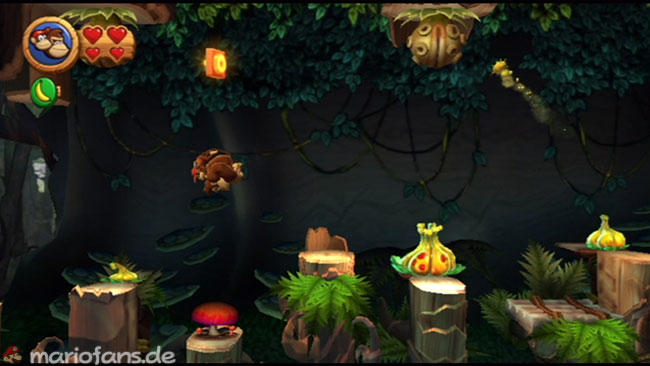
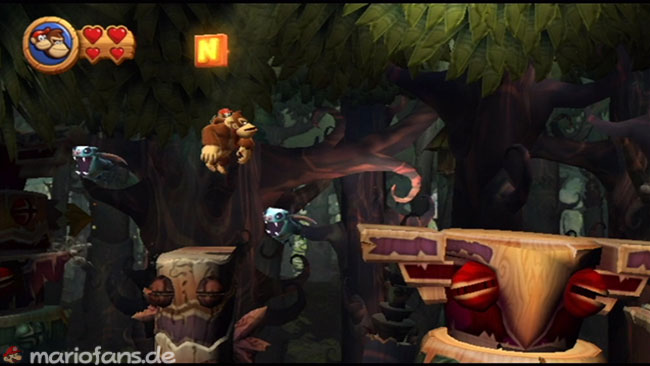
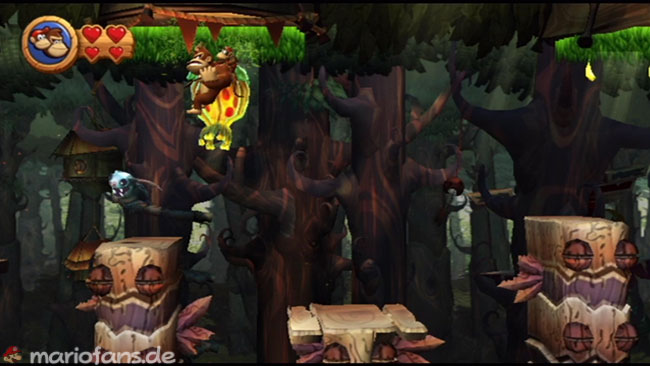
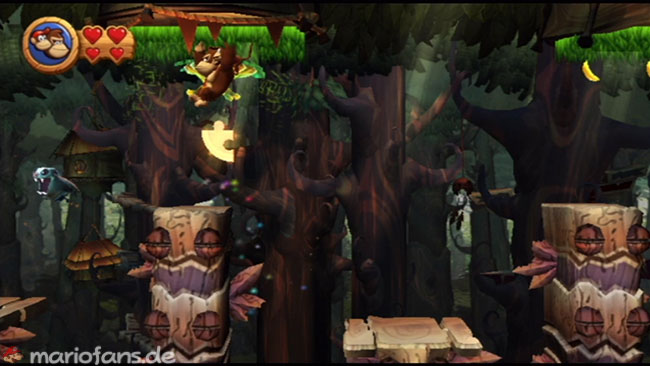
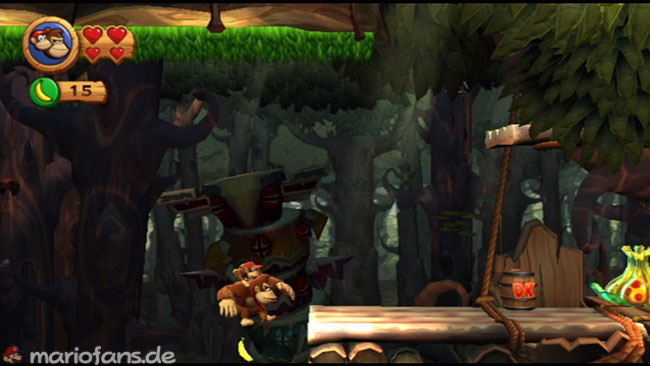
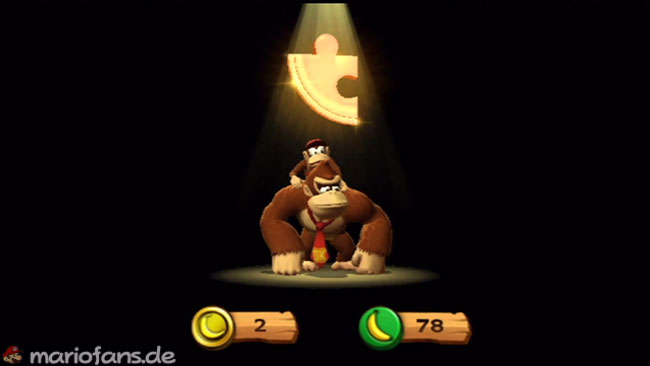
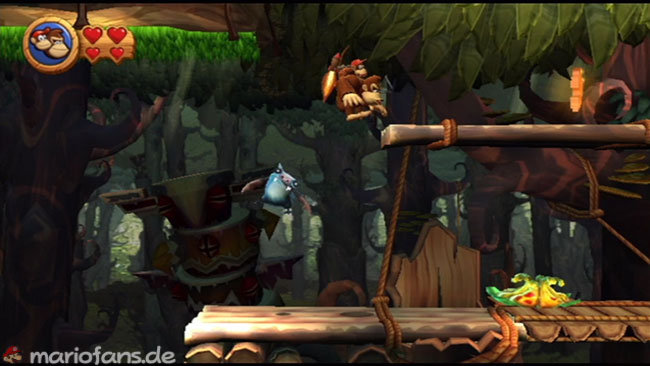
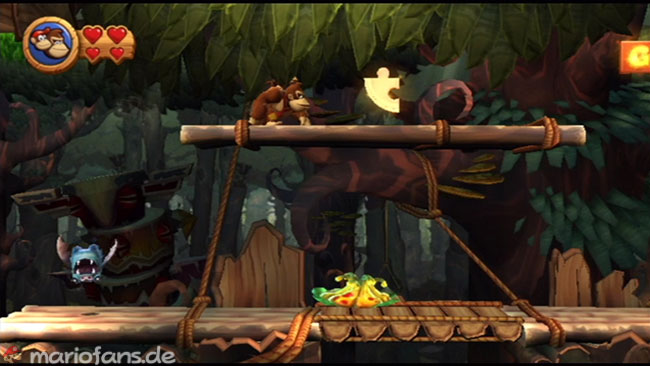
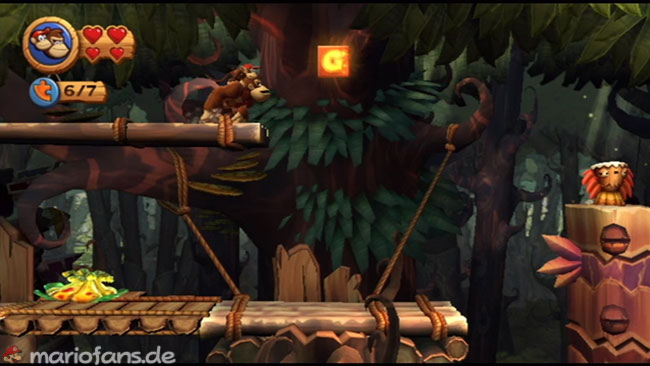
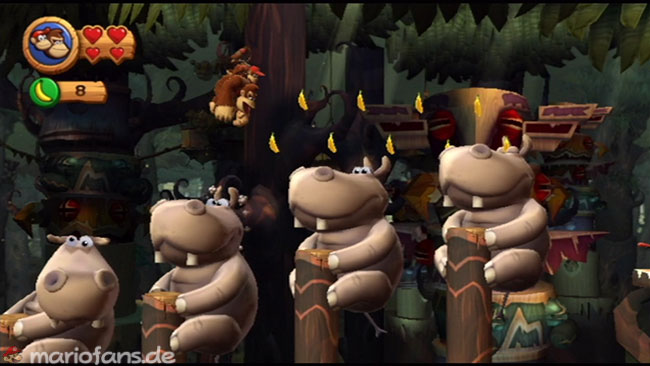
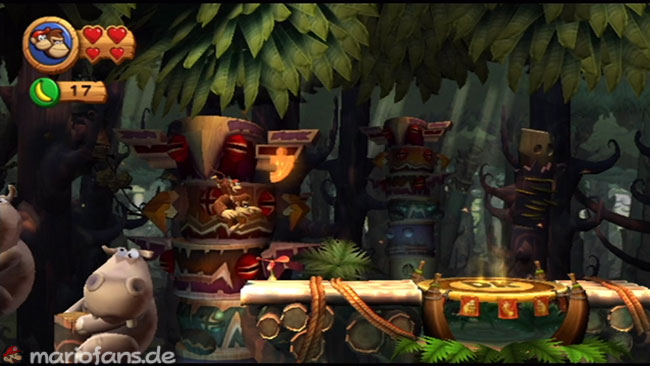
- K This level requires precise jump across narrow, moving platforms. Start by going to the K-Block, which is under a spit plant. Wait until the plant spits, and then jump up to fetch the letter block.Then you fall right into some bushes to find a secret area. Collect the Puzzle Piece and several bundles of bananas. Make sure to time the jump correctly so that the spit plant does not hit you.
- Puzzle Piece 1
Next, jump from the platform to a series of moving totems. Collect all the bananas as you move to the right and you will be rewarded with a Puzzle Piece. - Puzzle Piece 2
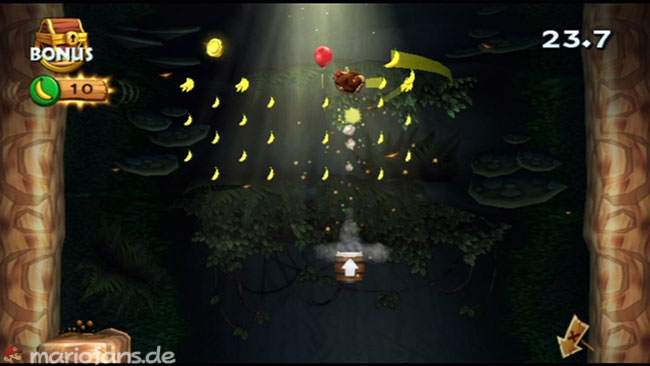
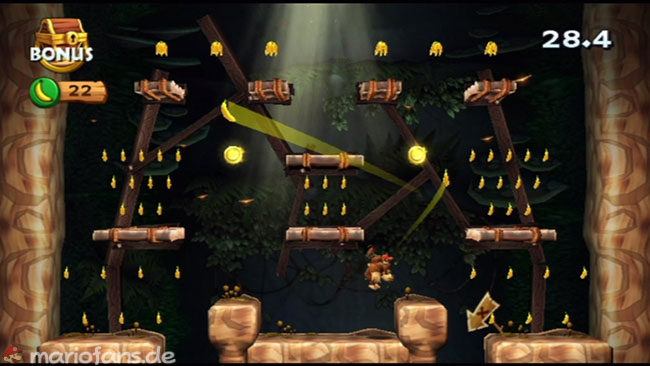
Immediately after the checkpoint you hit on a round trap door to get into a bonus area. Collects some coins, a balloon and many bananas. Clean up the area to get another piece of the puzzle. - O
Continue until you see the O-Block. This is protected by spit plants. Avoid getting hit while jumping to a platform under the O-Block. Strike on the floor to grow a small mushroom. Use this one to jump high enough and get the letter block. Keep moving so that the spit plants do not cost you heart. - NN
The N-Crystal block is located high up at the end of an area where you have to jump over moving totems. Pay attention to squeeklys and carefully time your jump to get hold of this letter block. - Puzzle Piece 3
Shortly after the N-Block you jump up and reach for grassy platforms. Beat the second with a large pumpkin lantern to get a Puzzle Piece. - Puzzle Piece 4
Come to the platform with the DK barrel and fall into a barrel from the left. This will shoot you into a bonus area. Clean up all the bananas and coins to collect another Puzzle Piece. - GG
When you’re back on the platform, get Diddy Kong and jump on a totem to the right, dropping a Tiki Goon. When the totem reaches the highest point, make a leap to the left to fetch the G-Crystal block. - Puzzle Piece 5
After you get the G-Crystal block, you continue floating to the left, where you reach a secret area where there is another piece of the puzzle. - Puzzle Piece 6 — Finally, when you reach a bunch of bopapodamuses, jump over these and collect all the bananas along the way. Ship the Bopapodamuses around to get some of these bananas. After you clear the area, a Puzzle Piece appears as a reward.
5-5: Longshot Launch
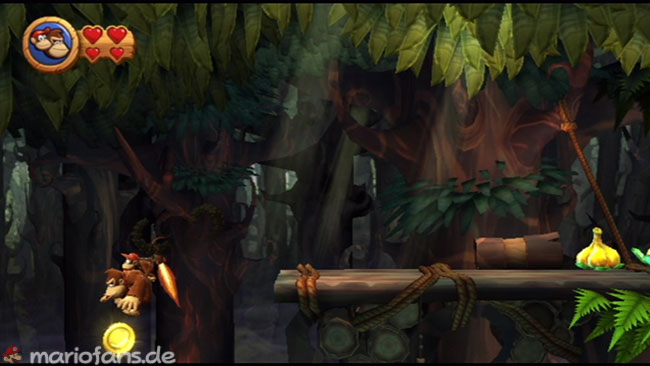
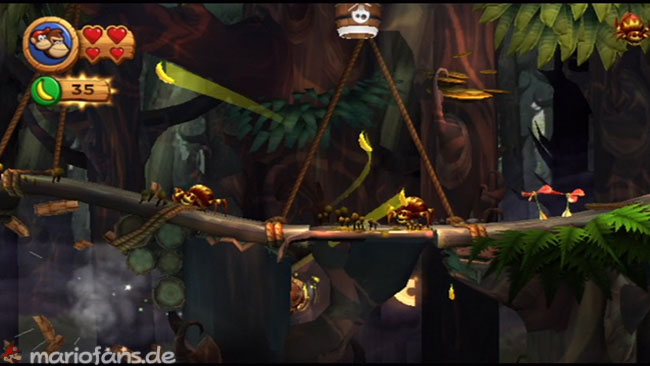
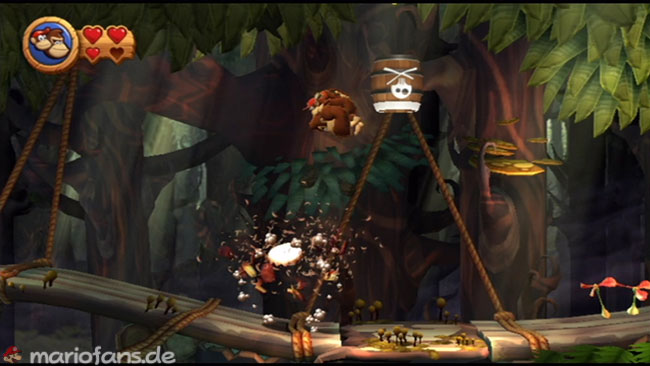
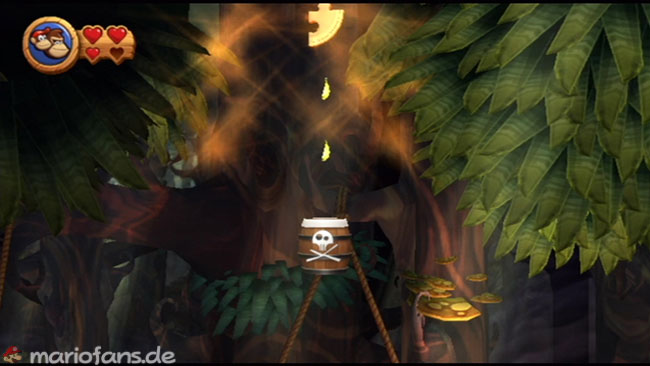
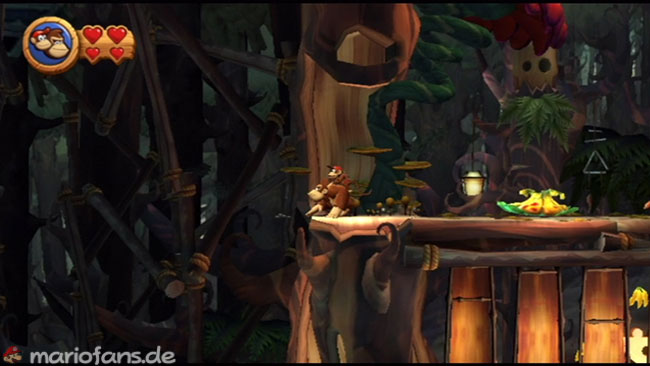
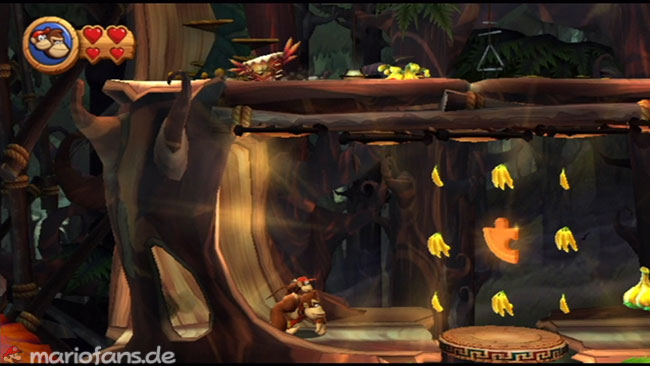
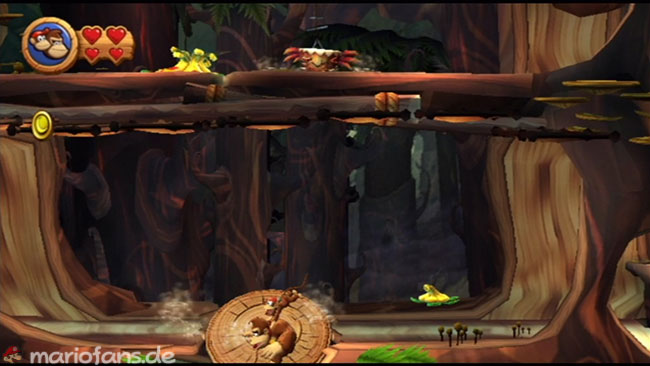
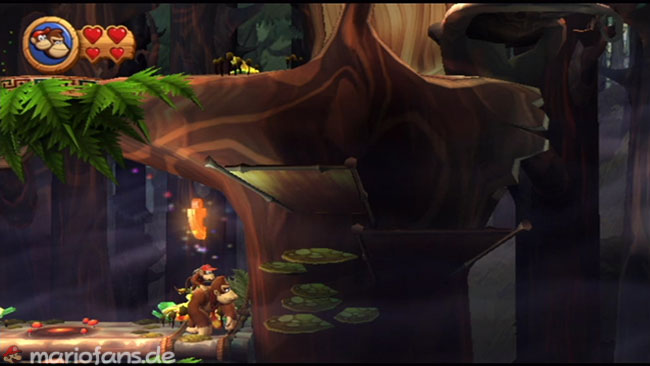
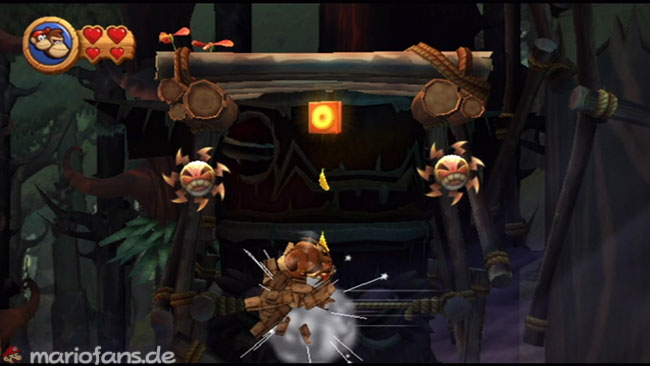
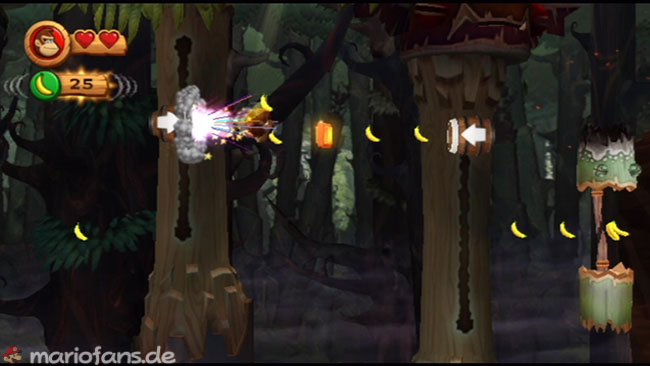
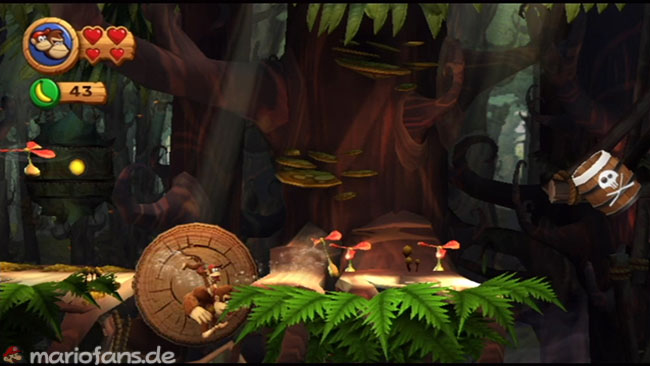
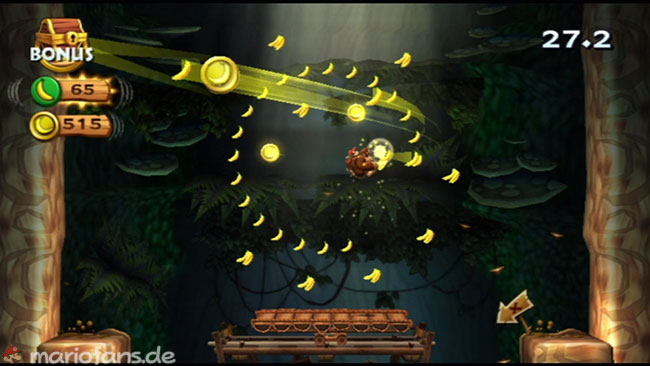
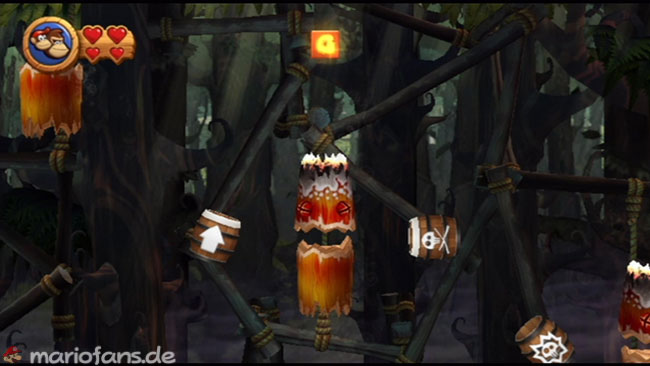
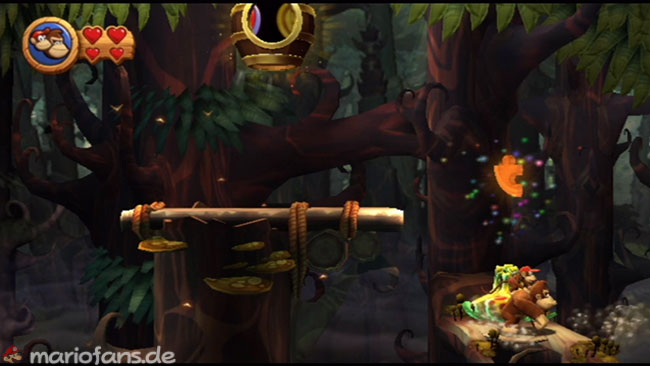
- Puzzle Piece 1 — Puzzle 1 Here is the text in the her form: At the beginning of this level you take the DK barrel and then jump from the left edge where you see a banana. This will throw you into a barrel that shoots you to the right under the platforms. You collect many bananas and a Puzzle Piece before you are shot back to the platform.
- Puzzle Piece 2
Go left along the platform until you see a barrel too high to reach it. Wait until a Tiki Boing passes by and jumps off to get into the barrel. It will shoot you upstairs to collect a Puzzle Piece. - K
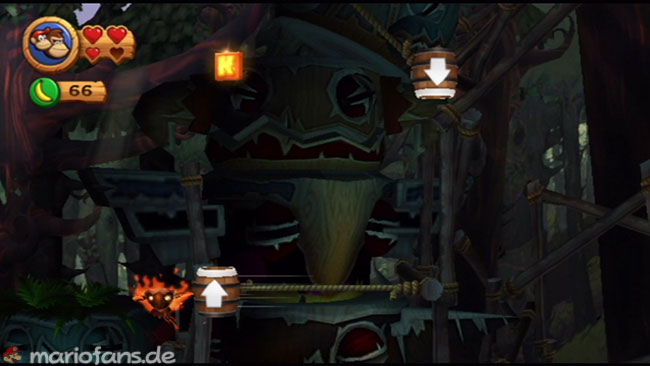
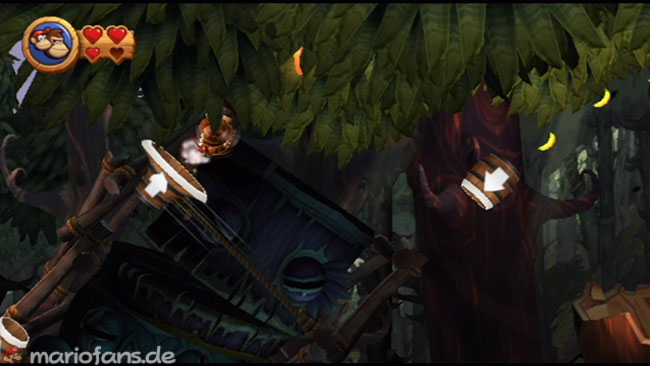
When you reach the section where you have to shoot from barrel to barrel, avoid the burning Tiki buzzes. Near the top of this section, you can shoot up to get the K-Crystal block and then fall back into a barrel. After collecting the letter block, you continue your progress from barrel to barrel. - Puzzle Piece 3
Shortly after the K-Crystal block you will see a Puzzle Piece that flashes out through a few leaves. Shoot upstairs to get it instead of going to the next barrel. - Puzzle Piece 4
After dropping a bunch of mushrooms and landing on a platform with a DK barrel, descend from the left and jump from a mushroom into a secret territory. In this area you will find many bananas and a Puzzle Piece. - Puzzle Piece 5
In the secret area, hit the trap door in the middle to get to an even deeper area. Beat the pumpkins to get a coin and another Puzzle Piece. Then hit the point in the middle to grow a mushroom so you can jump back to the platform. - O
Continue on to more barrels where you have to time your shots to get the O-Crystal block without hitting the Tiki Zings. If you miss the O-Crystal block the first time, you can return to the platform on the left, and the exploding barrel will reappear. - NN
After you pass the first checkpoint, you will have to drop several timed shots from barrels to avoid totems and other obstacles. One shot lets you grab the N-Crystal block while flying through the air. - Puzzle Piece 6
After the second checkpoint, you jump to a platform with a trap door. Strike on the trap door to get into a bonus area. Collect all the coins and bananas and leave the area with a Puzzle Piece. - GG
You’ll have to drop more shots from barrels to get past totems. If you see the G-Crystal block, wait until the barrel is aligned with the letters, and then fire. You collect the letter block and land in the next barrel. - Puzzle Piece 7 — Puzzle 7 When you reach the final barrel, walk past it and fall from the right edge to another platform. Strike on the pumpkin to get the final Puzzle Piece. Now you can activate the final barrel to complete the level.
5-6: Springy Spores
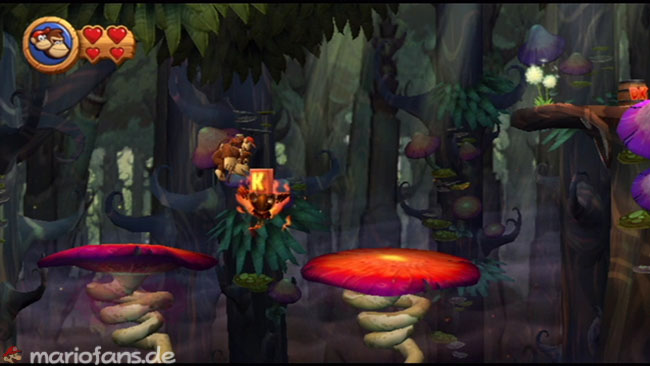
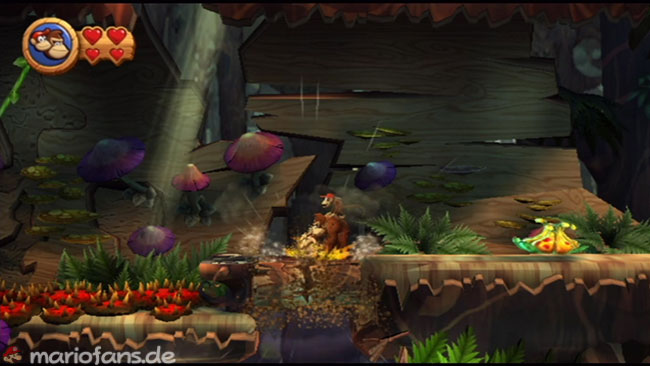
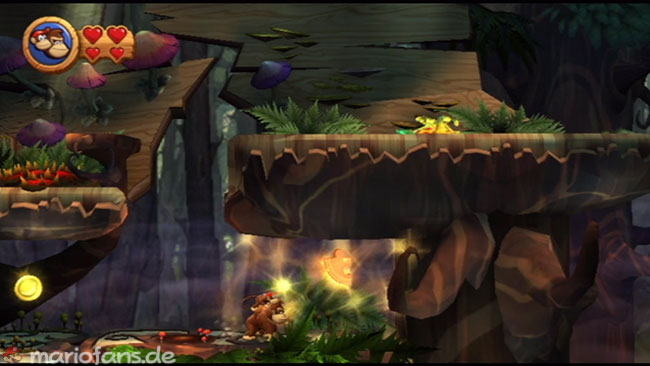
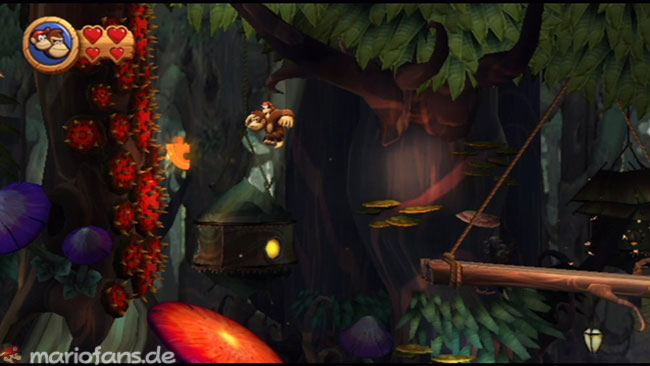
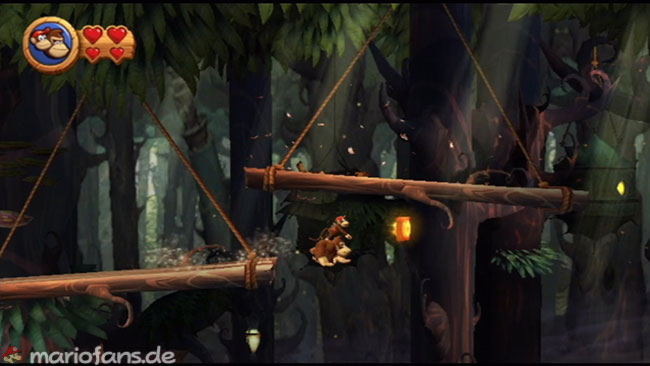
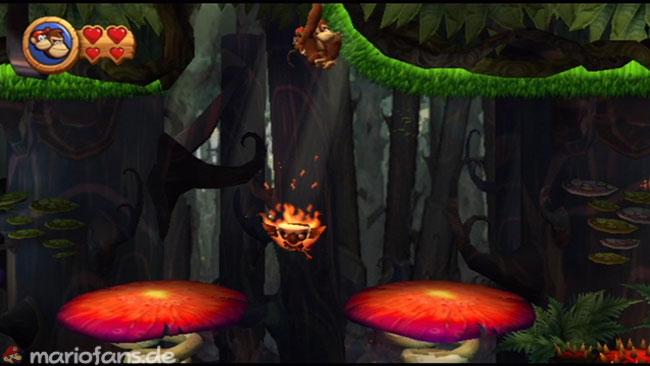
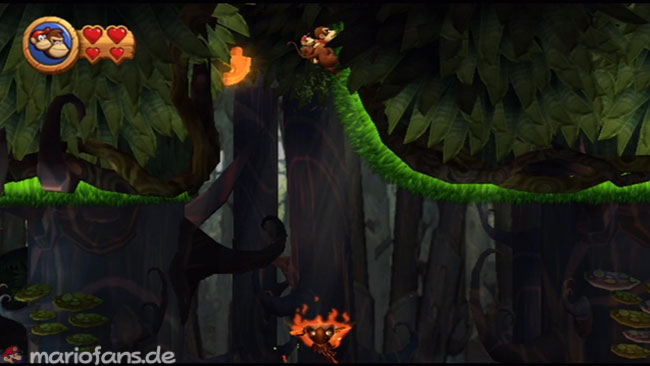
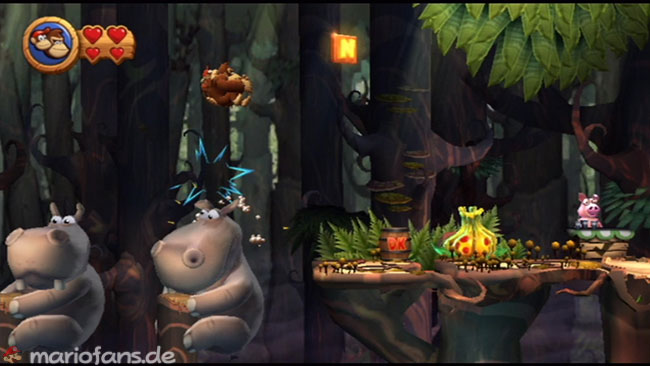
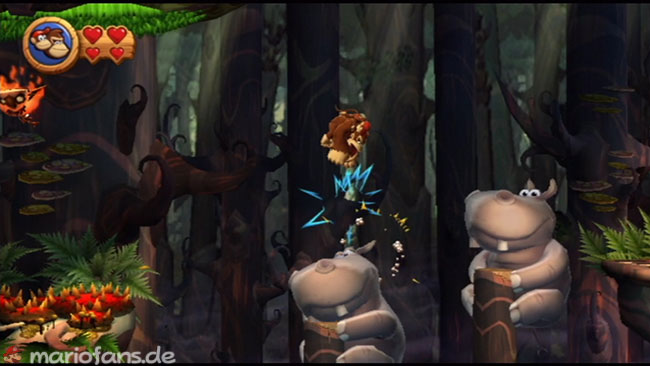
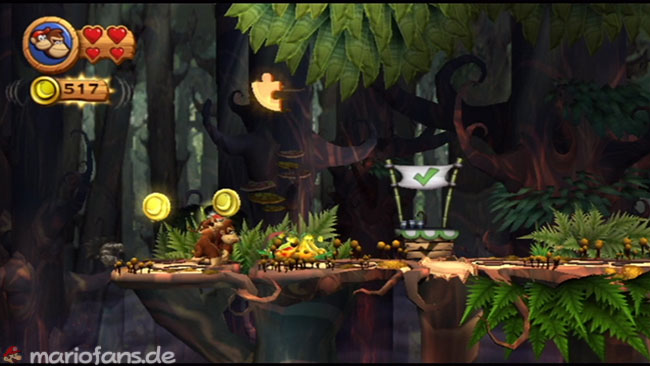
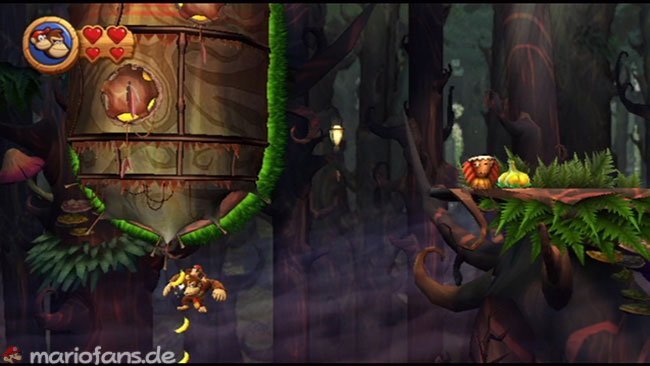
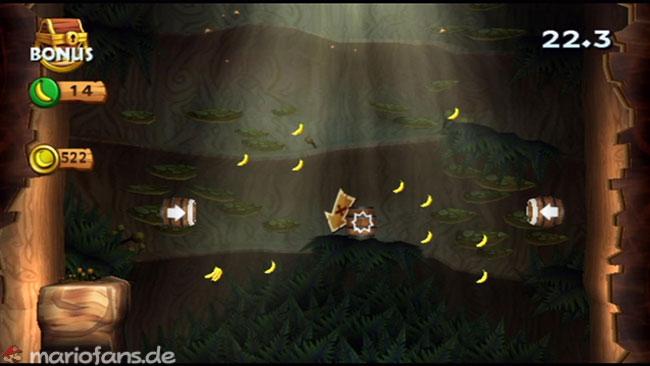
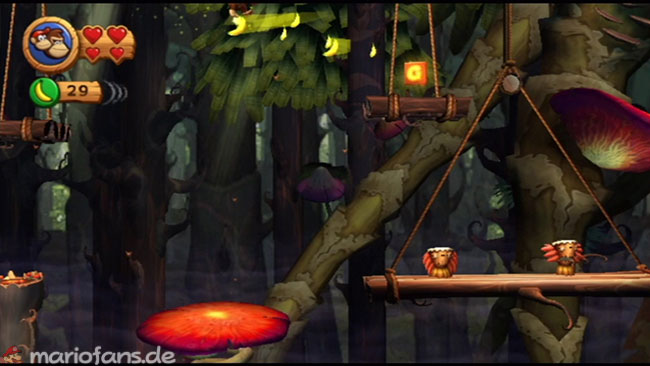
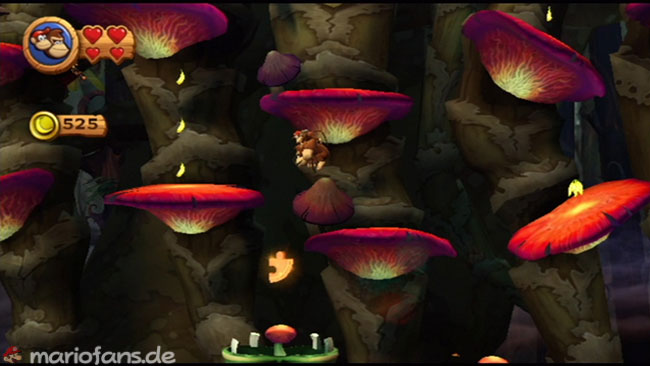
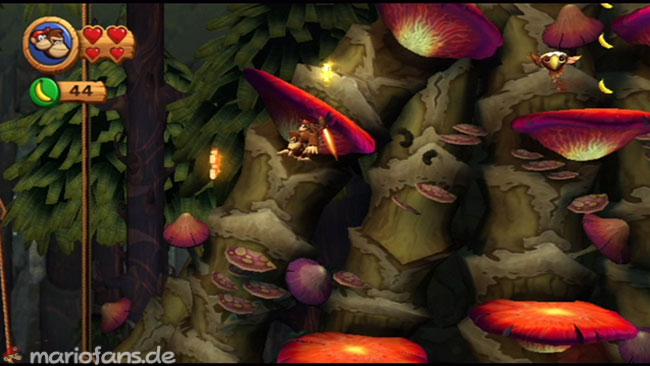
- K and Puzzle 1 There are many trampoline-like mushrooms in this level. While you find the K-Block, you also see a burning Tiki Buzz floating up and down over it. Wait for the burning Tiki Buzz to go upstairs, and then jump over with a low jump to fetch the letters and move on.After swinging through a tree trunk, you hit a trap door to get into a secret territory. Here you can collect a Puzzle Piece. Hit the floor to grow a mushroom so you can jump back to the main platform.
- Puzzle Piece 2
Jump up a series of mushrooms to a vibrating platform. Clear the Tiki Goons and wait until it swings to the left. Run and then jump to the left to get the Puzzle Piece. Be careful not to hit the spike trap next to the Puzzle Piece. Fall to the mushroom below and jump back to the platform so you can move on. - O
Now roll down from the right side of this platform and jump in the air to get the O-Crystal block. Land on the platform with a few Tiki Goons. - Puzzle Piece 3
When you reach the area with the grassy levels on which you can climb, jump to the right, avoiding the burning Tiki Buzz. Then jump up to the grassy level and climb to the left to find a Puzzle Piece. - N Continues the path to the left and jumps over a series of Bopapodamuses. You have to jump on the last one to get high enough to reach the N-Crystal block.
- Puzzle Piece 4
As you cross these three Bopapodamuses, jump on each of them four times. That’s how they all fall off. After all three have disappeared, you collect a Puzzle Piece on the platform to the right of the Bopapodamuses. - Puzzle Piece 5
Jump to the second of two swinging huts. Go downstairs and drop yourself where a bunch of bananas lie. You end up in a barrel that shoots you into a bonus area. Shoot back and forth between the barrels to collect all the coins and bananas and get your next Puzzle Piece. - Puzzle Piece 6
You will eventually arrive in an area with many mushrooms. Jump up to the left to pick up a Puzzle Piece that floats there. - GG
After receiving the Puzzle Piece, jump back to the same mushroom and then float left to fetch the G-Crystal block, which is on a floating platform. - Puzzle Piece 7 Once you’re back at the mushrooms, work your way down to find the last Puzzle Piece. You have to fall on it and then jump off a plant’s tongue to get back up. Finally jump up, collect coins and bananas and hit the final barrel at the top to complete the level.
5-7: Wigglevine Wonders
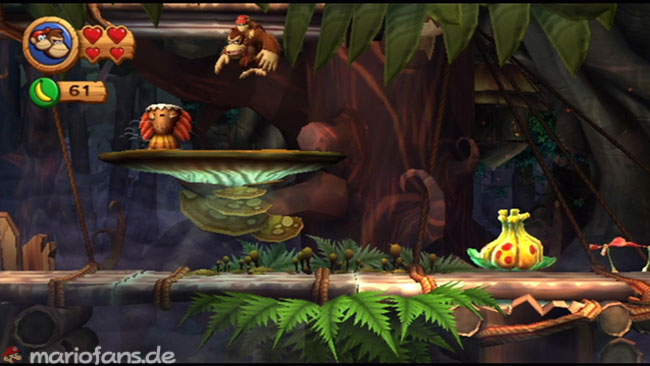
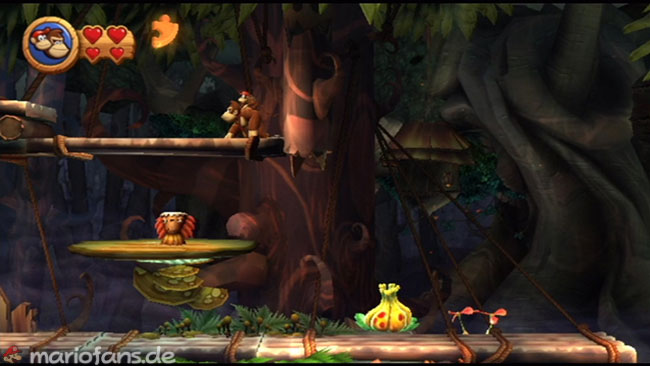
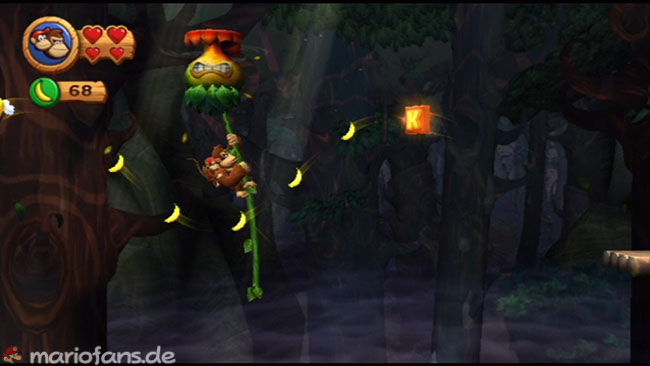
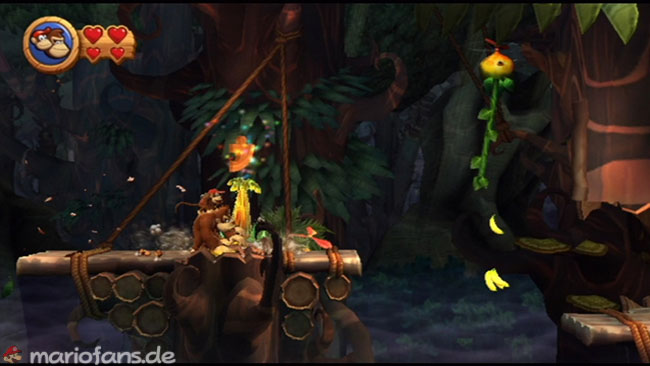
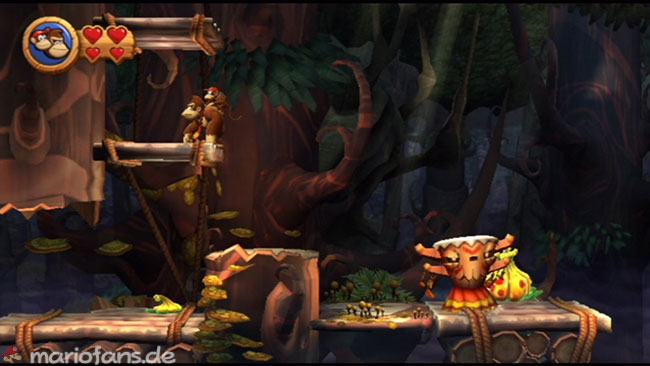
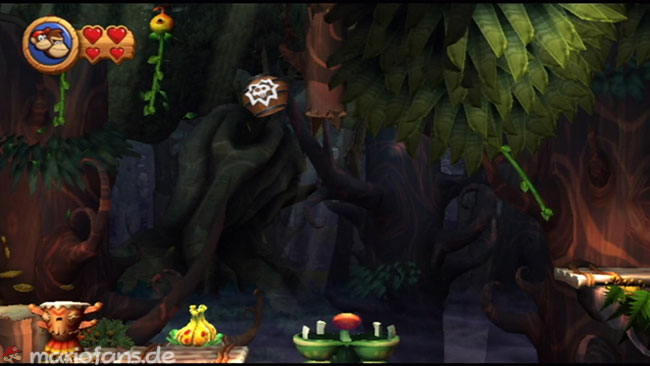
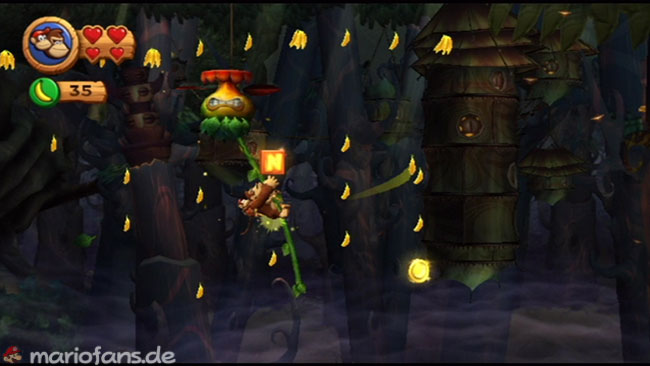
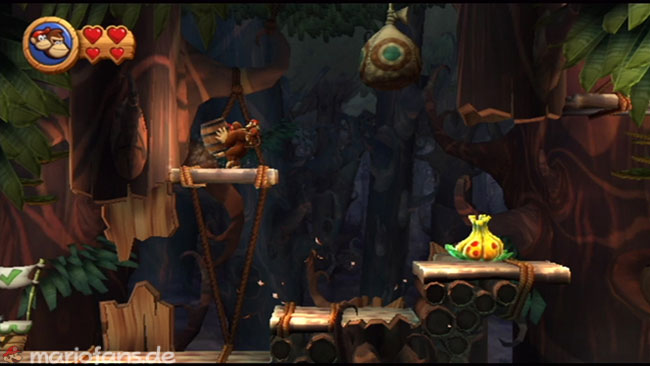
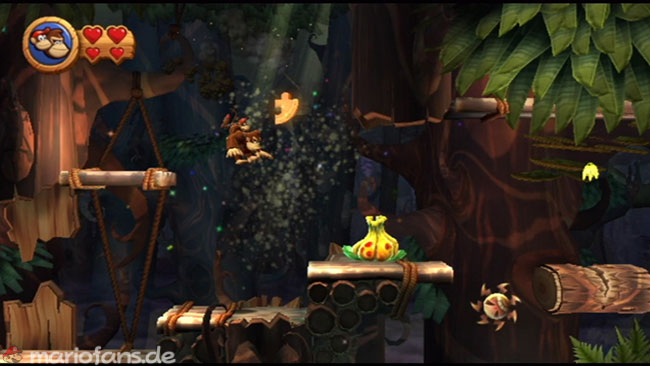
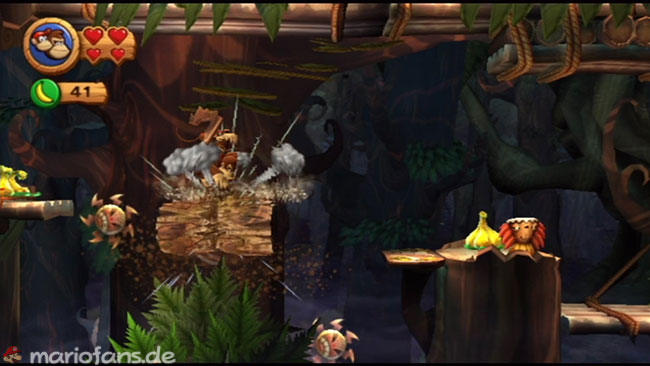
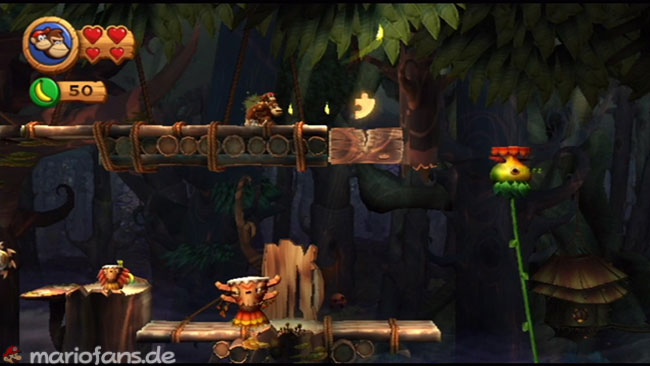
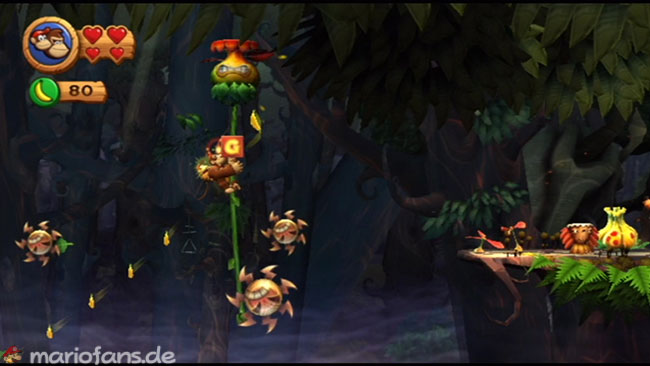
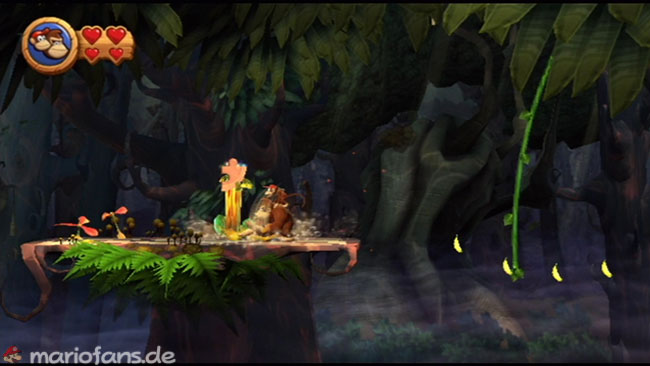
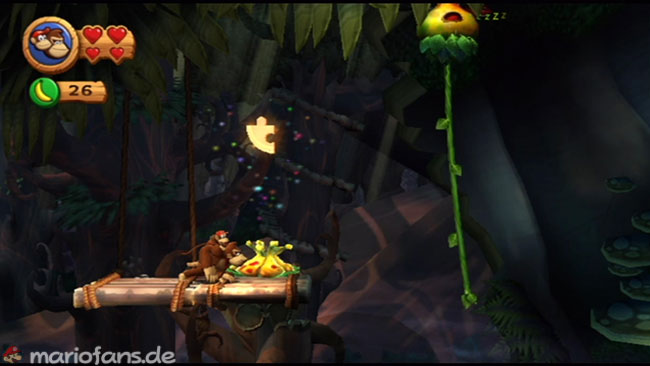
- K At the beginning of this level, jump onto a platform with a Tiki Goon and then into the sheets to find the first Puzzle Piece and the DK barrel. Get both and then go left to smash a broken piece of wood and come back down.Swing on a liane to a moving liane. Continue with her. While bananas fly by, she collects together with the K-Crystal block at the end of the line.
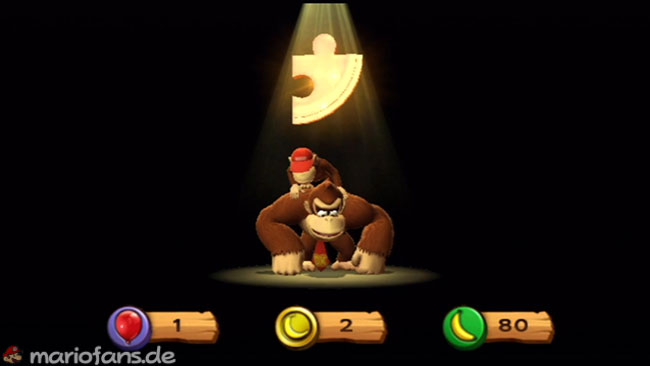
- Puzzle Piece 1
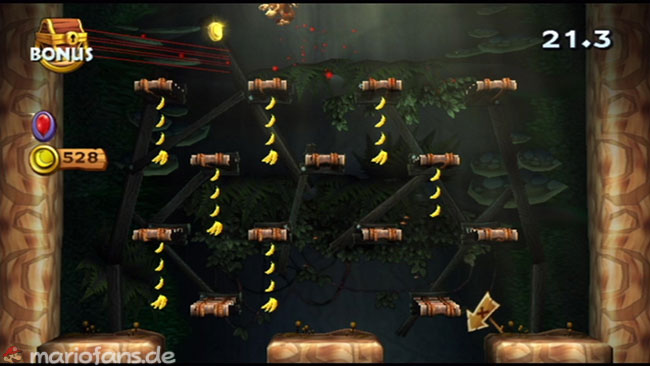
When you reach the next platform, hit the pumpkin to get a Puzzle Piece. Jump to another platform and work your way up on the left. Jump over two hanging lianas to reach a barrel that shoots you into a bonus area. As usual, clean the balloons, coins and bananas to go with a Puzzle Piece. - O
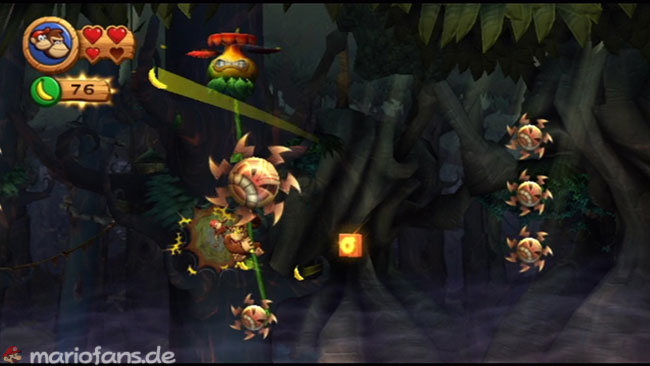
Now you have another opportunity to ride on a moving liane. As you drive, move up and down to avoid the Tiki Zings and collect bananas and coins. The O-Crystal block follows one of the groups of flying bananas. Position yourself so that you get it. - NN
When you come down from the liana, you hit the broken wood on the platform to fall into a barrel. It shoots you up and then on, so you land on a moving liane. As you approach the N-Crystal block, jump to the right and then grab the liana to get the letter block. - Puzzle Piece 2
After passing the checkpoint, you move up the steps to the right and then jump to the left to find a secret area with a DK barrel. Get it and jump to throw the barrel on the sack and get another Puzzle Piece. - Puzzle Piece 3
Continue to the right and hit a broken piece of wood near a few Tiki Zings. It drops you into a barrel that shoots you onto a platform. Here you can collect a Puzzle Piece and bananas. Crush another broken piece of wood to get back down. - GG
Drive along a moving liane to avoid many Tiki Zings. Collect flying bananas, and finally the G-Crystal block will fly past you. - Puzzle Piece 4
After you’ve come down from the liane, hit the pumpkin on the platform for another piece of the puzzle. - Puzzle Piece 5 After driving over different types of lianas, you land on a platform with a pumpkin. Strike on the pumpkin to get the final Puzzle Piece. Finally, ride along a moving liane to avoid many Tiki Zings and reach the final barrel to complete the level.
5-8: Muncher Marathon
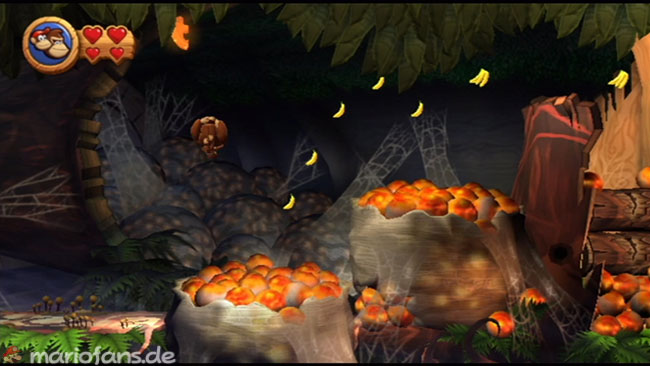
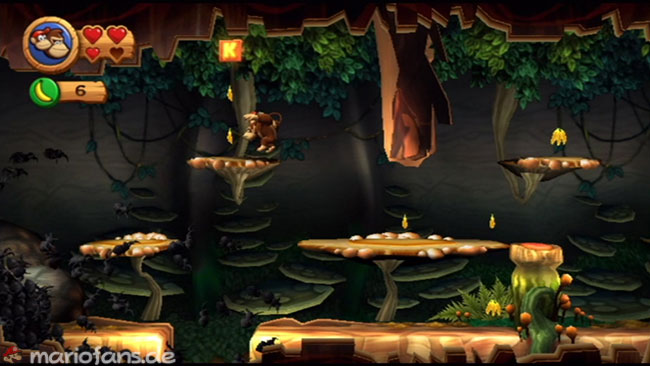
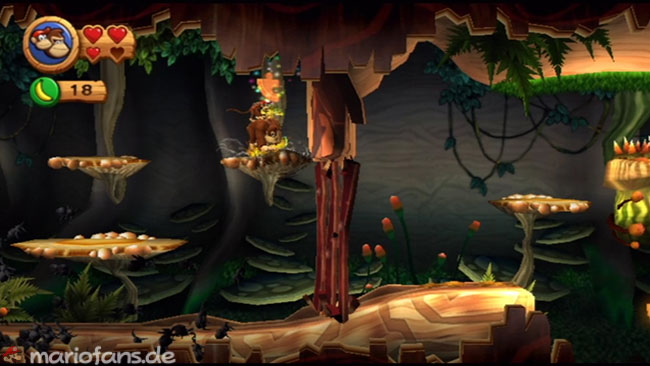
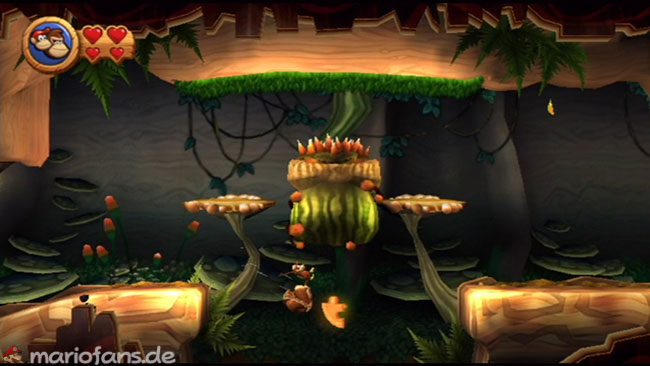
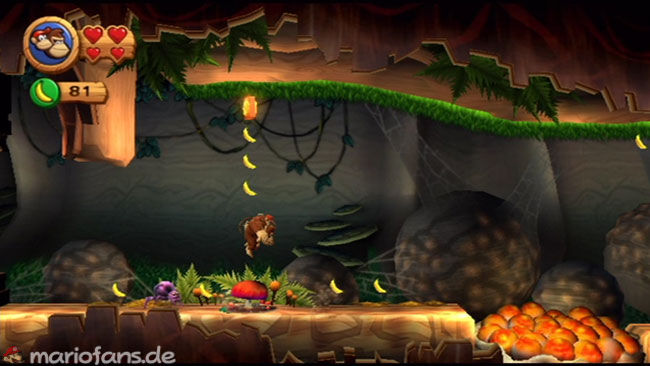
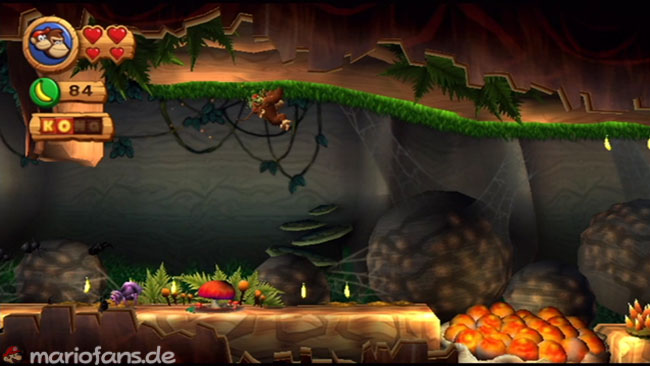
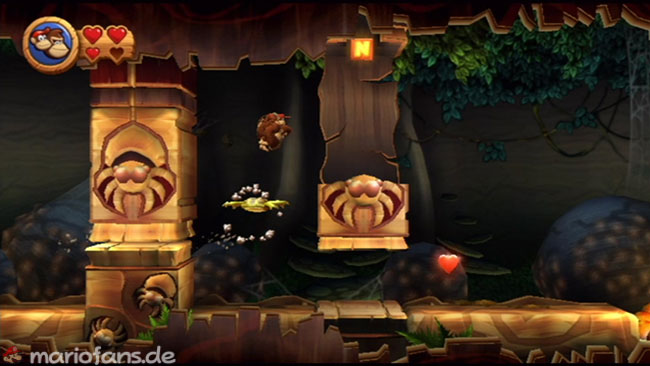
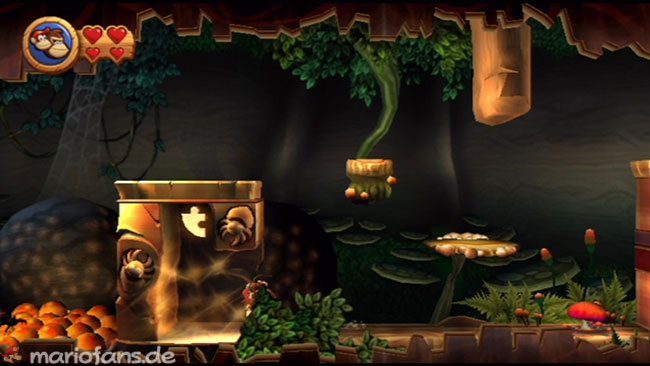
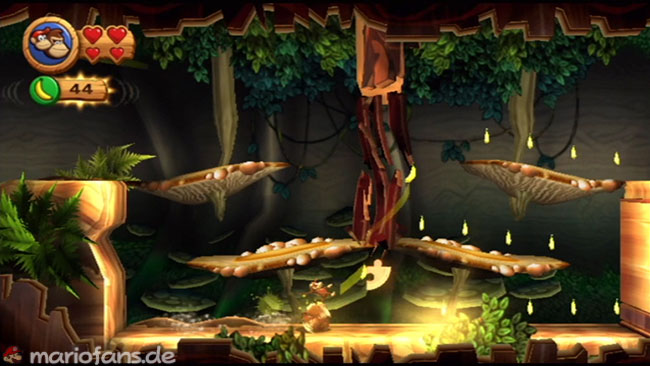
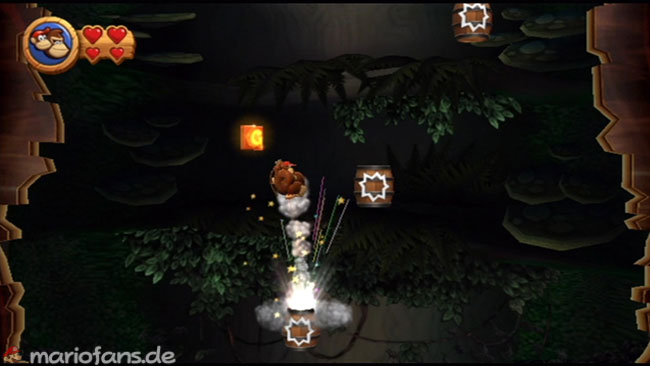
- Puzzle Piece 1 Set off and pass the moving pillars without being crushed and get a DK barrel. Then jump on some springy orange eggs to a second group. From this point, make a floating jump to the left to fetch the first Puzzle Piece.
- TIP This level is difficult because a bunch of munchers come after you. Roll as much as you can to pick up speed and put as much distance between you and the munchers as possible.
- K
You rush away from the munchers and walk under some Skittler pillars. Jump on a few small platforms to get the K-Crystal block. - Puzzle Piece 2
If you see a pumpkin high up, right in front of a red gate that you have to pass through, quickly hit the pumpkin to get a Puzzle Piece. - Puzzle Piece 3
After breaking through the gate, roll over this abyss and jump in the air to get another piece of the puzzle. - O
Finally, you reach an area with a grassy layer above. Strike on the floor under some bananas to grow a mushroom. You can then use this to jump up and get the O-Crystal block. - NN
Look for a hollow Skittler pole. Jump in and drive it up to where you get the N-Block. Leave the pole quickly and collect a heart as you continue to flee the munchers. - Puzzle Piece 4
Jump on some springy eggs to get to a platform. Fall to the right and move left into a bush to find another piece of the puzzle. - Puzzle Piece 5
If you encounter another red gate that blocks your path, do not destroy it. Instead, roll to the left and then to the right, so you go through a bush under the gate and collect the last piece of the puzzle. - G After reaching the checkpoint, quickly shoot your way through a hollow log using a series of barrels. When you see the G-Crystal block, jump out of a barrel to the left to fetch it, and then move up until you reach the final barrel and complete the level.
5-K: Blast & Bounce
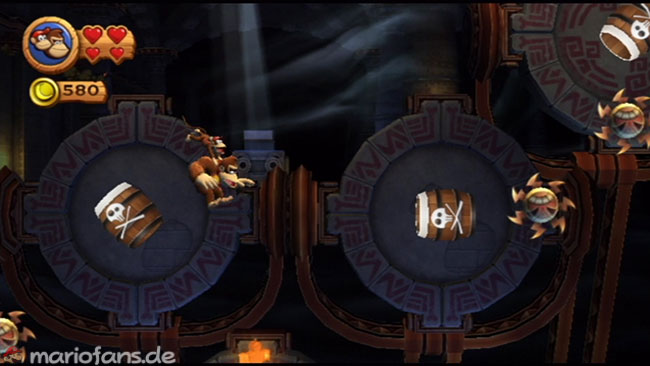
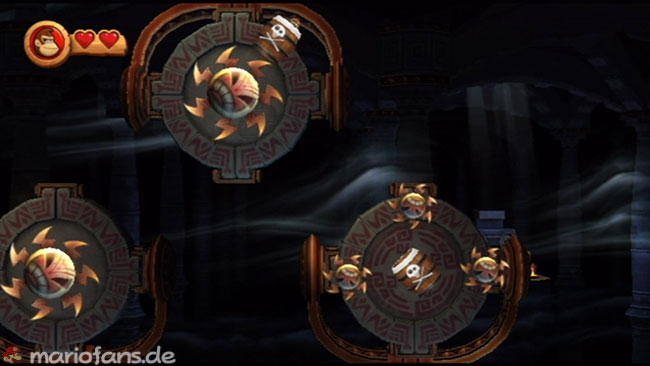
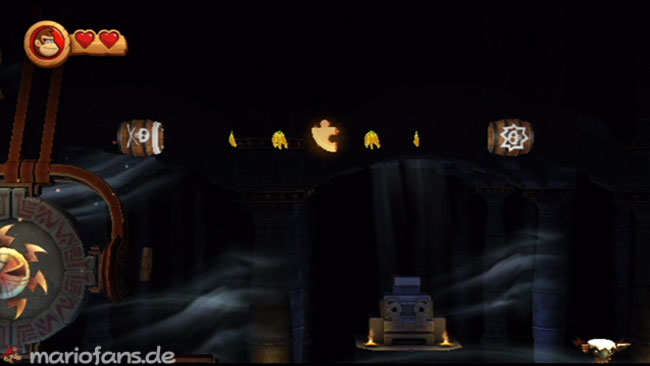
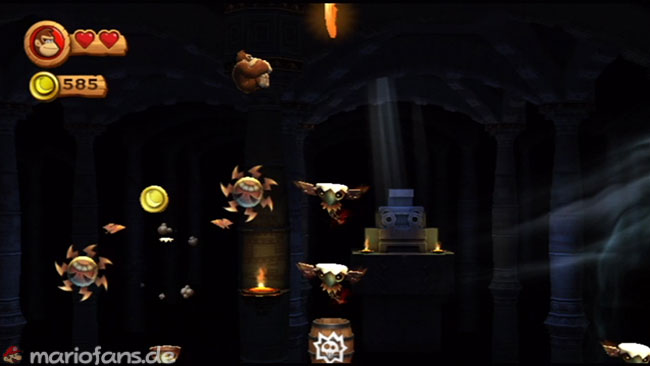
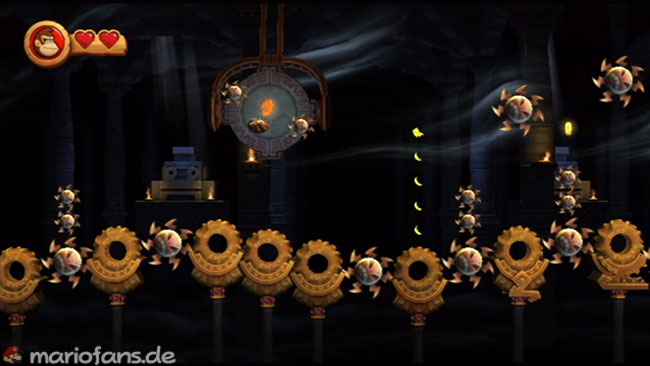
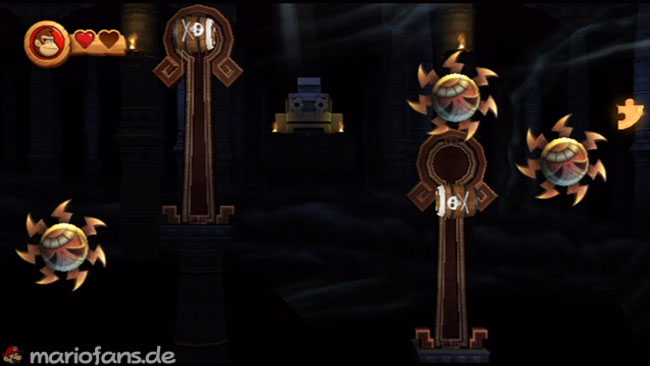
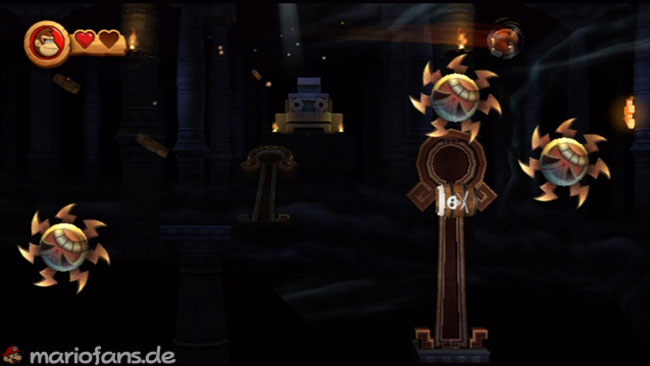
- Puzzle Piece 1 — Puzzle 1 Once you have left the starting zone, you have to make a roll jump and bounce off the first Tiki Buzz. Move quickly to the right to maintain the swing of the roll so you can jump right over the barrel to collect the first Puzzle Piece. Then shoot yourself out of the barrel below to continue. The roll jump to get this Puzzle Piece requires accurate timing. Also bring Diddy Kong so you can jump over the barrel floating.Shortly before the end of a section of barrels, there is a barrel that revolves around a Tiki Zing. It stops at different points as it moves. Shoot from this barrel up and right instead of down and right to the next barrel. As you fly through the air, collect another Puzzle Piece.After jumping over the Tiki Zings, you have to cross a section without platforms. Do this by landing on the Tiki Buzzes. Meet each of them on the way to collect several coins here. When you reach the end of the Tiki Buzzes, jump to the highest. Press the jump button immediately when you land on it so you jump high enough to reach the Puzzle Piece.
- Puzzle Piece 2
A barrel will shoot you into the background area of the level. Here you have to jump off golden tires to get over the Tiki Zings. This is a bit difficult because both the tires and the Tiki Zings move up and down. There is no hurry here, so take your time and jump well. In the middle of this background area you have to collect a Puzzle Piece. It is located high above some golden tires. Two Tiki Zings orbit the Puzzle Piece, so you’ll need to time your jump to get high enough to avoid the Tiki Zings. - Puzzle Piece 3
After you have been shot back to the main part of the level, you have to shoot from barrels. As you shoot up, move left or right in the air so you can fall into a barrel below. You also have to avoid Tiki Zings, which move back and forth over the barrels. - Puzzle Piece 4
Here you shoot from moving barrels and land in another. When you reach this barrel and can see the Puzzle Piece on the right, shoot yourself out at the top of the barrel movement. So you can fly over a few Tiki Zings and collect the Puzzle Piece in the air. Then you end up in another barrel. - Puzzle Piece 5 Shoot through many more barrels until you reach the last chamber. Collect another crystal ball.