

The complete solution to Donkey Kong Country Returns for the world “World 3 – Ruins”. On this page we help you search for all K-O-N-G letters and Puzzle Pieces.
3-1: Wonky Waterway
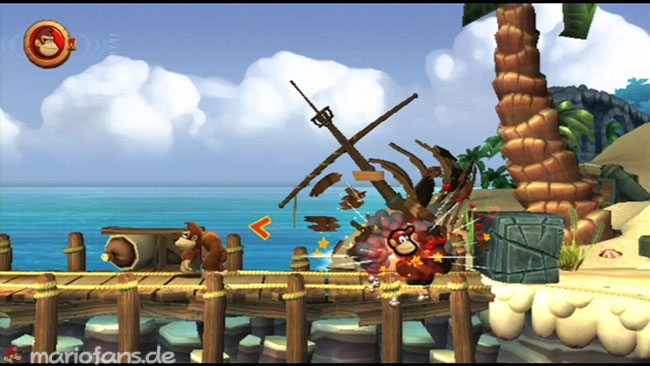
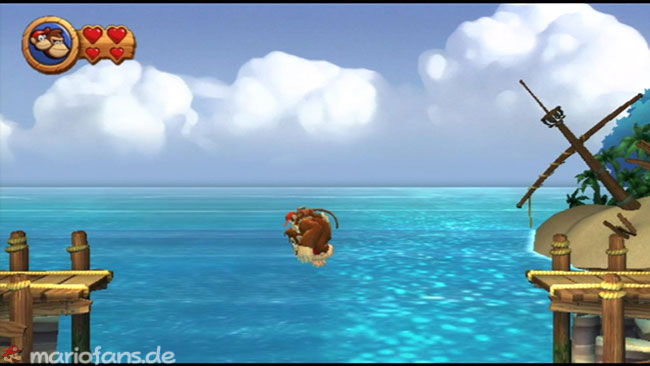
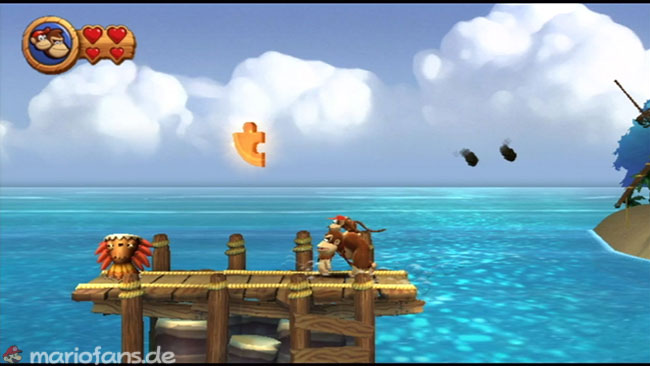
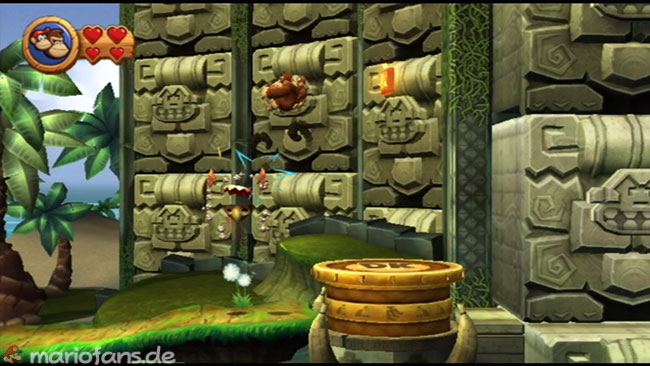
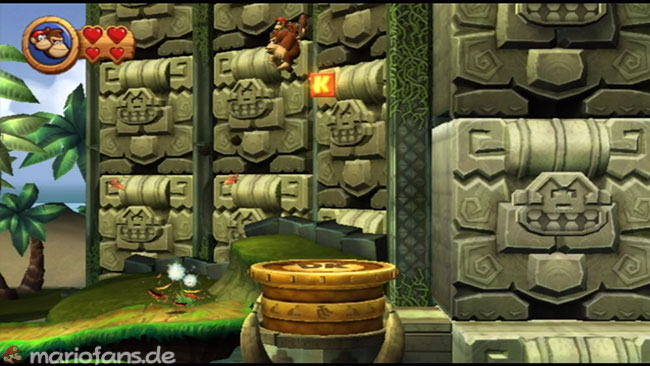
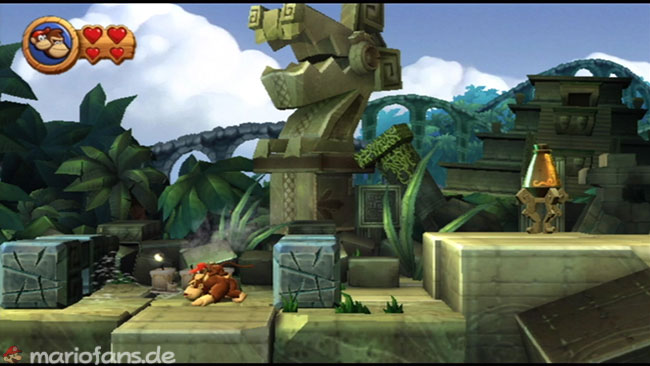
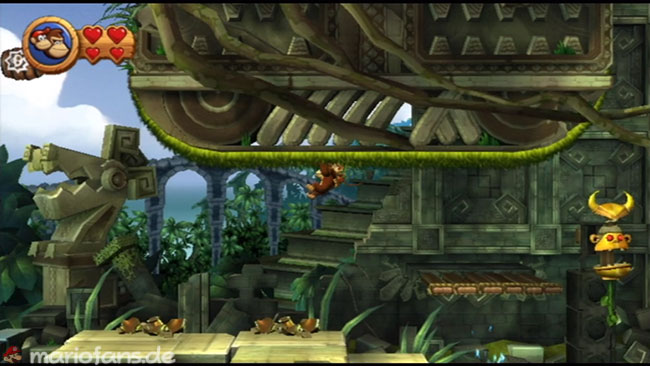
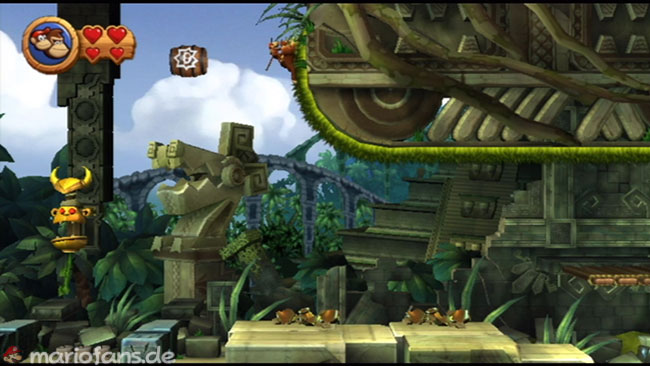
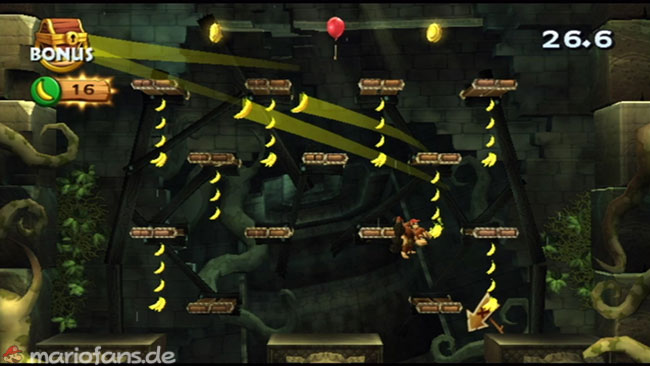
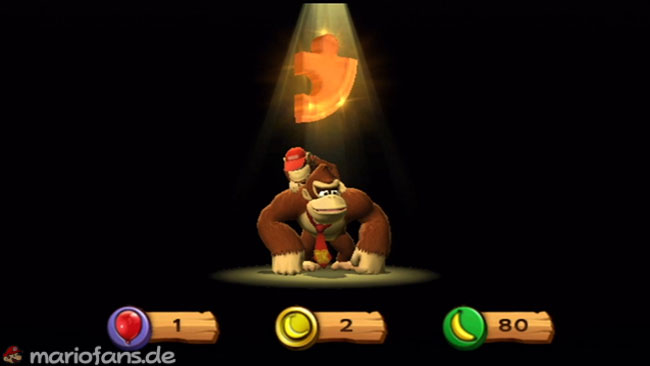
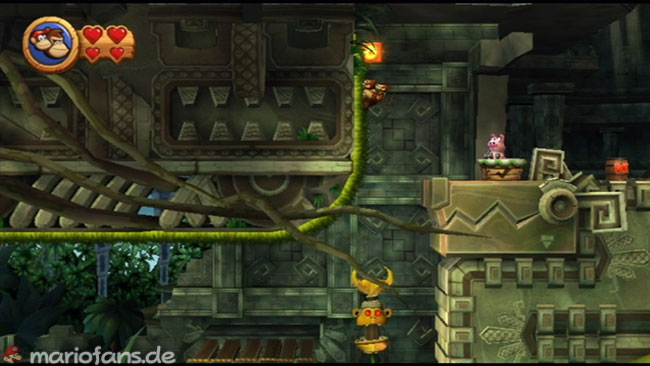
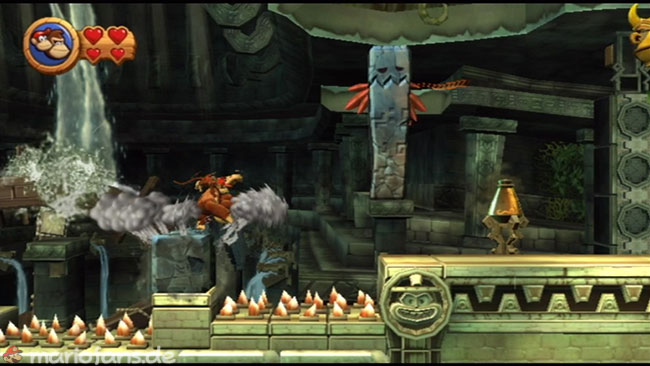
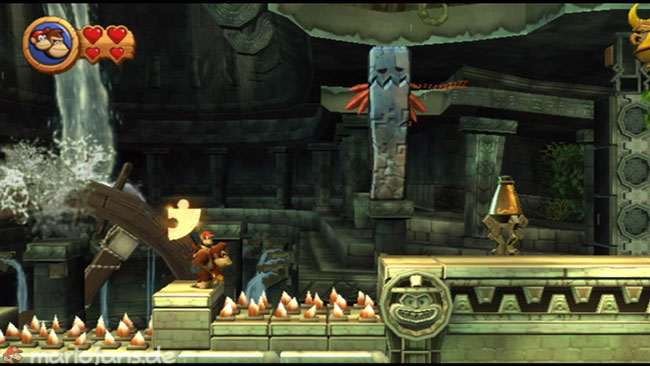
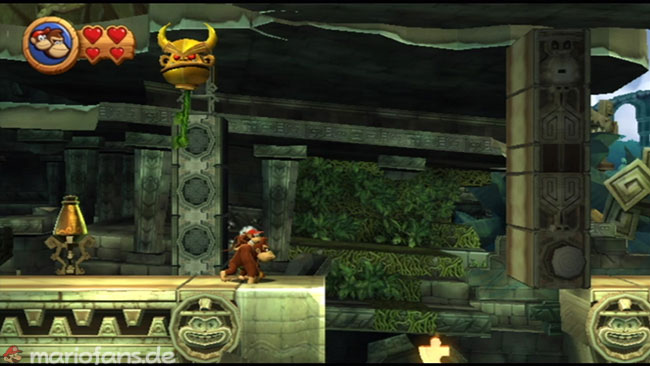
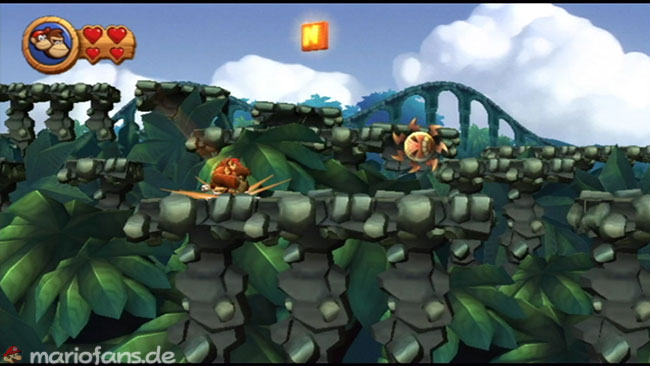
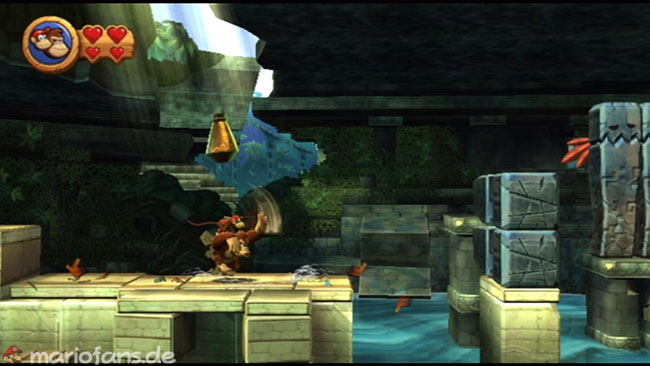
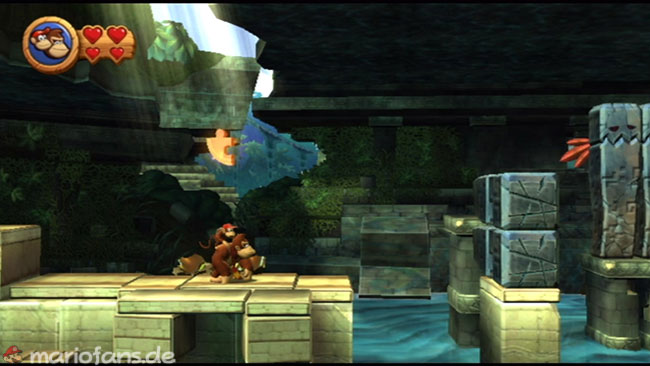
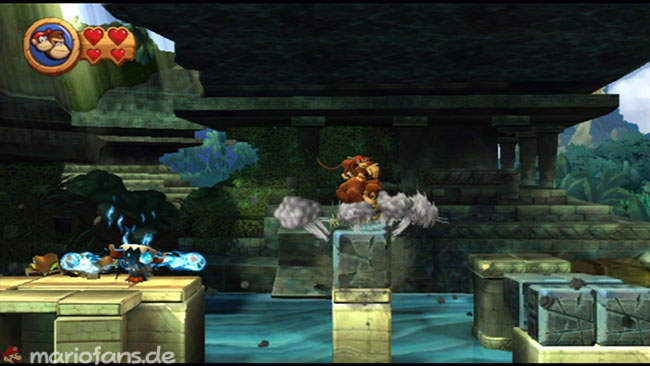
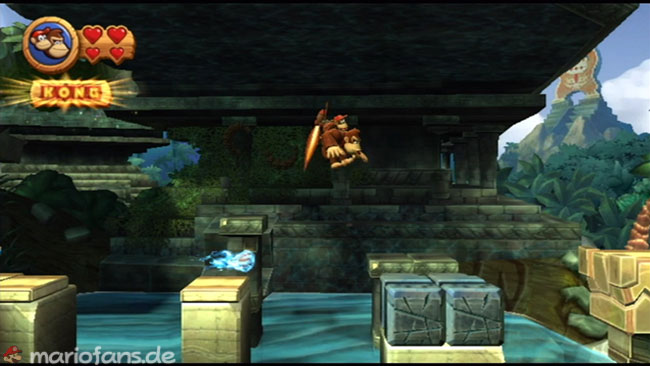
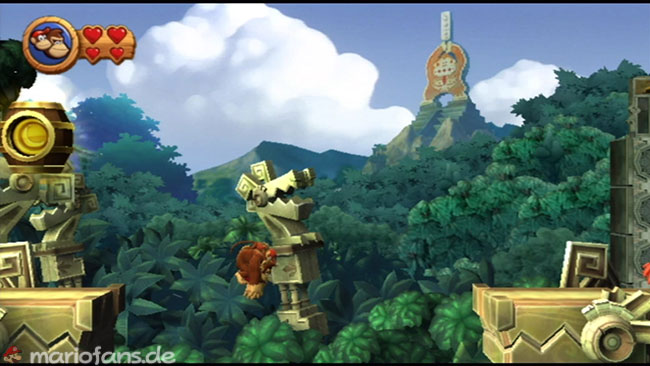
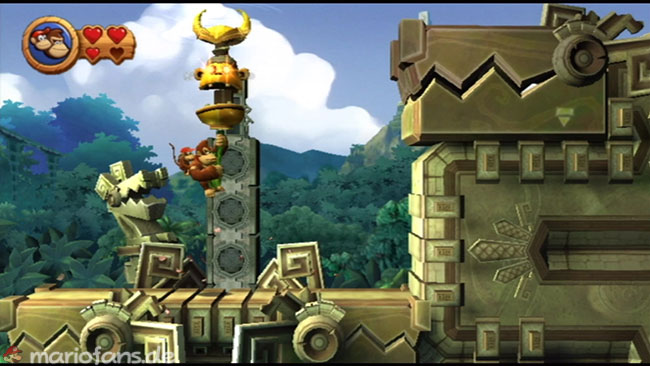
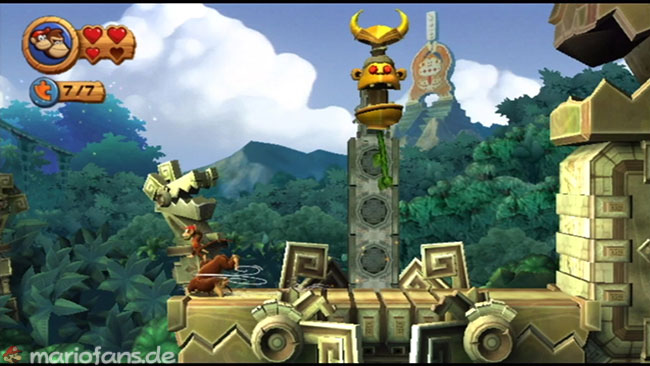
- Puzzle Piece 1 Turn around at the beginning and jump to the other side with a roll jump (shake remote control and press A). There, the first Puzzle Piece floats over a platform.
- K In front of the entrance into the cave, the K hovers above the DK platform. With the help of the Tiki you can achieve it.
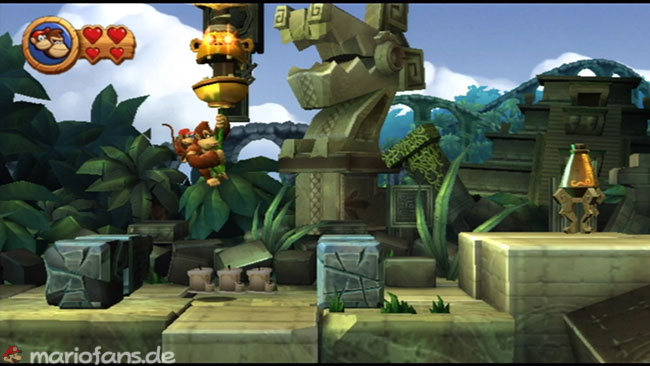
- Puzzle Piece 2 Between two tiki poles you see three candles. Blow these out and a liana appears to hang. Once you have pulled on her, the next Puzzle Piece appears.
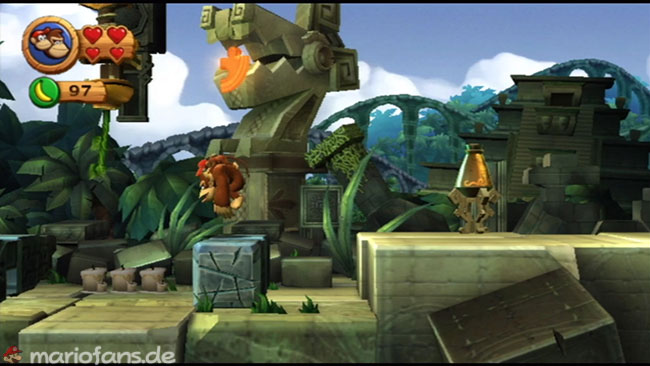
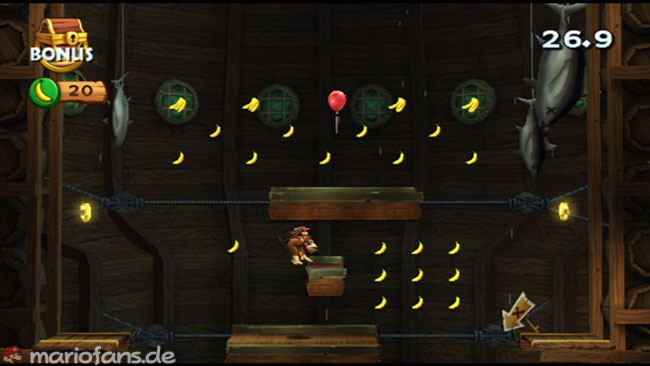
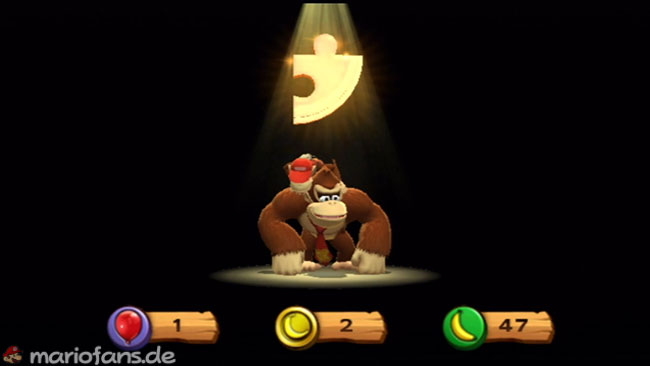
- Puzzle Piece 3 A little further to the right, you can hang on the Blanket. Climb to the left and you see a barrel. This puts you in a bonus area by collecting all bananas, balloons and banana coins. If this is done, Puzzle Piece 3 also belongs to you.
- If you climb the blanket on the right, the O floats directly in front of Professor Chops.
- Puzzle Piece 4 Shortly afterwards, three tiki poles fall to the ground. If you smash the middle one, another piece of the puzzle appears.
- Puzzle Piece 5 Directly behind you will see a rope to which you can hang yourself. But ignore it and keep running, because in the Kuhle is the next Puzzle Piece.
- N The stone blocks that break when you touch them float the N.
- Puzzle Piece 6 When Tiki shoots red flames, you have to smash the Jar. There is a Puzzle Piece in it.
- G Shortly afterwards you can find the G among the first two Tiki piles.
- Puzzle Piece 7 At the target barrel you jump over the abyss with a roll jump and find another rope to hang on. This makes the last Puzzle Piece appear.
3-2: Button Bash
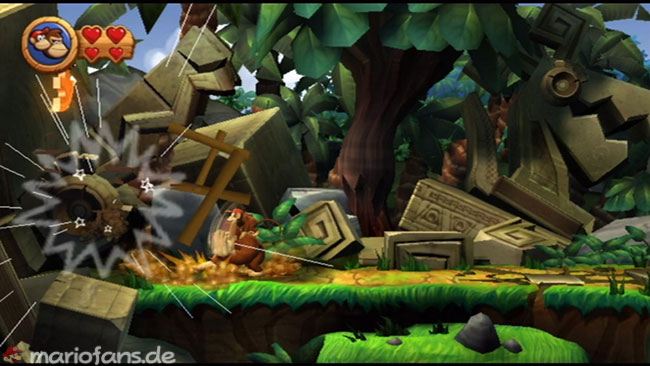
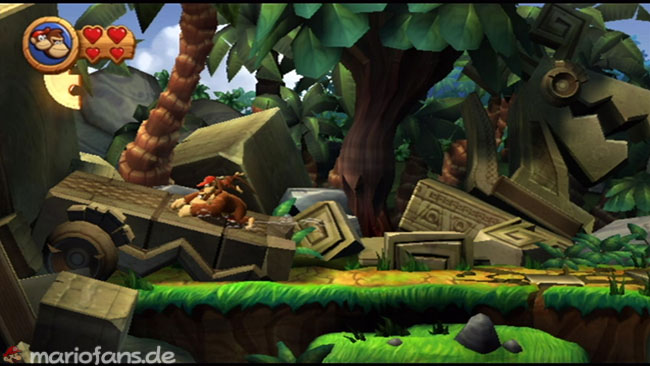
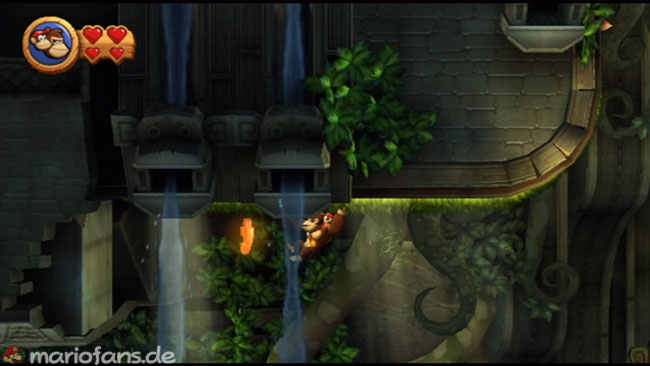
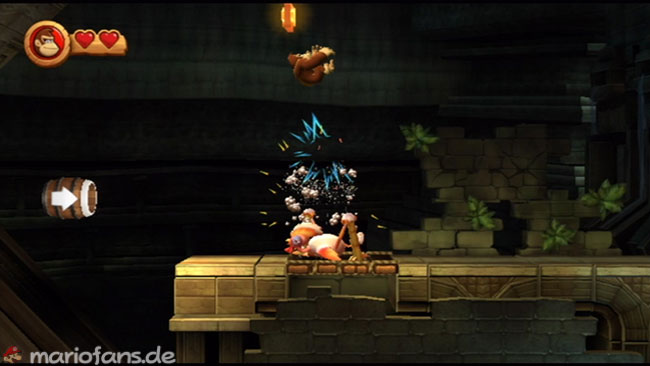
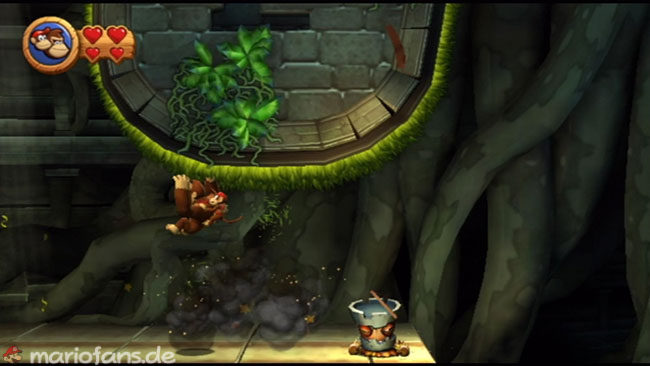
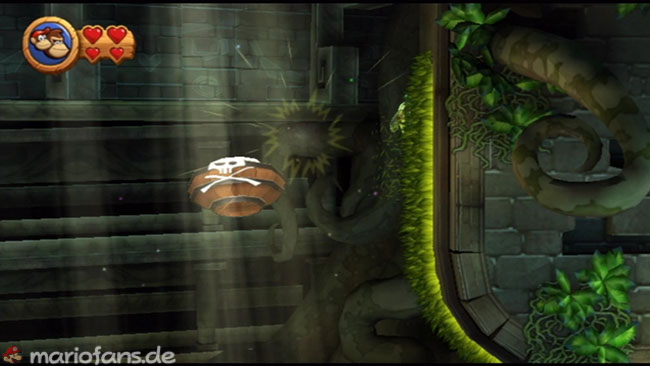
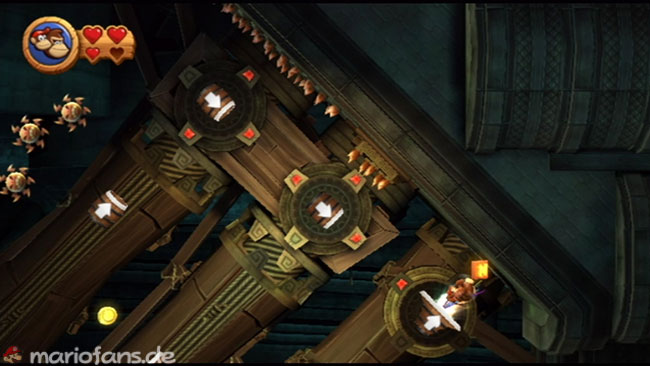
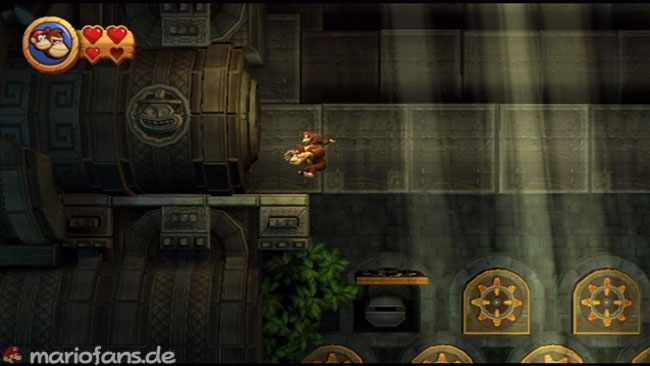
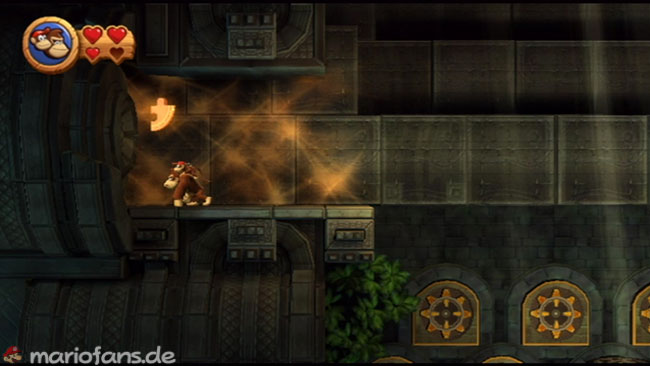
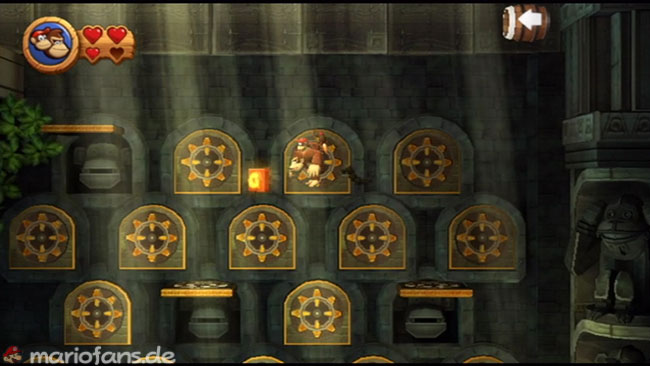
- Puzzle Piece 1 — Puzzle 1 Turn around at the beginning and hit the floor at the scaffolding until it collapses. Be careful not to be crushed. If it collapses, the first Puzzle Piece belongs to you.
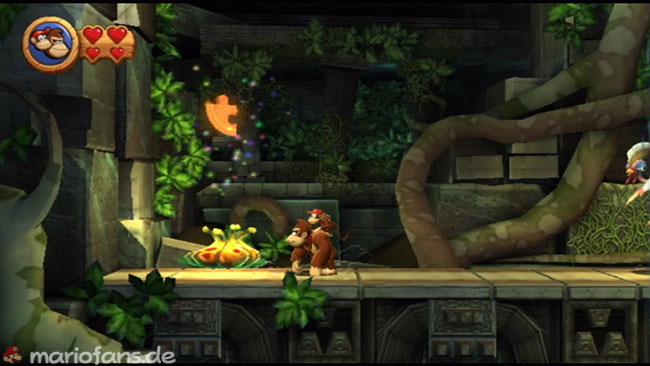
- Puzzle Piece 2 — Puzzle 2 Once you have landed in the cave, you turn around and house the yellow plant. In it is the next Puzzle Piece.
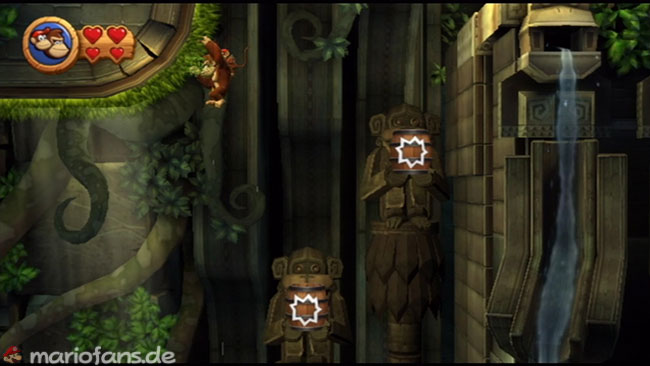
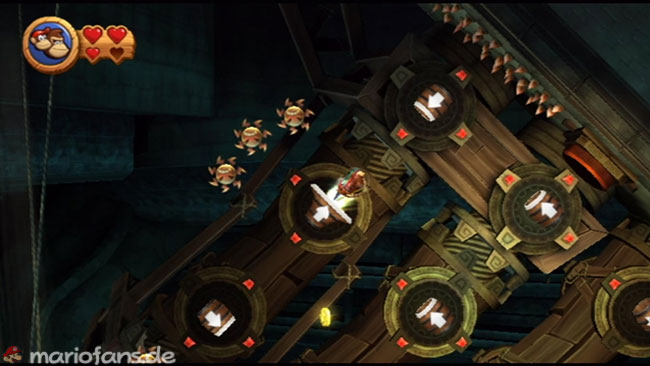
- Puzzle Piece 3 When you are in the second explosion barrel, you have to hurl towards Blanket (top left). Hold on to the lianas (Z or B button) and move left to the next piece of the puzzle.
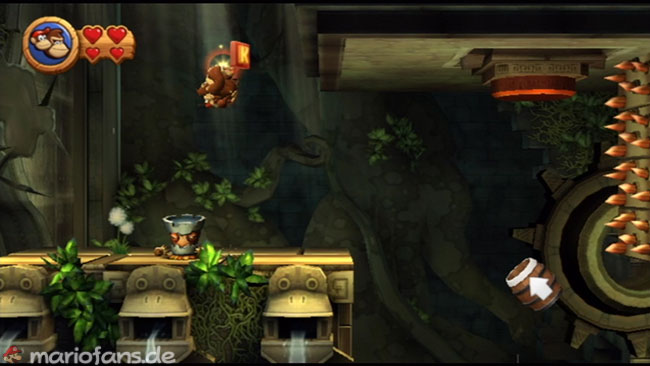
- K On the right side you will find the first letter block. Use the Tiki as a trampoline to reach the K.
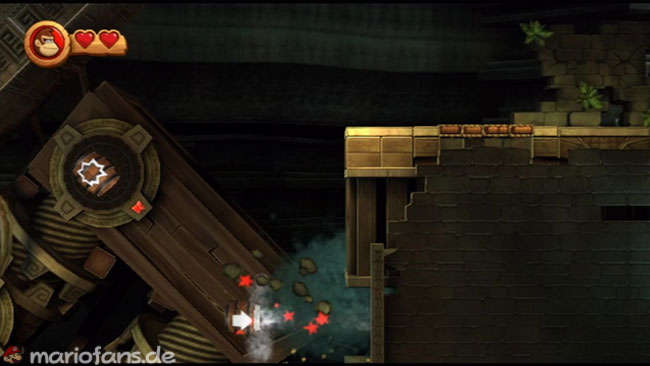
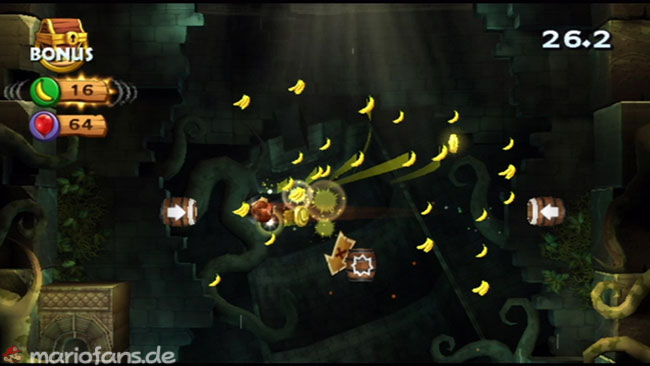
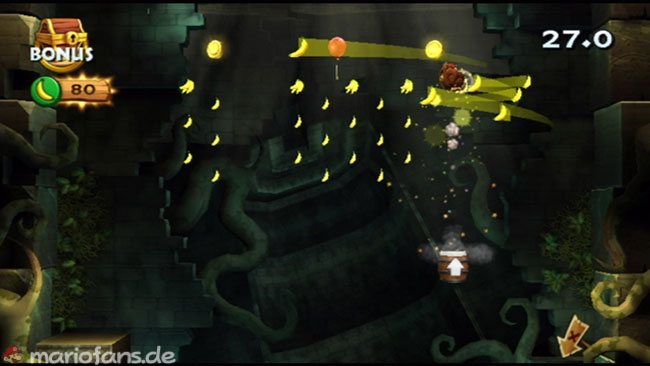
- Puzzle Piece 4 In the first barrel puzzle you see a broken wall at the bottom right. Shoot with the explosion barrel against this and the landest in the bonus area. Collect all the bananas to get a Puzzle Piece at the end.
- Once you have left it, you jump on the chicken with stilts (press A on landing so you jump higher) and get the next letter block.• Puzzle Piece 5 After Professor Chops, you see a blanket to hang again. Climb to the left and open the flower (shake the remote control). Inside it is a barrel that leads you to the next bonus area. Collect all the items for another puzzle.
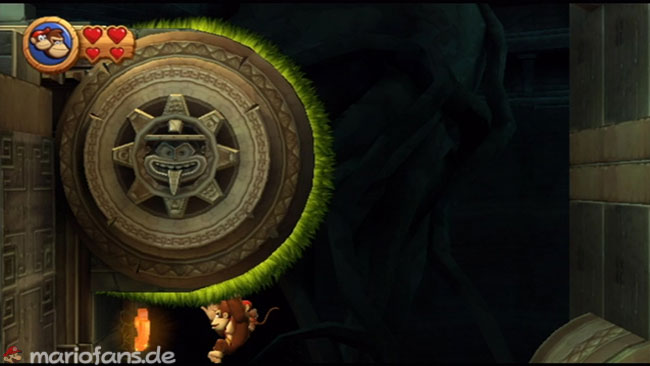
- Puzzle Piece 6 — Puzzle 6 With the green wheel, which is on the ground, you have to hang down. This is where the next piece of the puzzle hovers.
- N In the second barrel puzzle, the N floats. First activate the Color Switch and then get the letter block with the explosion barrel.
- G With the many gear platforms, the G floats at the top in the middle.
- Puzzle Piece 7 Search here also a way to the top left. Behind a hidden wall is the last Puzzle Piece.
3-3: Mast Blast
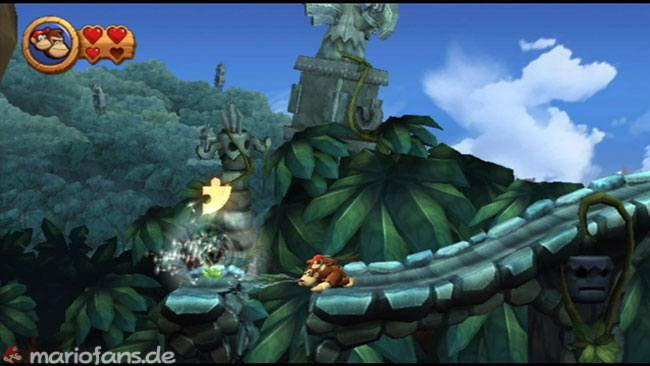
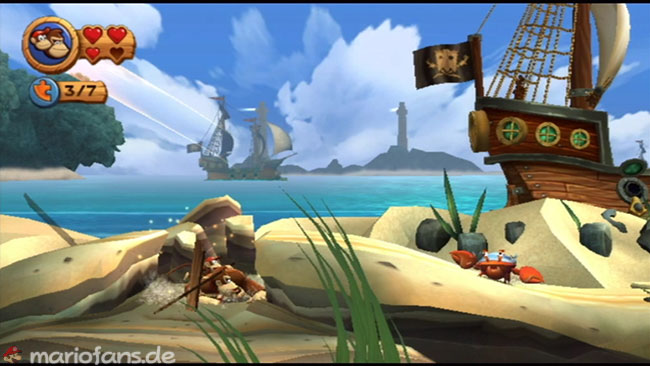
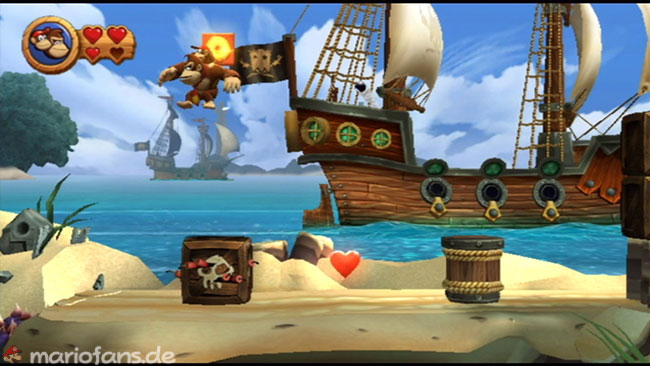
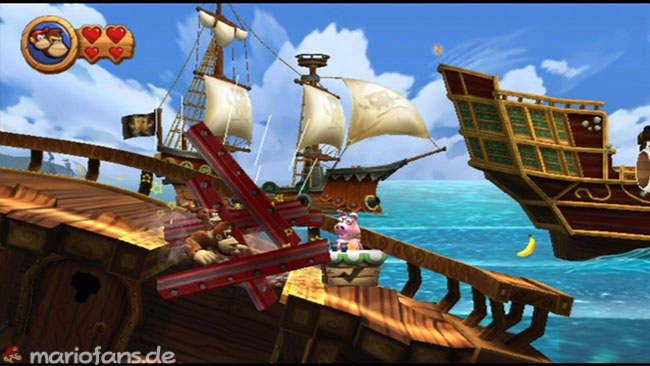
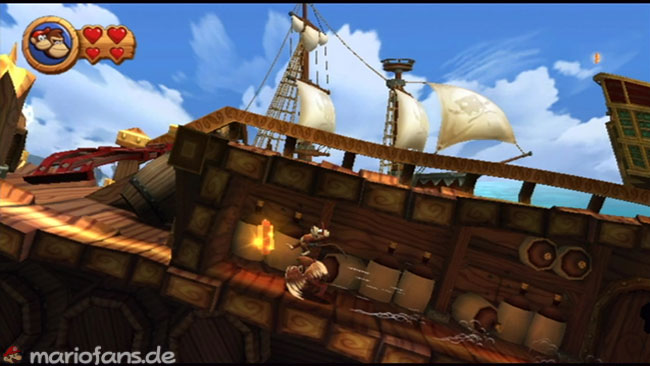
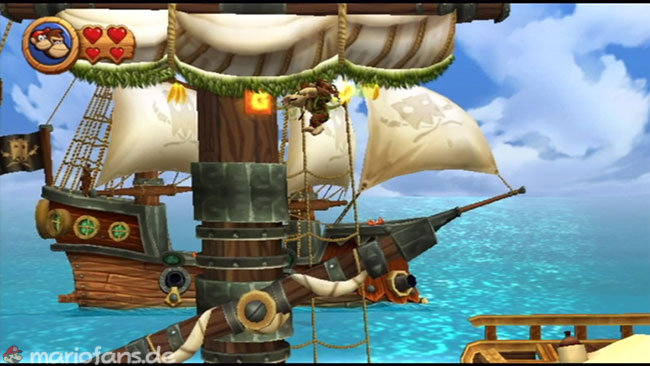
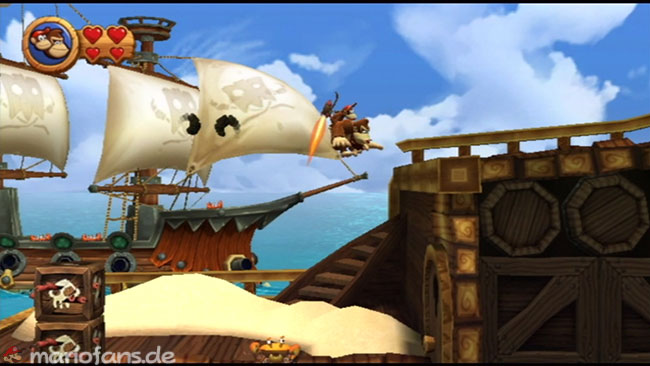
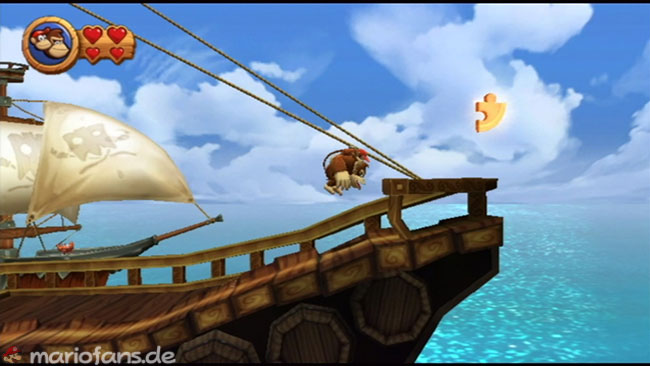
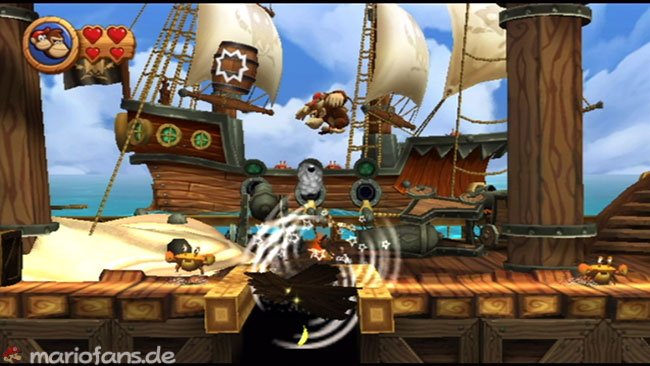
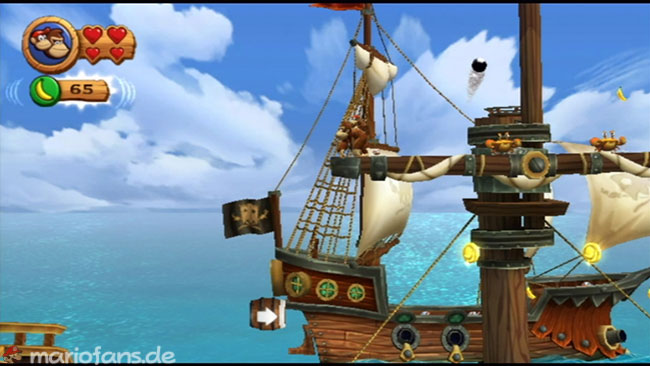
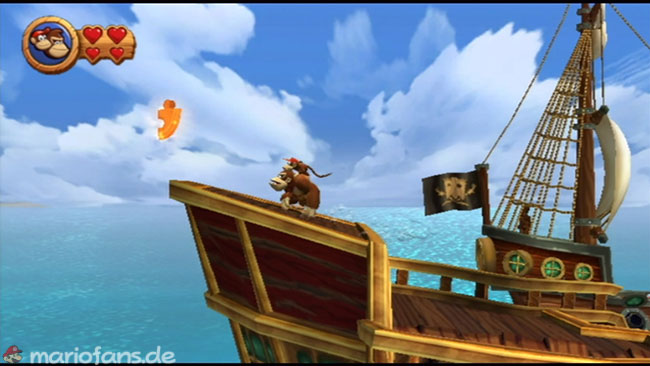
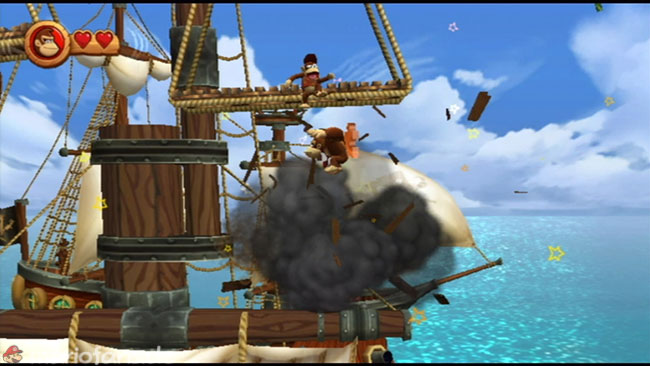
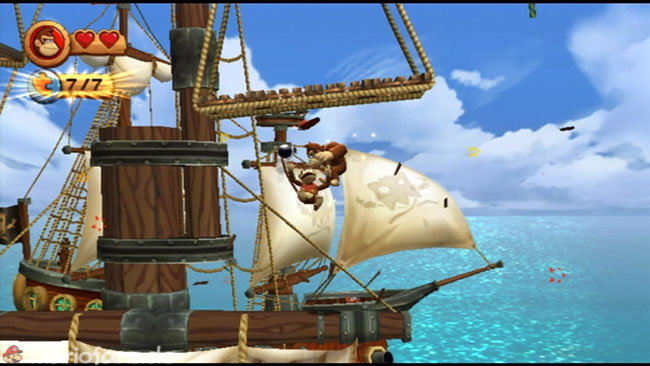
- Puzzle Piece 1 Once you have landed in the background, you turn around and look for the puff flower. Blow them away for a Puzzle Piece.
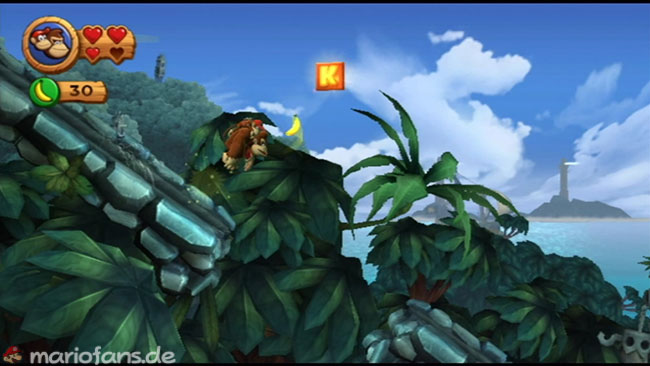
- K At a slightly steeper finish (at the bananas), the K floats in the air.
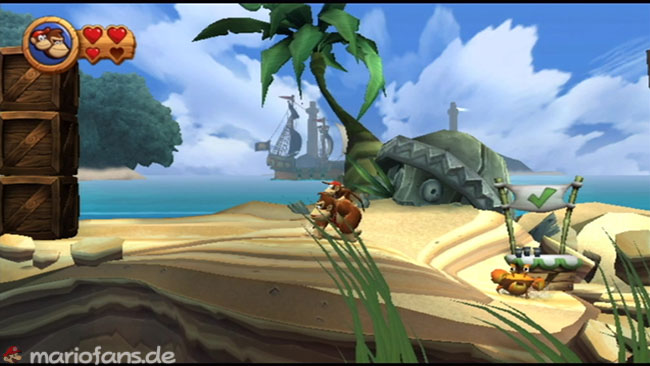
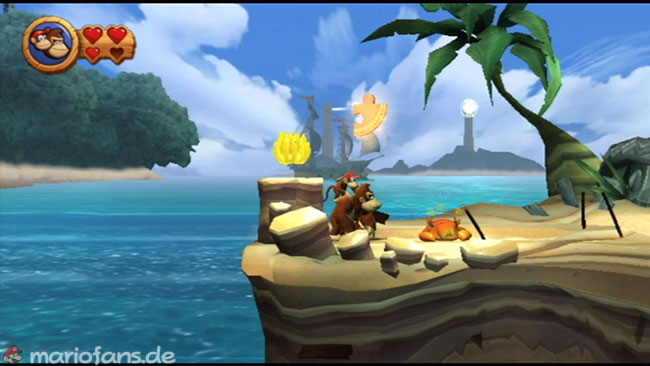
- Puzzle Piece 2 On the Beach, track the crabs to the left until you stand in front of the boxes. Now use them as trampolines to get onto the boxes. Smash all three for a Puzzle Piece.
- Puzzle Piece 3 — A little further to the right, under a long crate, is the next Puzzle Piece. Smash those too to achieve it.
- O Over a dynamite box floats the O. Get it quickly before the Crate is destroyed by a Cannonball.
- N Shortly before Professor Chops is a red grid. Smash it and you will find the N on the left in the hallway.
- G On the big ship you will find about the middle of the G. You can grab it if you move the platform a bit and then hang out along the blanket.
- Puzzle Piece 4 Spring from the platform to the right onto the two dynamite boxes. From there continue to the right until you are at the bow of the ship. Here is another piece of the puzzle.
- Puzzle Piece 5 On the deck of the ship are two more long dynamite boxes. Blow up with the Cannonball to unlock a course to the next bonus area.
- Puzzle Piece 6 — Puzzle 6 If you are already quite high up the ship, you jump to the far left to the stern of the ship. Here is another piece of the puzzle waiting for you.
- Puzzle Piece 7 — Puzzle 7 The last Puzzle Piece is in a small dynamite box. It is located high on a platform. With the help of a Cannonball, you can destroy it and get the Puzzle Piece.
3-4: Damp Dungeon
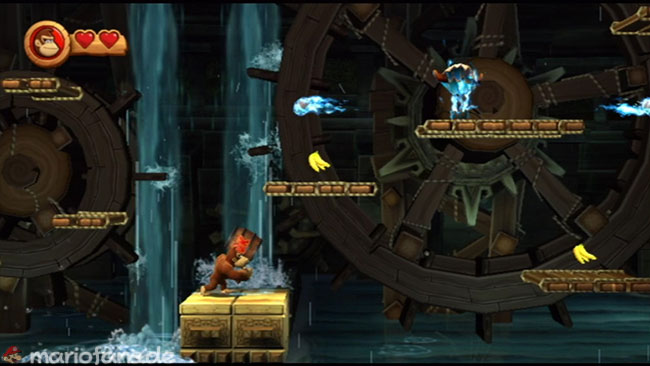
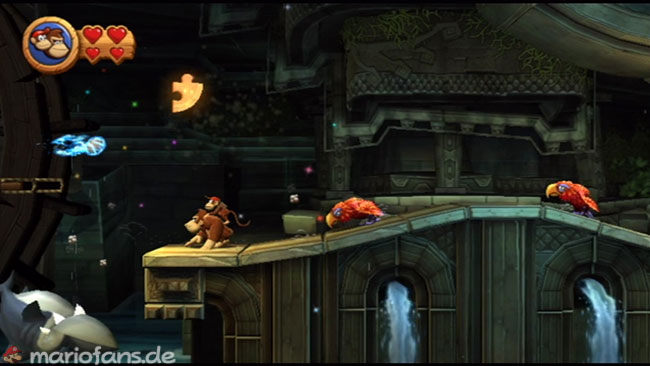
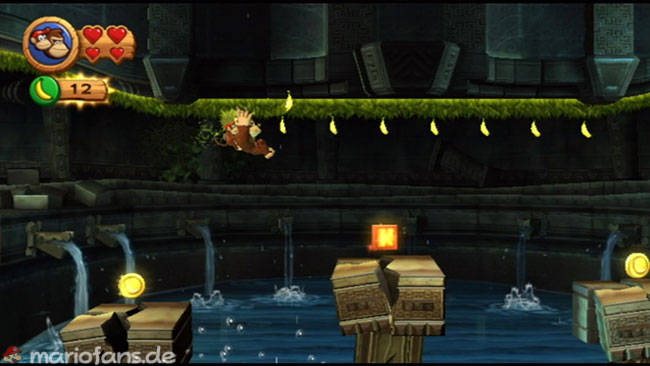
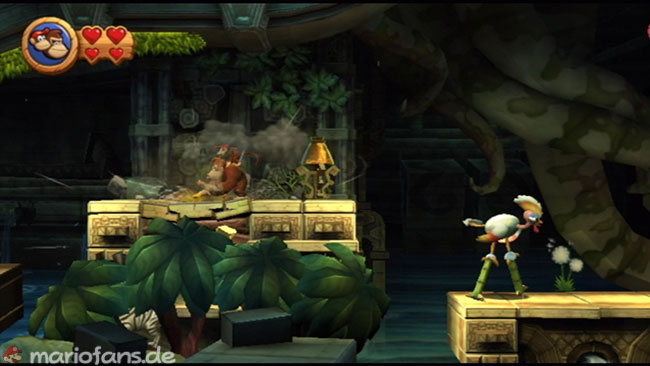
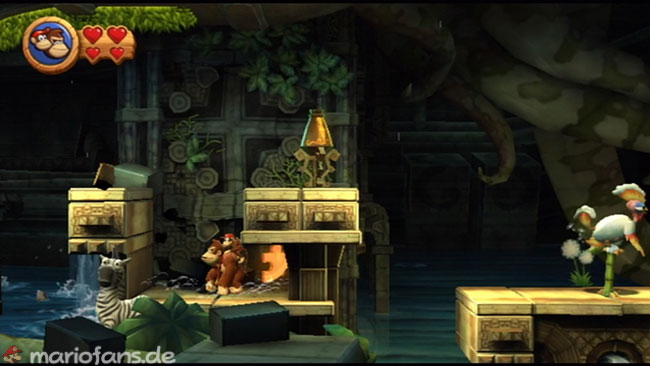
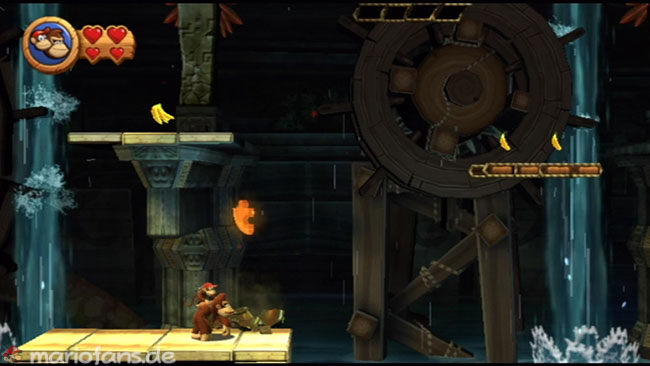
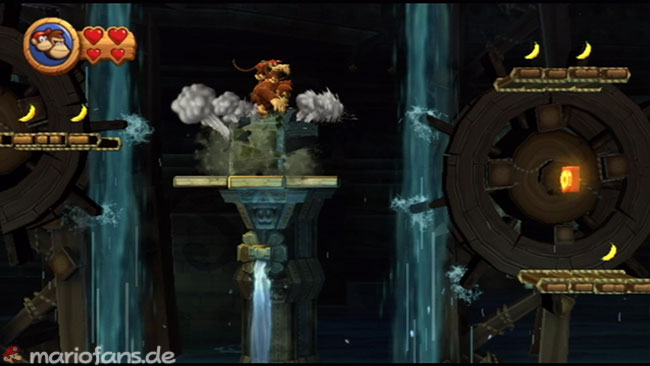
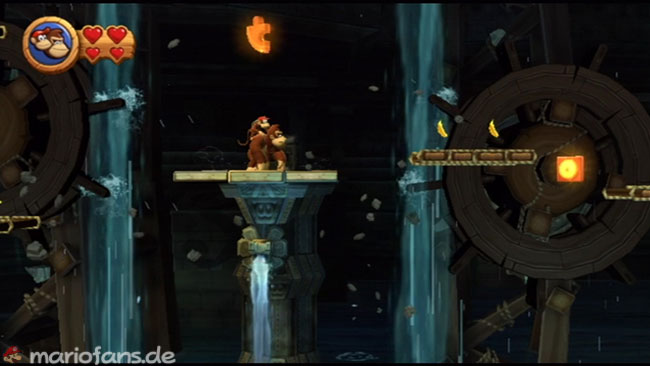
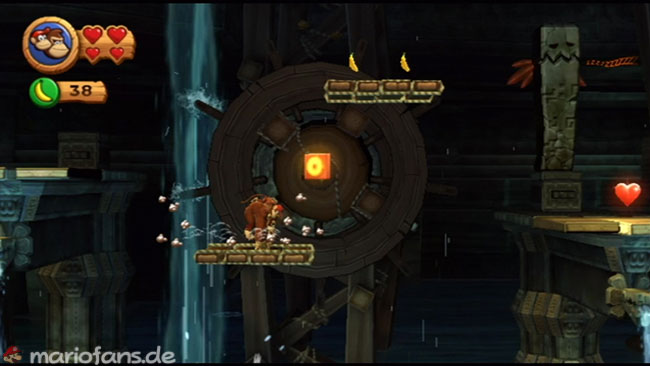
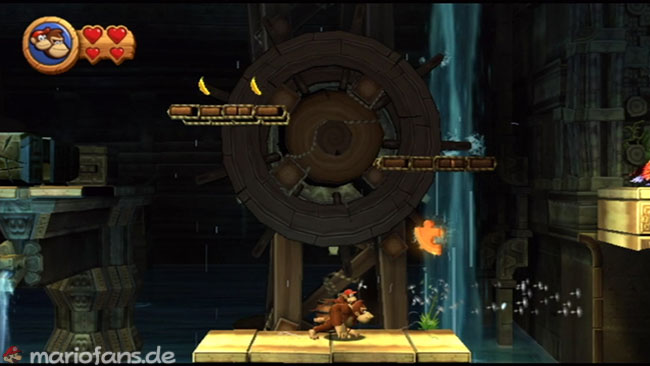
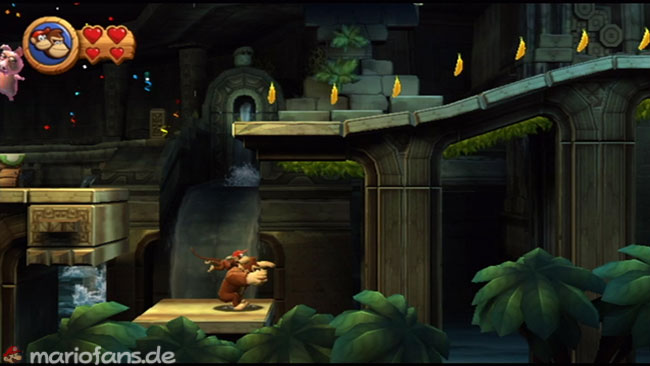
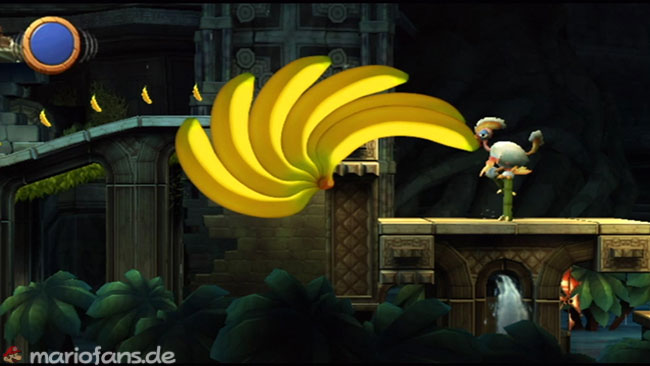
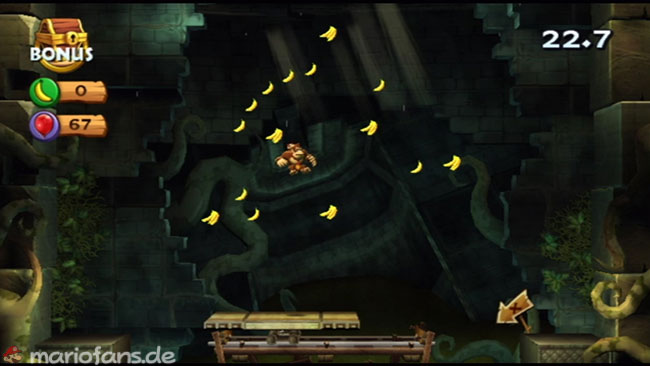
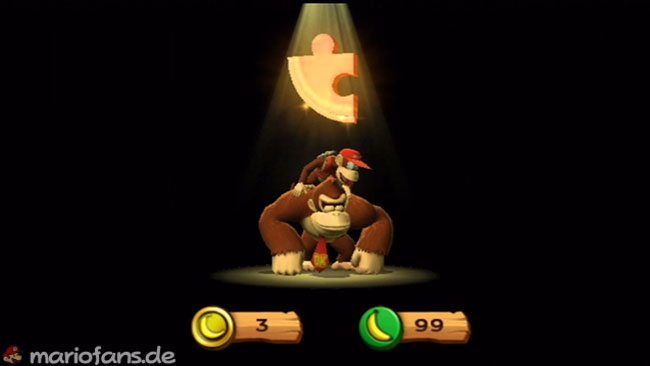
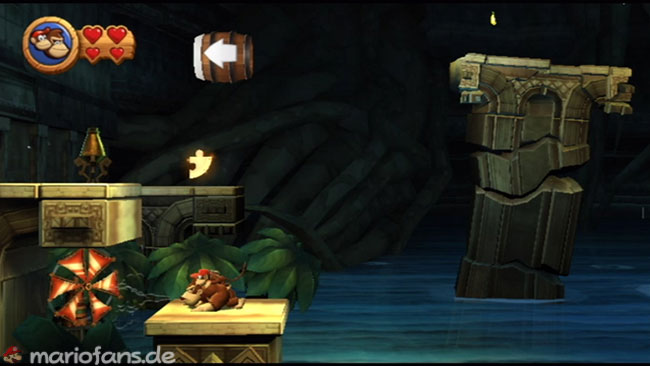
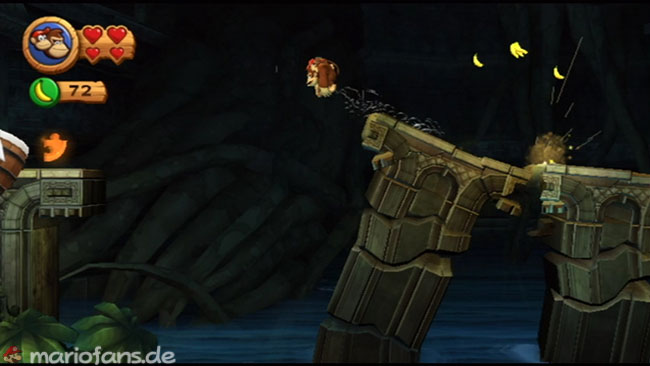
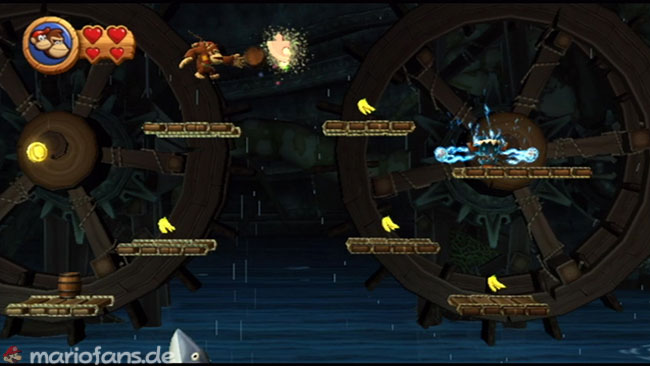
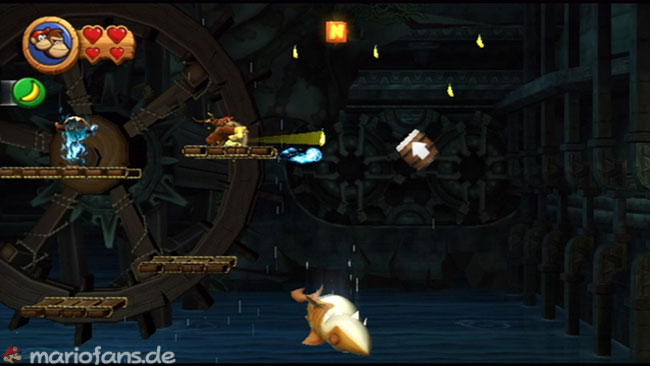
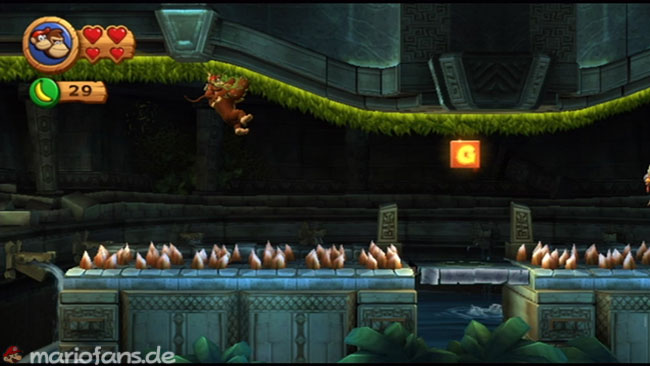
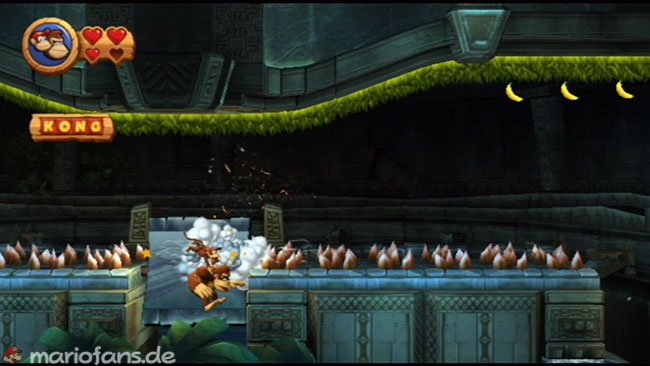
For this level, you must have bought the card key in Cranky Kongs store beforehand.
- Puzzle Piece 1 Take the DK Barrel with you and ride with it a round on the water mill. On the right you see a sack. If you throw the barrel against this, the first Puzzle Piece appears.
- K It hovers over a shaky platform.
- Puzzle Piece 2 Shortly afterwards you will see an opened platform. Smash them and you will find a Puzzle Piece behind the leaves.
- Puzzle Piece 3 — In the jar between the two water mills is still a Puzzle Piece.
- Puzzle Piece 4 On the platform above (one further to the right) is still a Puzzle Piece. To get it, you just have to break the Ticki pole.
- O that is not to be missed. It hovers between the two platforms after the Tiki stake.
- Puzzle Piece 5 At the end of the whole water wheels you will find a barrel and a blow flower. If you blow them away, you get the next Puzzle Piece.
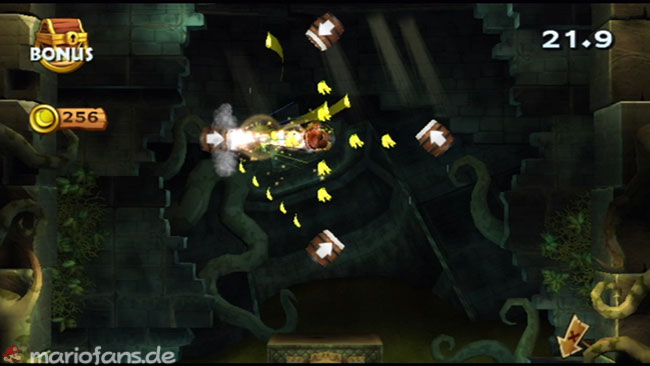
- Puzzle Piece 6 — After Professor Chops you will find a small bay where grass grows on the Blanket. So hang out under the bananas, up to the bonus area. Here you collect all the items again until the next Puzzle Piece appears.
- Puzzle Piece 7 — Puzzle 7 Before you change the level with the barrel, you should first make the wind turbine turn (blow). If it turns fast enough, the Puzzle Piece appears in the background. Now change the level. Now your speed is required, once you have landed on the platform, you have to quickly jump to the Puzzle Piece with a roll jump to the left on the platform.
- Puzzle Piece 8 — Puzzle 8 For the next two large water wheels you will find a few barrels again. Grab one and throw it at the sack hanging between the two wheels. It contains the Puzzle Piece.
- N Shortly afterwards you can get the N that hovers in front of the barrel.
- G is not to be missed.
- Puzzle Piece 9 — Puzzle 9 Drop on the floor at the G and hit the stone platform. You end up in the bonus area, where you have to collect all the items once again to get a Puzzle Piece.
3-5: Itty Bitty Biters
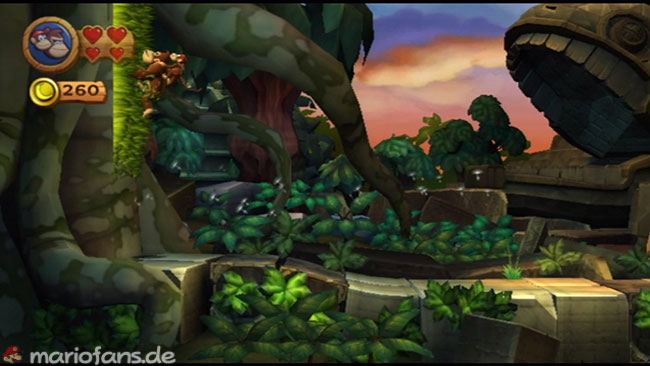
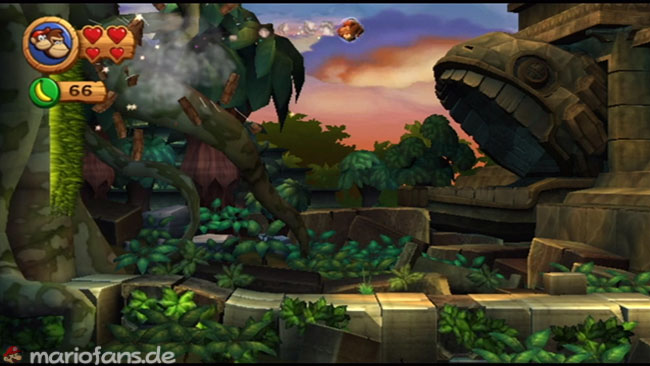
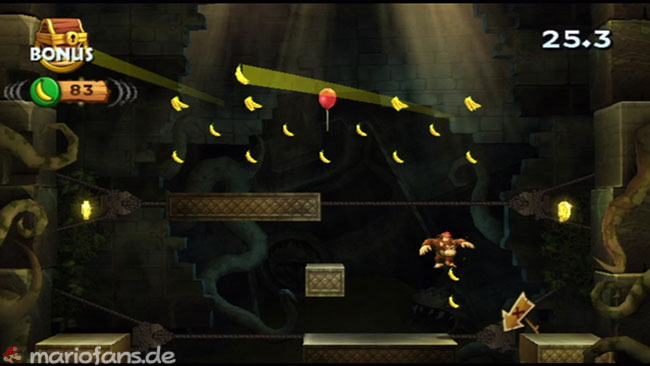
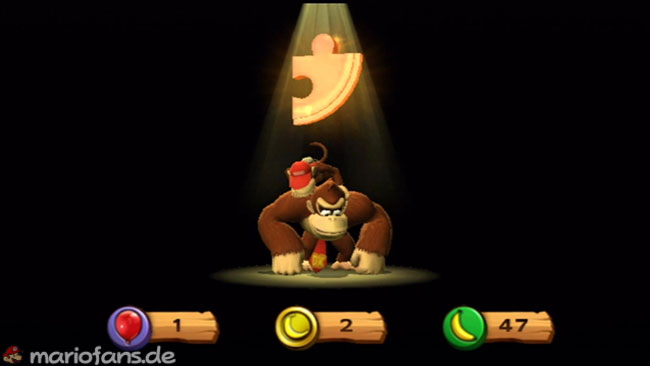
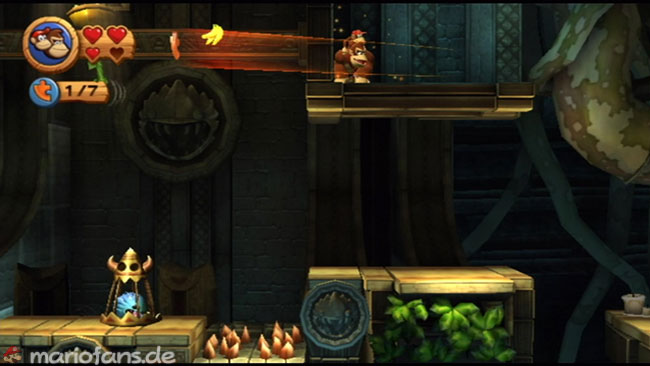
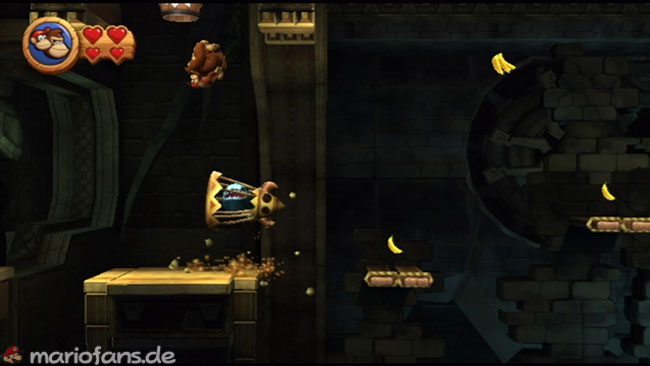
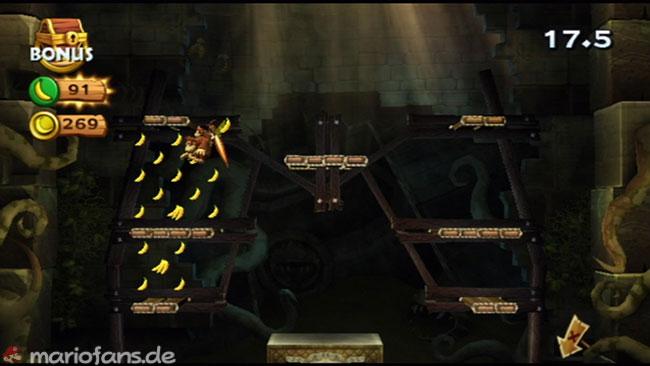
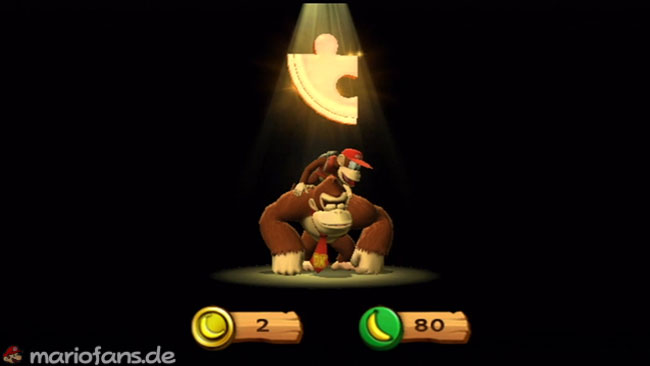
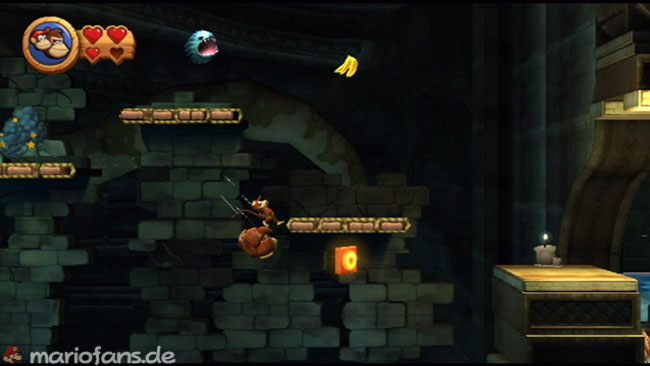
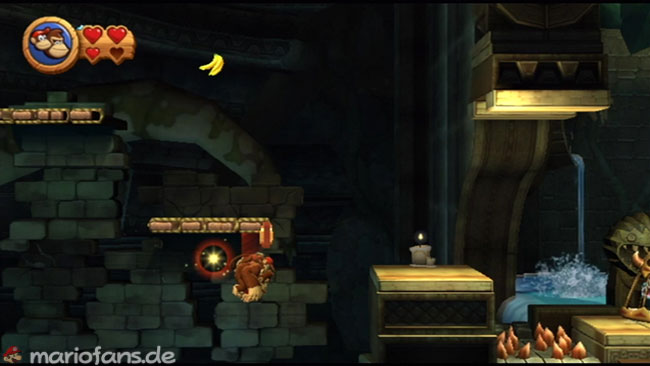
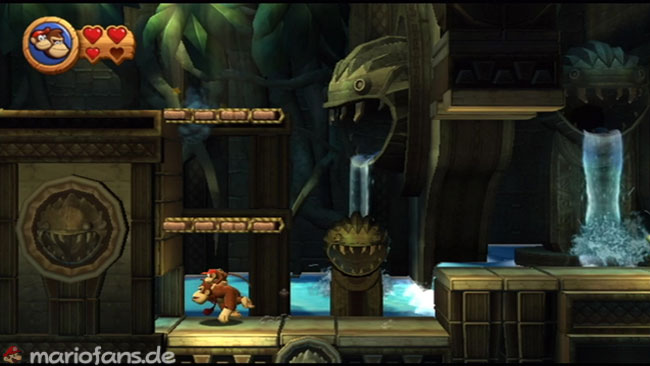
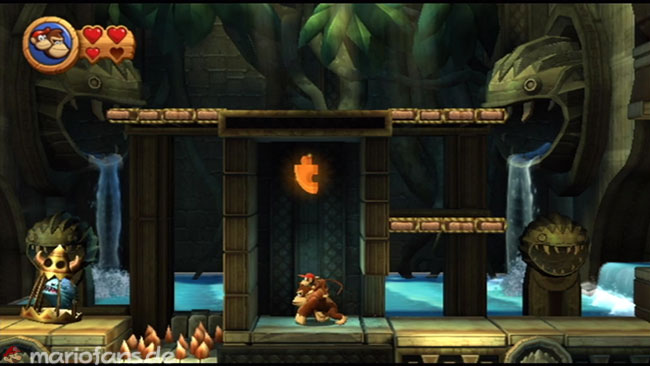
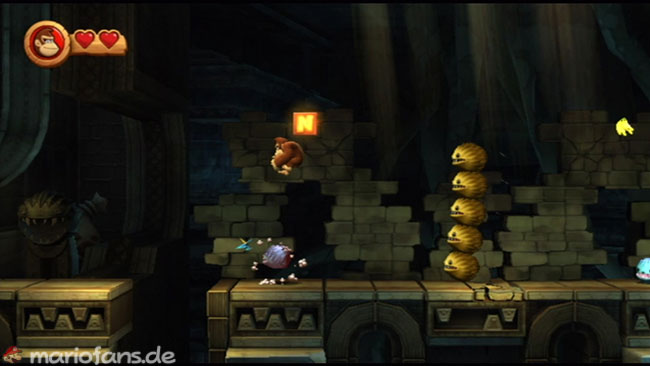
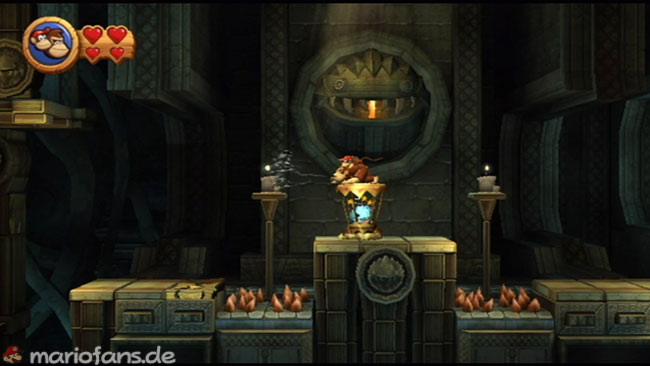
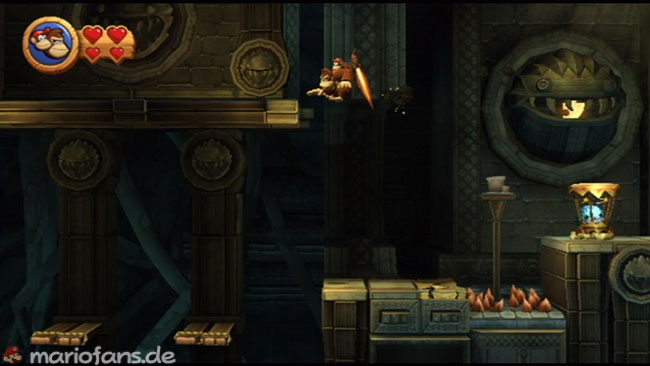
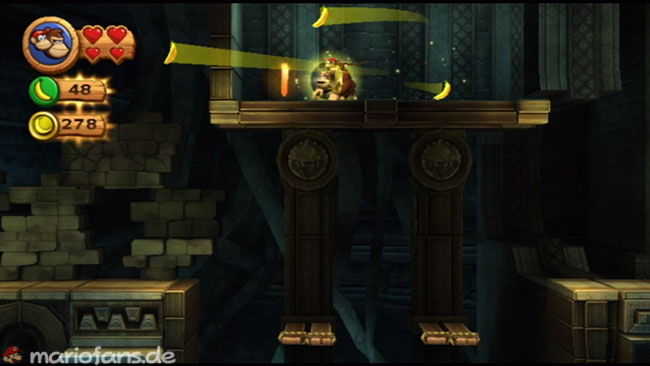
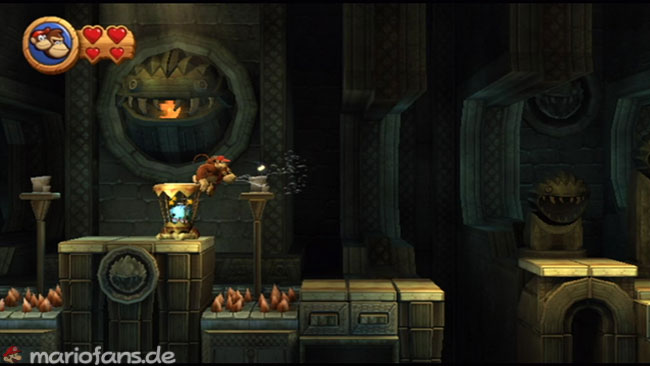
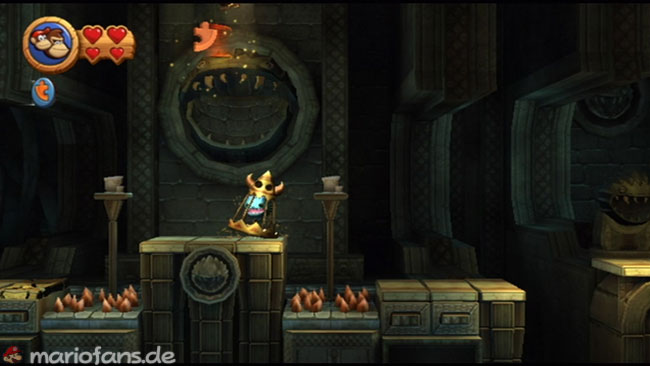
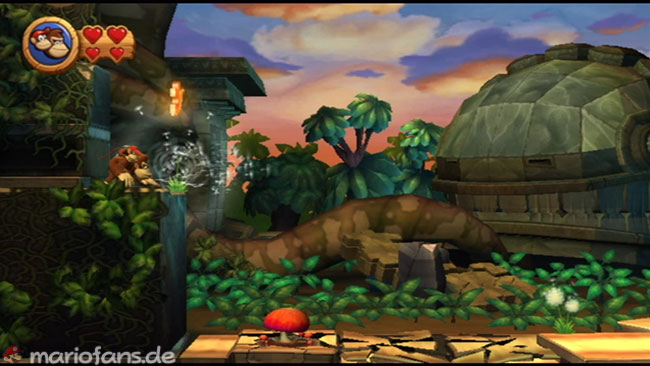
- Puzzle Piece 1 Climb the left grass wall upwards. From there, a barrel leads you into the bonus area. Collect all items and get the first Puzzle Piece.
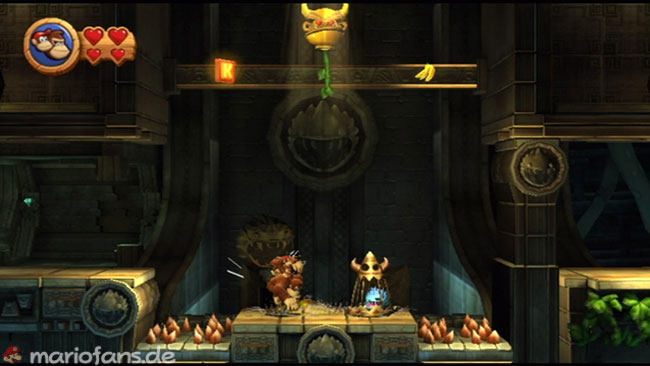
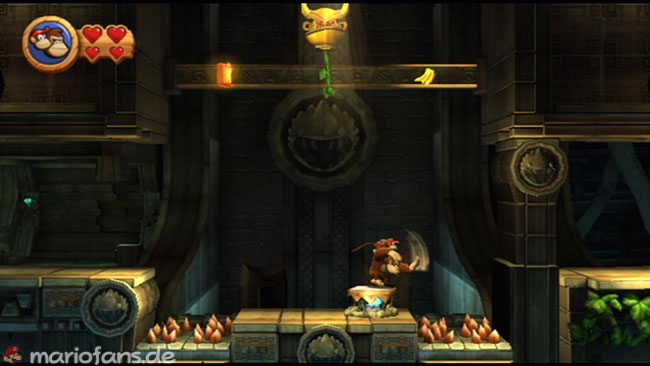
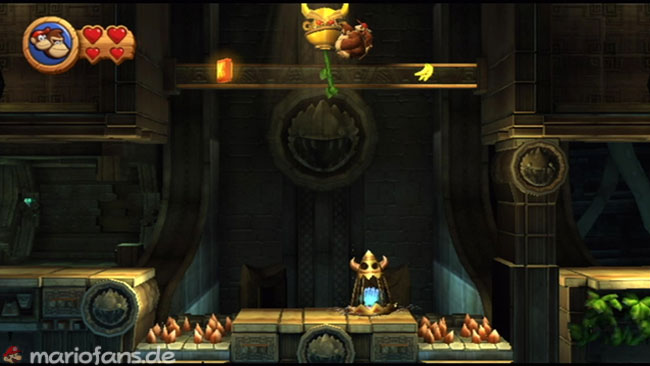
- K Strike the cage on the ground so that it turns. Now jump on the cage and this time hit on the cage so that it is rammed into the ground. After a short time, the cage shoots you into the air and you reach the K.
- Puzzle Piece 2 Soon after you jump to the platform above the candle. On the left is a secret wall behind which the Puzzle Piece floats.
- Puzzle Piece 3 Above the one cage you see a blast barrel. Use the cage again as a trampoline to reach the barrel and get into a bonus area.
- O The O floats under a platform. With a roll jump you can achieve it.
- Puzzle Piece 4 Runs directly to the left of the checkpoint pig and you get to a hidden area where the Puzzle Piece is located.
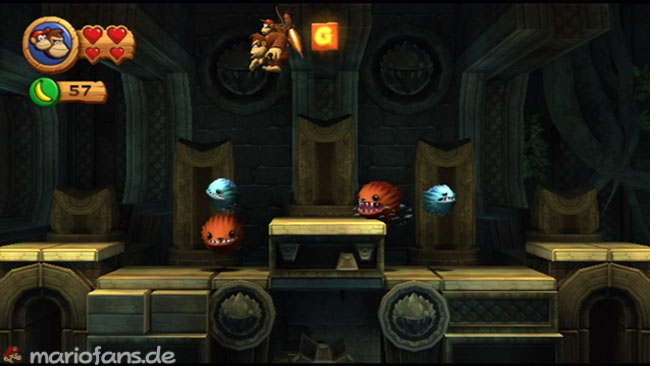
- N Stand in front of the brown Snapjaws until they try to rush on you, and then quickly dodge. Jump from them to reach the N.
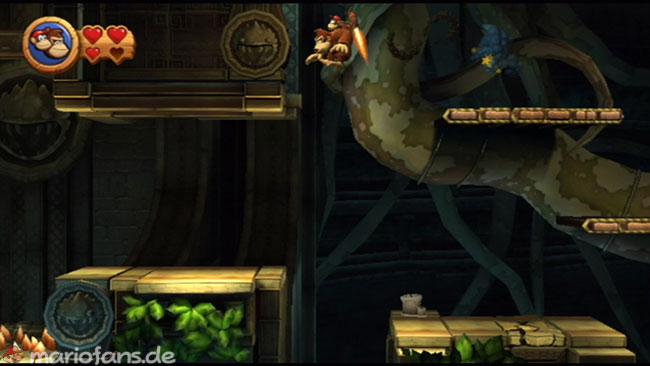
- Puzzle Piece 5 For this you need Diddy. Get the locked Snapjaw to turn around on the left side of his platform. Stom it into the ground and wait until it throws you into the air. Use Diddy’s jetpack to glide to the left, where a hidden area hides the Puzzle Piece.
- Puzzle Piece 6 Turns the locked Snapjaw and blows out the candles on both sides.
- G Jumps off a Snapjaw to reach it.
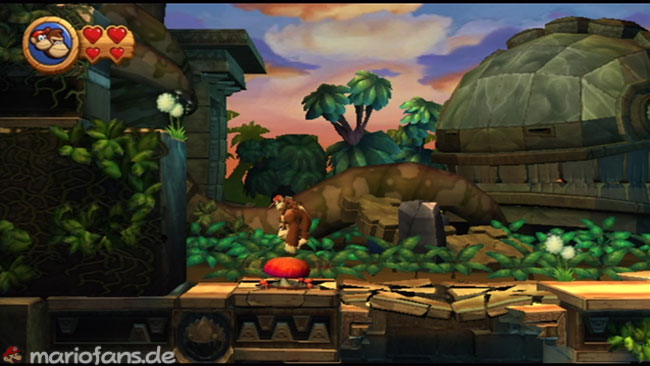
- Puzzle Piece 7 — Puzzle 7 After seeing the elephant lift off in the background, stamp on the red area and jump off the appearing mushroom to reach the lead with the dandelion. Blow the dandelion, and the last Puzzle Piece is yours.
3-6: Temple Topple
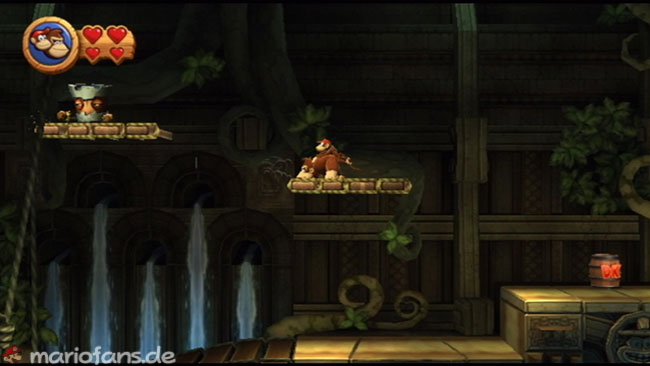
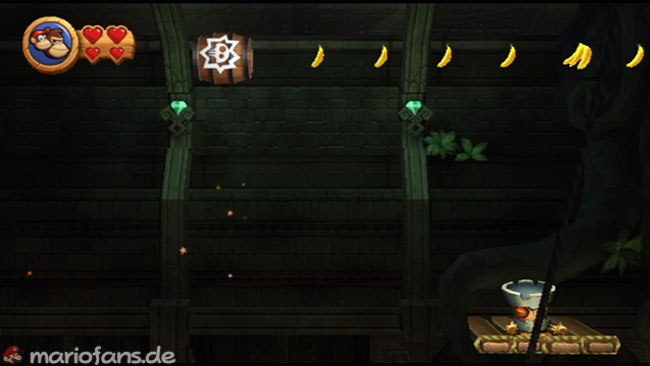
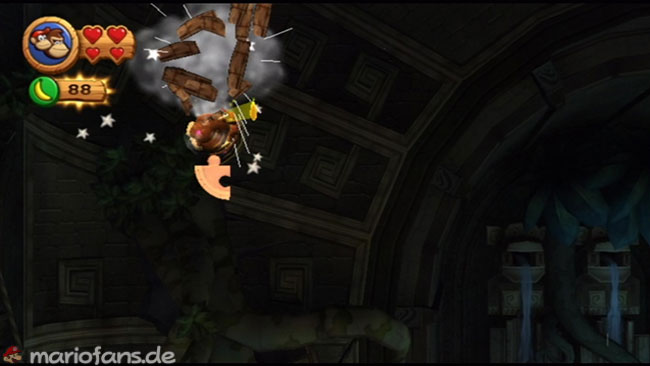
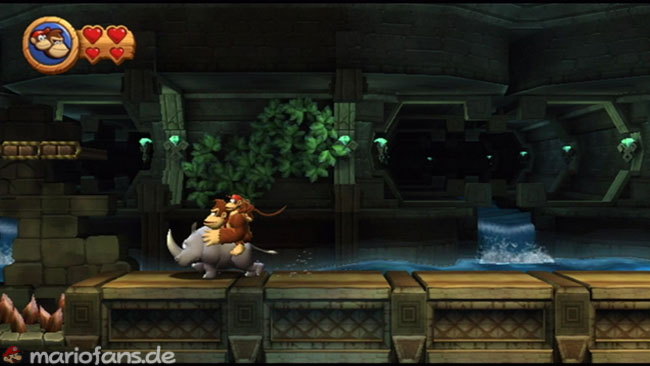
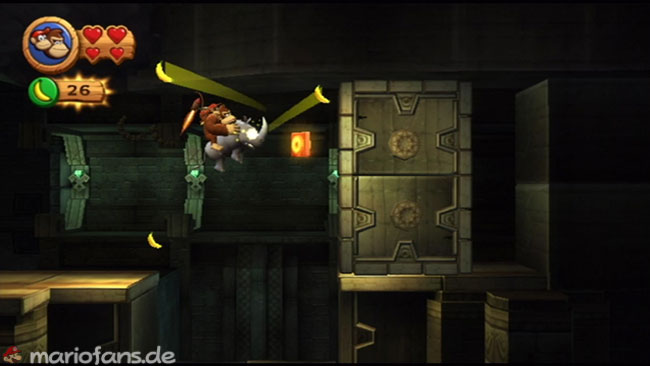
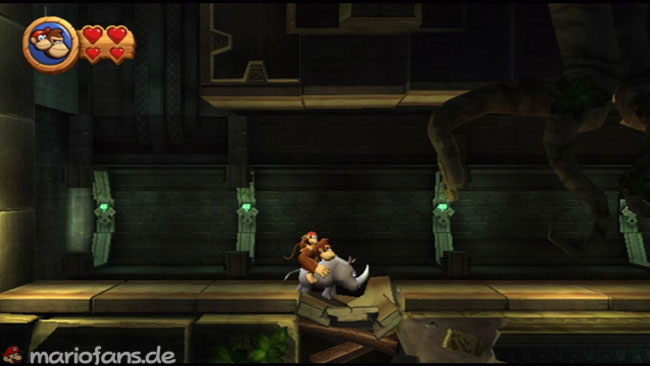
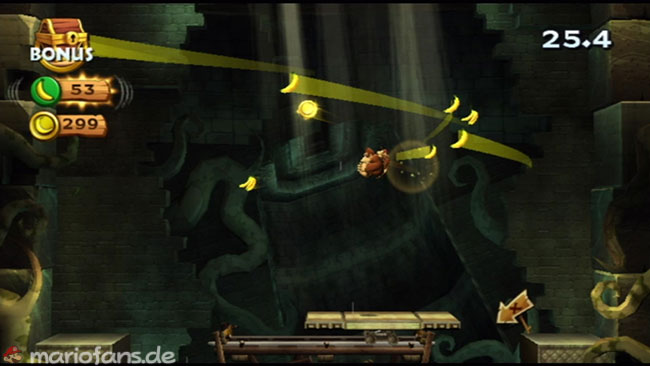
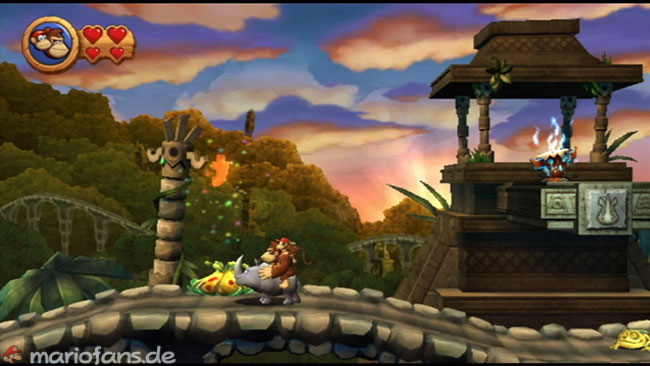
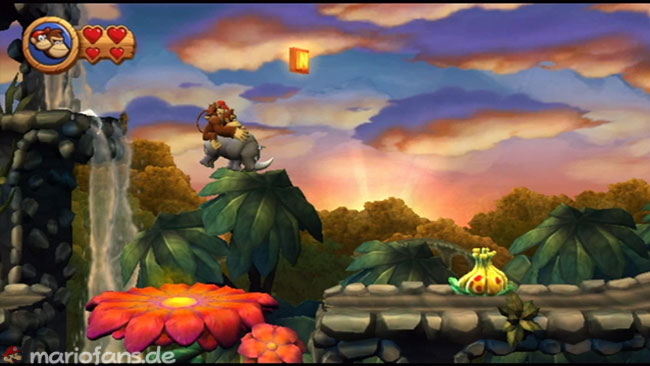
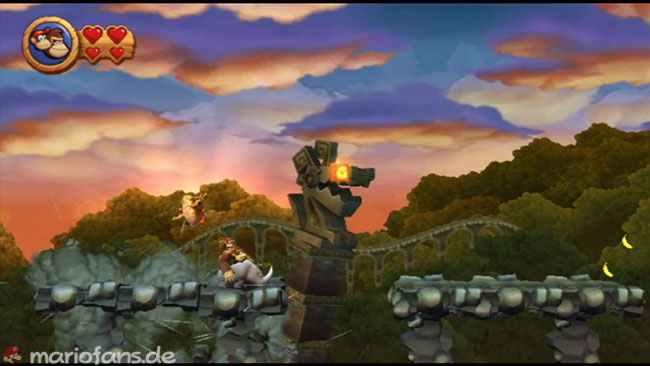
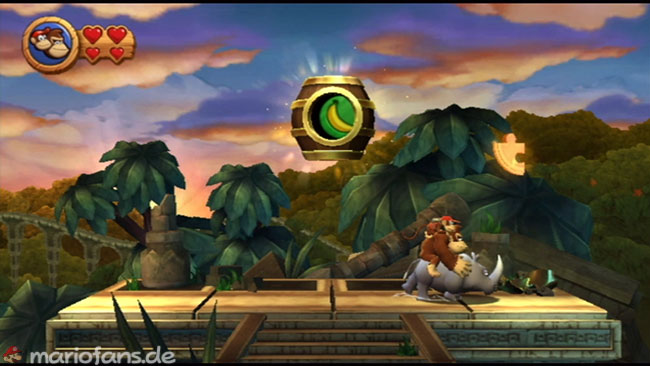
- Puzzle Piece 1 — Puzzle 1 Hop on the first platforms you find to the jumping barrel. It will shoot you to the Puzzle Piece.
- Puzzle Piece K Once you climb Rambi, turn around and move to the left. Use Rambi to remove the Spike Trap from the pit. Then descend and stamp on the floor to gain access to the K.
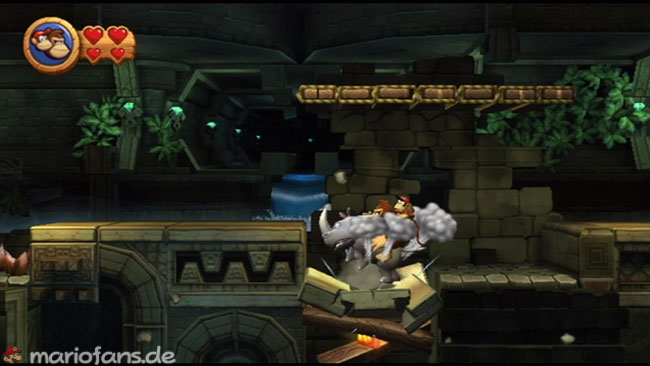
- Puzzle Piece 2 Ride with Rambi back to the beginning of the level and break through the wall.
- O you collect it as you break with Rambi through a series of blocks.
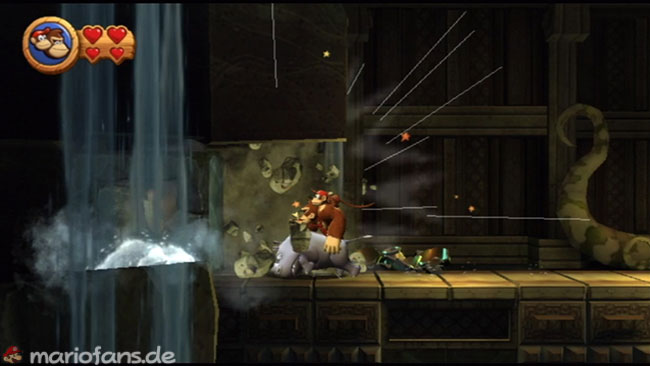
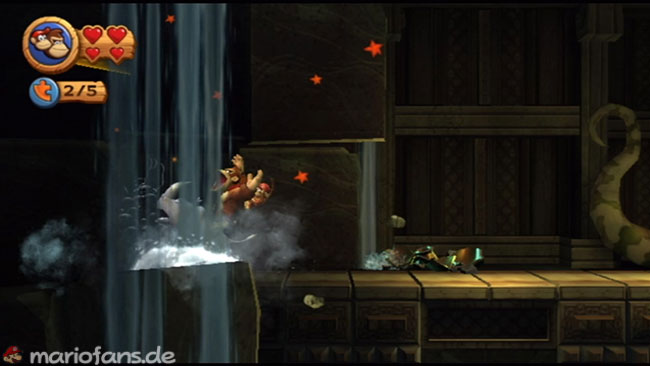
- Puzzle Piece 3 Once Rambi falls through a series of blocks, stamp on the stone slab. Jump down and head right to find a bonus area.
- Puzzle Piece 4 Stoms the plant a piece behind the checkpoint pig into the ground.
- N Uses the springy flower to reach it.
- G Grab it as you walk across the collapsing platforms.
- Puzzle Piece 5 Stamps the jar into the ground directly behind the target barrel.
3-K: Shifty Smashers
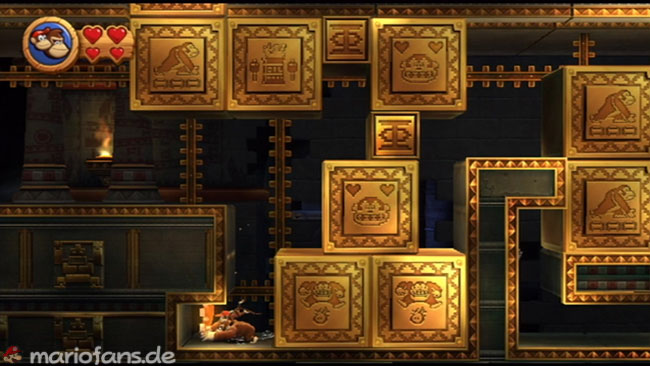
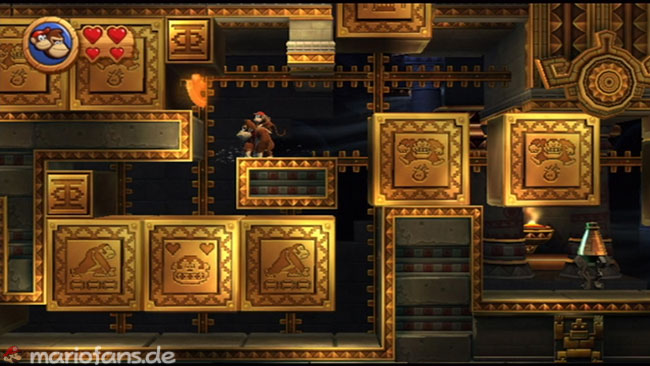
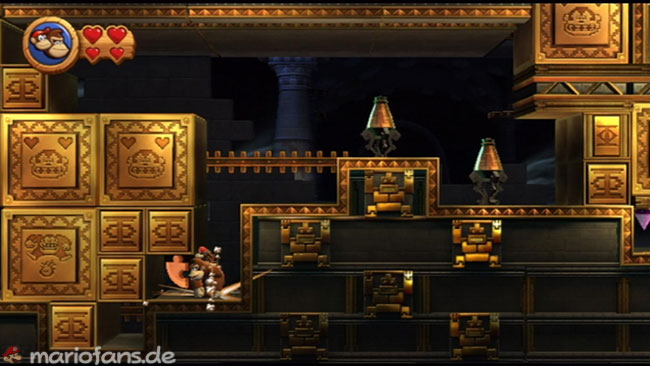
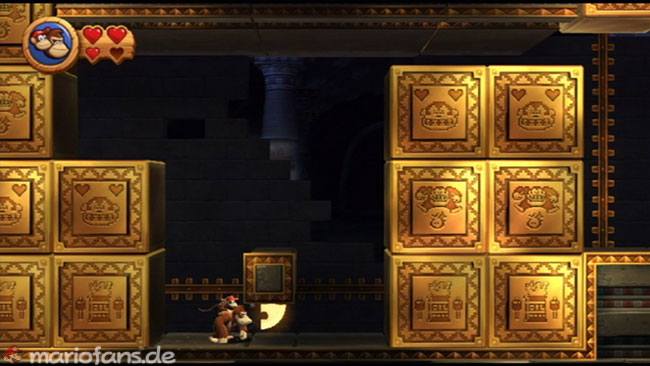
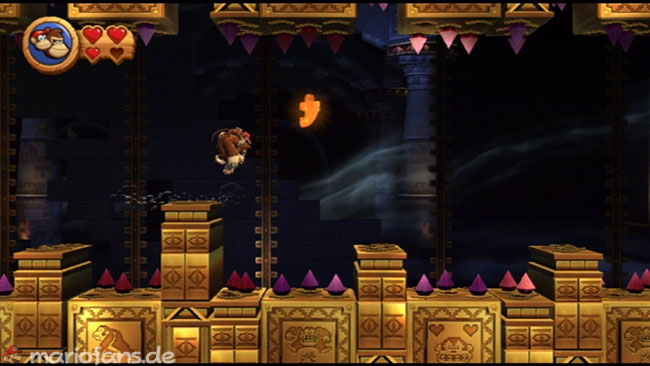
For this level, you must have previously found all K-O-N-G letter blocks in the previous levels.
- Puzzle Piece 1 It is located in a small area close to the bottom of the screen. Not hard to see or reach.
- Puzzle Piece 2 This too is easy to discover. Just grab it.
- Puzzle Piece 3 You have to be fast to achieve this without being crushed. Don’t panic when the spiky blanket lowers. If you are on the deepest part of the ground, you can duck. There is no need to rush through the entire section before the blanket is completely down.
- Puzzle Piece 4 Easy to see and easy to grab – as long as you pay attention to your surroundings.
- Puzzle Piece 5 Grab it as you move through the final section with the falling spiky Blanket.