

The complete solution to Donkey Kong Country Returns for the world “World 8 – Volcano”. On this page we help you search for all K-O-N-G letters and Puzzle Pieces.
8-1: Furious Fire
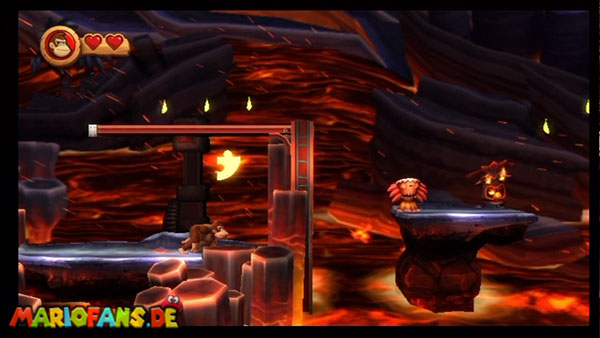
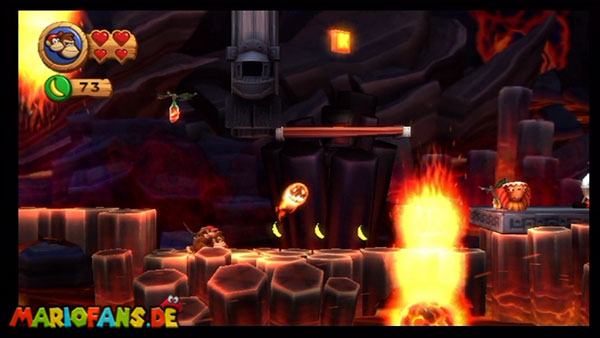
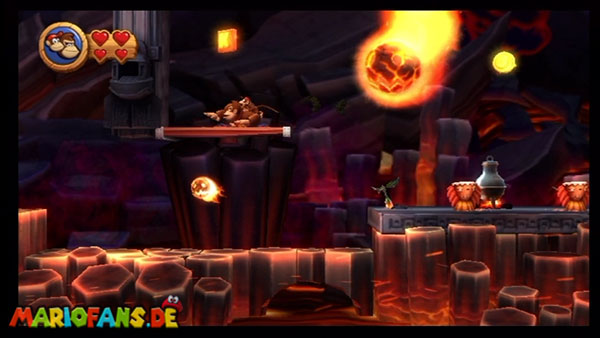
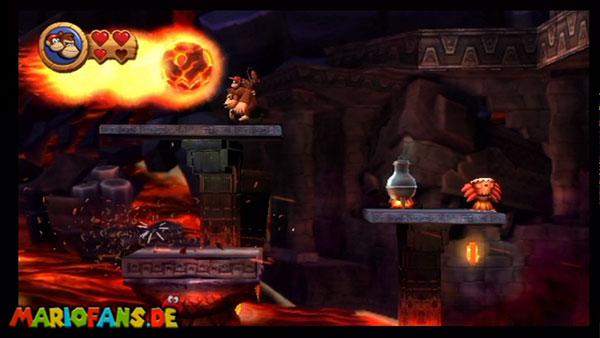
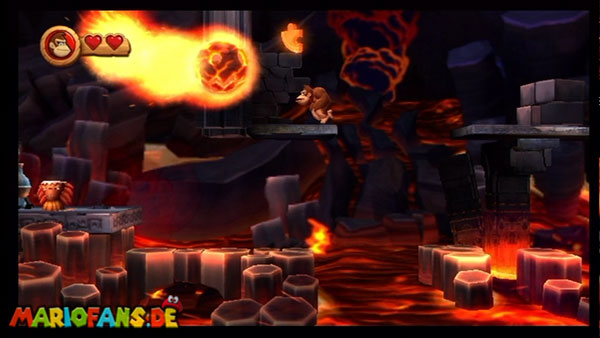
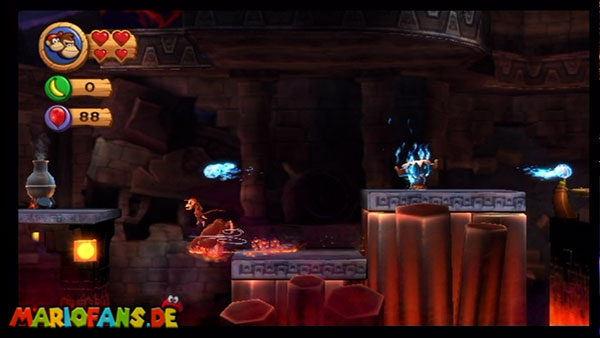
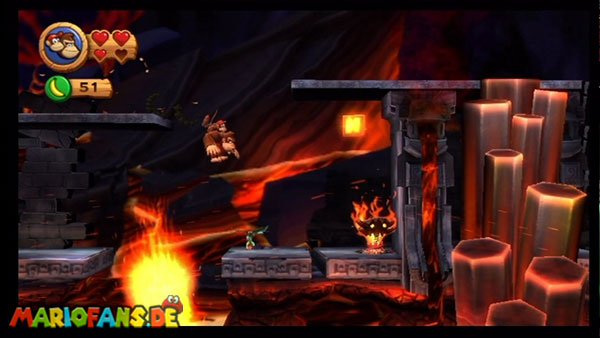
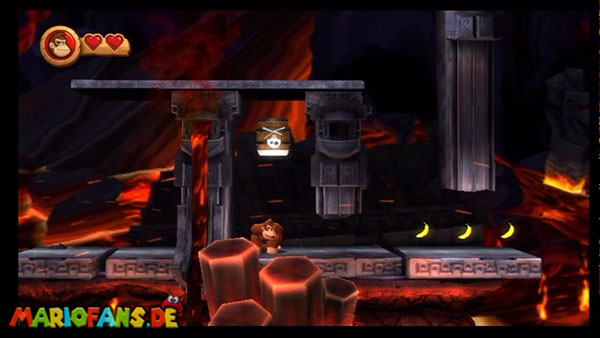
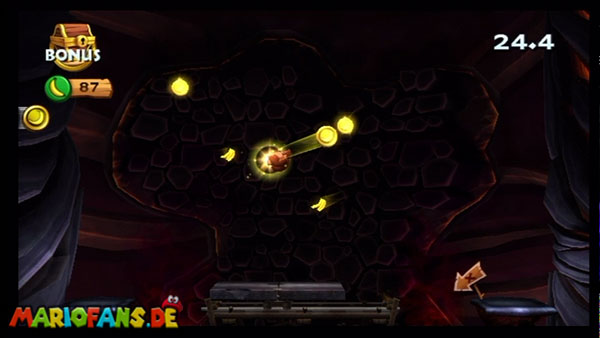
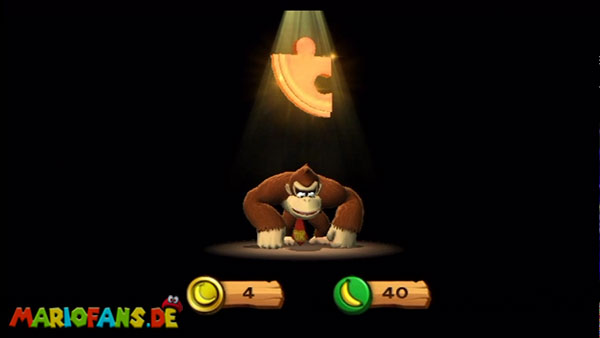
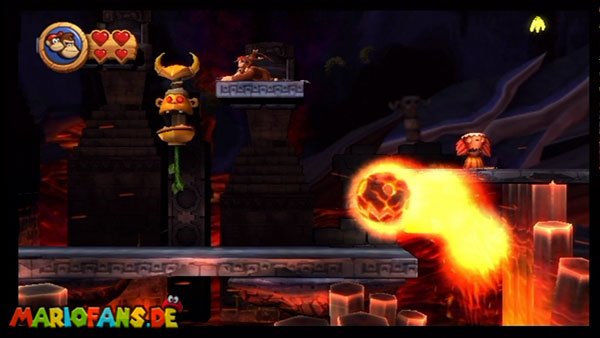
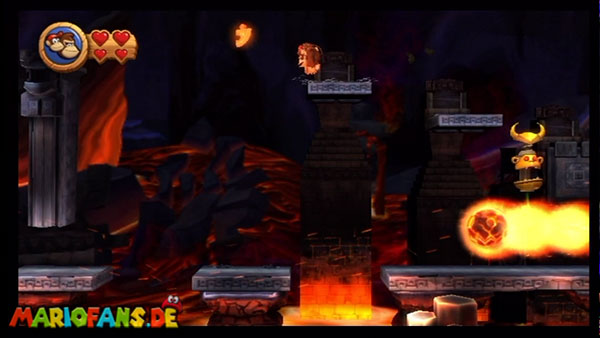
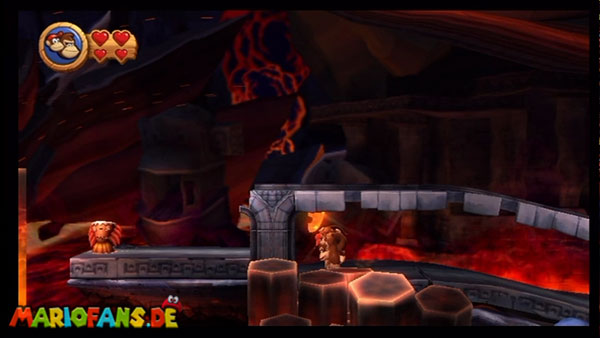
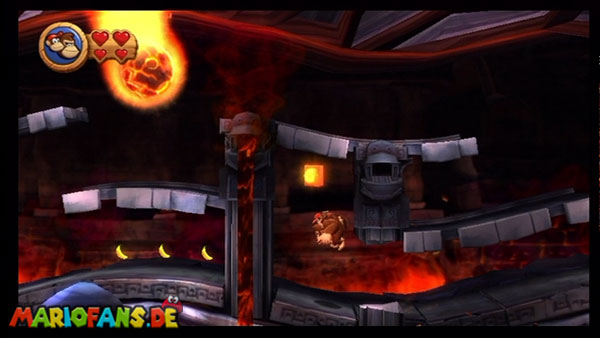
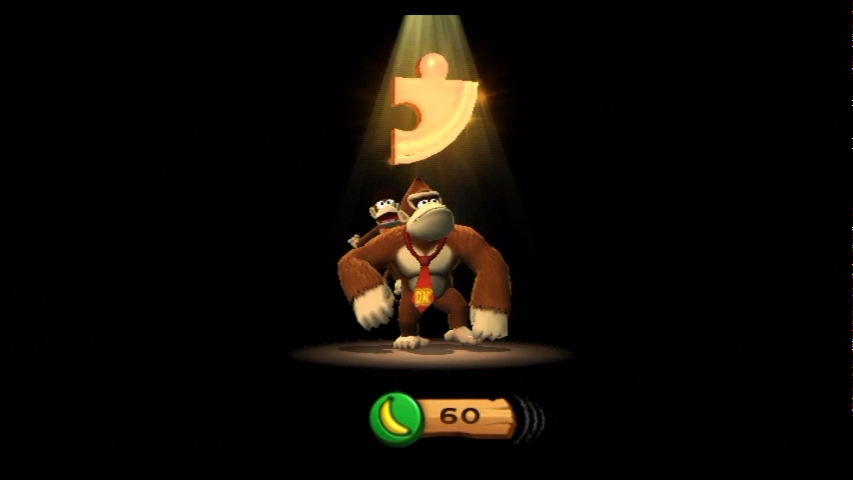
- Puzzle Piece 1 Just run from the start without jumping to the right until you are right in the small secret hideout with the first Puzzle Piece.
- You can see the K floating over the upper platform shortly afterwards. Just jump up and get it while you dodge the magma balls.
- Puzzle Piece 2 Now work your way forward until you reach the O directly under the platform with the boiler. For now, disregard it and jump over to the top left of the platform instead. Here you have to work your way to the left bit by bit and duck under the oncoming fireballs until you arrive on the platform at the very left.
- Where the O is, you already know. So go back to the appropriate platform, jump down to the left on the lead, and then grab the O by roll jump to the right.
- N Am N comes shortly after the checkpoint. Dodge the balls and, if necessary, extinguish the burning Enemies by blowing to get the letter block safely.
- Puzzle Piece 3 Immediately after you have smashed the three boulders among you, you can discover a secret room behind the rock formation on the left at the opening, which immediately takes you to another bonus room.
- Puzzle Piece 4 Shortly afterwards you come to a longer stone projection, over which a liana hangs. Wait a sure moment to pull on it and activate the stone slabs above you, and then hop over them quickly to the left to the fourth Puzzle Piece before they fold back in.
- Puzzle Piece 5 Once you have arrived in the small labyrinth-like section, you have to go right at the beginning to the bottom left and you can discover again a secret room behind the rocks.
- G And the G is also in this labyrinth section and should be quite easy to see. Just go a little further and back down to the left.
8-2: Hot Rocket
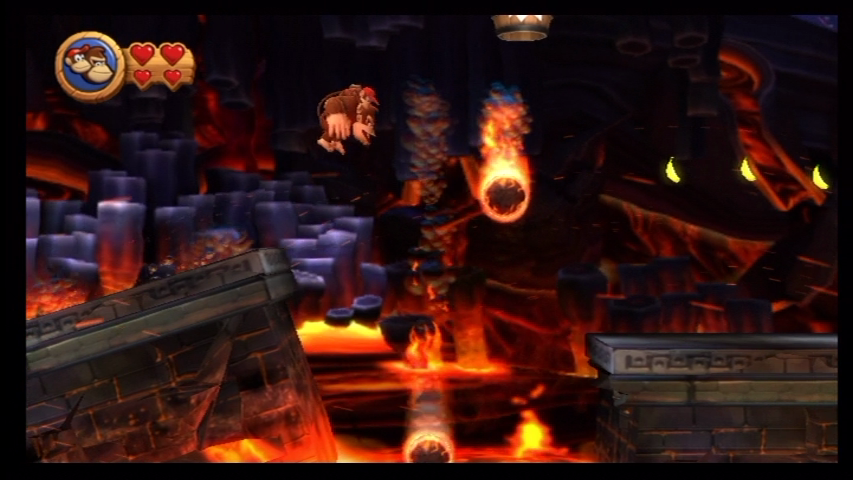
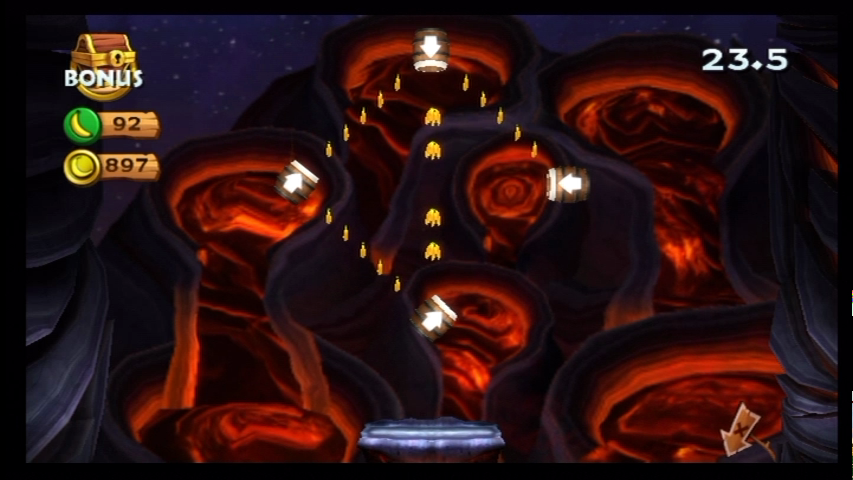
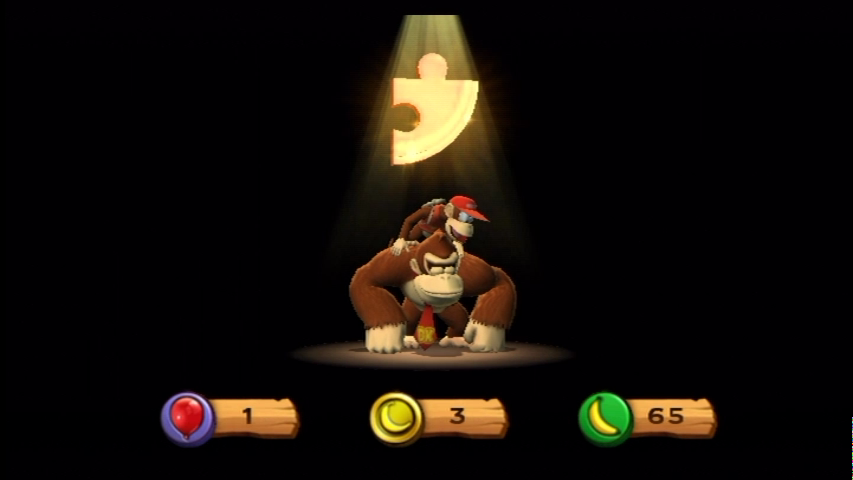
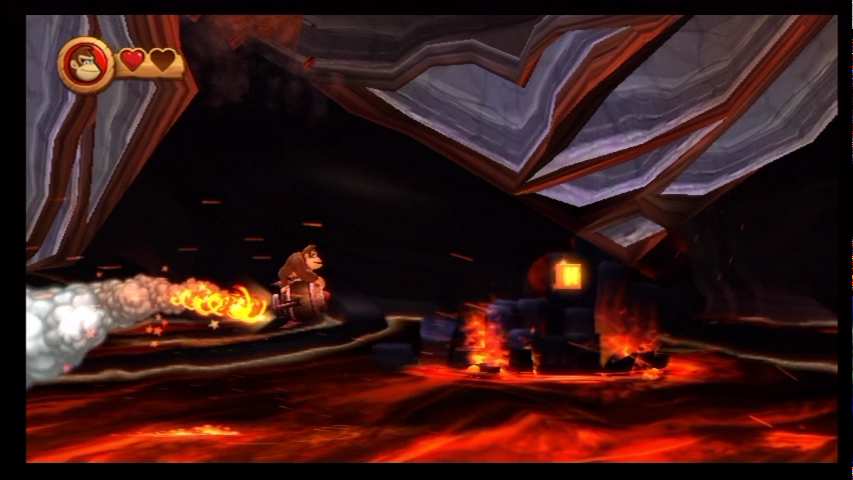
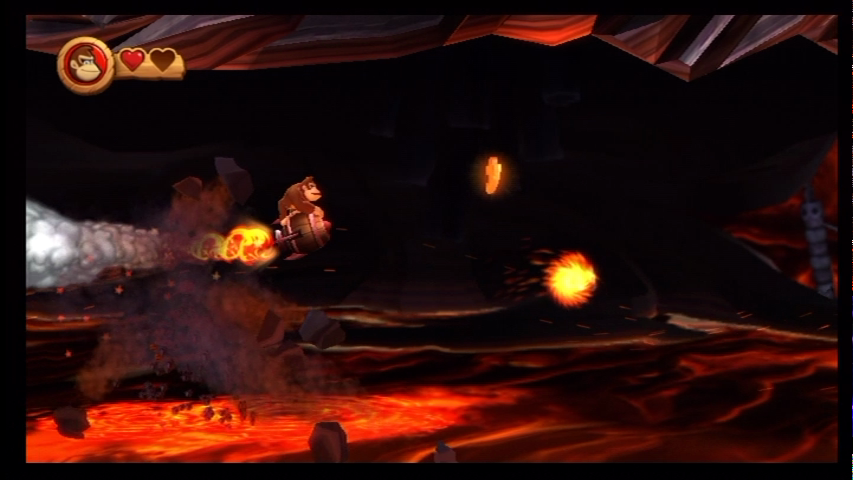
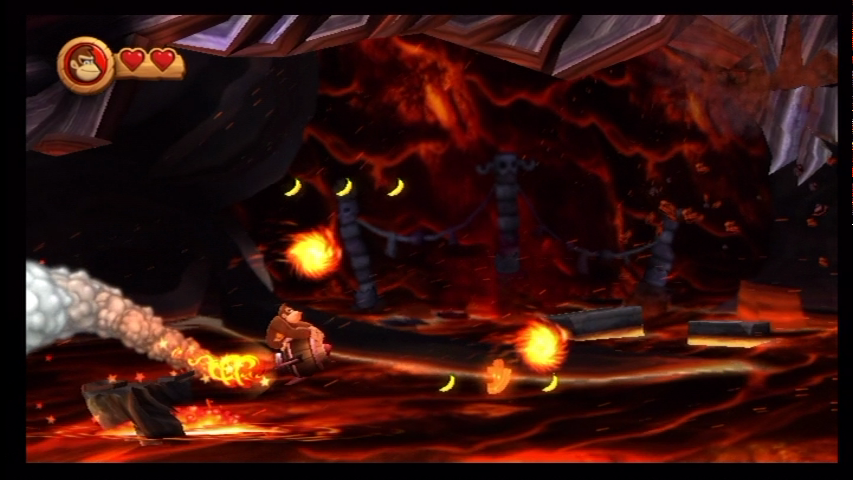
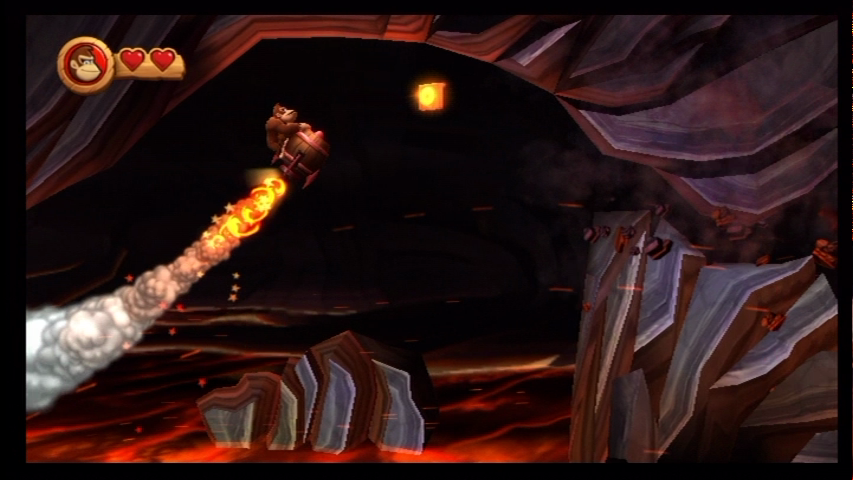
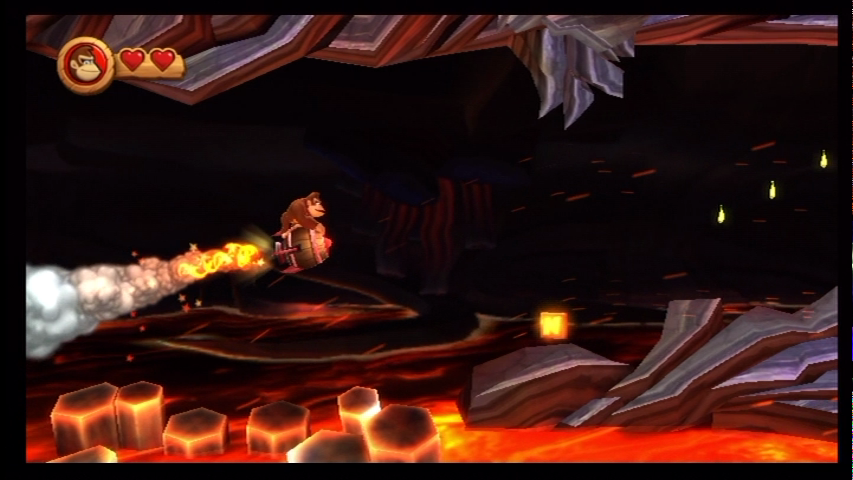
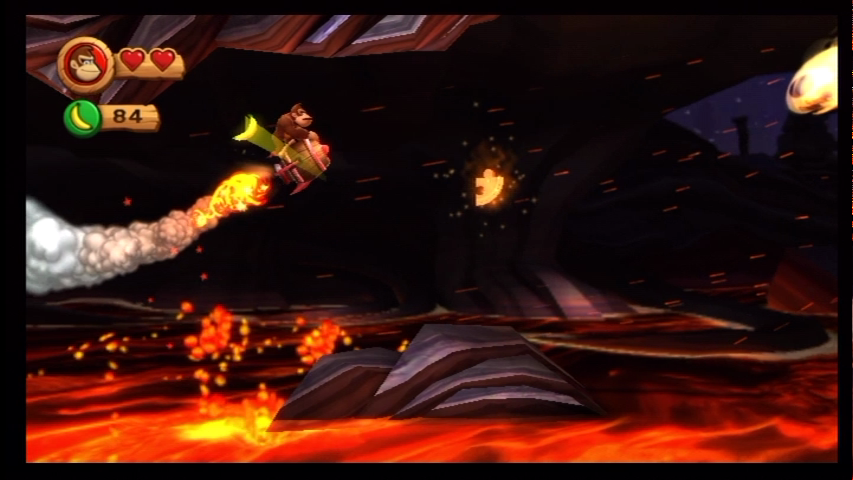
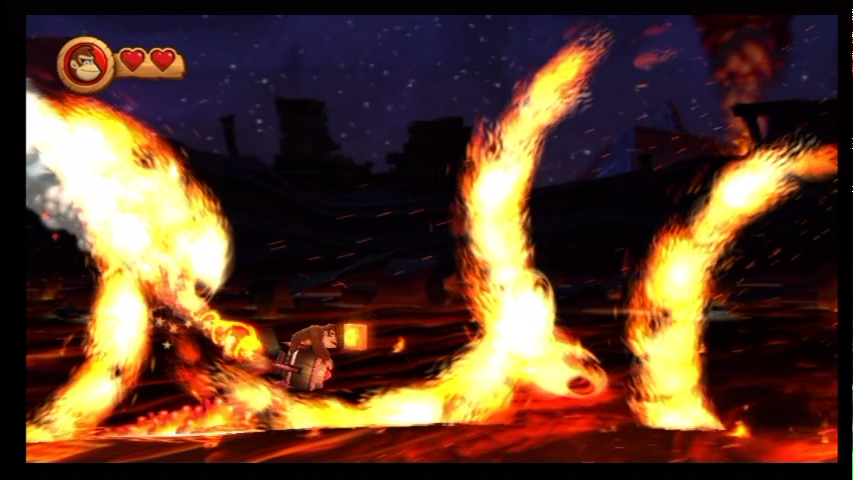
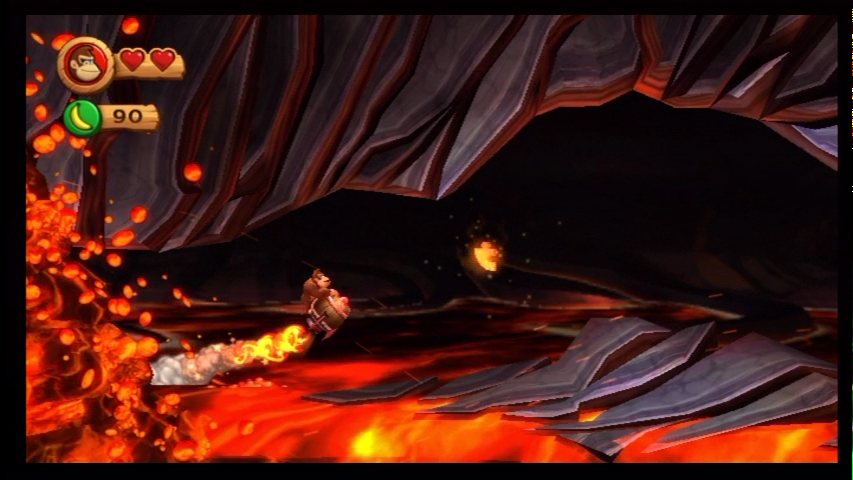
- Puzzle Piece 1 Stand right from the start on the left edge of the first protrusion so that it slopes to the left, and then jump quickly from the right edge by roll jump into the cannon barrel to the first bonus room.
- K Am K you pass during the Rocket Barrel flight sequence when the big rocks come out. Just stay centered and then fly as close as possible to the upper boulder.
- Puzzle Piece 2 Then pay attention to where the first stalactites fall from the blanket, and then keep an eye on the second ones, because as soon as they are hit by a magma ball when they fall down, they release the second Puzzle Piece. Just stay centered to intercept it before it lands in the lava.
- Puzzle Piece 3 — Afterwards you have to maneuver between the two from behind the fireballs and then immediately drop off to the third Puzzle Piece.
- After the Fireball sequence, you come to a massive rock face that opens right in front of you. Just stick to the top blanket here to get straight to the O.
- N and Puzzle Piece 4 Shortly after the checkpoint you have to keep behind the fireballs below on the small rock formation. Grab the N and then immediately fly back up to follow the banana trail. If you get each of them, you will be rewarded with the fourth Puzzle Piece.
- G Located just behind the fourth Puzzle Piece in the section with the fire tails. At first, just stay in the middle to bypass the first two, and then immediately climb up to fly over the third. Once the tail is out of the way, you reach the G by sinking down immediately.
- Puzzle Piece 5 Have you finally behind the section with the fire tails, fly into the tunnel and grab all the bananas in the following row, so that the last Puzzle Piece comes to light.
8-3: Roasting Rails
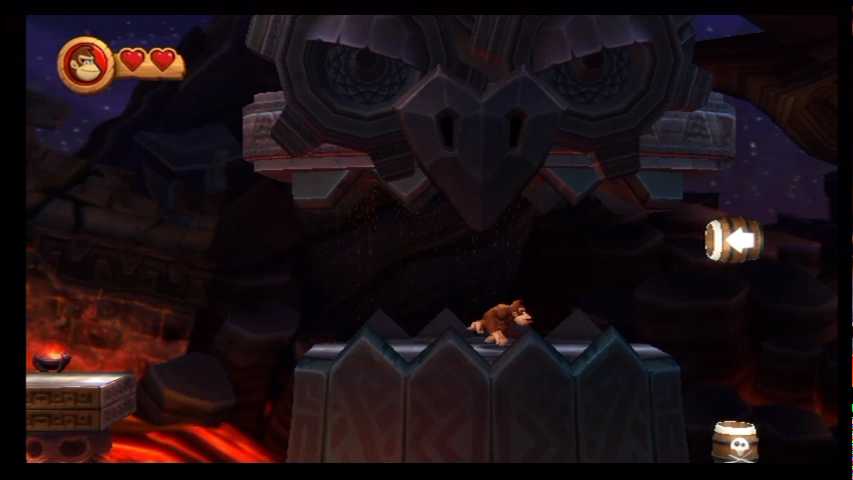
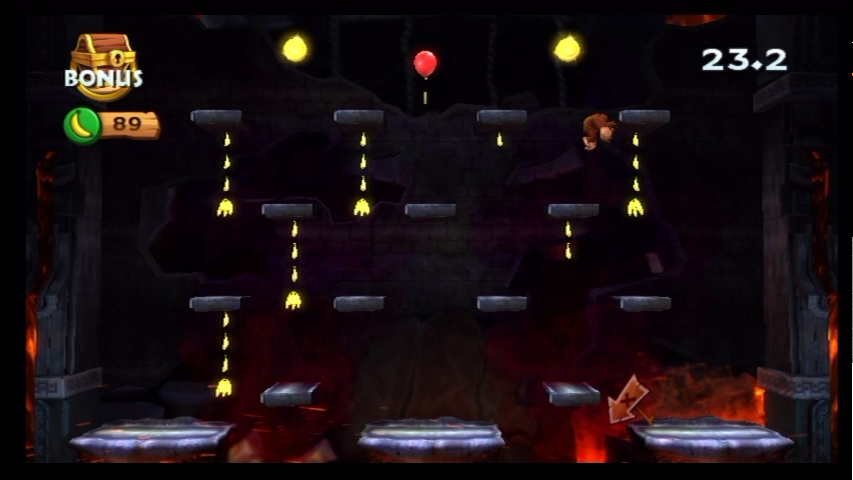
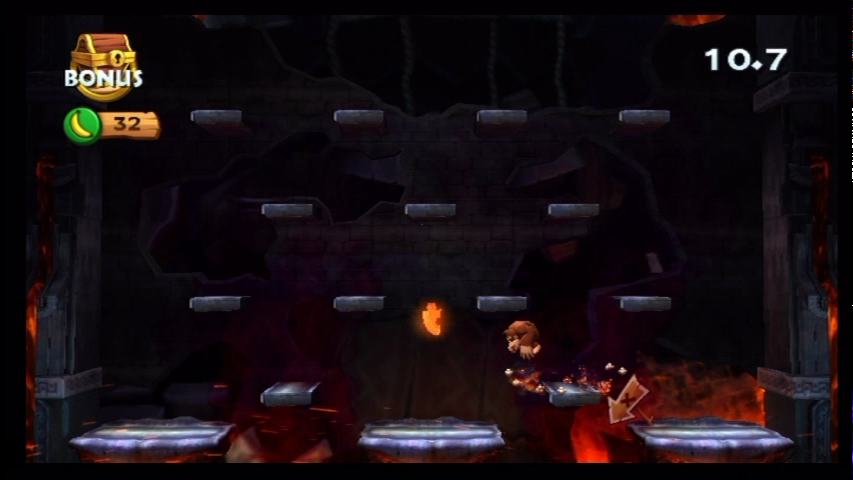
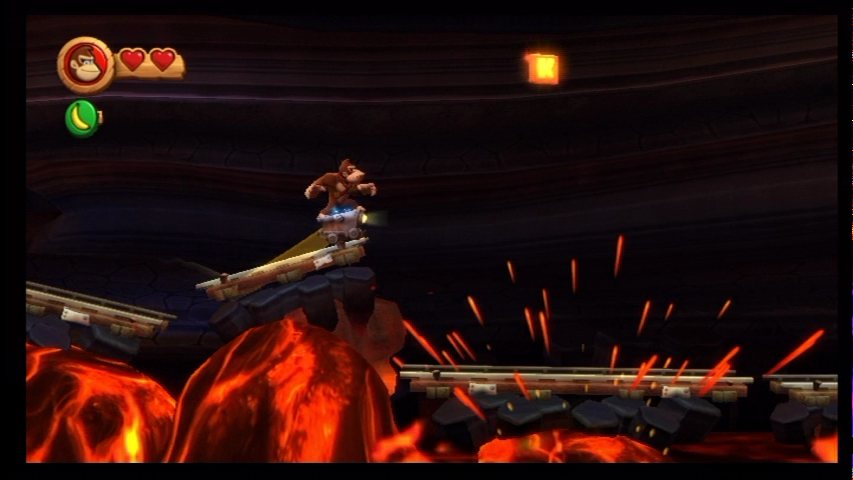
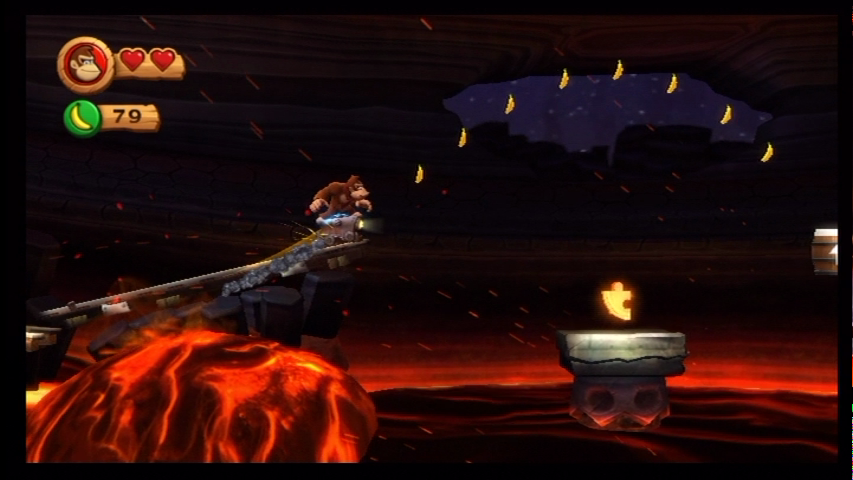
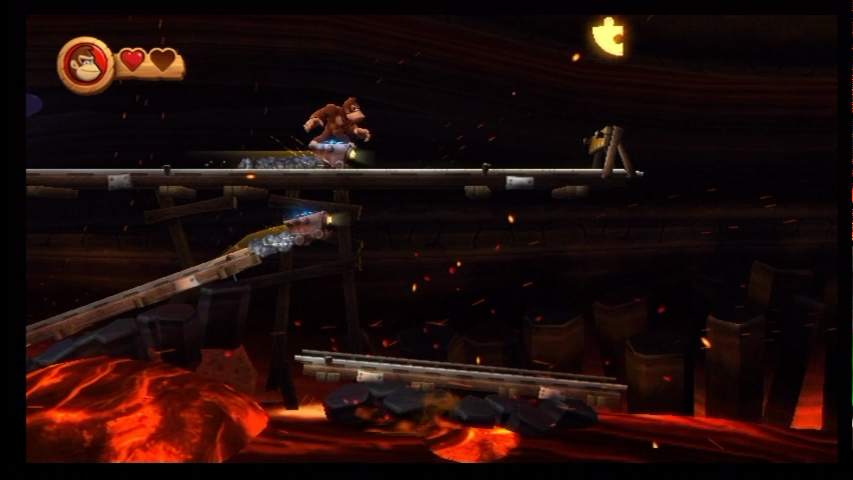
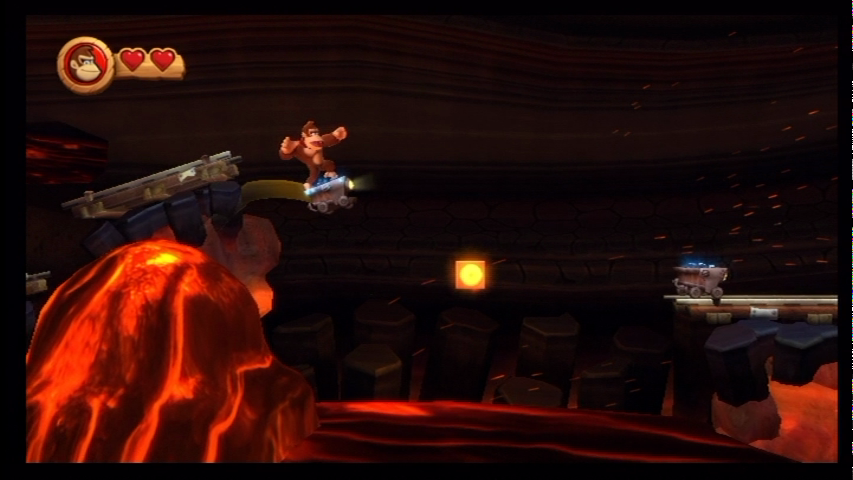
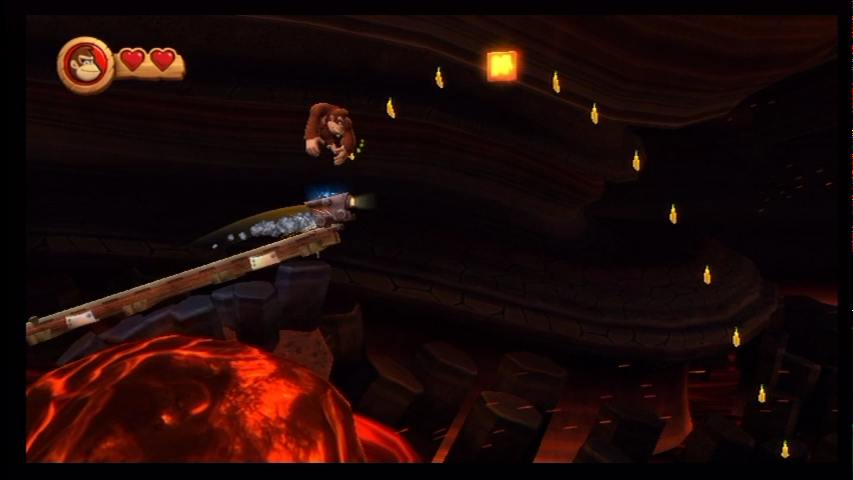
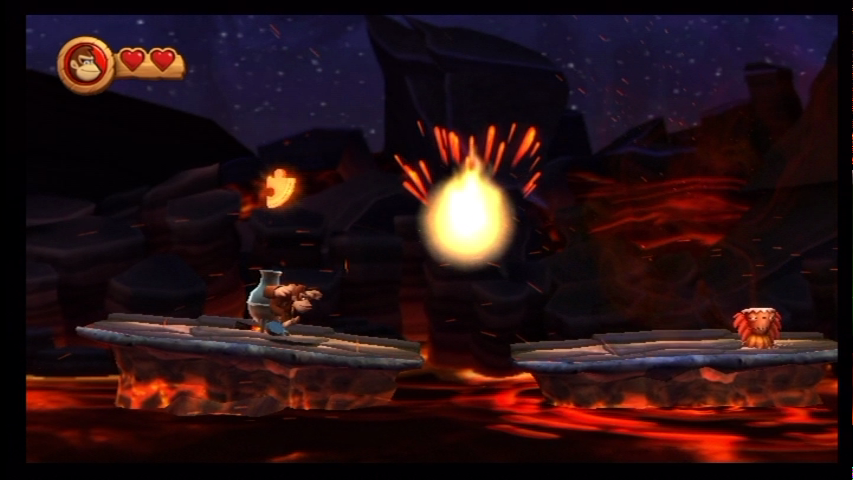
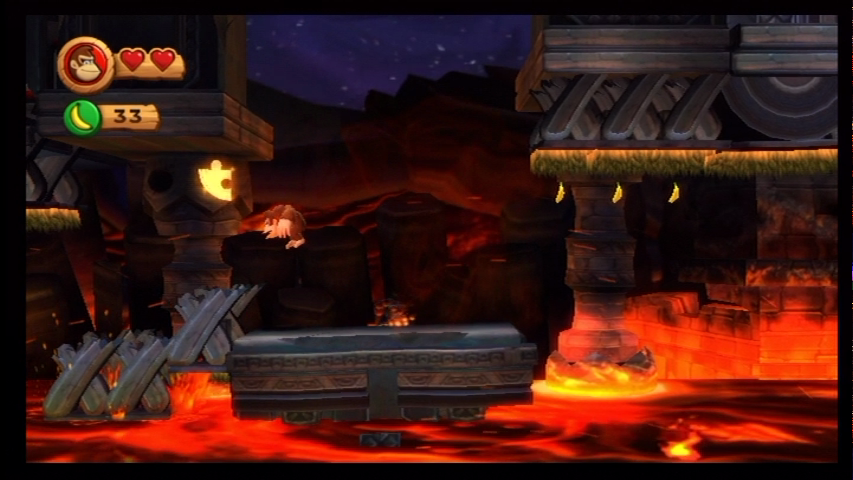
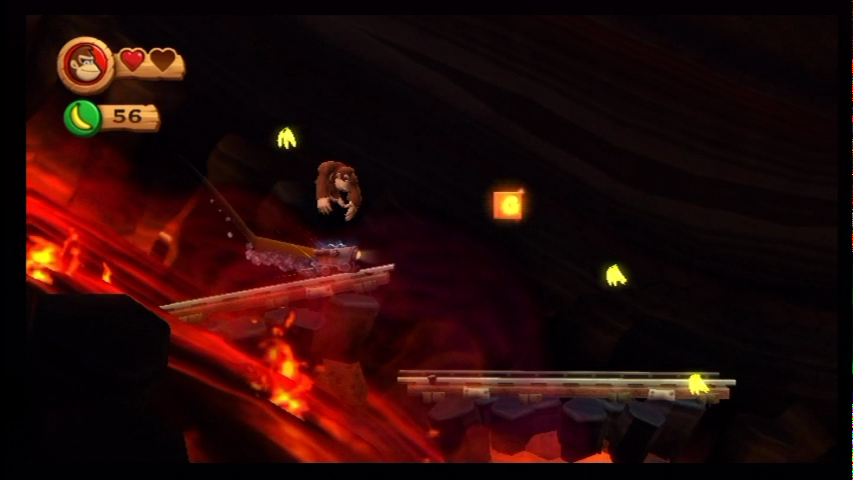
- Puzzle Piece 1 Work your way to the first cannon barrel, shoot against the statue to open it, and then jump over into the just opened aisle. At the other end you should also find the next cannon barrel. Ignore it and instead drop into the hidden barrel below into the bonus room.
- K Then you will be fired directly into the next mining cart section. Jump right at the beginning from the third ascending platform and you come directly to the K.
- Puzzle Piece 2 When the second mining cart section starts, do not jump to the bananas at the end of the first rising lead, just drop to get to the small platform with the second Puzzle Piece.
- Puzzle Piece 3 The following cannon barrel sends you directly into the next mining cart. Jump off here immediately after you land so you get on the upper track and you can grab the find at the end of the track.
- Shortly afterwards you drive down a larger slope and should be able to see the O above the lava. Just head straight to it without jumping off, and then jumps off at the last moment to grab the O and still safely land on the next track.
- N Jumps from the extreme edge of the platform just behind the next fire opponent to follow the banana trail to the N.
- Puzzle Piece 4 A piece after the checkpoint is again followed by a section about sinking rock projections. Look for the lead with the urn and beat the fourth Puzzle Piece out of it.
- Puzzle Piece 5 From the following mining cart section you finally get directly to a rock ceiling and climb along it to the first projection. From there, hang on the Blanket to the next lead, and once the Blanket has collapsed behind you, you should be able to see the last Puzzle Piece floating over you to the left.
- G From the Blanket it then goes directly into another mining cart. Drive with him over the step-like rocky outcrops down the huge lava wave, jump off the sixth step, and you should have the last letter block safely.
8-4: Smokey Peak
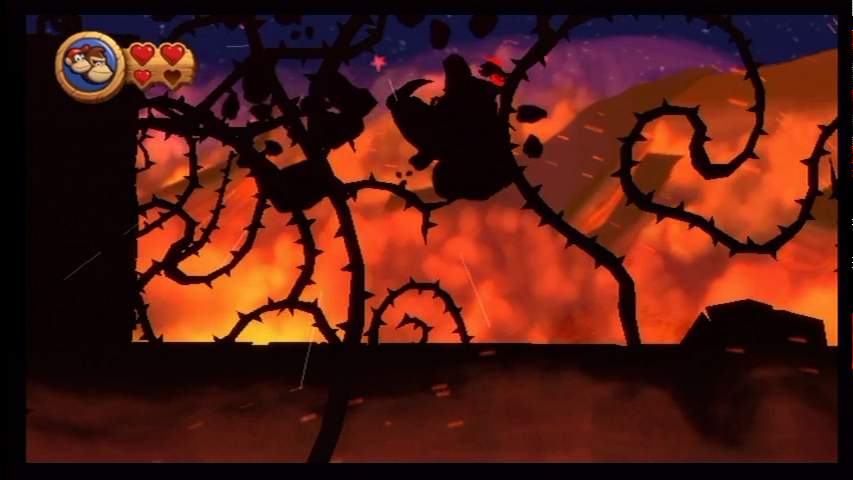
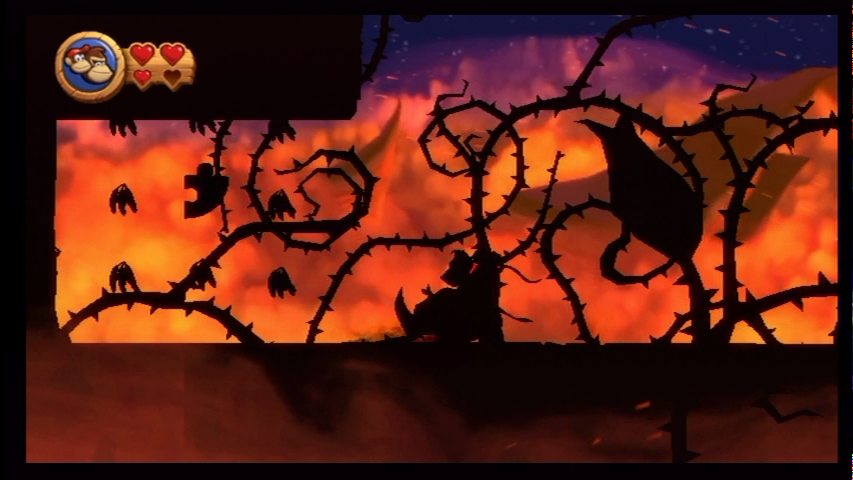
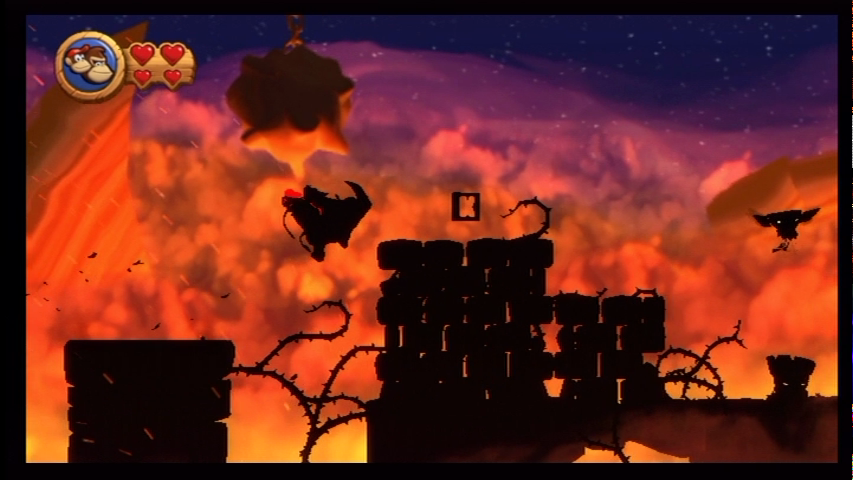
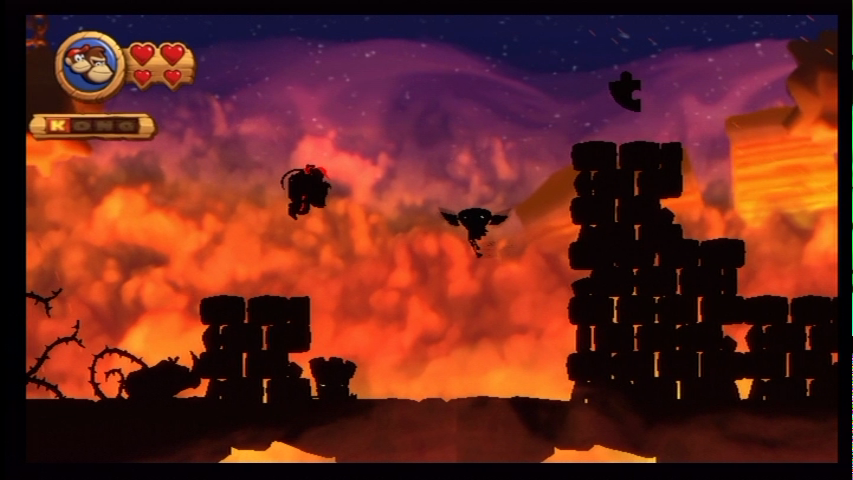
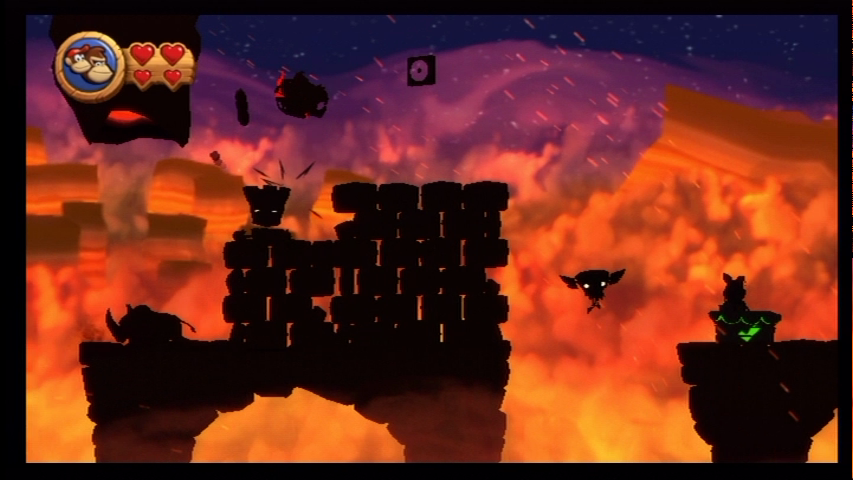
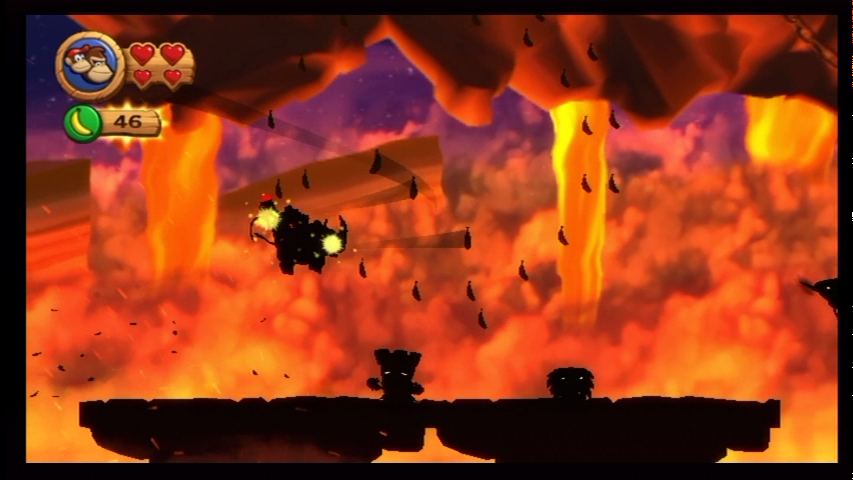
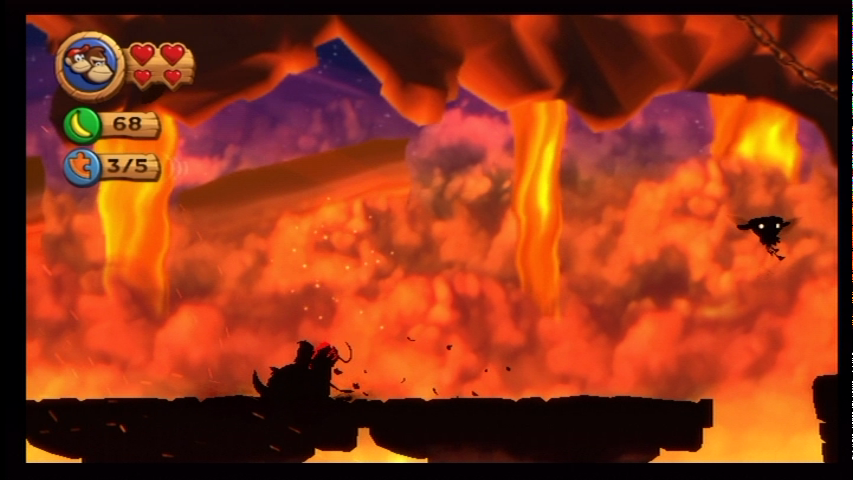
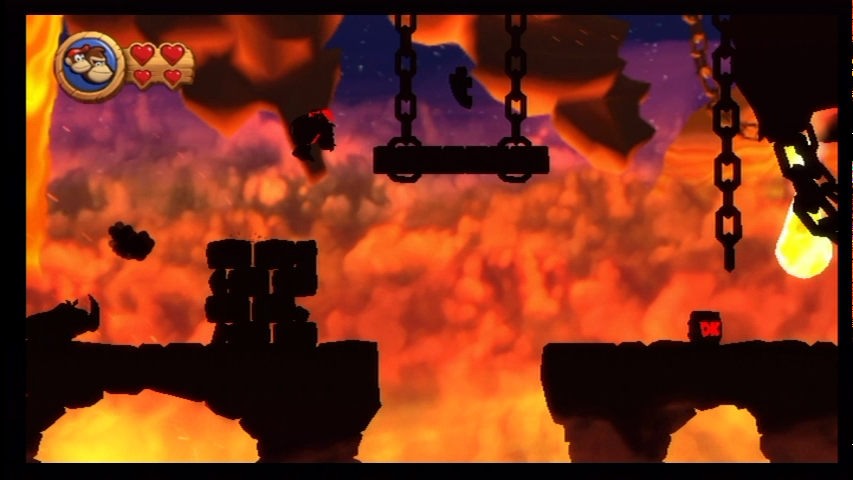
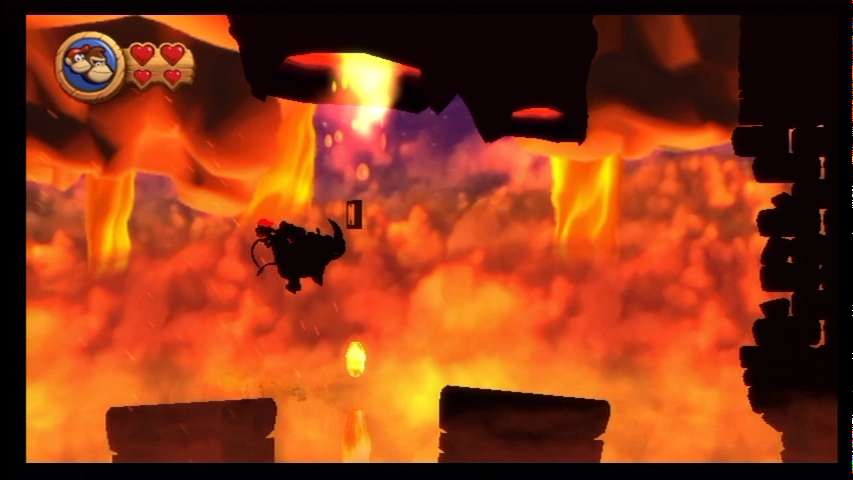
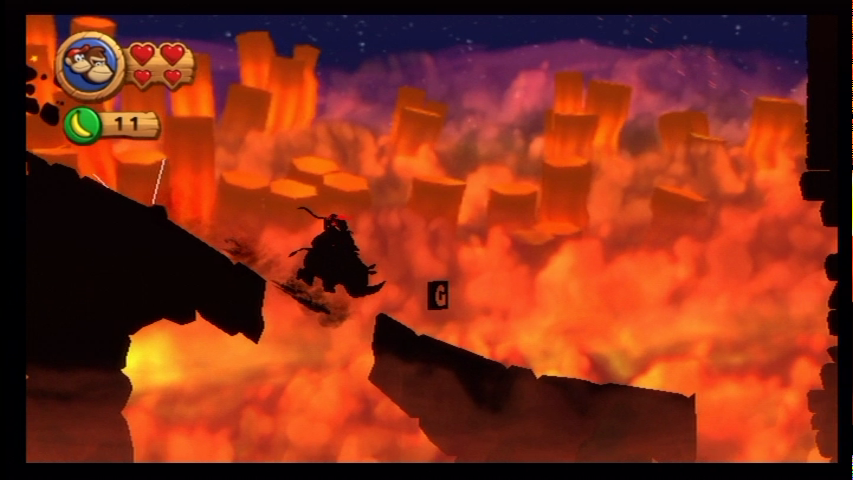
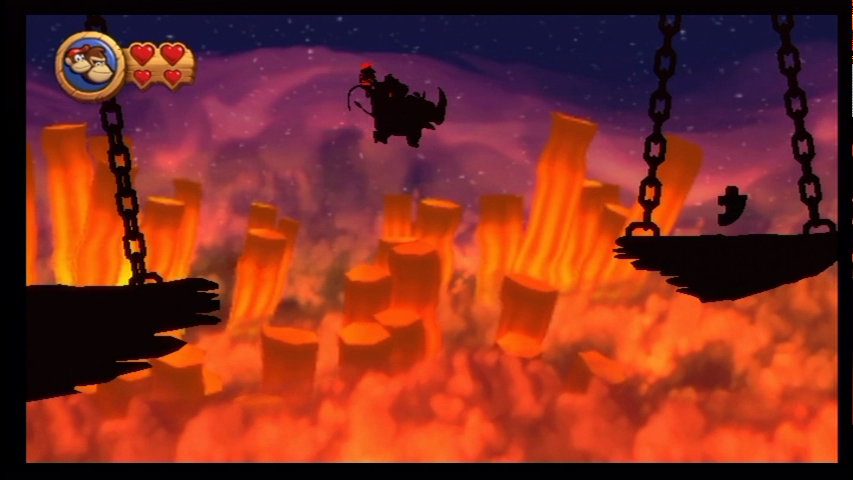
- Puzzle Piece 1 — Puzzle 1 Follow the path until you can recognize Rambis Crate on the platform above you. Raise the projection to the left of you by hitting the bottom plate below so that you can free Rambi from his wooden box, and then go back with him all the way to the start of the level. Here you should be able to discover a destructible weight at the top left, which finally reveals a secret area with the first Puzzle Piece.
- K and Puzzle Piece 2 As soon as you can see the K on the right of the projection, get off Rambi and jump over on foot, otherwise Rambi would destroy the blocks. And you finally need them to jump on the right of the flying Enemies on the head and push yourself onto the tower to the second Puzzle Piece.
- When you arrive with Rambi a little later on the small, chain-hanging platform to the left of a dripping volcanic vent, descend again and climb the blocks to the O on foot.
- Puzzle Piece 3 Shortly after the first checkpoint, you land on a long platform where you should see the shadows of some floating bananas. Grab each one of them and you’ll be rewarded with another puzzle bag piece.
- Puzzle Piece 4 Afterwards, look for a Rambi weight hanging from the Blanket and, when destroyed, take care to leave the small brick block to the right underneath. Because only with its help you can (again on foot, so get off before) reach the platform with the Puzzle Piece.
- N Continue your path and you will find yourself shortly afterwards in front of a huge dripping volcanic vent. If you look closely, you can see the N here falling out of the opening just behind every surge of lava. So wait for the right moment to not jump straight into the lava flow, and then grab the N while jumping on the neighboring protrusion.
- G The G you can get over the collapsing stone arch during the flee sequence, you just have to jump off early enough not to jump past it.
- Puzzle Piece 5 And finally you sprint straight past the golden barrel and jump with a long jump on the hidden platform to the right of the target.
8-5: Bobbing Basalt
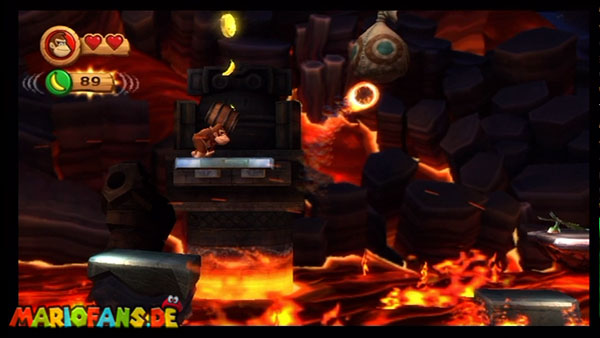
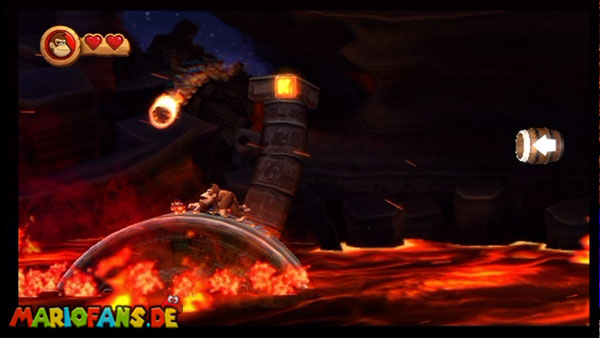
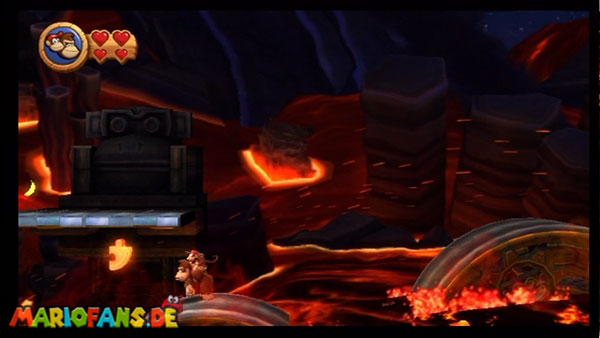
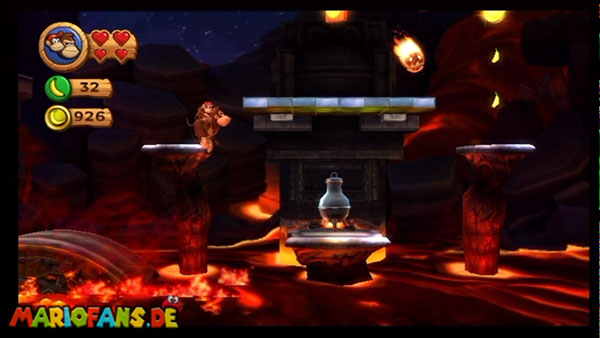
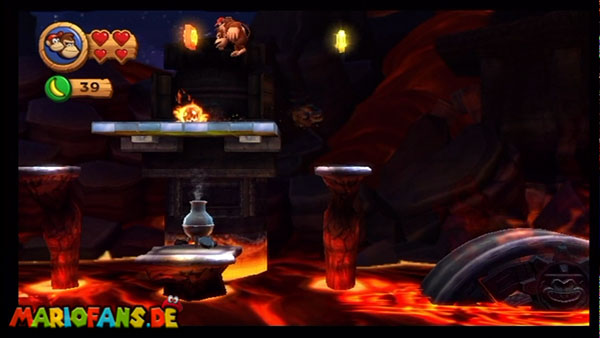
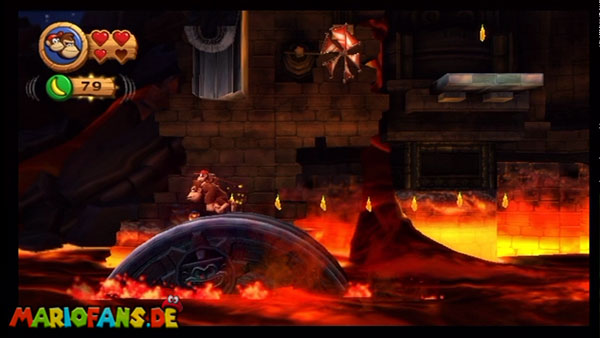
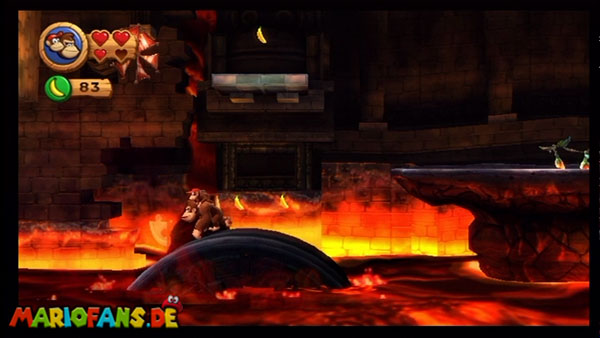
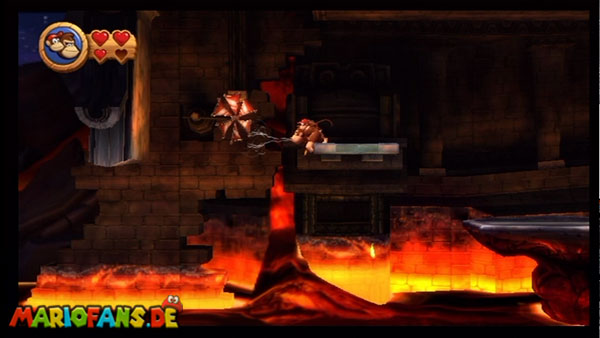
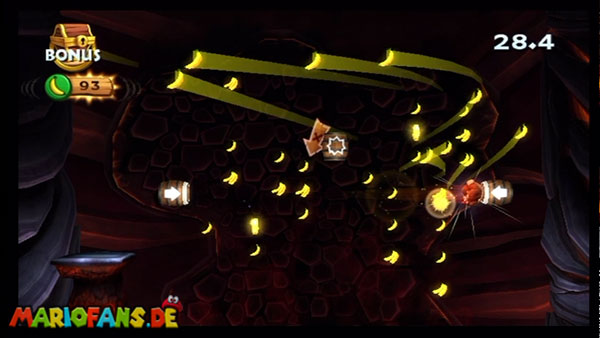
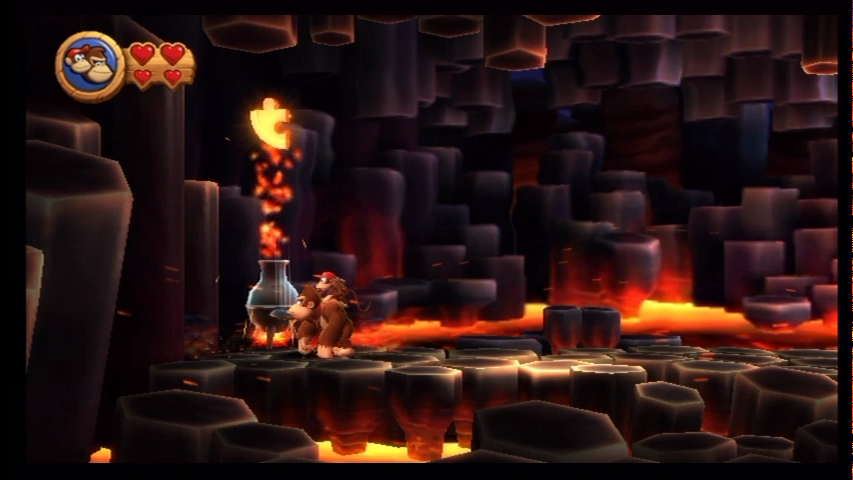
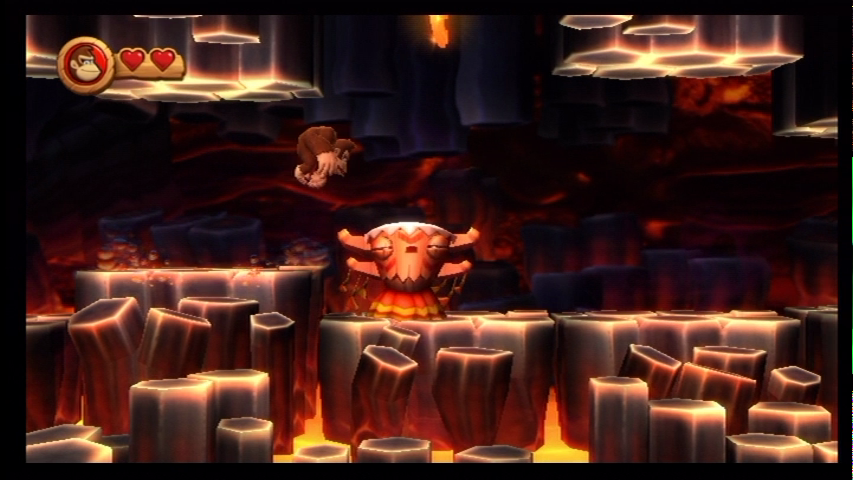
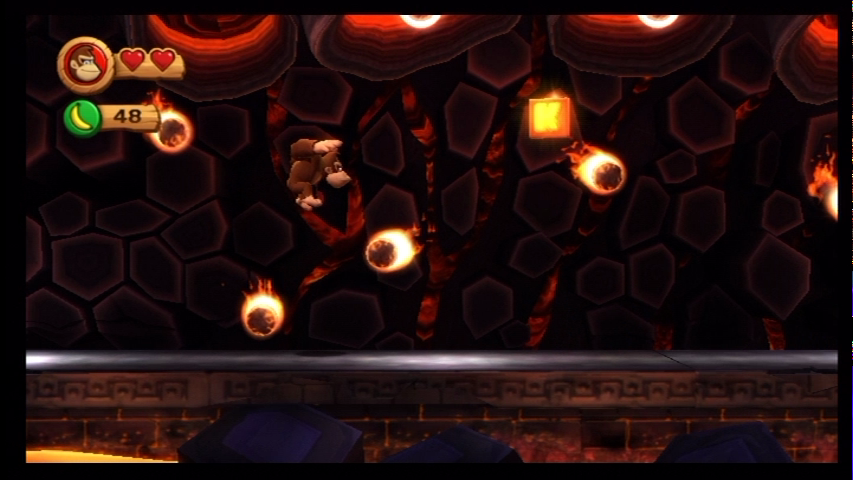
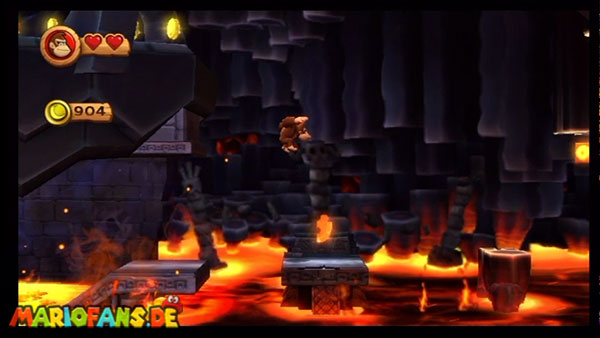
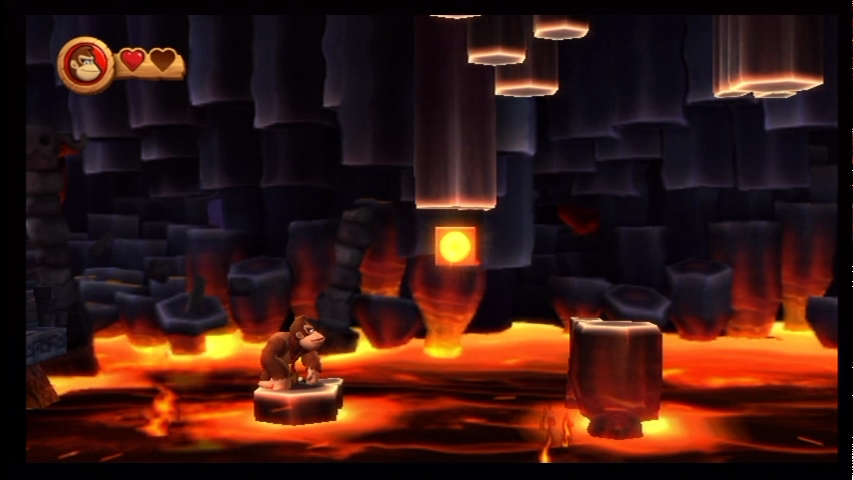
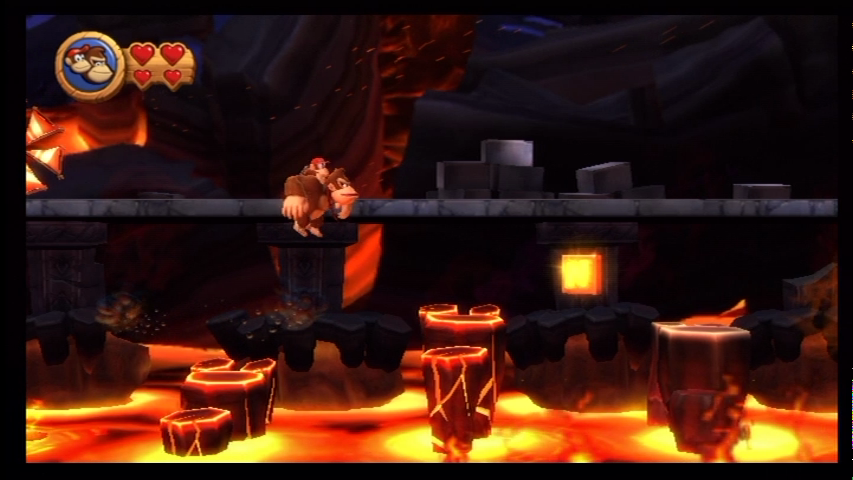
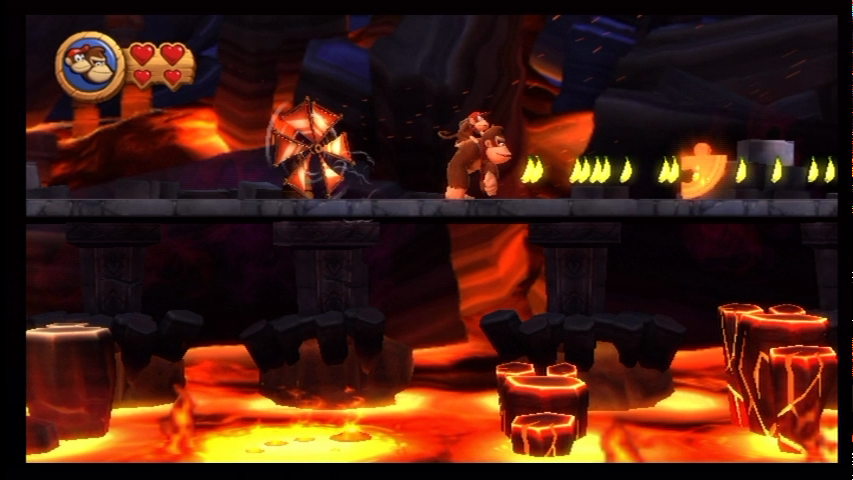
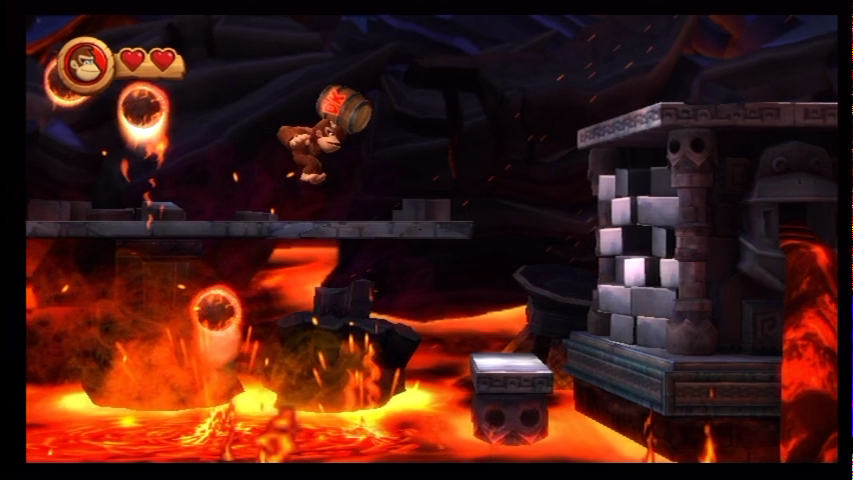
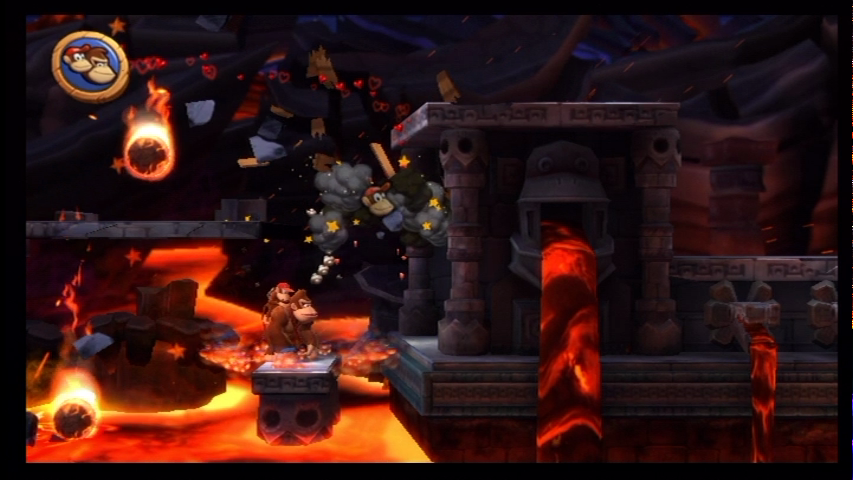
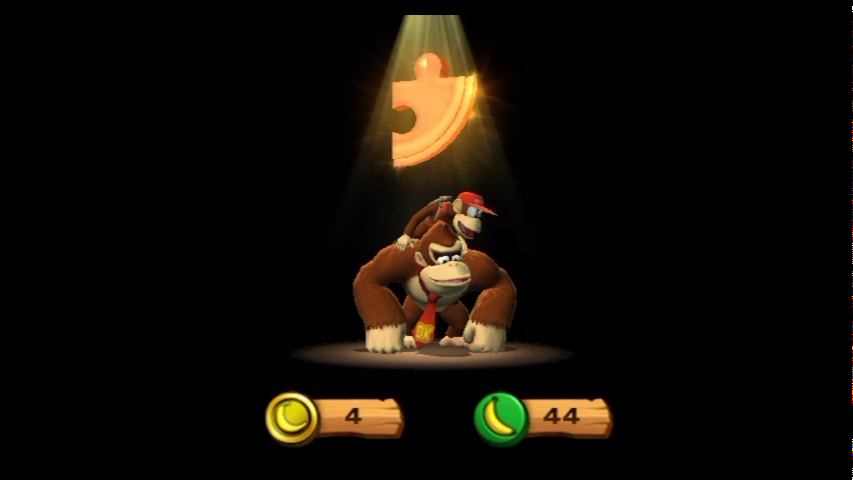
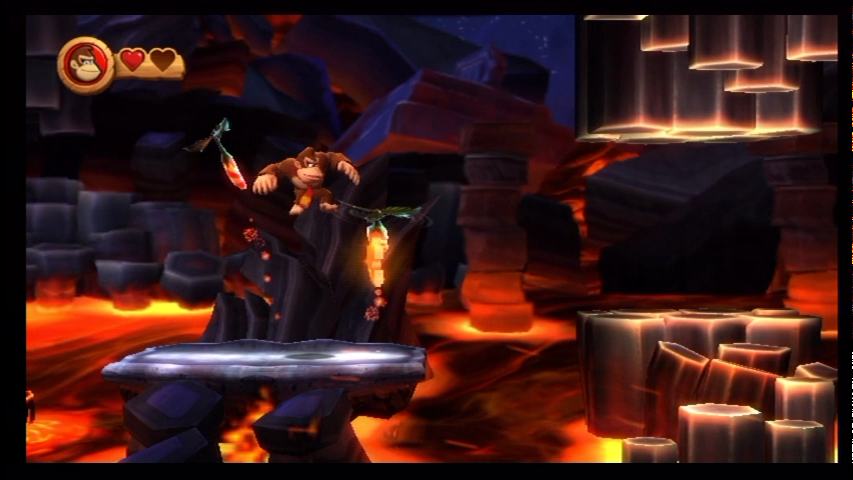
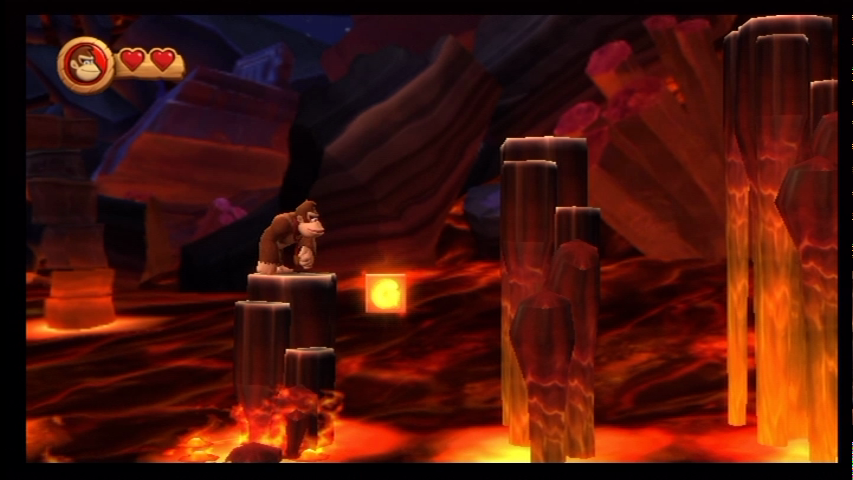
- Puzzle Piece 1 — As is so often the case, the first Puzzle Piece is located directly to the left of the starting point, in this case in the glowing boiler.
- Puzzle Piece 2 For this purpose, when crossing the section with the moving boulders, push yourself from the great Indian Enemies to the Blanket.
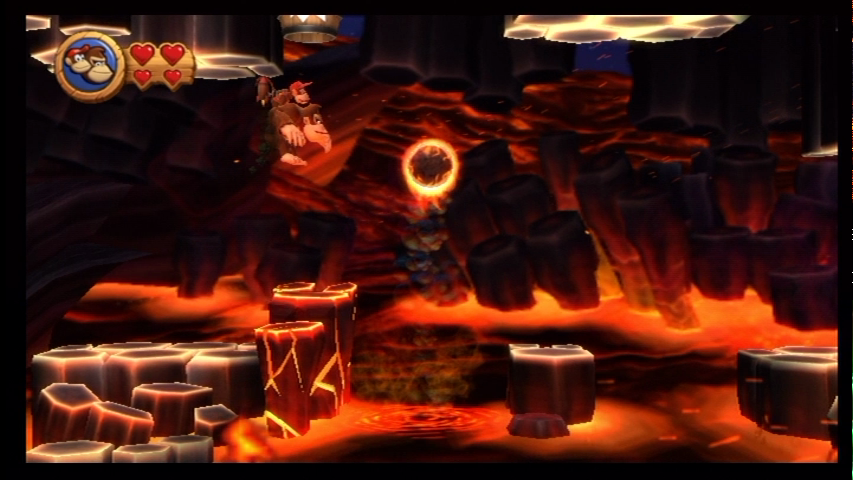
- K Hardly to be overlooked. In the following section, dodge the floating rock lump and grab the K from the air.
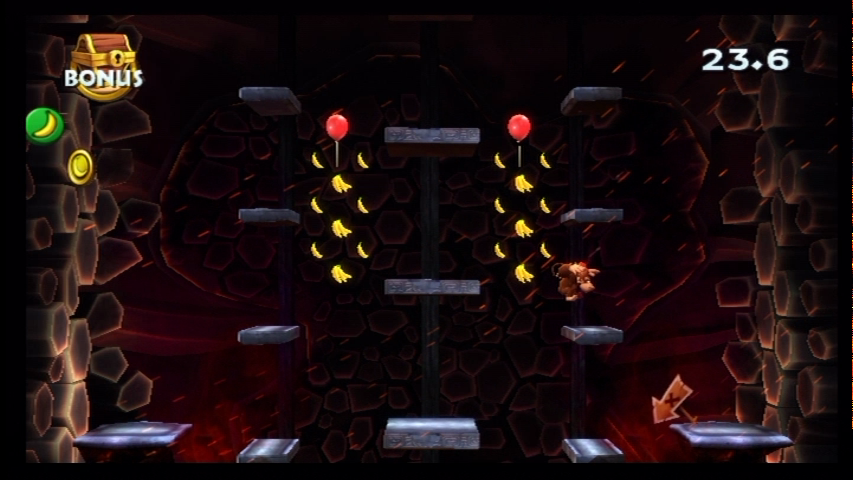
- Puzzle Piece 3 Shortly afterwards you hammer a large gold button into the ground and let a huge tower drive down to you. Hop in quickly and grab every single item from the walls on your way up to be expected by the third Puzzle Piece when you leave.
- Only a few meters later, you run across the path between the first two hexagonal blocks.
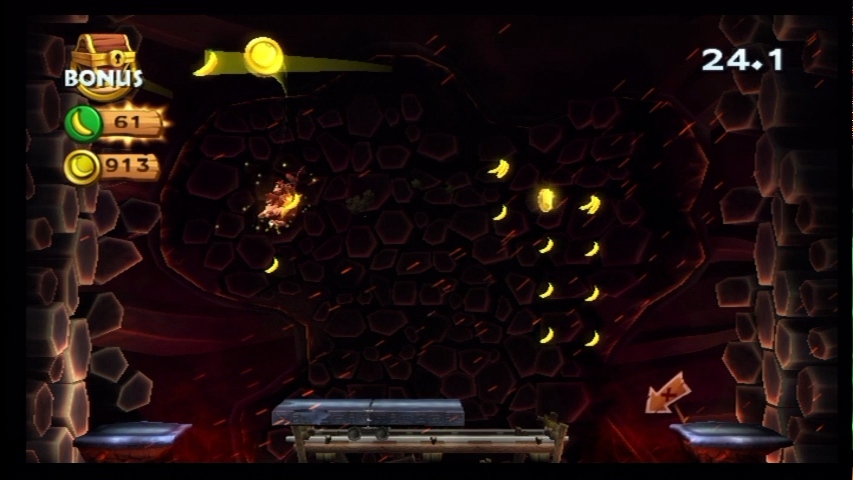
- Puzzle Piece 4 — Puzzle 4 Once you arrive at the checkpoint, be sure to keep your fingers off the explosive barrel (since you’ll need it later) and jump on to the first rock outcrop. If you wait here for a moment, a glowing column of rock should rise from the lava directly next to it, via which you reach the above barrel to the bonus room.
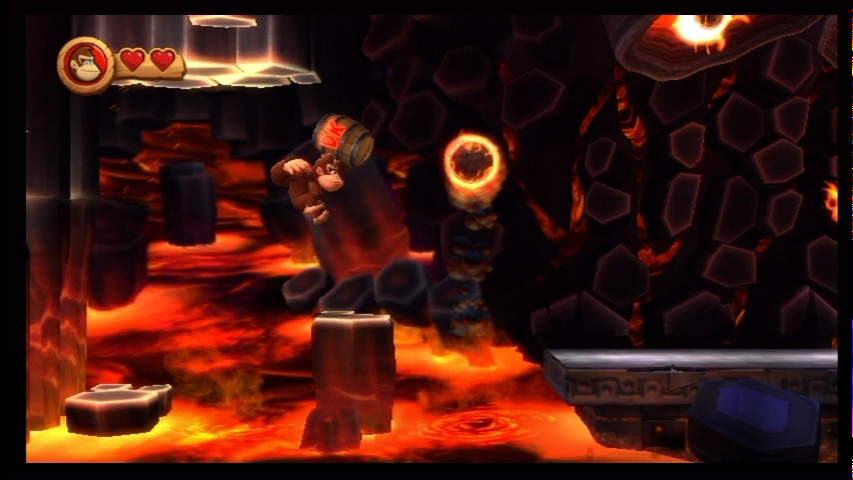
- Puzzle Piece 5 — Now it gets tricky: Claw the explosive barrel at the checkpoint and safely take it past all the following lava flows and fireballs until you can finally jump up to the bridge. Now you only have to pass the last chain of fireballs unscathed, and if you have actually made it with barrel to the rear end of the bridge, the thing pops right against the brittle wall and jumps into the well-deserved bonus room.
- Puzzle Piece 6 — Then return to the left on the bridge and look for the small windmill that moves out the sixth Puzzle Piece if there is enough headwind.
- In the N it will be difficult again: return to the very beginning of the bridge and work your way over the small platforms below to the N. It is best to use Diddy’s Jetpack for this, so the small distances can be bridged the easiest.
- Puzzle Piece 7 After a jump section over some glowing rock pillars, you finally arrive on a small rock outcrop. Blow against the right flower and the last Puzzle Piece comes out.
- You can hardly overlook when you work your way up to the golden barrel directly before leveling over some sinking rock pillars. Jump to the first pole and wait a moment before jumping on so you can collect the G.
8-6: Moving Melters
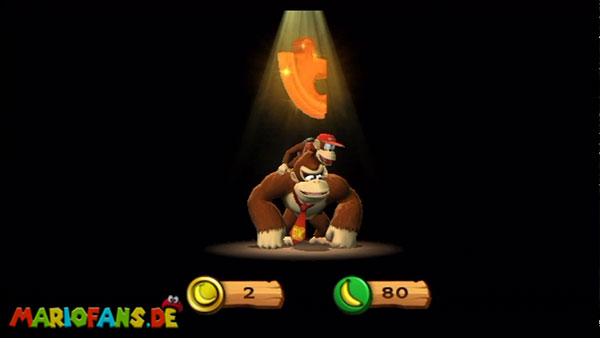
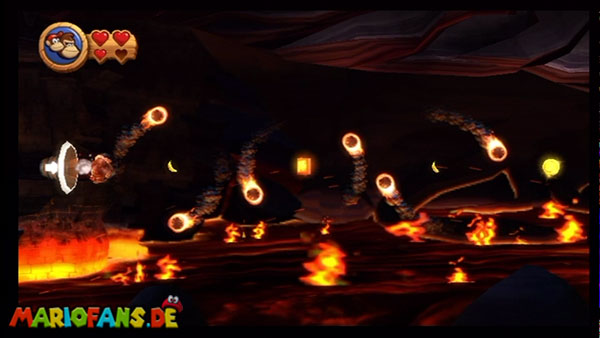
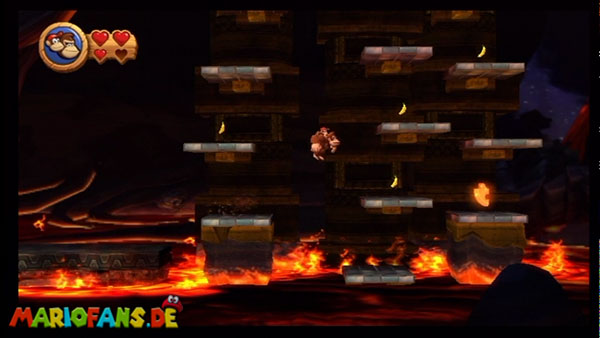
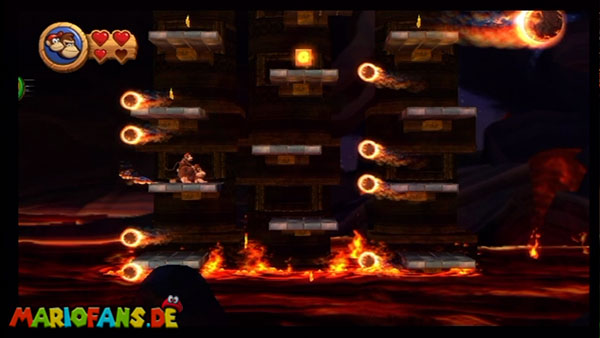
- Puzzle Piece 1 — Puzzle 1 Grab the barrel right at the start of the level and take it with you to the first moving platform. Then jump from there to the upper floating platform and bring the sandbag with the first puzzle bag part to burst.
- As soon as your first ride begins on the huge stone wheel, the K can be discovered floating in the air after a few meters.
- Puzzle Piece 2 Shortly after you have driven down the river on the small rocky outcrops and have solid ground under your feet again, you can recognize the second Puzzle Piece under the right platform. Just jump right on one of the large stone wheels and you can easily bag it from below.
- O Over the same stone wheels it now continues to the right. Jump over to the platforms at the end of the section and grab the O at the Spark.
- Puzzle Piece 3 To the right of it, it continues on to the next large stone wheel, which slowly sinks into the lava as it moves to the right. Stay on it until the last second, because just before it sinks, the third Puzzle Piece will appear.
- Puzzle Piece 4 Brushes into the windmill from the next checkpoint on the left and then jumps onto the platform to be brought directly to the next bonus room.
- N The N you collect actually automatically. Jump into the cannon barrel immediately behind the checkpoint and fire at the right moment to get through between the fireballs unscathed.
- Puzzle Piece 5 Shortly afterwards you should get to three large towers, which gradually set in the lava. Here you can pick up the last Puzzle Piece relatively easily on the platform at the bottom right.
- G And also the G is in this section and is actually hardly overlooked. Work your way up from platform to platform and the G will meet you in the middle row.
8-7: Red Red Rising
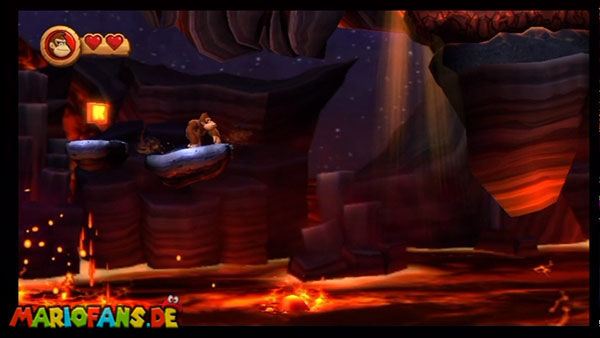
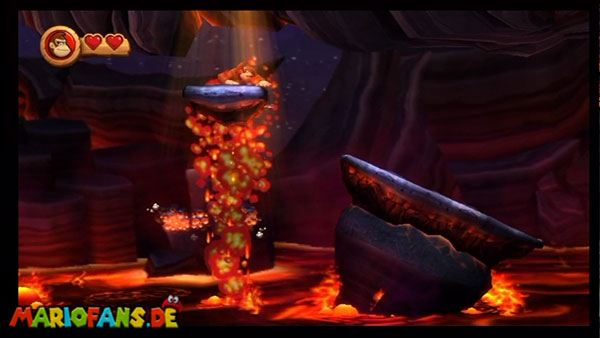
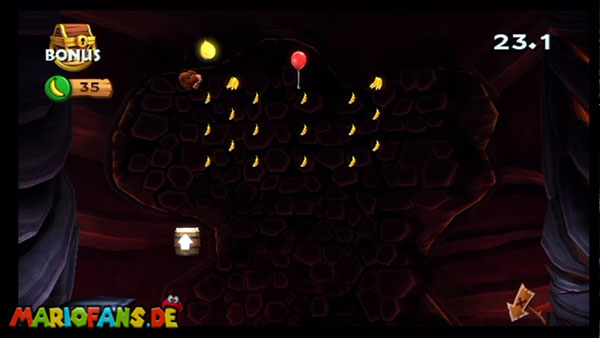
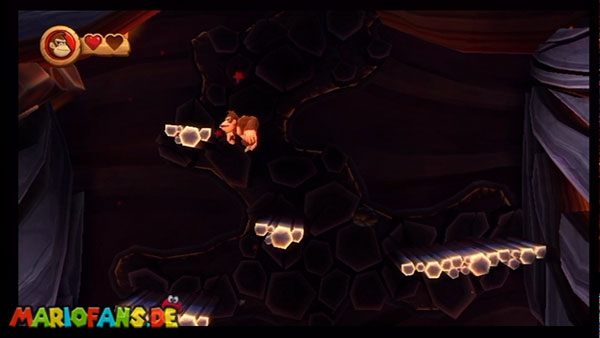
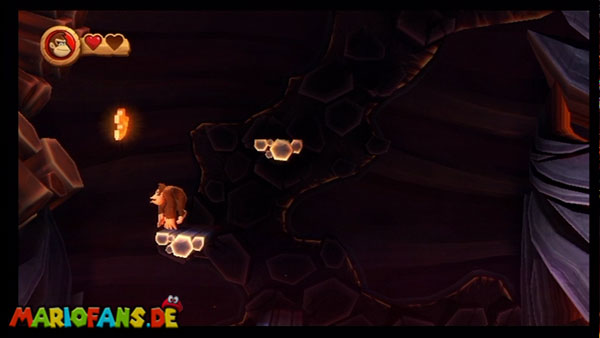
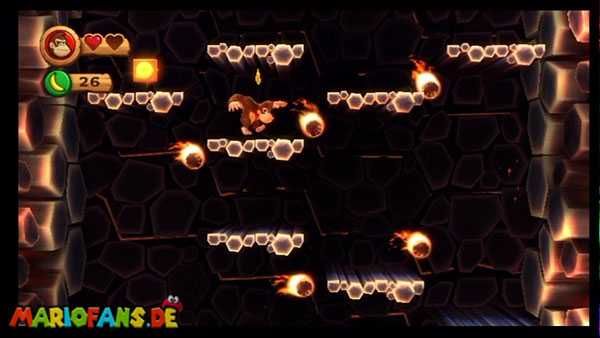
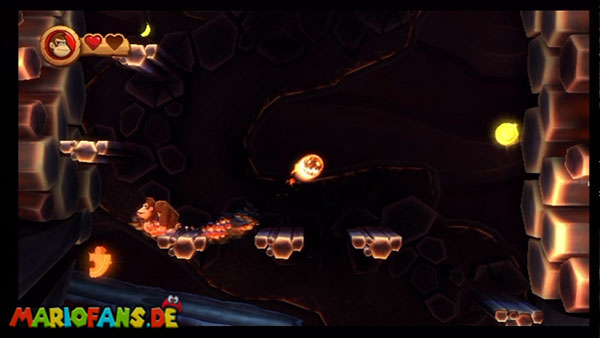
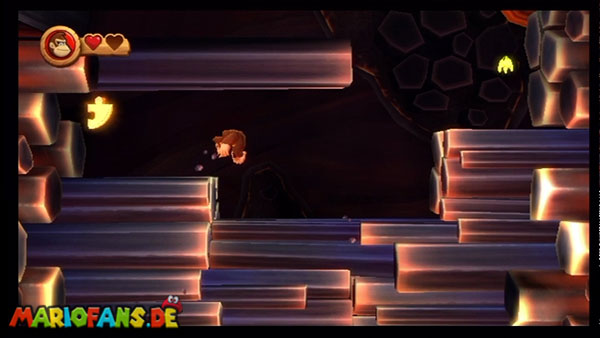
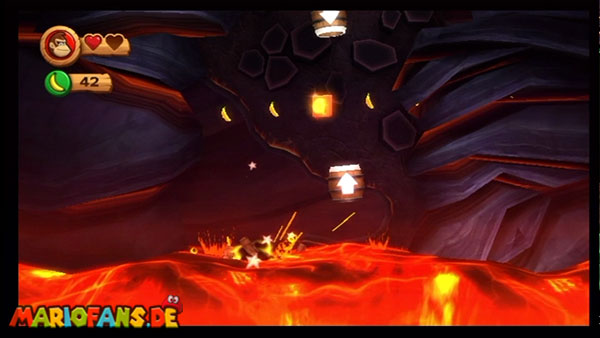
- K Right at the beginning you will cross a large lava lake by jumping from one emerging rock platform to the next. While the further platform always appears to the right of you, at one point a small lead along with K will appear to the left of you. Jump back quickly to grab it, and then continue on your way to the right.
- Puzzle Piece 1 In this way, you will finally land on a large rock outcrop that slowly tips to the right. Just stay on it and jump to the light from the blanket at the right moment as larger bubbles form at the bottom of the lava. It may be a bit difficult to get the right timing here, but if you do it right, you’ll end up on an uphill platform and be catapulted into a bonus room.
- Puzzle Piece 2 A little later you work on small rock projections that come out of the wall, piecemeal the smooth rock face up. You can hardly overlook the Puuzle part, just look on the left side as soon as the rock ceiling opens.
- O And the O is also very easy to discover in this climbing section, just crawl a little bit further up until the fireballs come in.
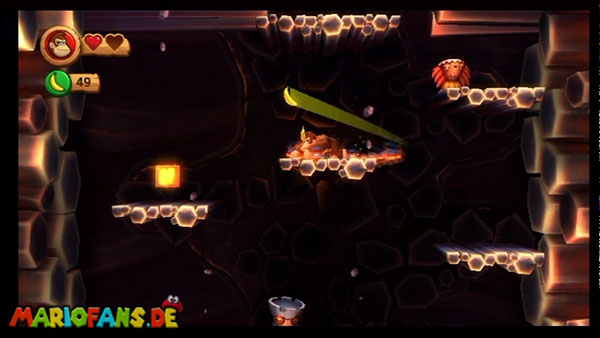
- Puzzle Piece 3 Again a bit further up will come from both sides large, rectangular boulders driven out of the wall. If the lower right Crystal block is completely extended, you can grab the third Puzzle Piece on the far right of the wall at the same height as the Banana.
- Puzzle Piece 4
- Shortly afterwards you can see the fourth piece of the puzzle on a long dark rock outcrop, which comes from the left of the wall below three adjacent stone platforms.
- N Then you push off the head of the silver enemy to get to the left to the N.
- Puzzle Piece 5 Immediately before the end of the section come again from both sides huge rock formations driven out of the wall. Run all the way to the left between the two top left pillars once they are fully extended, and the last Puzzle Piece is found.
- G Now you just have to jump up into the cannon barrel and catapult from barrel to barrel, stopping for a short while in the seventh barrel. Do not shoot yourselves until the G passes before the opening, and the next string of letters is completed.
8-K: Five Monkey Trial
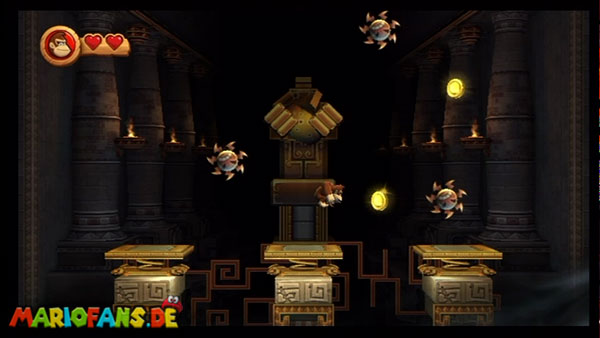
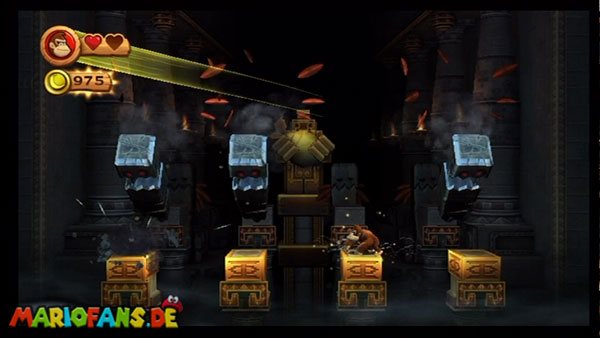
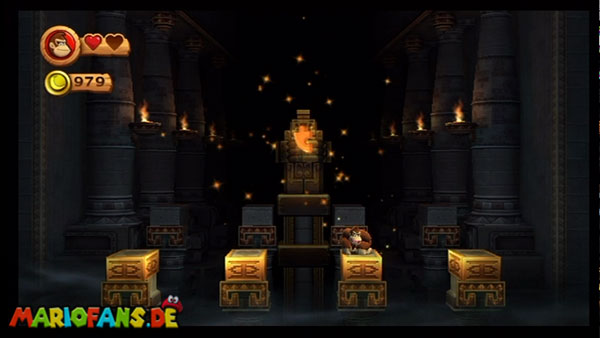
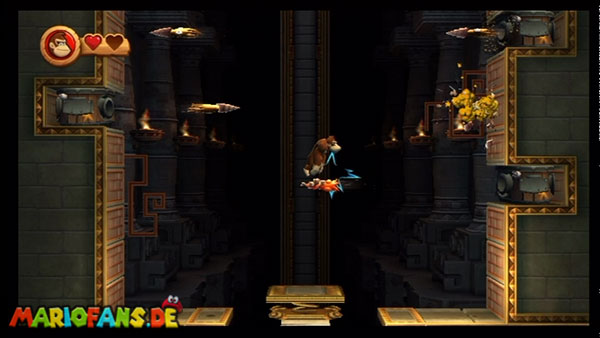
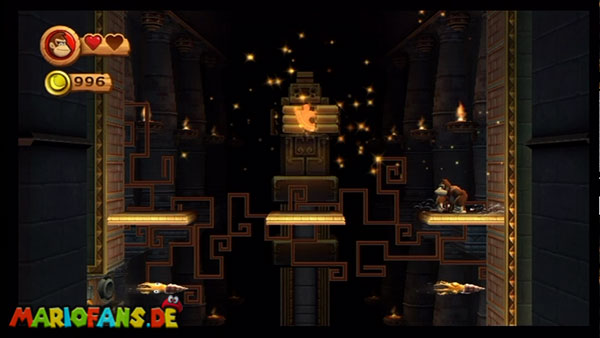
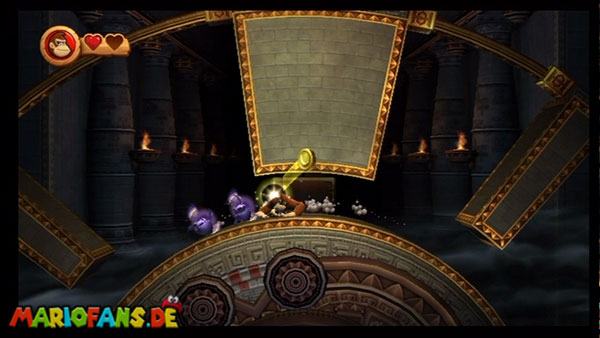
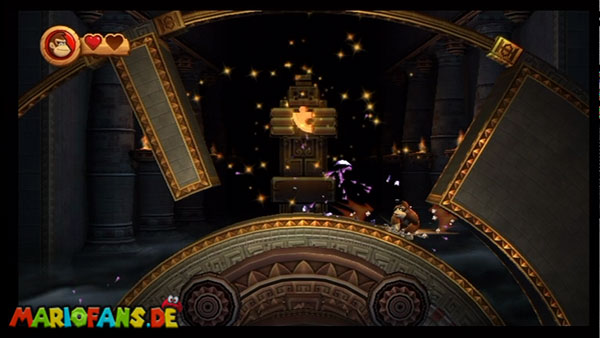
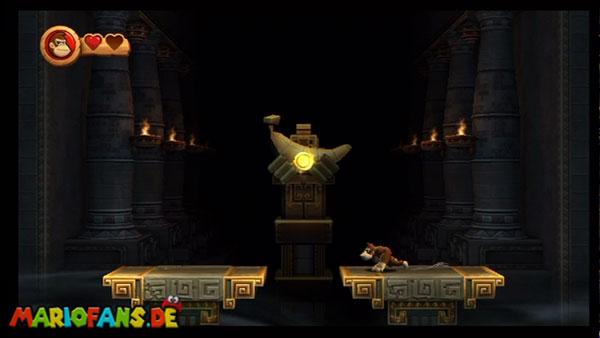
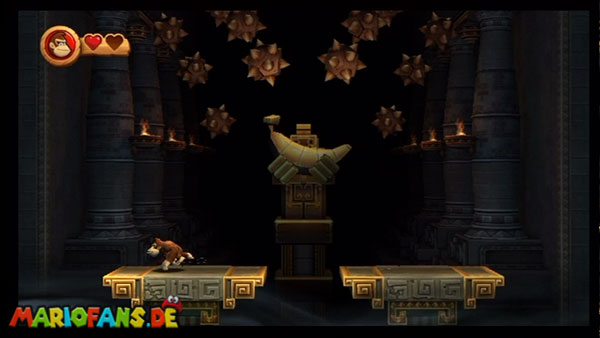
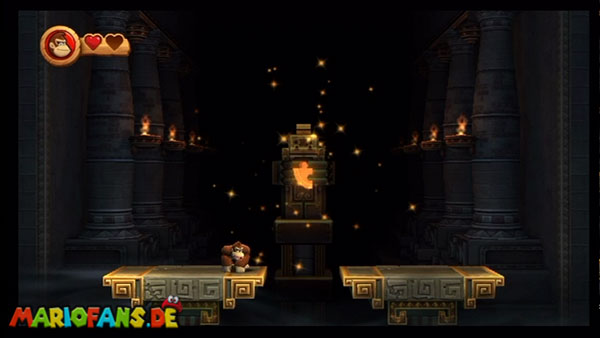
Unlock Level 8-K by collecting all Puzzle Pieces and every KONG Letter in World 8. In this level, you must complete five challenges, each of which is to collect all five coins in the corresponding area.
Only when you have collected all five coins of a challenge will you be rewarded with a Puzzle Piece, and only when you have collected all five Puzzle Pieces can you complete the level.
- Puzzle Piece 1 Collects all five coins over the trampolines and simultaneously avoids the blade opponents.
- Puzzle Piece 2 Here you have to collect all the coins and at the same time escape the overturning stone pillar. Just avoid the first pillars and then keep following the emerging coins, so you should automatically bypass the pillars.
- Puzzle Piece 3 — In the third challenge, simply work your way up the squid to the platform and grab the remaining coins.
- Puzzle Piece 4 — For the fourth Puzzle Piece, you have to stand on the huge stone wheel and grab all oncoming coins while avoiding the annoying opponents.
- Puzzle Piece 5 — And last but not least, you have to avoid the oncoming salvos of spiked balls and quickly grab the coin after each wave as soon as it comes out between the two platforms.
8-B: Tiki Tong Terror
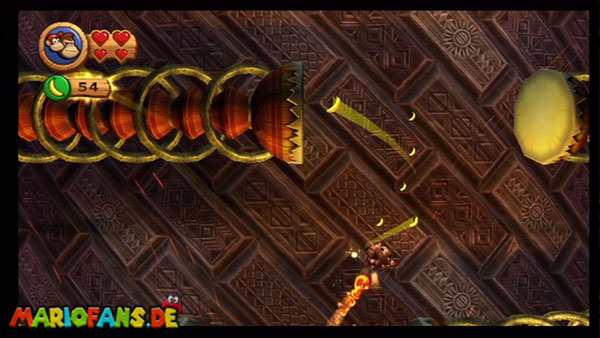
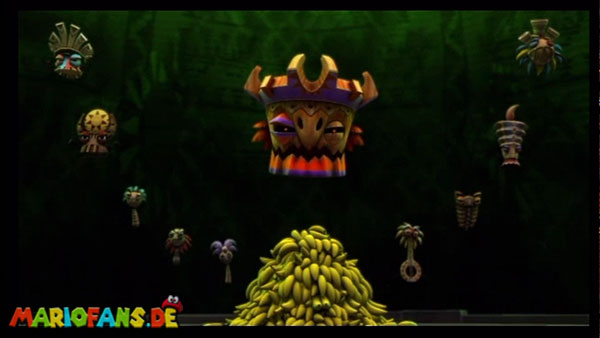
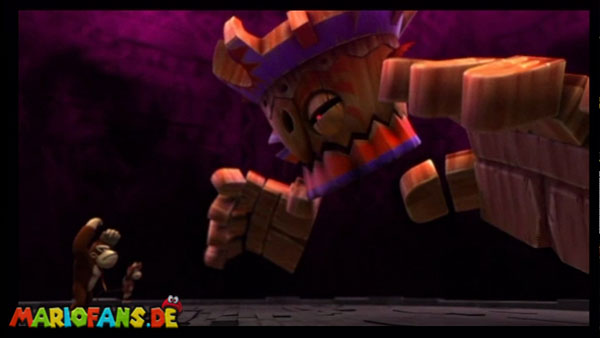
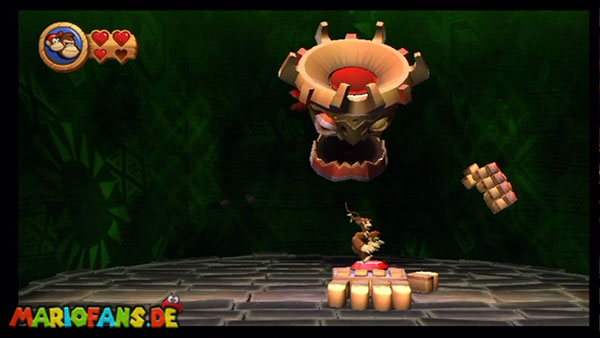
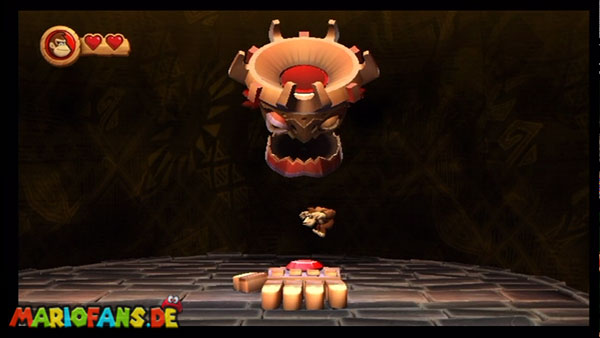
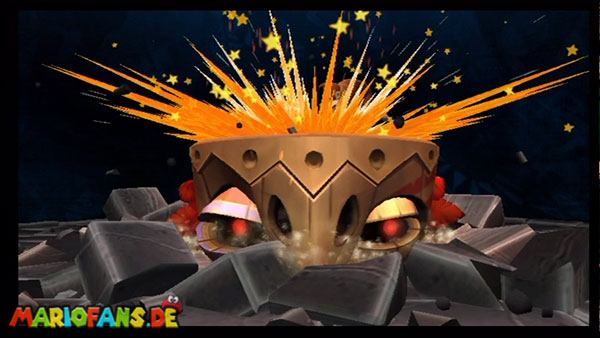
The final boss hits you on the top of the volcano with two huge hands: if they move from left to right (or vice versa), just jump over them! If a hand hits the floor, you should jump on the red color switch quickly! Three hits per hand are enough to destroy them.
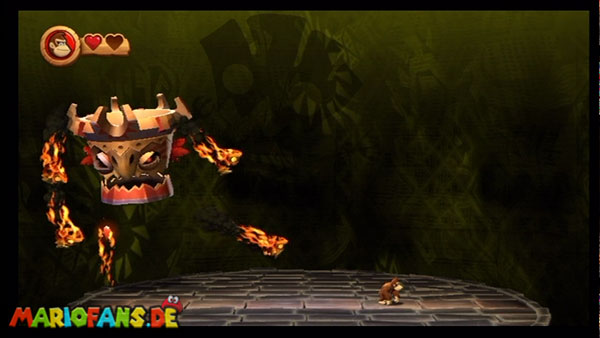
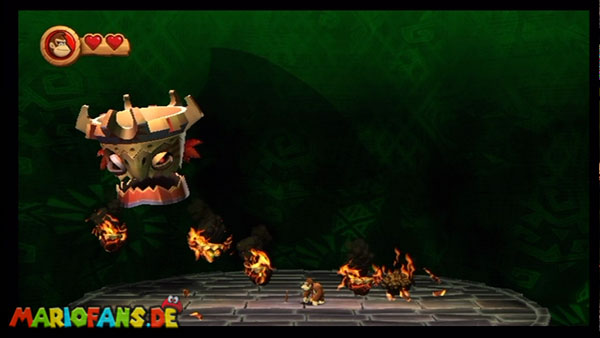
In the final phase, Tiki attacks with head shocks: as soon as he crashes on the ground, pillars of fire close to the side. Jump over them and land on the red color switch on the head if possible. Land three Target Terror, and the final enemy is defeated.