

World 1 — Grass Land. Learn the tail’s flight, cross the first fortress and collect the two optional Warp Whistles. World 1-4 also offers the forty-four-coin P-Wing challenge.
Courses in this world
World 1-1
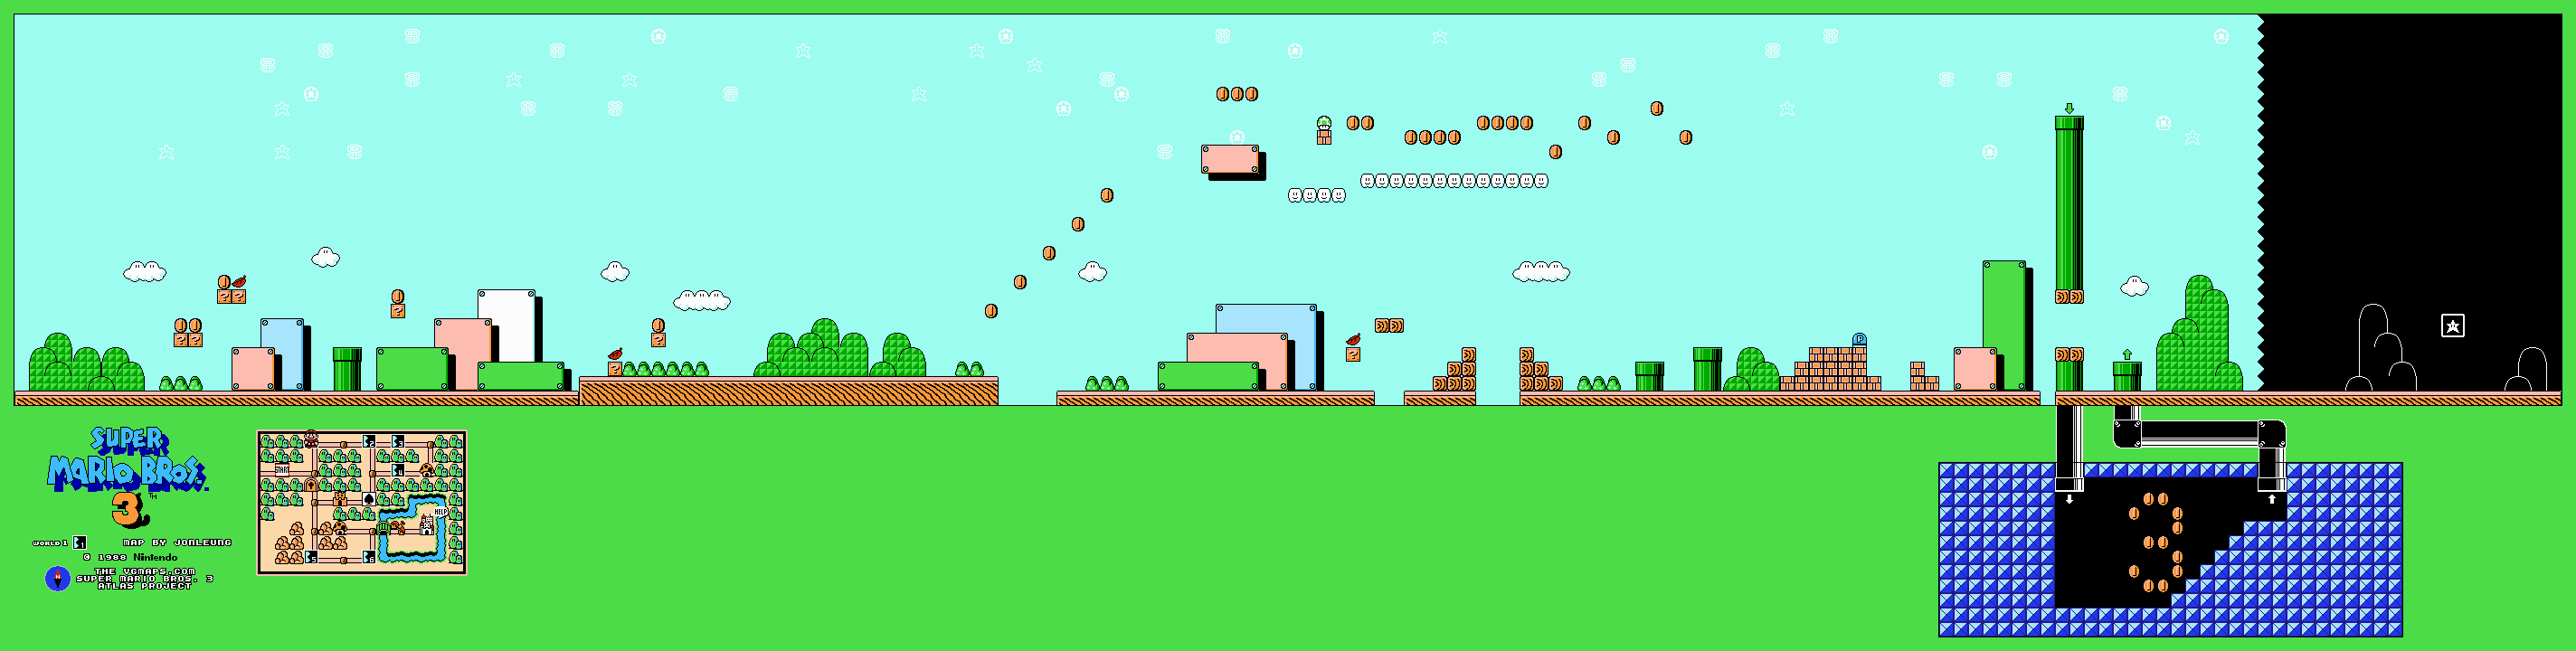
Take the opening Super Mushroom, stomp the Koopa and throw its shell into the low question block for the Super Leaf. With a full P-Meter, run across the flat ground beyond the Para-Goomba and repeatedly press Jump to fly up to the cloud platforms. Collect the cloud-route 1-Up, build speed again and reach the top of the tall pipe on the right. Enter it for the coin room shaped like a large three.
The ground route remains available if you lose the tail. Cross the gaps, avoid the plants and uncover the P-Switch in the brick formation for extra coins. The lower opening through the tall pipe leads toward the normal goal; the upper opening is the optional bonus entrance. Collect the goal card to clear the course.
World 1-2
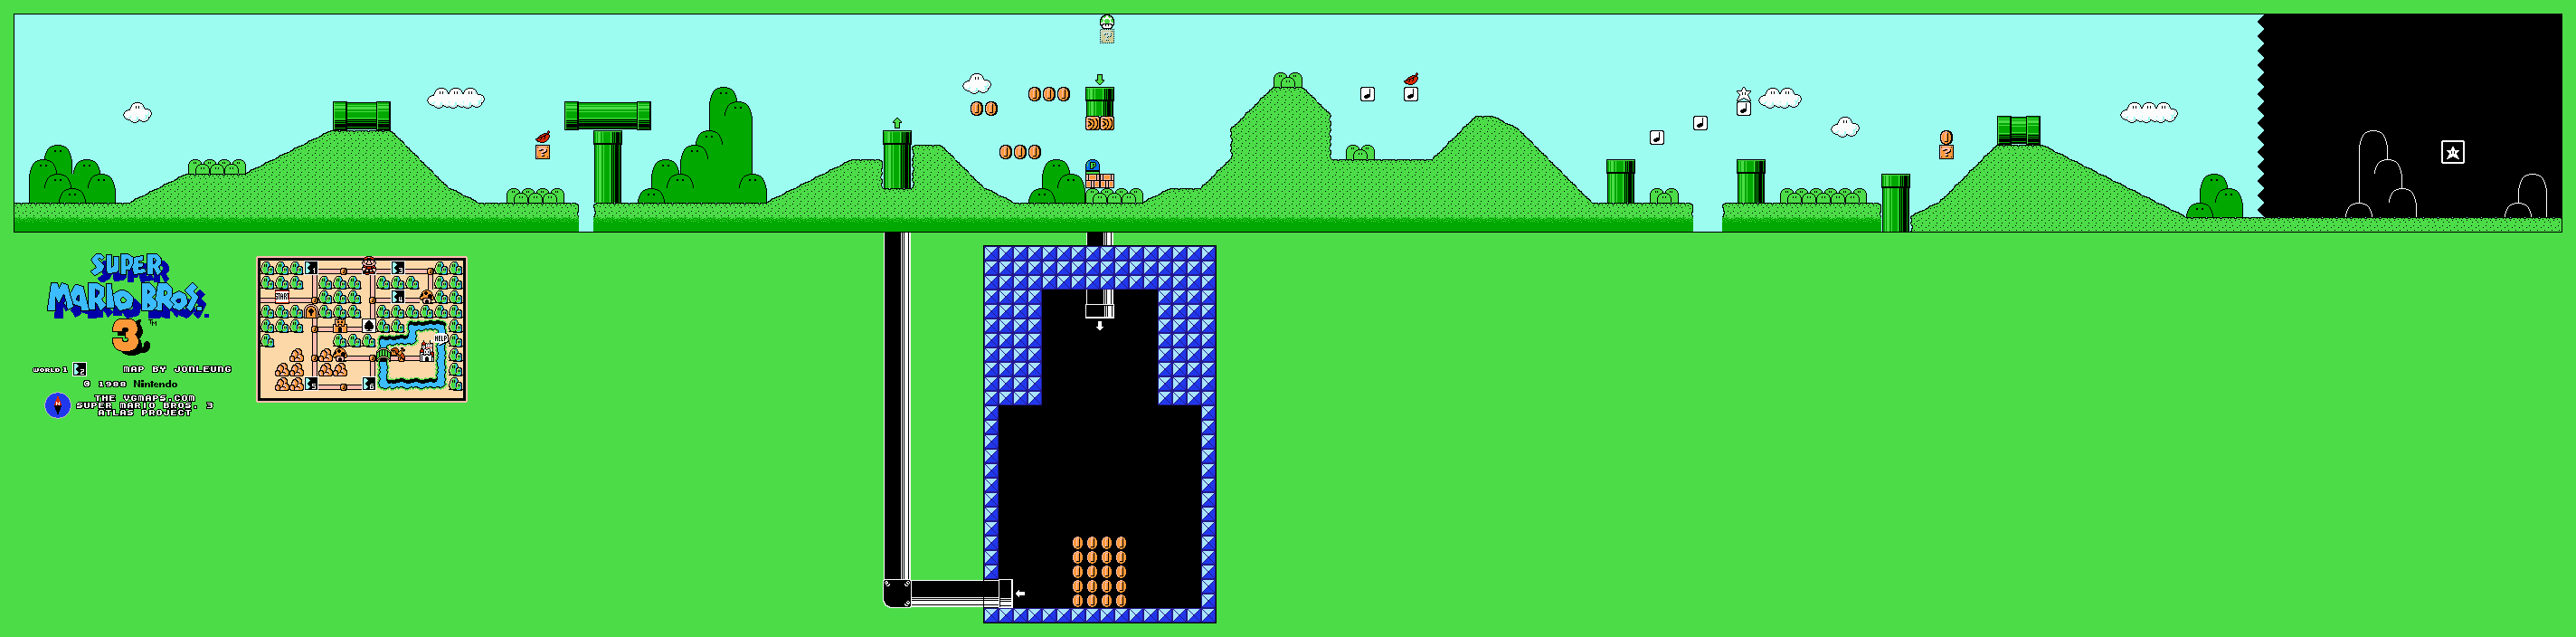
Climb past the Goomba-producing pipe and use the early Super Leaf if needed. At the floating pipe, uncover the P-Switch beneath it. Its temporary brick bridge lets you reach the bonus room; flying is the alternative. Continue over the hill and bounce along the Note Blocks, collecting the Super Leaf from their group. The later Note Block can give a Super Star for the last stretch.
For extra lives, bounce repeatedly on the Goombas leaving a sideways pipe. Raccoon Mario’s slow descent makes it easier to land on the next Goomba without touching the floor. The reward increases through the uninterrupted chain, but the timer still runs. Leave enough time to pass the last Para-Goomba and reach the goal.
World 1-3
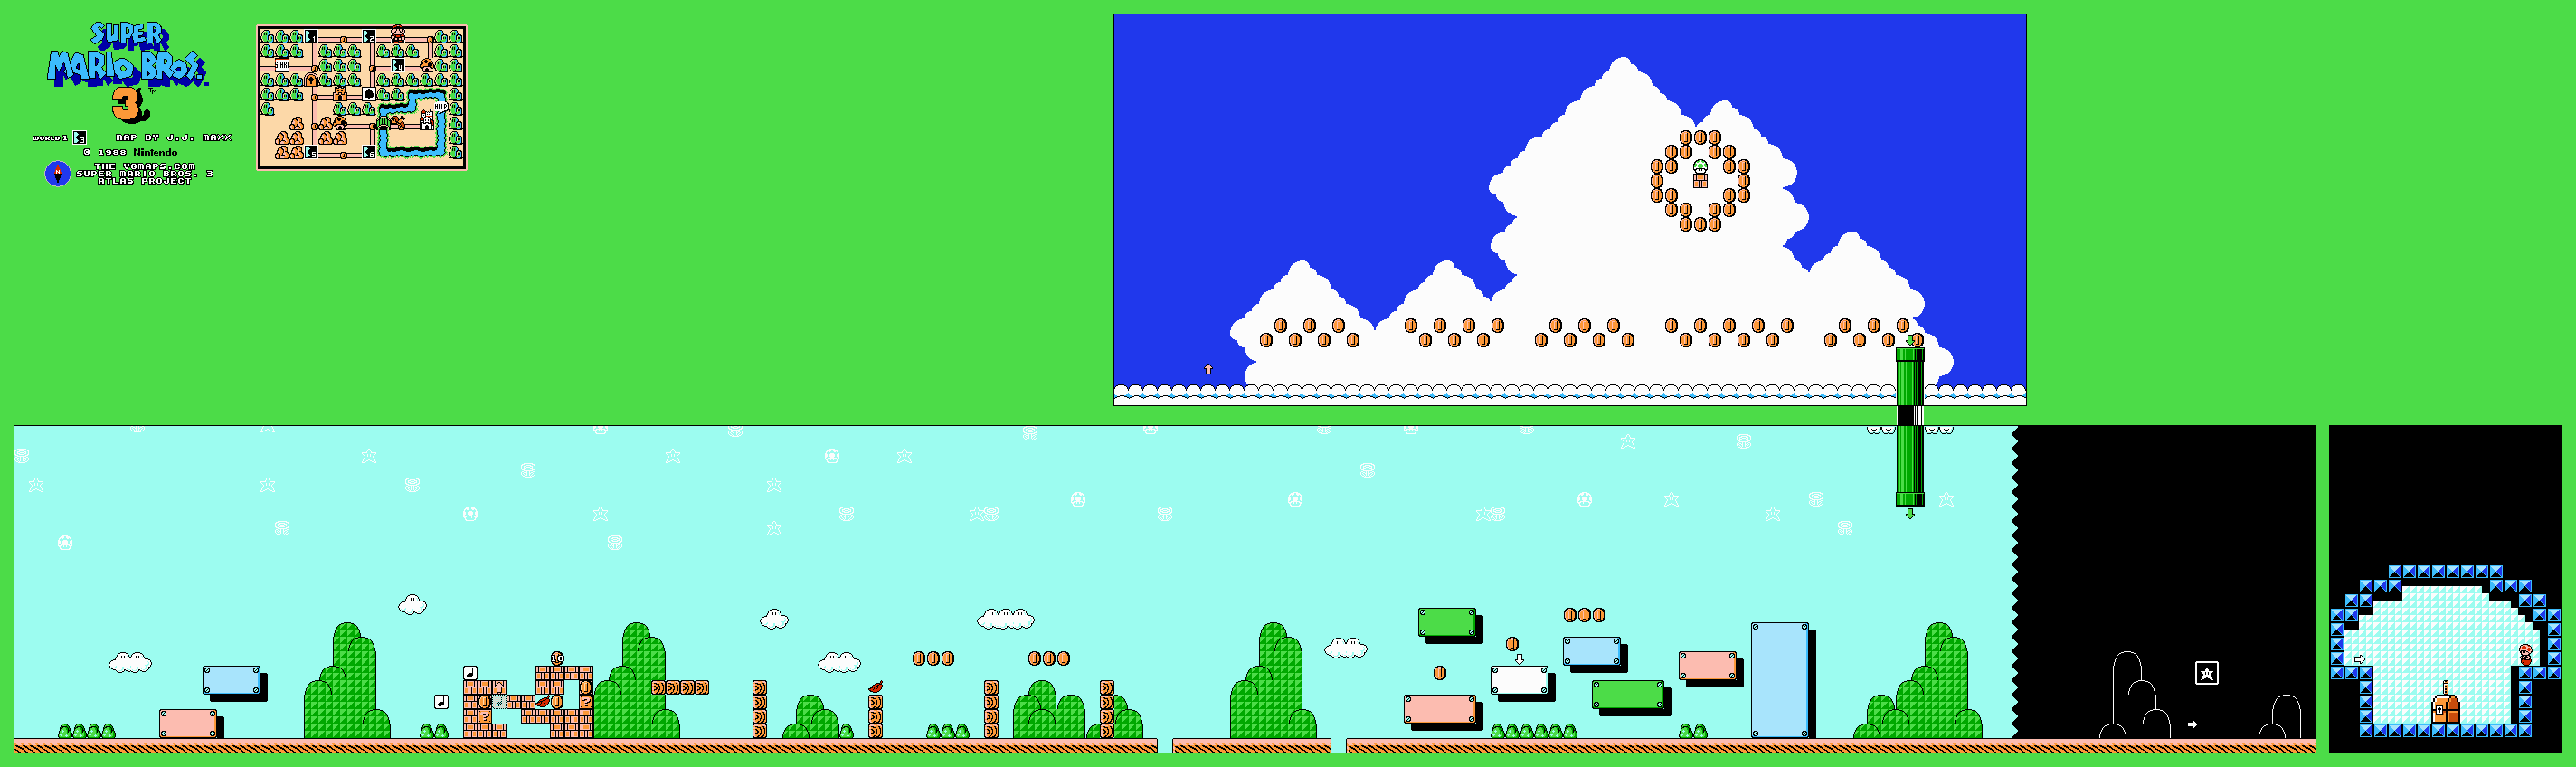
Use a Koopa shell or a timed jump to remove the first Boomerang Bro. Around the brick structure, jump above the question block on the left to reveal the pink Magic Note Block. Bounce on it for Coin Heaven and its coin trail, then return near the end of the stage. On the normal route, the top block of the second wooden column hides a power-up that is released by hitting its side.
For the first Warp Whistle, stop on the white platform near the goal and hold Down for about five seconds. Once Mario drops behind the scenery, run right behind the black goal backdrop. Enter the secret Toad House and open its chest. This replaces the ordinary goal-card finish; you cannot normally replay a cleared NES course immediately to take both exits.
World 1-4

The screen scrolls automatically and the lifts fall as soon as Mario lands on them. Jump onward promptly, using the solid islands to judge the next landing. Avoid being trapped between the left screen edge and a brick or pipe. A tail helps correct a jump but does not stop the scrolling.
For the White Mushroom House, collect at least forty-four coins in this run. Take the airborne coins and repeatedly hit the multi-coin blocks while they remain reachable. Keep the Koopa shells available for awkward blocks if you have no tail. The two optional 1-Ups shown on the map should be approached only when the next landing is secure. Enter the final pipe, pass the Boomerang Bro and take the goal card. Meeting the coin target produces a P-Wing house on the map.
Fortress
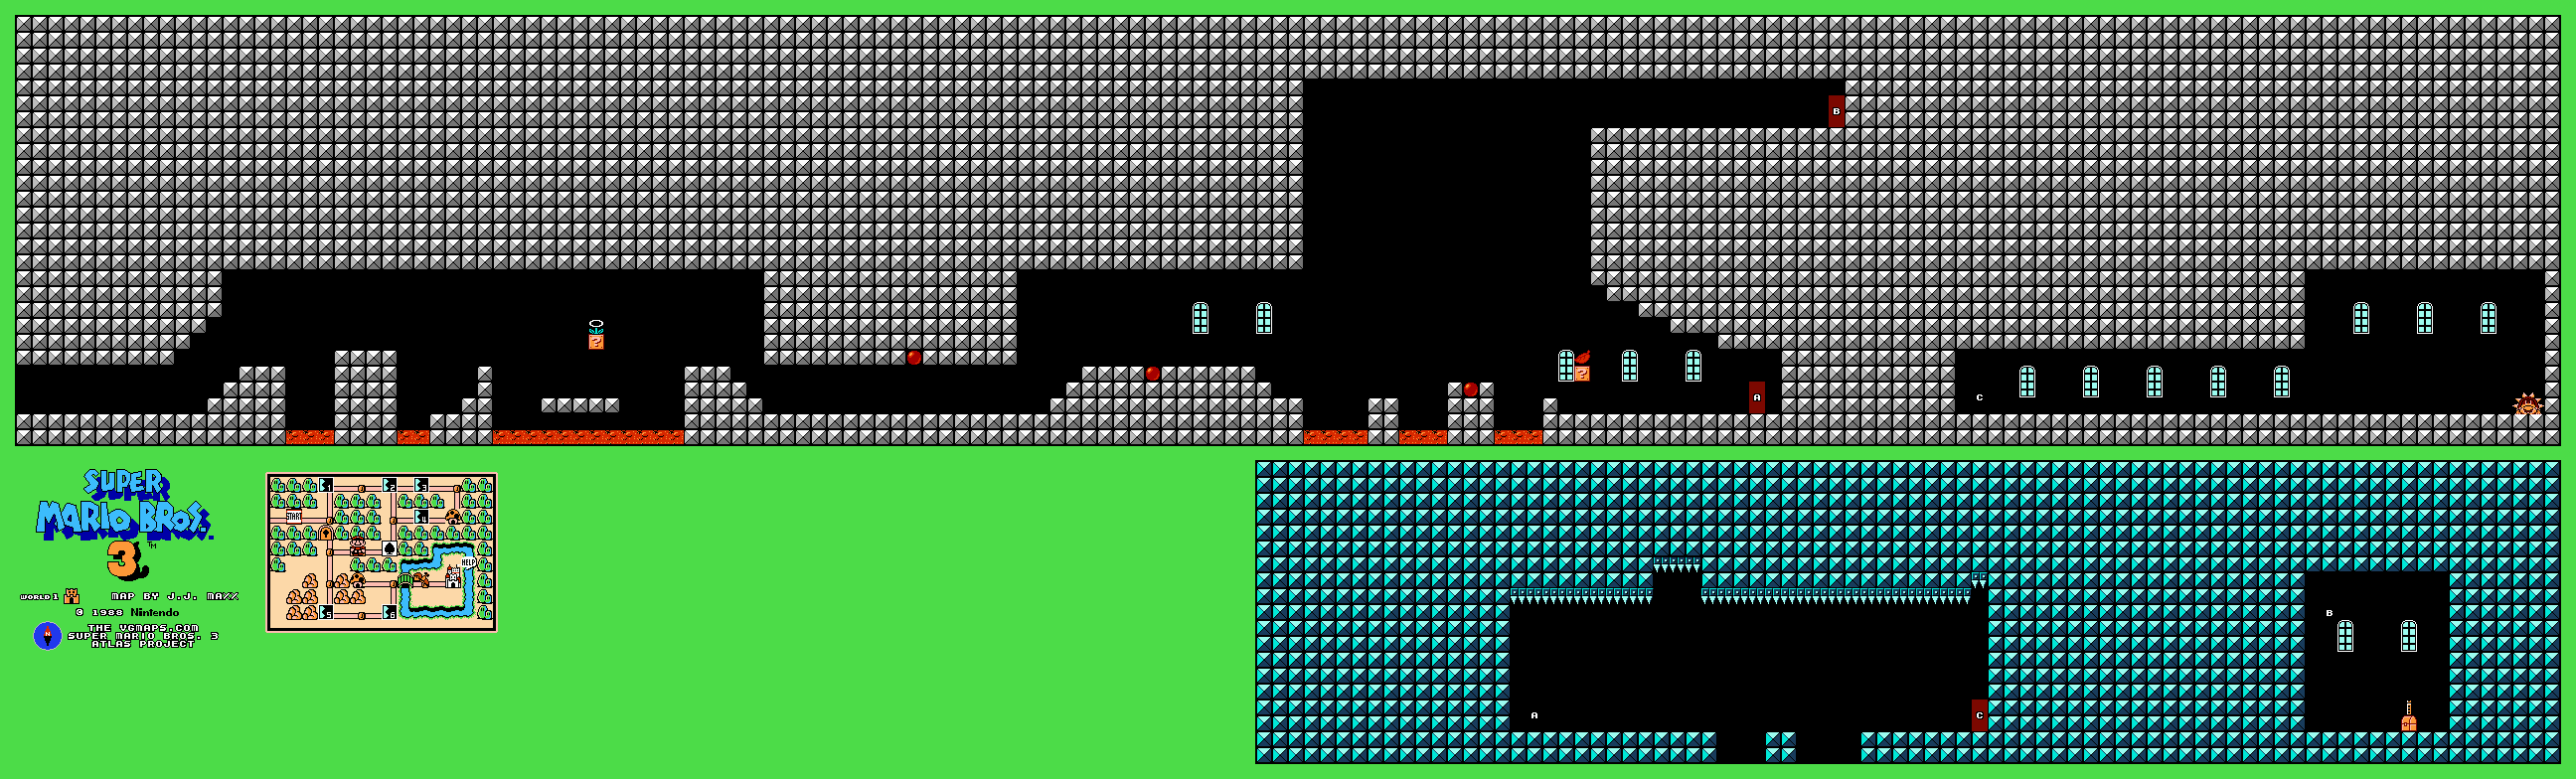
Cross the lava between the Podoboos’ jumps and wait for gaps in the Roto-Discs’ orbits. Dry Bones only collapses temporarily after a stomp. The last question block before the first door supplies a Super Leaf to a powered-up Mario.
For the second Warp Whistle, remain in this first room. Fill the P-Meter, fly over the ceiling and continue right to the hidden door. Press Up to enter and take the whistle from the chest. This clears the fortress but leaves its map lock closed.
For the normal finish, use the visible door and cross the moving spiked-ceiling corridor, crouching in the safe low spaces. Enter the far door when it rises into reach. Stomp Boom Boom three times, waiting through his protected shell intervals, then collect the magic ball. This route opens the map’s locked shortcut.
World 1-5
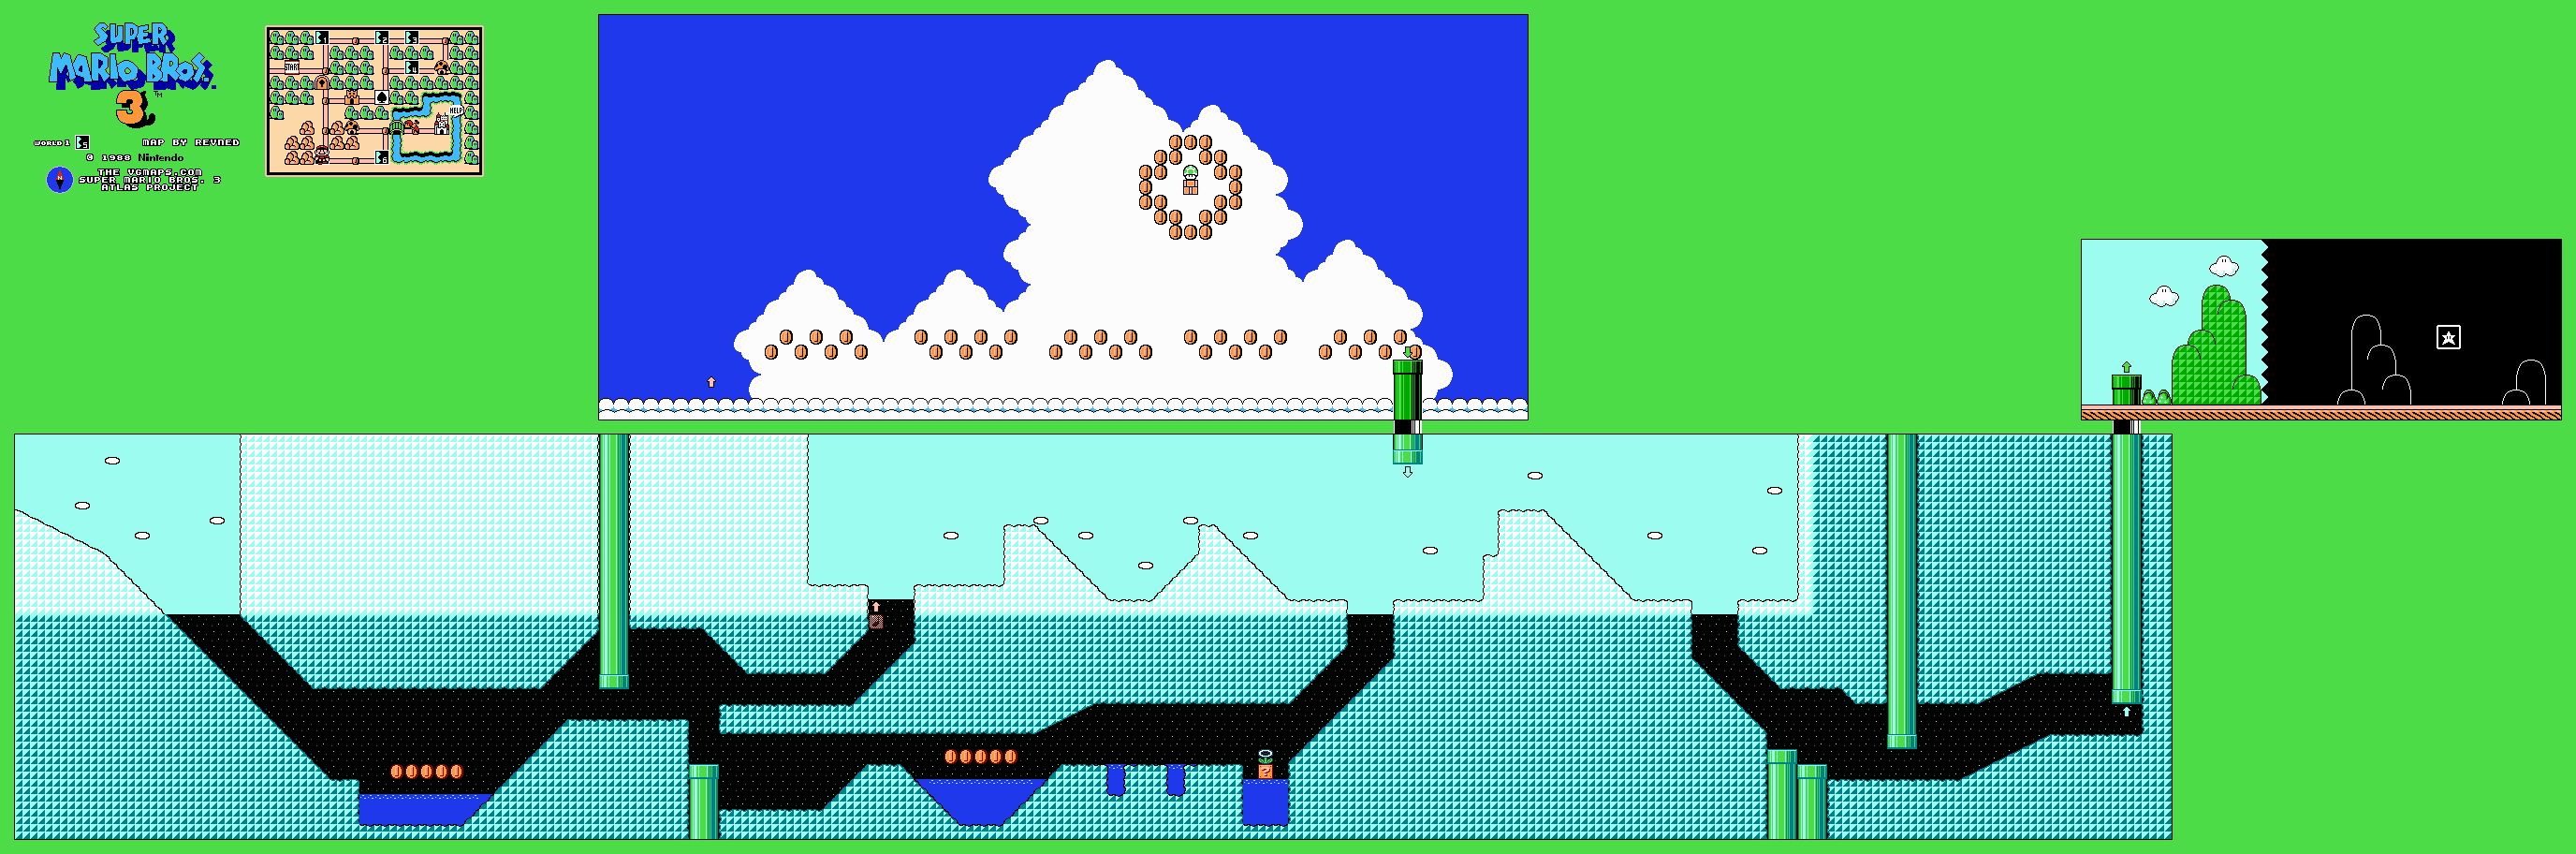
Slide down the opening slope to knock away the Buzzy Beetles and land in the water. Beyond the first pipe, choose between the upper branch and the watery lower tunnel. The upper branch contains a hidden pink Magic Note Block leading to Coin Heaven; search the open space above the passage before continuing. The lower branch has the conventional power-up route.
The paths rejoin near another hill and a low cave. Wait for the plant to retreat before sliding beneath the pipe corridor. Keep clear of the fire shot from the later Venus Fire Trap. Take the exit pipe and collect the goal card. Buzzy Beetles resist fireballs, so use a stomp and shell, a slide or the tail instead of spending time shooting them.
World 1-6

Cross the first small islands and transfer onto the rail lifts when their edges are within reach. Before the more irregular track section, hit the third brick from the left in the row of four for a 1-Up. Collect it before it can move into the gap.
The later platforms follow tracks that rise and fall around the Koopa Paratroopa. Wait on solid ground for an approaching lift, then move to the next safe island before the rail carries you away. Raccoon Mario can glide to correct a landing or use a clear runway for the high coin detour. Near the end, watch the red Paratroopas’ height before taking the last lift to the goal.
Airship — Larry Koopa
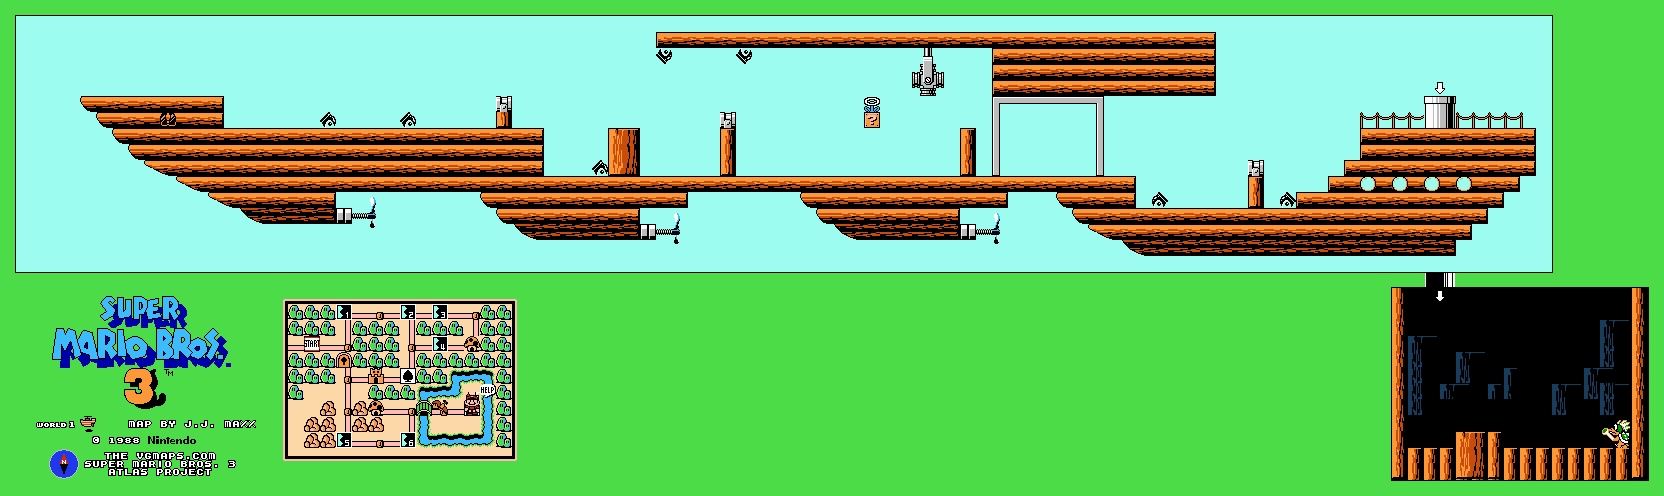
Follow the slow automatic scroll across Larry’s ship. Watch the cannon barrels before jumping so you pass above or below the next shot. The middle question block contains a Mushroom or Fire Flower. Do not let a tall cannon pin you against the left edge; wait on its safe top or cross its line of fire early.
Enter the silver pipe for Larry. Jump over his wand shot and land on his head, then stay clear while he retreats into his shell. Repeat when he emerges; three stomps defeat him. Collect the wand to restore the king and open Desert Land. If you lose the airship attempt, the ship can move on the map, so use an Anchor beforehand if keeping it in place will prevent extra travel.
World-map notes
The wandering Hammer Bro rewards a map item. Visit the regular Toad Houses and spade bonus panel before the airship if you want more supplies. A White Mushroom House is a separate reward for the 1-4 coin challenge. The two whistle exits bypass their normal stage finishes, so decide which route you want before collecting the chest.
Continue the walkthrough
Walkthrough overview · Next world: Desert Land
Warp Whistles · White Mushroom Houses · Items and bonus games