
Booster Pass. Follow the linked route in order, stopping for recovery before the major fights. This chapter follows the Nintendo Switch remake.
In this chapter
- Booster Pass
- Booster Tower
- Knife Guy and Grate Guy
- Booster Hill
- Marrymore
- Bundt and Raspberry
- Peach joins the party
- Tadpole Pond — the next Star Piece
- Star Hill — fourth Star Piece
Booster Pass
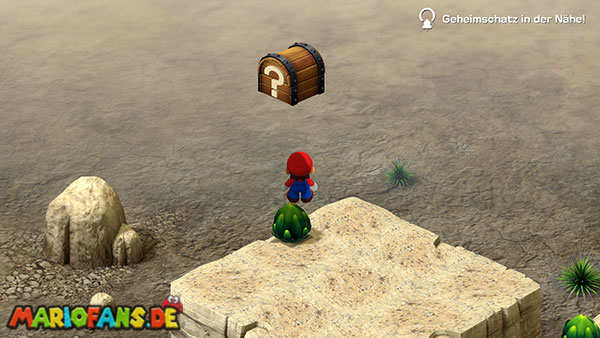
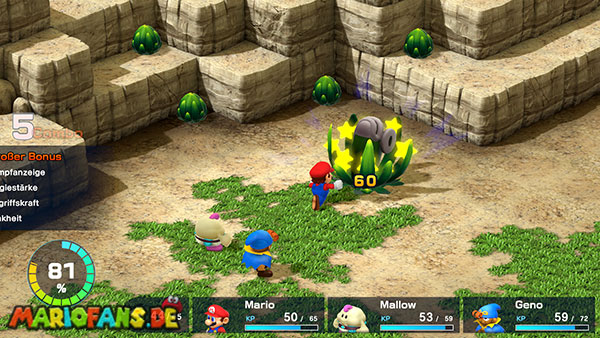
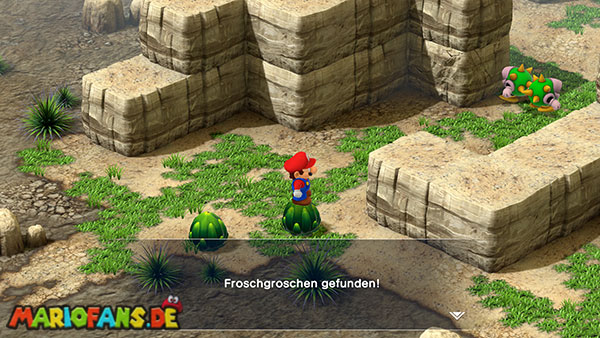
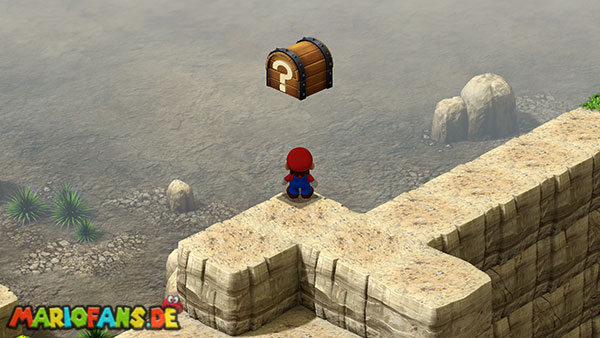
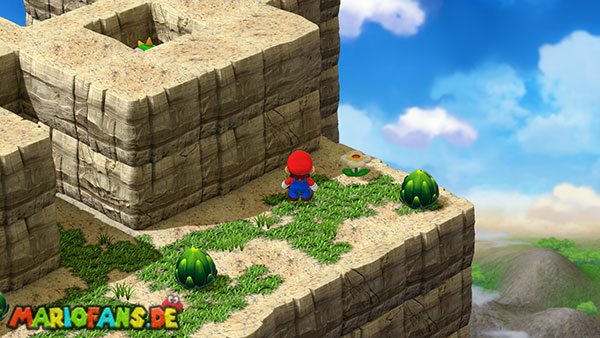
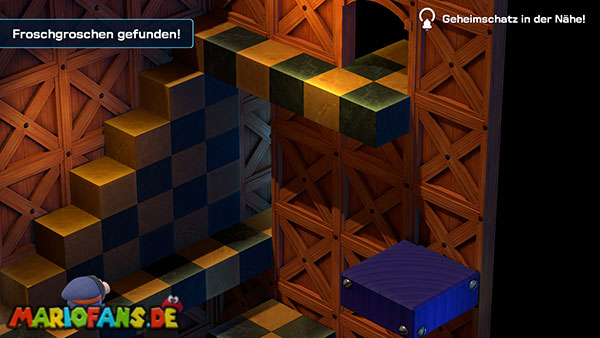
Climb the terraces while watching the Lakitu’s falling Spikeys and the plants that become Artichokers. Check the plant near the entrance for a hidden treasure, then the corner of the upper ledge for another.
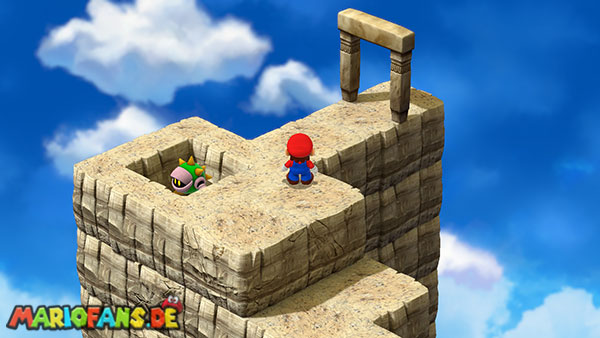
In the second area, use the narrow gap to reach the hidden switch that closes the Spikey holes. Take the nearby Flower and climb toward Booster Tower. A separate green switch inside the tower opens the return-visit cave in this pass; do not assume the local hole switch does both jobs.
Booster Tower
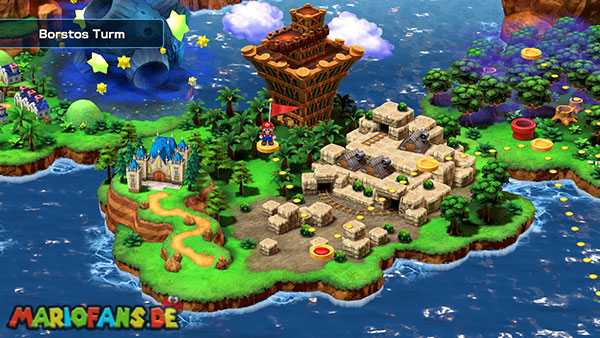
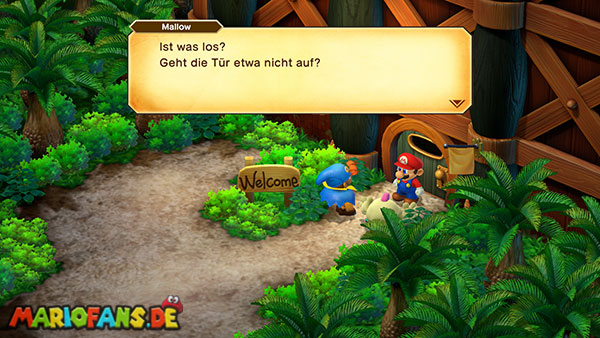
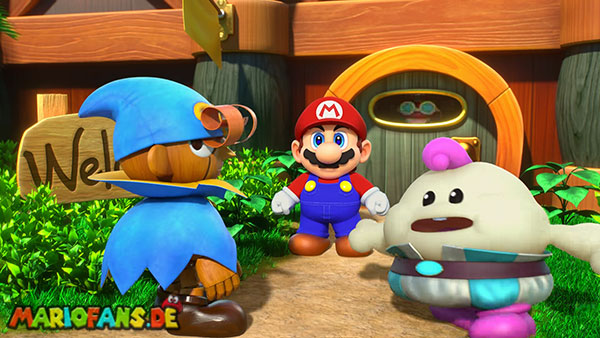
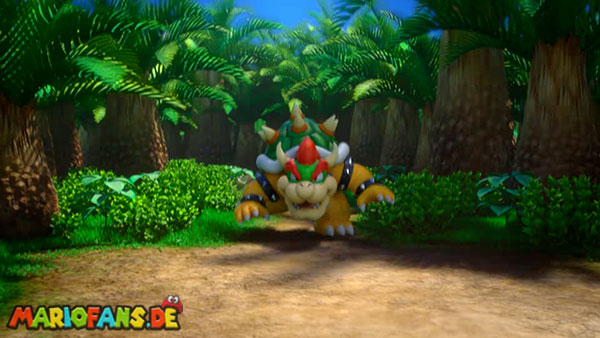
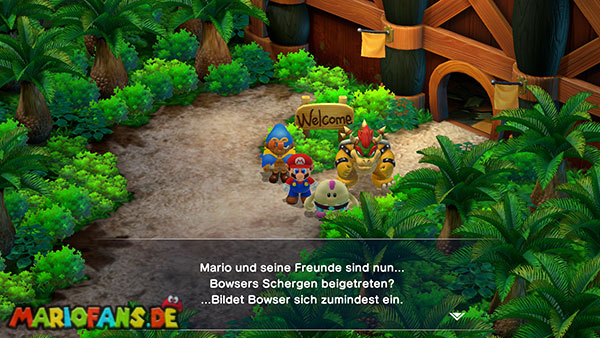
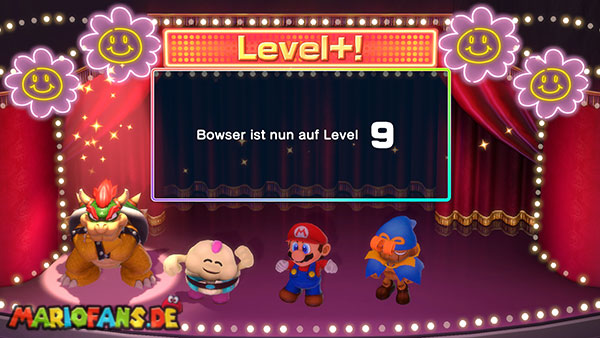
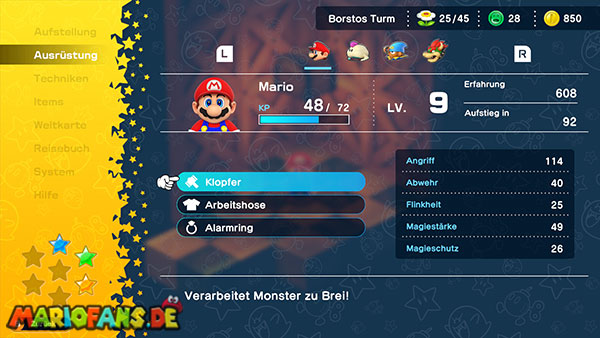
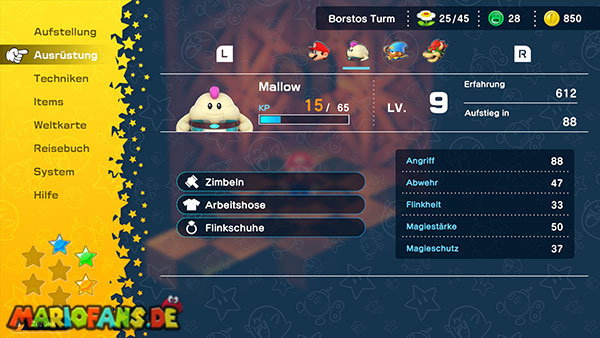
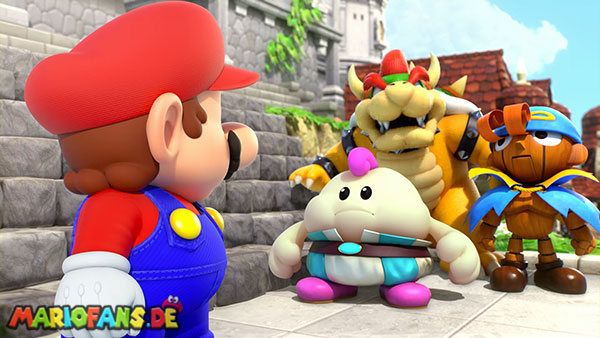
Try the locked tower door, then turn to leave. Bowser returns, forces the entrance and joins the party. Equip him before climbing. Mallow remains useful as a healer, while Geno and Bowser give a strong physical alternative.
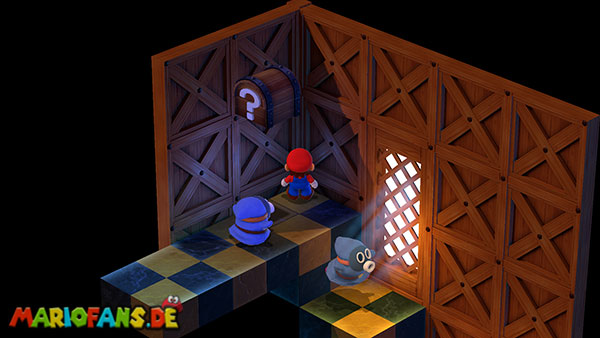
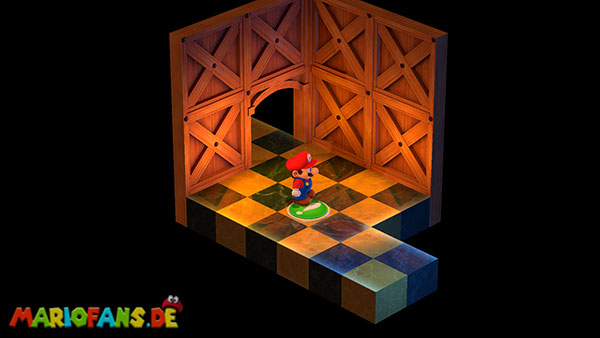
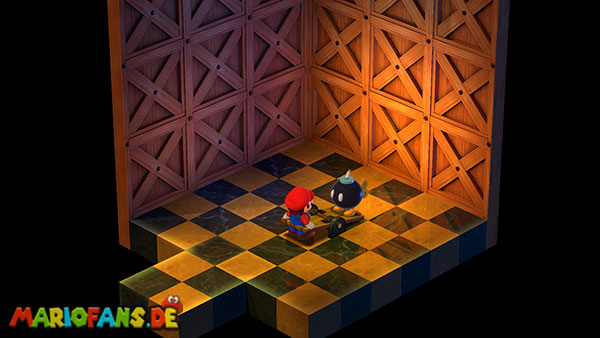
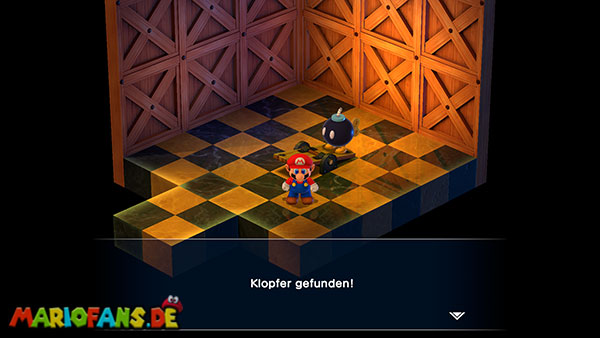
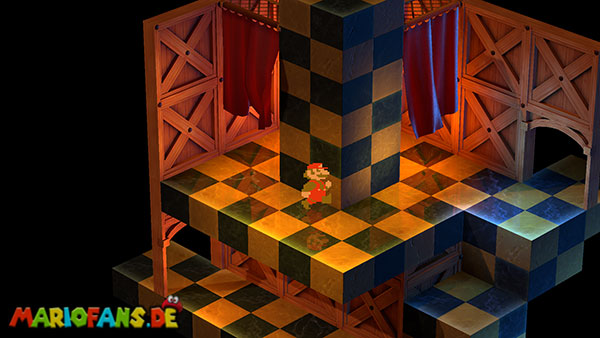
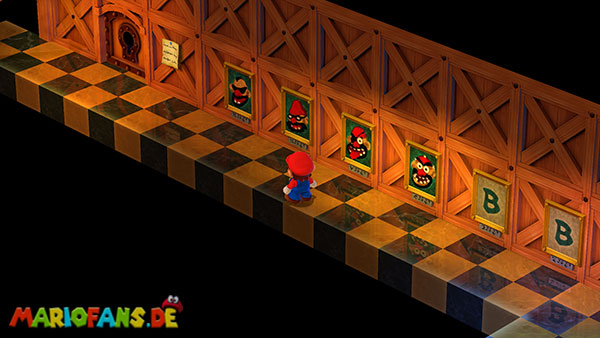
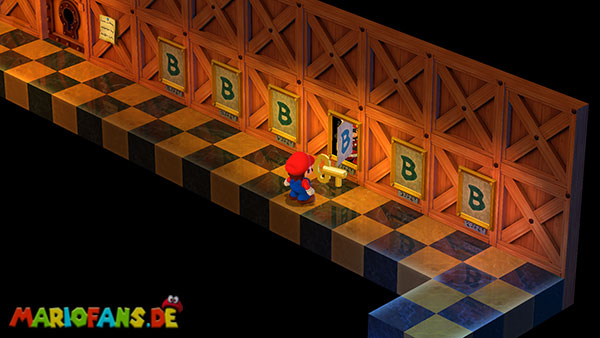
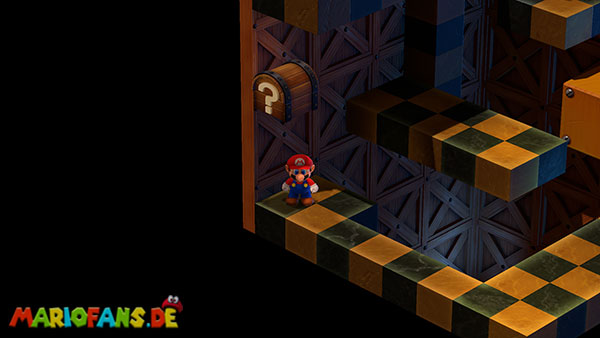
Study the six family portraits on the early walkway. Use the side-room seesaw to launch Mario into the Masher chest if you want the optional weapon, then climb back to the main route. Press the tower’s green floor switch for the new Booster Pass cave. Continue past the curtain easter egg, the Bullet Bill stairs and the Rob-ombs to the save block.
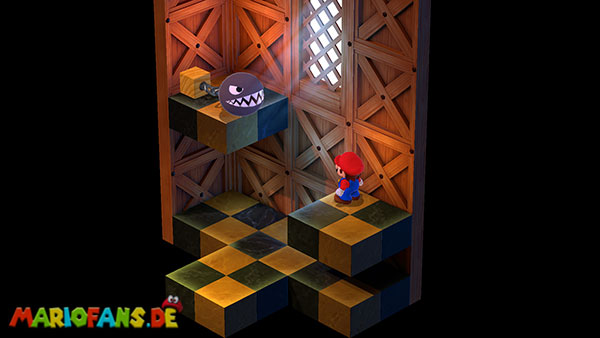
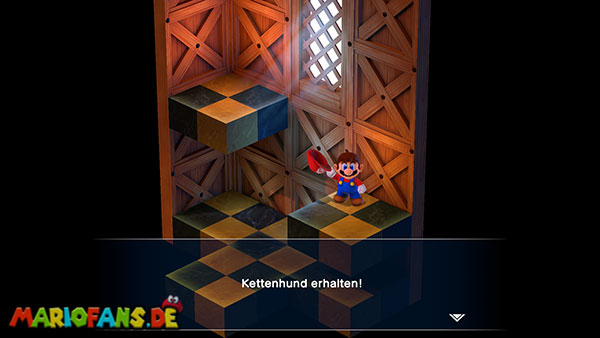
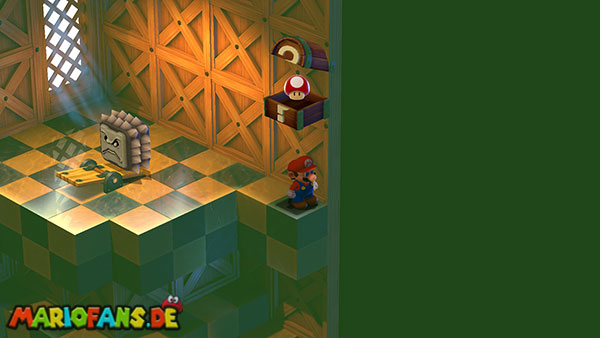
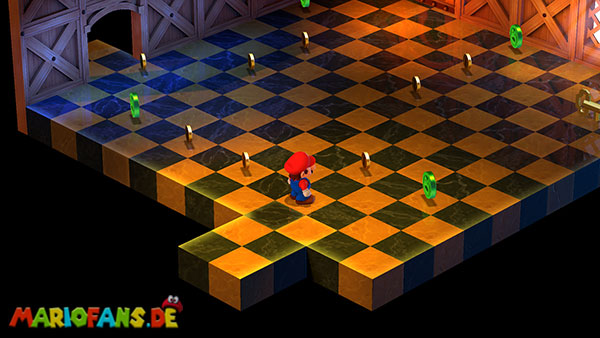
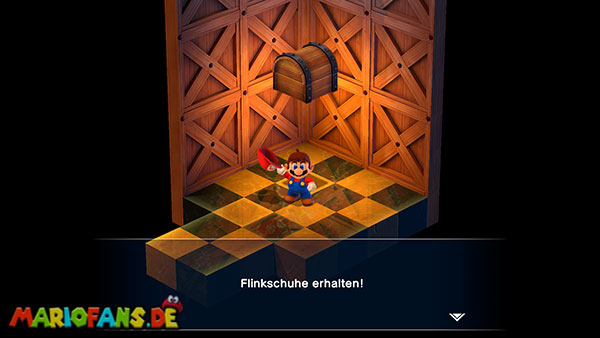
At the portrait puzzle, number the pictures from left to right and examine 6, 5, 3, 1, 2, 4. Take the Elder Key, open the nearby room and let Bowser collect Chain Chomp. Equip it. Continue by the Thwomp seesaw, then collect the Room Key in the fireball-floor room to open the Zoom Shoes chamber.
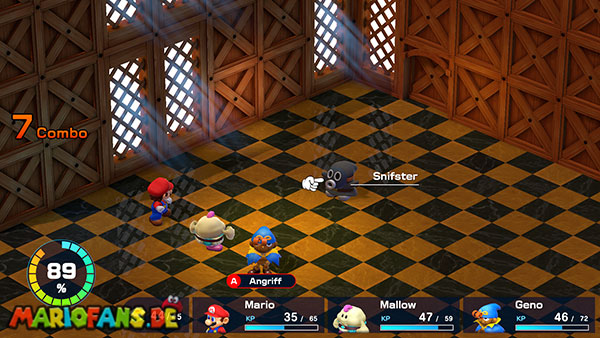
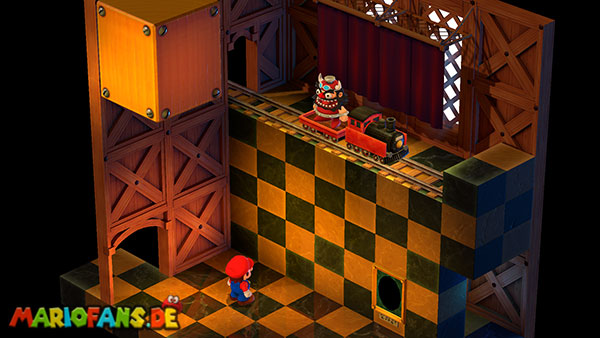
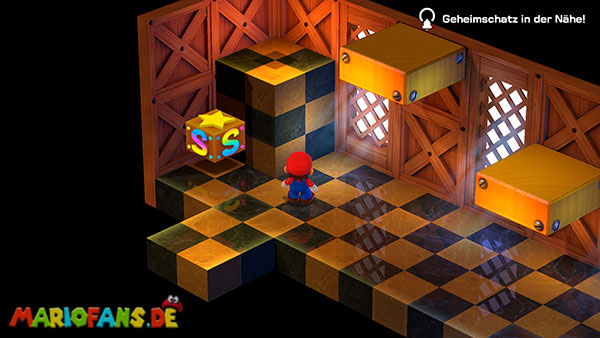
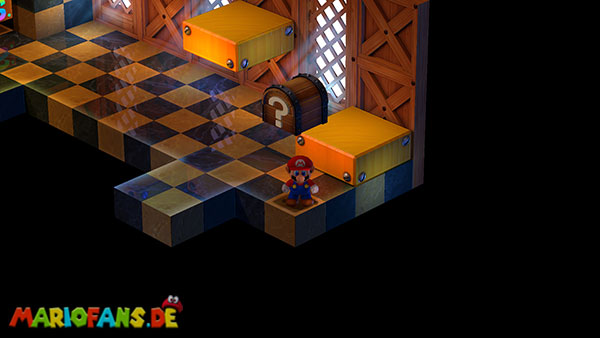
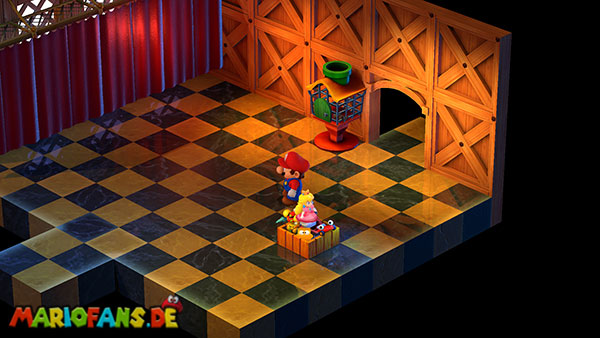
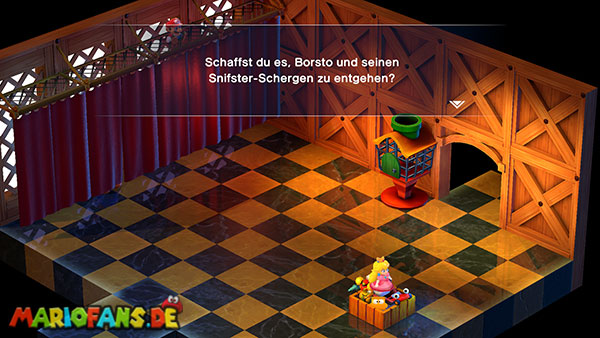
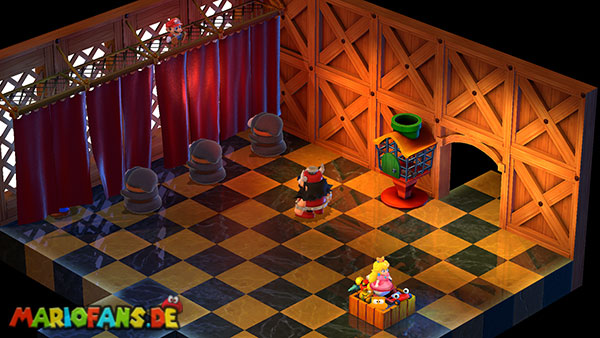
At the upper save room, jump onto the visible chest and then upward for the hidden Goodie Bag. Check the lower corner for another hidden chest. During the curtain game, move behind a curtain no Snifit is about to open. Keep track of Mario’s feet and avoid guessing from an earlier round’s safe curtain. When the toy is found, jump to return it and earn the Booster’s Charm without fighting Booster.



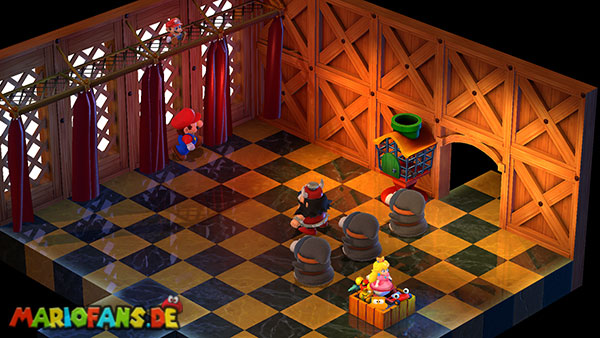
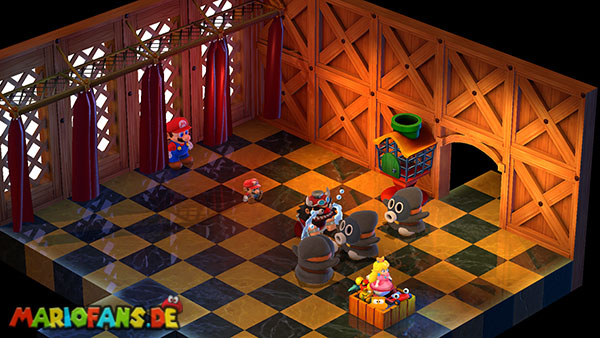
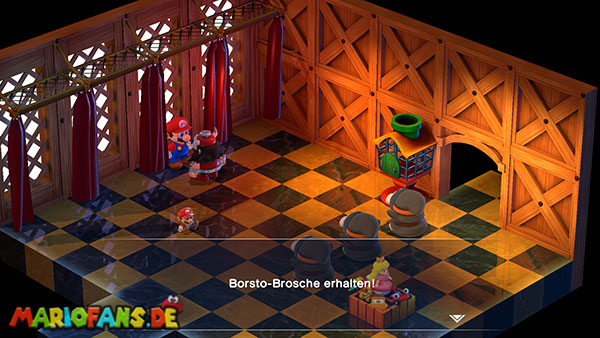
Knife Guy and Grate Guy
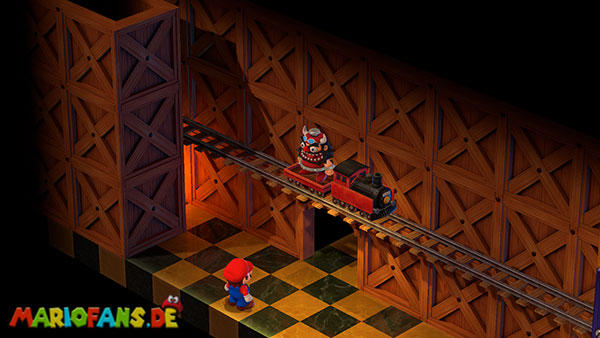
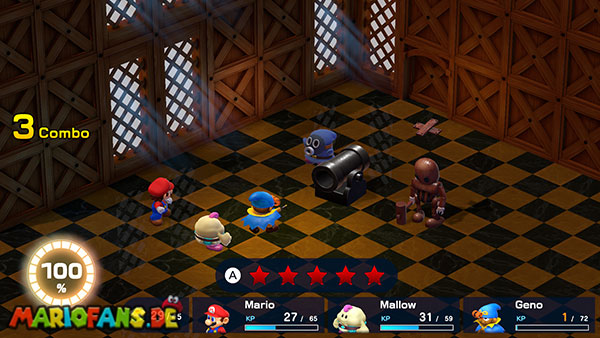
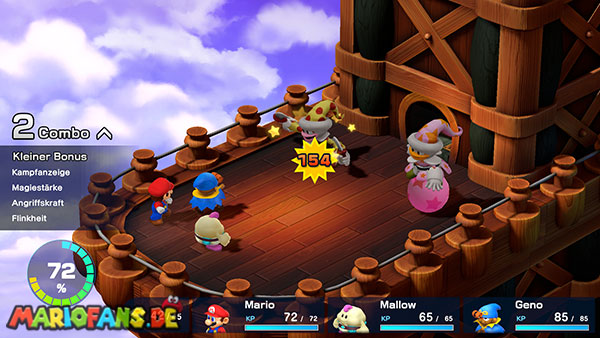
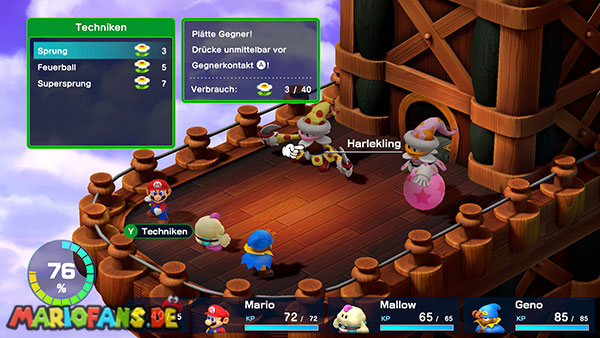
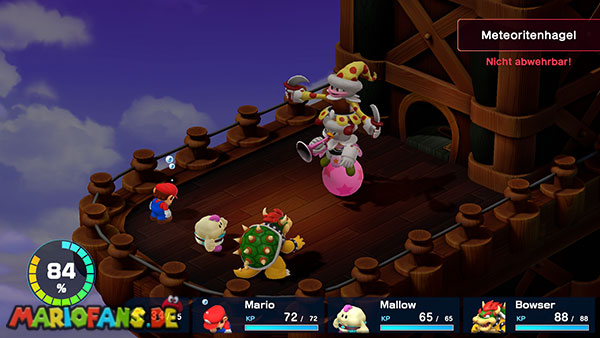
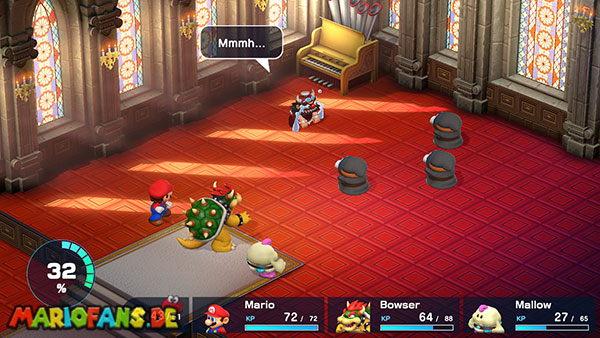
Concentrate on Knife Guy first to prevent the two clowns’ combined formation from staying active. Mario’s fire attacks are useful against him; Geno Boost improves an attacker, and a correctly timed boost adds defense as well. Bowser can use his newly equipped Chain Chomp.
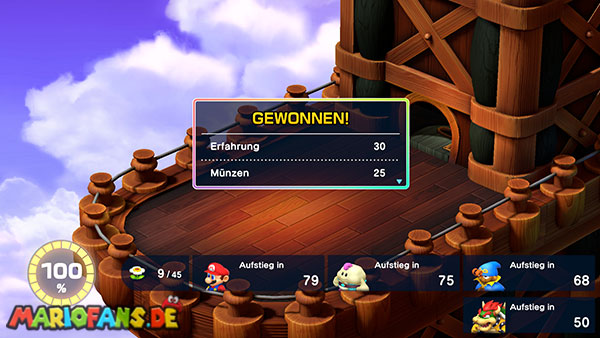
Keep the group healthy when Grate Guy begins using party-wide magic. Once Knife Guy is gone, use strong physical attacks to finish Grate Guy. Heal when the next group attack would be lethal instead of expecting the battle to end after a fixed number of turns.

Booster Hill
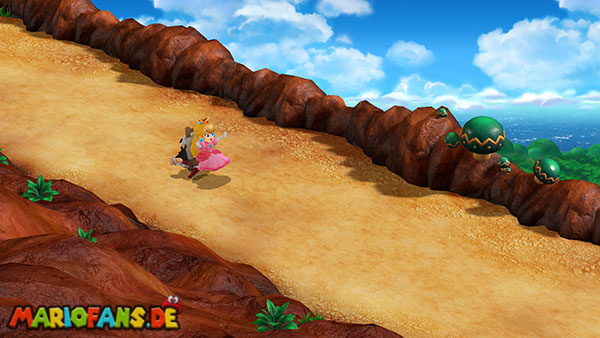
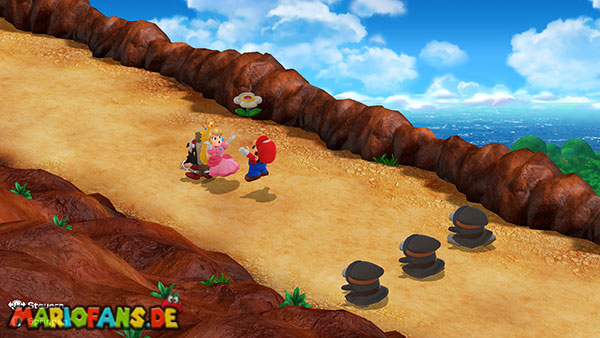
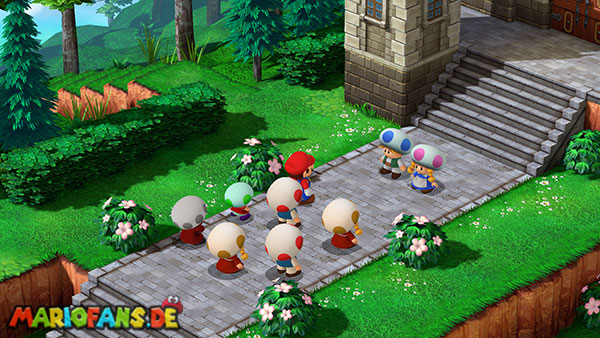
Jump on the rolling barrels and Snifits to gain ground during the pursuit. Avoid being hit from the front, which sends Mario farther back. Catching the princess gives Flowers, so approach with a useful bounce rather than repeatedly jumping into a barrel’s side.
The chase leads directly to Marrymore. This story run differs from the later beetle-catching visit, so do not expect the Beetles Are Us rewards yet.
Marrymore
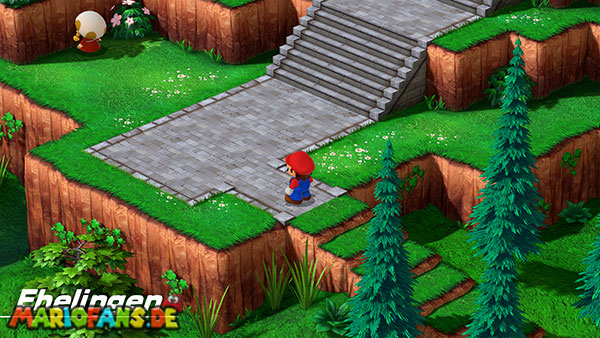
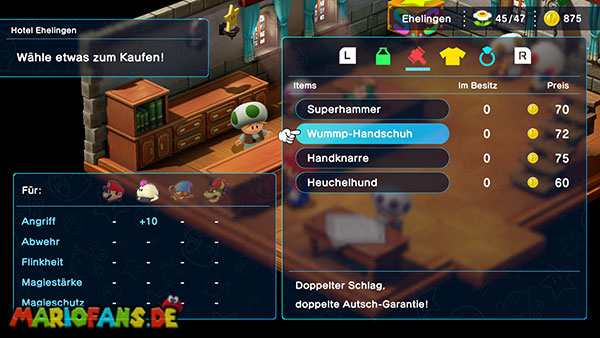
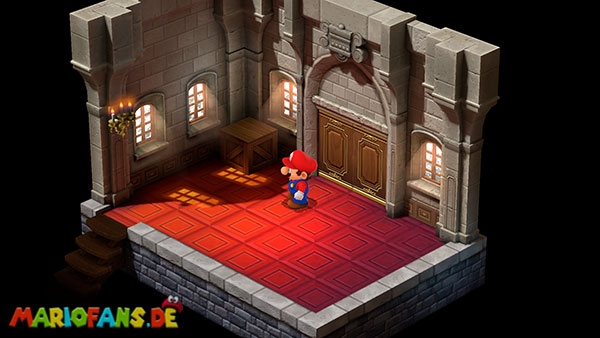
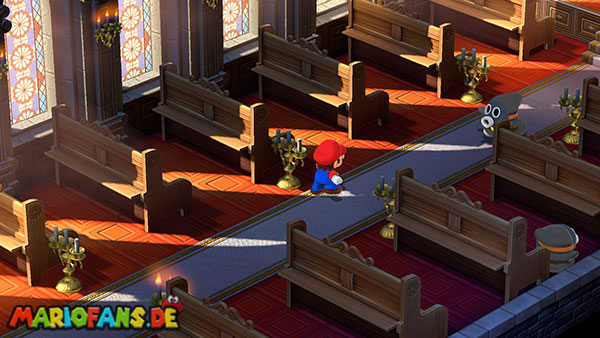
Buy the Happy armor you need at the inn’s shop and find the hidden chest above the high shelf in the first guest room. At the chapel, the main door is locked. Go around the side, use the concealed back entrance near the crate and climb from the kitchen.
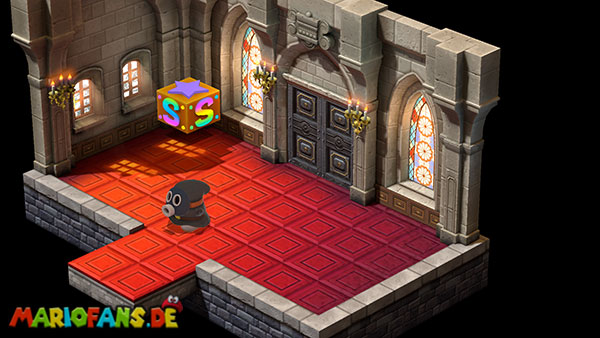
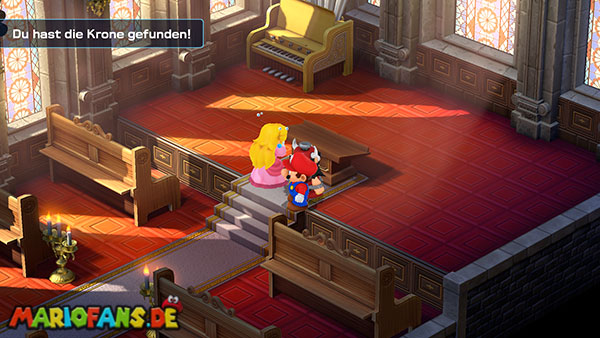
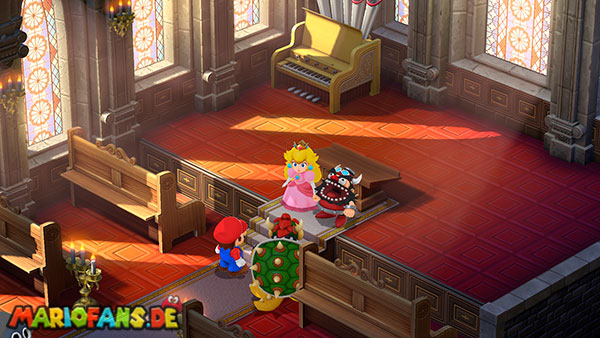
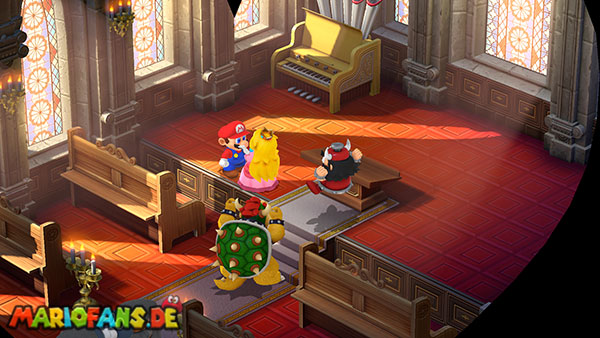
Run into the first locked door together with the Snifit, then do the same with Bowser at the next one. Save between them. In the ceremony room, recover the princess’s dropped belongings from the three Snifits and jump on Booster’s head for her crown. Return them promptly to determine the scene, then prepare for the cake battle.



Bundt and Raspberry
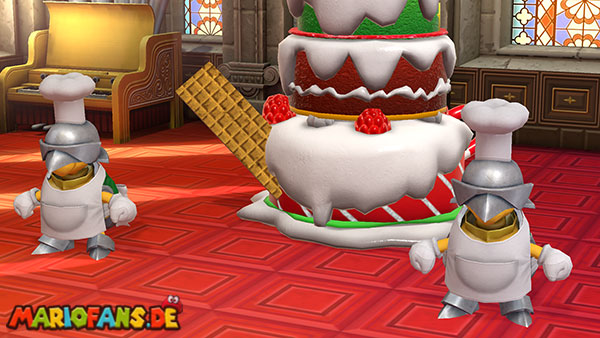
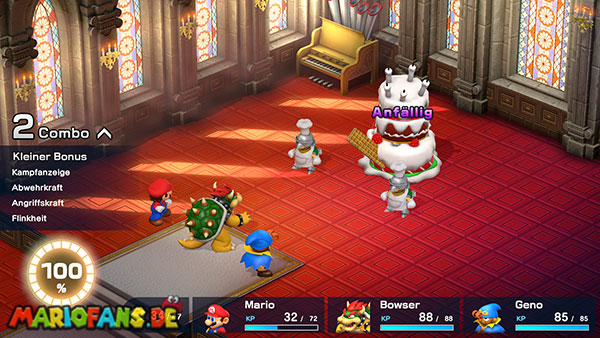
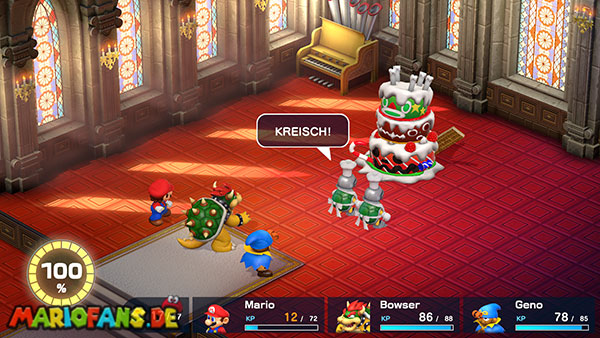
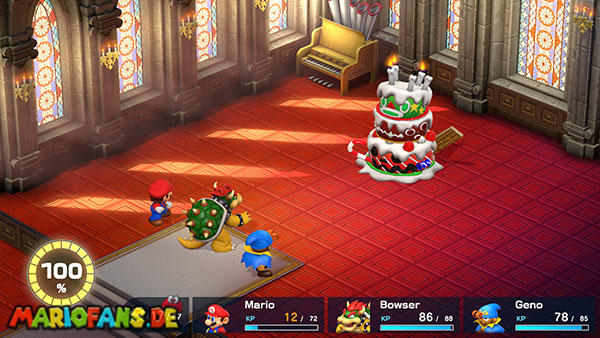
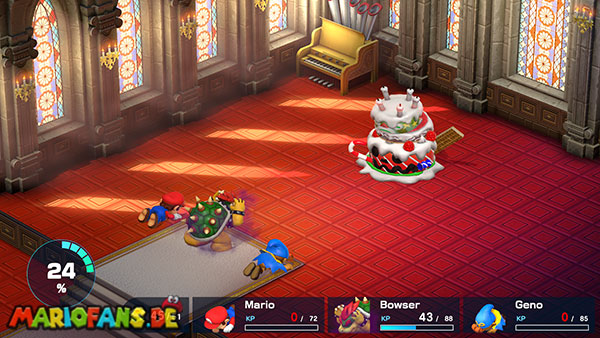
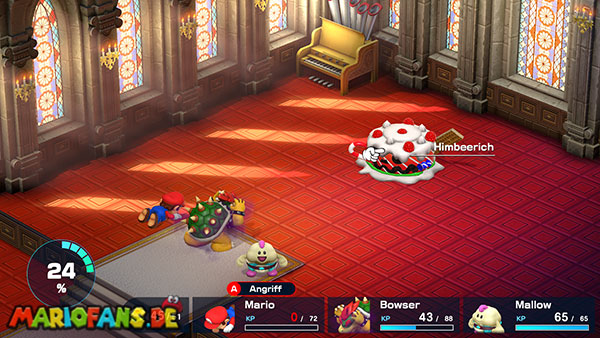
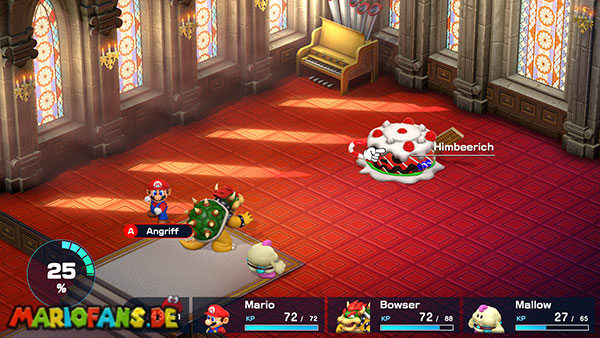
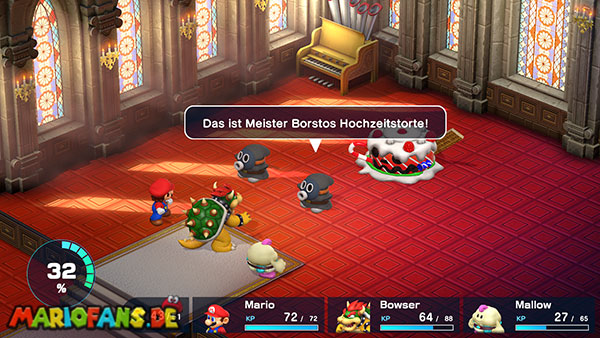
Attack Bundt rather than the two chefs, who are not useful damage targets. When they leave and the candles become the objective, keep landing attacks to extinguish them faster than Bundt relights them. Heal with one character when necessary while the others maintain pressure.
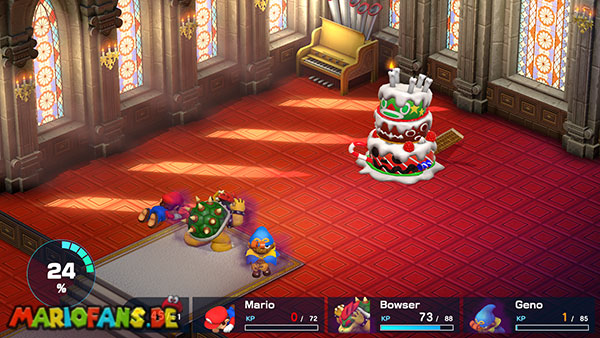
After the upper cake disappears, defeat Raspberry with ordinary damage. Watch for Sleep and party-wide spells during both parts. Finish the scene to free the princess. The next visit to Mushroom Kingdom makes Peach a party member; remember to equip her before relying on her healing.

Peach joins the party
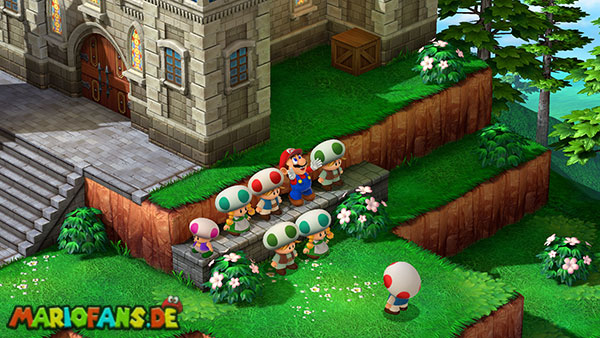
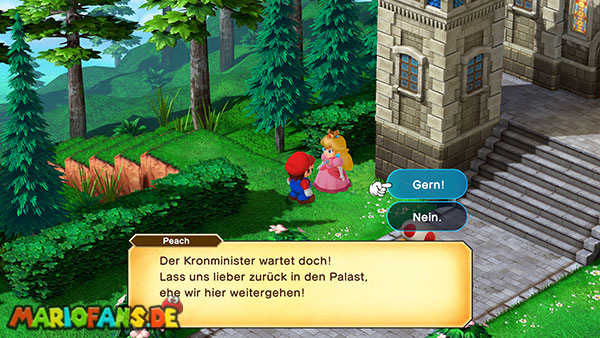
Take the princess back to Mushroom Kingdom and finish the castle conversations. Outside, speak to her again to add Peach permanently to the party.
Her healing and revival spells change your preparation for long fights. Equip protective armor and an appropriate accessory, and keep enough shared FP for recovery. Travel to Tadpole Pond and speak to the Frog Sage for the next destination, rather than looking for a fourth boss in Marrymore.




Tadpole Pond — the next Star Piece
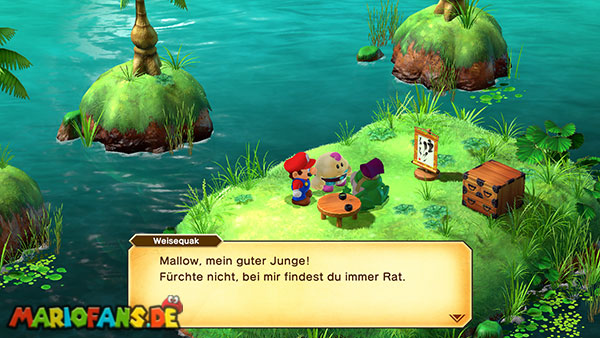
Speak to the Frog Sage at Tadpole Pond after the princess joins. He directs the group to Star Hill. Restock if needed and check Melody Bay’s available compositions for improved Juice Bar access.
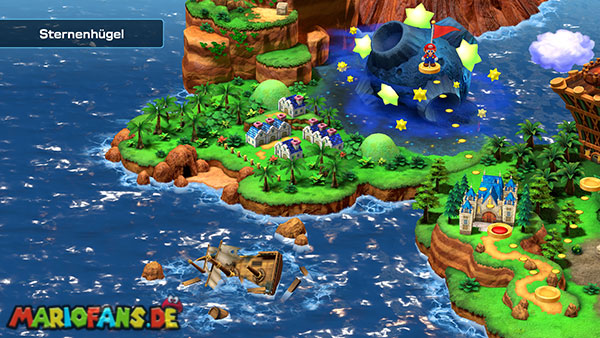
Star Hill is the next main-story location, while the forest, mine and casino detours remain optional return visits. Move southwest through the world map toward the hill when the conversation has unlocked it.
Star Hill — fourth Star Piece
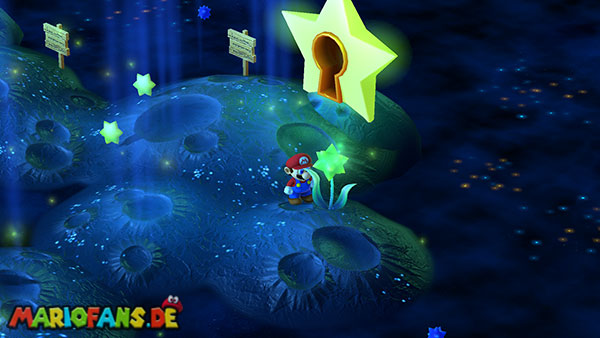
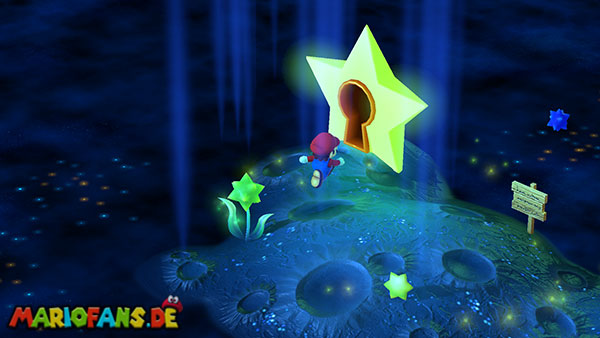
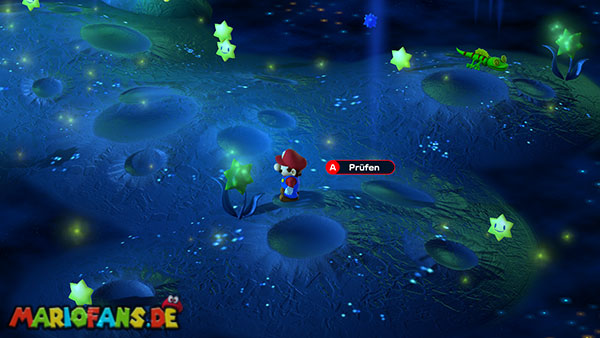
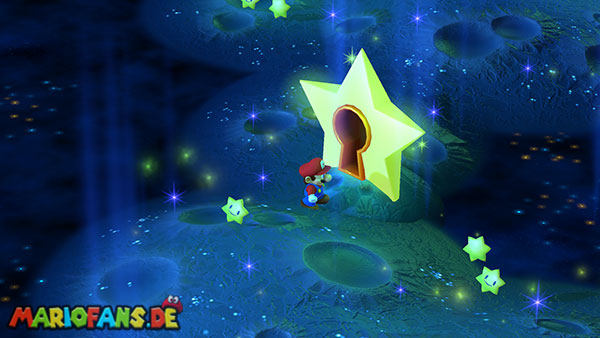
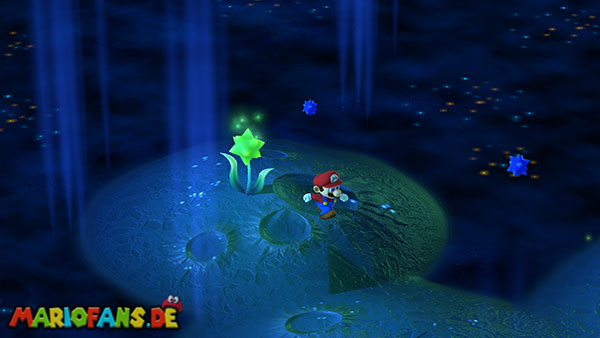
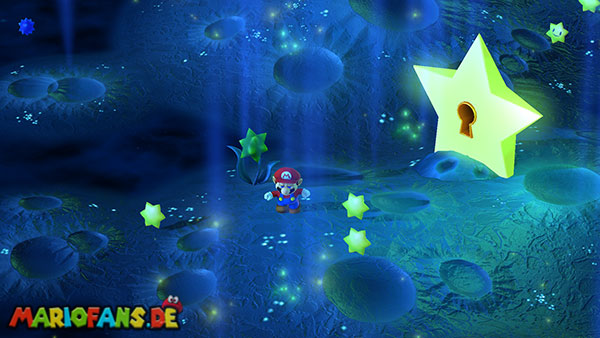
Speak to the star-shaped flowers to light them and open each large star door. Examine the wishes for optional dialogue as you cross the areas.
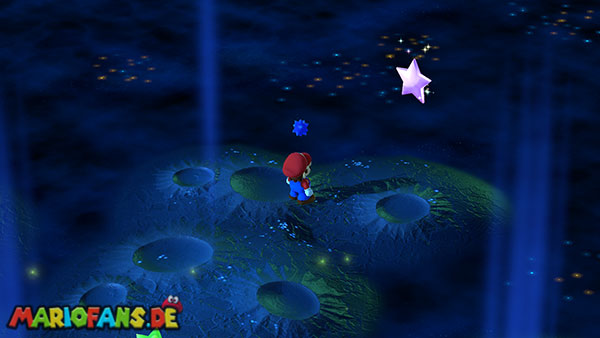
In the later clearing, walk to the purple Star Piece and collect it. There is no boss guarding this fourth piece. Continue lighting the remaining flowers to open the exit and reach Seaside Town on the map. If a door stays closed, circle its current clearing for an unlit flower instead of returning to the previous part of the hill.