
Protect your healer, keep FP for recovery and adapt the next attack to the enemy’s current phase. These strategies follow the Nintendo Switch remake. HP and enemy details are listed separately in the Monster List.
Boss encounters
- Hammer Bros.
- Croco — Bandit’s Way
- Claymorton
- Belome — Kero Sewers
- Bowyer
- Croco — Mole Mines
- Punchinello
- Knife Guy and Grate Guy
- Bundt and Raspberry
- King Calamari
- Johnny
- Speardovich
- Formless and Gassox
- Belome — Belome Temple
- Megasmilax
- Birdo
- Valentina and Dodo
- Czar Dragon and Zombone
- Axem Rangers and the Blade
- Wizakoopa
- Boomer
- Exor
- Count Down and Ring-a-Dings
- Cloaker and Domino
- Factory Chief and Gunyolk
- Smithy
Hammer Bros.
Fight or avoid the Goombas and Paratroopas while rescuing Toad along the path. Defeating the Goomba on the spinning flower makes it usable: face the side ledge and jump from it to collect the Flower, then visit Toad’s high ledge for his reward. Flowers from chests increase the shared maximum FP.
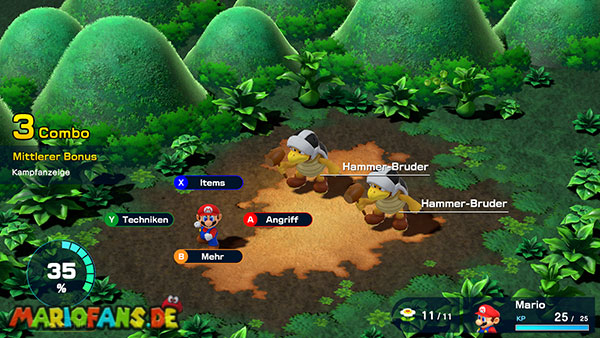
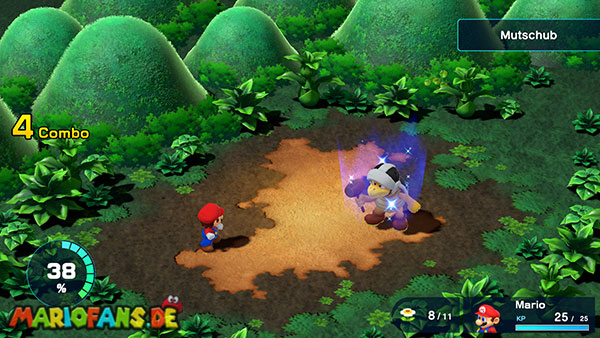
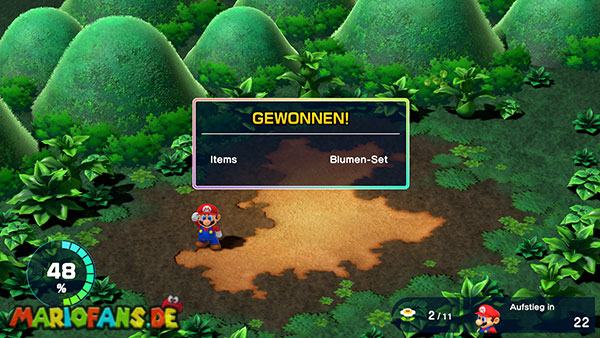
At the end, defeat the two Hammer Bros. Concentrate on one, use Mario’s Jump and heal before another hammer volley can defeat him. The survivor strengthens itself after its partner falls. Equip the Hammer afterward; receiving a weapon does not equip it automatically. Continue to Mushroom Kingdom.

Route and preparation for this encounter
Croco — Bandit’s Way
Follow Croco through the flower and moving-platform route. The platforms change position when Mario jumps. Before leaving the second area, launch from the spinning flower toward the blue flower to reveal the hidden Croaka Cola chest. Save this full-party recovery item for a difficult fight.
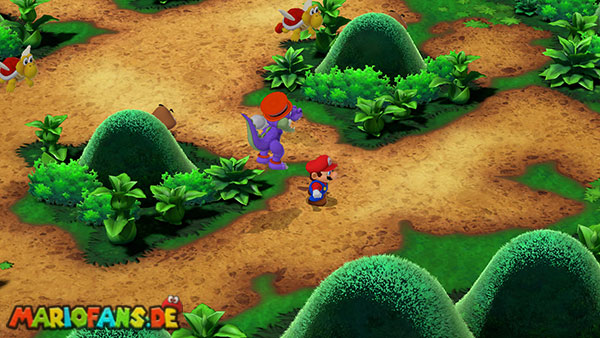
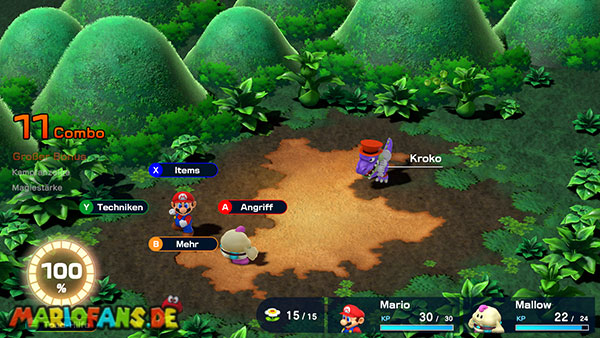
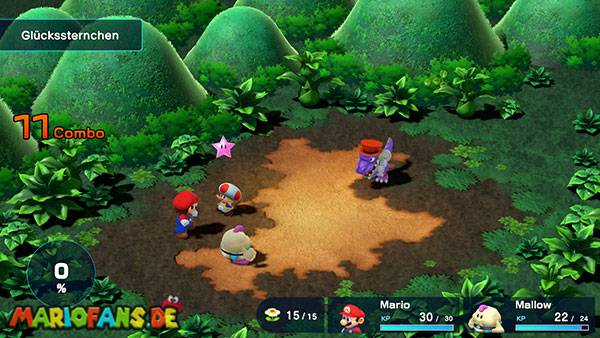
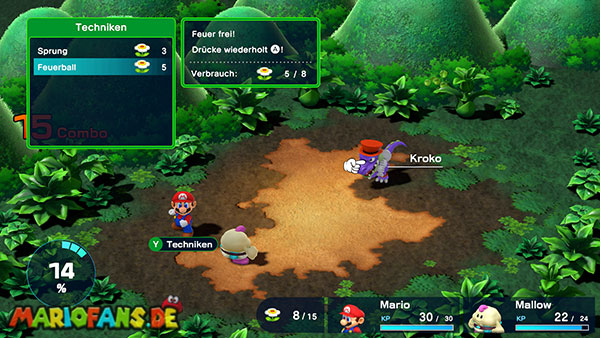
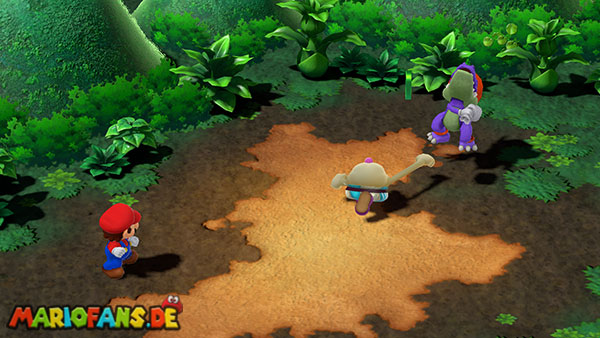
Use the invincibility star to defeat as many nearby enemies as you can before it ends. In the last area, approach Croco from behind three times to trigger the battle. Mario’s Fireball is effective; keep Mallow ready to heal with HP Rain or restore the shared FP with syrup. Croco can heal himself with a Weird Mushroom, so allow for another attack cycle instead of assuming a fixed turn count. Recover the Frog Coin and Wallet.
Route and preparation for this encounter
Claymorton
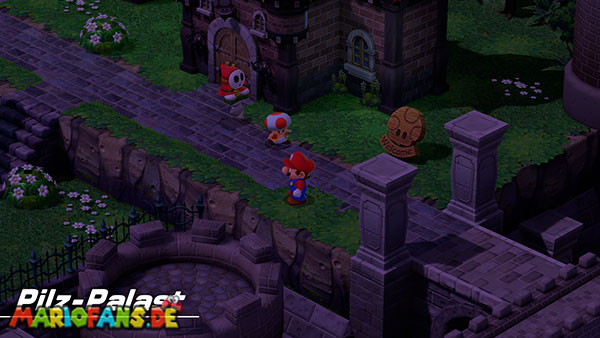
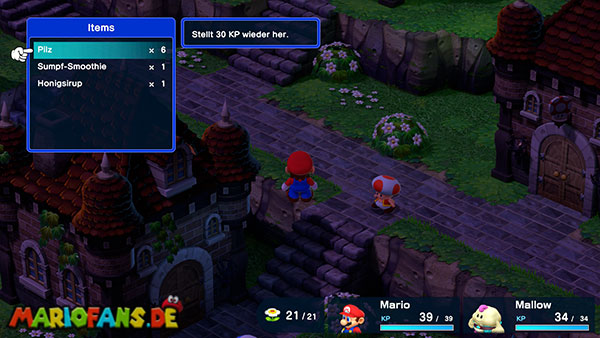
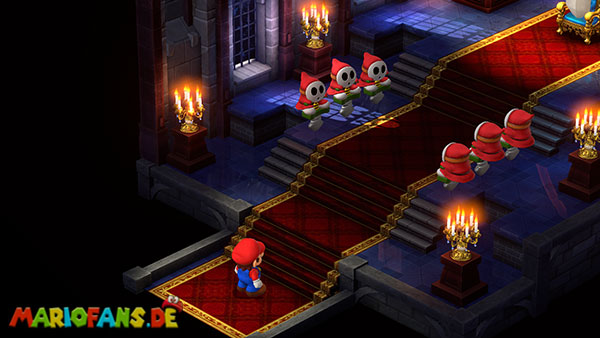
Return to Mushroom Kingdom and defeat the invaders chasing the townspeople. Give the Wallet back to its owner for a reward. Rest, collect the vault’s remaining supplies and obtain the Wake Up Pin in the guest room before entering the throne room.
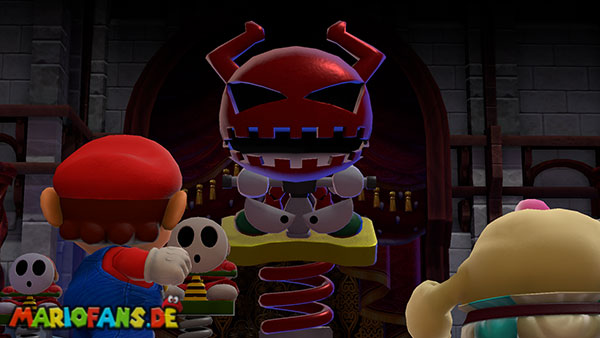
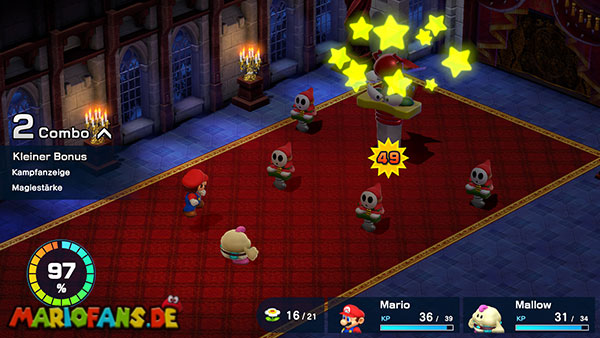
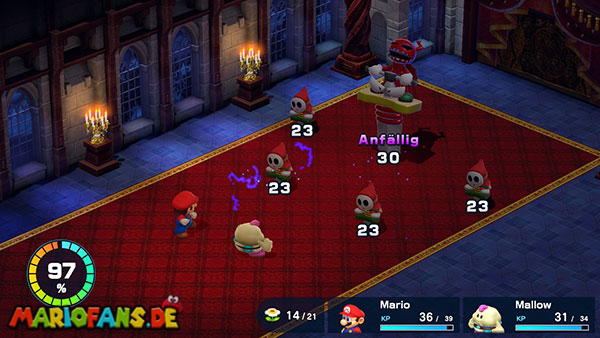
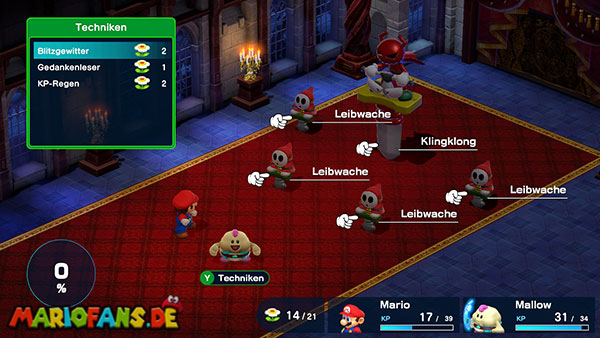
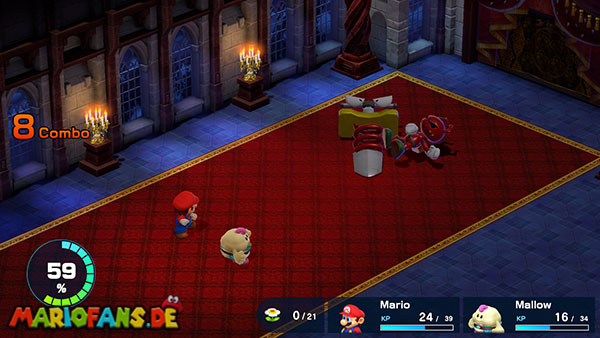
Against Claymorton, use Mallow’s Thunderbolt to clear the accompanying Shymores, then concentrate Mario’s attacks on the boss. Clear summoned replacements when they return. Keep enough HP for a party-wide attack and enough FP for healing; an exact “seven-turn” plan is unreliable with different equipment and timing.
After winning the first Star Piece, speak to the Chancellor. Visit the item shop again to exchange Mallow’s recovered Frog Coin for the Cricket Pie before leaving for Kero Sewers.



Route and preparation for this encounter
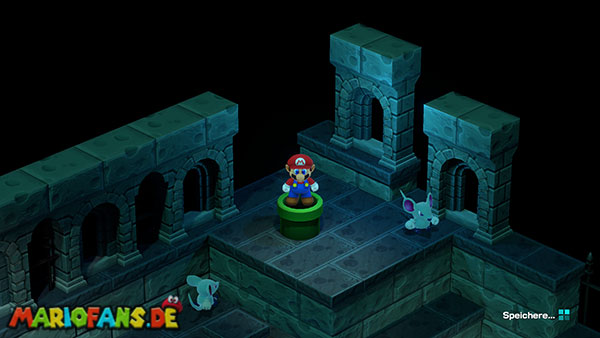
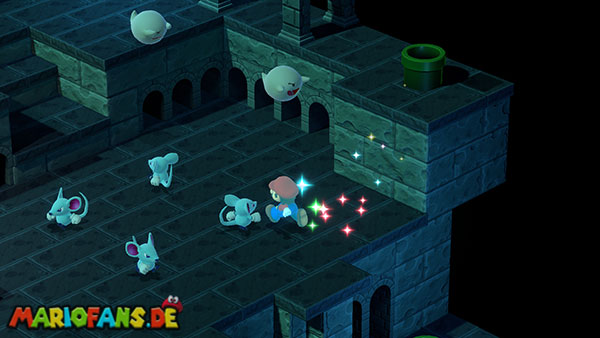
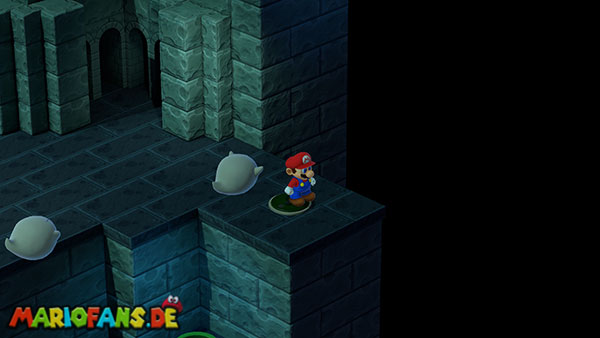
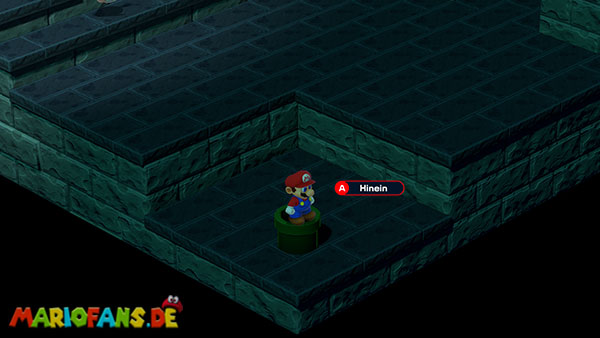
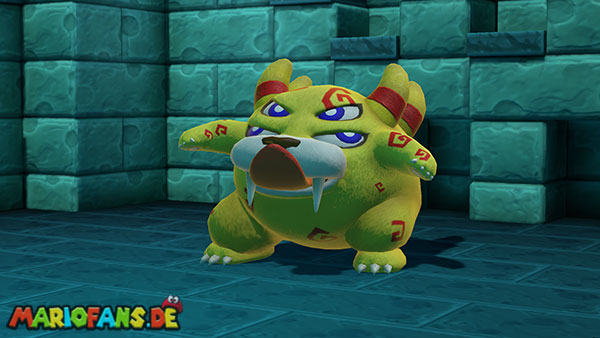
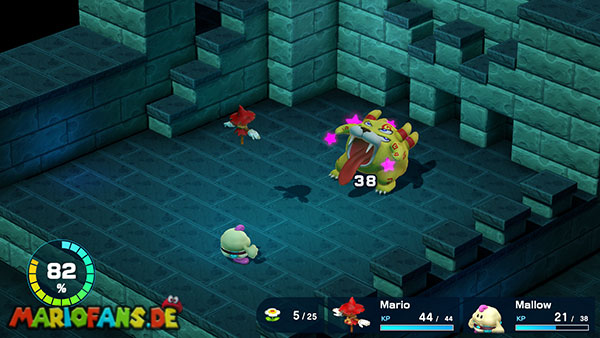
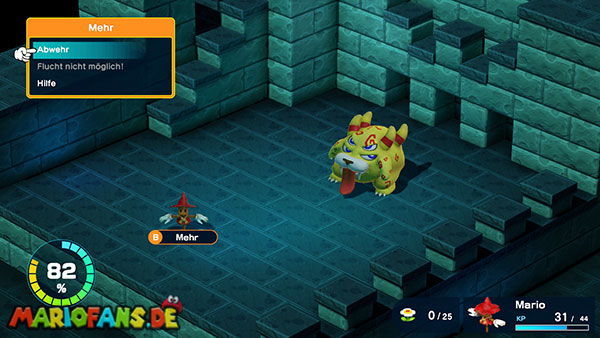
Belome — Kero Sewers
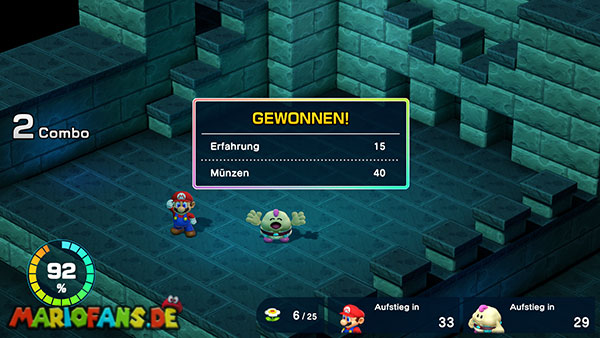
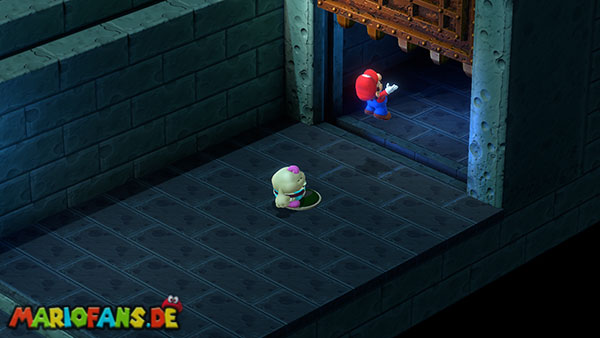
Belome can swallow a companion temporarily and inflict Sleep or Scarecrow. Equip your available protection and keep the remaining character healthy while one is absent. A Scarecrow can still use special moves, so do not treat every status as a complete lost turn.
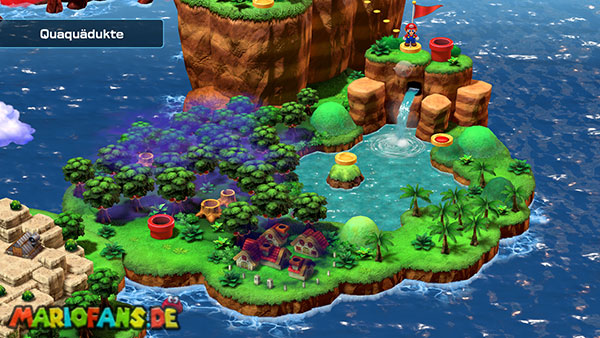
Use Mario’s strong attacks while Mallow preserves enough shared FP for HP Rain. Recover before the next strike can knock out the healer. Defeat Belome to open the route into Midas River; there is no need to spend your rare full-party recovery item just to save a single ordinary Mushroom.

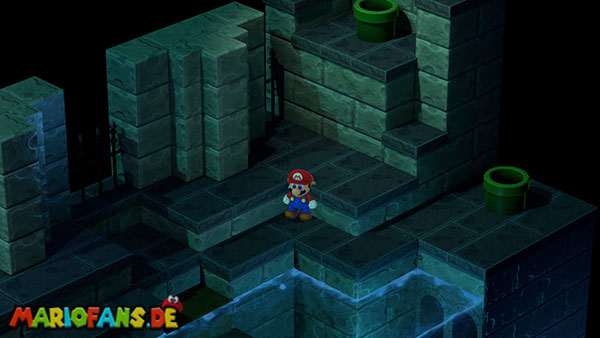
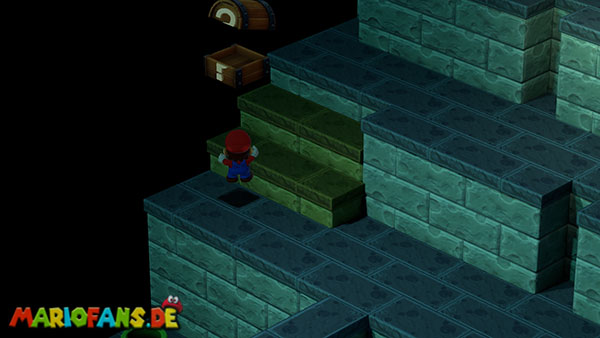
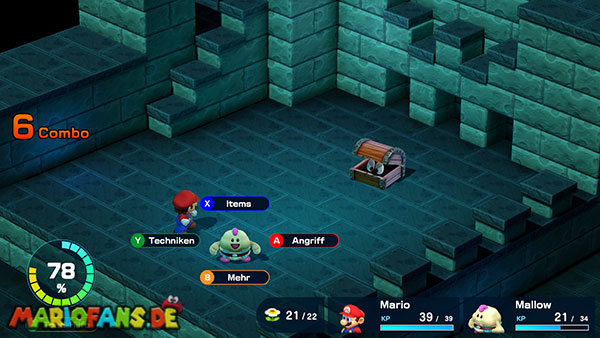

Route and preparation for this encounter
Bowyer
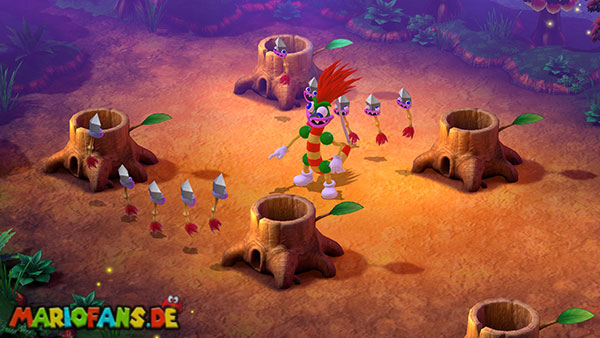
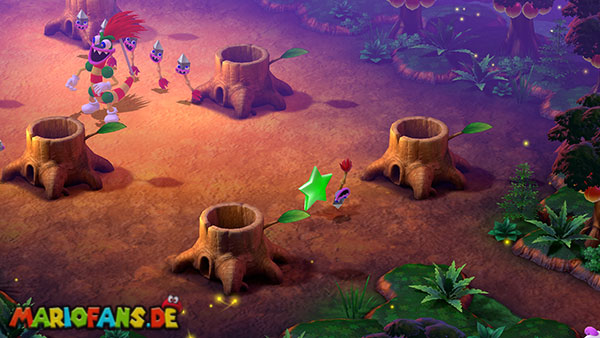
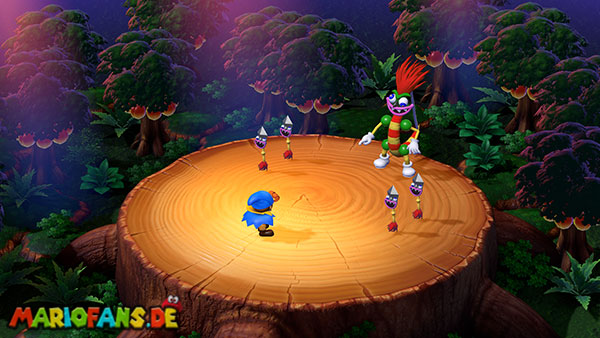
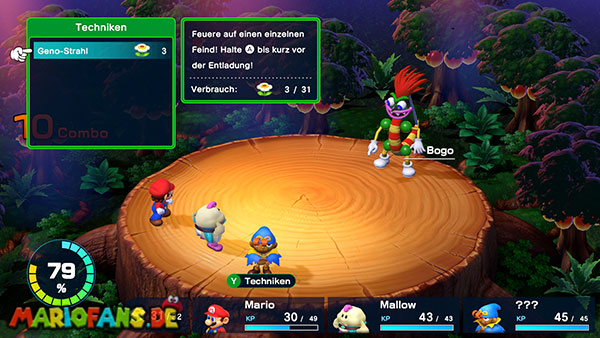
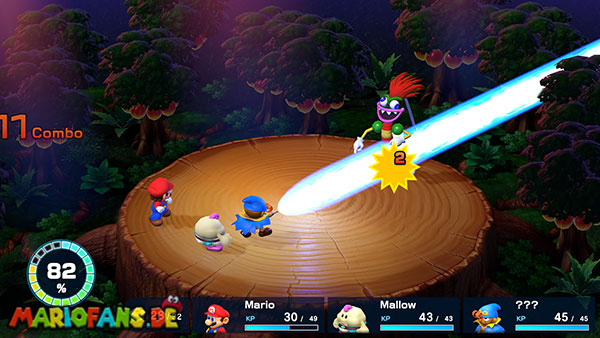
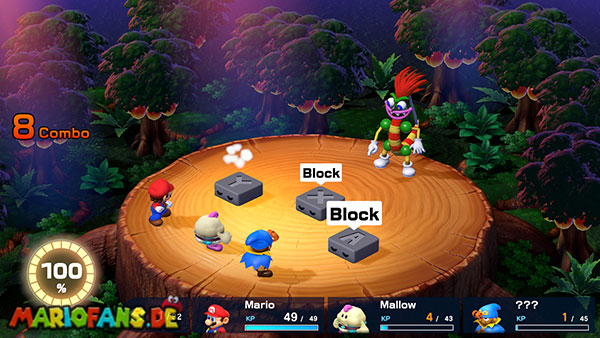
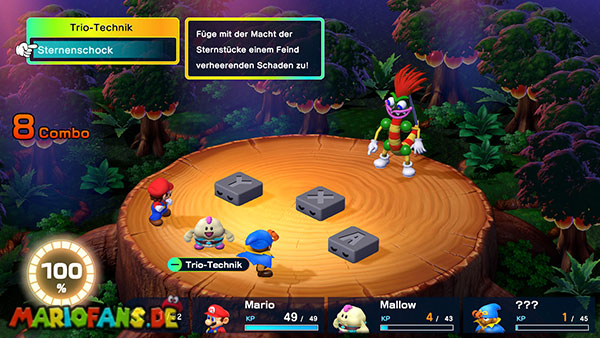
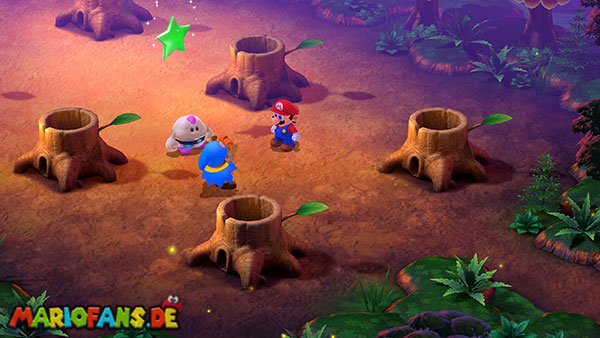
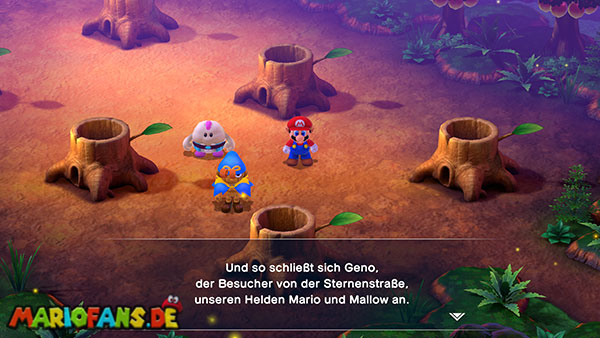
Geno joins for this battle. Use well-timed attacks and keep Mallow ready with HP Rain. Bowyer can disable ordinary attacks, special moves or items by shooting the corresponding command button. Adapt to the available commands rather than relying on one repeated action.
Recover before the command you need is locked: a party-wide attack can punish a low-health group, and Geno has limited HP at this point. Keep syrup for the shared FP supply. After winning the second Star Piece, return to Gaz at Rose Town’s inn for Geno’s Finger Shot and equip it. The optional Pipe Vault leads to Yo’ster Isle; Moleville is the next main-story destination.
In the remake, the encounter eventually locks all three ordinary command buttons. Follow the Triple Move prompt and use the Minus button when instructed; spending an ordinary item is not the solution to that tutorial lock.



Route and preparation for this encounter
Croco — Mole Mines
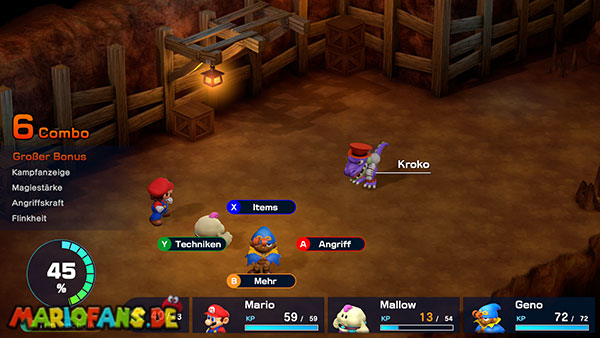
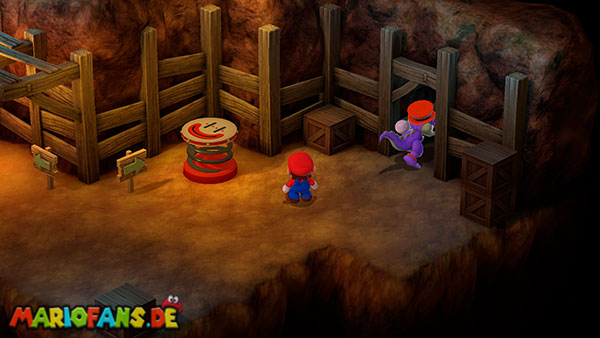
Croco’s second battle is more dangerous because he steals the item inventory partway through. Preserve FP for Mallow’s HP Rain before that happens. Use strong timed physical attacks, mixing in fire when you can afford it; fire is not suddenly useless in this rematch.
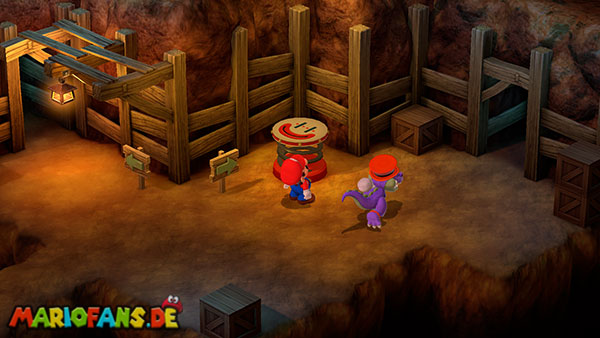
After the theft, your healing plan must use abilities until the battle ends. Recover a companion before another bomb or thrown enemy can defeat them, and do not spend all FP on attacks in the opening turns. Winning returns the items and gives the Bomb needed for the blocked mine passage.

Route and preparation for this encounter
Punchinello
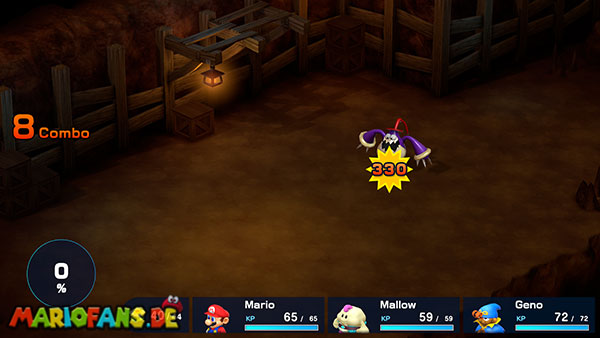
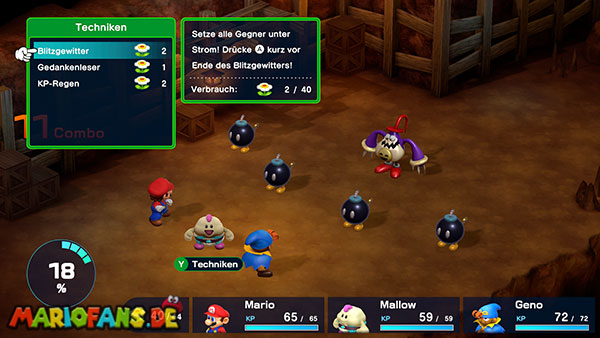
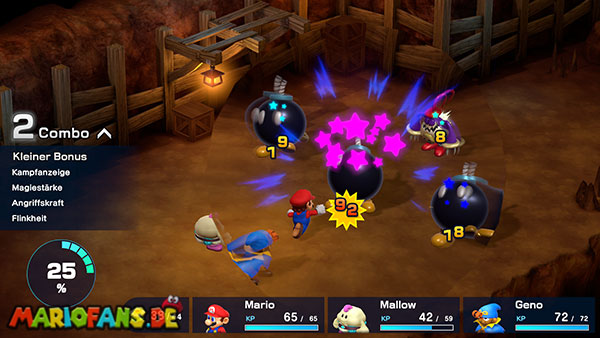
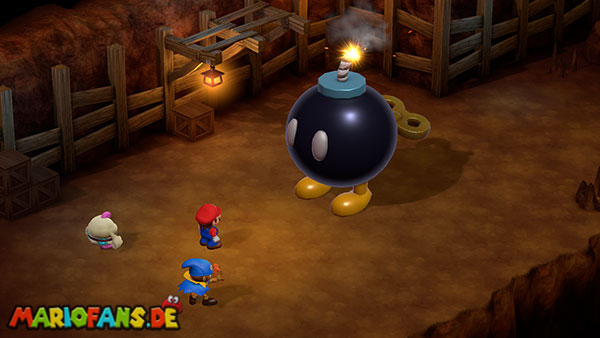
Use timed physical attacks on Punchinello and keep the shared FP available for recovery. His summoned bombs grow through several sizes. Remove the most dangerous ones with attacks or a group move when needed, but recognize that destroying every bomb immediately makes him summon replacements.
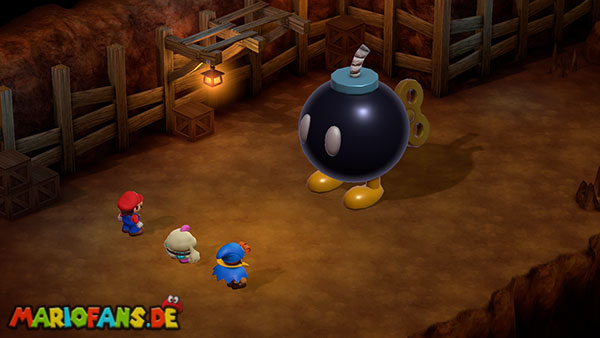
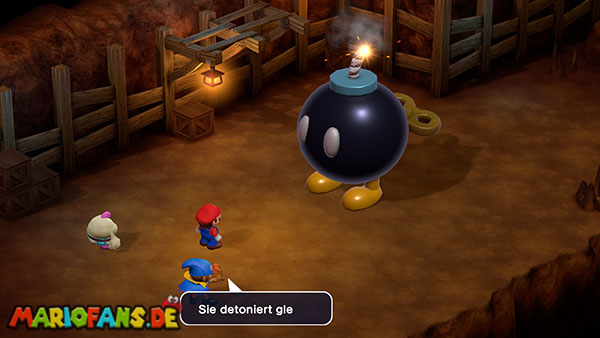
Sand Storm can inflict Fear, reducing your effectiveness. Cure it or use protective equipment while keeping enough HP for the larger bombs. Continue until the scripted giant-bomb scene finishes the fight and the third Star Piece becomes available. Do not expend your last revival item assuming the scene has already begun while the normal battle is still active.

Route and preparation for this encounter
Knife Guy and Grate Guy
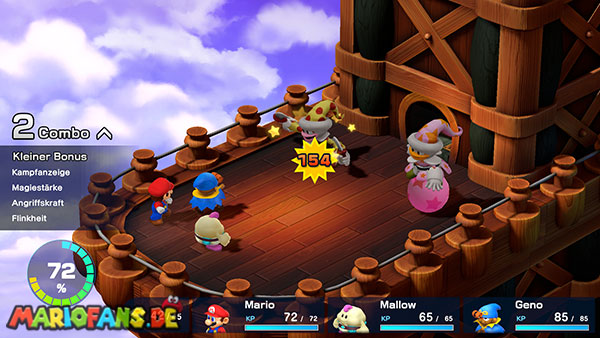
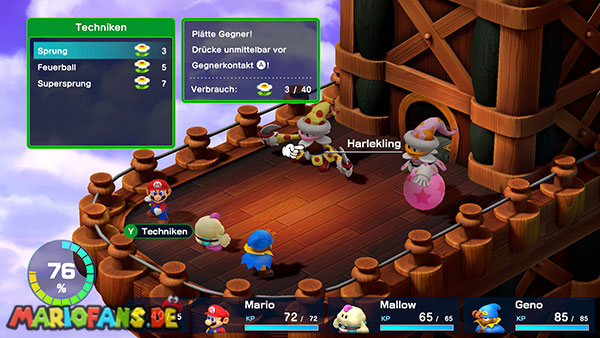
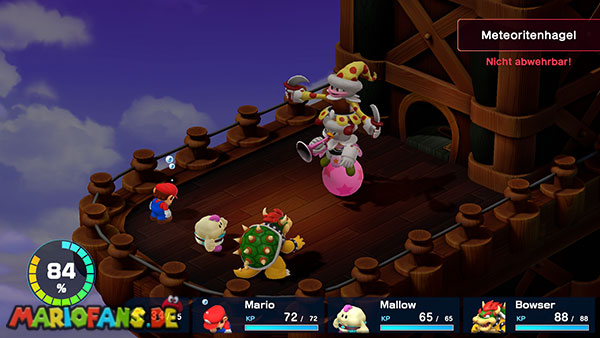
Concentrate on Knife Guy first to prevent the two clowns’ combined formation from staying active. Mario’s fire attacks are useful against him; Geno Boost improves an attacker, and a correctly timed boost adds defense as well. Bowser can use his newly equipped Chain Chomp.
Keep the group healthy when Grate Guy begins using party-wide magic. Once Knife Guy is gone, use strong physical attacks to finish Grate Guy. Heal when the next group attack would be lethal instead of expecting the battle to end after a fixed number of turns.

Route and preparation for this encounter
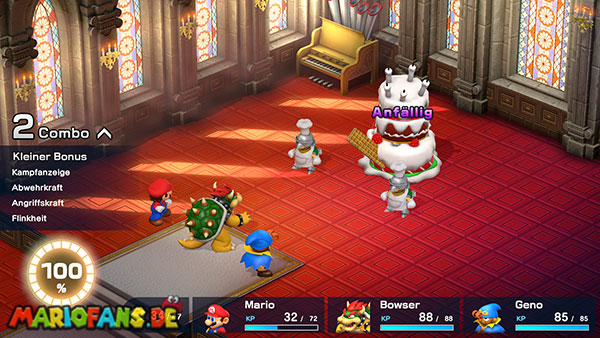
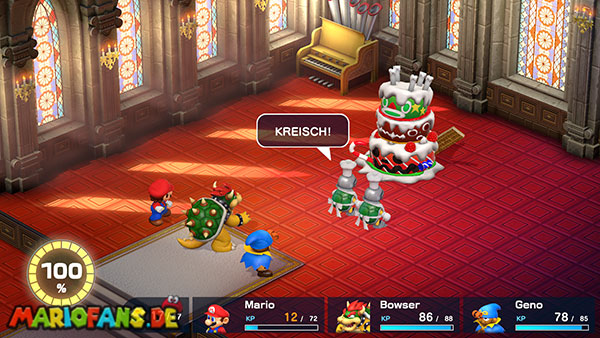
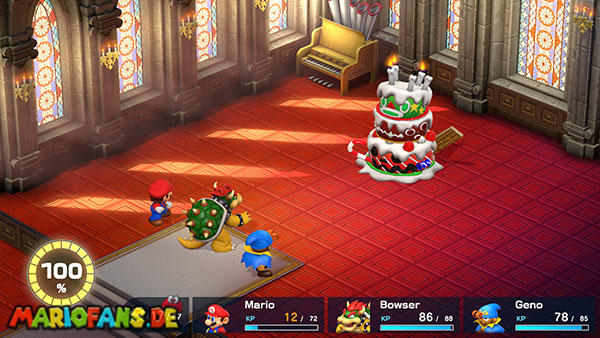
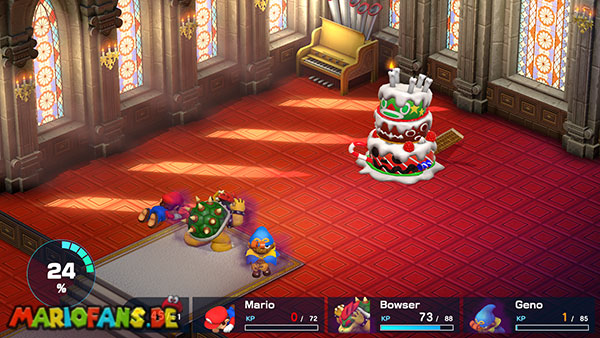
Bundt and Raspberry
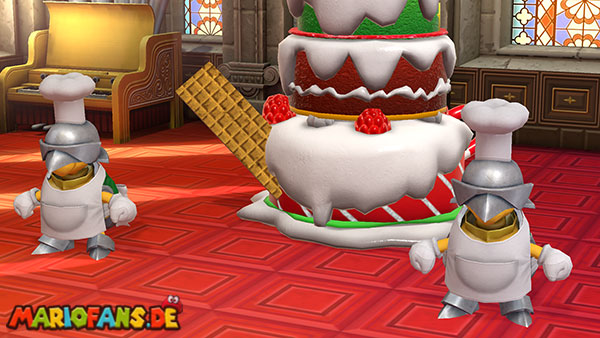
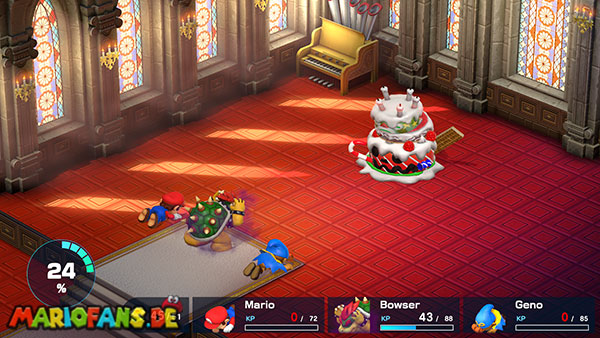
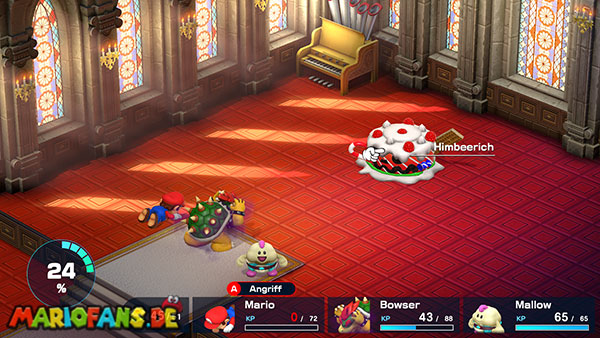
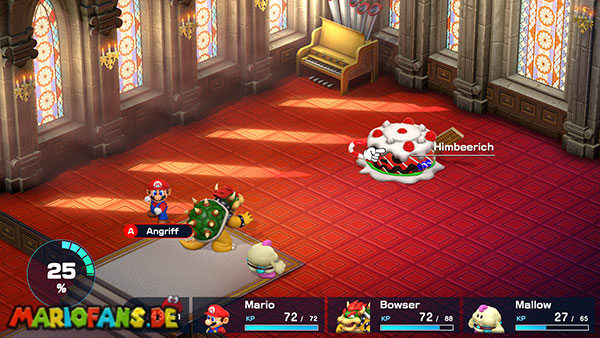
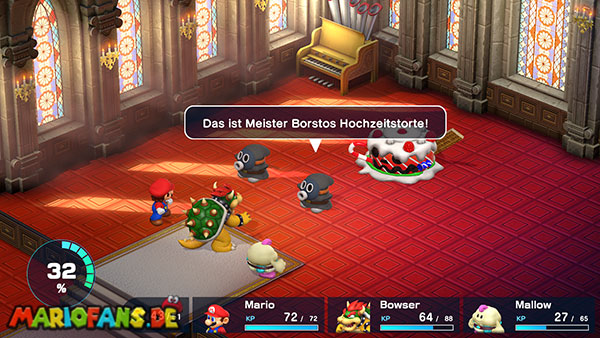
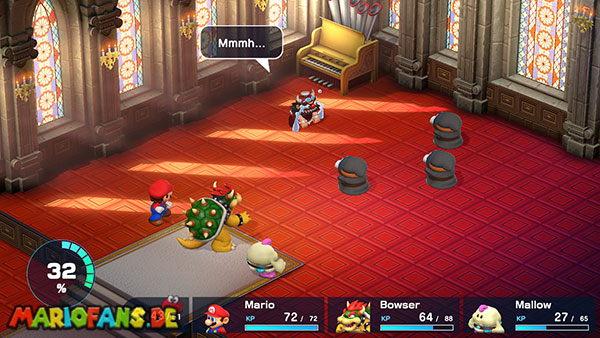
Attack Bundt rather than the two chefs, who are not useful damage targets. When they leave and the candles become the objective, keep landing attacks to extinguish them faster than Bundt relights them. Heal with one character when necessary while the others maintain pressure.
After the upper cake disappears, defeat Raspberry with ordinary damage. Watch for Sleep and party-wide spells during both parts. Finish the scene to free the princess. The next visit to Mushroom Kingdom makes Peach a party member; remember to equip her before relying on her healing.

Route and preparation for this encounter
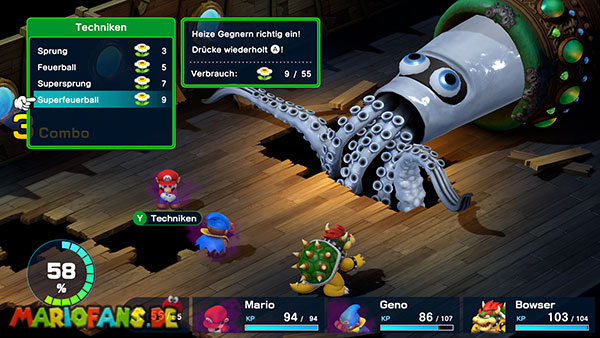
King Calamari
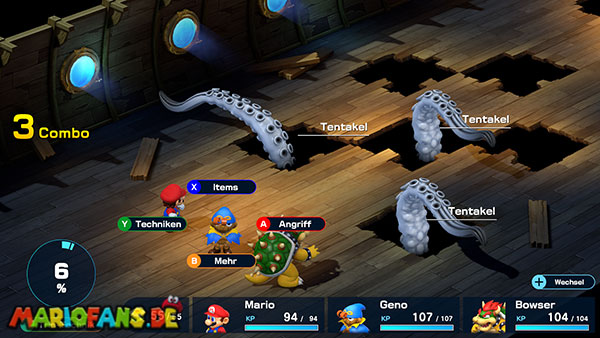
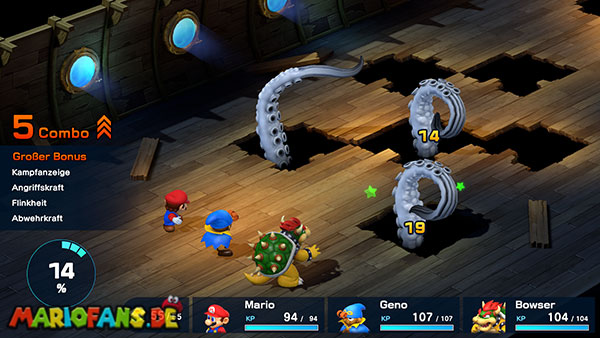
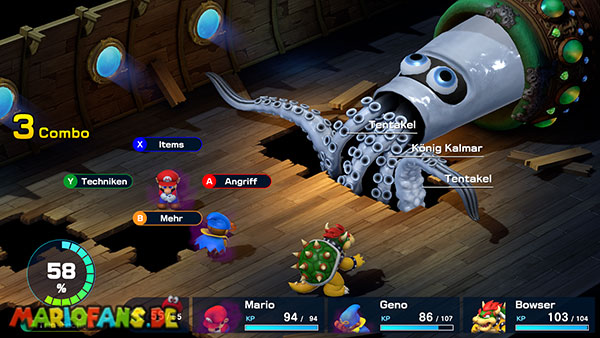
Defeat two sets of three tentacles, then face King Calamari with its remaining tentacles. A tentacle can remove a character temporarily and return them with Fear, so keep the other two capable of surviving and healing.
Use Mario’s fire attacks against the main body when you have enough FP, while the other characters clear or control the tentacles. Protect against Poison and Fear when possible. Do not exhaust all group recovery in the first set of arms: the body fight follows without a free shopping break.
Route and preparation for this encounter
Johnny
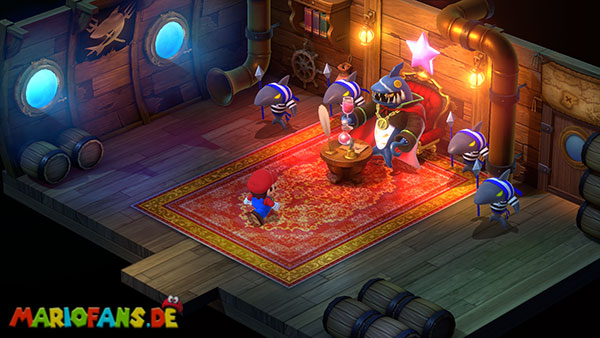
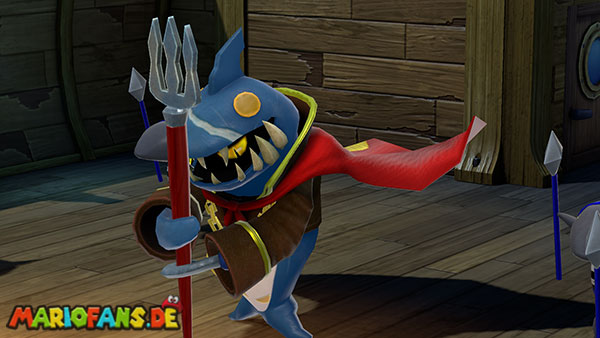
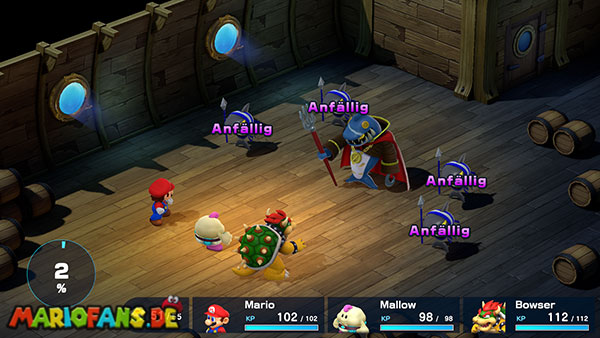
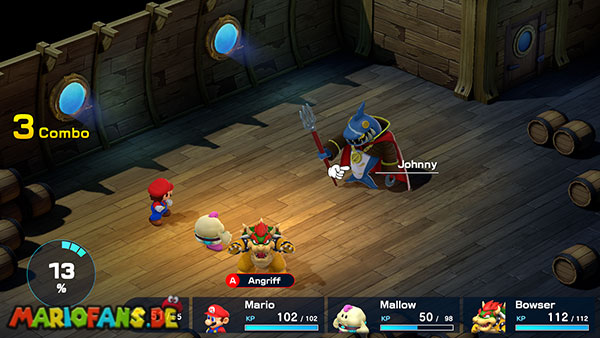
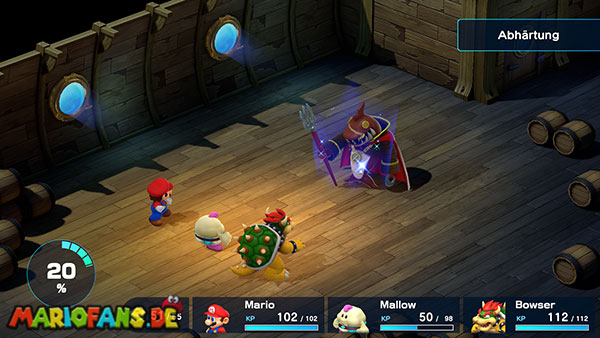
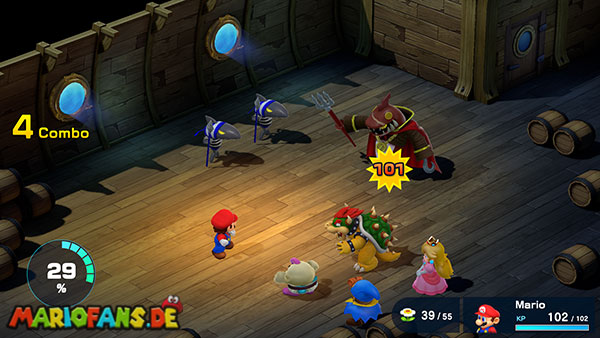
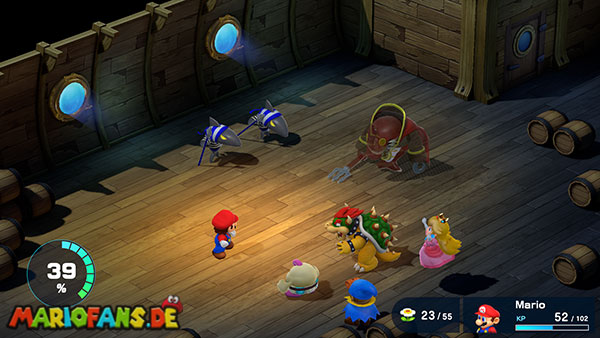
Heal Mario and equip your strongest suitable weapon before speaking to Johnny. Remove the Bandana Blues to reduce incoming attacks, but be prepared: once the support enemies are gone, Johnny can challenge Mario to a duel. The other two companions cannot heal him during that phase.
Use timed physical attacks and keep Mario healthy enough for the next spear strike. A reserve of recovery items helps if your blocking is inconsistent. Win the fifth Star Piece, leave by the spring and return to Seaside Town.


Route and preparation for this encounter
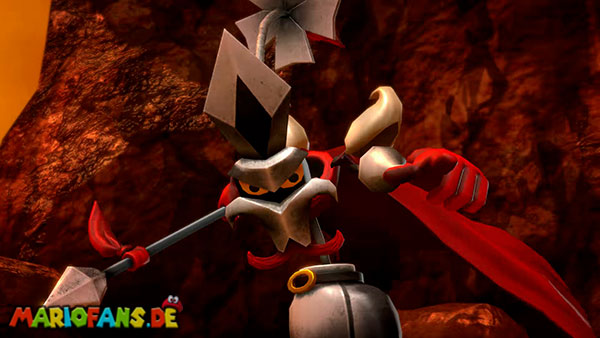
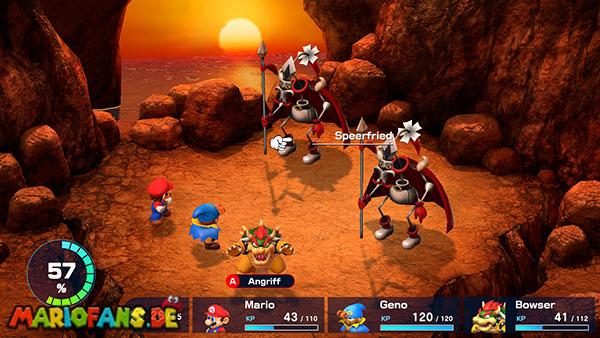
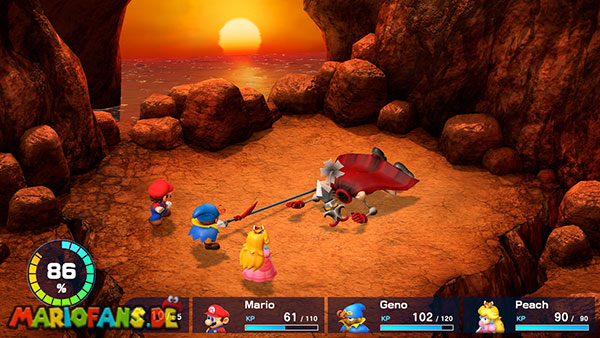
Speardovich
Prepare for Water Blast and other party-wide magic with good magical defense and reliable healing. Use strong timed attacks and renew the party’s health before another group spell would wipe out multiple members.
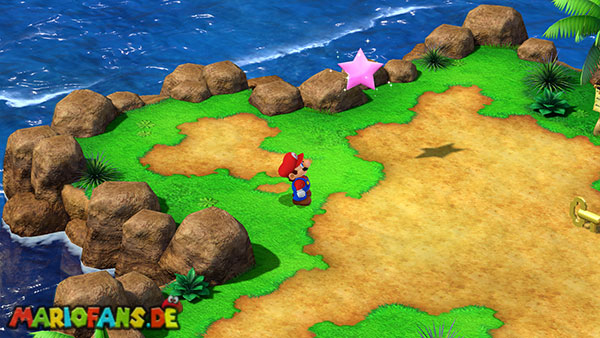
When Speardovich divides, find the genuine target. The copy has much weaker defenses, so unusually high damage indicates you are attacking the fake. Mallow’s Thought Peek can help check their remaining HP. Concentrate on the real boss, then recover the key and release the captives.
Route and preparation for this encounter
Formless and Gassox
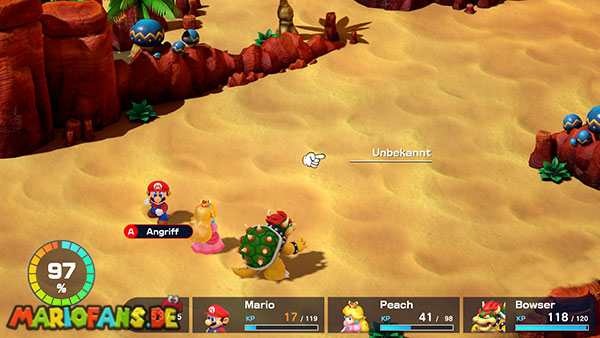
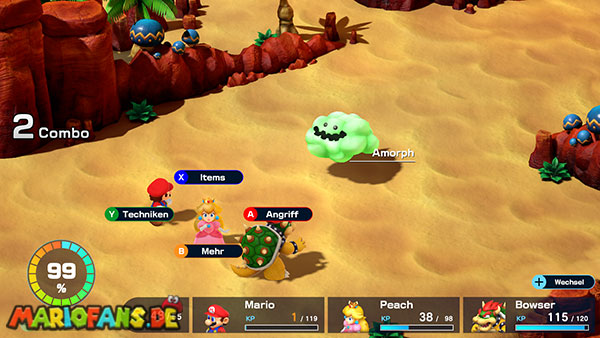
The optional drifting smoke encounter begins with Formless. Use a special attack to reveal Gassox, then switch to effective physical attacks against the exposed enemy.
It is optional and can be dangerous for an underprepared party. Heal before touching the smoke and carry protection against its statuses if you want the encounter. Continue toward the sand-whirlpool route if you would rather return later.


Route and preparation for this encounter
Belome — Belome Temple
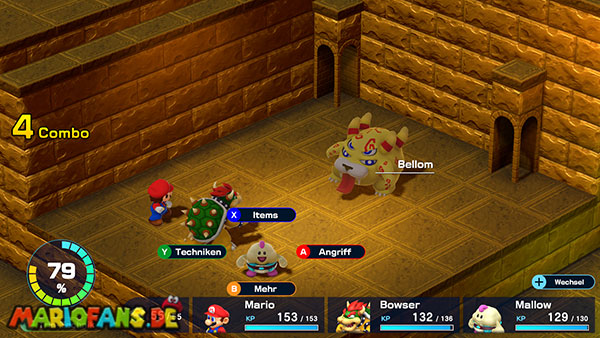
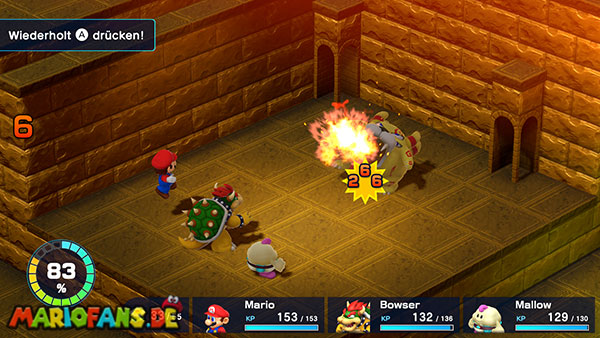
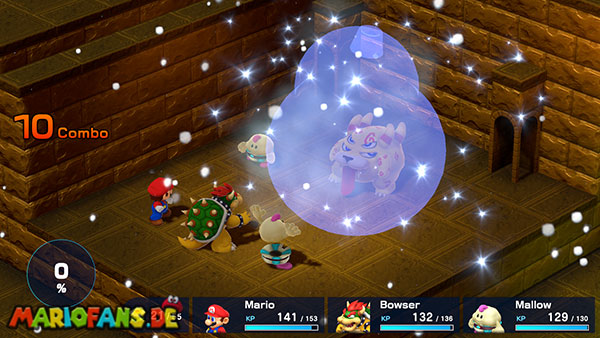
Bring protection against Sleep and be ready for Belome to swallow a character and create a hostile clone. Use strong attacks on Belome while controlling any clone that can heal or heavily damage the party.
Pure Water instantly removes the ghostly clones, making it a useful resource if you brought some. Finish remaining clones after Belome falls, press the green switch and take the pipe to Monstro Town. Do not assume the first Belome fight’s two-character plan covers this expanded encounter.
Route and preparation for this encounter
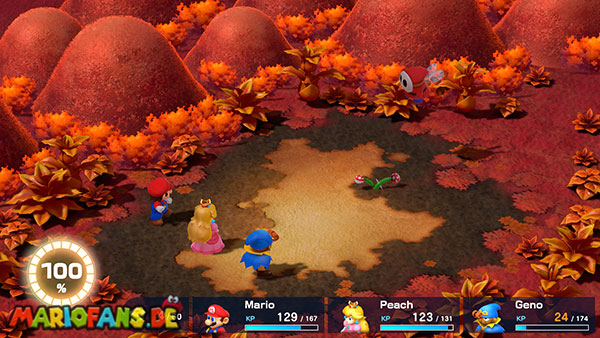
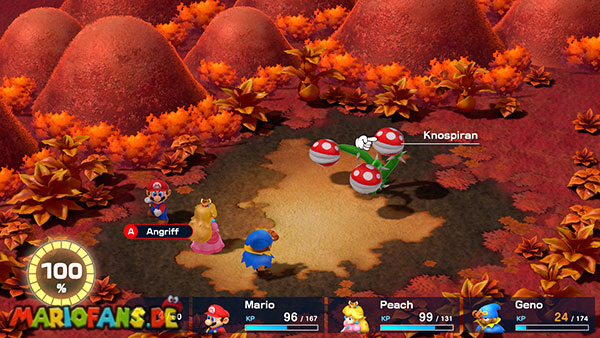
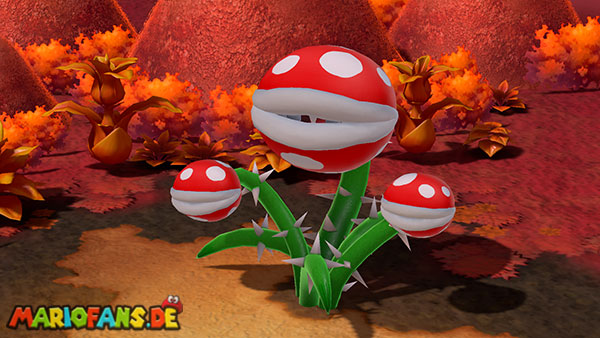
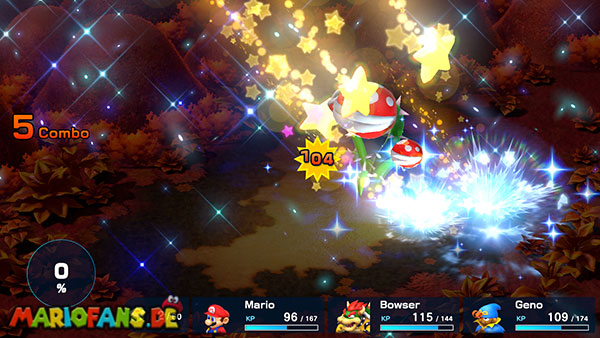
Megasmilax
Defeat the small Smilax waves until Megasmilax joins the final group. Use effective attacks while keeping the party ready for Fire and status spells. Trueform Pin or similar protection prevents Mushroom and Scarecrow from taking away your normal options.
After the battle, collect the Seed from the dropped note. Enter the pipe and hit the vine block to open the climb to Nimbus Land. The Seed is also needed for the later Lazy Shell side quest, so do not leave it lying beside the cleared boss area.
Route and preparation for this encounter
Birdo
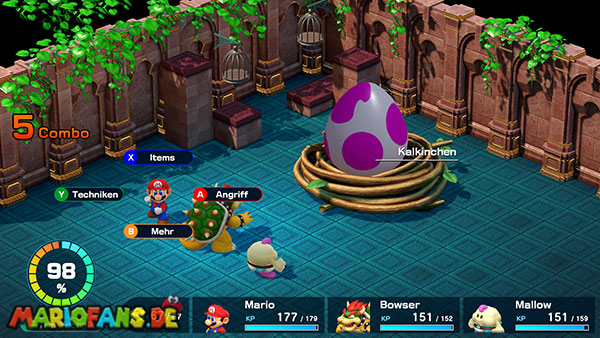
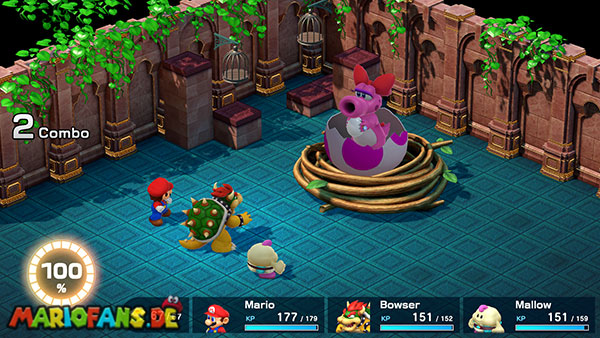
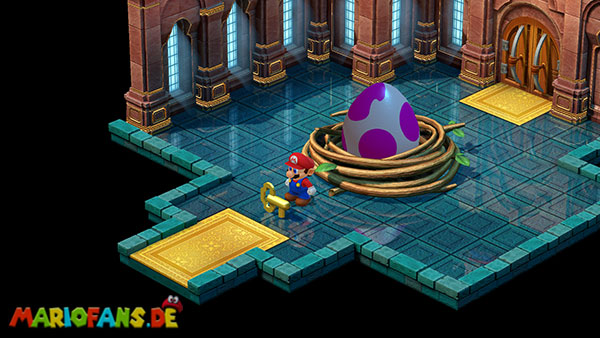
Speak to the egg and agree to play. Break Shelly with physical attacks, then fight Birdo. Keep the party healthy before the strongest egg attack and use well-timed regular attacks or appropriate specials.
Defeating Birdo gives Castle Key 2. Do not expect the first palace key to open the next door. Equip defensive accessories on a vulnerable companion and preserve enough FP for group healing before continuing the pursuit of Valentina.
Route and preparation for this encounter
Valentina and Dodo
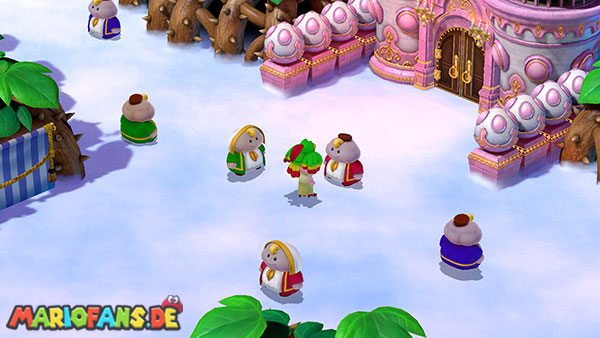
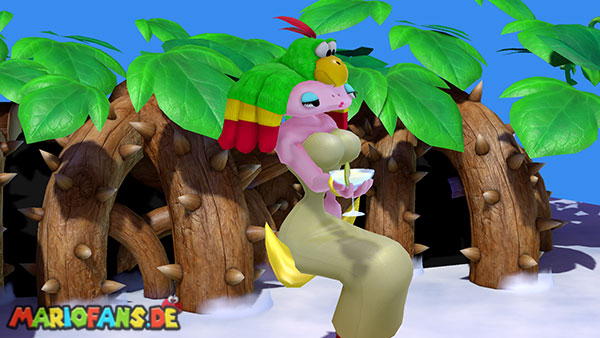
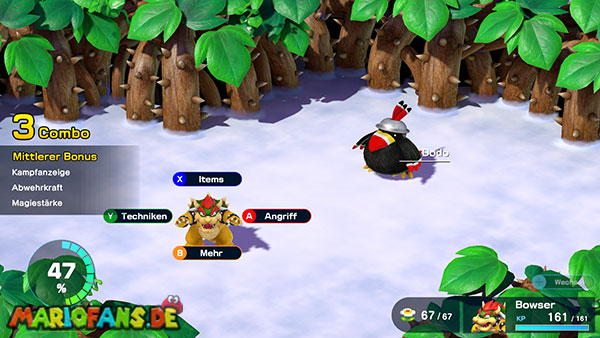
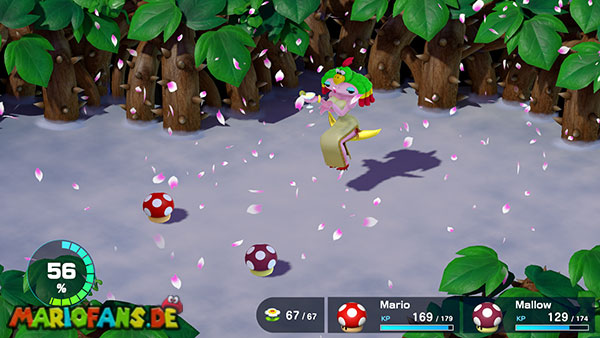
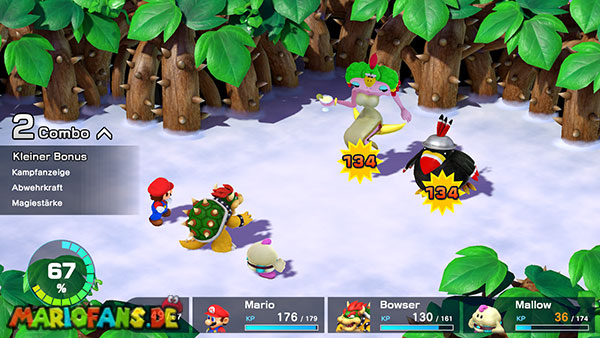
Dodo carries the middle-position party member into a one-on-one fight. Use strong physical attacks and heal that character before his next hit can defeat them. You only need to drive Dodo away; the rest of the group then faces Valentina.
Protect against her status and party-wide magic while keeping a healer active. Dodo and the separated companion eventually return. Finish Valentina and the remaining enemy pressure, then complete the royal-family conversations. Access to the hot springs and the royal transport follows these story events.
Route and preparation for this encounter
Czar Dragon and Zombone
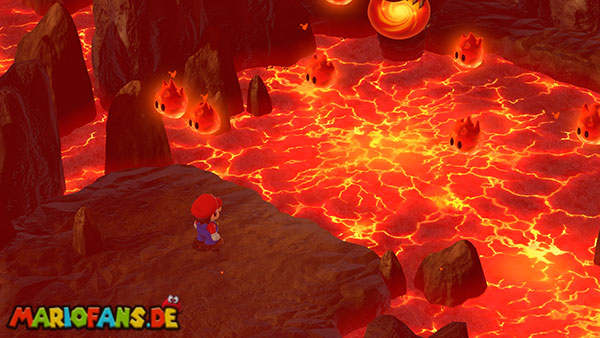
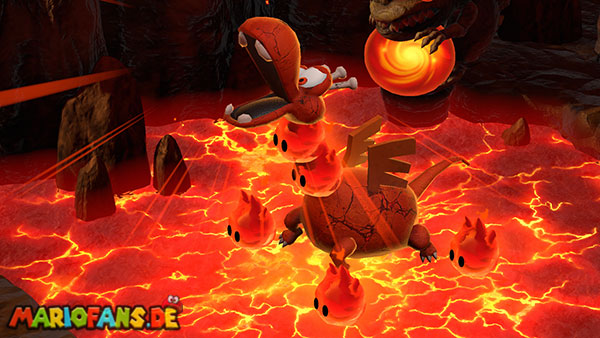
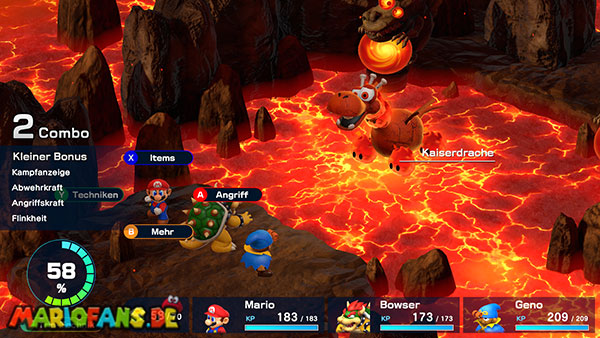
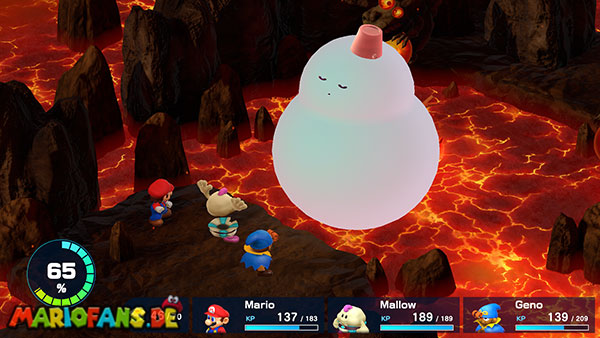
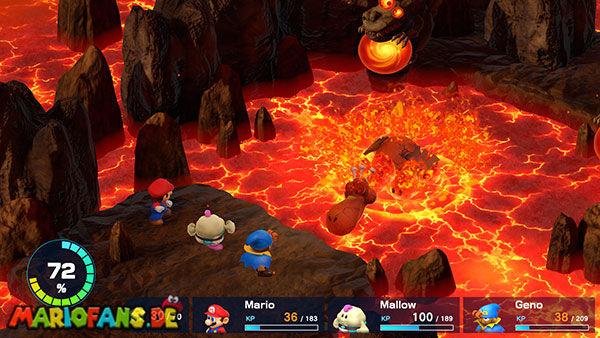
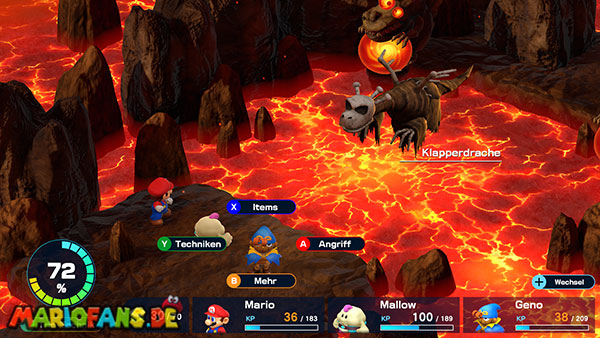
Use ice against Czar Dragon, avoid wasting fire attacks on its fire-resistant body and control the summoned Helios if their extra attacks become dangerous. Keep group healing ready for Water Blast and Fear effects.
The fight continues as Zombone. Adjust to its different vulnerabilities rather than repeating the first phase’s fire/ice assumptions. Strong Jump and lightning attacks are useful, and the undead form can also be hurt by Pure Water. Preserve FP and recovery through both phases: winning the first does not end the encounter.
Route and preparation for this encounter
Axem Rangers and the Blade
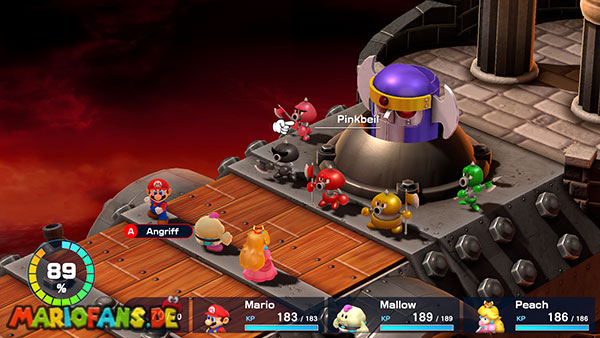
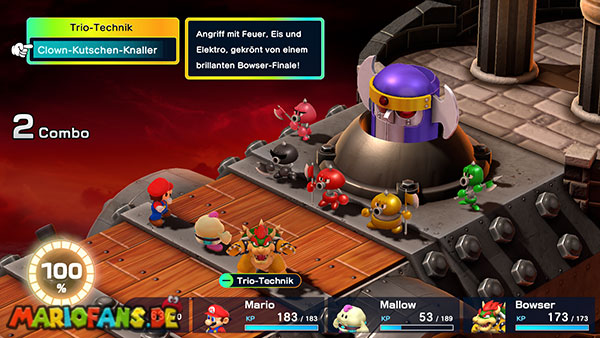
Remove Axem Pink early so she cannot keep healing the team. Green’s magic and Black’s repeated attacks are useful next priorities; choose the exposed threat your party can eliminate quickly rather than spreading damage evenly across all five.
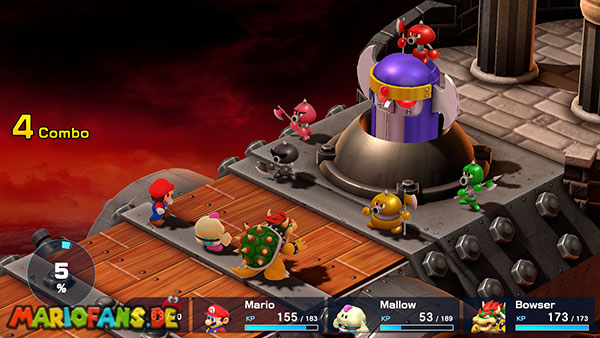
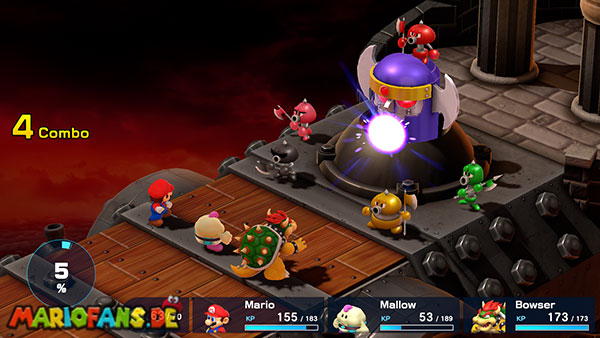
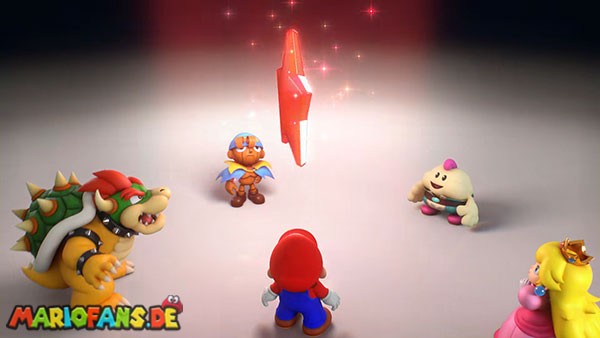
Keep the party ready for the second phase on the Blade. Its Breaker Beam deals heavy group damage, followed by a recharge turn. Use that opening to heal or restore FP, then attack while preserving enough health for another beam. Winning awards the sixth Star Piece. Return to the king and queen in Nimbus Land, then use the royal bus to Bowser’s Keep.


Route and preparation for this encounter
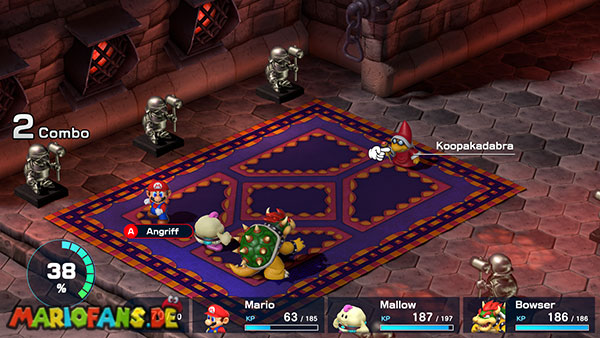
Wizakoopa
Use strong physical attacks on Wizakoopa. When he summons a monster and hides, defeat the summon before returning to him. King Bomb must be removed promptly before its explosion, while other summons call for different attacks.
After winning, speak to him for full recovery and use his inexhaustible coin chest if you need money. Visit Croco’s newly stocked shop, equip the final armor and save before continuing. The free recovery is a useful preparation point, not a reason to carry no healing into the final sequence.
Route and preparation for this encounter
Boomer
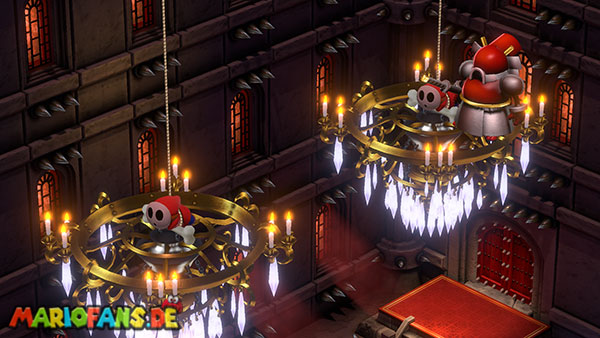
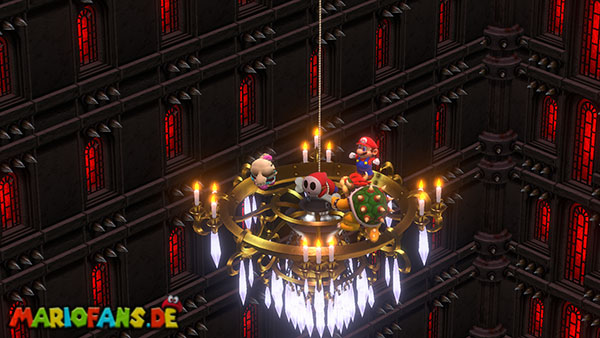
Watch Boomer’s color. Use special attacks against the red form and physical attacks against the blue form. His sword techniques can cause heavy damage or instant defeat, so keep the healer protected and learn their timing when blocking is possible.
Switch your offense when his form changes instead of committing to the same command every turn. Heal before finishing if the party would be unable to survive the next encounter’s opening. The victory scene takes Mario to Exor at the top of the keep.

Route and preparation for this encounter
Exor
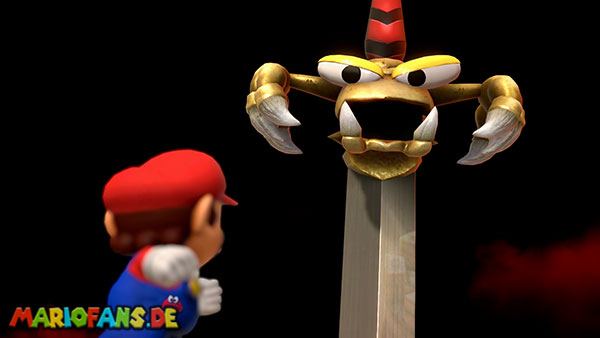
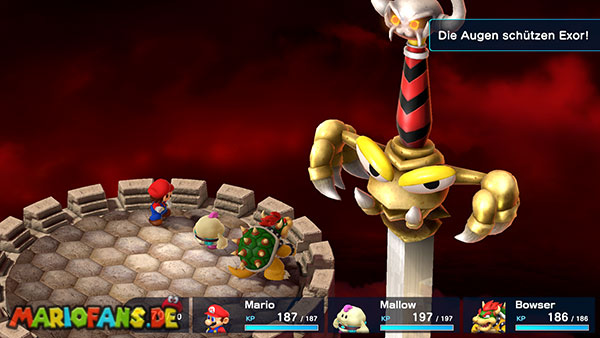
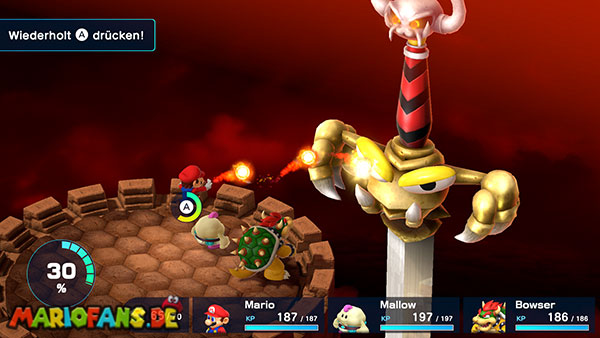
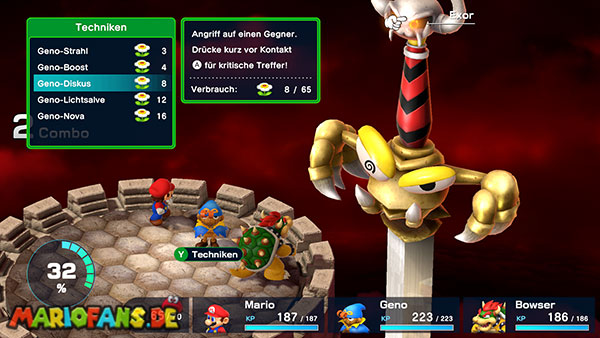
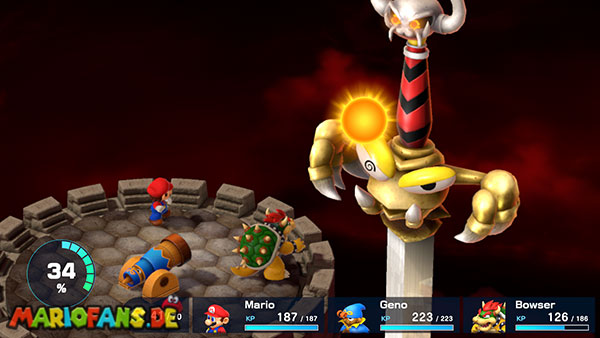
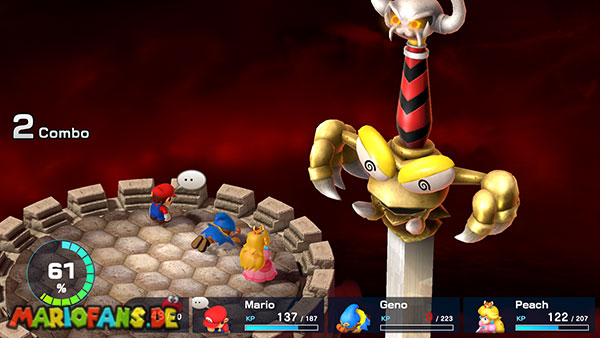
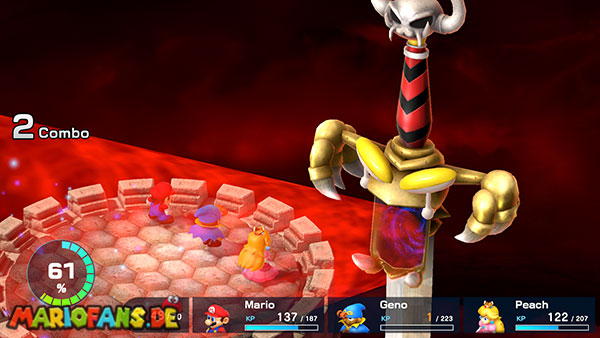
Defeat an eye to remove Exor’s protection, then target the main Exor head at the top. The mouth and the eyes have separate attacks; damage to them does not all reduce the main target’s HP.
Use multi-target attacks to control the eyes and mouth, but exploit each opening on Exor before the eye recovers. Protect against Sleep and other statuses and keep enough HP for group magic. The SNES Geno Whirl instant-defeat exploit does not work on Exor in this remake. Use the eye-opening damage cycle. After the victory, the party enters Weapon World and the factory.

Route and preparation for this encounter
Count Down and Ring-a-Dings
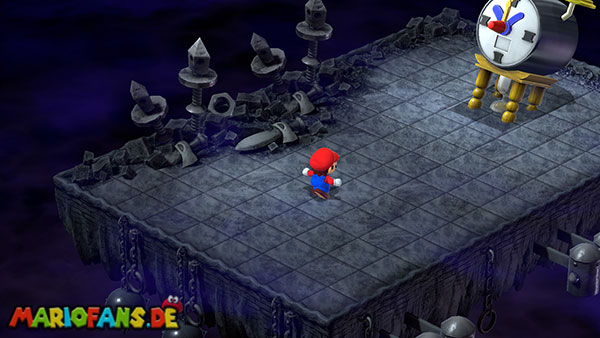
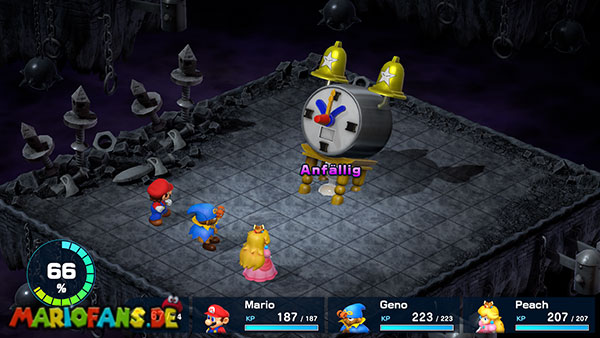
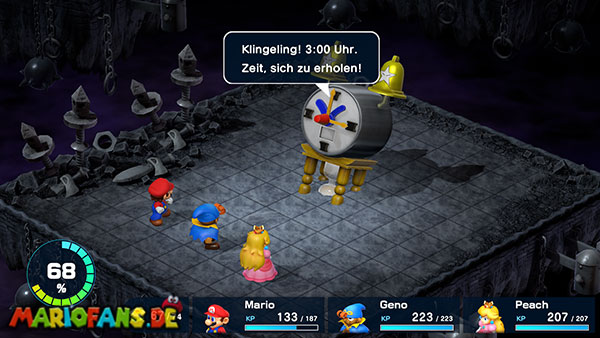
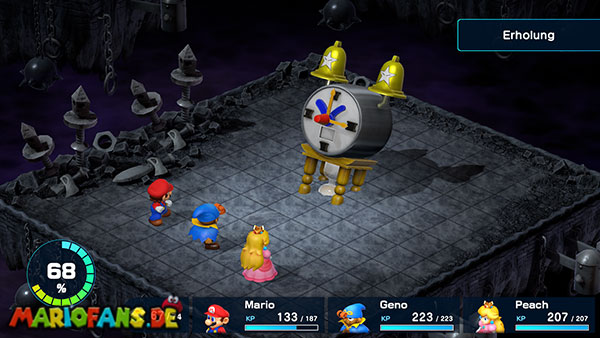
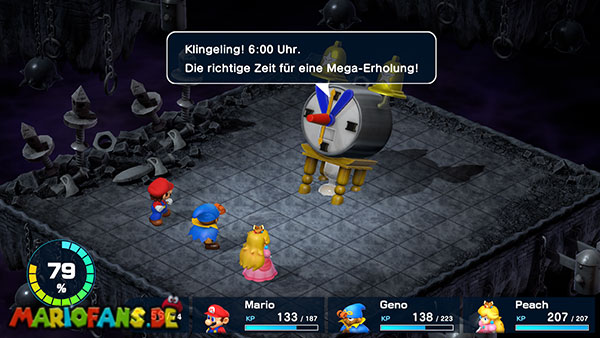
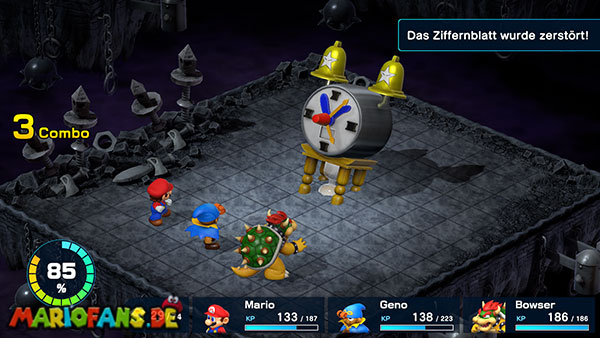
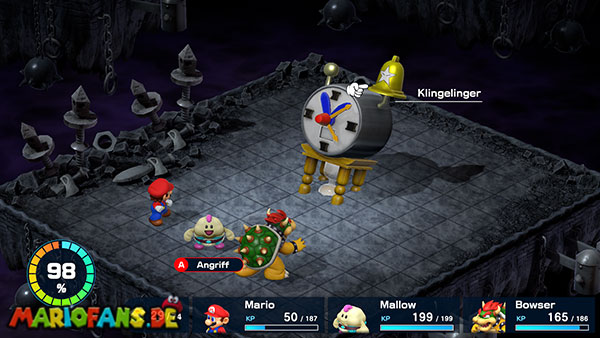
The clock is accompanied by two Ring-a-Dings enemies. Reduce the extra threat while keeping the clock’s scheduled attacks in mind. Jump and lightning work well on Count Down, while lightning is useful against the bells.
The bells can inflict Mushroom, Scarecrow, Silence or instant defeat, so protective accessories are more reliable than repeated emergency cures. The clock announces its next effect; heal before the dangerous group spells rather than waiting until after them. Save again after winning if you want to preserve the cleared route.
Route and preparation for this encounter
Cloaker and Domino
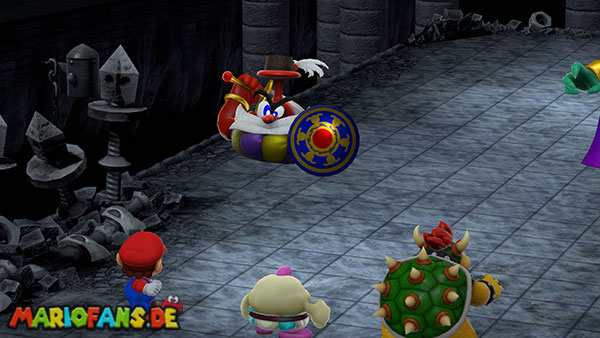
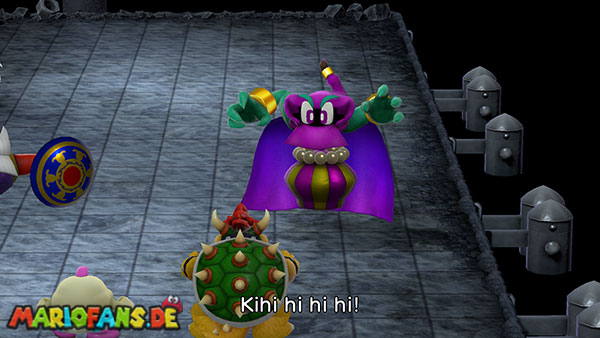
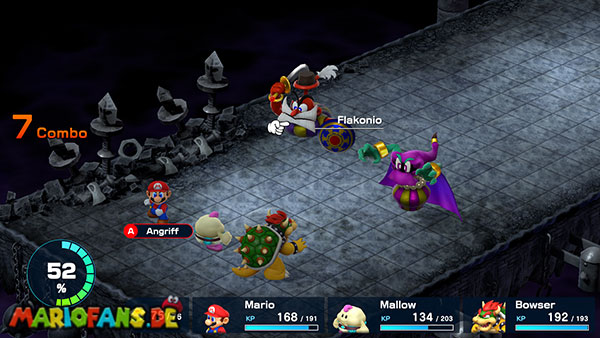
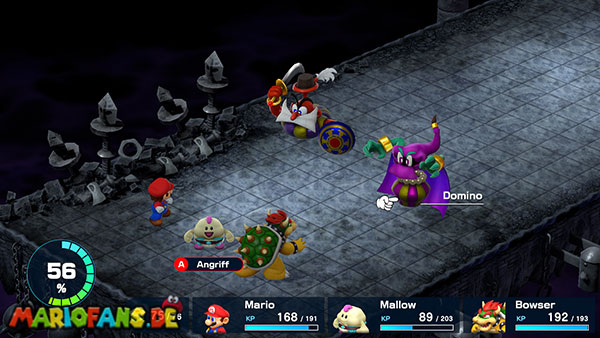
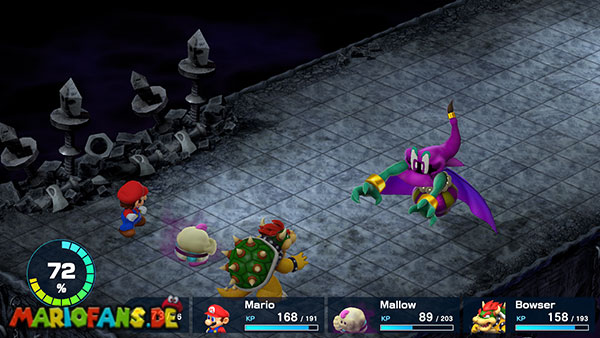
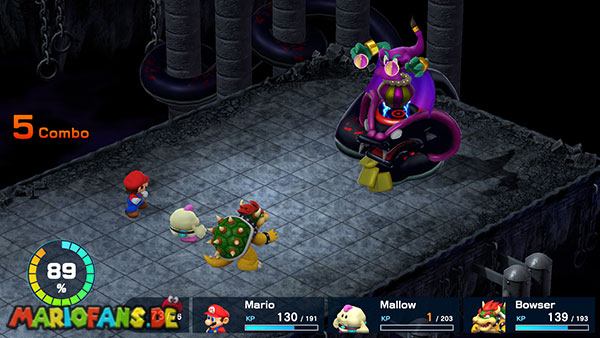
Your first target determines the second phase. Defeat Domino first to leave Cloaker with Bad Adder, whose pressure is mainly physical. Defeat Cloaker first to leave Domino with Mad Adder and its magic-focused pressure.
Choose the branch your party can defend against. Cloaker is vulnerable to magic, while physical attacks are more practical against Domino. In the second phase, target the surviving rider and snake as appropriate, keep group healing available and finish the actual remaining enemy instead of assuming the first defeat ends the battle.
Route and preparation for this encounter
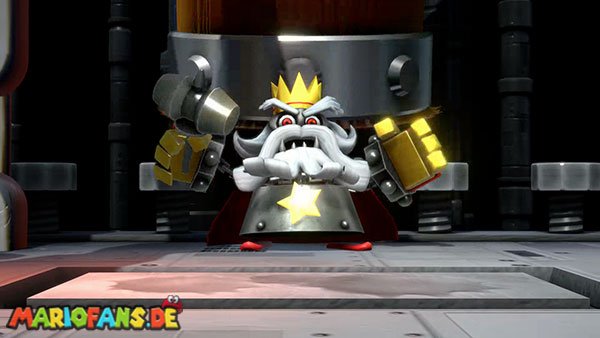
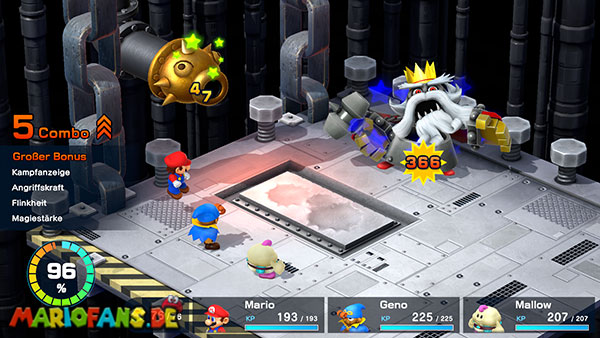
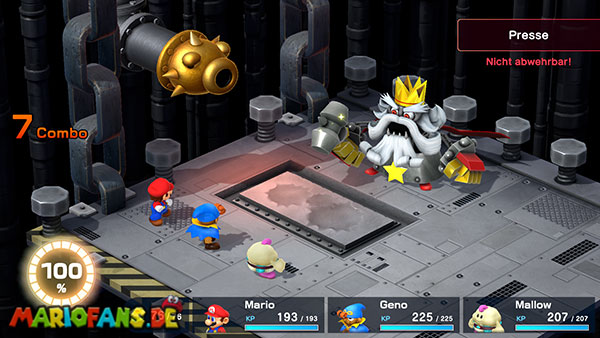
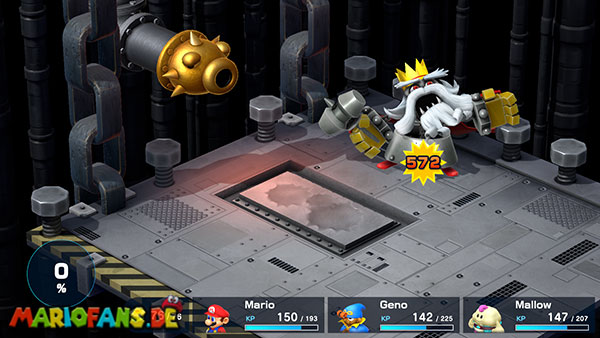
Factory Chief and Gunyolk
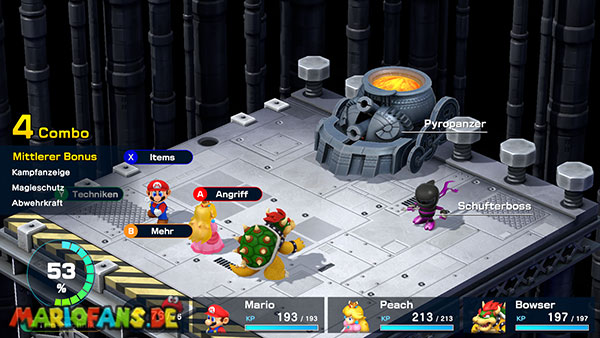
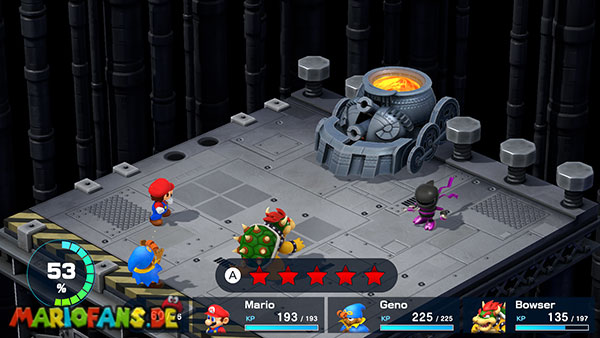
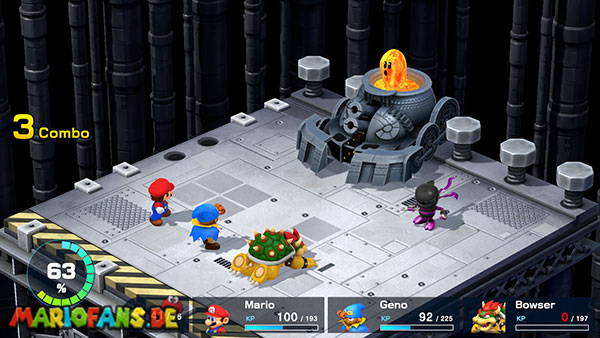
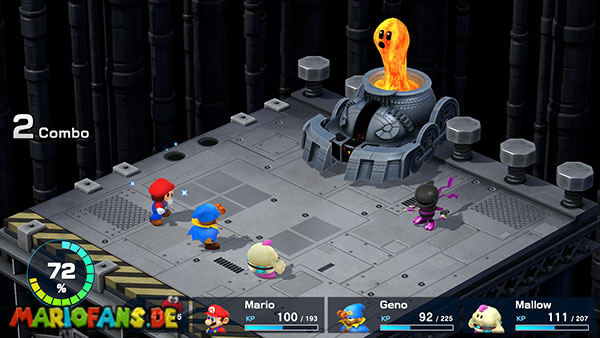
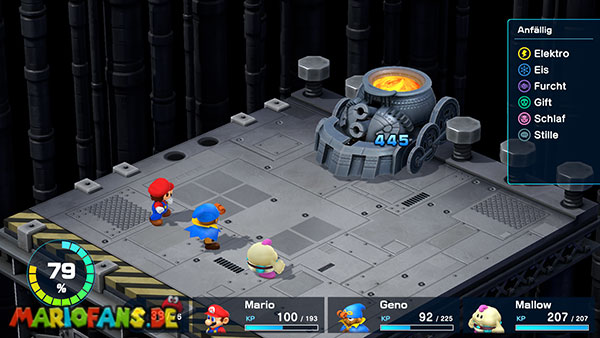
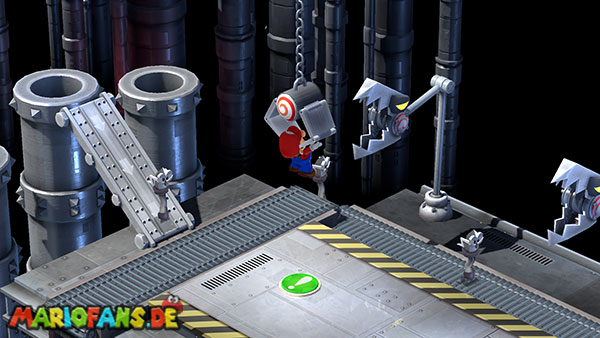
Attack Gunyolk first to remove its Breaker Beam pressure. Thunder attacks are effective against the machine. Keep Peach ready to restore the group while the Factory Chief is still attacking, then finish the Chief. Arrive with FP recovery rather than assuming you can outlast repeated group beams using normal attacks alone.
Route and preparation for this encounter
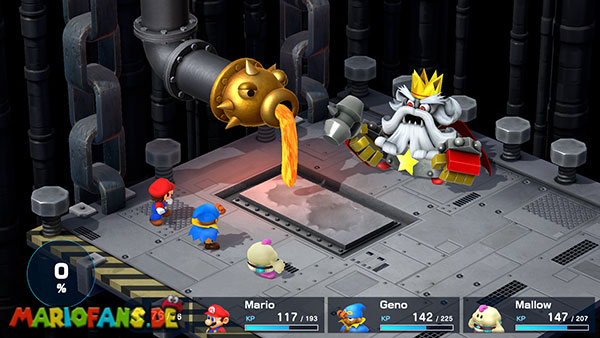
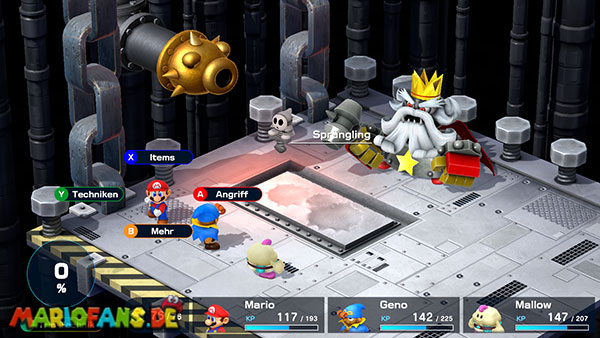
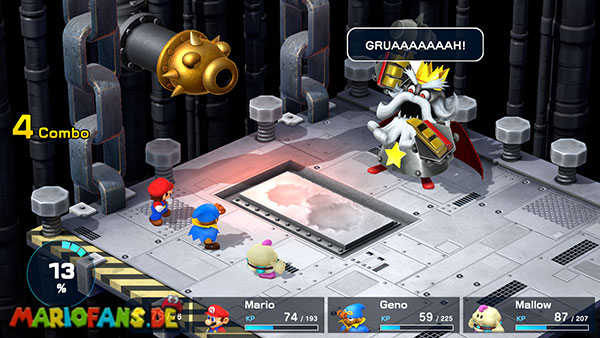
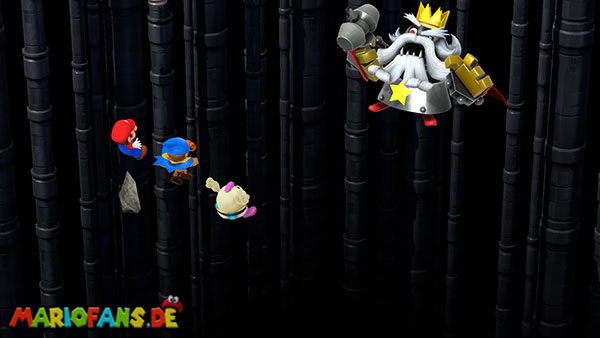
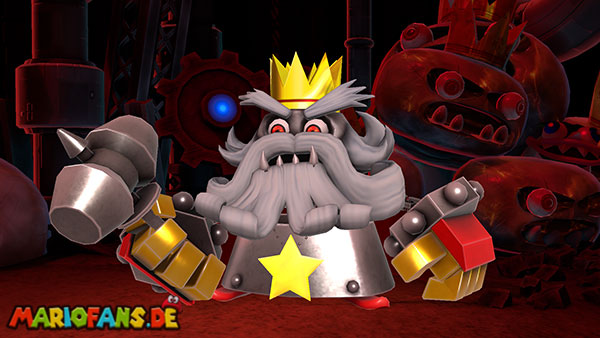
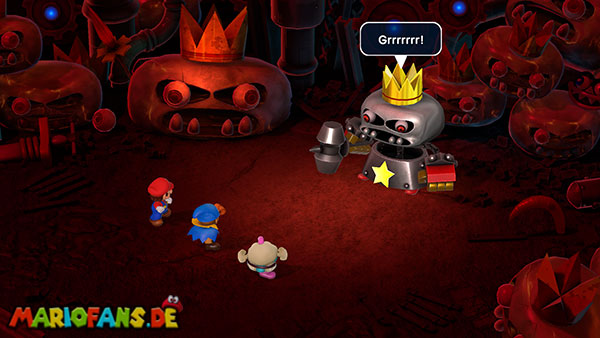
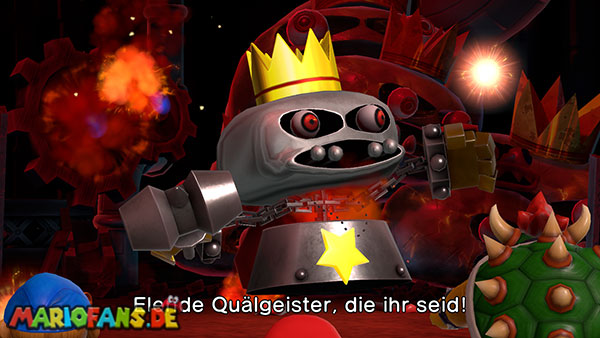
Smithy
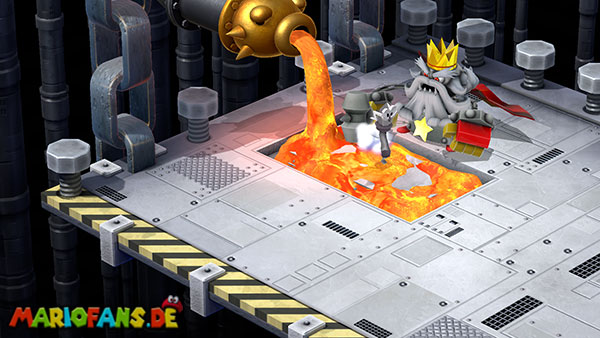
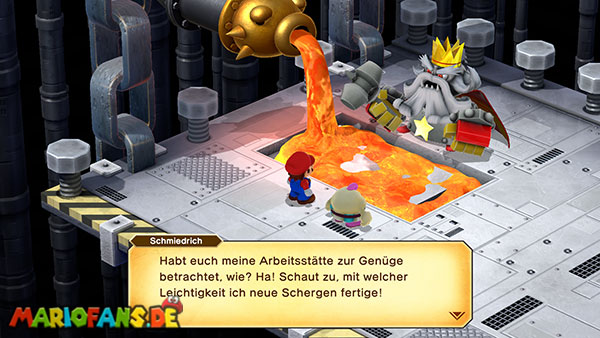
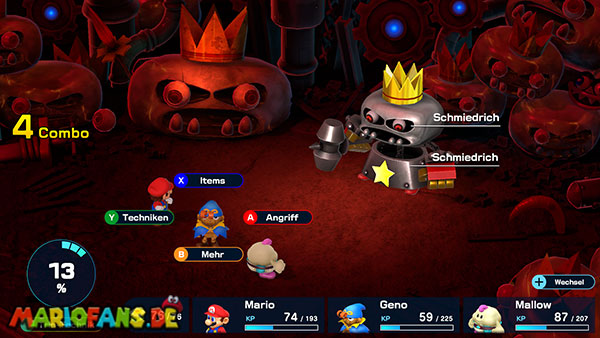
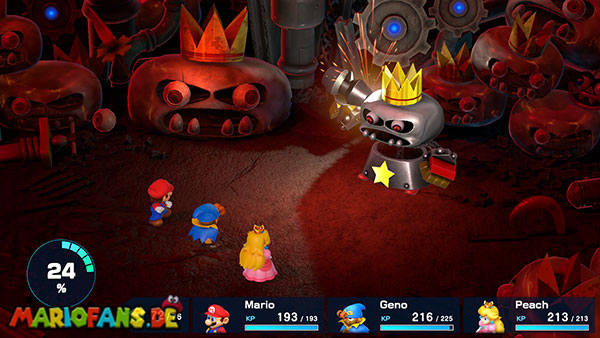
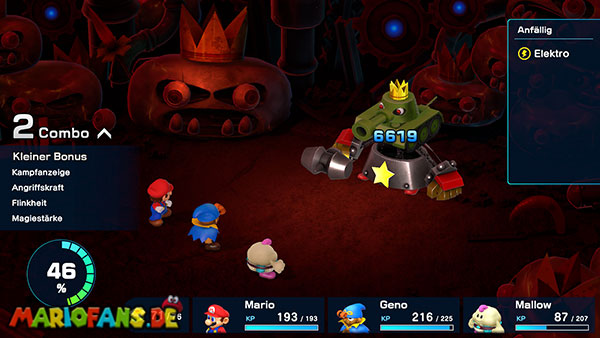
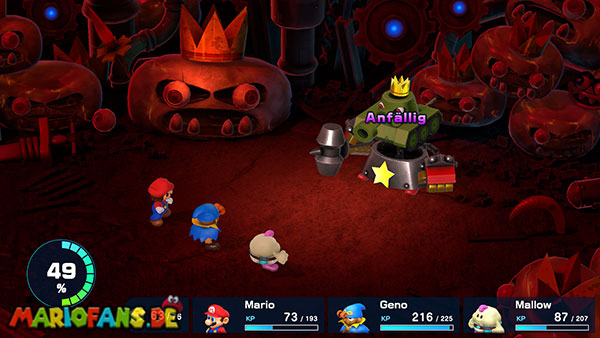
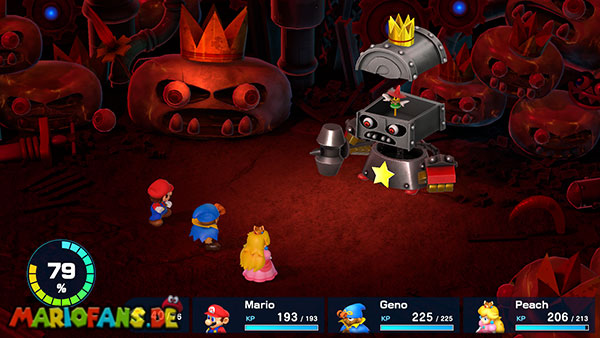
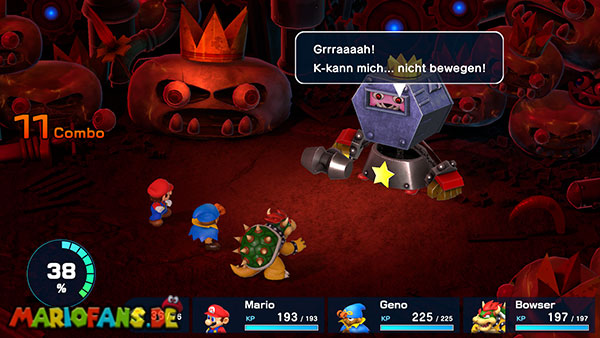
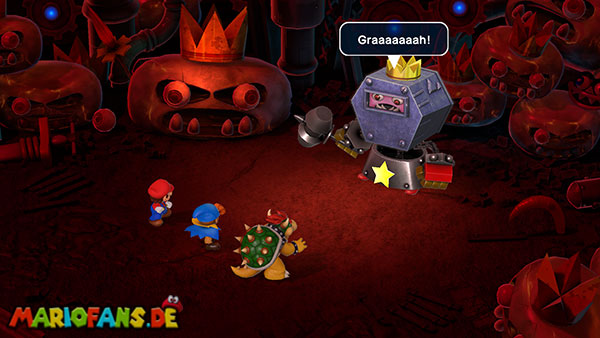
Use reliable group healing and keep the main attacker boosted when possible. In phase one, damage Smithy while controlling the Smelter and its Shypers if they generate more pressure than your healer can handle. Lightning is effective on the Smelter.
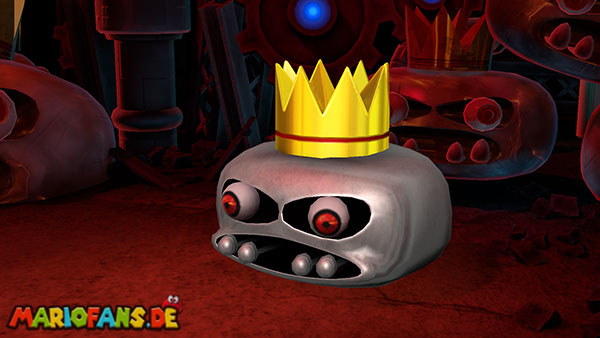
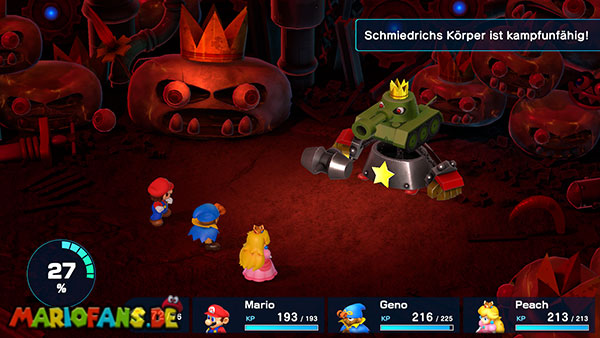
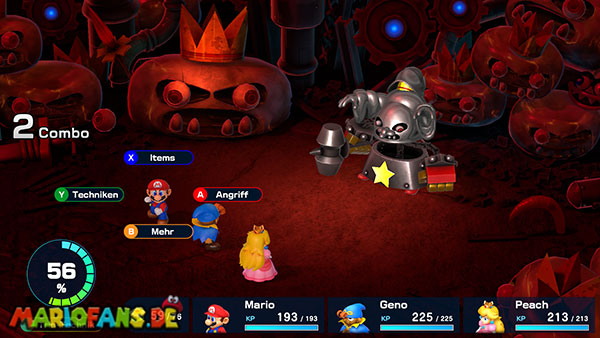
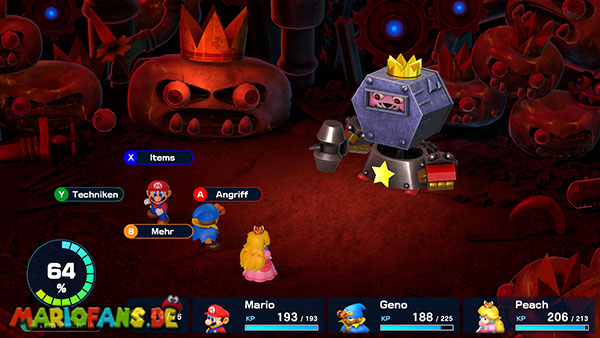
Phase two separates Smithy’s body and changing head. Defeating the body temporarily restricts transformations, but Shredder removes buffs and the body later returns. The head shares its remaining HP across forms: changing appearance is not a full heal.
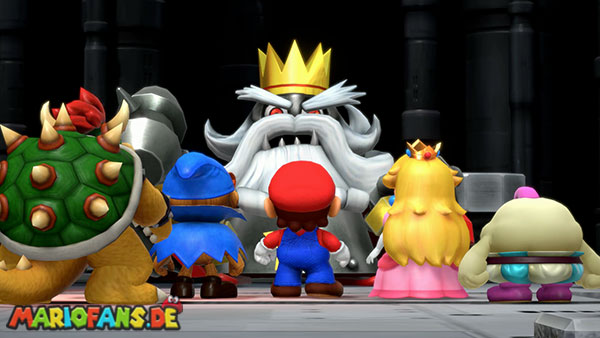
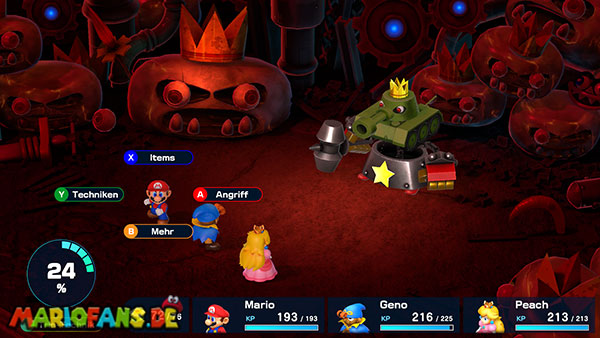
Use physical attacks on the Magic Head. Use special attacks, especially lightning, on the Tank Head; ice against the Mask Head; and fire against the Treasure Head. Adjust when it changes. Protect against instant defeat and statuses, keep FP for healing and use revival items only when a spell or safe alternative is unavailable. Finish the head’s shared HP to recover the seventh Star Piece and complete the story.






Route and preparation for this encounter
Optional and postgame fights
Jagger and the first three Jinx fights · Culex and the four crystals · All six rematches and Culex 3D