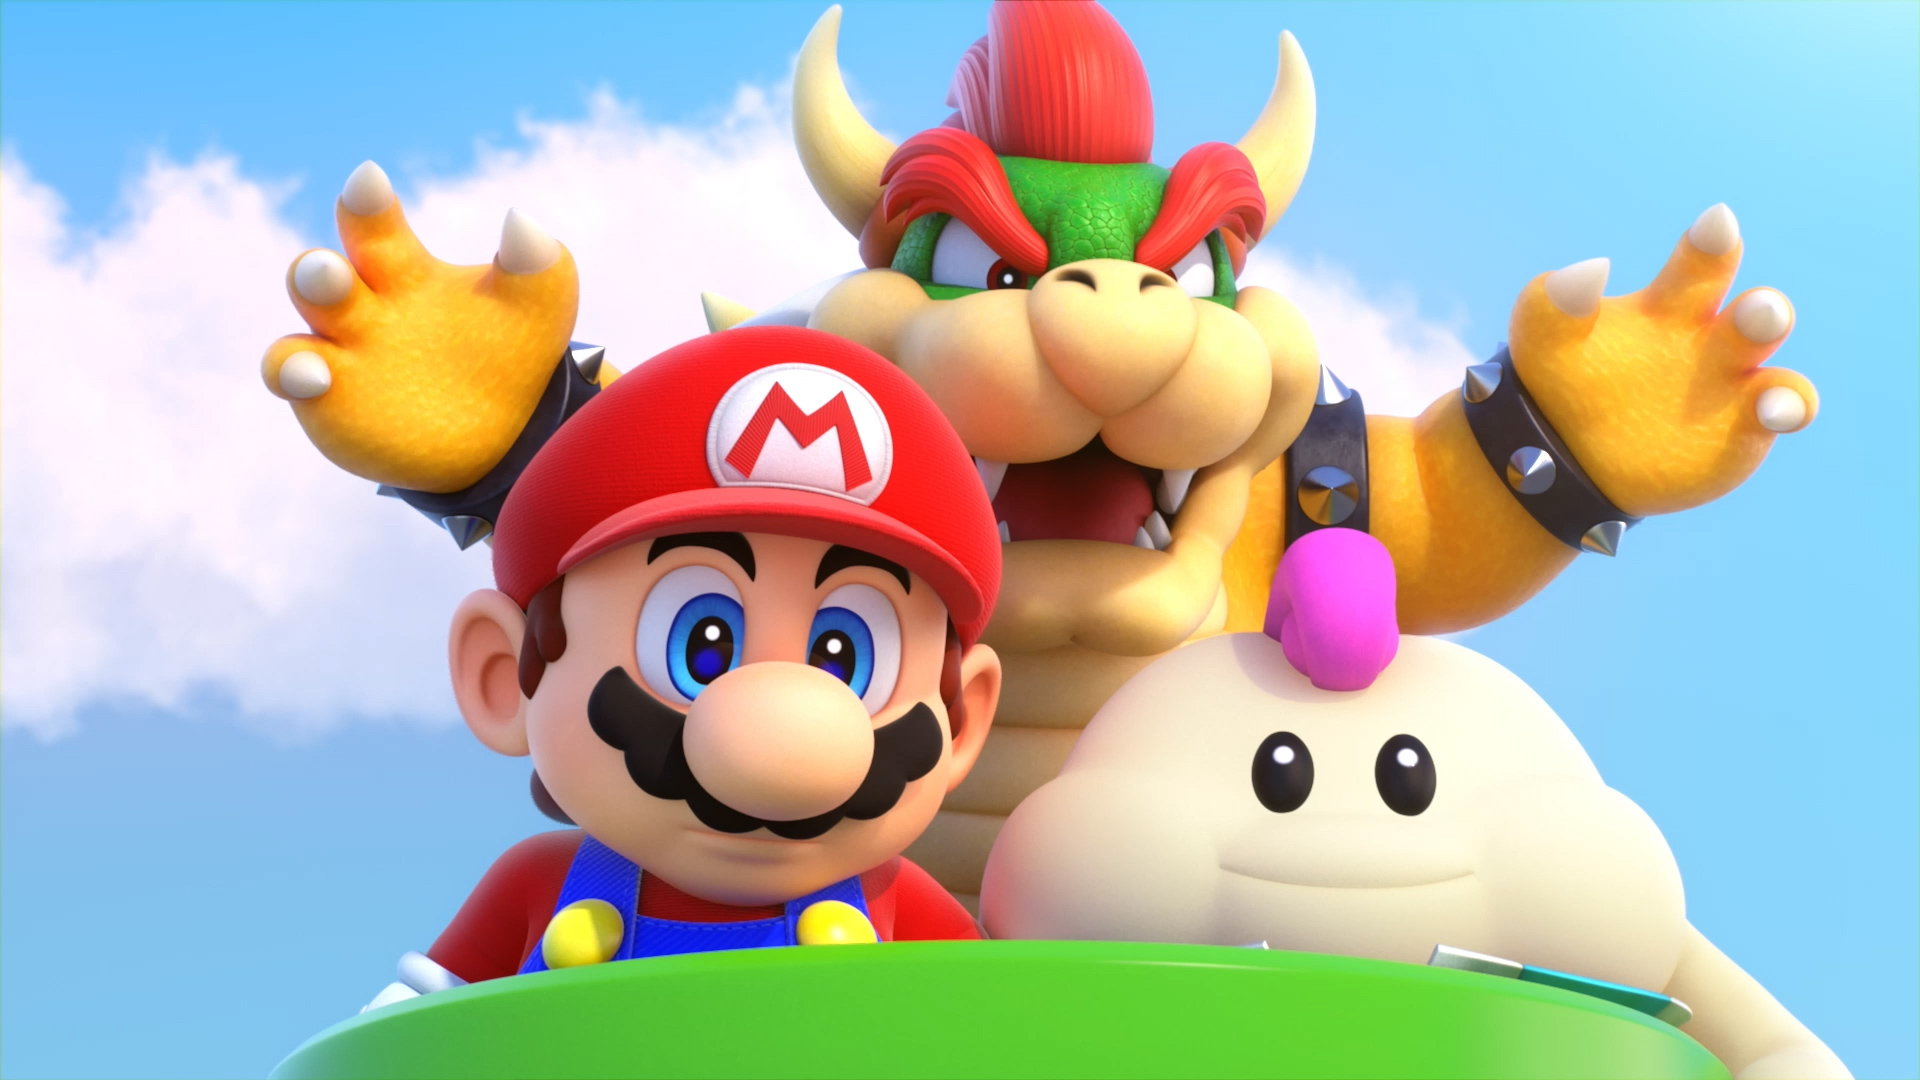

Bowser’s Keep. Follow the linked route in order, stopping for recovery before the major fights. This chapter follows the Nintendo Switch remake.
In this chapter
- Optional stop in Moleville
- Prepare for Bowser’s Keep
- Bowser’s Keep — return route
- The six-door challenge
- Beyond the four cleared courses
- Wizakoopa
- Bowser’s Keep — chandelier corridor
- Boomer
- Exor
Optional stop in Moleville
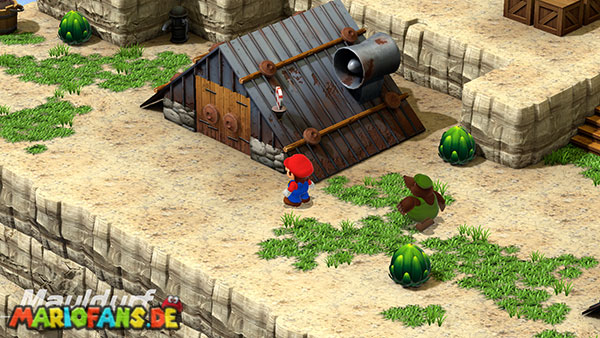
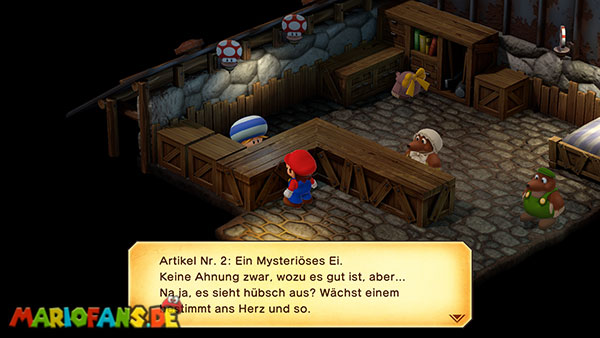
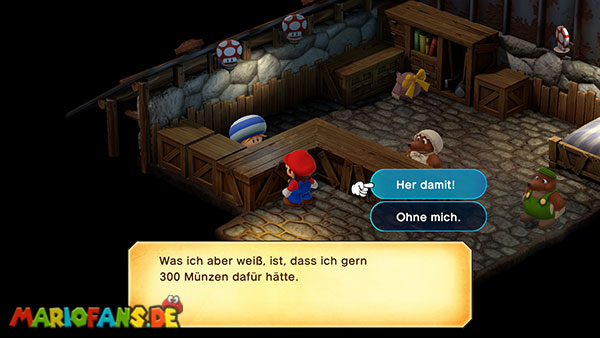
Optional: stop at Moleville for Fireworks and the Shiny Stone if you still want to unlock Culex’s door. Finish equipment shopping before the final keep.
Prepare for Bowser’s Keep
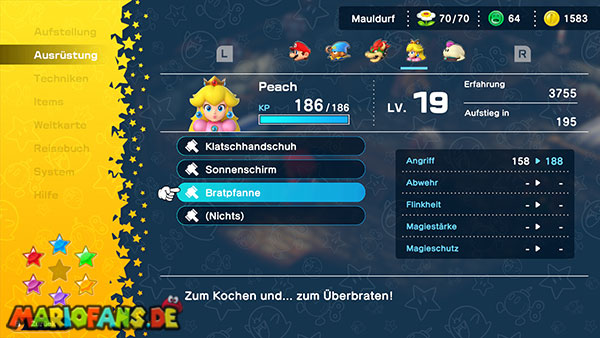
Before entering the final keep, finish shopping and optional equipment quests you need. The Seed-and-Fertilizer rewards, Jinx Belt, Ghost Medal and other protective accessories can materially improve survival.
Speak to Nimbus Land’s king and queen after the Axem Rangers, then meet the royal transport at the northwestern departure point. The broken Mushroom Kingdom bridge is not the access route. Keep a separate manual save before the final dungeons if you want an easy return for optional tasks.
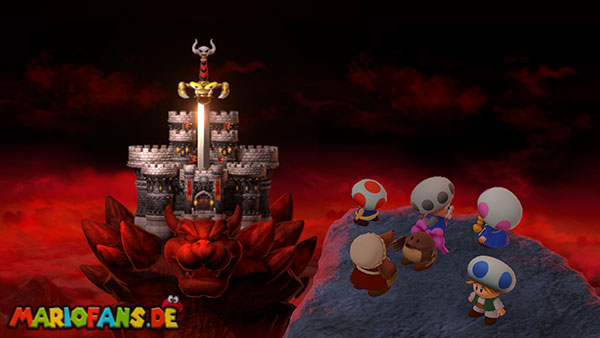
Bowser’s Keep — return route
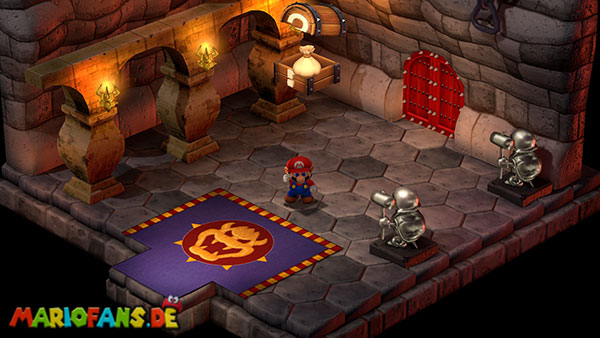
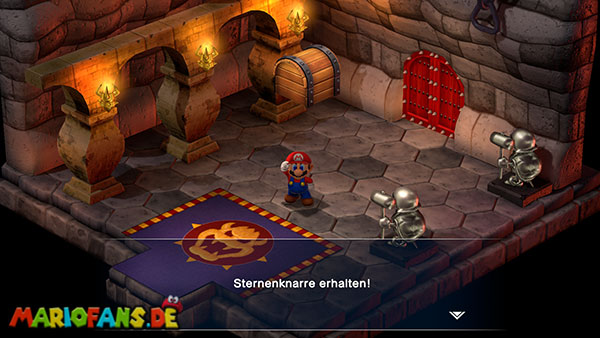
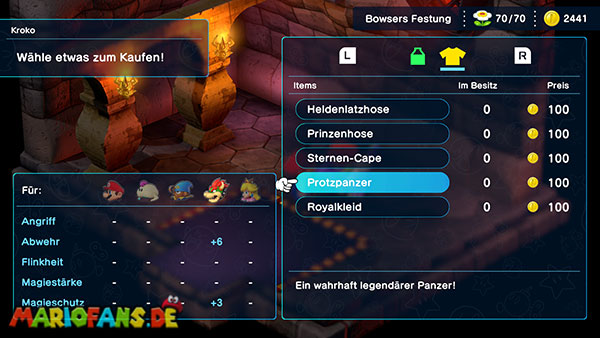
Bowser in the active party can make some former troops run from battle. Cross the opening platforms, take the recovery detour in the dark corridor and save by Croco’s first shop.
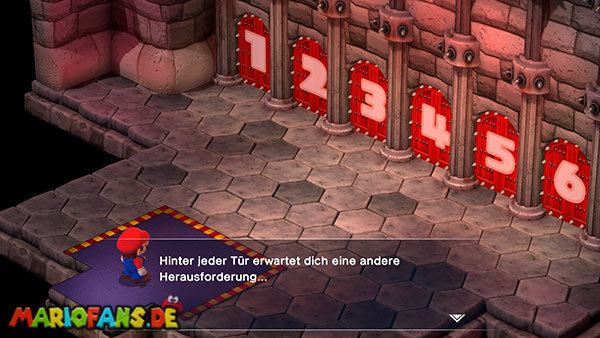
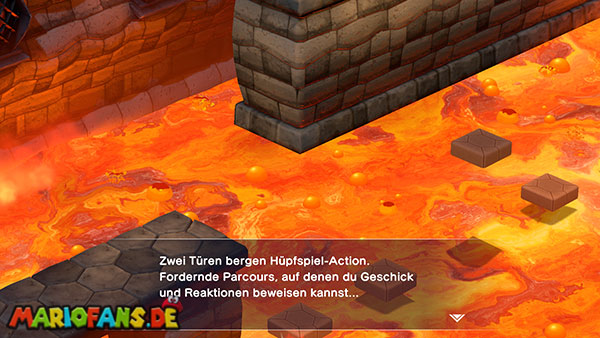
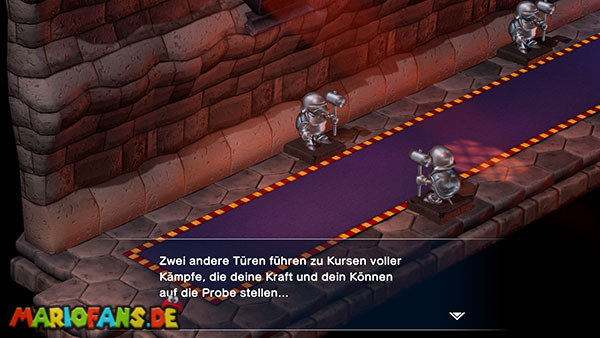
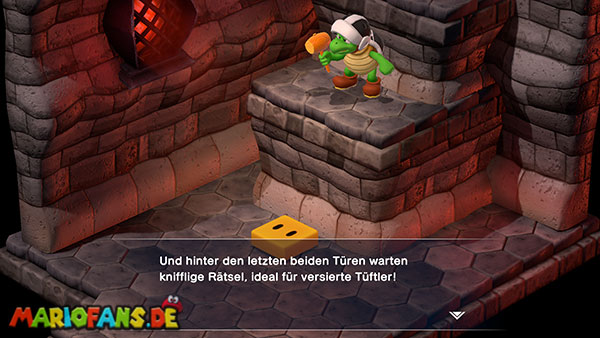
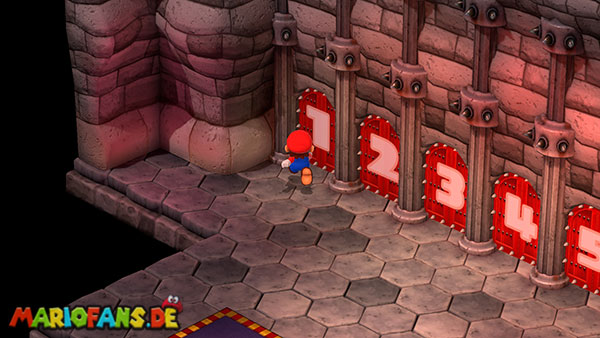
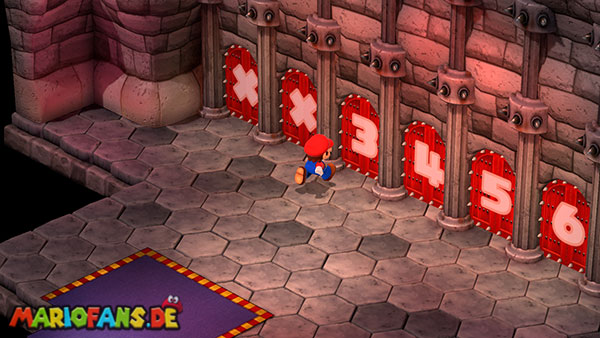
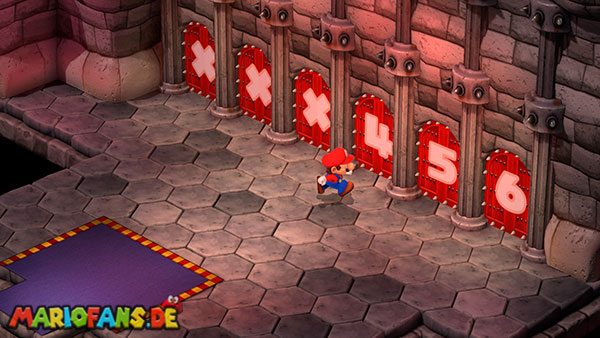
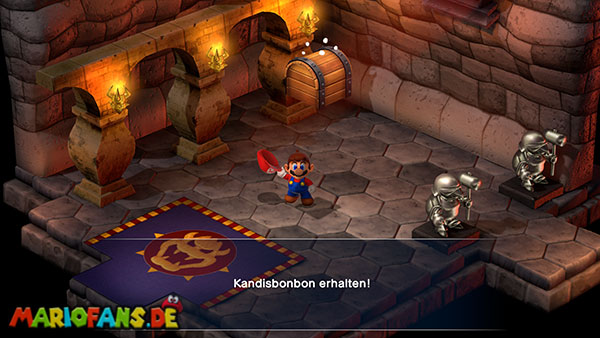
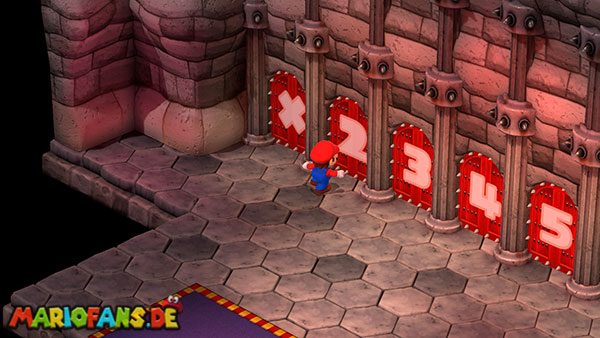
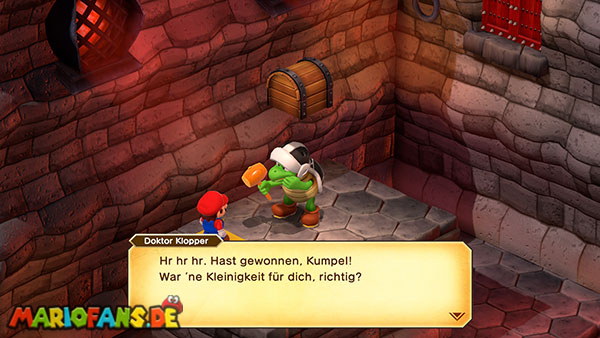
The next hall has six doors: two battle courses, two action courses and two puzzle courses. Clear four to advance. Their positions are not a reliable fixed guide, so identify a course by its opening room. Each battle or action course gives a different character weapon; puzzle courses give Rock Candy. Save before starting if you want to select your preferred rewards.
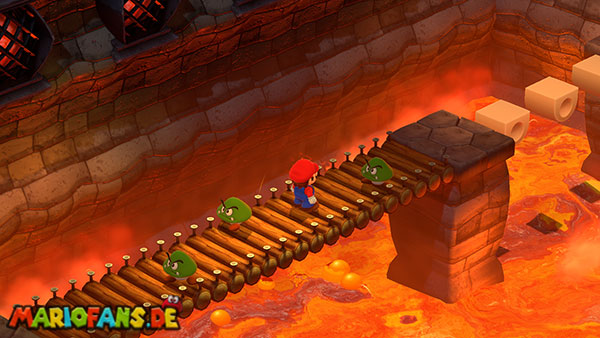
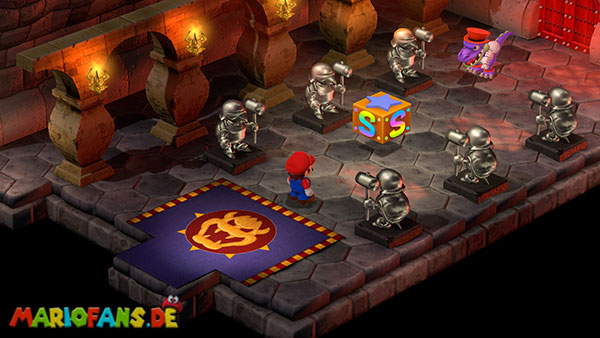
The six-door challenge
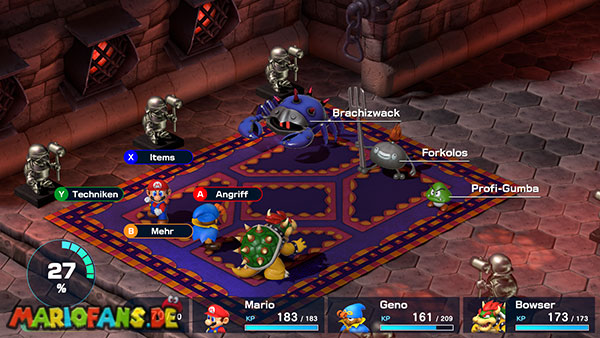
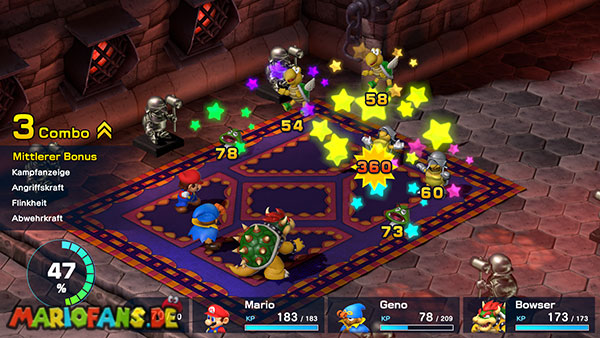
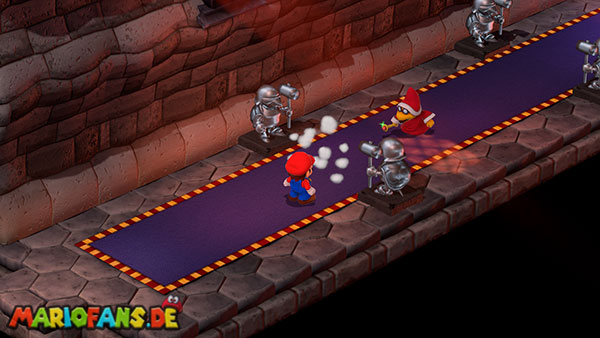
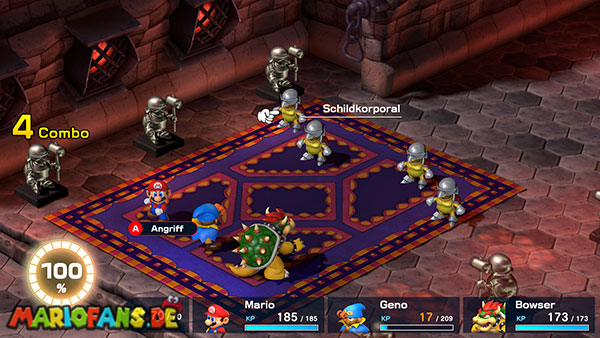
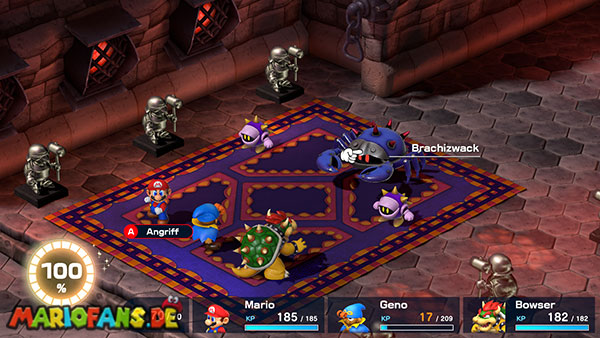
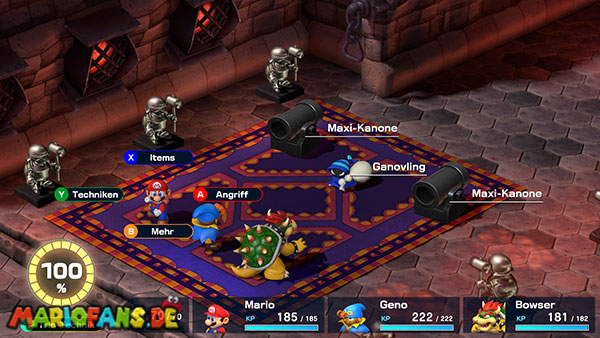
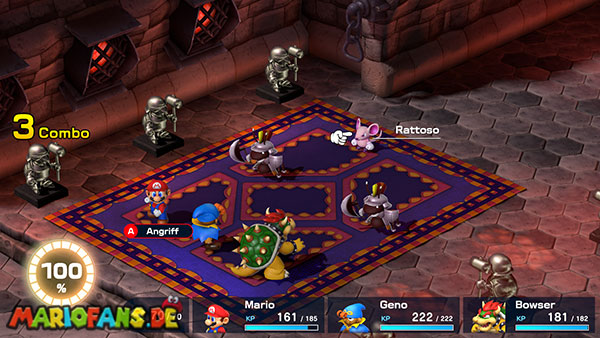
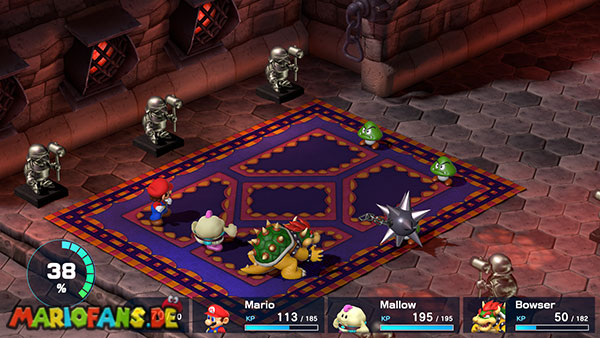
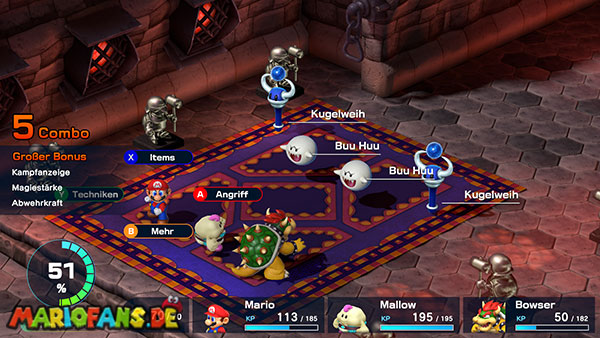
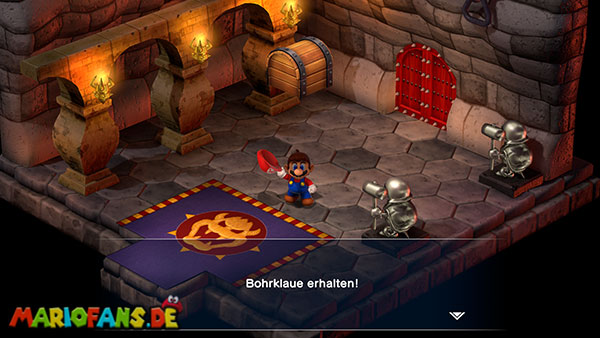
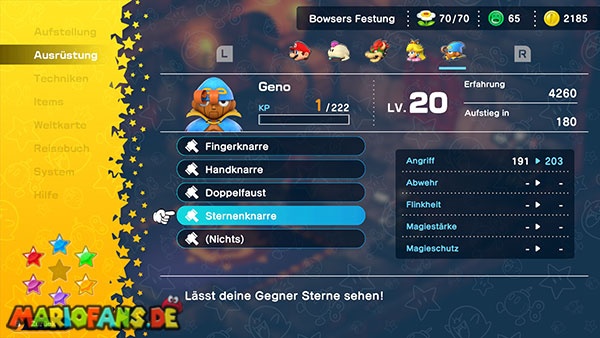
The battle course beginning with Goombas rewards Geno’s Star Gun; the one beginning with Terra Cottas rewards Bowser’s Drill Claw. They are long combat sequences, so enter with recovery and enough shared FP.
The action course with an opening moving platform continues through a cannonball-balancing room and rotating-platform jumps, rewarding Mallow’s Sonic Cymbals. Move the cannonball around the pillars, lure bombs away if necessary and avoid hitting the low ceiling on high jumps. The other action course begins with invisible platforms: follow the enemies’ landings, cross the moving ledges and climb the Donkey Kong-style barrel room for Peach’s Super Slap.
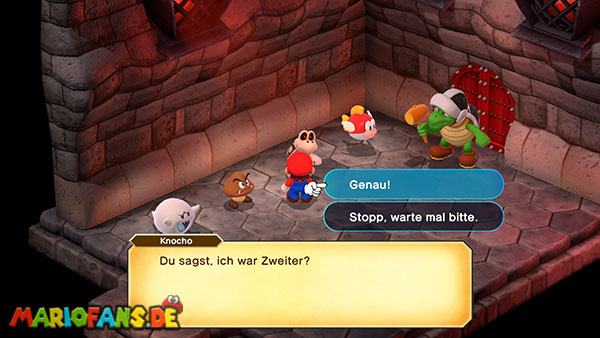
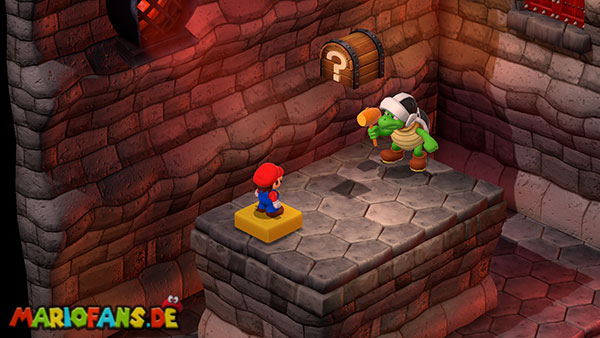
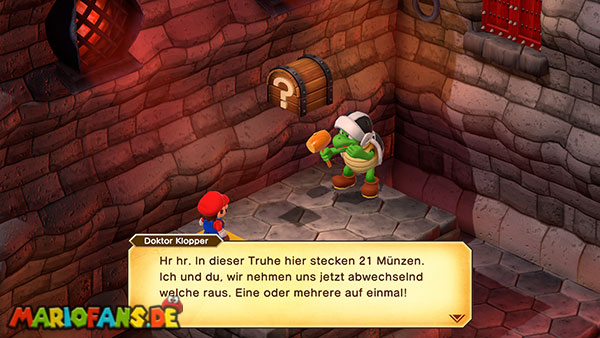
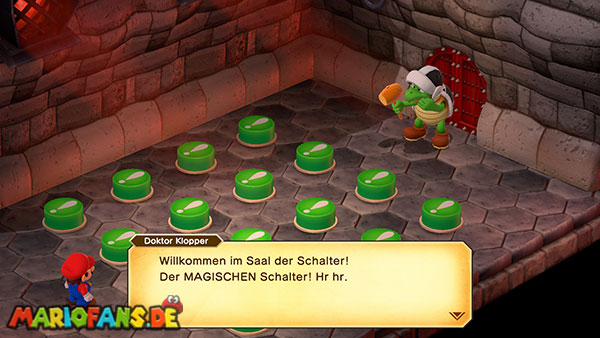
In the coin puzzle, taking the last of twenty-one coins loses. Try to leave the opponent totals of 16, 11, 6 and 1, adjusting after their choices; the opening position is not a guaranteed win against perfect play. In the switch grid, numbering rows from top to bottom and columns left to right, jump on row 4 column 2, row 2 column 1, row 3 column 4, row 1 column 3. Walk between the targets without jumping onto extra switches.
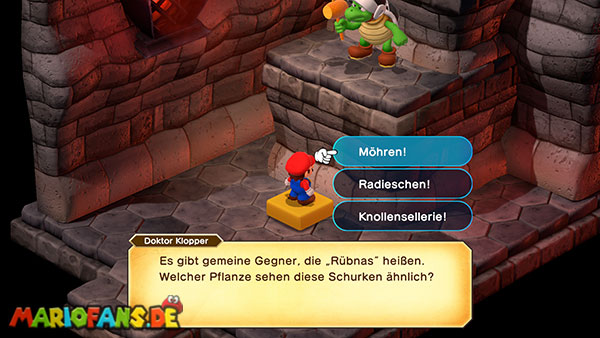
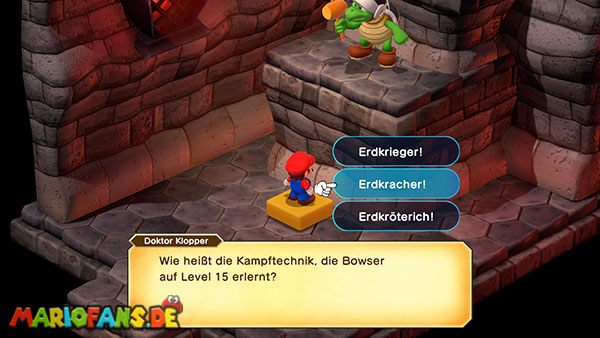
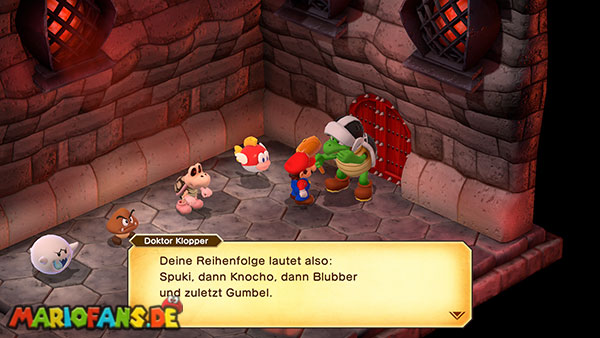
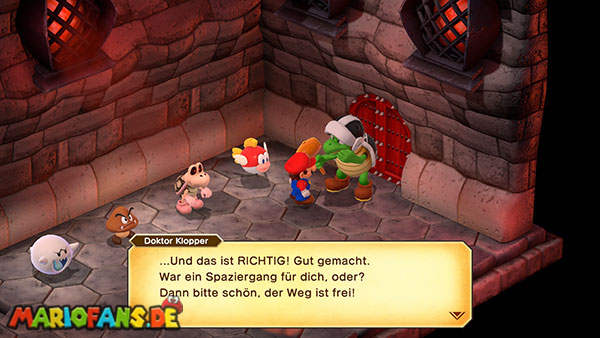
For the other puzzle course, answer the story quiz, count each barrel pile by complete layers including hidden barrels and solve the triathlon from the racers’ own clues. The runner who overtook the last cyclist is first; the one who fell fourth in cycling is second; the one beaten by two runners is third; the remaining racer is fourth. Assign those results to the names in your current clues rather than using a fixed name order.
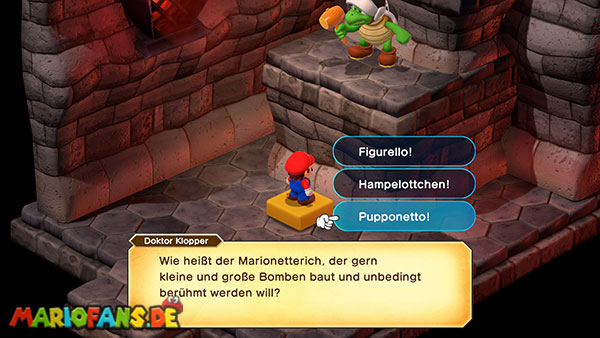
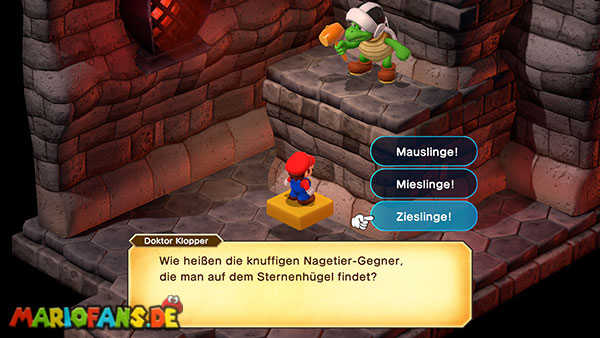
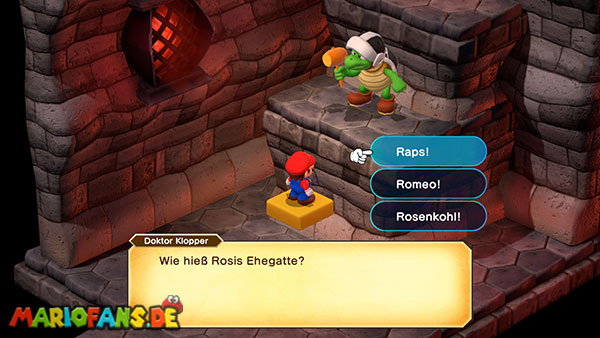
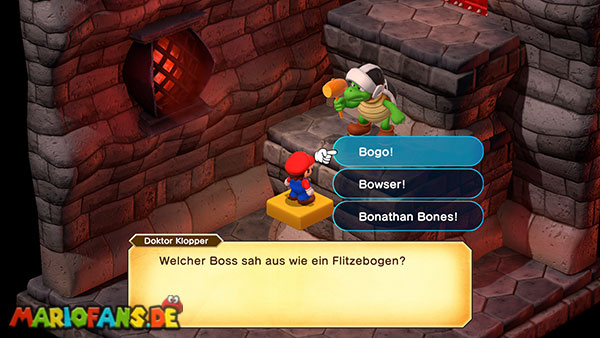
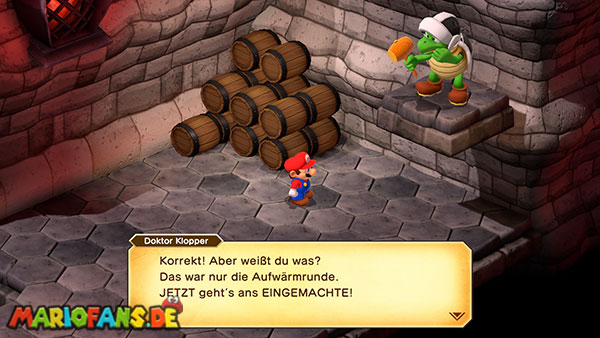
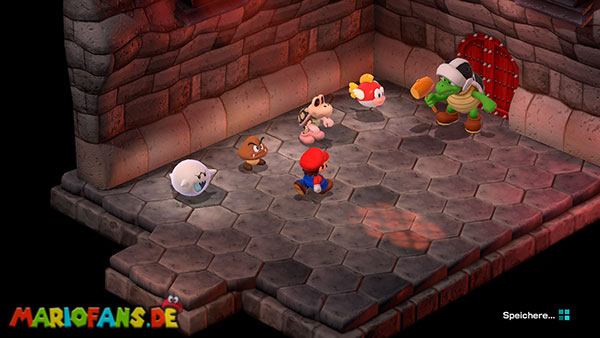
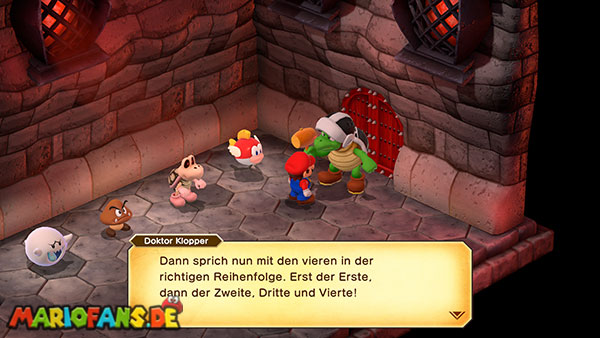
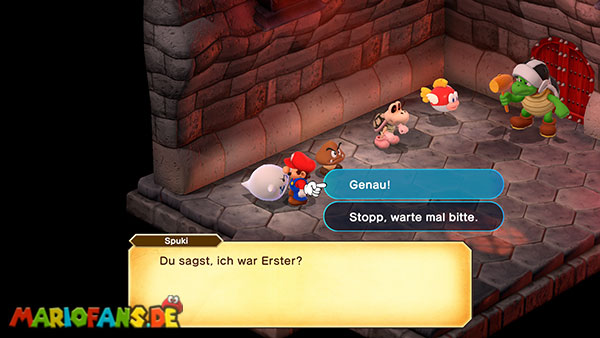
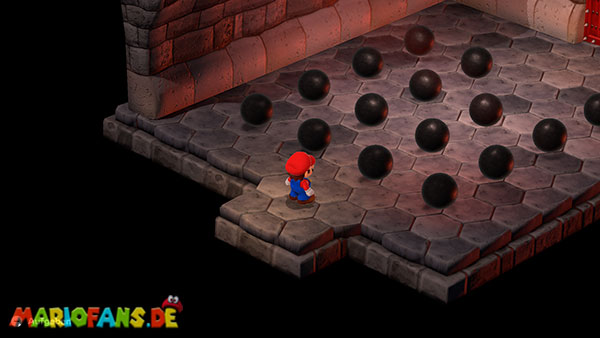
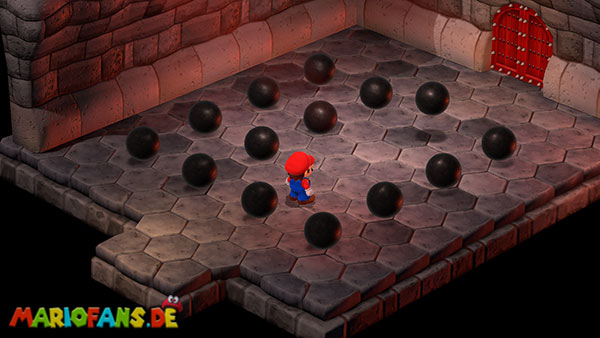
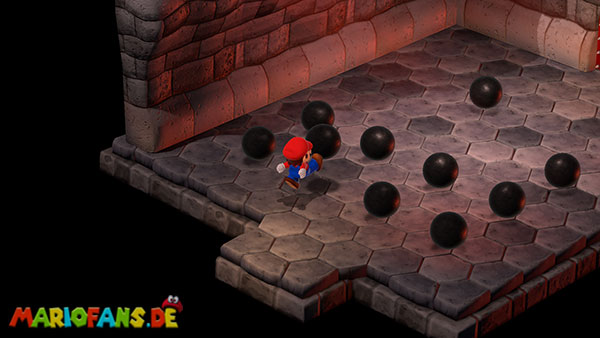
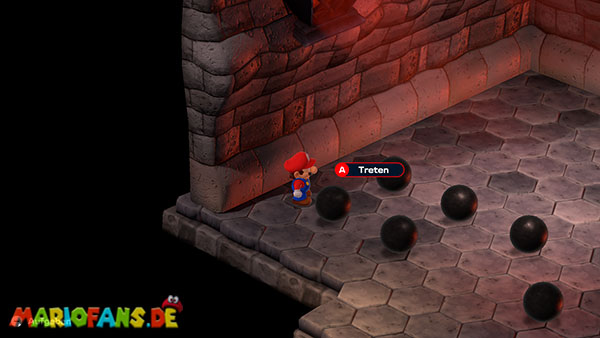
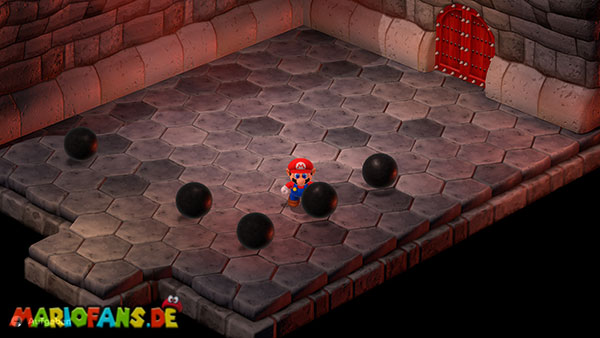
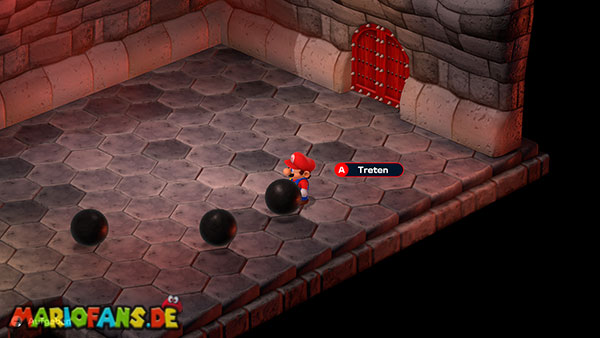
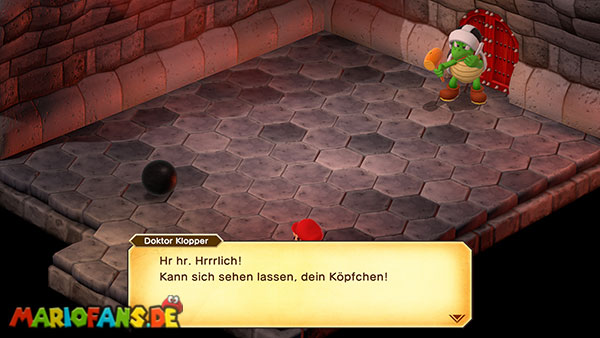
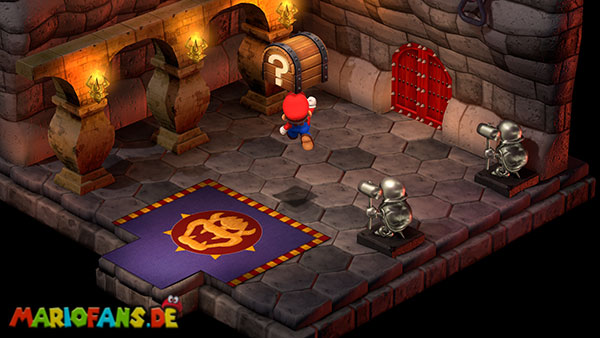
Ball Solitaire
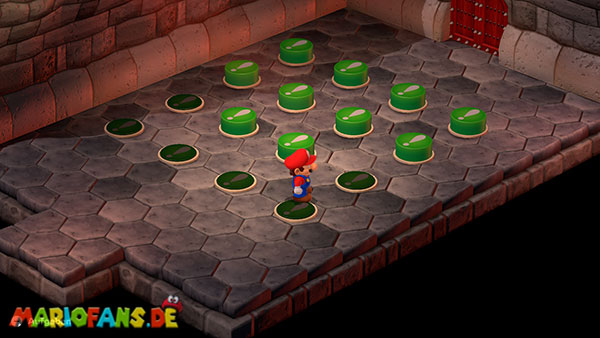
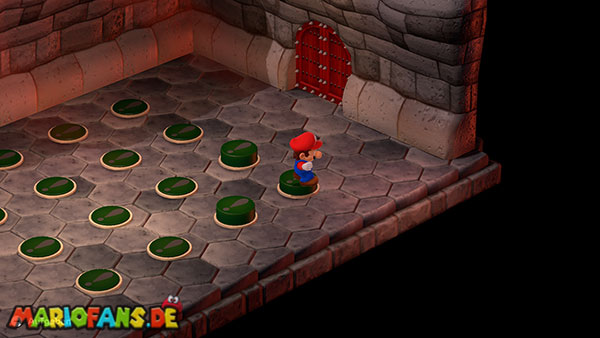
For Ball Solitaire, treat the board as four rows from top to bottom and four columns from left to right, matching the square diagram. The starting empty space is row 1, column 3. Stand beside the starting ball and kick it over the intervening ball into the empty destination. The middle ball disappears. Use these fourteen moves, in order:
- Row 3, column 3 → row 1, column 3.
- Row 3, column 1 → row 3, column 3.
- Row 1, column 2 → row 3, column 2.
- Row 1, column 4 → row 1, column 2.
- Row 1, column 1 → row 1, column 3.
- Row 4, column 3 → row 2, column 3.
- Row 2, column 4 → row 2, column 2.
- Row 2, column 1 → row 2, column 3.
- Row 1, column 3 → row 3, column 3.
- Row 4, column 1 → row 4, column 3.
- Row 4, column 4 → row 2, column 4.
- Row 4, column 3 → row 2, column 3.
- Row 2, column 4 → row 2, column 2.
- Row 2, column 2 → row 4, column 2.
The final ball is at row 4, column 2. Leave through the opened door and take the Rock Candy. If you kick in the wrong direction, restart the attempt rather than following the remaining coordinates on a changed board.
Beyond the four cleared courses
After four successful courses, save at the next block and continue to Wizakoopa. You have not yet reached Exor; there are several boss encounters ahead.
If you need to replace gear, use Croco’s shops at the available checkpoints. They sell stronger armor as you progress, so compare the selection after the magician battle rather than assuming the first shop was the final upgrade.
Wizakoopa
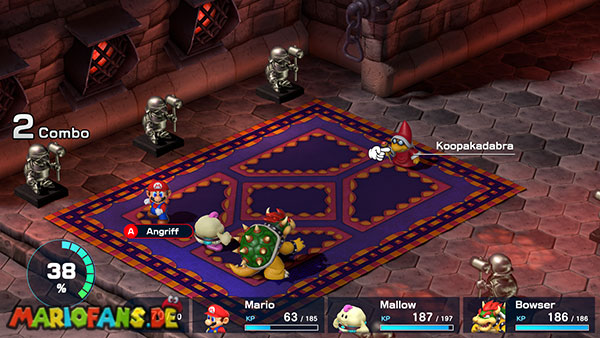
Use strong physical attacks on Wizakoopa. When he summons a monster and hides, defeat the summon before returning to him. King Bomb must be removed promptly before its explosion, while other summons call for different attacks.
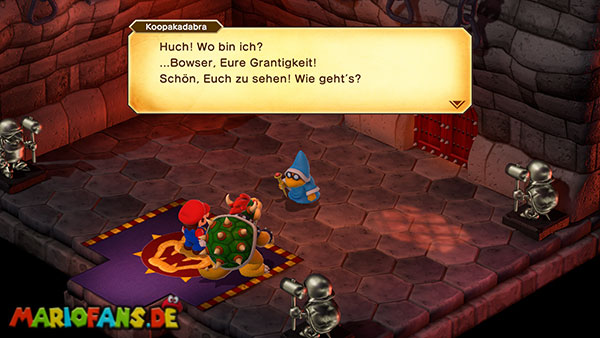
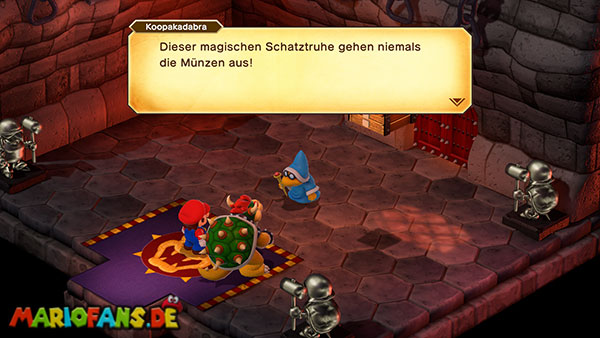
After winning, speak to him for full recovery and use his inexhaustible coin chest if you need money. Visit Croco’s newly stocked shop, equip the final armor and save before continuing. The free recovery is a useful preparation point, not a reason to carry no healing into the final sequence.
Bowser’s Keep — chandelier corridor
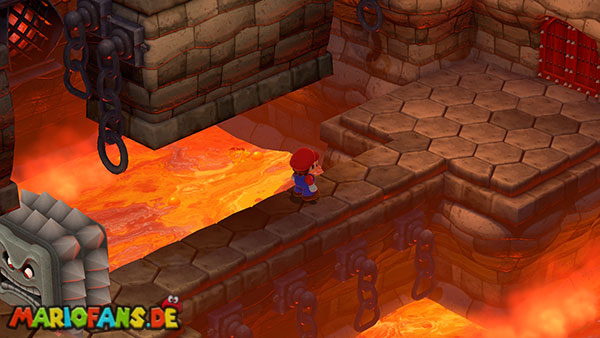
Pass the Thwomps and cannon corridor, waiting for clear landings instead of running directly into the next projectile while Mario is stunned. Continue through the long hall toward the chandelier arena.
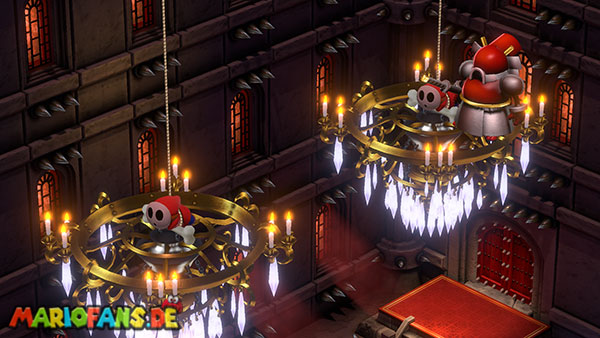
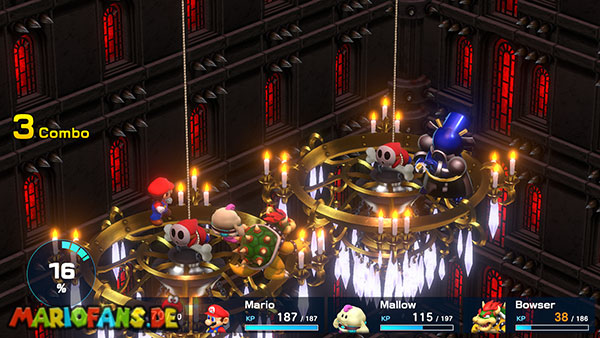
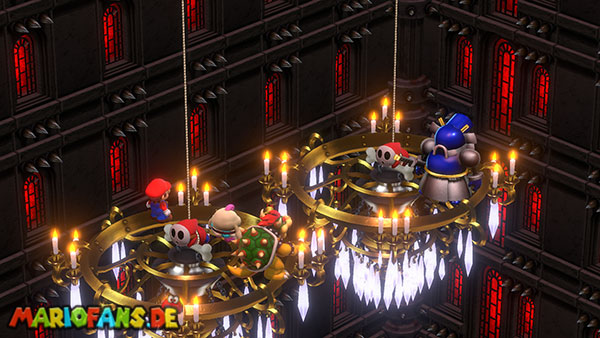
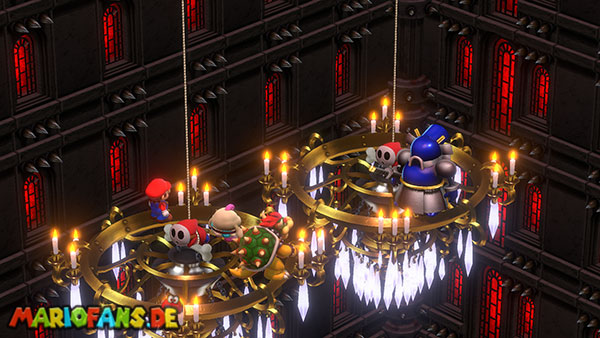
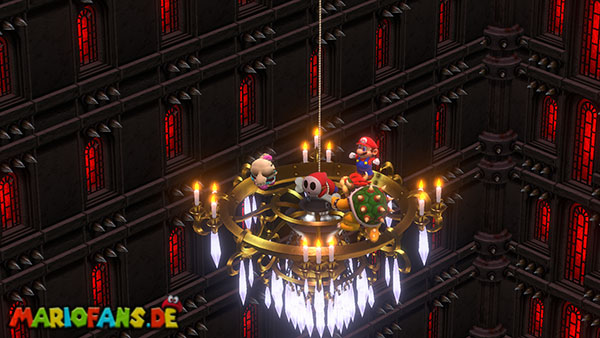
Heal before triggering Boomer, because the story proceeds to Exor after the fight. Keep protection against instant defeat on the character you rely on for revival, and preserve enough FP for group recovery through the following encounters.
Boomer
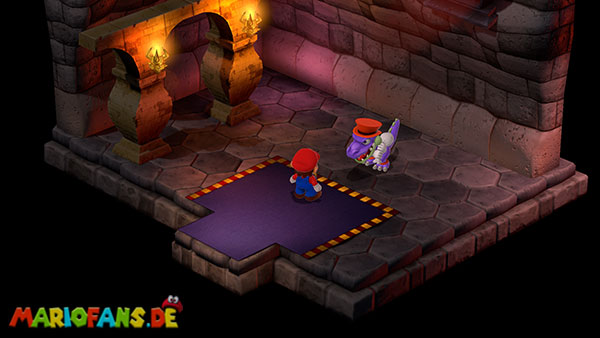
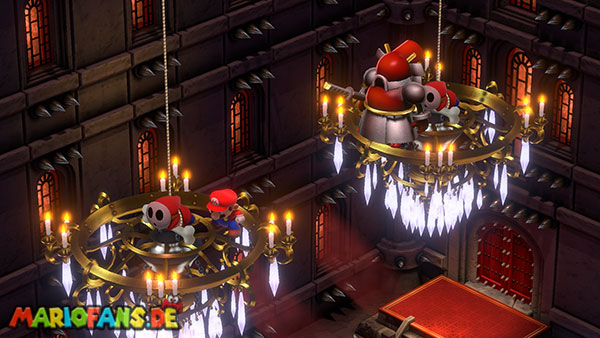
Watch Boomer’s color. Use special attacks against the red form and physical attacks against the blue form. His sword techniques can cause heavy damage or instant defeat, so keep the healer protected and learn their timing when blocking is possible.
Switch your offense when his form changes instead of committing to the same command every turn. Heal before finishing if the party would be unable to survive the next encounter’s opening. The victory scene takes Mario to Exor at the top of the keep.
Exor
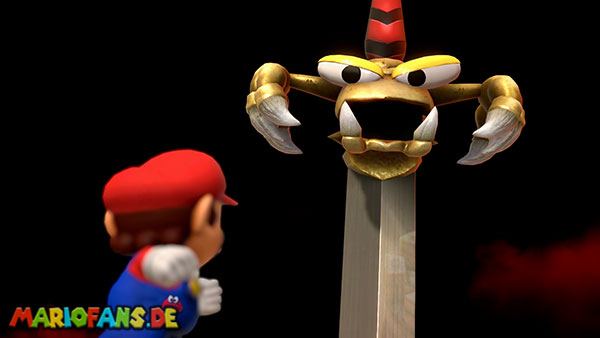
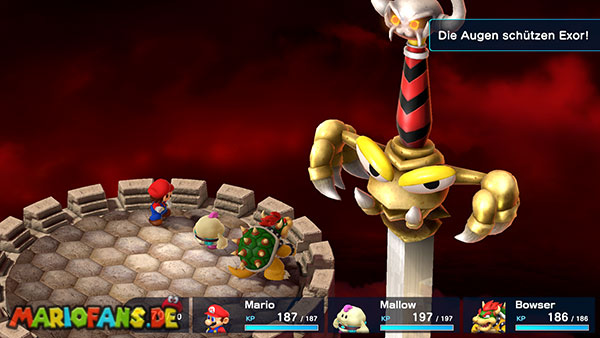
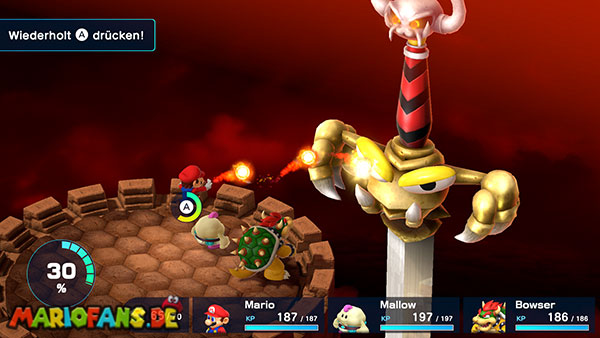
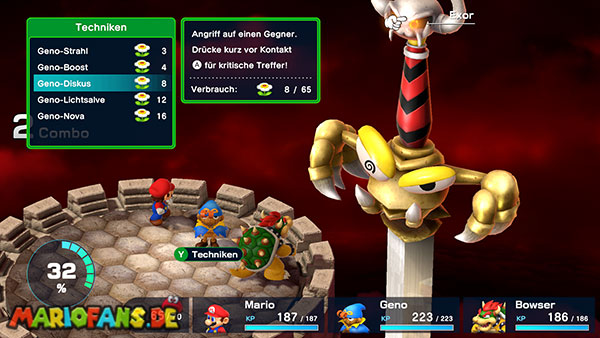
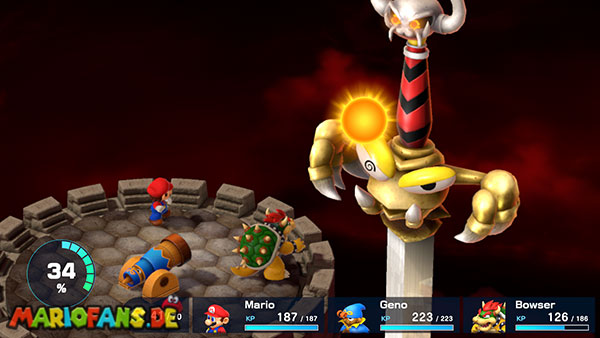
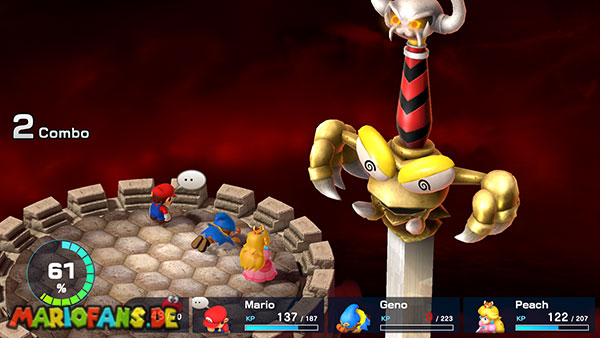
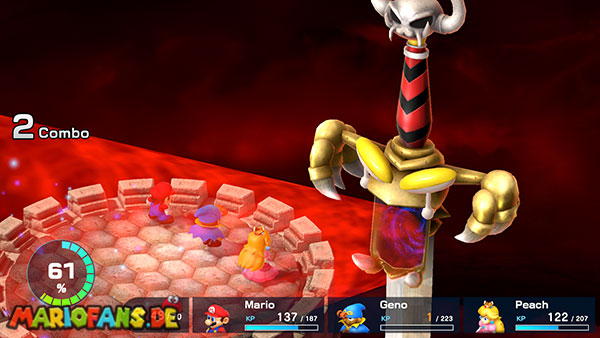
Defeat an eye to remove Exor’s protection, then target the main Exor head at the top. The mouth and the eyes have separate attacks; damage to them does not all reduce the main target’s HP.
Use multi-target attacks to control the eyes and mouth, but exploit each opening on Exor before the eye recovers. Protect against Sleep and other statuses and keep enough HP for group magic. The SNES Geno Whirl instant-defeat exploit does not work on Exor in the Switch remake, so use the eye-opening damage cycle. After the victory, the party enters Weapon World and the factory.