

The Tank Press
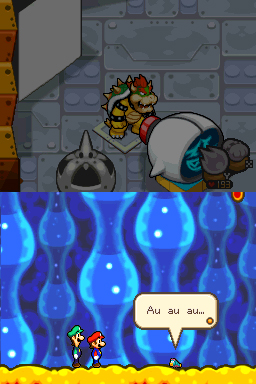
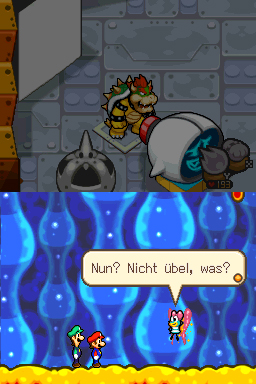
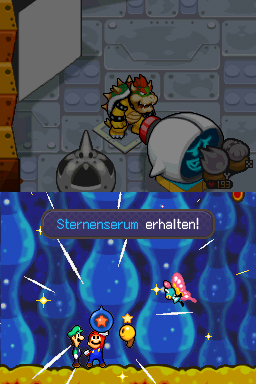
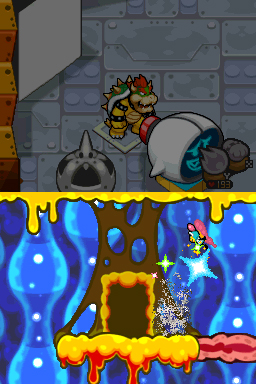
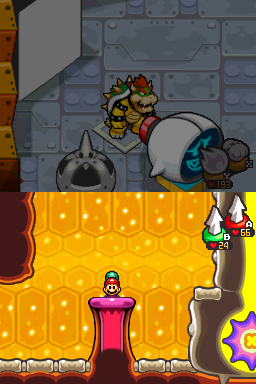
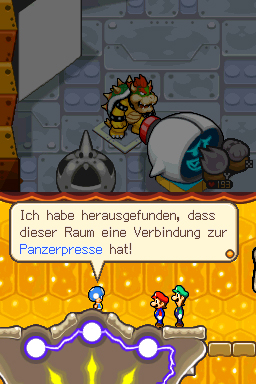
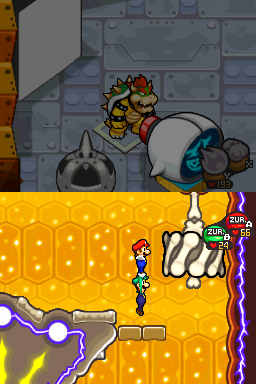
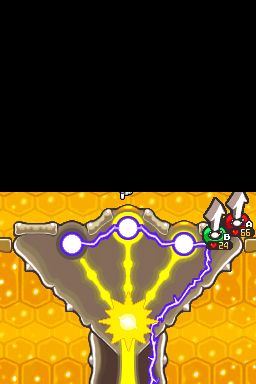
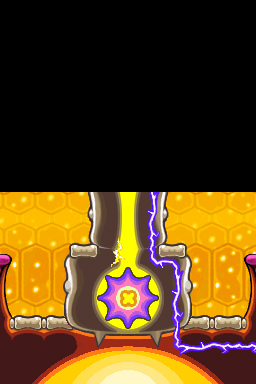
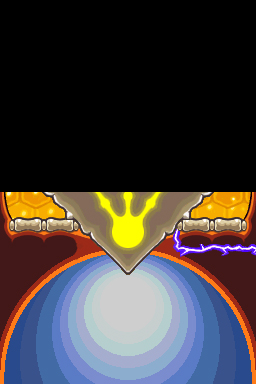
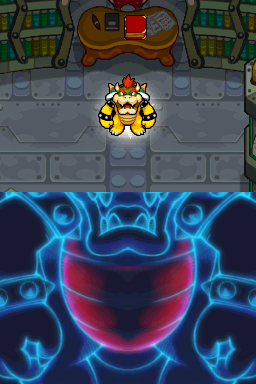
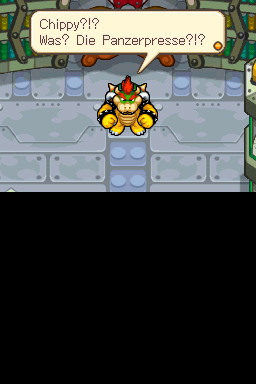
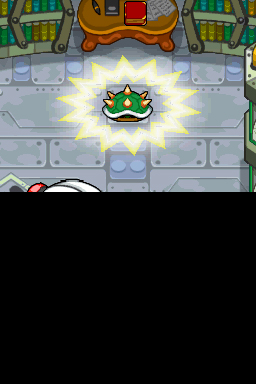
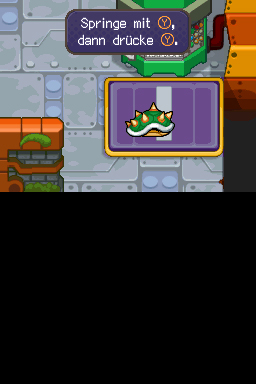
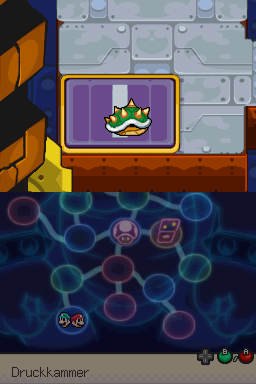
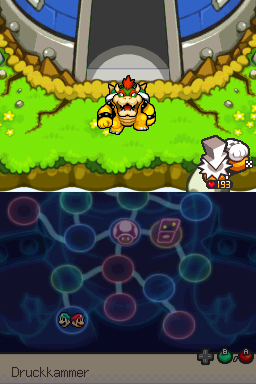
If Durmite is defeated, just walk into the door. Now the Joint Tower appears, now go in there. Use the pipe to get up. With the drill you will not achieve anything, go to the right and a small toad appears. After talking to him, start the rotation right against the bone, which now activates a nerve. With the drill you can now press the three nerves. The result is the armoured press that allows Bowser to activate large color switches. You should also do this right in the room in order to be able to leave the tower.
Back to the castle
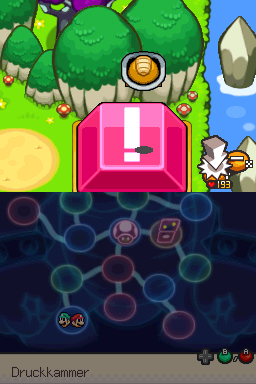
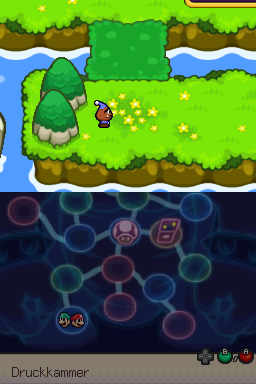
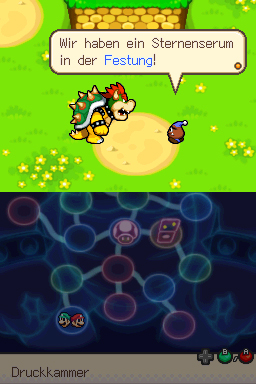
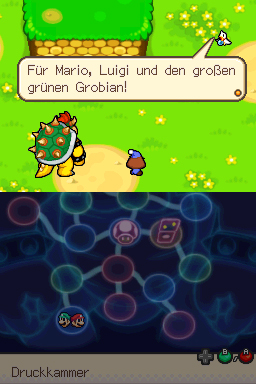
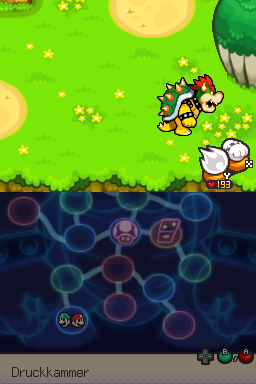
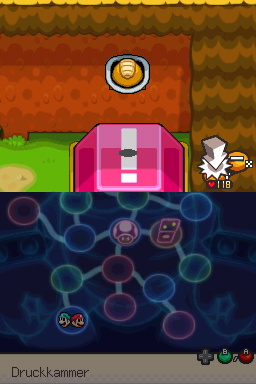
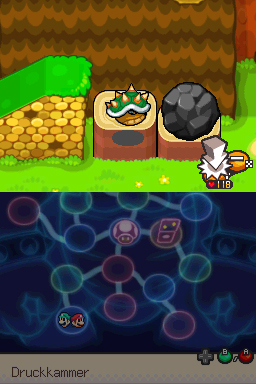
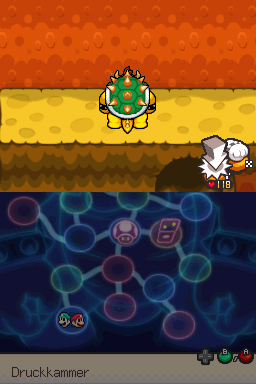
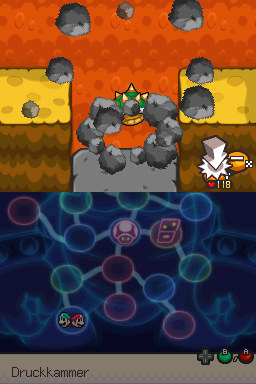
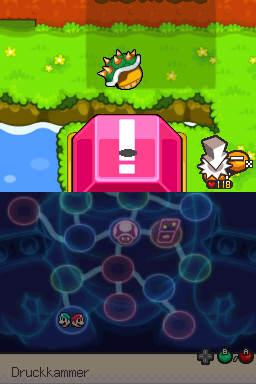
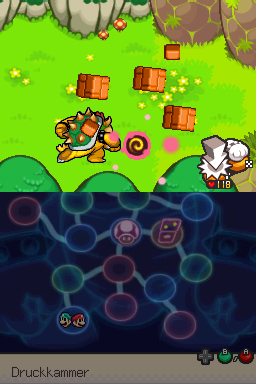
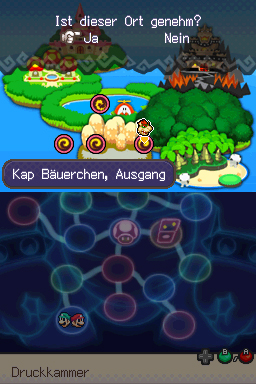
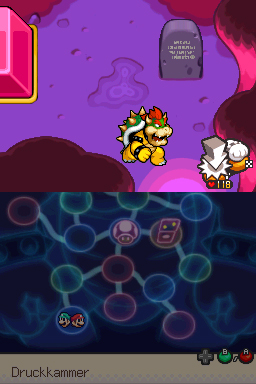
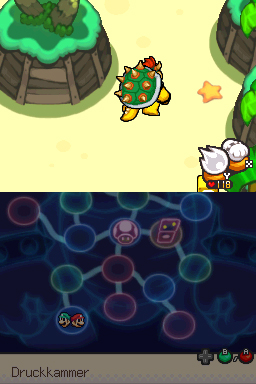

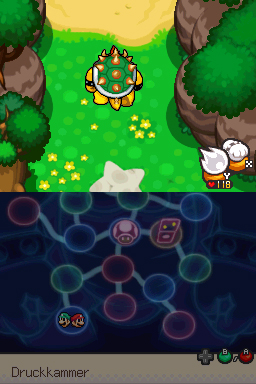
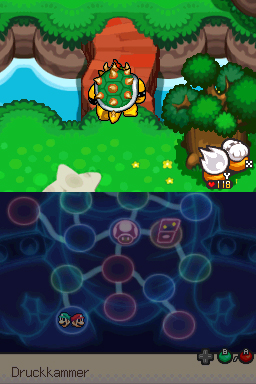
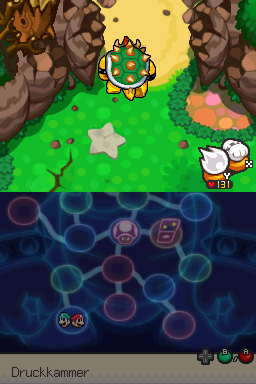
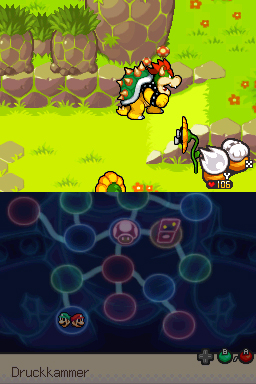
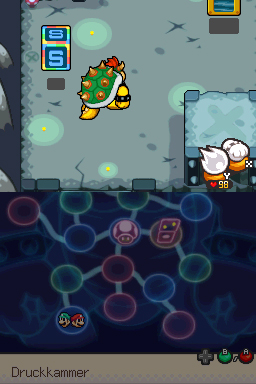
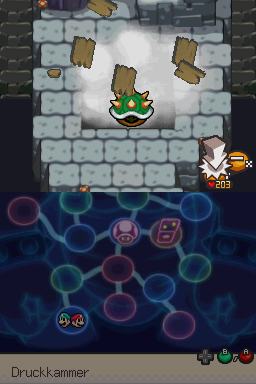
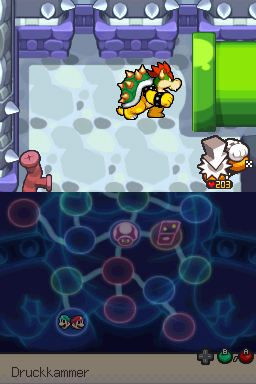
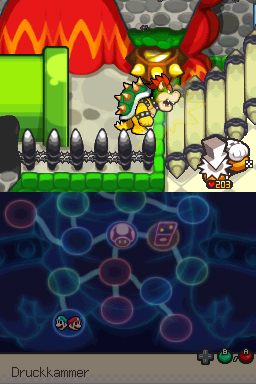
Once you have left the tower, you have to go to the right and activate the Color Switch there. A crystal block appears and you move on to the right. A little bird now tells you that the next serum is in Bowser’s Castle. When the conversation is over, you should continue your journey (go up first and clear the way there, later it is important) you will see another color switch on the top right that needs to be activated. Now go up the ramp and set on the rock with the tank, the tank press. The stone makes Bowser jump up. At the top, you continue to the right. Destroy all the blocks with the tank press and then activate the pink color switch. In the next section you will find a wooden block where a teleporter is hidden (use it to get to the exit from the Cape Belly). Go through the tunnel and you’re at Plack Beach. If you fight an Enemies here, you’ll find a Blitty. Leave Plack Beach north and head to Dimble Wood. If you just go straight, you get to the Fratzen prairie very quickly.) Again, you just have to find the way to the entrance of the cave. Are you in the cave once save and go up two sections. There you see wooden slabs on the floor, put the armor press here, land in a secret room and quickly get to Bowser’s Castle with the right pipe.
*Only necessary if you do not have the Blitty from Plack Beach yet
| Name | HP | Attack | Defense | Ges. | Erf. | Coins |
|---|---|---|---|---|---|---|
| Toothy | 27 | 30 | 42 | 12 | 18 | 5 |
| Treevil (with berry) | 95 | 52 | 45 | 24 | 35 | 10 |
| Treevil (without berry) | 95 | 46 | 36 | 18 | 30 | 8 |
| Trashure | 147 | 57 | 58 | 21 | 40 | 15 |
| Flora snifi | 108 | 71 | 55 | 35 | 50 | 20 |
| Lakitu King | 90 | 45 | 23 | 33 | 35 | 20 |
Go to the basement
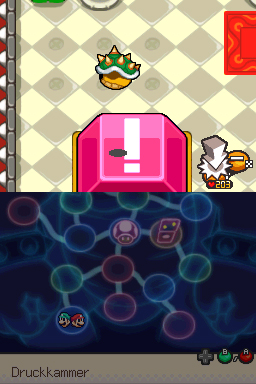
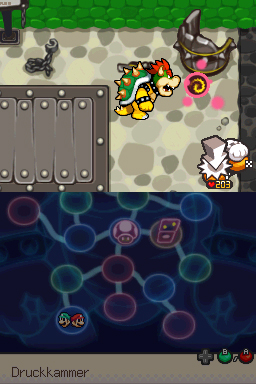
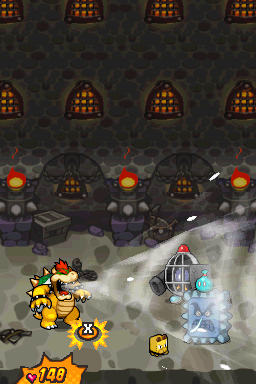
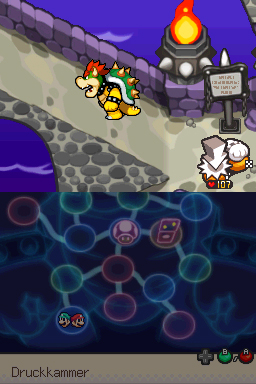
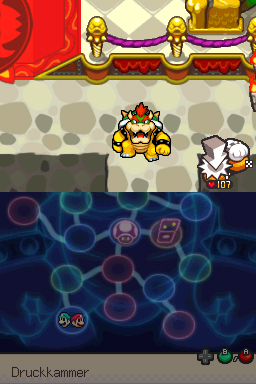
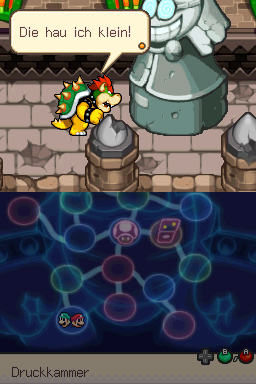
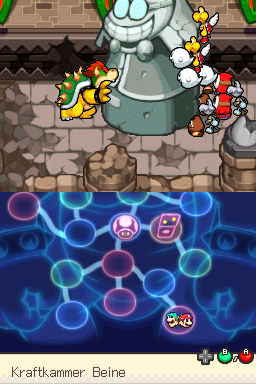
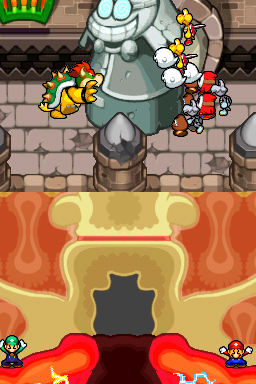
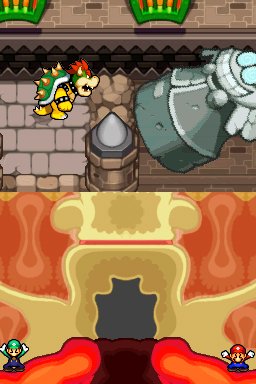
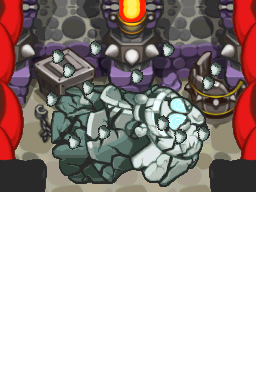
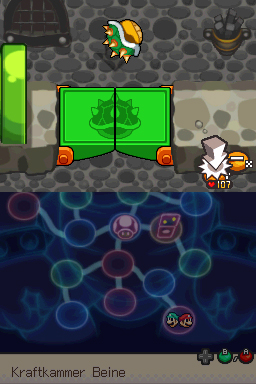
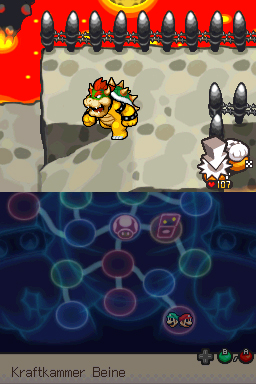
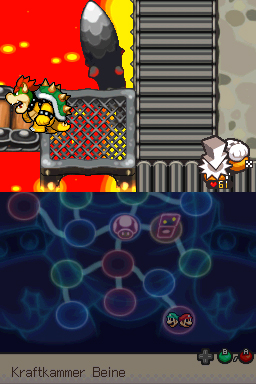
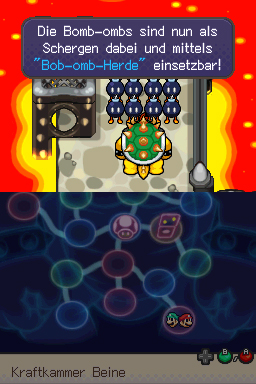
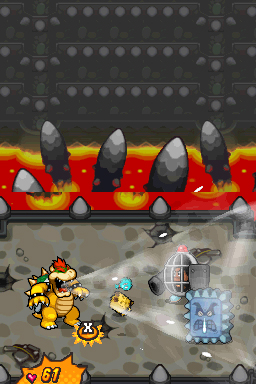
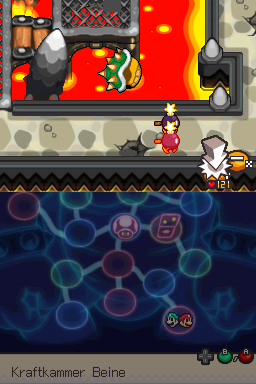
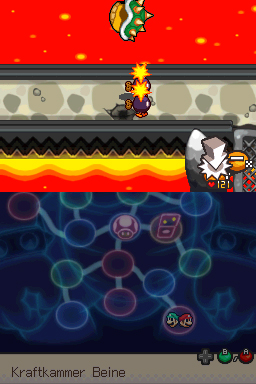
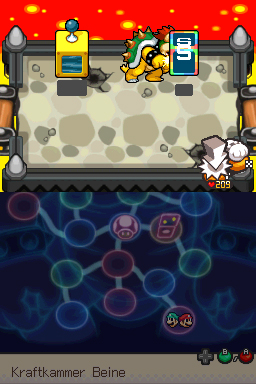
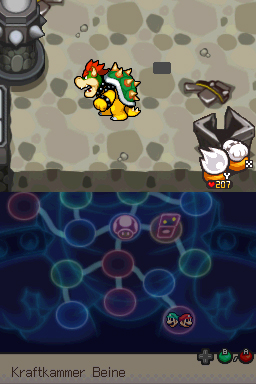
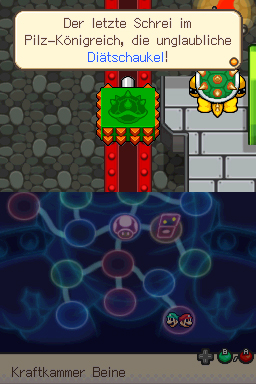
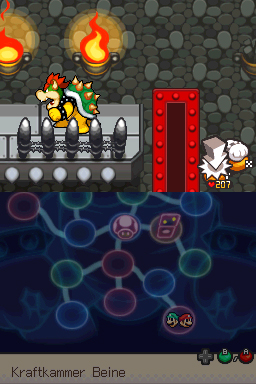
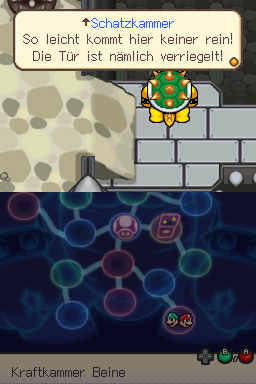
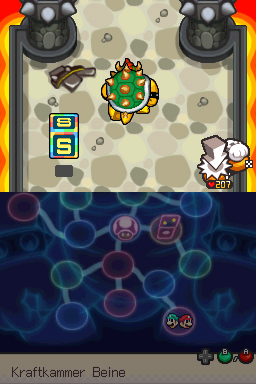
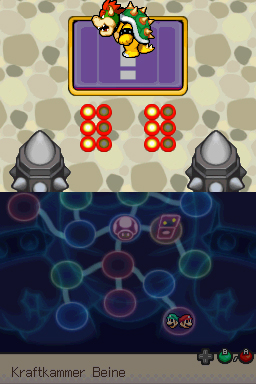
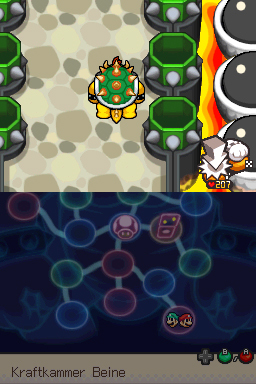
In the castle you have to pass the theater on the left and activate the pink color switch. In the next section you will find a teleporter at the top right! Now go to the right and then up the aisle. At the end of the aisle upwards and then to the right. Passing the throne and down. On the balcony you will find a statue that needs to be pushed down. But to do that, you have to go to the power chamber of the Dark Star Core and jump on your nerves. At the end, the statue falls down, and the path to the basement is clear. You should save there first. Then go to the far left, until the green spot in front of the pipe. Use the tank press there. Now you can go on the left, at the end you will find the Bob-omb troop locked in the cage. Continue to the bottom left. On one path, bob-ombs appear running from left to right. These can be skipped (Y). At the end you arrive at a storage block and shopping block. Again you have to continue to the left, at some point you come to the diet swing. Use the tank shells there often, so that you can get off at the top left. In this section you have to go to the Treasure Chamber. When you activate the purple color switch, you will see where you place balls. With a slight stroke they fly one field far and with a strong stroke (control cross + X) they fly two fields far. If you have done everything right, the way to the Treasure Chamber is clear.
| Name | HP | Attack | Defense | Ges. | Erf. | Coins |
|---|---|---|---|---|---|---|
| Jailgoon | 183 | 215 | 93 | 44 | 340 | 55 |
| Sniffle Thwomp | 256 | 194 | 125 | 23 | 400 | 60 |