
Recover the Dark-Light Device
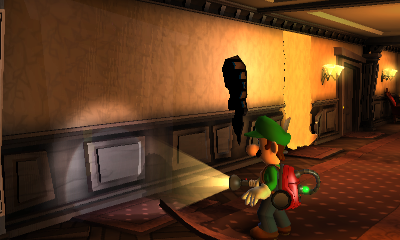
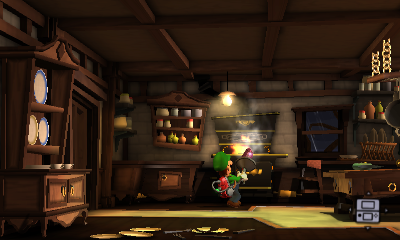
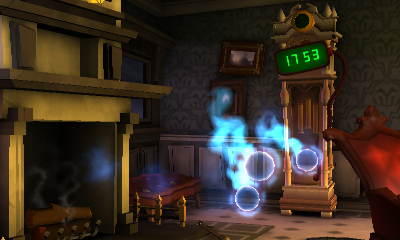
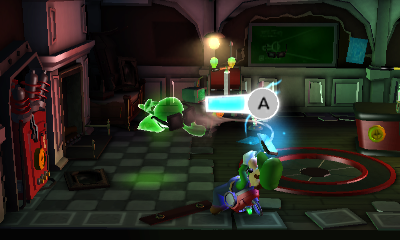
The Lab door vanishes, so use the Foyer stairs to reach the Parlor instead. Clear the Hider and Slammer on the way. Enter the Lab through the fireplace route and remove the Greenies’ sunglasses with the Poltergust before flashing their faces. Take the Dark-Light Device. Shine it over the missing doorway and vacuum every released Spirit Ball to make the door solid again.
Open the Patio route
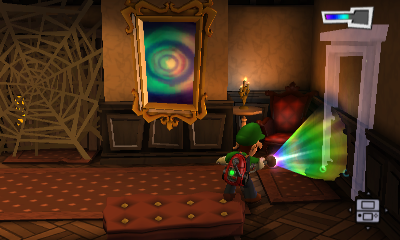
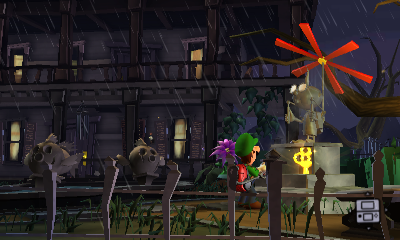
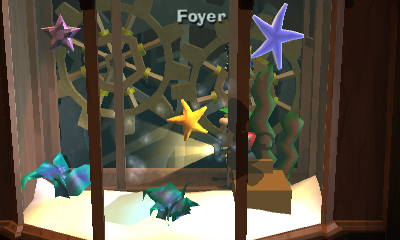
Search the Common Hall with Dark-Light for its hidden door, then enter the Patio. Restore the missing fountain statue and use the fountain mechanism to obtain the key for the Kitchen route. The restored statue also provides an amethyst. For the aquarium gem, reveal the door along the Patio’s left wall, pass through Under the Stairs and reach the back of the Foyer tank. Vacuum the star-shaped gem from its upper-left corner.
Find the Boo in the Dining Room
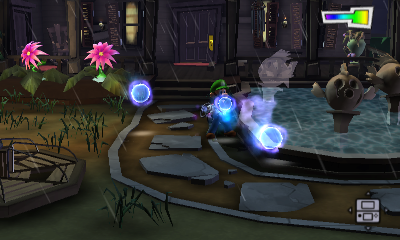
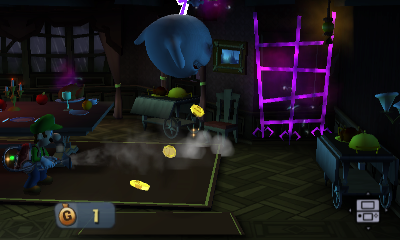
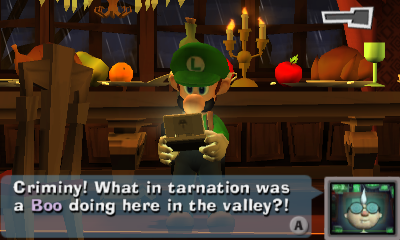
Clear the Kitchen encounter and use its lift to reach the Dining Room. The Boo hides the table. Sweep the empty space with Dark-Light, then vacuum the Spirit Balls before they return to the furniture. Once the table is restored, reveal the Boo with Dark-Light, vacuum its tongue and let the rebound damage wear it down. Vacuum the exhausted Boo from the floor to finish the encounter and the mission.
Use the new tool on earlier missions
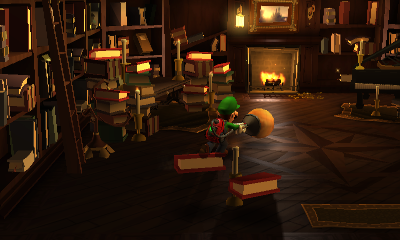
A-1, A-2 and A-3 each have a Boo you could not collect before obtaining Dark-Light. Replay them separately after this mission. In A-4 itself, check the Library’s missing globe: restore it, pick it up and shoot it to release the gem. In the Study, vacuum the curtains and use Dark-Light on the revealed gem painting. These are optional collectibles; the Dining Room Boo is required for the story.
Collectible checklist
Gloomy Manor gems — #8 Foyer aquarium, #9 Patio, #10 Library, #11 Study
Boo checklist — Dining Room: Restore the missing table. This Boo encounter is required to finish A-4.