
Luigi’s Mansion 2 HD has sixty-five gems: thirteen in each mansion. The numbers below follow the Vault display within that mansion. Choose the linked mission for a suitable visit; a room can contain different objects or challenges in other missions. These are recommended collection visits, not a claim that every gem first becomes available in that exact mission.
Finish the mission after collecting a missing gem so the result is recorded. Check the Vault before replaying, and collect story-specific challenges when the indicated mission makes them available. Completing a mansion’s set of thirteen unlocks its Luigi statue.
Gloomy Manor — 13 amethysts
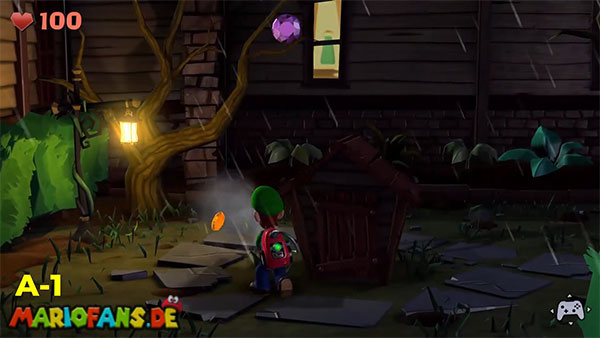
- Mudroom Exterior — A-1: Poltergust 5000. Flash the Mudroom’s outside-door panel. Follow the exterior path to the far tree, aim upward and vacuum the gem from its branches.
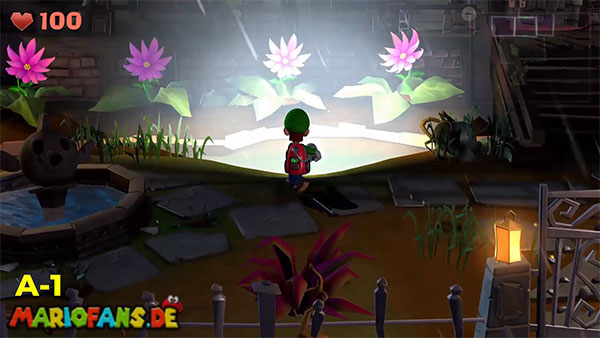
- Front Yard — A-1: Poltergust 5000. Flash the third closed purple flower from the left. The Strobulb obtained during A-1 is required.
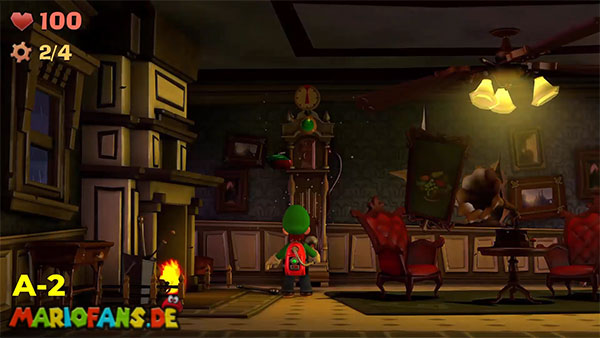
- Parlor — A-2: Gear Up. Flash the green panel at the top of the grandfather clock.
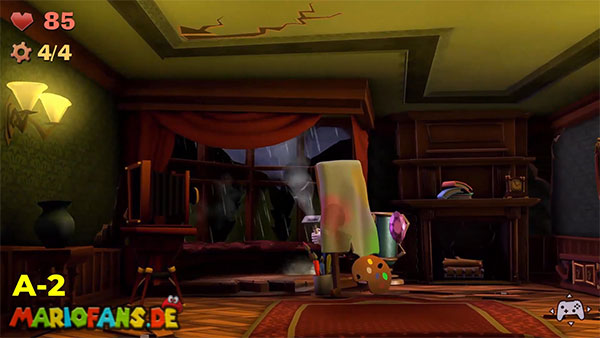
- Studio — A-2: Gear Up. Look through the camera to spot the gem in the high window web, then vacuum the actual window area.
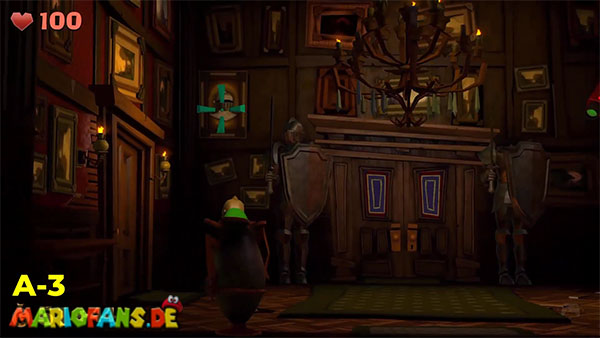
- Entrance — A-3: Quiet Please!. Inspect the right suit of armor to knock its helmet off. Vacuum the helmet and shoot it at the high painting on the left wall. Use A-3 for this room setup.
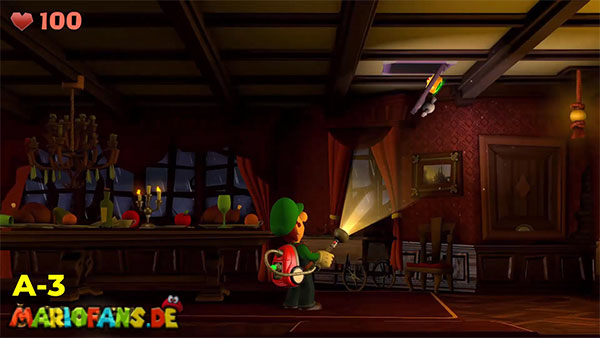
- Dining Room — A-3: Quiet Please!. Aim up and flash the green switch on the ceiling safe.
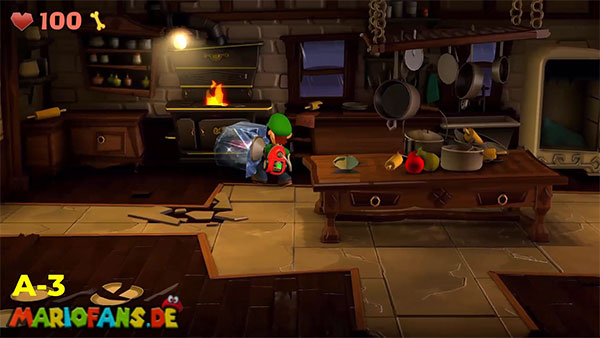
- Kitchen — A-3: Quiet Please!. Turn on the stove, open the fridge and carry the gem’s ice block to the flame.
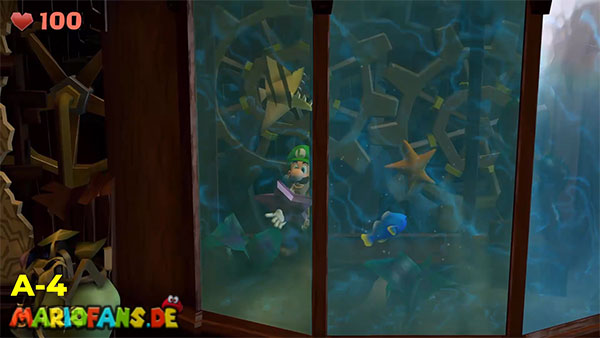
- Foyer aquarium — A-4: Visual Tricks. From the Patio, restore the hidden left-wall door. Pass through Under the Stairs and the next door to the back of the lowered aquarium. Vacuum its upper-left star-shaped gem.
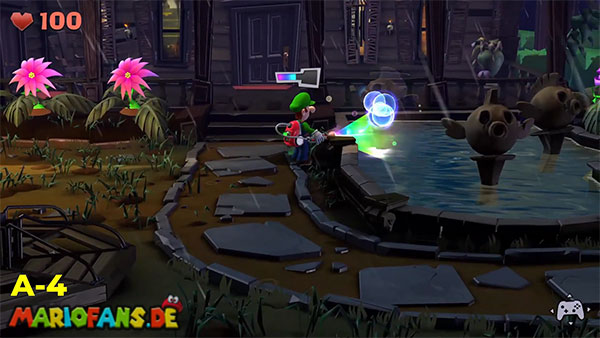
- Patio — A-4: Visual Tricks. Reveal the missing fish statue in the fountain with Dark-Light, then vacuum the Spirit Balls.
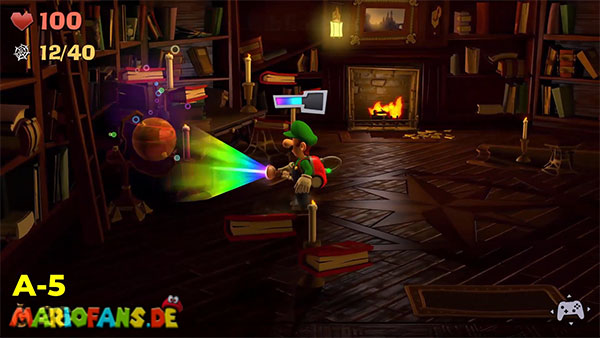
- Library — A-4: Visual Tricks. Restore the missing globe along the left wall. Pick it up with the Poltergust and shoot it to break it open.
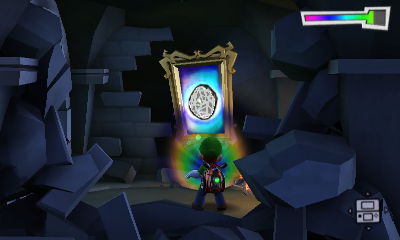
- Study — A-4: Visual Tricks. Vacuum the curtains from the rear wall and use Dark-Light on the gem painting.
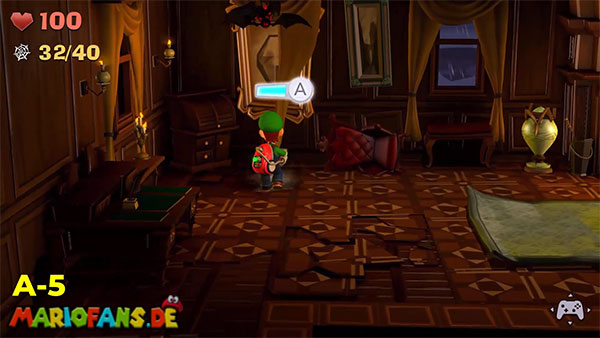
- Rafters — A-5: Sticky Situation. Walk to the far-right dresser and vacuum the gem from above its mirror.
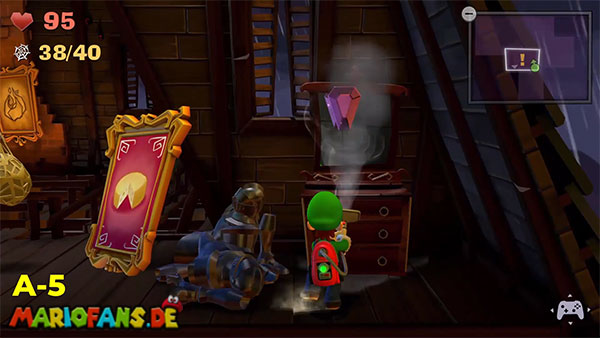
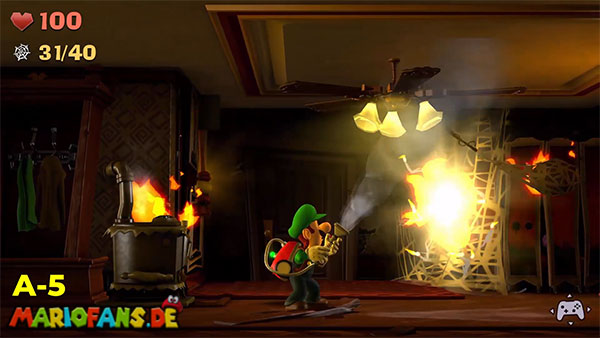
- Bedroom — A-5: Sticky Situation. Turn on the heater and spin the ceiling fan to ignite the hanging web ball. Once the large web burns, search behind the red screen.
Haunted Towers — 13 emeralds
- Tower Lobby — B-1: A Job for a Plumber. After crossing the Greenhouse, walk into the opening beneath the stairs on the left side.
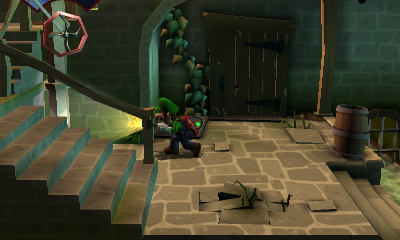
- Laboratories — B-1: A Job for a Plumber. Inflate the purple Bulb and land on the middle-height wooden platform. Walk left and drop into the glass tube, then vacuum the web holding the gem.
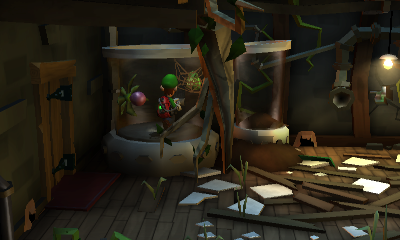
- Garden — B-2: The Pinwheel Gate. Fill a bucket, water the lower-right sprout and flash the grown flower.
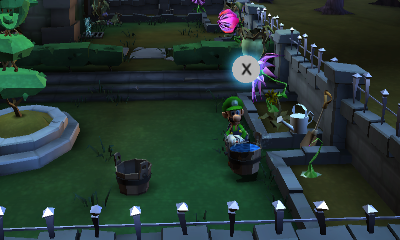
- Botany Lab — B-2: The Pinwheel Gate. After restoring the water system, refill the bucket and water the small sprout at the rear-right. Flash the flower.
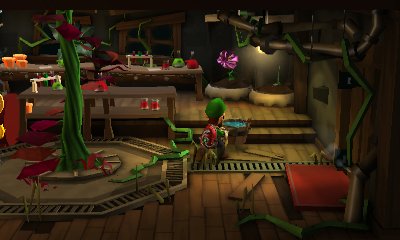
- Seedling Laboratory — B-2: The Pinwheel Gate. Clear the room, then use the seed shooter on the mouse carrying the emerald. Remove obstructing pots to make the shot easier.
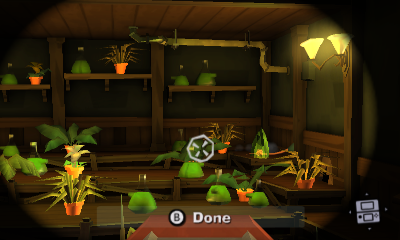
- Tower Lobby and West Garden — B-3: Graveyard Shift. Restore the missing pipe beside the Tower Lobby stairs. Reveal the hidden lower door into Maintenance. The redirected water grows a spiky fruit: shoot it at the Flytrap, then open the chest beyond.
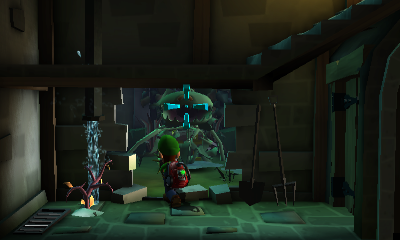
- Hollow Tree — B-3: Graveyard Shift. After the fall, burn the left cave’s web with a flaming web ball. Take its bucket, fill it and water the sprout in the right cave. Flash the grown flower.
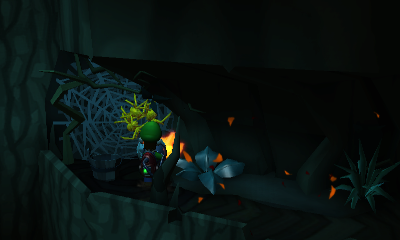
- Old Graveyard — B-3: Graveyard Shift. Aim upward and vacuum the emerald from the branch on the left.
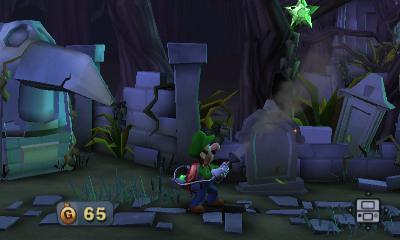
- Skybridge — B-4: Pool Party. Wait for the rightmost hanging red flower to strike downward, then pull it out while it is closed.
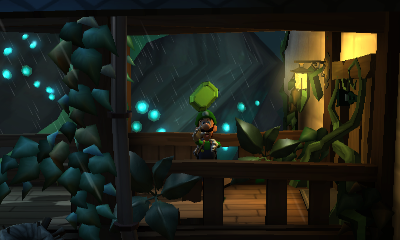
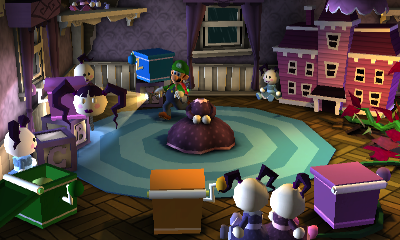
- Rumpus Room — B-4: Pool Party. Walk slowly counterclockwise around the large doll. Its head follows you until it unscrews and releases the emerald.
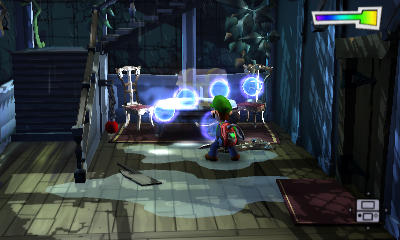
- Solarium — B-4: Pool Party. Reveal the invisible chest on the table with Dark-Light and open it.
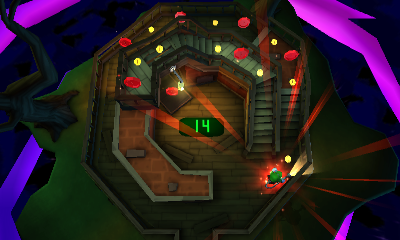
- Conservatory — B-4: Pool Party. Use a purple Bulb to reach the right-hand upper balcony. Reveal the hidden door, enter and collect the timed coins for the chest. Choose B-4; this challenge is not generally available in every replay.
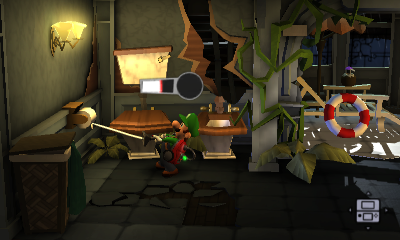
- West Bathroom — B-4: Pool Party. Clear the ghosts and vacuum the toilet-paper roll on the left wall.
Old Clockworks — 13 rubies
- Clockworks Court — C-1: A Timely Entrance. Flash the Robomb to clear the scrap blocking the right-hand rail. At its far end, restore and open the hidden toolbox.
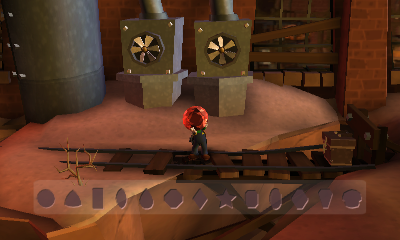
- Warehouse — C-1: A Timely Entrance. Restore the green ribbon spool on the boxes. Put it in the ribbon machine and pull the strip to unravel it.
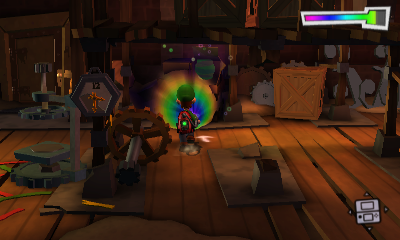
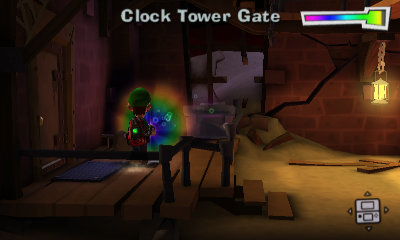
- Clock Tower Gate — C-1: A Timely Entrance. Use Dark-Light in the upper-left/back-left corner to restore the toolbox, then open it.
- Storm Cellar — C-2: Underground Expedition. Pull the sheet above the left-hand bed, then use Dark-Light on the gem painting.
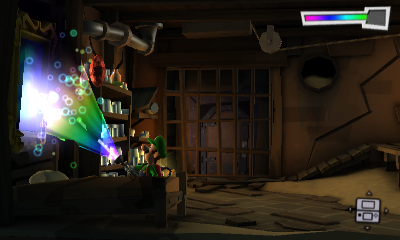
- Canyon Stairs — C-2: Underground Expedition. Take Canyon Hall’s concealed right passage to the stairs. Vacuum the ruby from the web on the right wall.
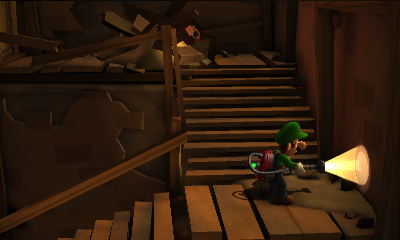
- Quarry — C-2: Underground Expedition. Pull the minecart twice and enter its former recess. Vacuum the ceiling web before the third pull blocks the drain and raises the sand.
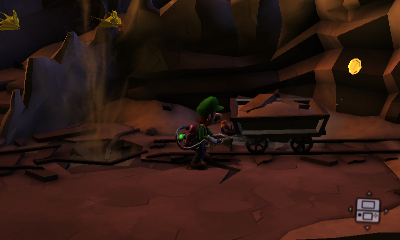
- Clockmaker’s Chambers — C-3: Roundhouse Brawl. Pull the floor rug and turn the revealed clock mechanism to 9:00. Capture the awakened ghost. This gem needs the C-3 setup.
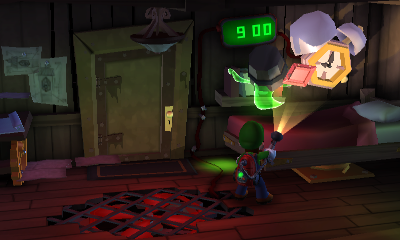
- Upper Roundhouse — C-4: Play Catch. Cross the main beams to the far walkway, then take the extra beam back toward the foreground-right toolbox. This detour is also available in C-3.
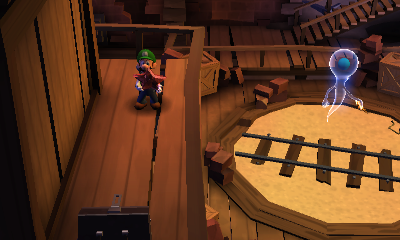
- Lower Roundhouse — C-4: Play Catch. Enter from the Transportation Hall, descend the first stair landings and walk left through the concealed wall opening. Vacuum the gem from its web.
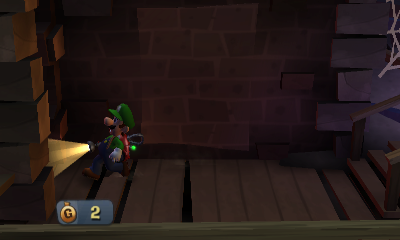
- Gear Chamber — C-5: Piece at Last. On the lower level, climb the right-hand boxes and restore the missing bridge. Enter the hidden door and complete the timed coin challenge.
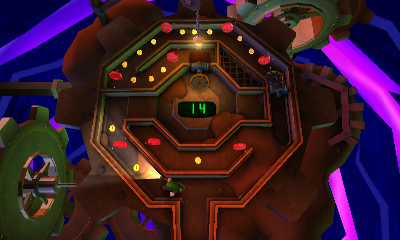
- Maintenance Hub — C-5: Piece at Last. Use the switch and hanging cord to drop below the large gear. Reveal the chest under its axle with Dark-Light.
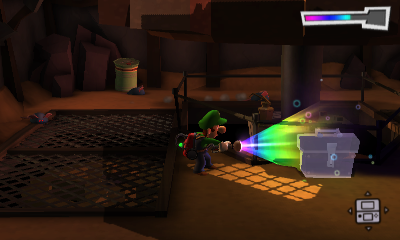
- Service Elevator — C-5: Piece at Last. After rescuing Toad, remove the sheet over the mirror. Launch him toward the gem ledge in the foreground-right, then collect the ruby from him.
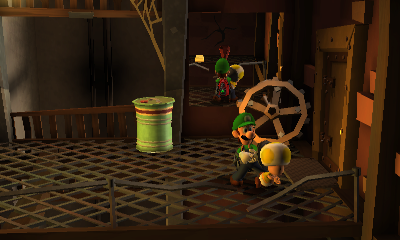
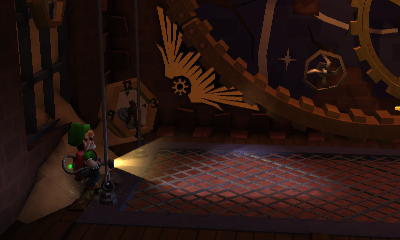
- Movements — C-Boss: Showtime. Before operating the mechanism that takes you upward, walk to the left window and vacuum the ruby.
Secret Mine — 13 sapphires
- Smokehouse — D-1: Cold Case. Restore the missing scarf with Dark-Light. Pull both scarves to turn the two knobs and open the compartment.
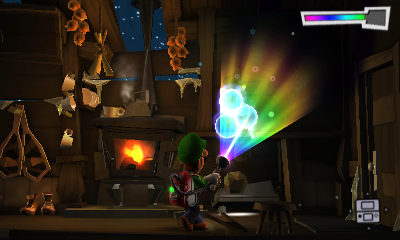
- Fishing Hut — D-1: Cold Case. Before freeing Toad, vacuum the sapphire from beneath the left wooden platform.
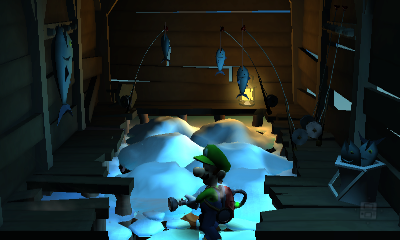
- Under the Ice — D-1: Cold Case. After the fall, take Toad up the air current. Launch him into the narrow rear shaft to break the ice around the gem.
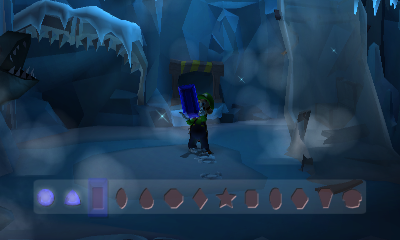
- High Wires — D-1: Cold Case. Ride the cable to the far landing, then vacuum the gem from the bird’s nest overhead.
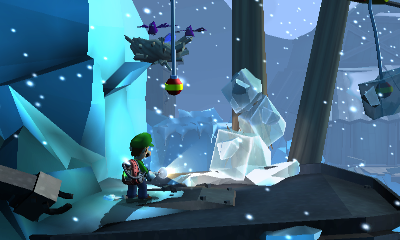
- Airway — D-1: Cold Case. Enter from the Terminal and inspect the distant gem through the telescope. A bat carries it to a lower barrel. Reach the lower landing and search that barrel. Use the cable back to the telescope if you missed the trigger.
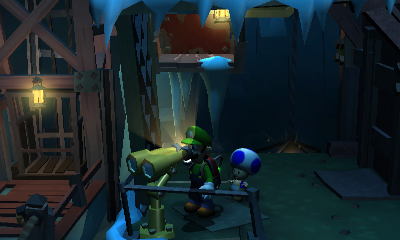
- Chalet Approach — D-2: Hit Rock Bottom. Flash the barbecue and take its burning turkey to the ice-covered picture near the snowman. Melt the ice, then use Dark-Light on the painting.
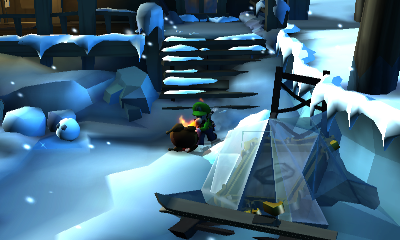
- Prospector’s Crossing — D-2: Hit Rock Bottom. Restore the missing pickaxe and turn it to drop two logs. Put one on the ice, carry the second and walk onto the same ice to break it and free the gem.
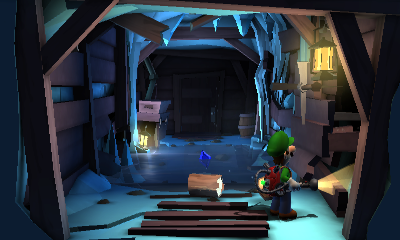
- Skip Slope — D-2: Hit Rock Bottom. Take the left branch behind the large rotating wheel. If you miss it, use the lower E-Gate to repeat the slide.
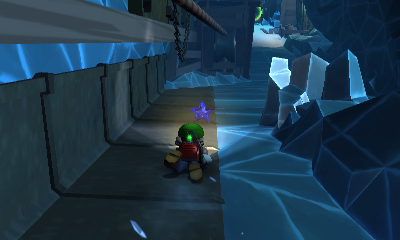
- Shaft — D-2: Hit Rock Bottom. Pull the wall’s hanging handle during the elevator descent. Ride upward to the hatch it opens and vacuum the sapphire.
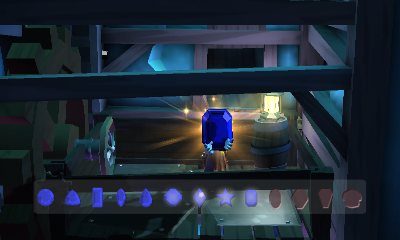
- Deep Hall — D-2: Hit Rock Bottom. Send coal through the adjacent Prospecting area’s E-Gate using the conveyor. Ignite a piece in Deep Hall and shoot it at the ice holding the ceiling gem.
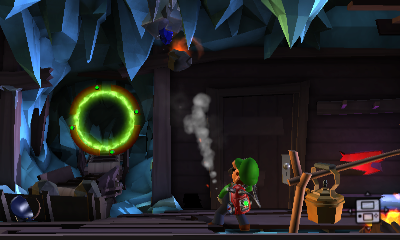
- Crossroads — D-3: Across the Chasm. Use the E-Gate to reach the left side and reveal the hidden minecart. Return through the gate to capture its Spirit Balls, then revisit and vacuum the snow inside.
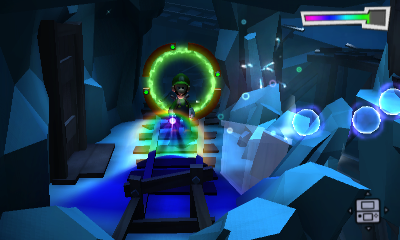
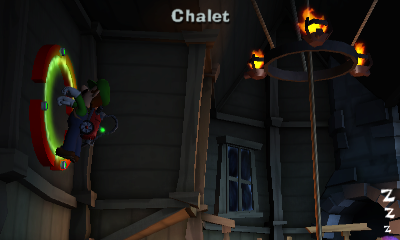
- Crystal Quarry and Chalet — D-3: Across the Chasm. Take the Crystal Quarry E-Gate. Luigi lands on the Chalet bench and dislodges the sapphire.
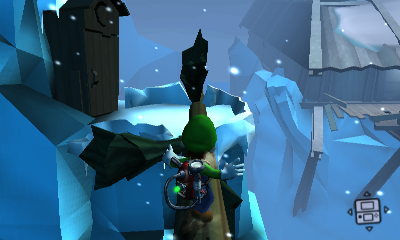
- High Wires challenge — D-3: Across the Chasm. After freeing the Gondola, shoot the ice supporting the tree on the left. Cross the fallen trunk from High Wires and enter the outhouse challenge. Hit all three Hiders with snowballs before time expires.
Treacherous Mansion — 13 diamonds
- Underground Lab — E-1: Front-Door Key. Clear the ghosts and turn the rear wheel to electrify the armor. Shoot its fallen helmet into the glass jar on the right.
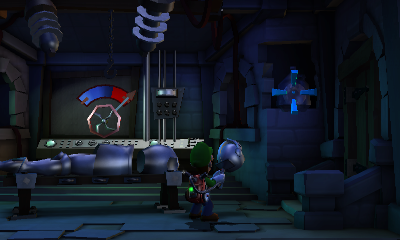
- Haunted Catacombs — E-1: Front-Door Key. Follow the armor statues’ sword directions, restoring the final invisible statue. Use Dark-Light on the web-ball painting, ignite the ball and take it back to the thick web blocking the gem.
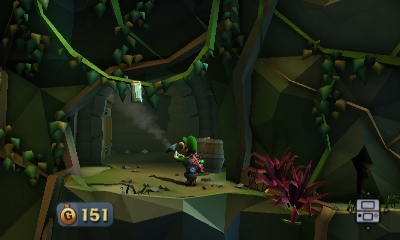
- Lower Cliffside — E-1: Front-Door Key. From the catacombs near the web-burning detour, take the side door onto the lower Cliffside. Vacuum the diamond hanging from a vine.
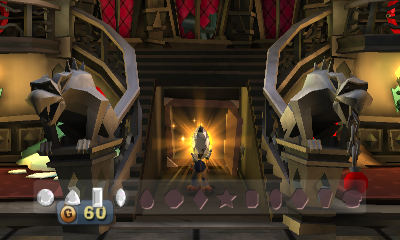
- Front Entrance — E-2: Double Trouble. Restore the chain in the right gargoyle’s mouth. Pull it to lower the stairs, flash the safe and clear its ghost before collecting the diamond.
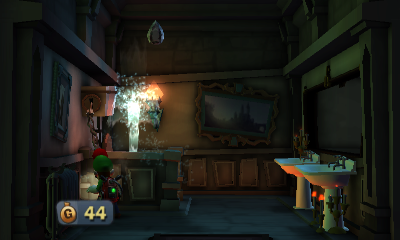
- Restrooms — E-2: Double Trouble. Reveal the missing western door from the East Corridor. Enter and pull that toilet’s chain.
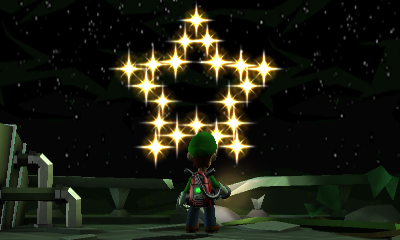
- Gargoyle Roof — E-2: Double Trouble. Pull the mammoth’s trunk in the Ice Age Exhibit. On the roof, shoot all three small stars into the incomplete constellation. Flash the gargoyle for the last star.
- Ancient Exhibit — E-2: Double Trouble. Bring a filled bucket through the E-Gates and water the sprout behind the large face. Flash the flower when it grows.
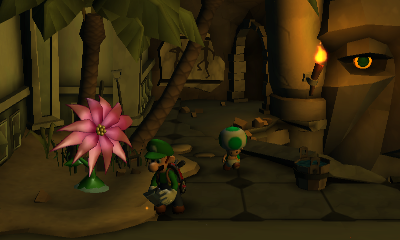
- Aviation Exhibit — E-3: A Train to Catch. Pull the first sandbag from the balloon, clear the ghosts and pull the second bag. The raised floor reveals the diamond.
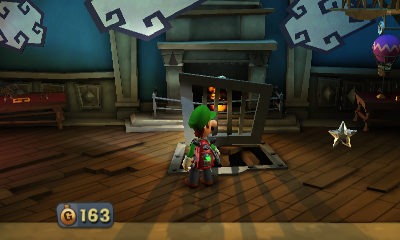
- Nautical Exhibit — E-3: A Train to Catch. Take the Dark Age Exhibit’s bucket through the E-Gates. Leave it on the small ship’s life-ring panel to hold the wheel down. Enter the exposed doorway and open the chest.
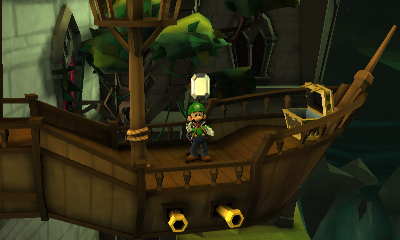
- Front Entrance and Dark Age Exhibit — E-3: A Train to Catch. Take a purple Bulb from the Study through the E-Gate. Float to the Front Entrance’s upper-right ledge and flash the book-holding gargoyle. Bring its blue book to the Dark Age Exhibit and put it in the incomplete shelf.
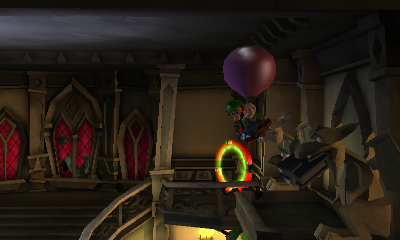
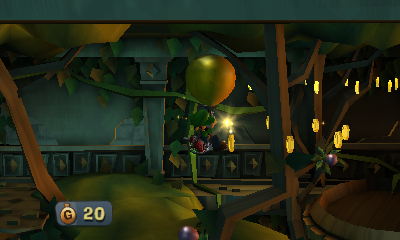
- Jungle Exhibit — E-3: A Train to Catch. Bring a purple Bulb from the Study, float to the high-left Gold Bulb and collect its timed airborne coins. Open the revealed chest.
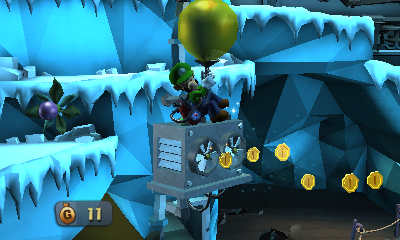
- Ice Age Exhibit — E-3: A Train to Catch. Bring a Bulb and rise to the upper-left Gold Bulb. Complete its coin route before the timer ends and open the chest.
- Train Exhibit — E-3: A Train to Catch. Reveal the missing section of the small train’s track with Dark-Light. Board the ramped car and ride through the tunnel. Use E-3 for this gem detour; E-4 is the enlarged Big Boo battle.