

World 1-1
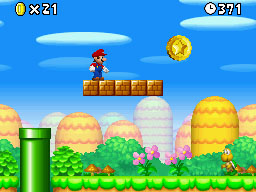
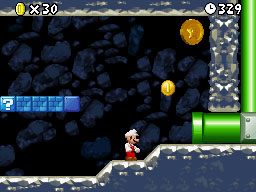
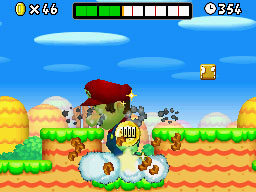
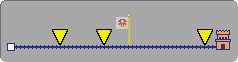
Bowser Jr. has taken Princess Peach, so head right to begin the rescue. Collect the Super Mushroom in the first block. You can skip the Mega Mushroom if you want to follow the normal route. At the pipe beside five blocks (image 1), jump onto the blocks to reach Star Coin 1. Continue right and enter the pipe. Star Coin 2 is at the far end of the underground room (image 2); use a Wall Jump to reach it. Leave the room, then backtrack a little while you are still Super Mario. Ground Pound through the blocks to collect Star Coin 3 (image 3). Mega Mario can also break through them. With all three coins collected, continue to the Goal Pole.

World 1-2
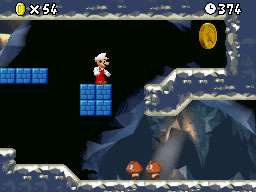
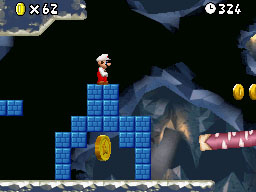
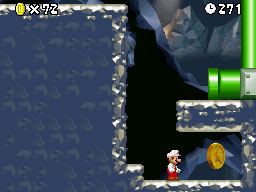
This course takes you underground. At the four blocks arranged in a square, jump onto them to reach Star Coin 1 (image 1). Keep a Super Mushroom or Fire Flower so you can break the blocks obstructing the low passage. Cross the gap, collect the next power-up if needed, and Ground Pound through the six blocks to reach Star Coin 2 (image 2). Continue through the pipe section; either the upper or lower route brings you to the tilting platform. Tilt it and jump onto the blocks high on the right. Follow the upper passage to Star Coin 3 (image 3). The pipe at the end leads to the secret exit.
World 1-3
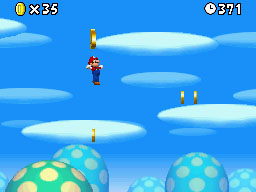
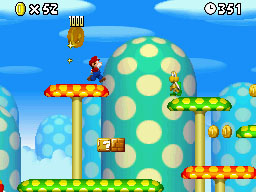
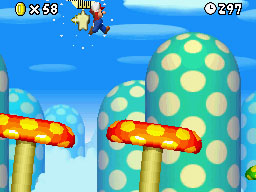
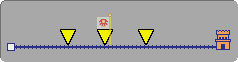
Follow the coin trails through this course, including the trails leading into the sky. Shortly after Star Coin 3, pass through the Red Ring and collect all 8 Red Coins for a reward.
World 1-Tower
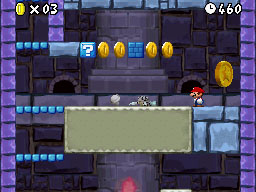
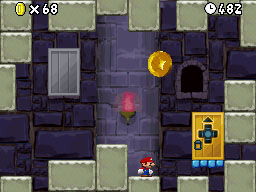
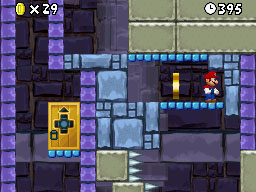
Climb the tower while avoiding the moving walls. Star Coin 1 is on the main route (image 1). For Star Coin 2, use the pipe to launch upwards, then Wall Jump to the door and enter the side room (image 2). Return to the tower and climb the blocks to Star Coin 3 (image 3). Time your jumps carefully as the blocks move, continue upwards and defeat Bowser Jr.

World 1-Warp Cannon
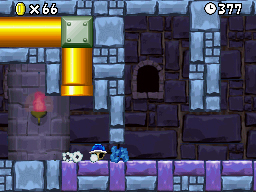
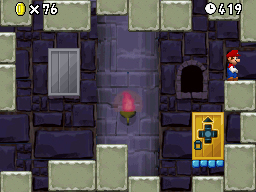
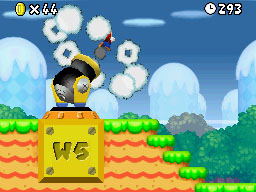
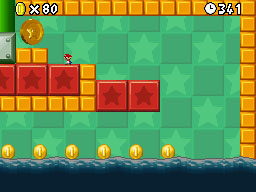
The secret exit in World 1-Tower unlocks the Warp Cannon. Bring a Blue Shell to become Shell Mario. Return to the room containing Star Coin 2 and look for the gap on the right that remains open (image 1). Move through it beyond the edge of the screen. In the next room, dash in your shell to break the blocks (image 2). Break the blocks in front of the exit pipe as well, enter it and finish at the red Goal Pole. The Warp Cannon route is now open.
World 1-4
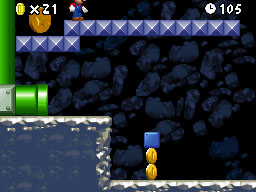
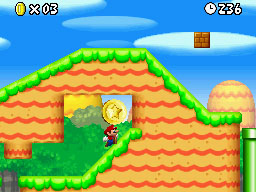
Head right until you see a Mini Pipe. Drop into the nearby hollow and collect the Mini Mushroom from the? Block. Enter the Mini Pipe, run across the water and Wall Jump at the far end to reach Star Coin 1 (image 1). Return to the main course and continue right. Collect a Super Mushroom near the next group of pipes, pick up a Koopa shell with Y and throw it across the blocks. Enter the exposed pipe. Leave the coins untouched until you activate the switch hidden in a block, then use the temporary platforms to reach Star Coin 2 (image 2). After leaving the pipe, backtrack left as small Mario and use the low passage to collect Star Coin 3 (image 3).
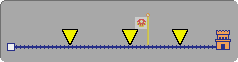
World 1-5
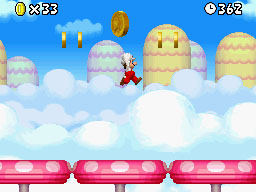
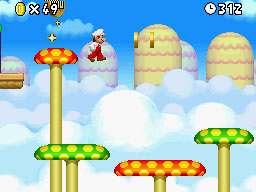
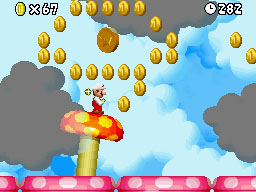
Follow the bouncing platforms right. Press B as Mario lands to bounce higher. Enter the pipe to reach the bonus section containing Star Coin 3.
World 1-A
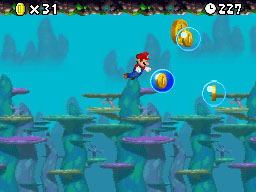
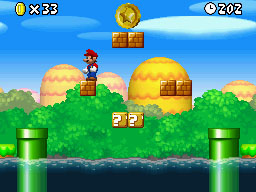
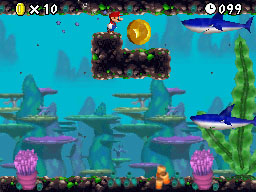
Spend five Star Coins to open the route to this underwater course. The screen scrolls automatically, so keep moving and follow the illustrated coin locations. Enter the pipe to reach Star Coin 2. Small Mario can fit through the passage leading to Star Coin 3.
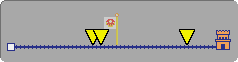
World 1-Castle
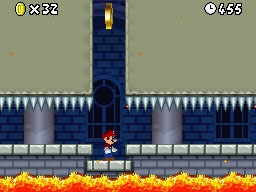
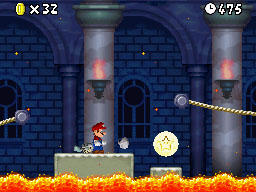
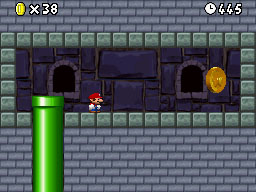
The Star Coins appear in the later part of the castle. Wall Jump to reach Star Coin 1. Wait for the large block to sink into the lava to expose Star Coin 2, then collect it safely. For Star Coin 3, jump high from the last rope to reach the pipe leading to its room.