

Welcome to World 6 by New Super Mario Bros. for the Nintendo DS. The rocky mountain world is one of the more extensive worlds of the game and has two towers. In total, you can collect 33 Star Coins in eleven levels here.
You reach World 6 normally when you defeat Petey Piranha in the castle of World 5. Important: If you defeat Petey as Mini-Mario or Mini-Luigi, the exit leads to World 7.
In addition, there are bonus levels 6-A and 6-B in World 6. They are unlocked on the world map by paying five Star Coins each. Secret Exits do not exist within World 6.
World 6-1
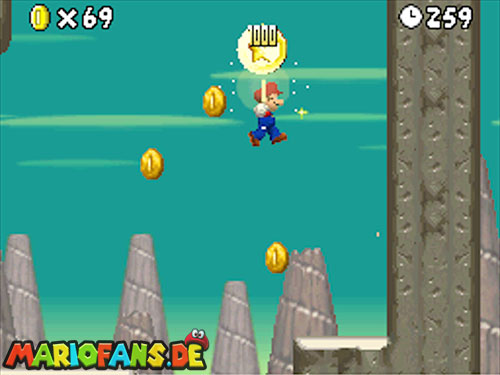
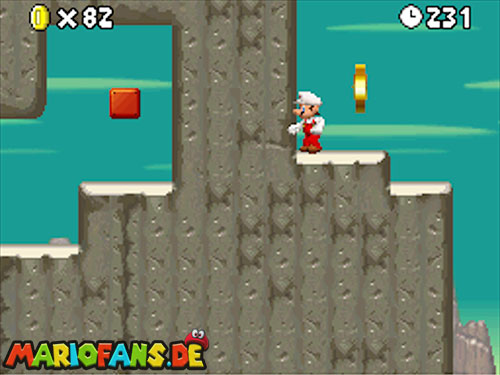
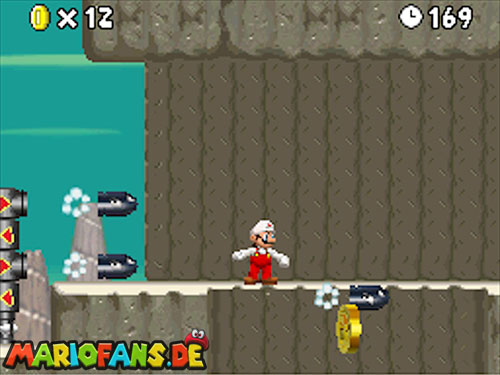
Right at the beginning, numerous Bullet Bills make life difficult for you. You will also get to know the narrow rock edges that Mario can hold onto and hang along.
- Star Coin 1 After the third major Bullet Bill launcher, you reach a higher platform. Follow the coin trail and jump to the wall on the right. With a Wall Jump you get to the upper level and directly to the first Star Coin.
- Star Coin 2 Shortly before or near the Checkpoint Flag leads the normal way to the right. Instead, jump to the upper left rock edge. There, the second Star Coin is clearly visible on a small lead.
- Star Coin 3 In the last section you again reach a narrow rock path. Do not run up, but press down so that Mario hangs on the lower edge of the rock. Hang right and collect the Star Coin below the normal path.
World 6-A
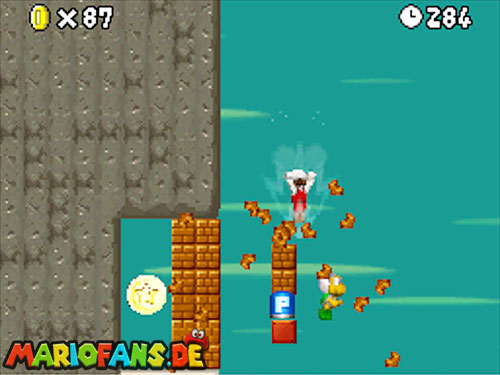
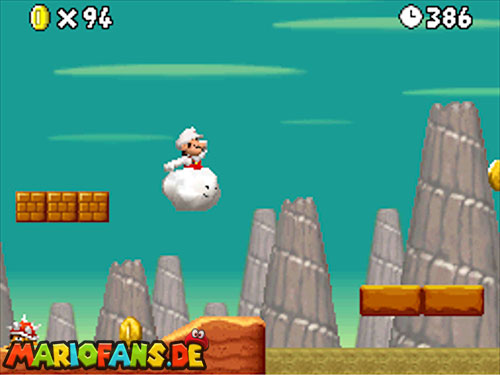
World 6-A is an optional desert level and can be opened for five Star Coins on the world map. This is where the game’s only tornadoes occur – and Lakitu bombards you with Stachis almost continuously.
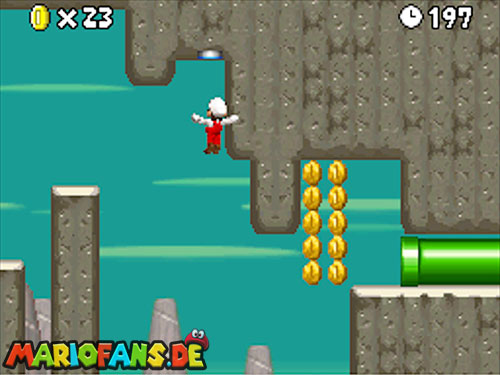
- Star Coin 1 Jumps into the first tornado and let Mario fling as far up as possible. Then stop right and glide along the coin lane to the first Star Coin.
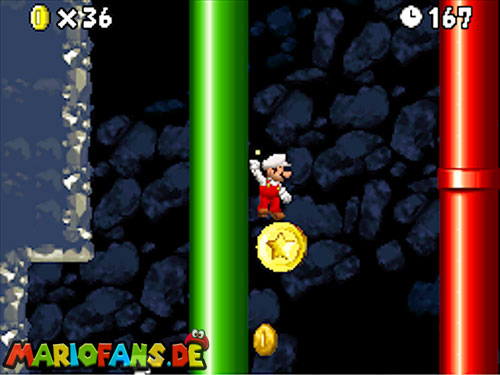
- Star Coin 2 Shortly after you come to several hot sand fields. One of these forms a strikingly higher drifting sand column between two solid blocks. Let yourself sink into it. In the secret area below you have to fall down by Wall Jump to the Star Coin. With little Mario this is a bit easier.
- Star Coin 3 After the Checkpoint Flag you reach several tubes via quicksand. Let yourself sink into the yellow tube. In the room below is a huge piranha plant. Defeat them the easiest with fireballs or dodge them skillfully and get the Star Coin on the left. The red tube returns.
World 6-2
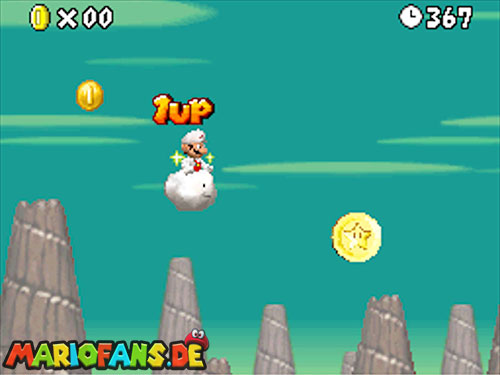
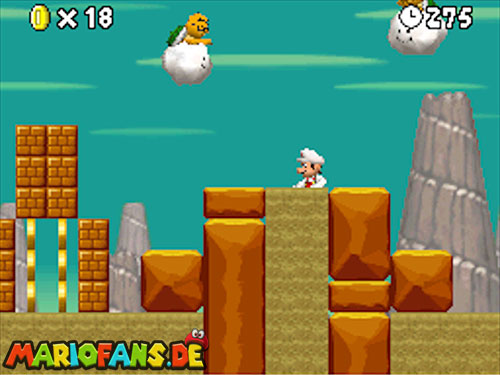
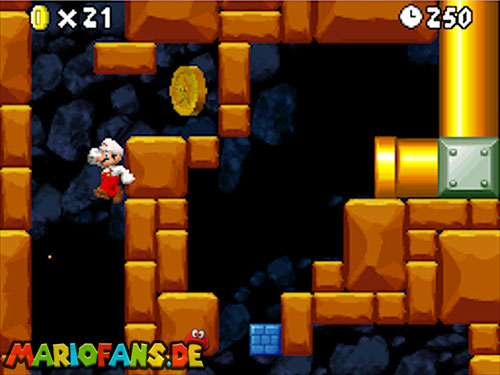
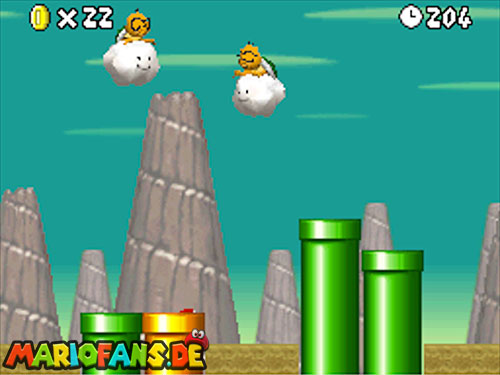
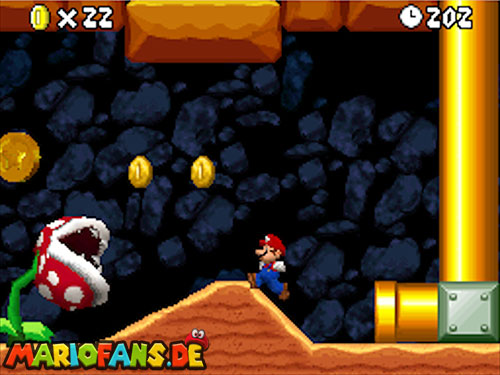
In World 6-2, the water level is constantly rising and falling. You also need this interplay for several Star Coins.
- Star Coin 1 After the red tube you reach a palm tree. Jumps at high water level above the palm tree against an invisible block. From this grows a vine. Climb up and activate the P Switch. Then quickly follow the flying blocks or the platforms created by the switch to the right and grab the first Star Coin.
- Star Coin 2 A little later you will be shot by a green cannon tube over a wall. Continues on the other side to the right and waits below the Star Coin until the water level rises. Swim up and get them. Alternatively, a well-placed Wall Jump works.
- Star Coin 3 After the Checkpoint Flag you will find a? block with a Super Star. Take it and continue walking over the section filled with Spinies. If the water is low, you can run through the opponents thanks to the invulnerability and collect the Star Coin below the normal path.
World 6-Tower
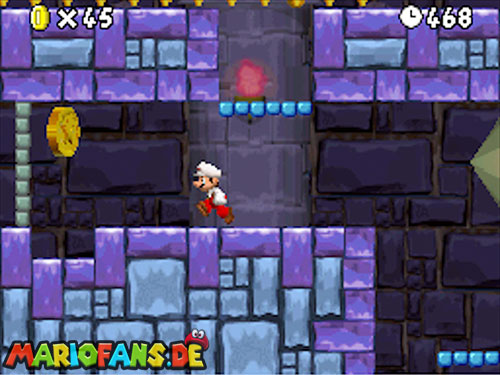
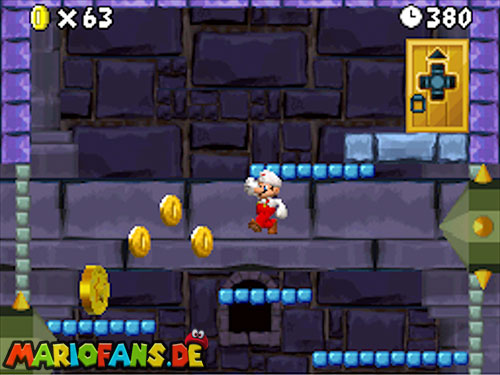
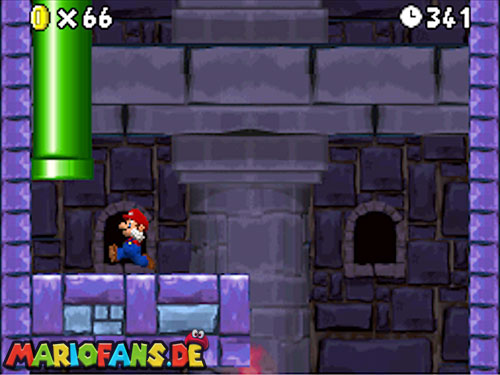
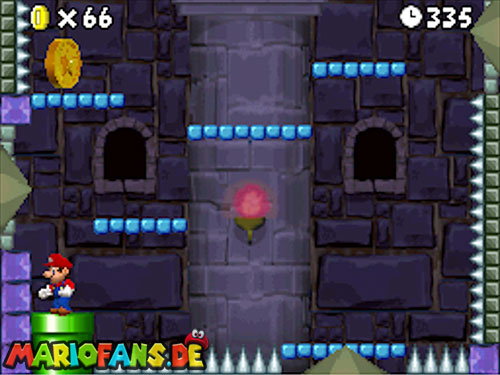
In the first tower you have to work past huge barbed walls that regularly shoot out of the sides. Stay patient and use the safe niches.
- Star Coin 1 After the first barbed walls you go to the left side. Wait until the next wall moves out and disappears again, and then jumps on the lead to the Star Coin. Afterwards duck in the small depression until the barbed wall has moved back again.
- Star Coin 2 After the Checkpoint Flag you get through a door into another section with barbed walls. Climb quickly to the top. Wait there for a secure gap and then let yourself fall down to the Star Coin.
- Star Coin 3 Just before the boss door is a green tube above the normal path. The easiest way to reach them is as a mini-Mario with wall jumps. As a normal Mario, you can alternatively use a Dry Bones as a springboard and then jump up on the wall. In the secret room behind the tube you wait until the barbed walls disappear, and then jump quickly to the Star Coin.
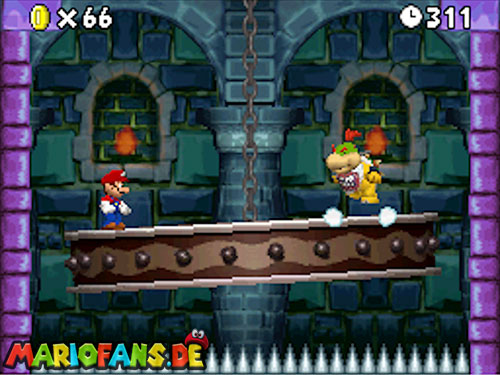
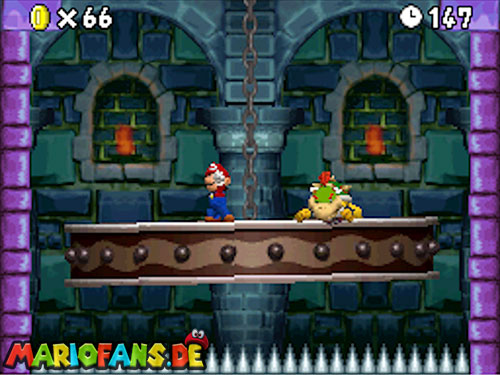
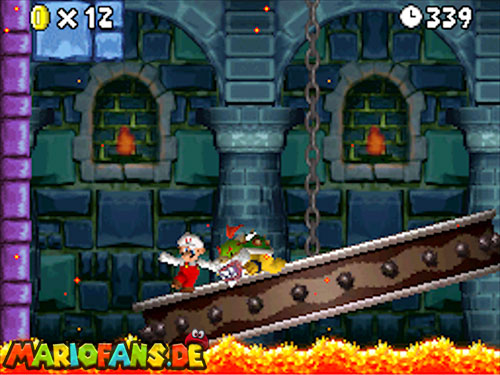
Boss: Bowser Jr. The fight takes place on a tilting platform over spikes. Stay in the middle if possible and jump Bowser Jr. three times on the head as soon as he has left his Koopa Shell.
World 6-3
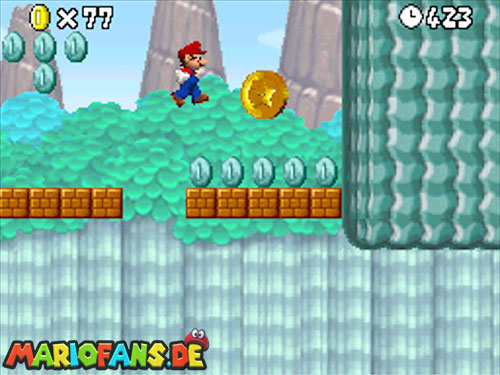
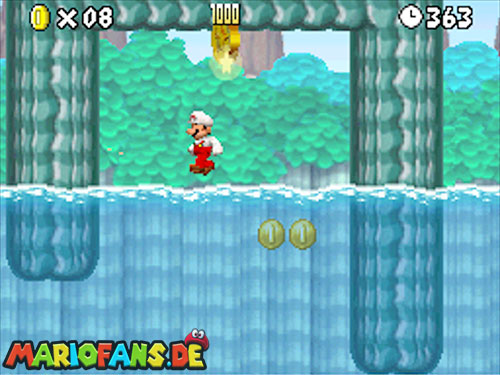
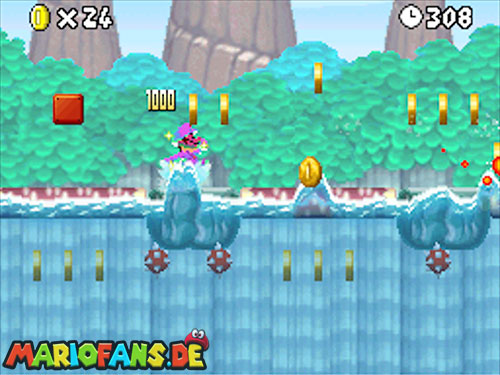
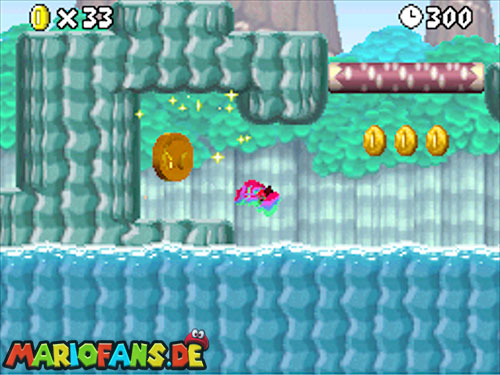
World 6-3 takes you through a jungle full of piranha plants, tubes and rolling logs. Also new are the red? blocks with spikes.
- Star Coin 1 Relatively at the beginning, a block hangs on a rope and swings back and forth. Jump against it from below so that it stops. Then use it as a platform and jump to Star Coin above the path.
- Star Coin 2 After the first underground section with the rolling logs, you get to an area full of tubes and piranha plants. Take the second green tube from your starting position. It leads directly into a small bonus room with the second Star Coin.
- Star Coin 3 After the last underground section, you will again encounter a red sting-? block. Strike it so that the spikes disappear, and start. Then jump to the left over the high tube wall. Behind it is the hidden area with the third Star Coin. Come back by Wall Jump.
World 6-4
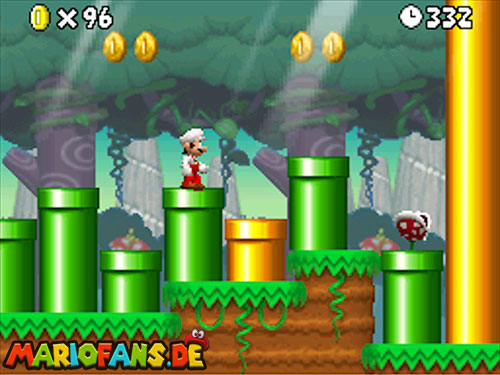
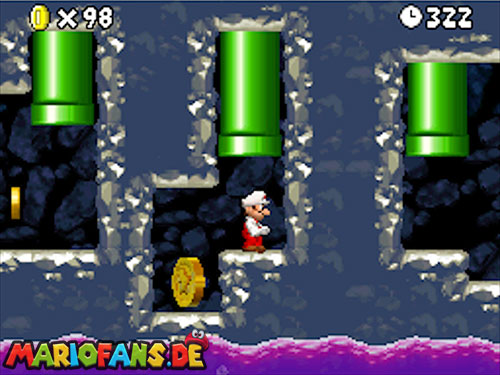
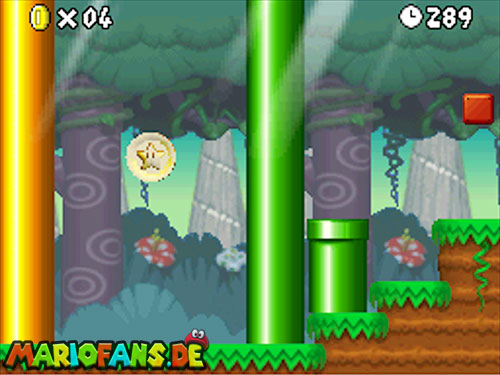
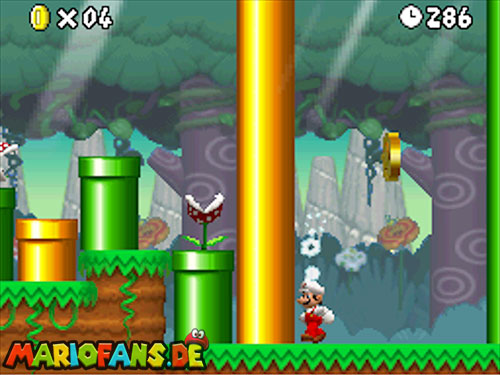
In this mountain level you have to hang along narrow rock edges and avoid numerous rotating fire bars.
- Star Coin 1 Already at the first big fire stick you can jump up on the wall. Wait a favorable moment and use several wall jumps to reach the protrusion above the flame. This is where Star Coin is waiting.
- Star Coin 2 Activates the red one! Switch and use the appearing blocks to get to the top. After the Checkpoint Flag or shortly before the red tube you should go to the left. Over a few more wall jumps you reach the second Star Coin on a remote lead.
- Star Coin 3 In the last major climbing section, the path is shared. Be sure to take the upper route and enter the green tube. Behind it you hang on the rock edge to the right and avoid the three short fire rods. At the end, the third Star Coin is waiting.
World 6-Tower 2
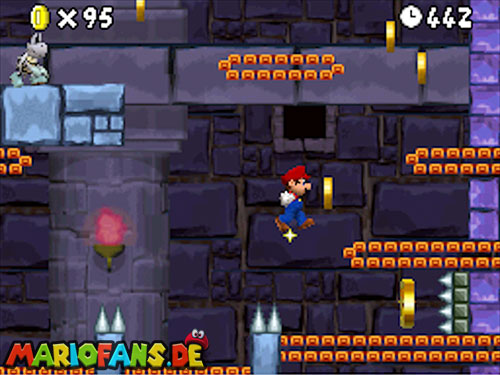
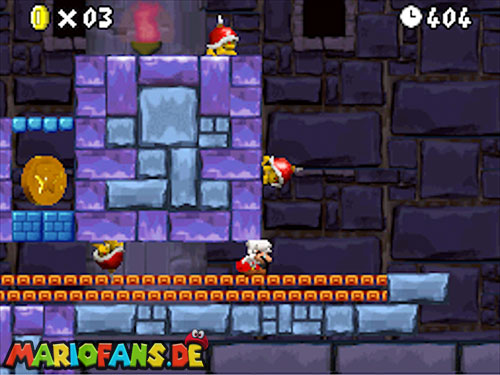
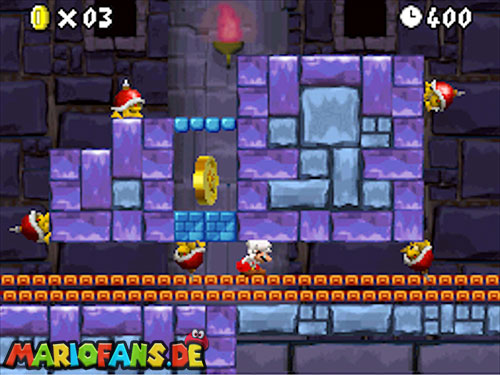
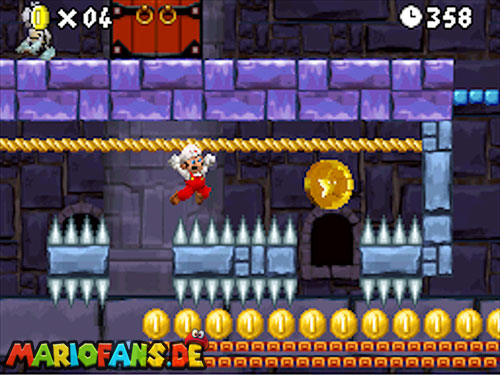
The second tower combines fast conveyor belts with spikes. Don’t try to fight against every Conveyor Belt – it’s often easier to use its movement for your jumps.
- Star Coin 1 About in the first third of the tower you reach a long Conveyor Belt with spikes. Instead of jumping up immediately, follow the band to the right. Jump over the spikes and get the Star Coin on the right wall.
- Star Coin 2 After the Checkpoint Flag you get to two cannon tubes. Take the right tube up and then fall back into the area with the goose beetles. Wait until they run to the left, duck on the Conveyor Belt and get transported to the left as well. Jump up among the blocks and destroy them. The Star Coin is behind it. As a small or Mini Mario you can not destroy the blocks.
- Star Coin 3 Just before the end you reach a long rope over the Conveyor Belt. Jump at it and climb to the right instead of going straight to the next tube. At the end of the rope you can collect the third Star Coin.
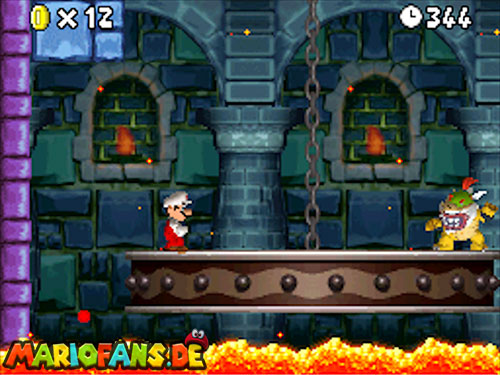
Boss: Bowser Jr. This time, Bowser Jr. is more protective. Wait until he throws a green Koopa shell, jumps on it and then throws it back. If Bowser Jr. is stunned, you jump on his stomach. Three hits are enough.
World 6-5
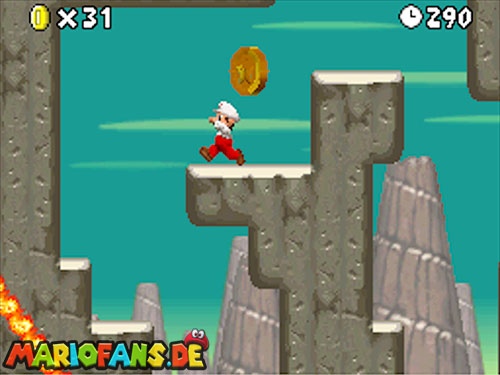
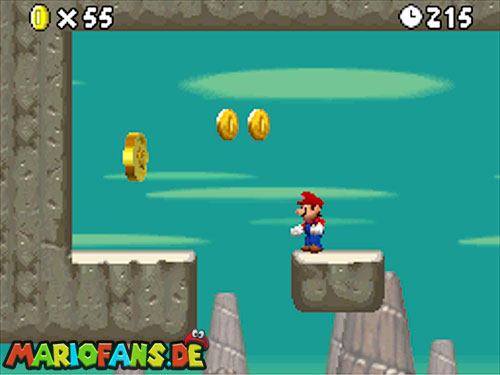
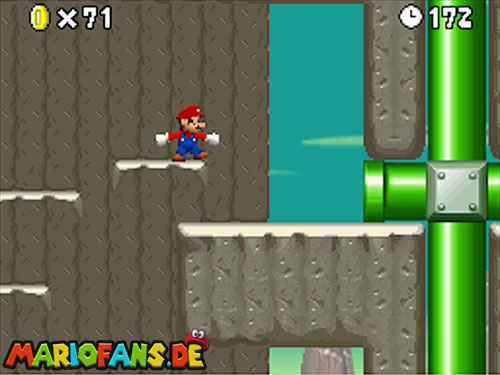
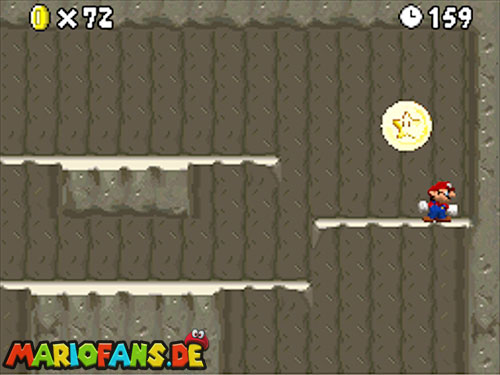
Get into the water! World 6-5 is an underwater level with deep cheeps and dangerous whirlpools that can pull Mario directly into the abyss.
- Star Coin 1 floats in the upper part of the screen if possible after entering the water. The first Star Coin is located just before the red ring and can be reached without a special puzzle. Just watch out for the aggressive green deep cheeps.
- Star Coin 2 Follow the underwater path until you discover a yellow tube on the ceiling between the vortexes. Swim in. In the bonus room behind it, the second Star Coin is waiting between several fish.
- Star Coin 3 After the red tube you reach several strudel. In the fifth strudel there are blocks on the ground. This time, you should intentionally vacuum up. You fall into a secret area below the level and can collect the third Star Coin there.
World 6-B
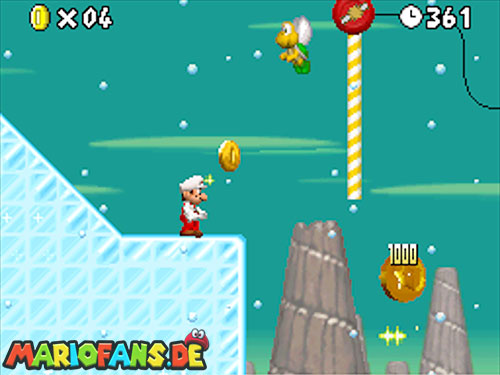
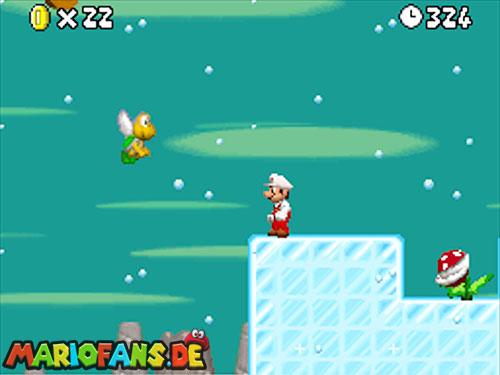
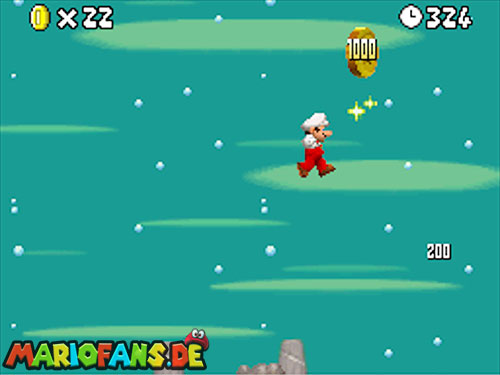
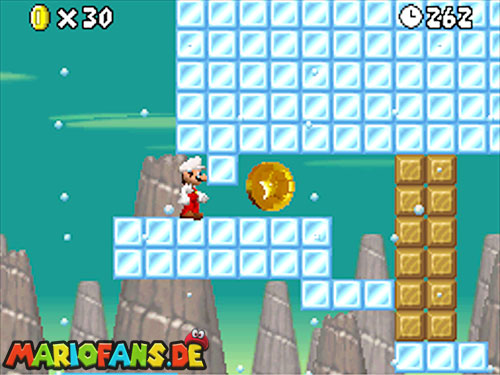
The second bonus level of World 6 plays on an icy mountain and is also unlocked for five Star Coins on the world map. Ropes, tilting mushrooms and cannon tubes determine the way here.
- Star Coin 1 After the first swing ropes you can see the Star Coin over an abyss. You cannot reach them directly. Grab the nearby Koopa shell and throw it to the coin so that the Koopa shell collects it for you.
- Star Coin 2 After the second cannon tube you will be shot far up. At the highest point, a Koopa Paratroopa flies below the Star Coin. Jumps or lands on the paratroopa and uses it as a springboard to the coin.
- Star Coin 3 Later you reach three cannon tubes and then again several swinging ropes. Use the rope to get to the upper platform. Run to the right and slip through under the low wall. Behind this is the third Star Coin.
World 6-6
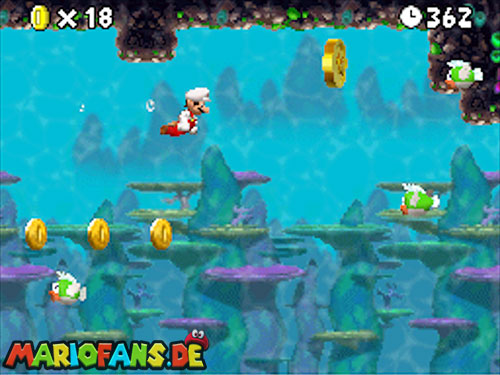
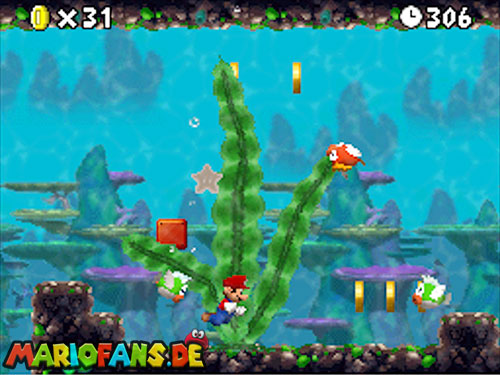
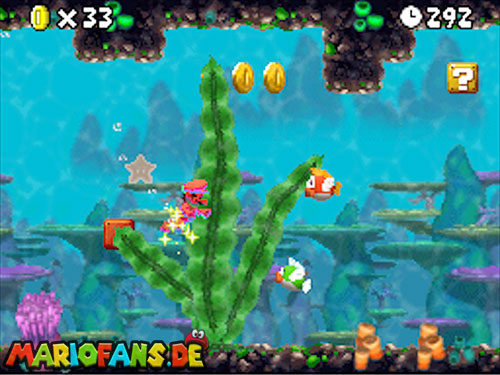
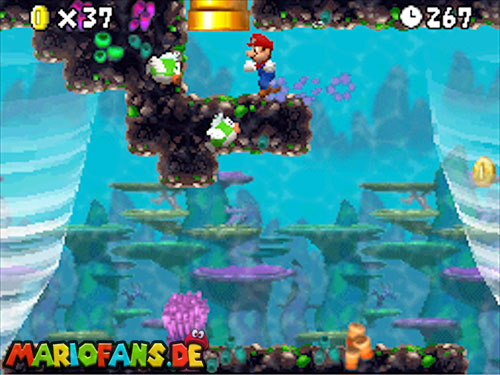
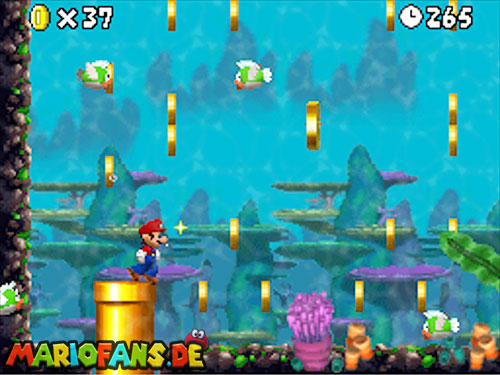
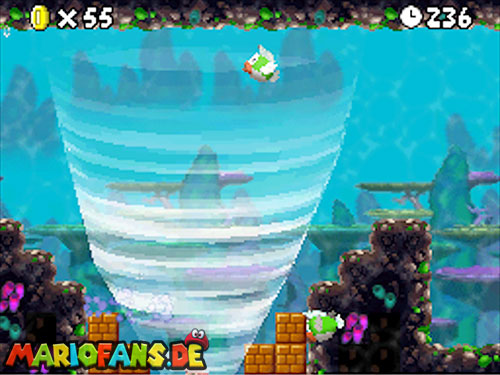
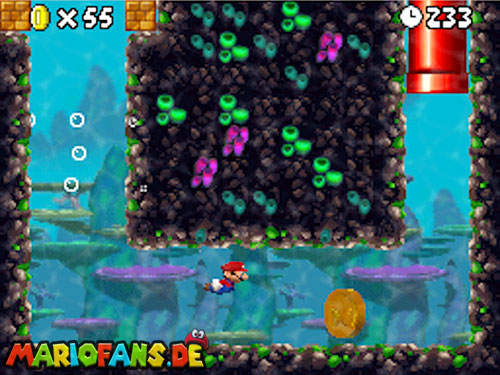
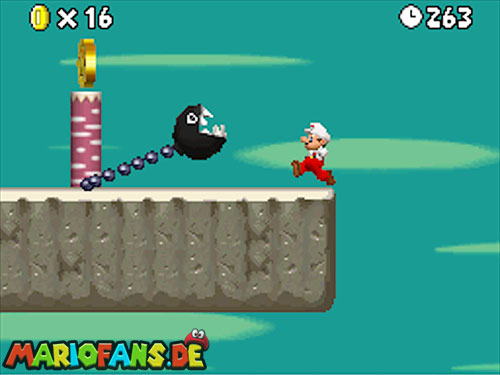
In World 6-6, the chain dogs appear – exclusively in this level. At the same time, you have to use the turning blocks to let Mario float through the air like a propeller.
- Star Coin 1 Use the spinning blocks until you reach the upper left section of the level. There, several bricks block the path. Starts from the nearby rotary block, executes a vortex Ground Pound over the blocks and activates the P switch hidden below. The remaining blocks briefly turn into coins and clear the way to Star Coin.
- Star Coin 2 then flies with the rotating blocks further to the left. The second Star Coin lies directly on the wooden post of a chain dog. Hovers over the opponent and lands on or next to the post to collect them.
- Star Coin 3 After the Checkpoint Flag you will find an area blocked by bricks with another turning block. Stomping the bricks first. Then use the rotary block and jump on the Koopa Paratroopa below the P switch to activate it. Then floats to the right and reaches the green tube via another Koopa Troopa. In the bonus room you use the spinning block again, flies up and slides down to the Star Coin on the left wall.
Tip: At the very end, four cannon tubes are next to each other. The third tube shoots you directly to the top of the target flag and gives you an extra life.
World 6-Castle
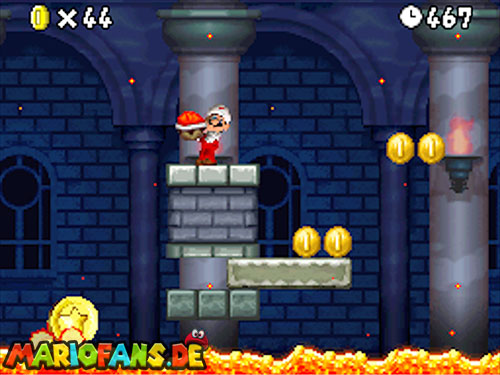
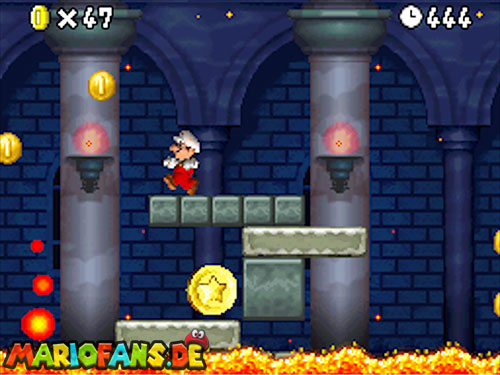
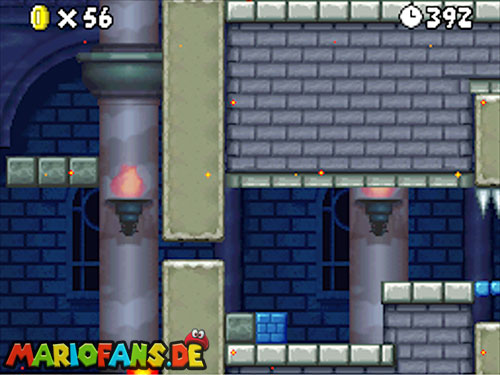
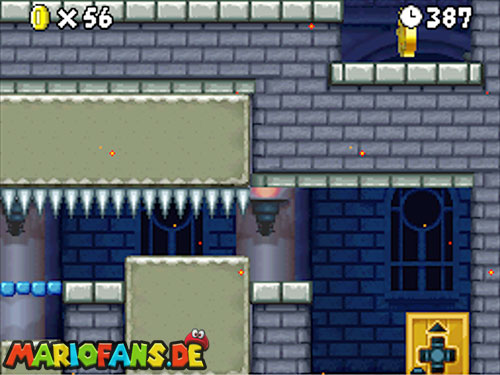
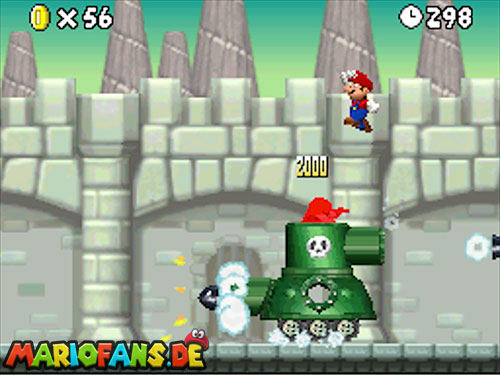
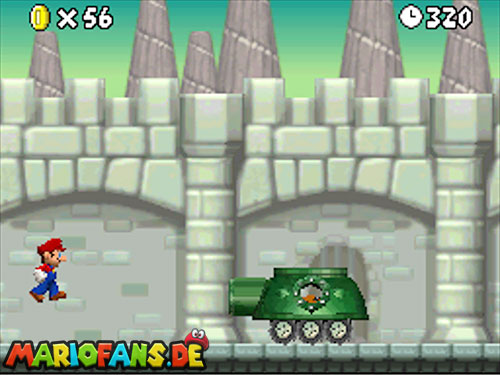
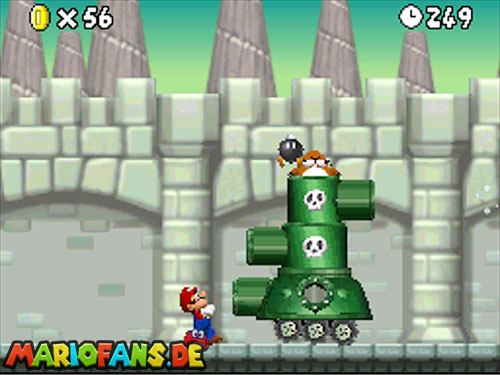
The castle of World 6 runs over movable stone platforms and plenty of lava. For the first and third Star Coin you need a Koopa Troopa or its Koopa Shell.
- Star Coin 1 After the first moving platforms you can see the Star Coin just above the lava. Mario himself does not come safely to her. Jump on the red Koopa Troopa nearby, take his Koopa shell and throw it so that it slips through the Star Coin.
- Star Coin 2 Shortly before the Checkpoint Flag, two grey platforms lie on top of each other and move back and forth. Jump to the upper platform first and then drop to the lower platform in a controlled manner. There you can collect the second Star Coin directly above the lava.
- Star Coin 3 After the Checkpoint Flag you jump to the higher platform and wait for the red Koopa Troopa. Use it as a springboard to get to the top of the large moving stone walls. Once the blocks are correct, jump up and run to the right above the visible normal path. At the very end of the hidden upper area awaits the third Star Coin.
Boss: Monty Tank
At the end of the castle awaits Monty Tank: a Monty Mole in a moving tank with Bill Blasters.
At the beginning, the tank has only one Bill Blaster. Jump to the downed Bullet Bills or tank and then Monty as soon as he looks out of his hatch.
After each hit, the tank gets a further segment and an additional Bill Blaster higher. This makes it harder to reach Monty, but you can use the cannons as platforms at the same time.
Meets Monty three times in total. After that, World 6 is done and the way to World 8 is opened.