

Petal Meadows
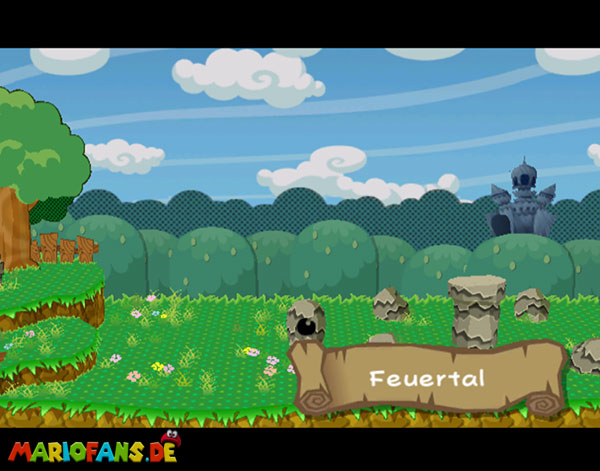
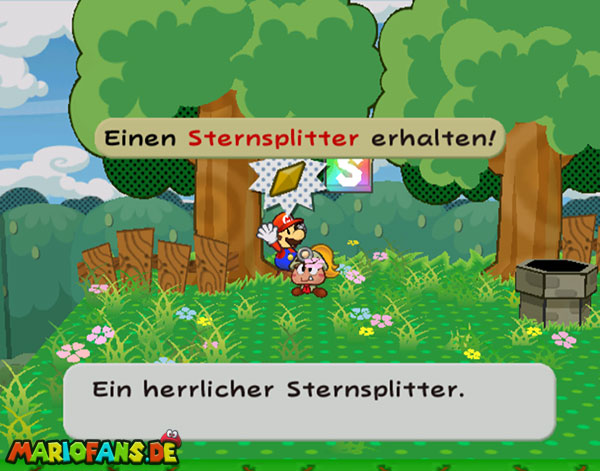
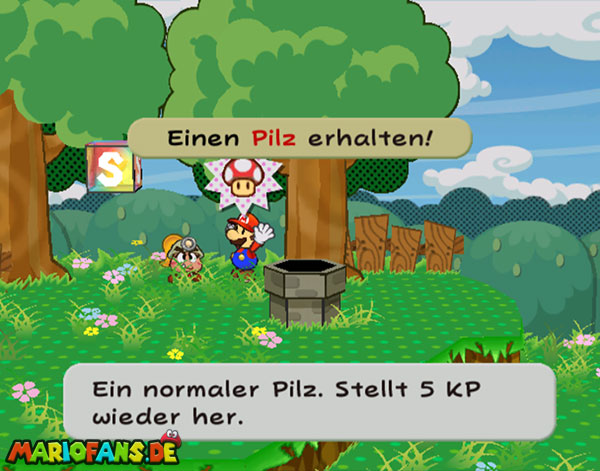
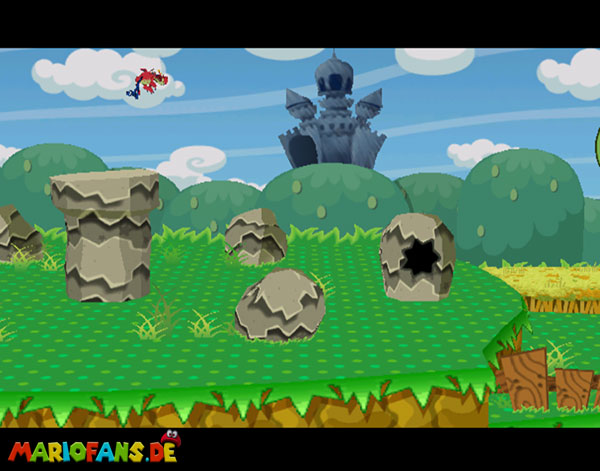
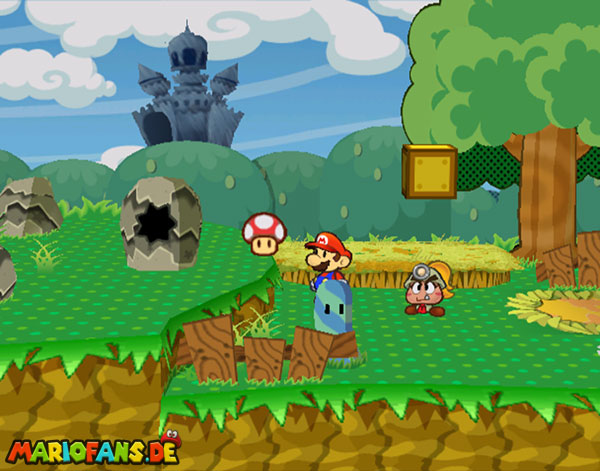
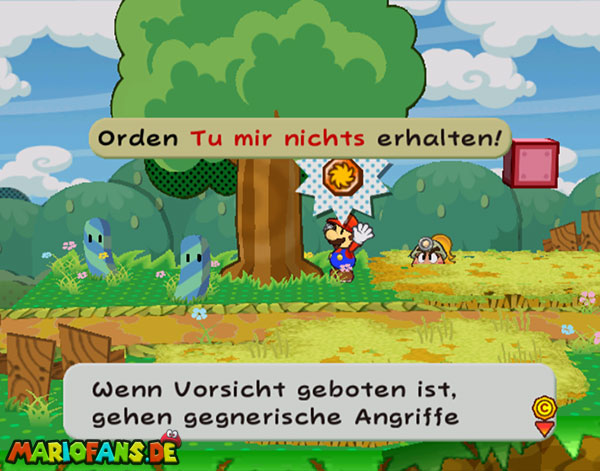
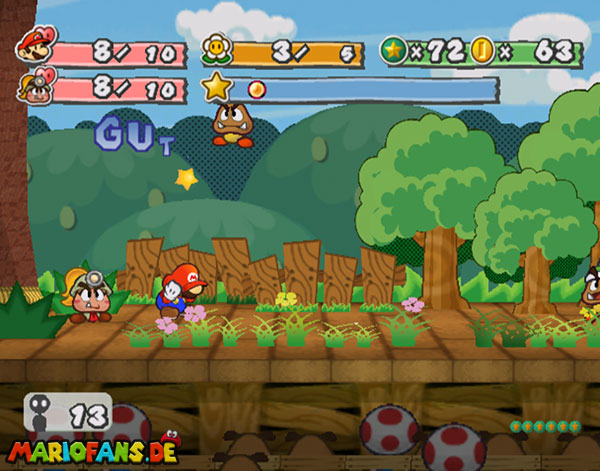
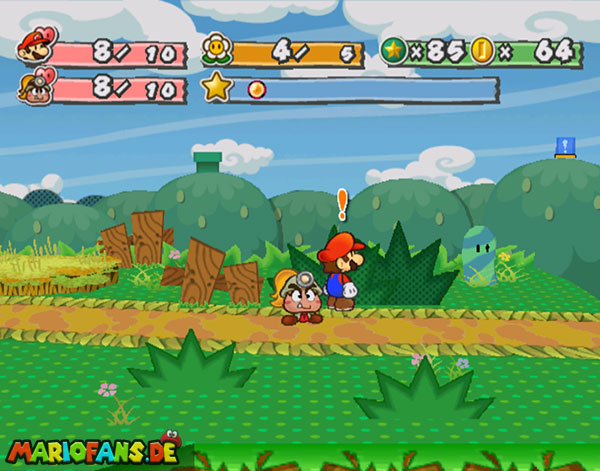
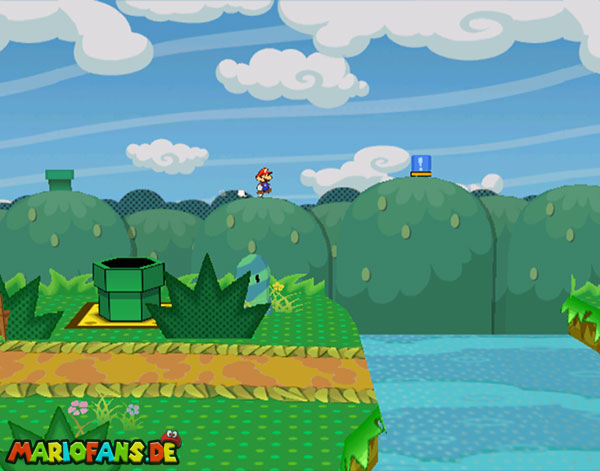
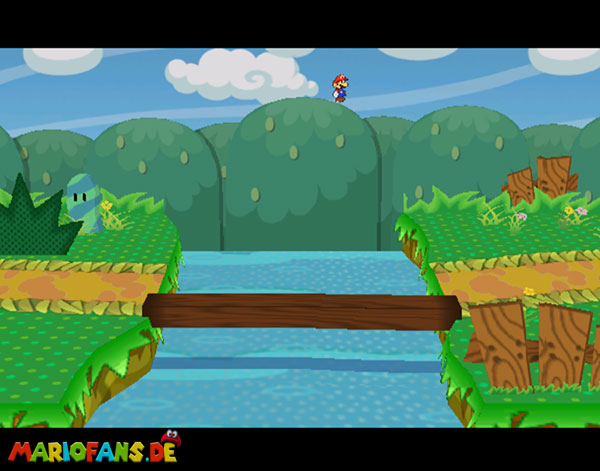
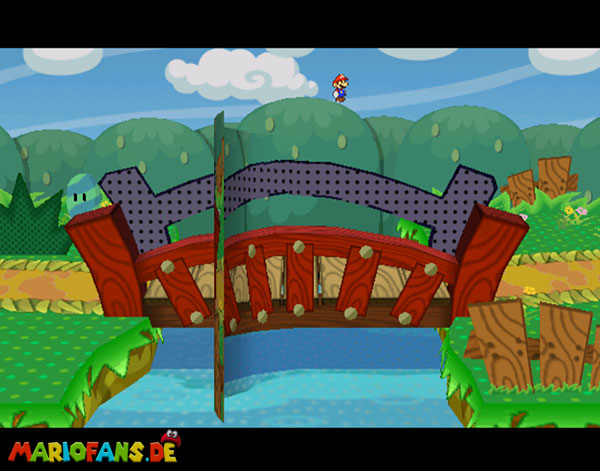
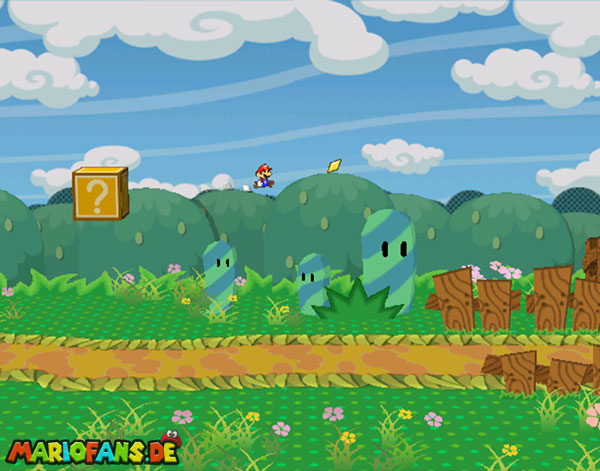
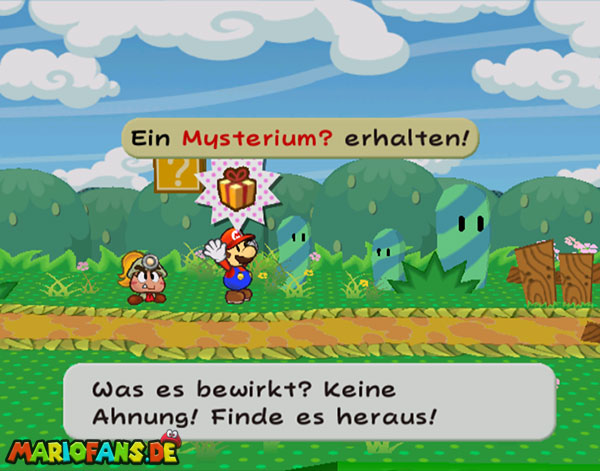
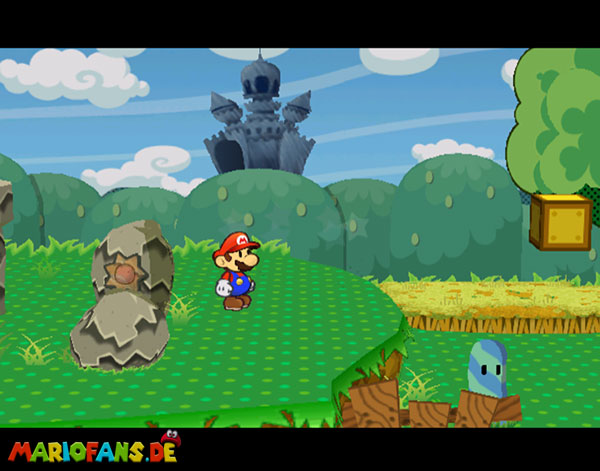
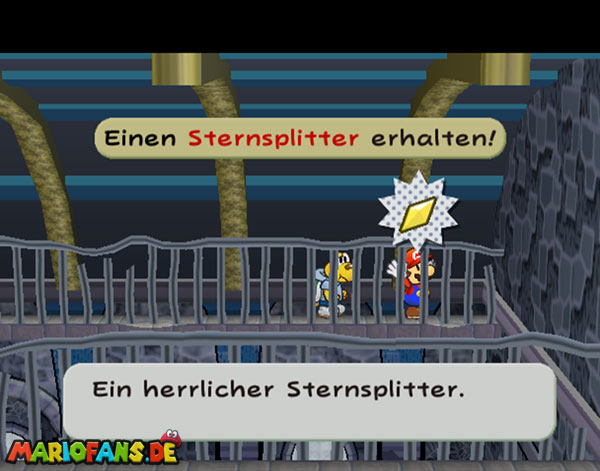
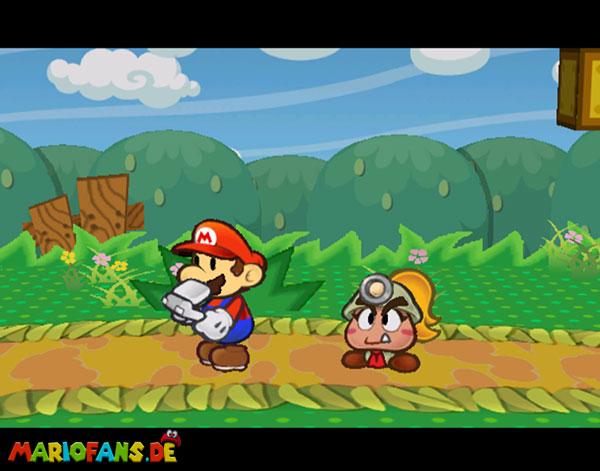
Strike the trees behind you with the hammer and a sliver of stars and then move to the right. Suddenly the sky darkens and a great shadow appears. A huge dragon rushes over your head! Don’t be unsettled and continue on your way until you get to a river. On the journey there you can jump under several? blocks, which contain some useful items ( close call badges ). Also, there are a few Goomba battles to face to refine your fighting technique and earn Star Points. Raschel appears in front of the river on the bushes and a hidden warp pipe. Through them you reach on the hill in the background. Run right to the blue switch and activate the bridge.There you will find another star splitter. Return and use them afterwards. In the bush you find a mystery and in the? Block a nice item.
| Name | Max. HP | Attack | Defense |
|---|---|---|---|
| Goomba | 2 | 1 | 0 |
| Spiked Goomba | 2 | 2 | 0 |
| Paragoomba | 2 | 1 | 0 |
| Koopa clan clan clan | 4 | 2 | 1 |
| Bristle | 2 | 1 | 4 |
| Bald Cleft | 2 | 1 | 2 |
| X-Naut | 4 | 3 | 0 |
Petalburg and Shhwonk Fortress
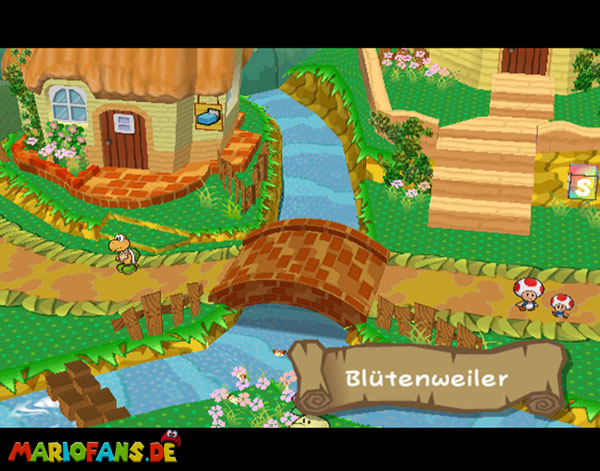
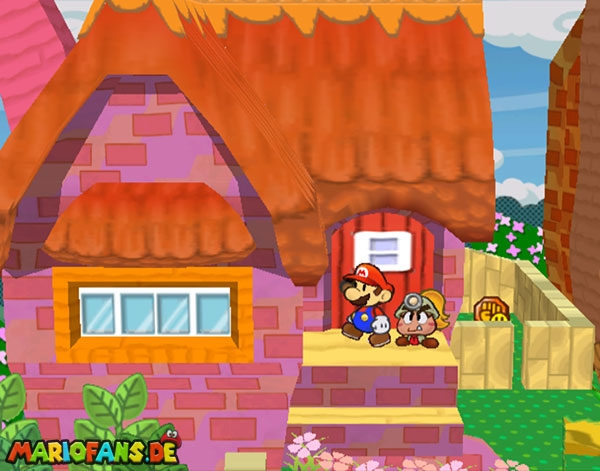
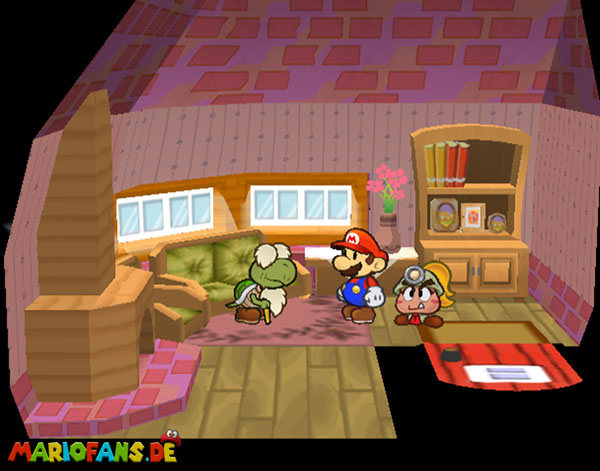
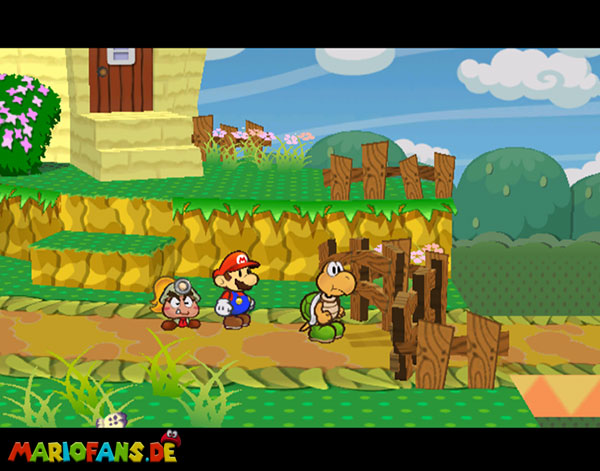
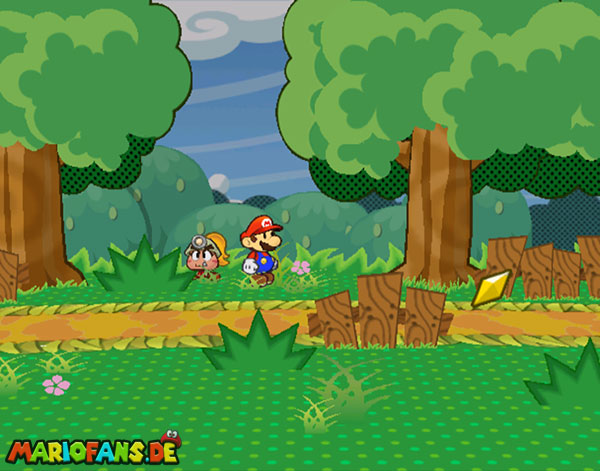
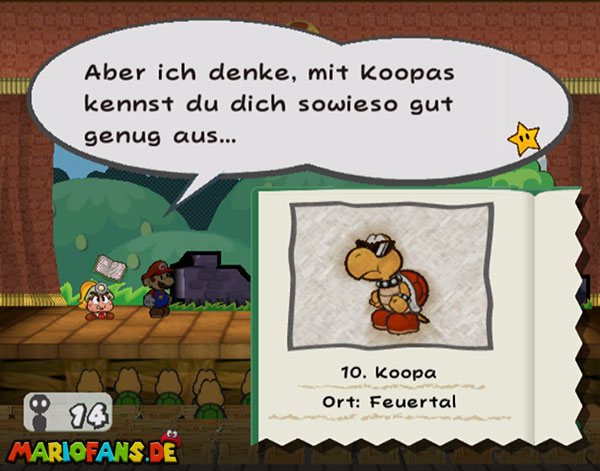
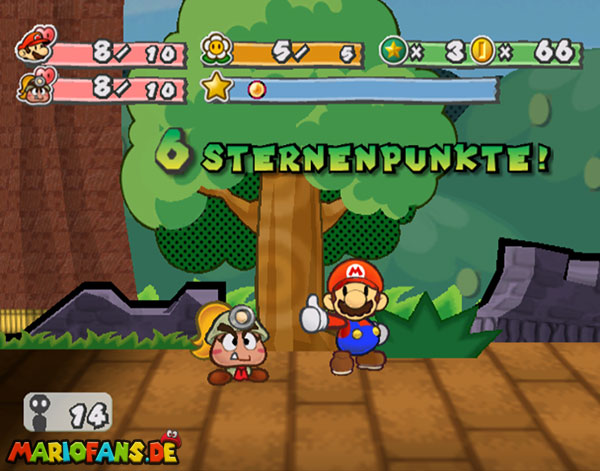
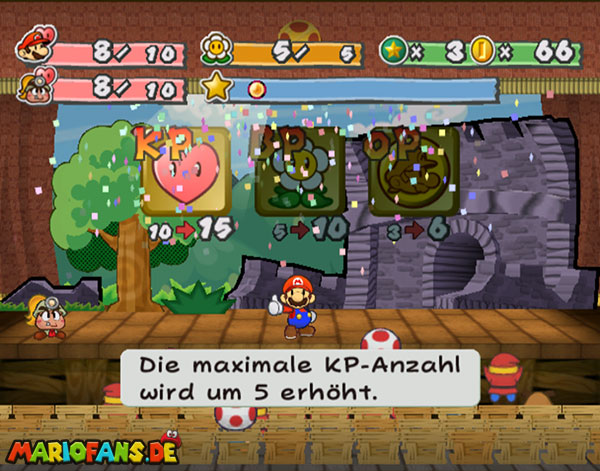
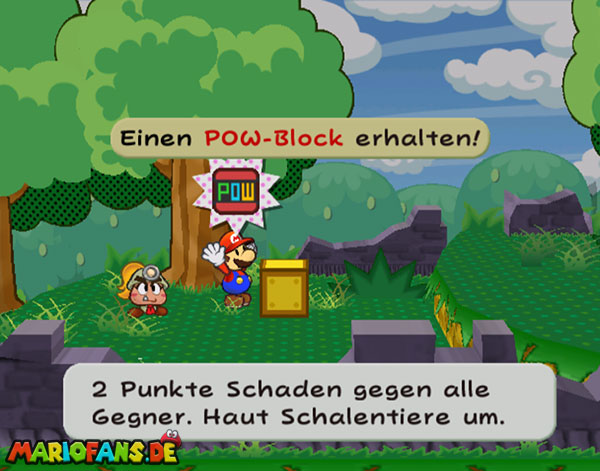
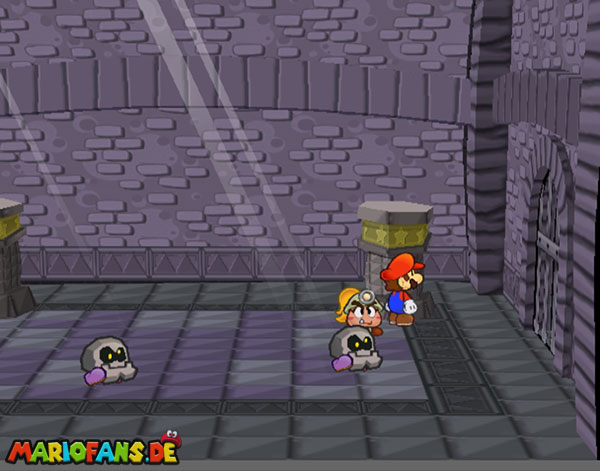
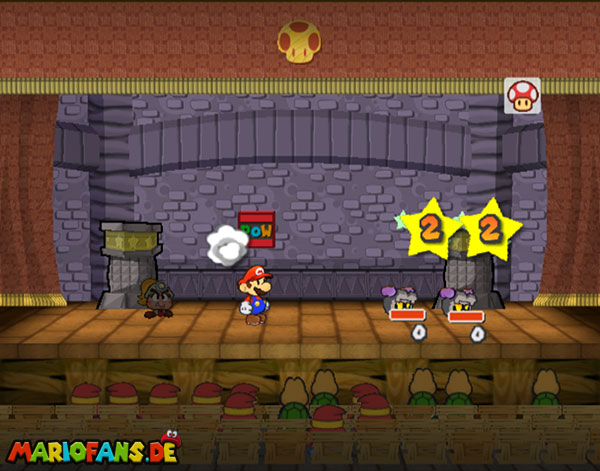
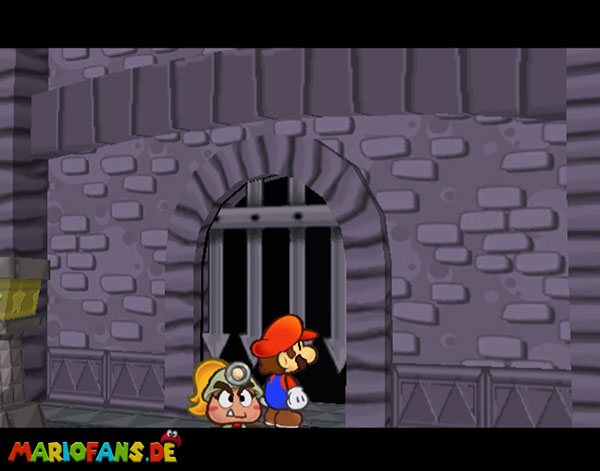
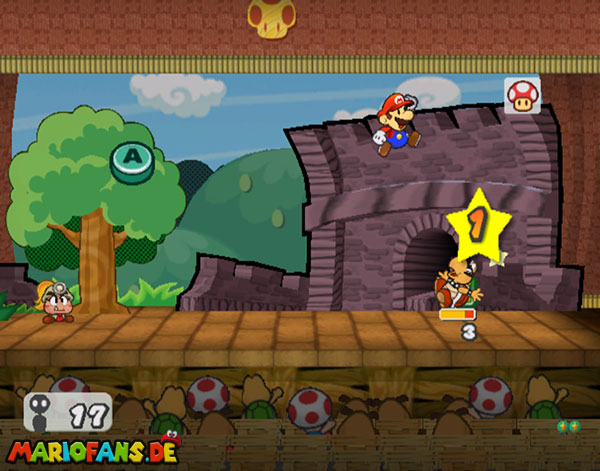
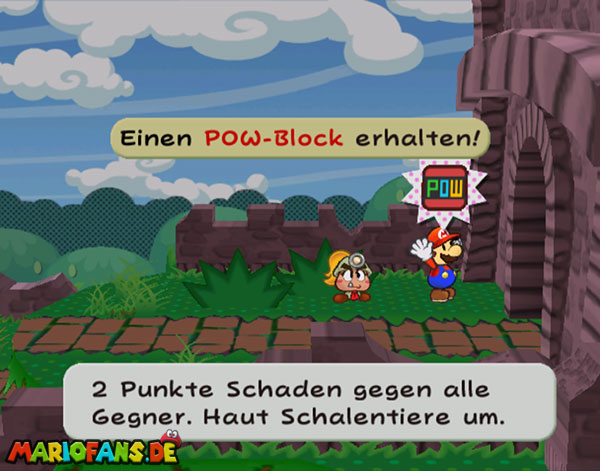
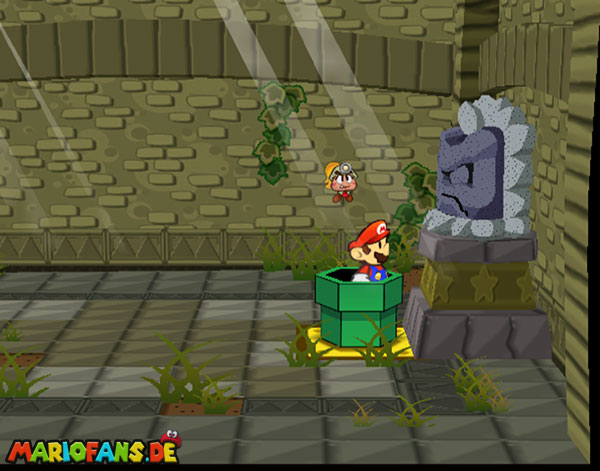
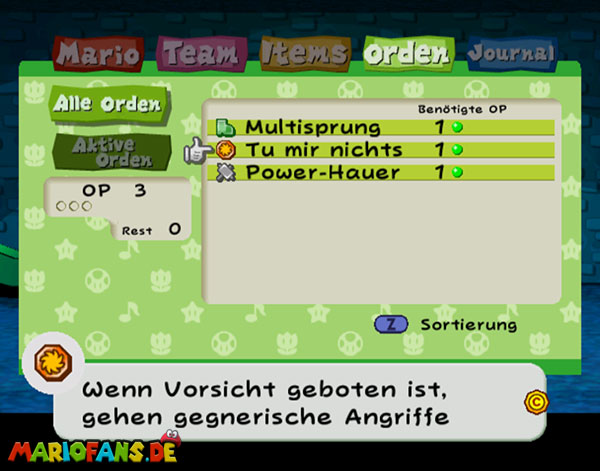
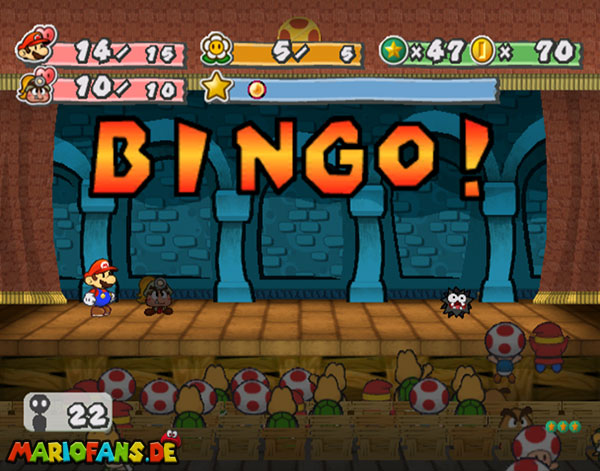
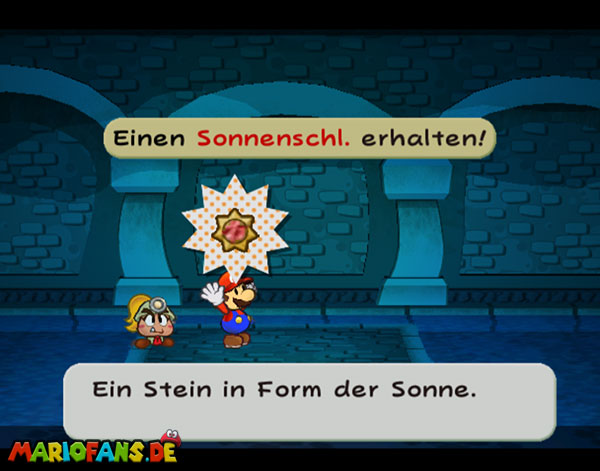
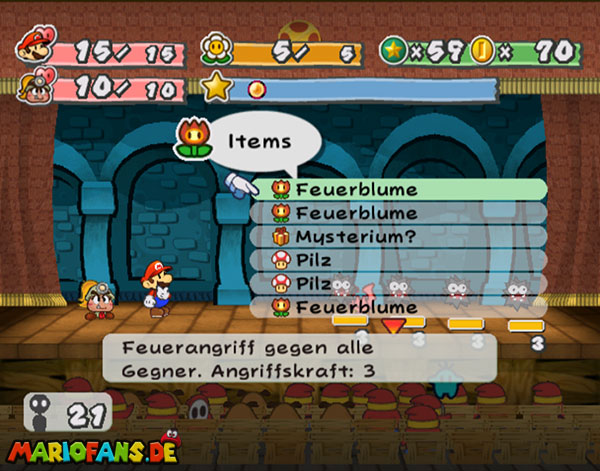
In the beautiful village of Petalburg you will be welcomed by a Koopa clan clan clan. He sends you to the mayor who lives in a pink house. After the conversation you can explore the village a bit and talk to the residents. Then go to the house of the mayor who thinks you are a thief. In the course of the conversation you will learn more about the key from him, in a secret warp pipe under the Shhwonk Fortress. Then leave the house and move to the right from the village. The Koopa clan clan clan opens the gate for you Shortly before you get the first mail from the professor. Follow the path and fight a few battles before reaching an outpost of the Shhwonk Fortress. Shake at the pillar and defeat the two opponents. Use a POW block for this and they are done quickly. At the next outpost, the same game awaits you. You can find the POW blocks on the way or you buy them in the Petalburg shop.
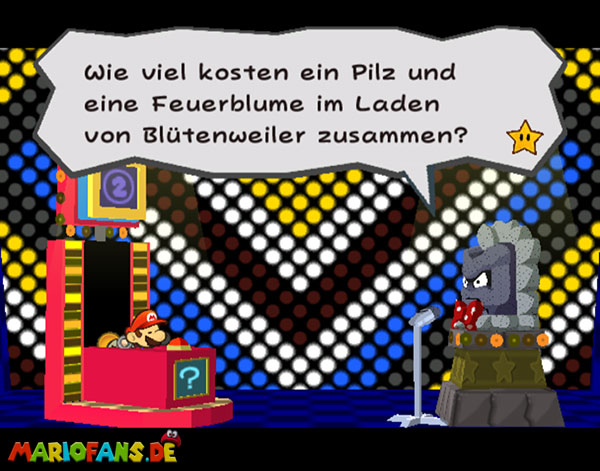
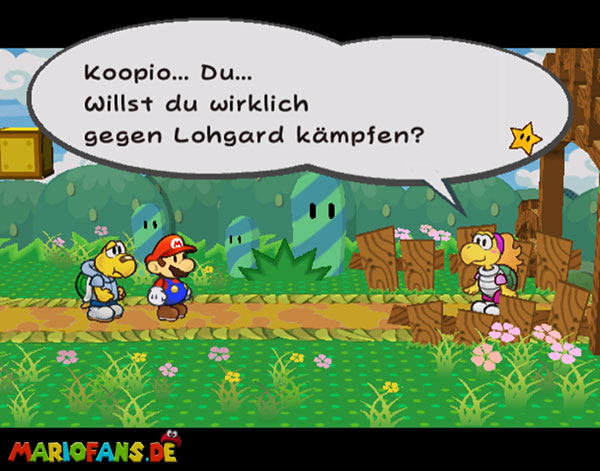
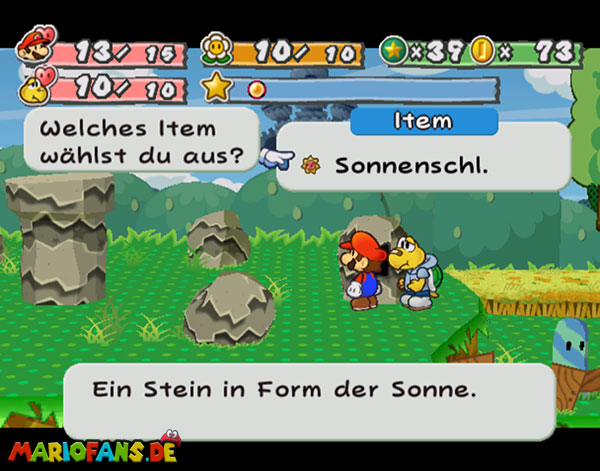
Just before the Shhwonk Fortress is a heart block where you can refresh your HP + BP for payment. Enter the ruins and talk to the stone statue. Take the challenge and take the Shhwonk Fortress quiz. If you hate to answer all questions correctly, the statue releases a warp pipe. With 3 wrong answers, however, you have to fight.
The right answers:
- Sun Stone
- 12 coins
- Kroop
- Hooktail Castle
- through a warp pipe
- Koopas
- Point 7
| Name | Max. HP | Attack | Defense |
|---|---|---|---|
| Goomba | 2 | 1 | 0 |
| Spiked Goomba | 2 | 2 | 0 |
| Paragoomba | 2 | 1 | 0 |
| Koopa clan clan clan | 4 | 2 | 1 |
| Bristle | 2 | 1 | 4 |
| Bald Cleft | 2 | 1 | 2 |
| X-Naut | 4 | 3 | 0 |
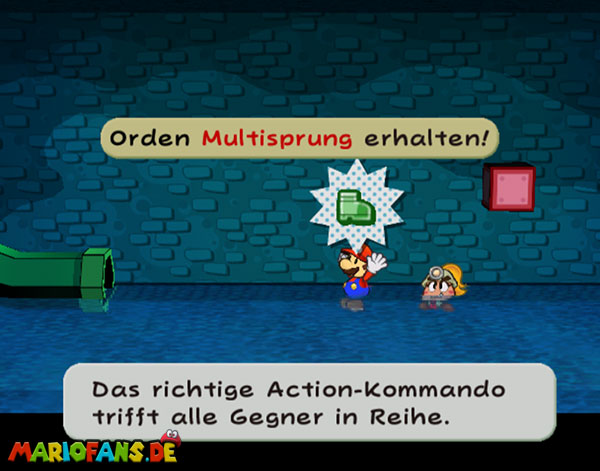
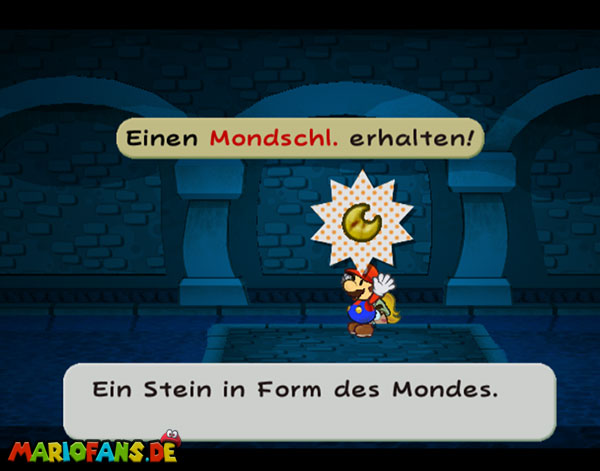
You arrive in the basement of the castle. Jump under the red block and you get the Multibounce Badges. Now you can pick up the Sun and Moon Stone left and right at the end of the vault. Along the way, some fuzzies hop around and after each key there is a little fight. Then go back to the warp pipe and a gold fuzzy blocks your way.
Fighting the Gold Fuzzy
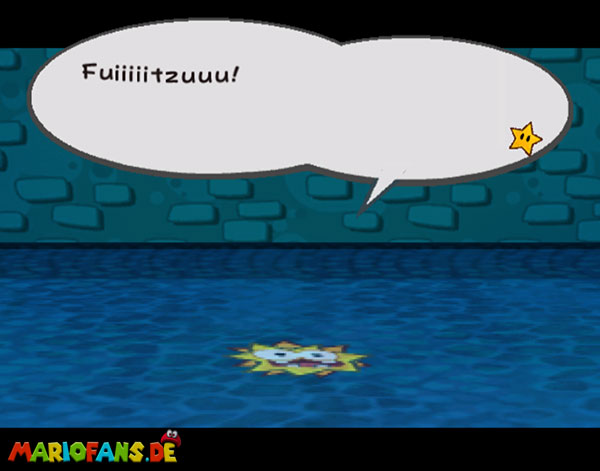
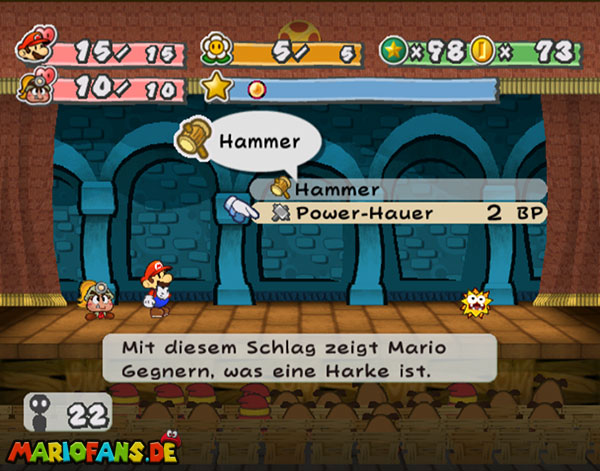
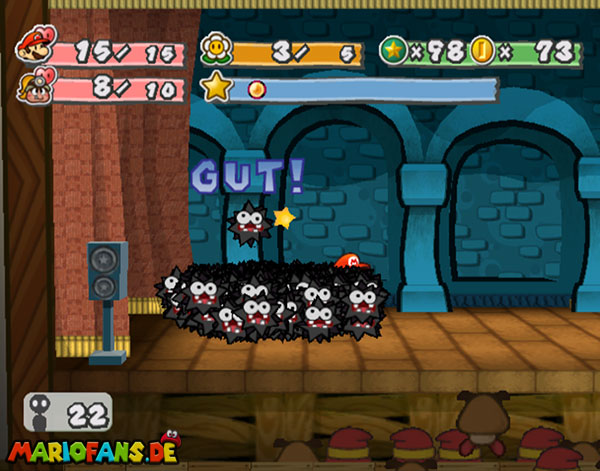
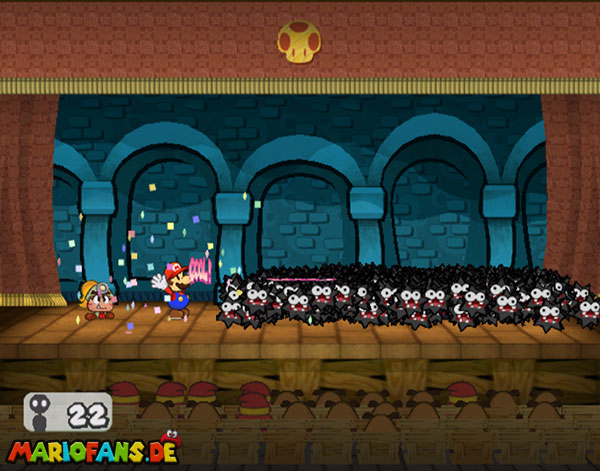
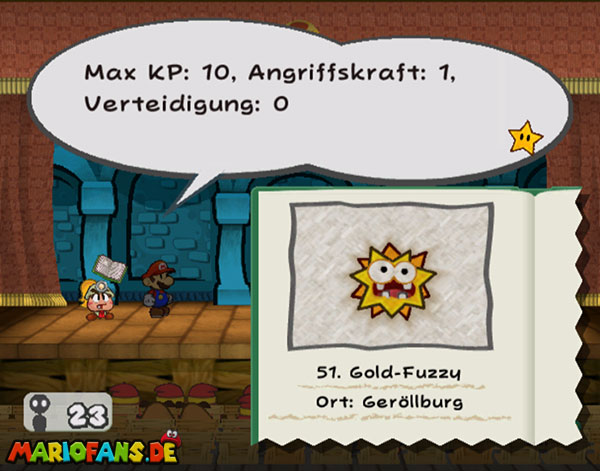
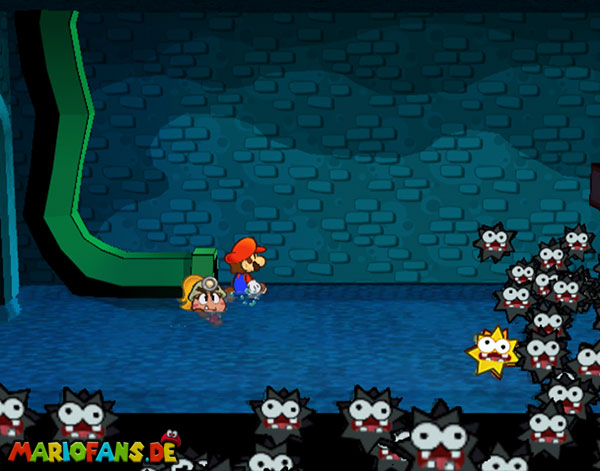
The fight is quite simple. Attack him with the usual means and he calls a fuzzy herd after a short time. Keep focusing on the gold fuzzy. He directs the mass and when he is defeated, it also disappears. the attacks of the cellar creatures are easily fended off, because this time they do not suck themselves.
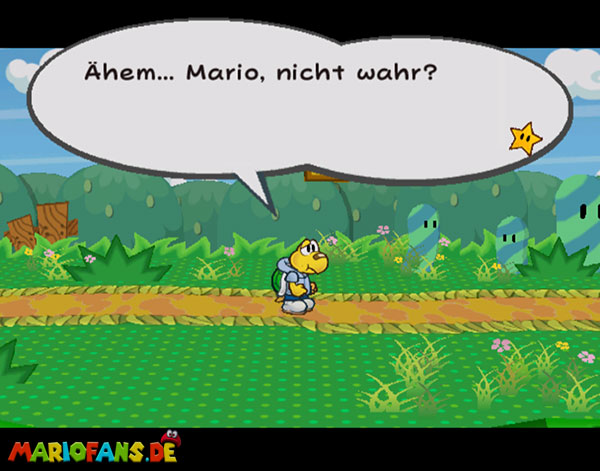
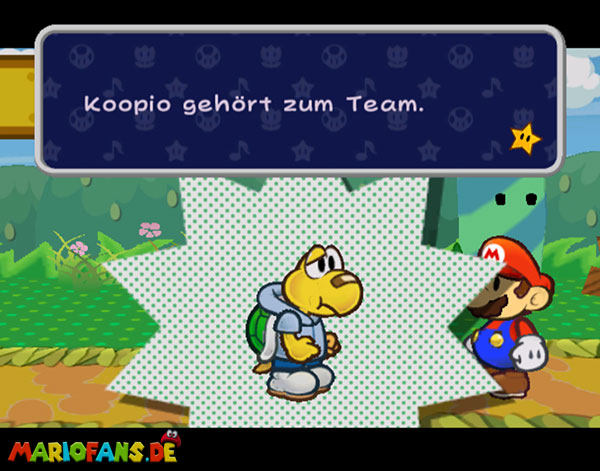
Then make your way back. Take a short break in Petalburg and maybe buy some useful items in the store. Leave the village on the left and you meet coops. He wants to join your team because he wants to prove to Koopie Koo that he is a real man. He also has a chicken with a hooktail to pick. A good reinforcement! Run to the left to the long warp pipe. Get into the little one in front of it and you come out on top. Use coops to get to the Happy Heart Badges.
| Name | Max. HP | Attack | Defense |
|---|---|---|---|
| Fuzzy | 3 | 1 | 0 |
| Gold Fuzzy | 10 | 1 | 0 |
| Fuzzyhorde | 20 | 1 | 0 |
| Bristle | 2 | 1 | 4 |
| Bald Cleft | 2 | 1 | 2 |
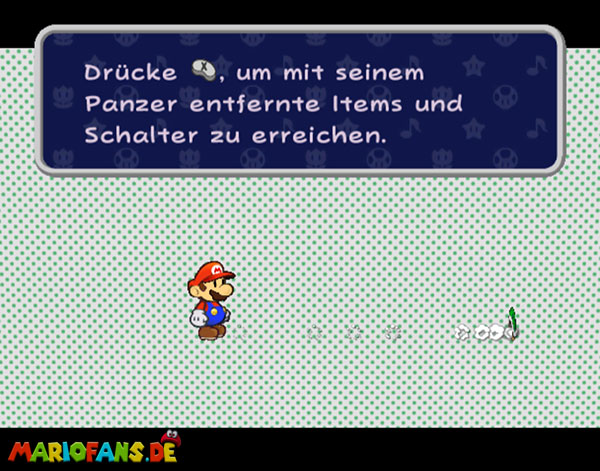
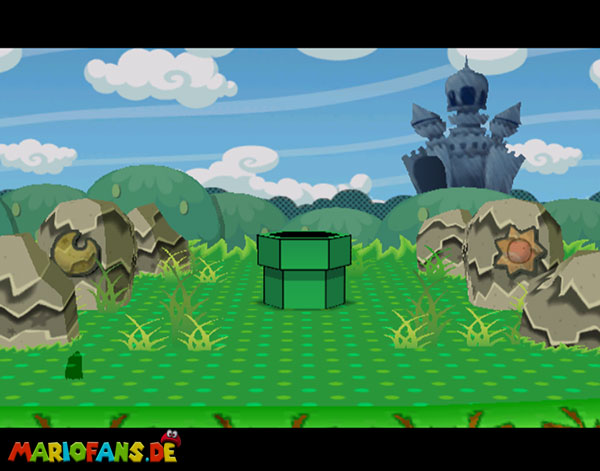
Your next destination is the little rocks at the beginning of Petal Meadows. Use the keys in the holes and 2 blue switches become visible. Both must be activated simultaneously for the warp pipe to show. Stand next to the left block, shoot coops and hold down the X button. He is now in his position. Go to the right block and release X again. Hit the right block at the same time and the warp pipe to Hooktail Castle appears. Jump in and walk across the hills there in the background.
Hooktail Castle
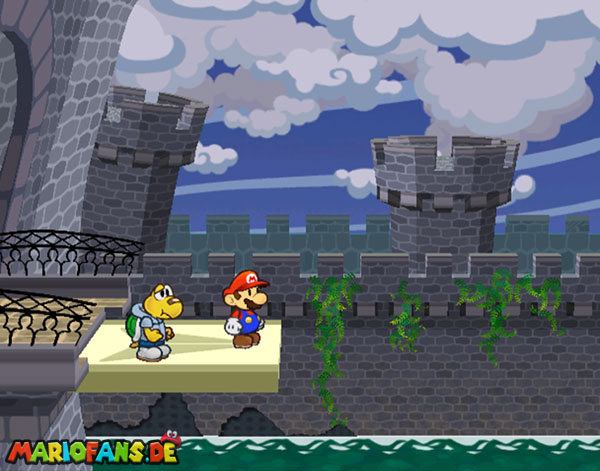
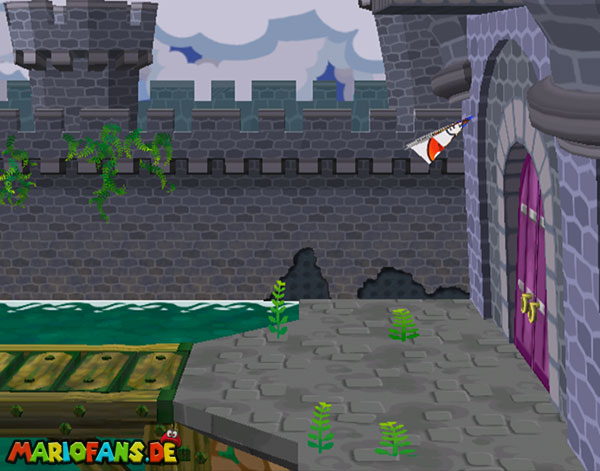
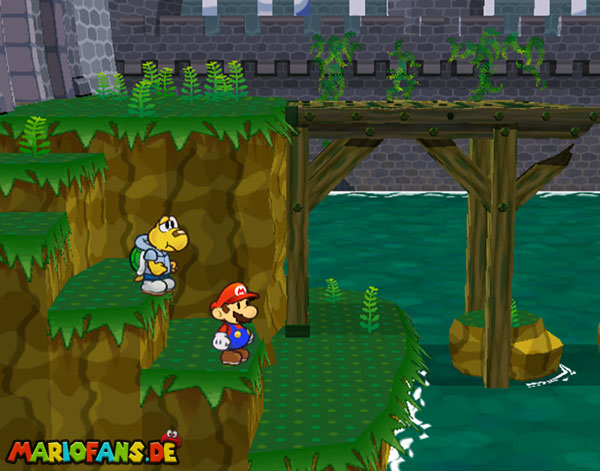
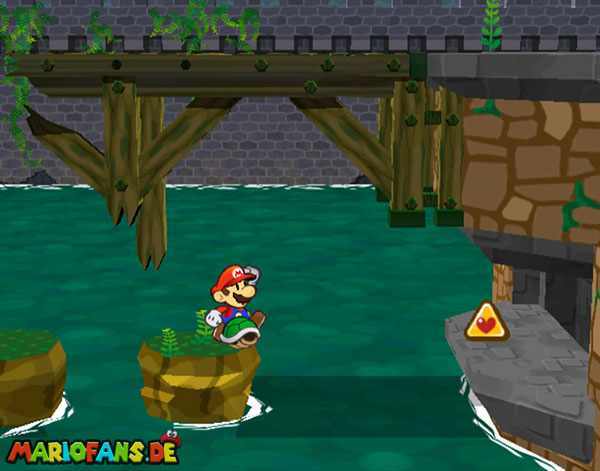
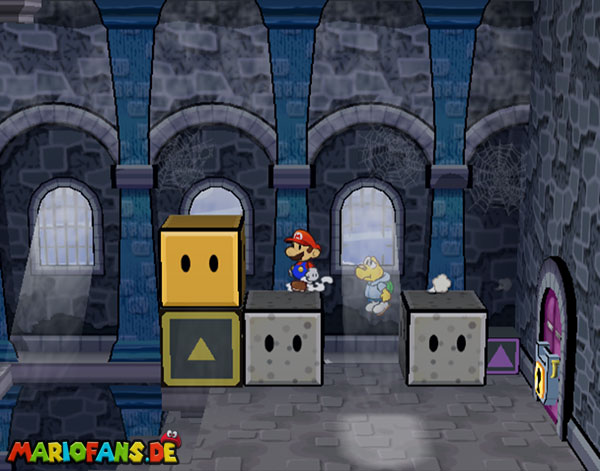
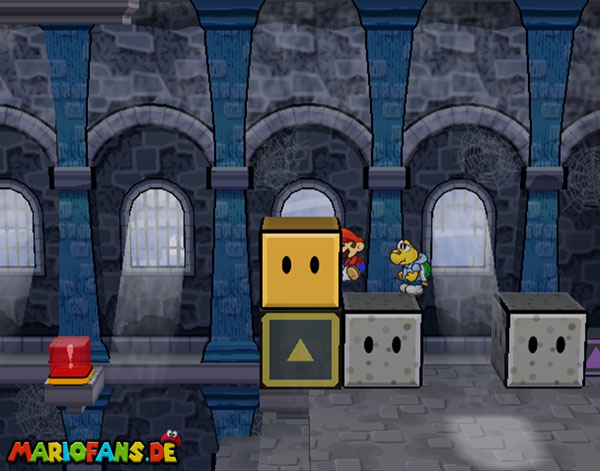
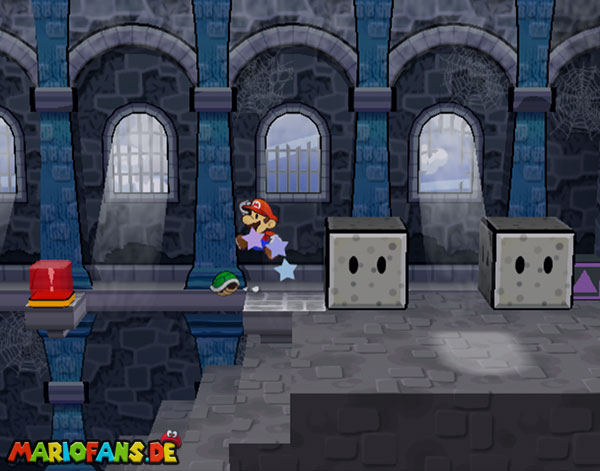
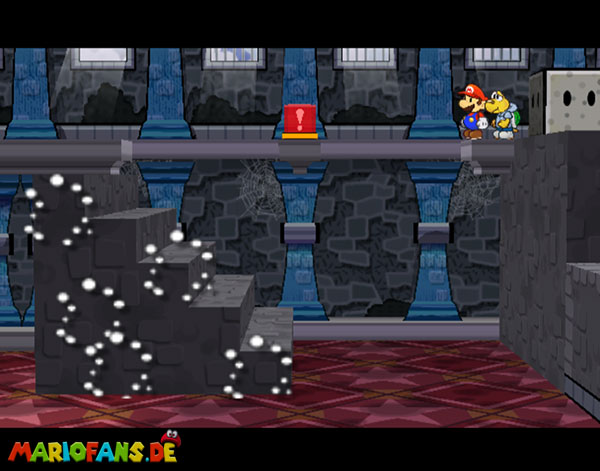
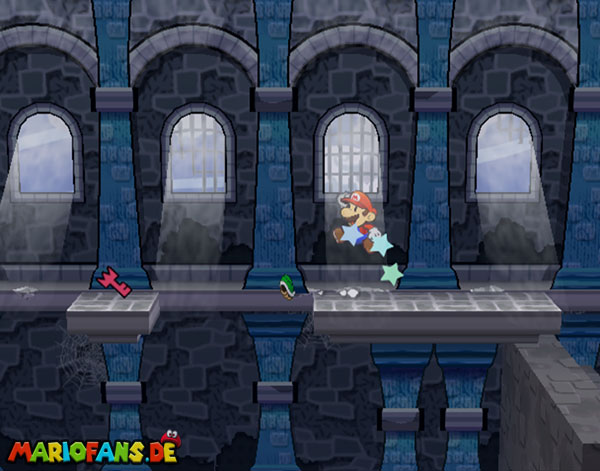
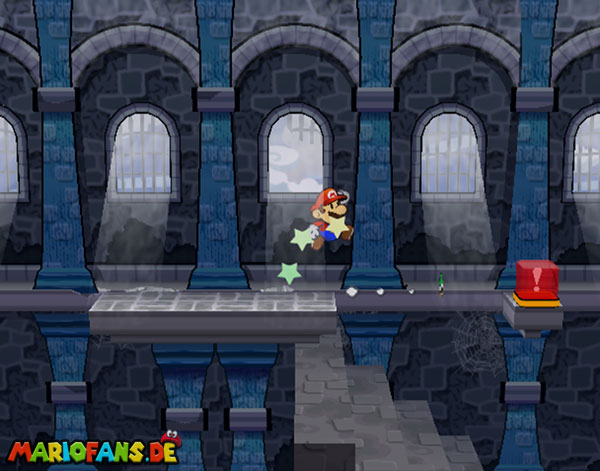
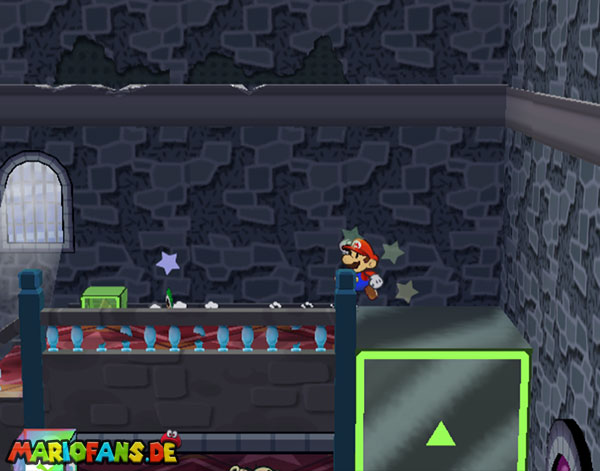
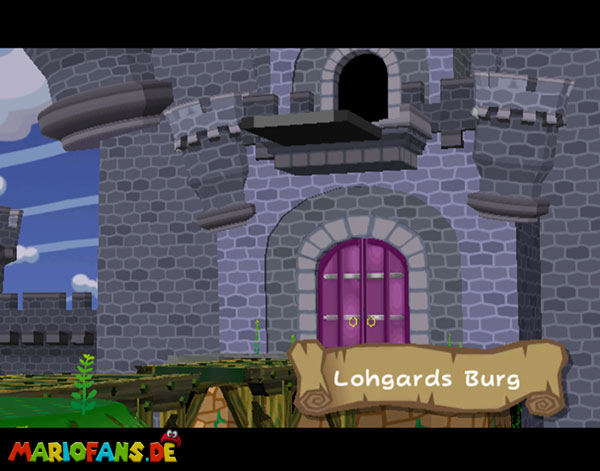
First leave the store at the entrance and then go to the right in the courtyard. The bridge to the main gate is broken. Go down left and jump over the small islands. Get the MAX UP Heart Badges with Koopios help.
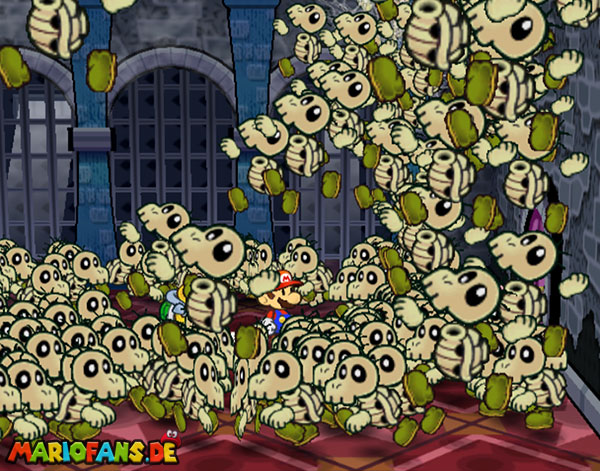
Then go back to the entrance and use the spring. At the top, you can fill up your values on the heart block. Then continue to the right and use the paper flight on the ramp. On the other side, open the main gate and you enter the entrance hall, which is littered with many skeletons.
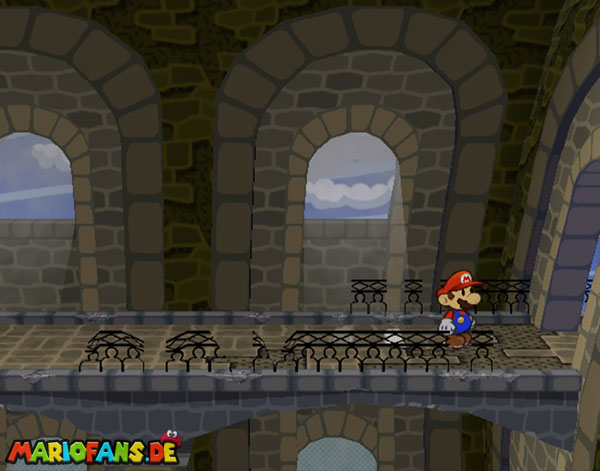
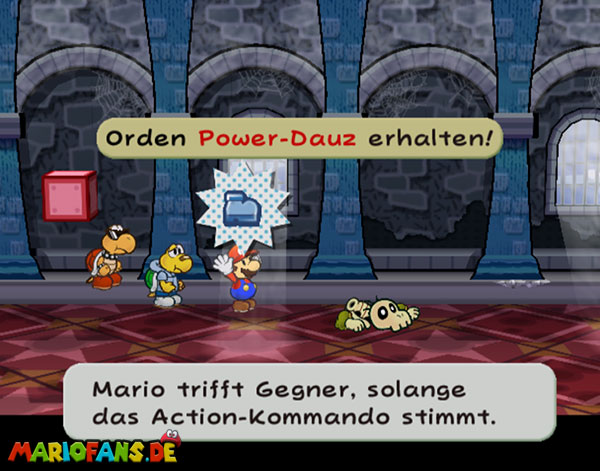
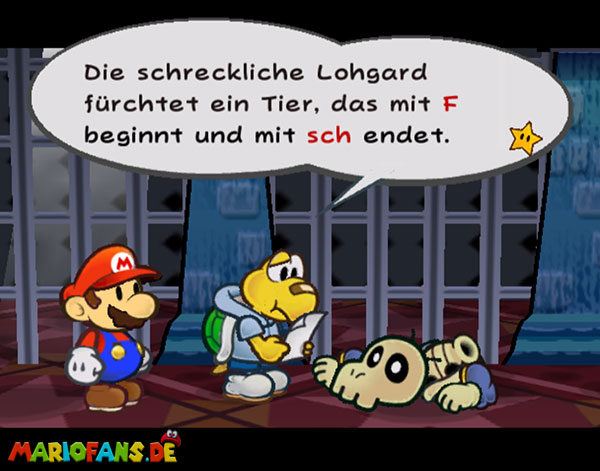
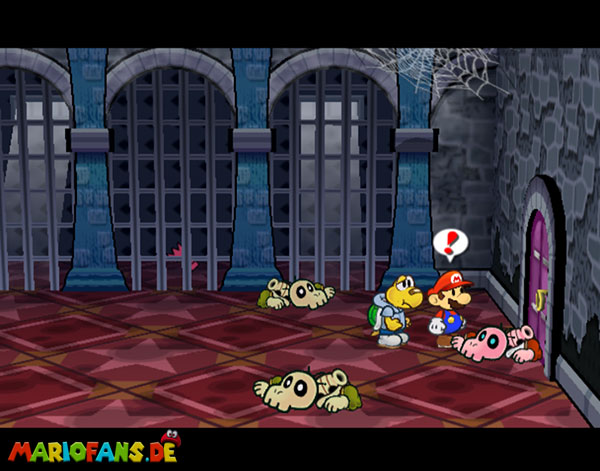
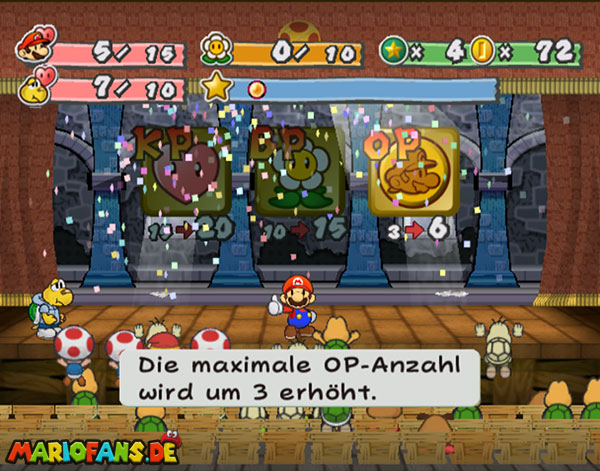
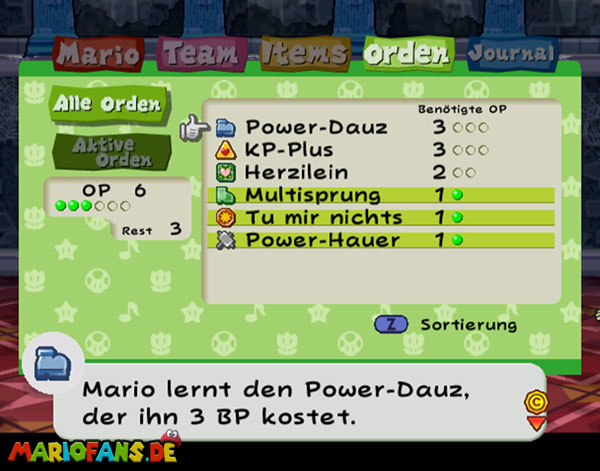
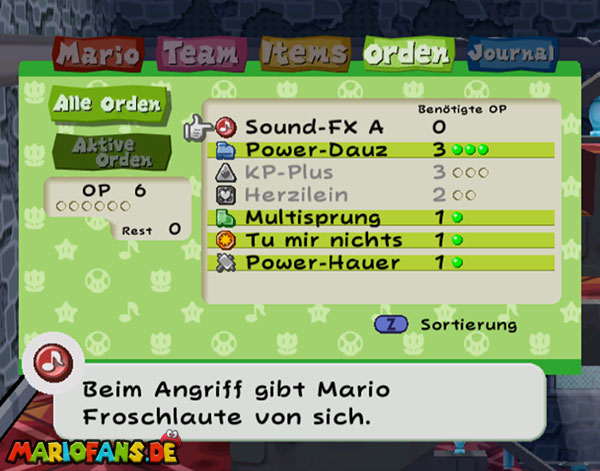
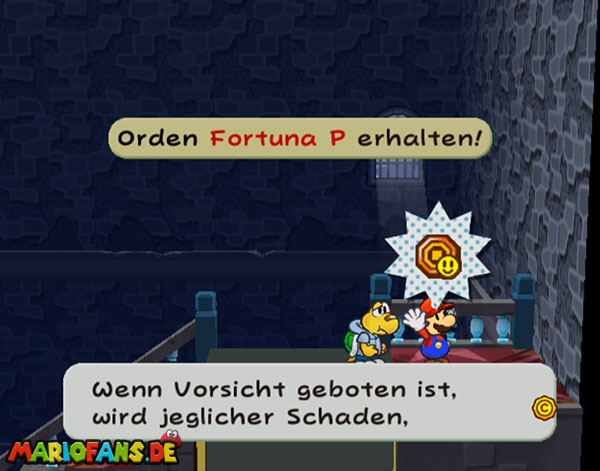
Jump to the red block and you get the power dauz badges. For the first time, you also meet the parakoopas. Go ahead and you will come to the dungeons. Full of terror, Koops discovers a skeleton he considers the remains of his father. Fortunately, it turns out to be a mistake and you get interesting hints about Hooktail’s weak point in a letter.
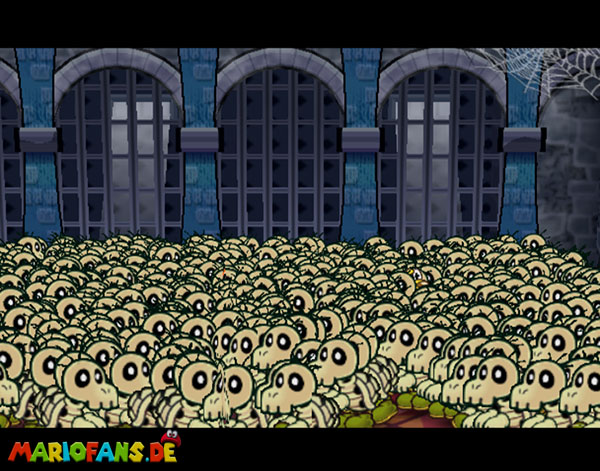
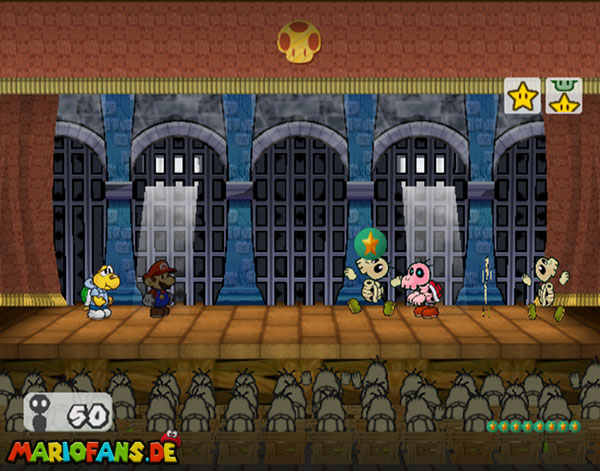
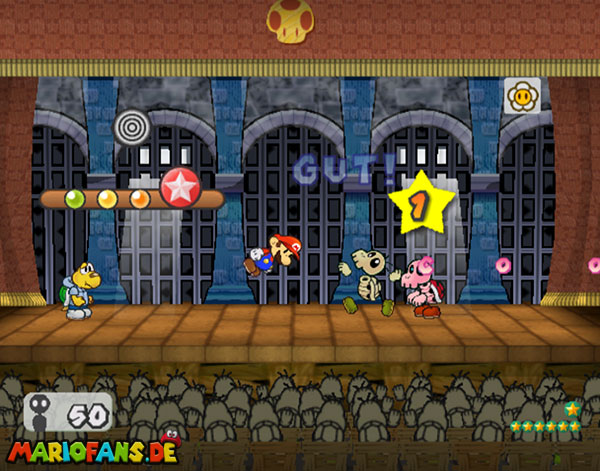
The next door is guarded by a red Dull Bones. He calls an entire army to help. Make your way to the villain with the hammer and set him to fight. Use Koopios Power Shell to get the Bone Coopas out of the way and then Mario Power Strike. Jumps have no effect on the bone coopas. If the red Dull Bones is defeated, his entourage also disappears.
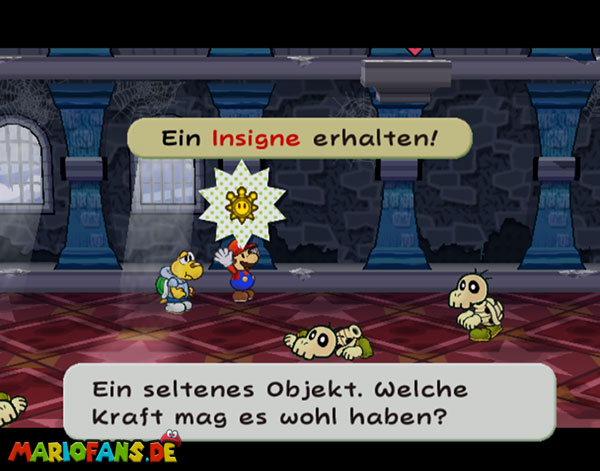
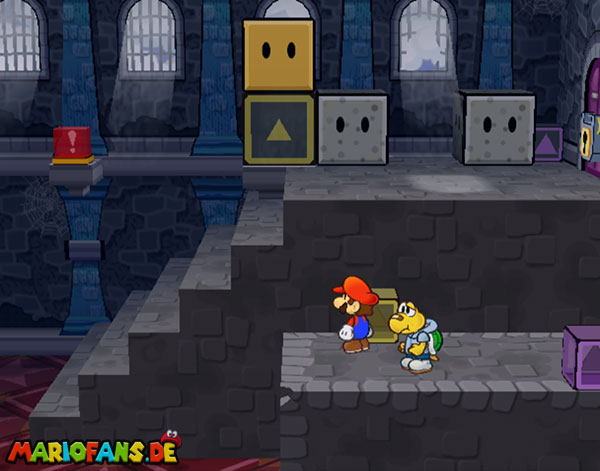
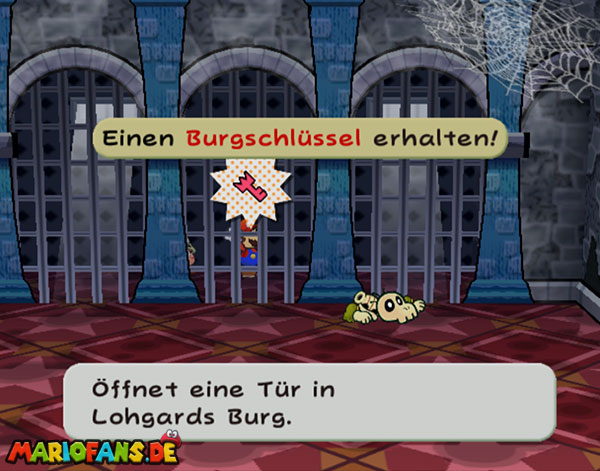
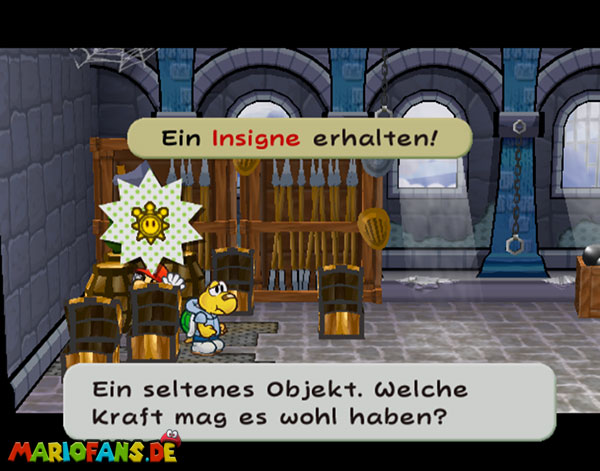
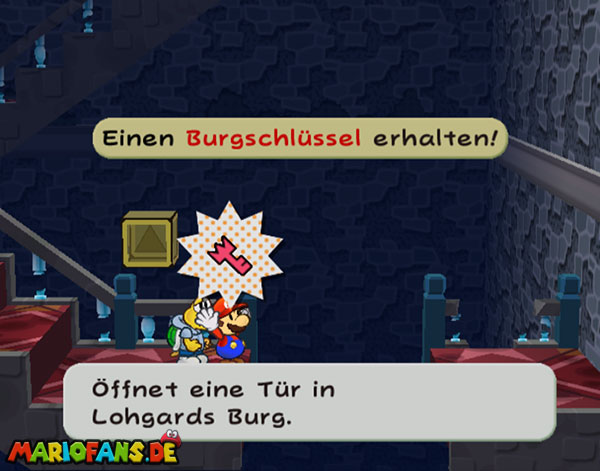
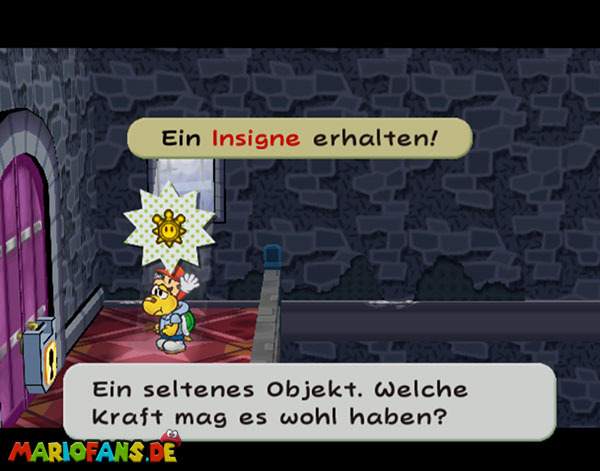
Now you can enter the reception hall and get the first insignee. Then go up the stairs and drop down to the purple switch. Activate it and a large block of the same paint appears. Use it to jump over the gray blocks. Destroy the yellow block with the hammer and then activate the yellow switch in the front again. Now you can press the red switch with Koopios help. This one turns the stairs. Use them and get the castle key with coops.
Now bring the stairs back to their old place, unlock the castle and you’re on. Go to the back of the dungeons and stand to the left of the red switch. Hold on again with X Koops in his position and run to the last dungeon. Then release the button and the cell door opens. Run right into the passage and you come to a black chest.
| Name | Max. HP | Attack | Defense |
|---|---|---|---|
| Goomba | 2 | 1 | 0 |
| Spiked Goomba | 2 | 2 | 0 |
| Paragoomba | 2 | 1 | 0 |
| Koopa clan clan clan | 4 | 2 | 1 |
| Dull Bones | 1 | 2 | 1 |
| Red Bones | 5 | 3 | 1 |
The Curse
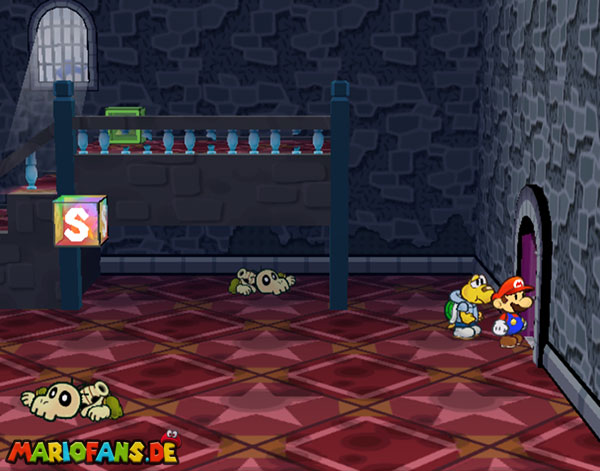
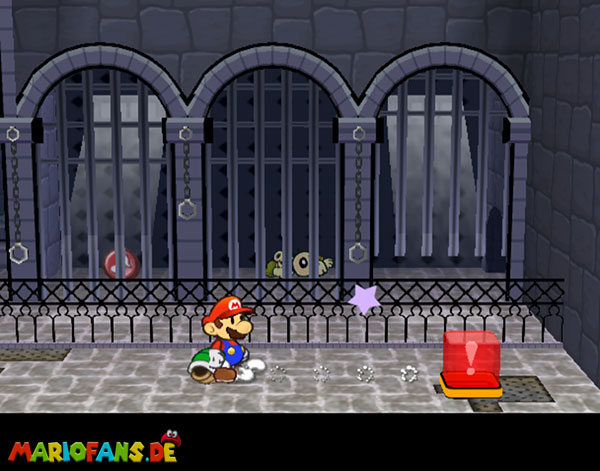
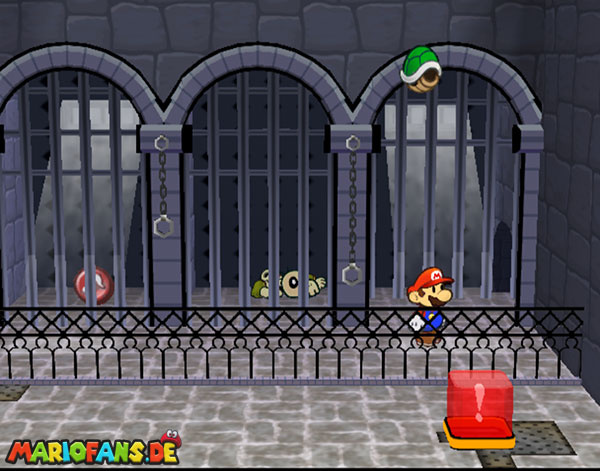
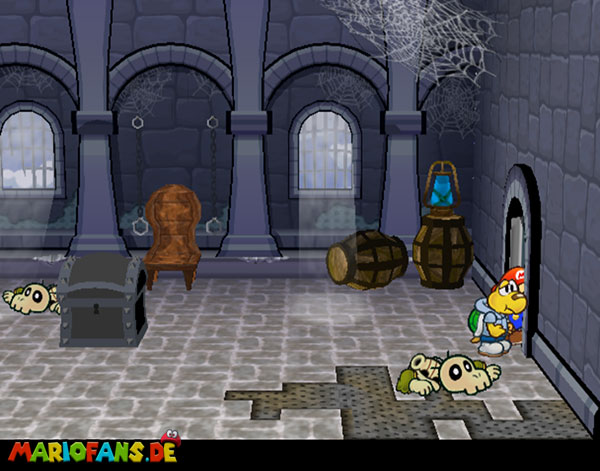
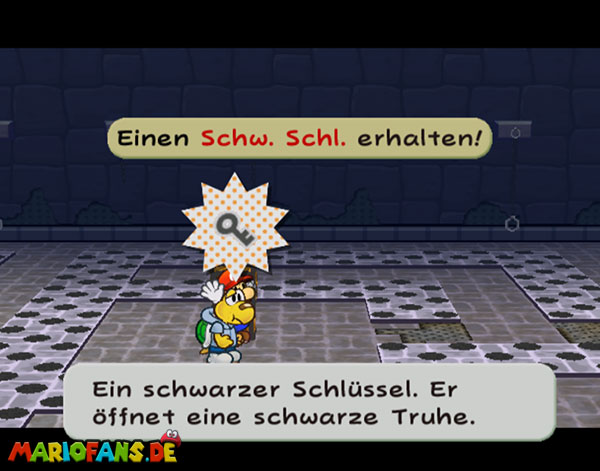
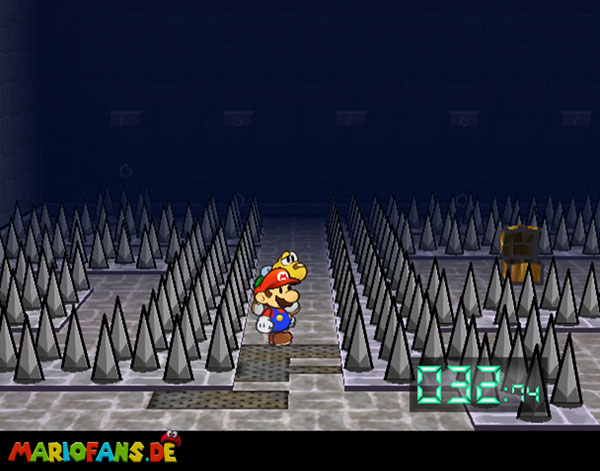
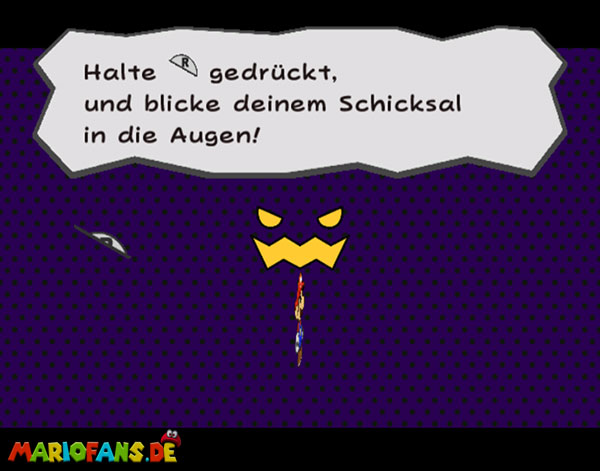
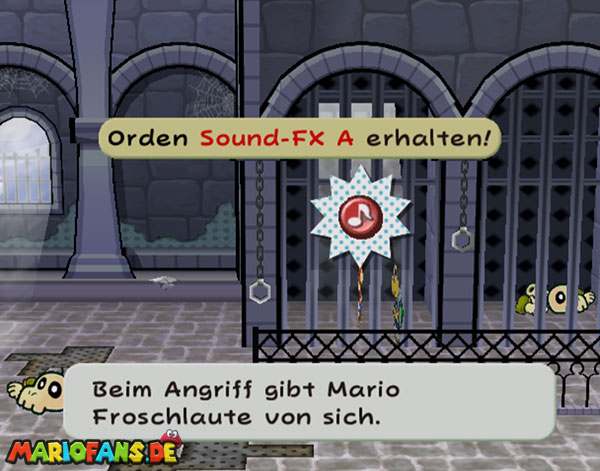
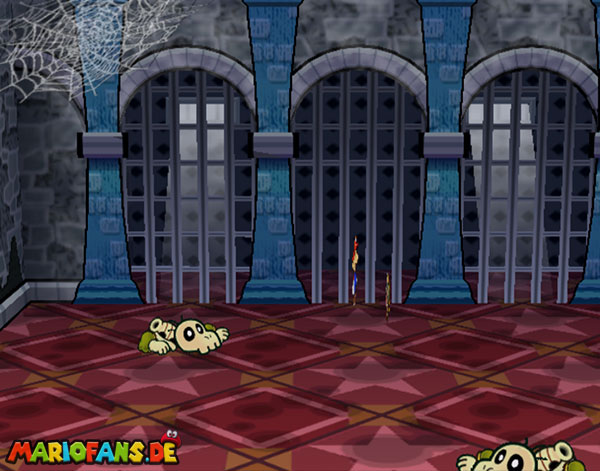
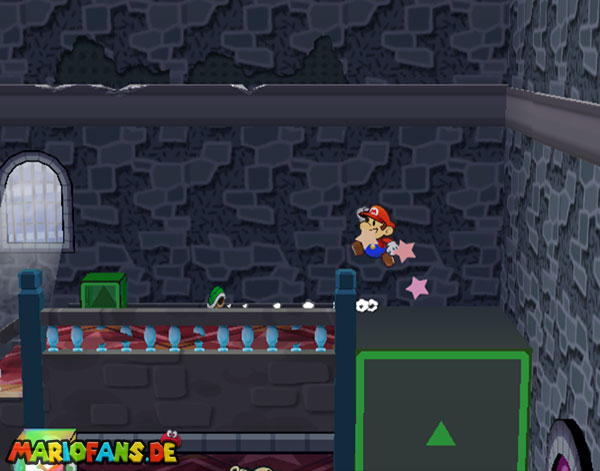
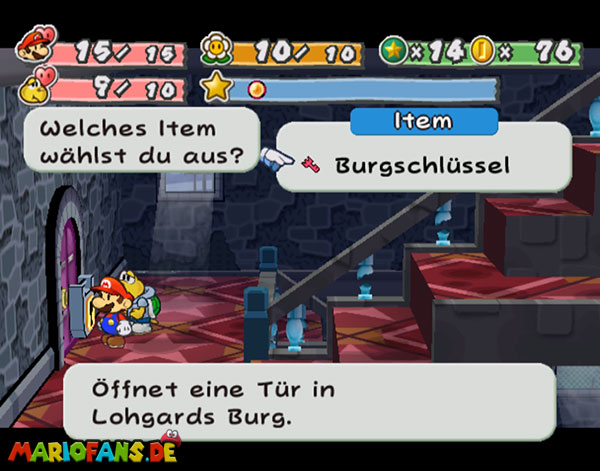
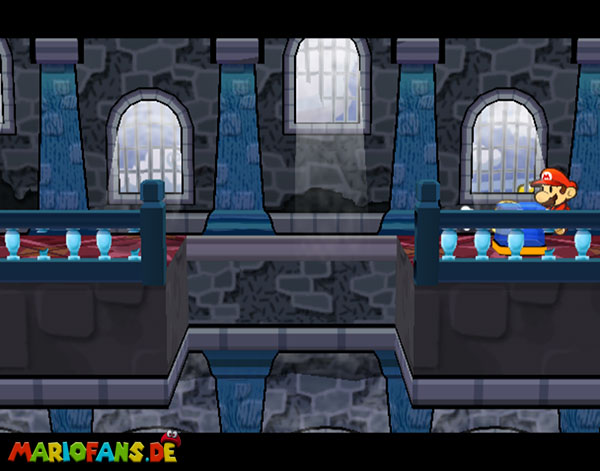
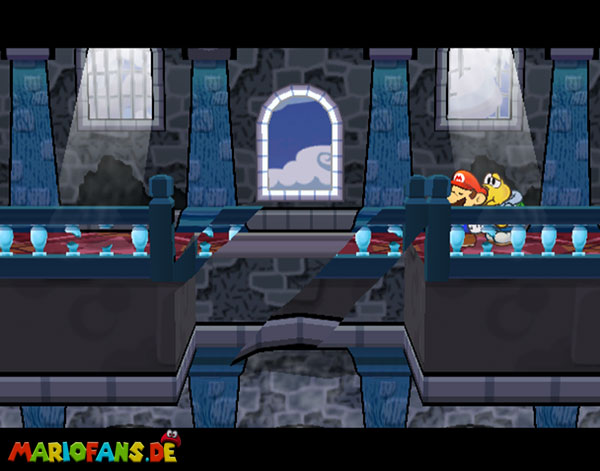
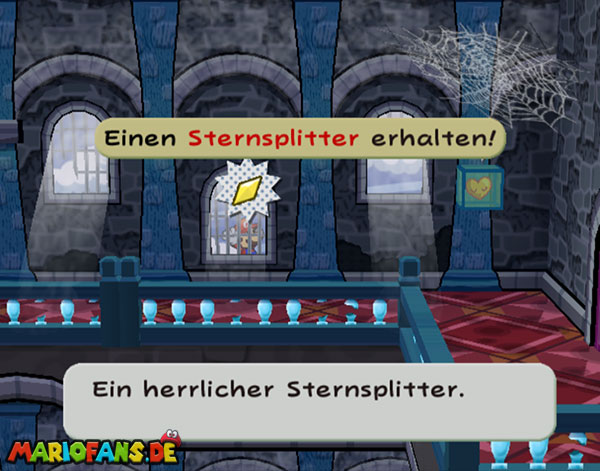
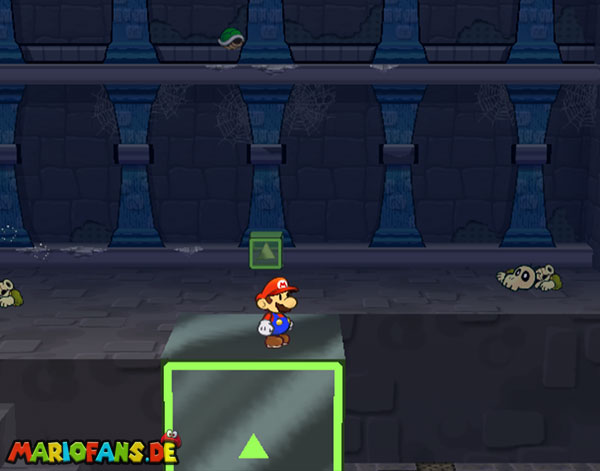
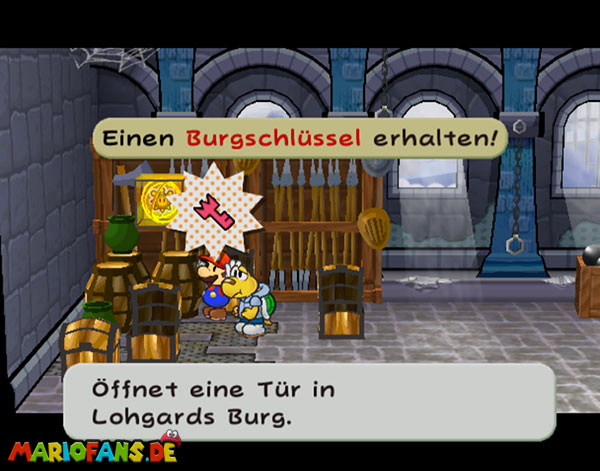
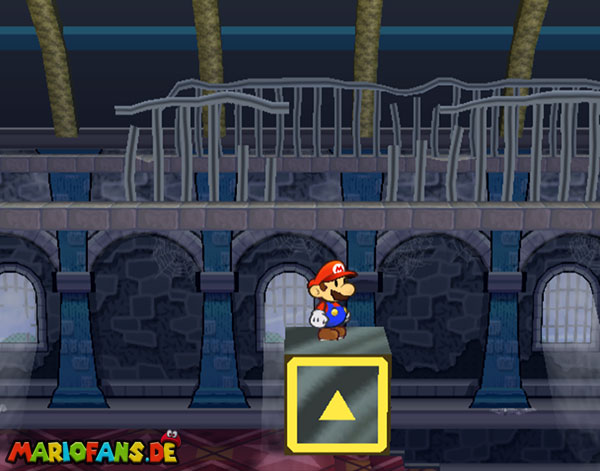
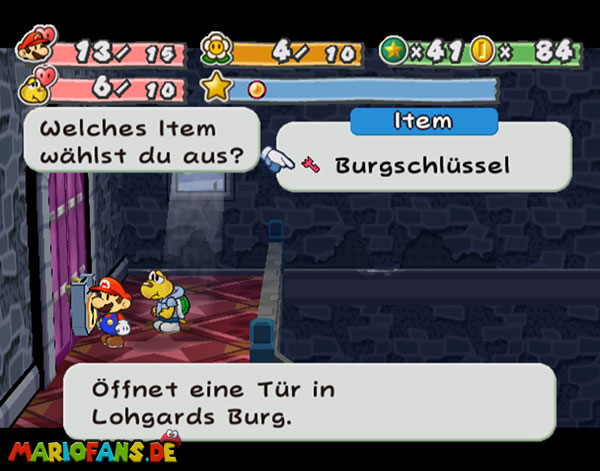
To open them, you need the key from the next room. Get it out of the treasure chest, but from now on time runs and a barbed ceiling comes down from above. In addition, the way back is a bit more difficult, as you have to go through a labyrinth. Open the black chest with the key and you will be cursed again. Get next door behind the bars the important Attack FX R Badges. With the new ability, you can now just slip through.
Then run back to the room where you found the letter by the skeleton. There you can get a castle key from a dungeon. Return to the Save Block on the right and walk up the stairs. Again, use co-ops to press the green block and drive up. Unlock the door there and regenerate behind it on the heart block. Control the 2 blue switches and then climb through the window.
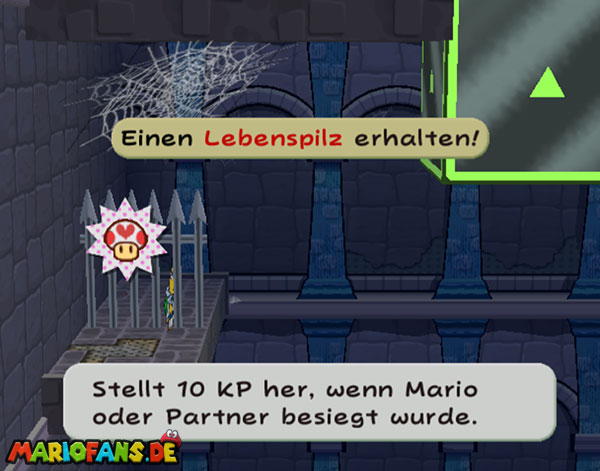
Go to the left and climb back into the interior. In the next room you have to activate a green elevator in the usual way. Run up to the left and drop back down. You land on a lead. Go through the grid and grab the Life Mushroom. Then return to the top and walk into the left room. You meet Nagarine, but she disappears through the window.
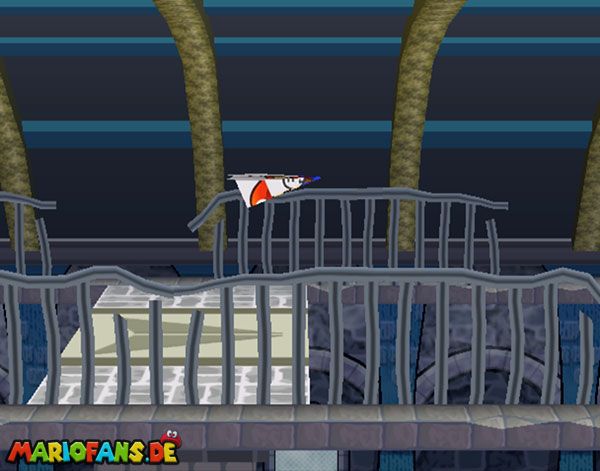
Search the chests and take some items and the castle key with you. Besides that, you will find another insignee in the room. Then open the door outside on the right and drive up with the yellow block. Juggle on the narrow web to the left and use the paper curse to get through the grid bars on a ramp. Sailing as a paper plane to the other side.
Then walk down the stairs and send the elevator away. With coops, get the castle key on the other side and drop down. Here you can collect the Last Stand P Badges. Return upstairs and climb the stairs where there is another insignee. Through the door you come to the castles. After a few fights, you can climb the tower and refresh and save yourself at the end. There is a great fight ahead.
Fight against Hooktail
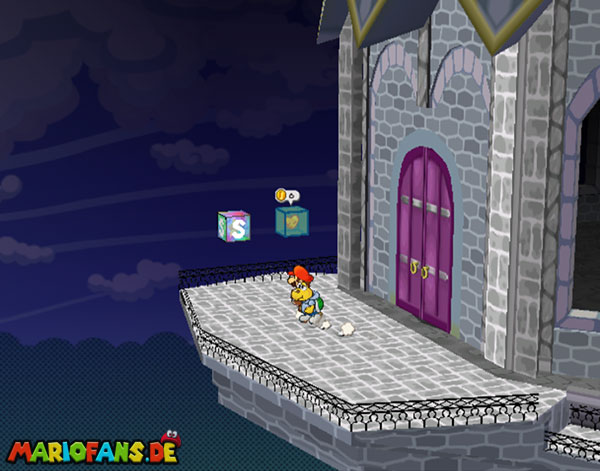
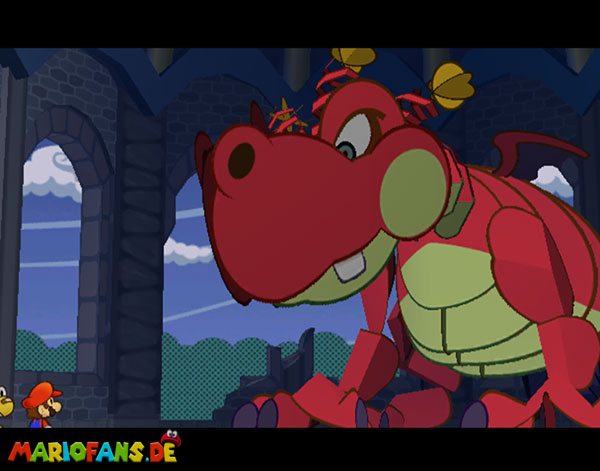
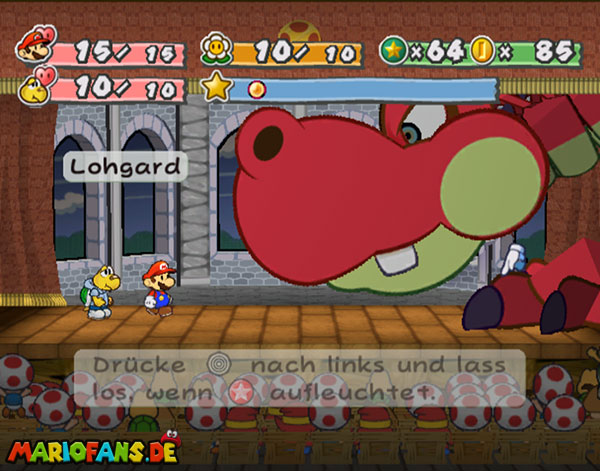
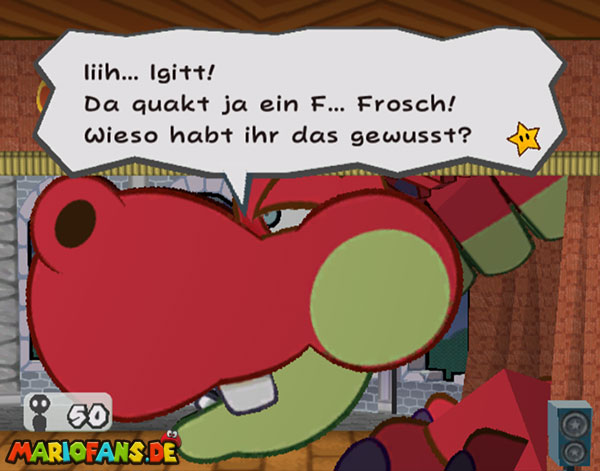
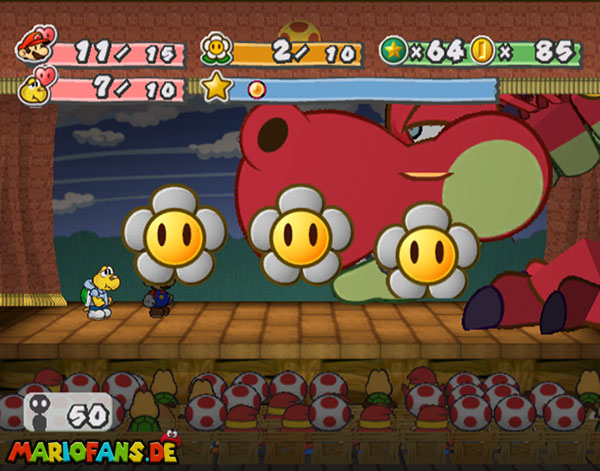
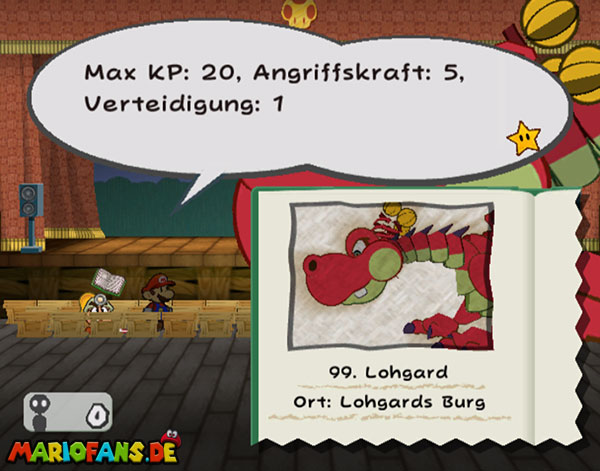
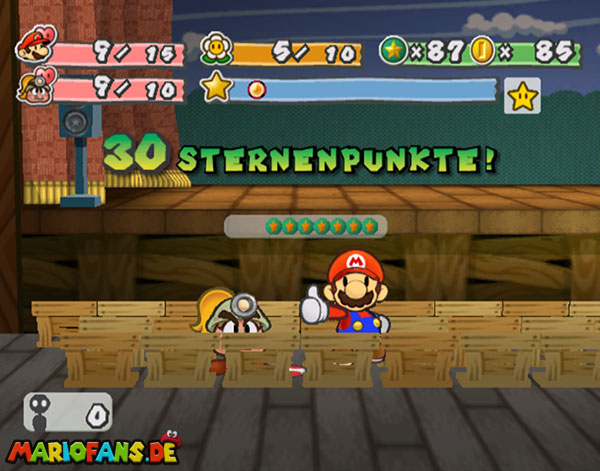
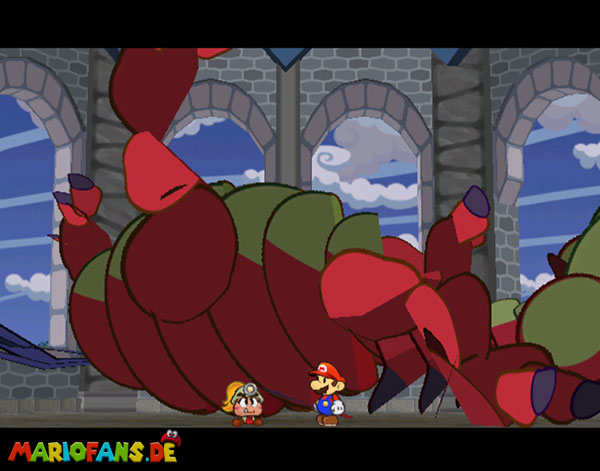
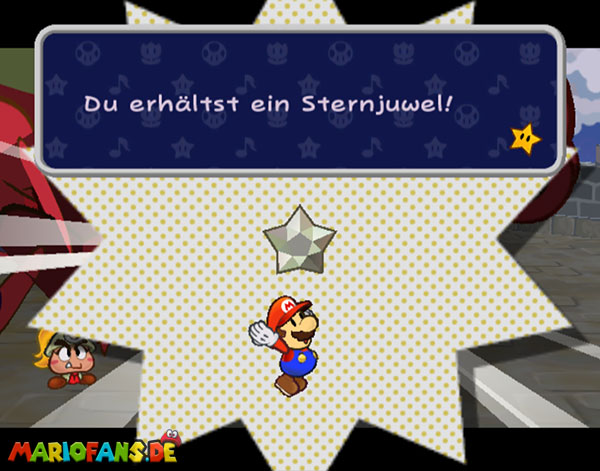
Definitely put on the attack FX R Badges, as it significantly weakens Hooktail. Ever since she swallowed herself on a frog, she is disgusted. The dragon has 20 HP, which should not be a problem. Due to the constant croaking in your attacks, the attacks come out better and theirs are all the less effective. After their value dropped to zero, Hooktail tries some bribery attempts. Do not go into it, otherwise you will take unnecessary damage. The dragon is not yet finished and eats the audience to great horror. This brings her new 10 HP. Now, finally, kill her!
She collapses and haunts the father of Koops. From him you get the star jewel and learn the second star attack – the Maxi quake.
| Name | Max. HP | Attack | Defense |
|---|---|---|---|
| Hooktail | 20 | 5 | 1 |
Elsewhere!
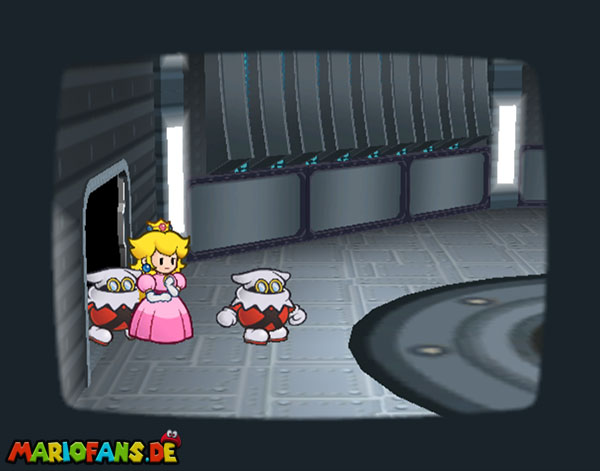
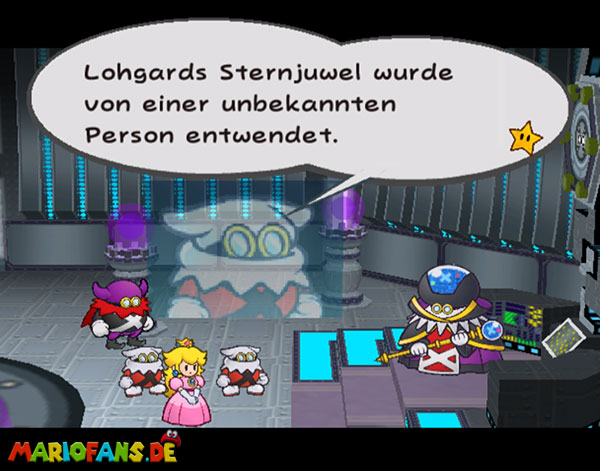
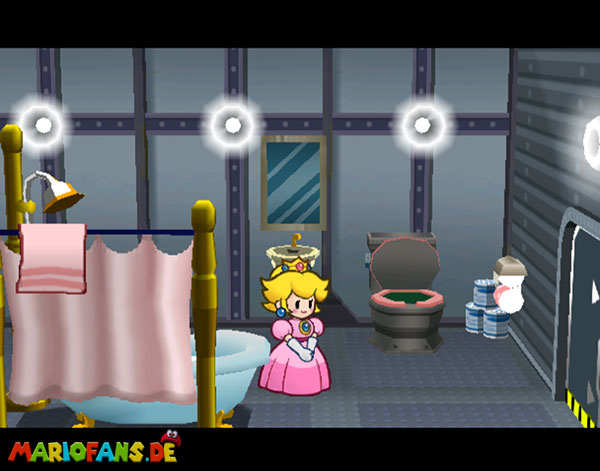
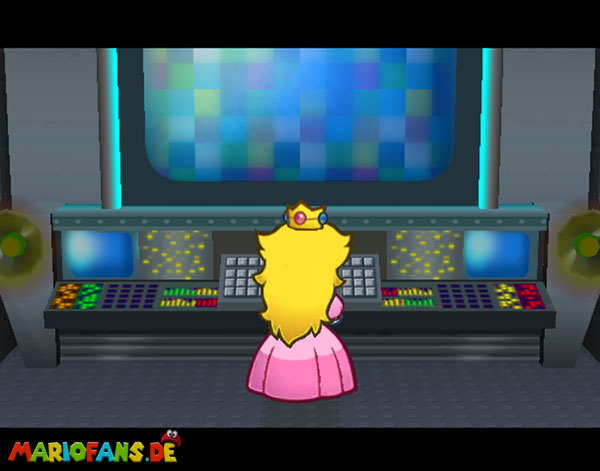
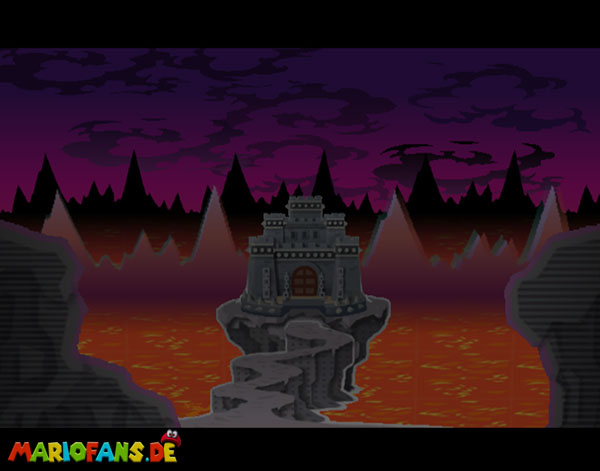
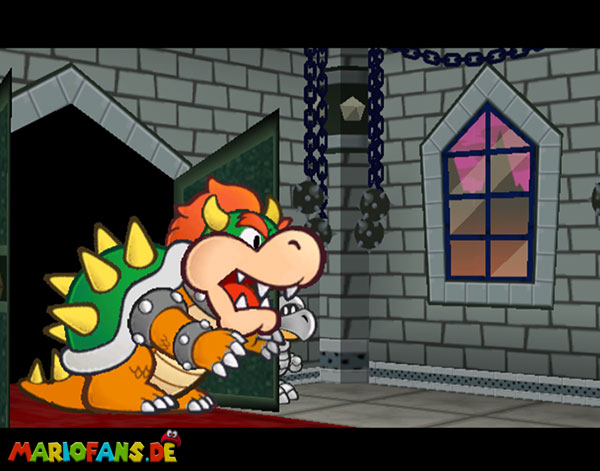
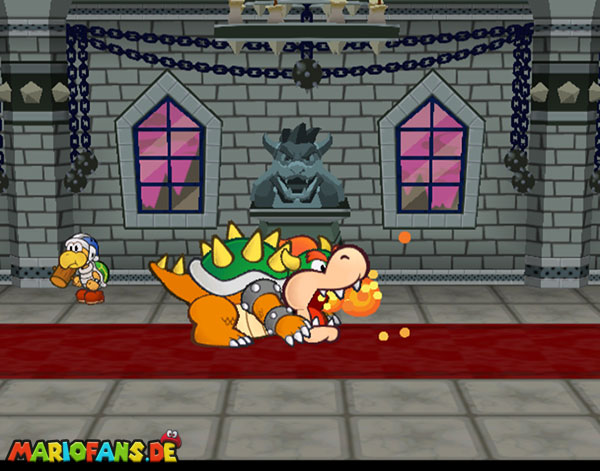
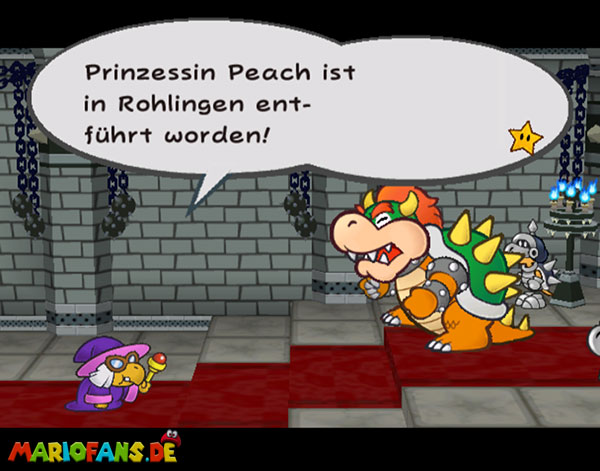
Now for the first time you can take over the control of Princess Peach and Bowser. After the conversation, you will be taken to a room by the Crucions.
Go left with Princess Peach and take a bath. Then you walk right through several doors and you have the first encounter with Tech, the smartest computer in the universe. He fulfills a wish if you explain to him in return what love is. So you send Mario an e-mail and can return to your room.
In the next scene, steer Bowser to the end of the hall and follow the conversation with Kammy Koopa clan clan.
Back to Rogueport (Optional)
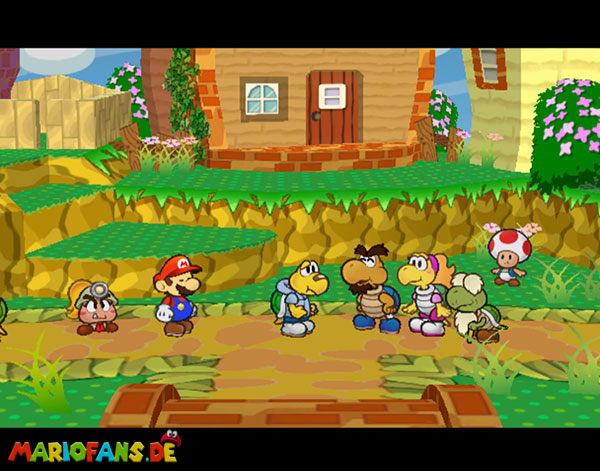
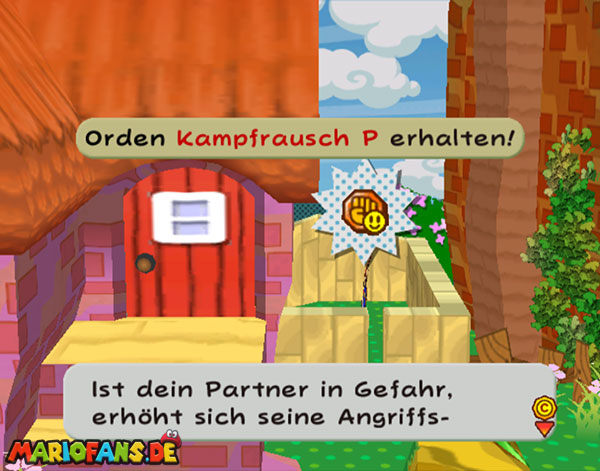
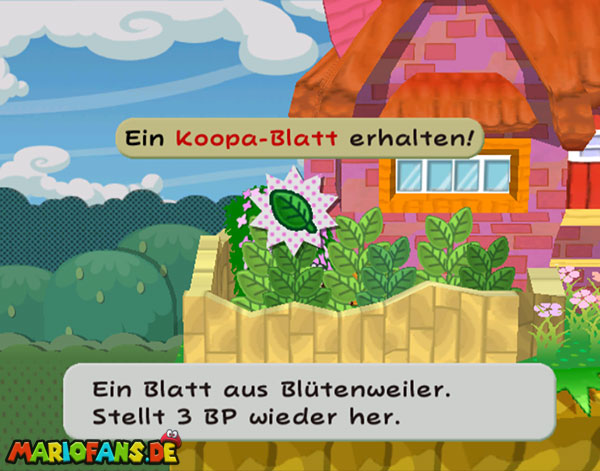
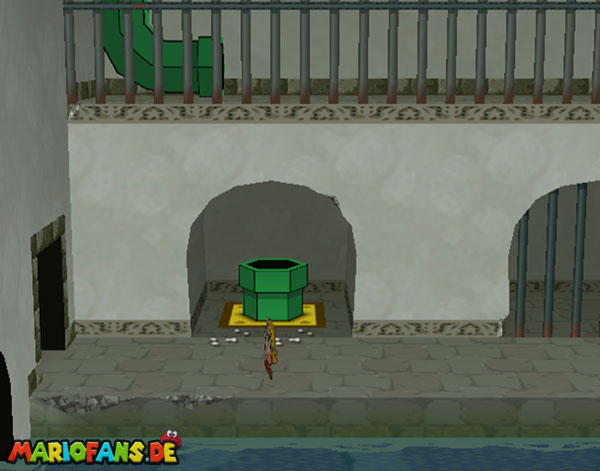
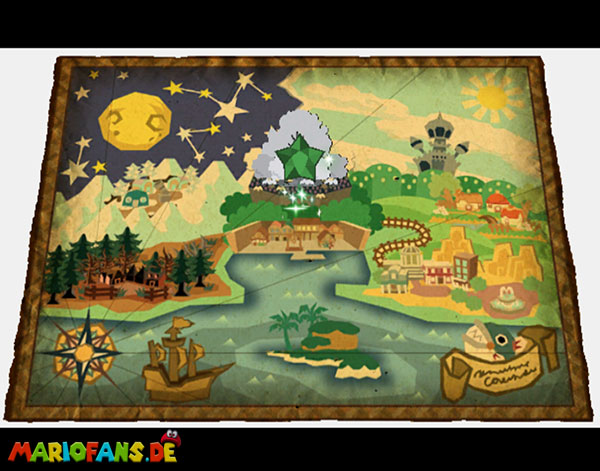
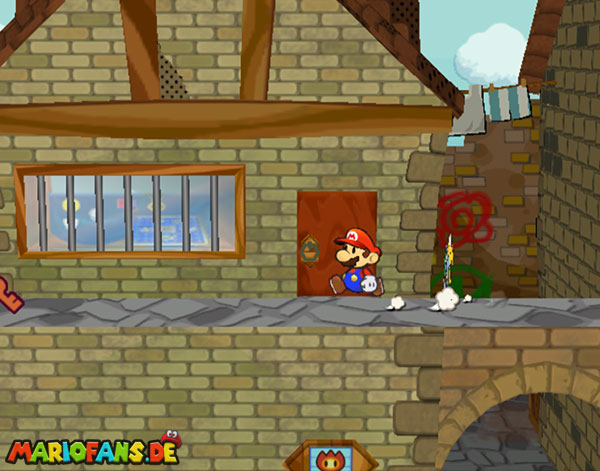
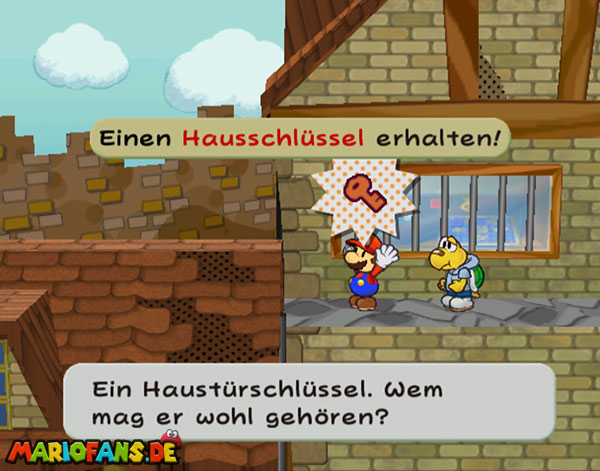
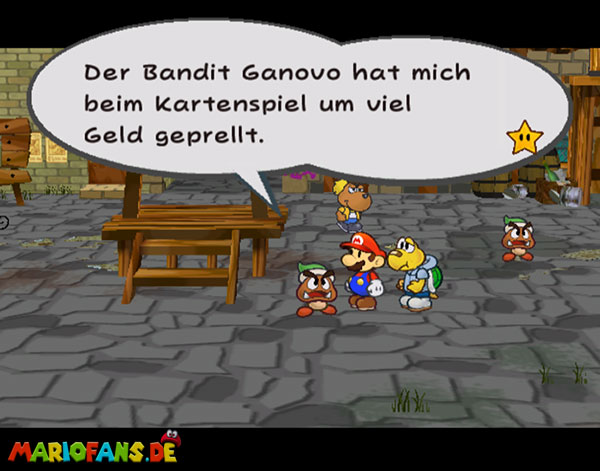
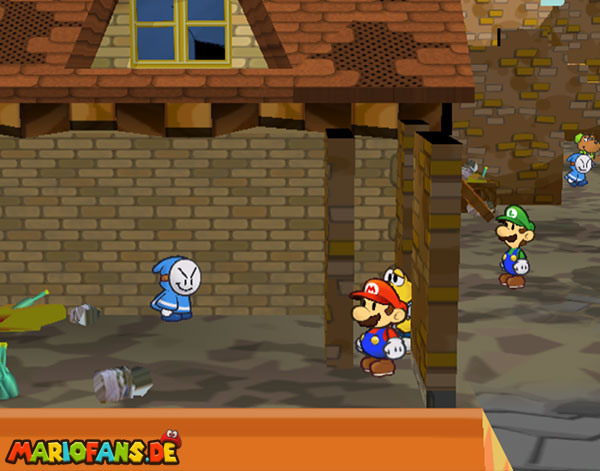
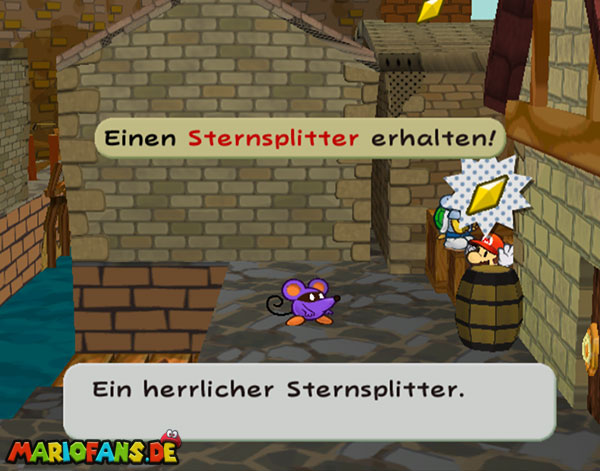
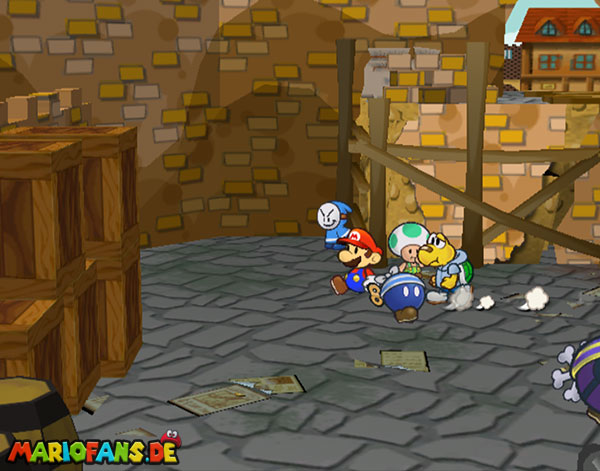
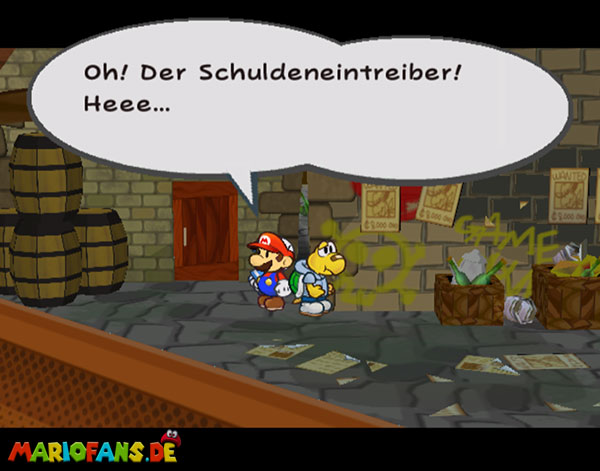
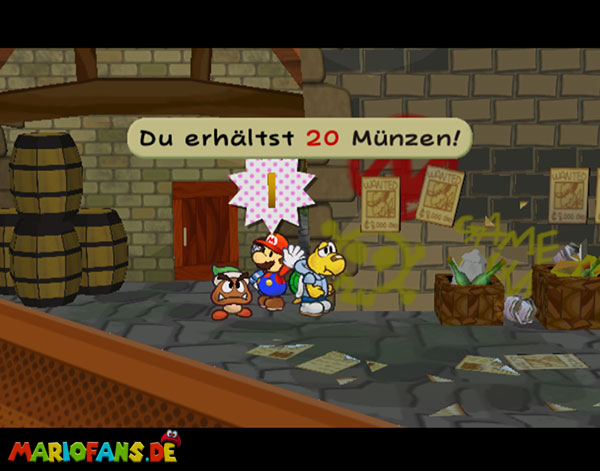
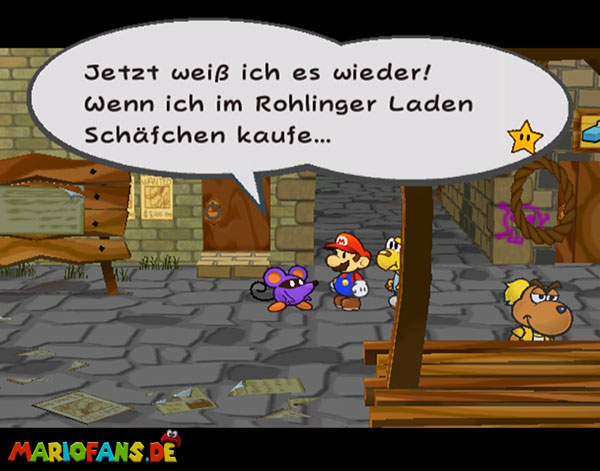
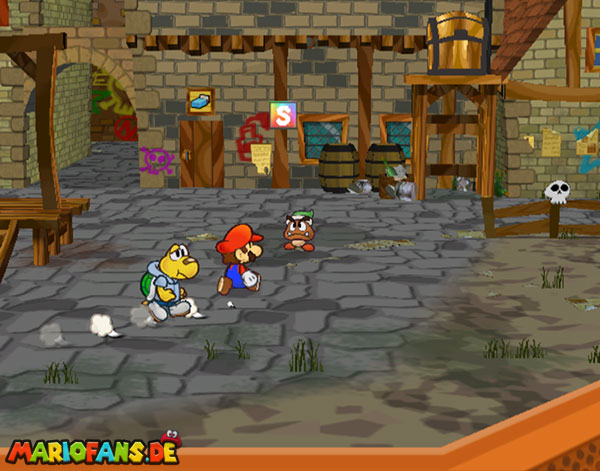
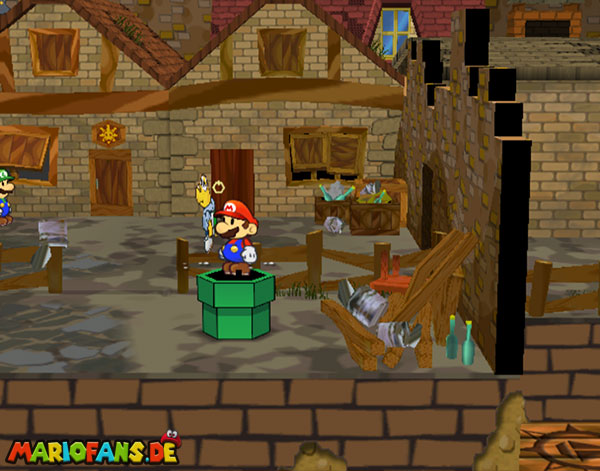
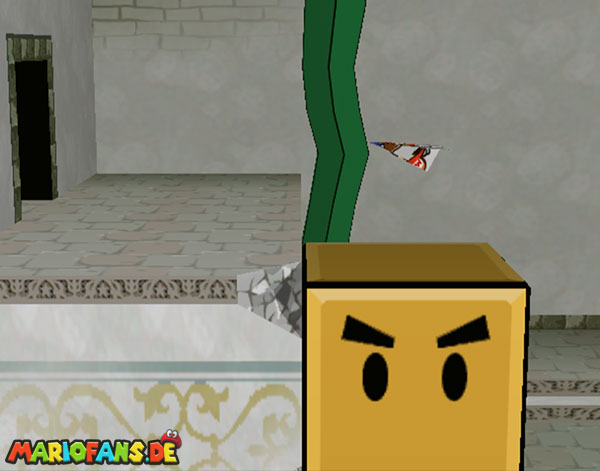
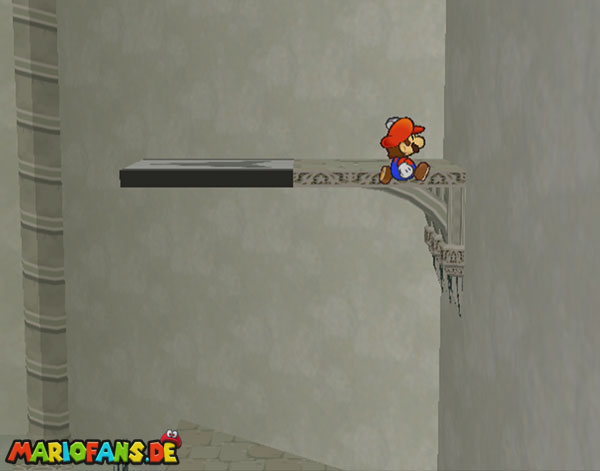
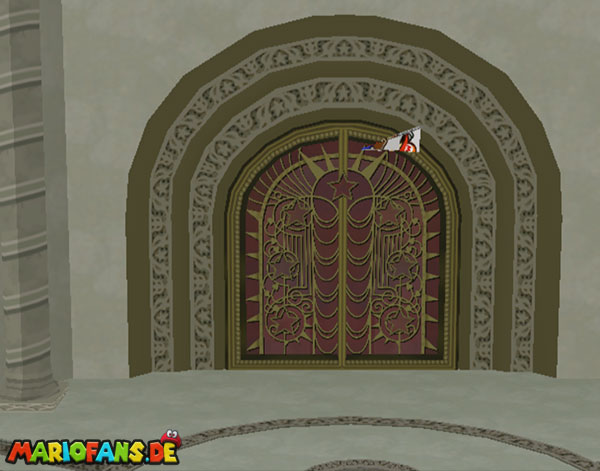
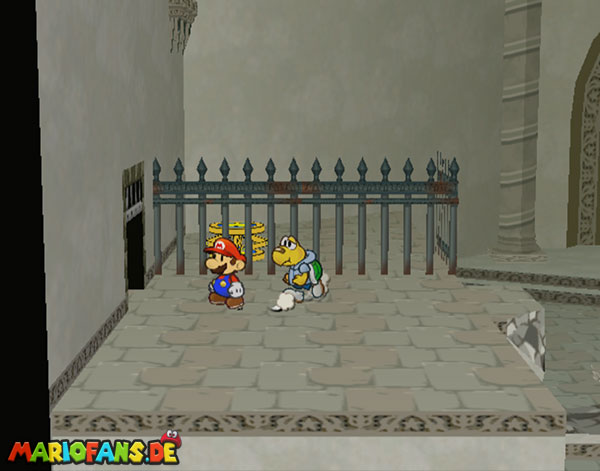
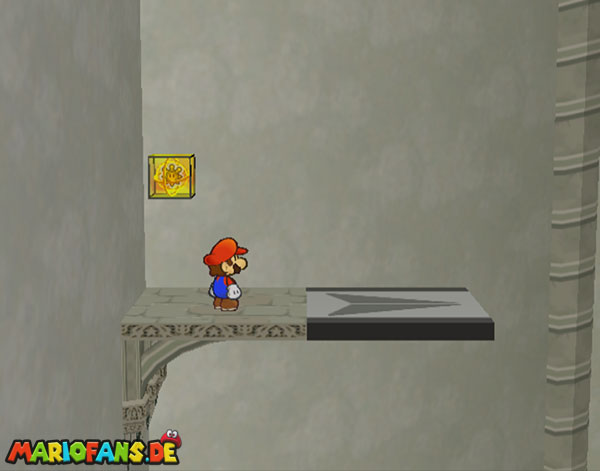
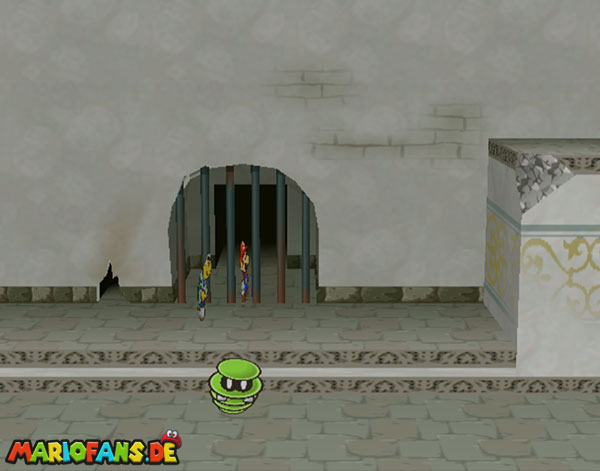
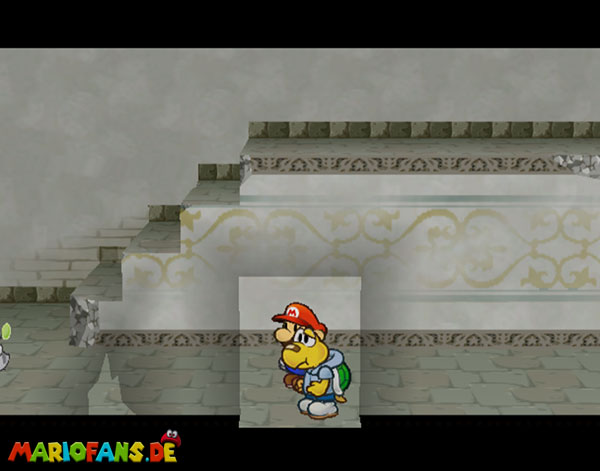
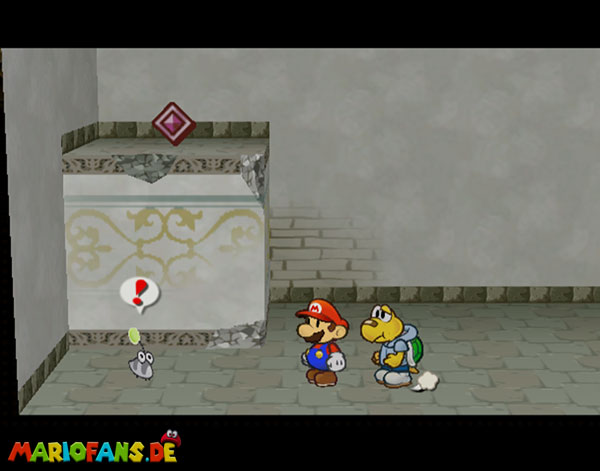
Finally, our mustache hero can come back! Run as a paper Mario in Petalburg through the gap in the Wall at the Mayor’s House and get the Mega Rush P Badges.
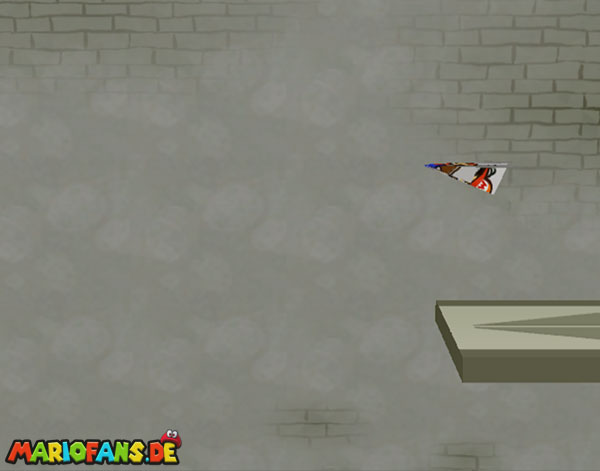
Head back to the Thousand-Year Door. Once you get there, go right through the grid first and jump up with the spring. Fly to the other side and use a Cape Feather again to get to the Shine Sprite.
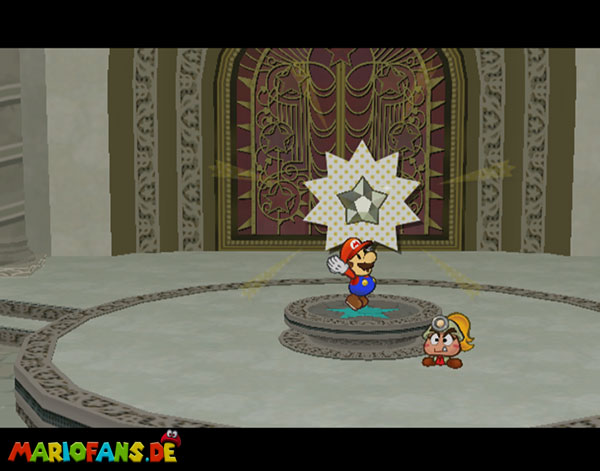
Then climb onto the pedestal in front of the gate and you will be entered the position of the next star jewel. Back to the professor, he is available to you with advice. After the conversation, Rogueport offers different options for you.
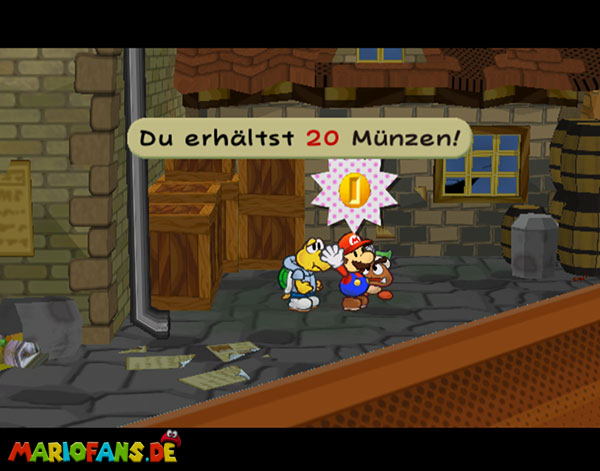
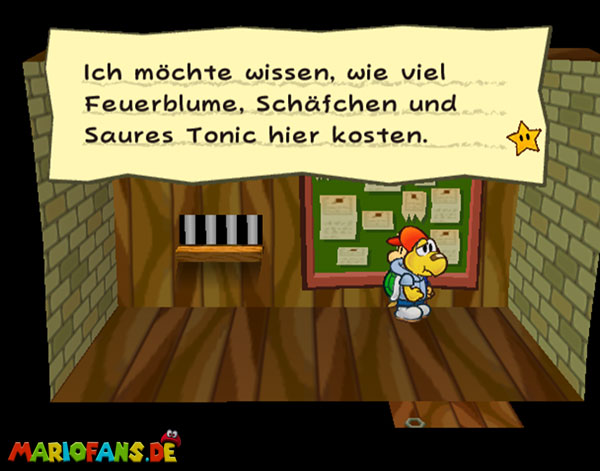
Outside the professor’s house is Luigi, who has a nice story in store. Furthermore, you can now bring the contact lenses to Zess T., as it can now be bought in the lobby shop. The little one then returns to her house and is available to you from now on with her cooking skills. Bring her the right ingredients and she’ll give you a hearty meal.
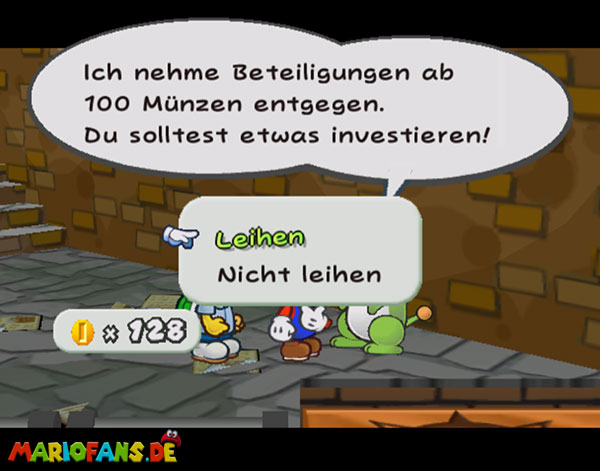
At the port, Lumpy is looking for investors for its oil company. If you have the money left, the financial participation is worth it, because at the end of the 7th. Chapter is payday and you get a handsome winning sum.
Furthermore, you should definitely increase the rank of one of your team members at the wizard Merlon.
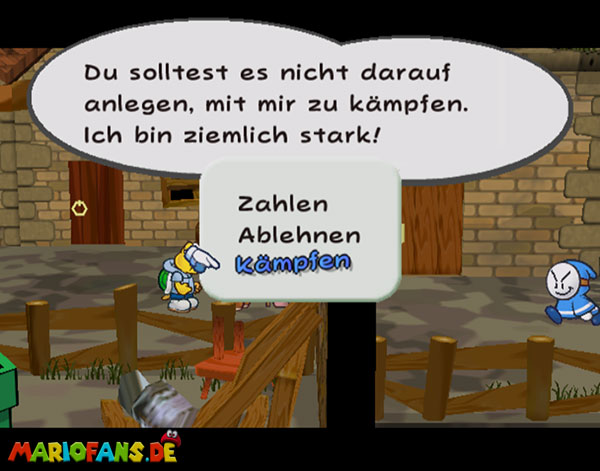
In front of the Ostend quarter stands Gus. The guard has 20 HP and will only let you pass after winning a fight or paying a customs duty. Show him what you have on it and you can explore new parts of Rogueport.
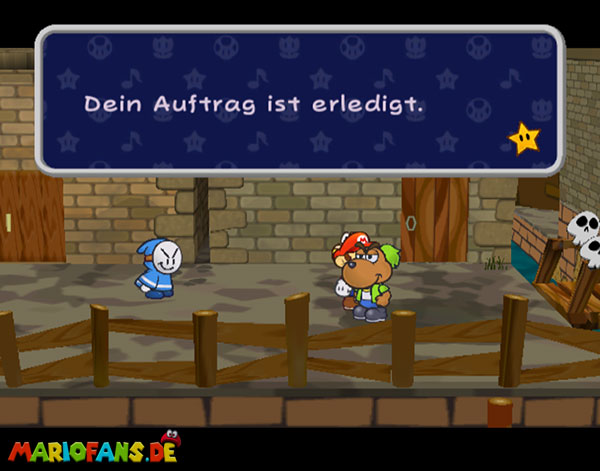
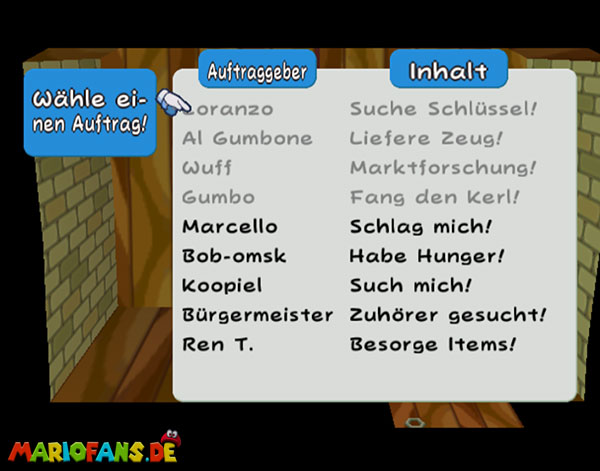
In the Trouble Center, there are a lot of tasks for you that will be rewarded decently. Take a look!Trouble Center
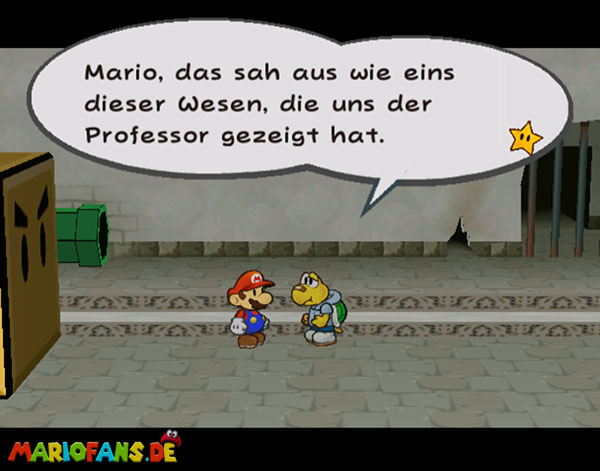
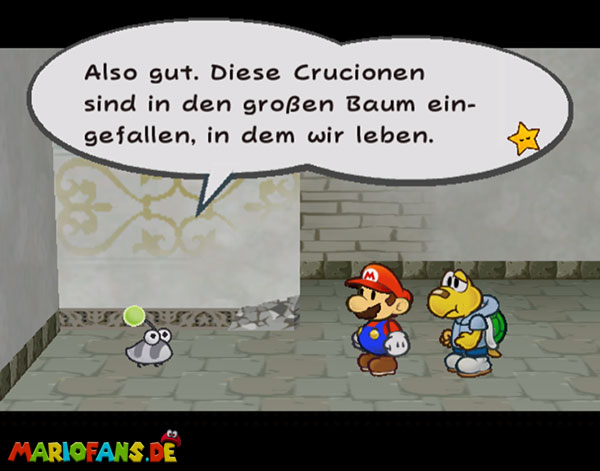
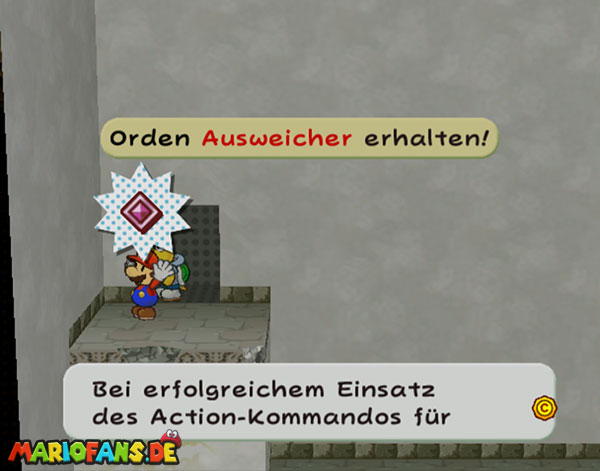
Once you have done everything important, go down to the Rogueport Underground. In the room with the Sproings you discover one of the creatures that the professor showed you. Follow the fearful thing and go through the bars. After gaining some trust, it asks for help. The Crucions invaded the big tree and caused total chaos. Punio, so the little one is called, opens a secret passage for you. Use it and go left first to take the Damage Dodge Badges. Then move to the right and slip into the grey warp pipe.