
Glitzville
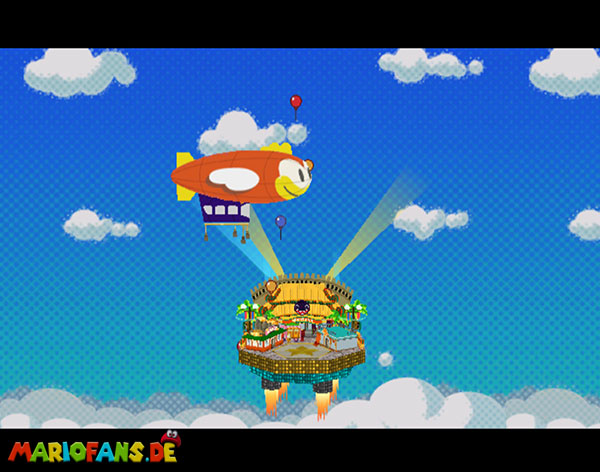
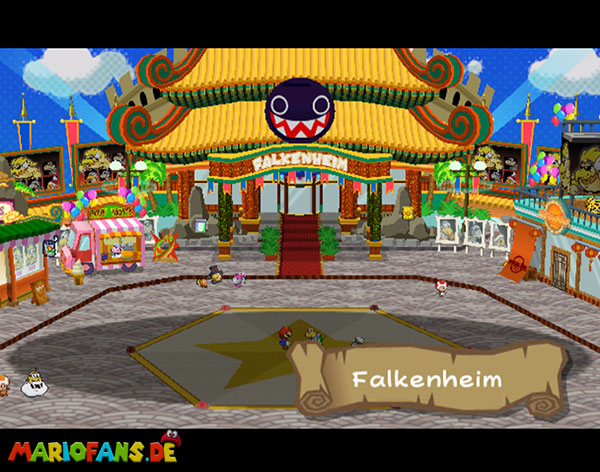
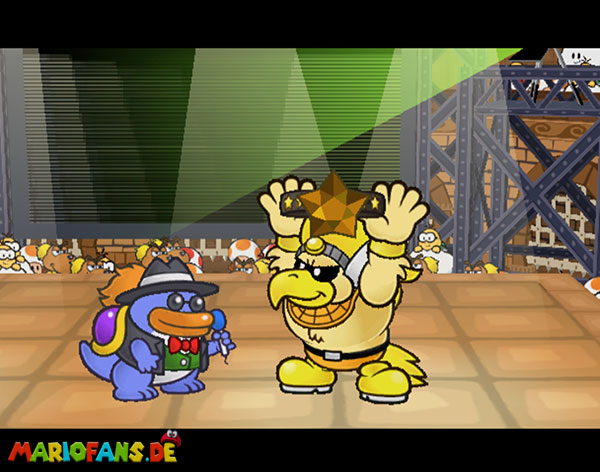
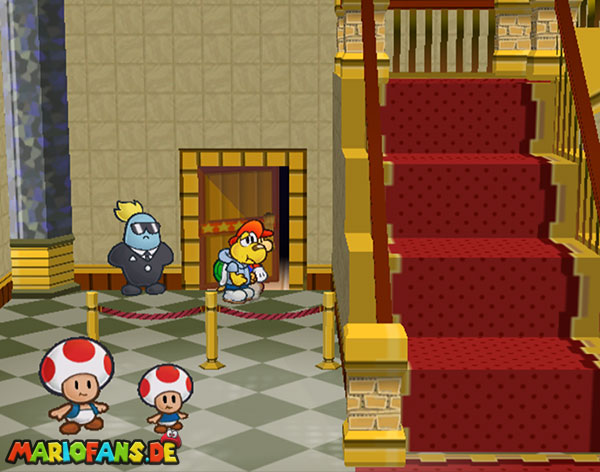
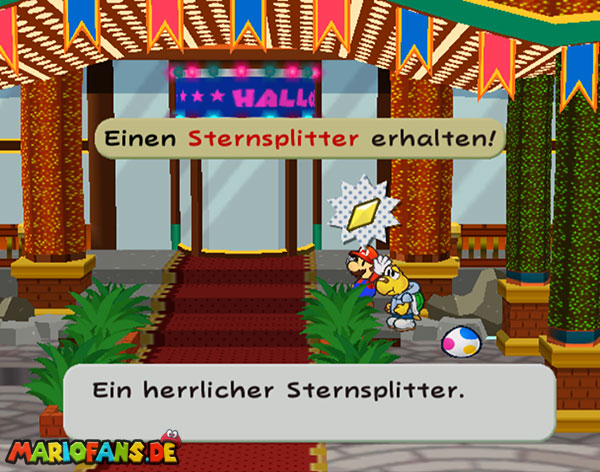
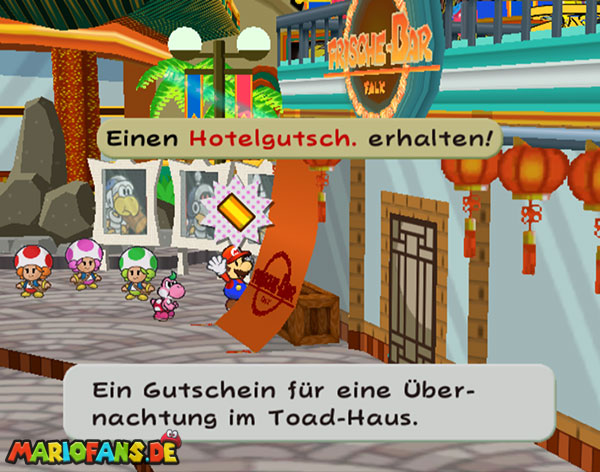
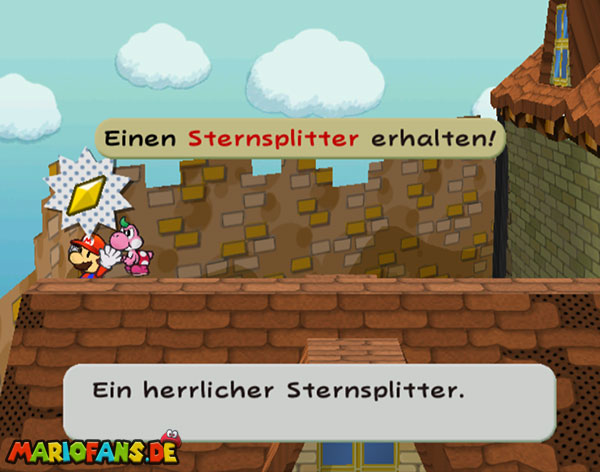
First go to the right and get a hotel voucher behind the tapestry. Go to the bar and get a sliver of stars on the left behind the counter. Go right outside and jump on the blue switch by Ground Pound to create a ladder. Get the badges upstairs and you have access to the flying podium. Then go to the main building in the middle and get a sliver of stars on your right and then go inside.
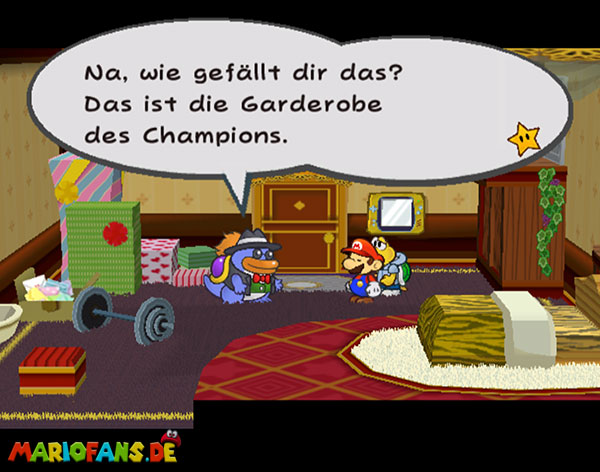
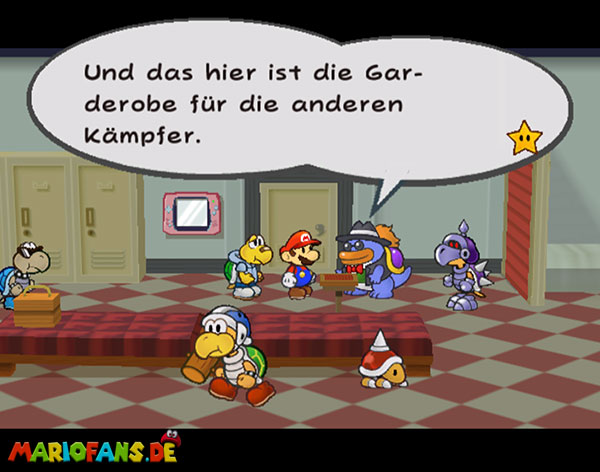
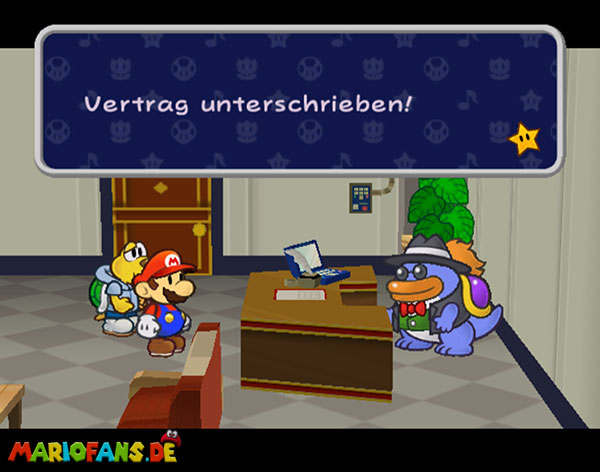
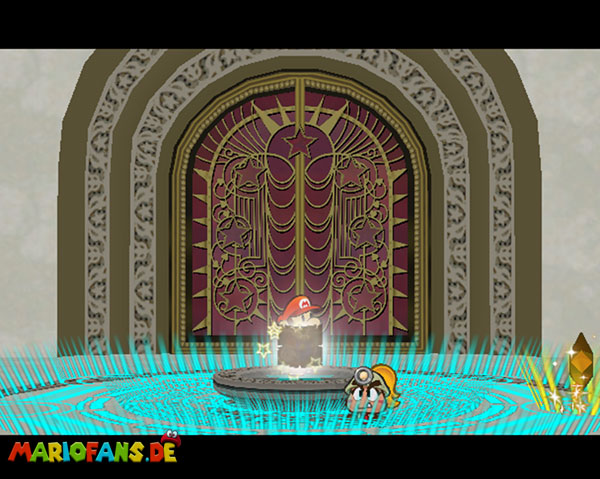
Go straight through the big door to track the sequence and see the jewel. Again outside, the query selects the champion and goes left to the manager’s office and inside. Go left and around the corner the first door in to meet the manager. After the long sequence, sign the contract and choose your first fight in the battle room. If you get picked up, the show starts. Win the fight and you can rest in the bed on the right again and again. You have to go from 20th to 1st.
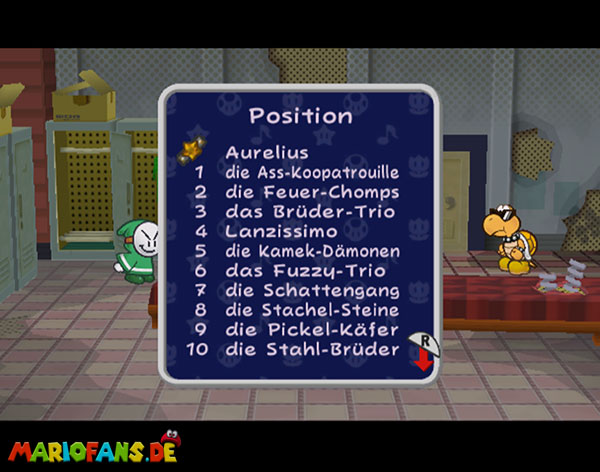
Order of priority:
| Champion | Rawk Hawk |
|---|---|
| 1. | Dark Koopatrol |
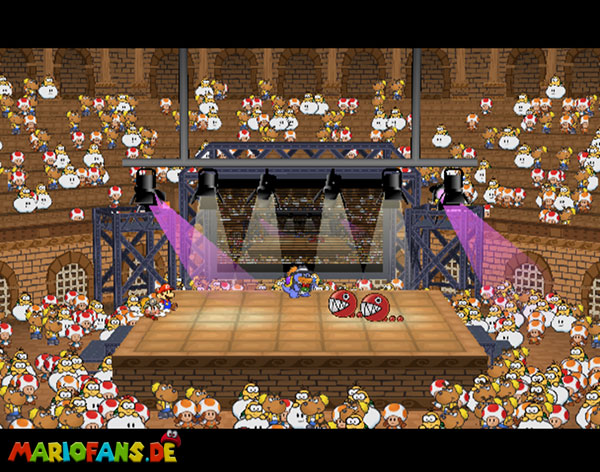
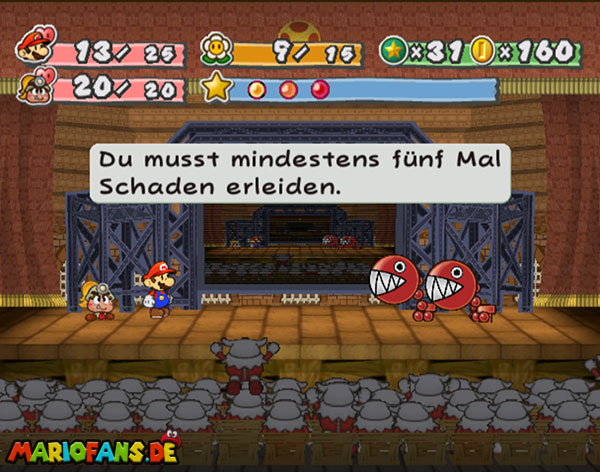
| 2. | Fire chomps |
| 3. | Brothers trio |
| 4. | Lanzissimo |
| 5. | Fuzzy trio |
| 6. | Magikoopa demons |
| 7. | Barbed stones |
| 8. | Shadow |
| 9. | Pimple buzzy beetle |
| 10. | The Iron Adonis Twins |
| 11. | Bombers |
| 12. | Bandit gang |
| 13. | Piranhas & Co |
| 14. | Hyper-stones |
| 15. | Spiny + Partner |
| 16. | Bone knives |
| 17. | Pokey trio |
| 18. | Tank Party Member |
| 19. | Goomba brothers |
| 20. | Bomba Luigi |
Glitz Pit – rank 20 – 15
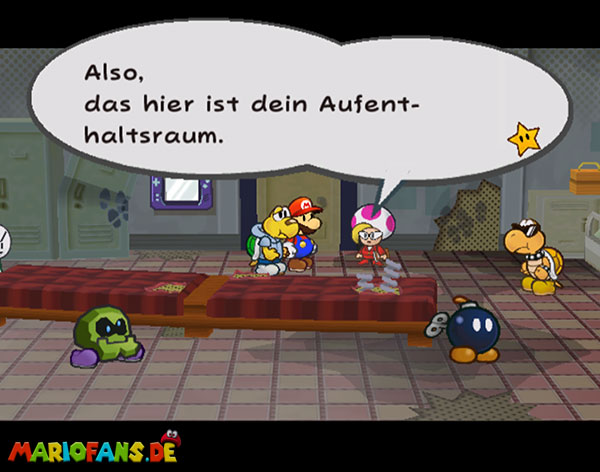
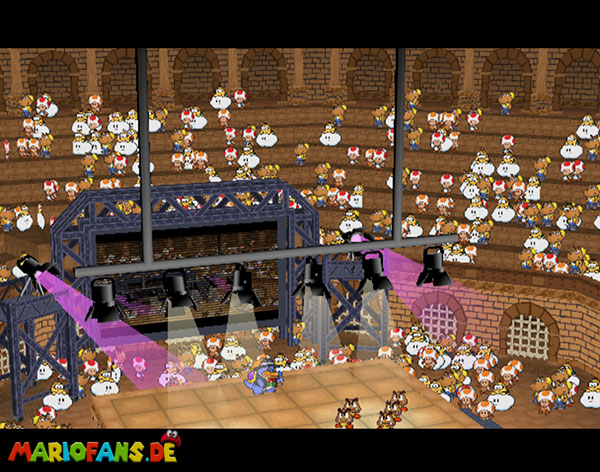
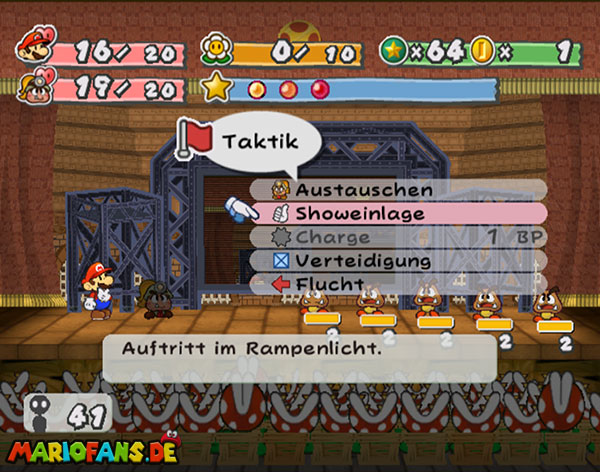
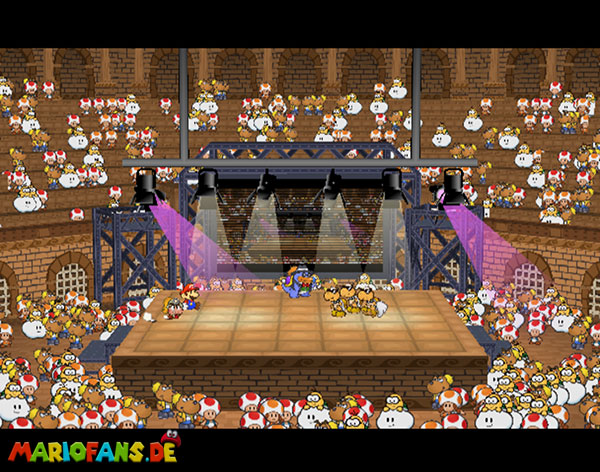
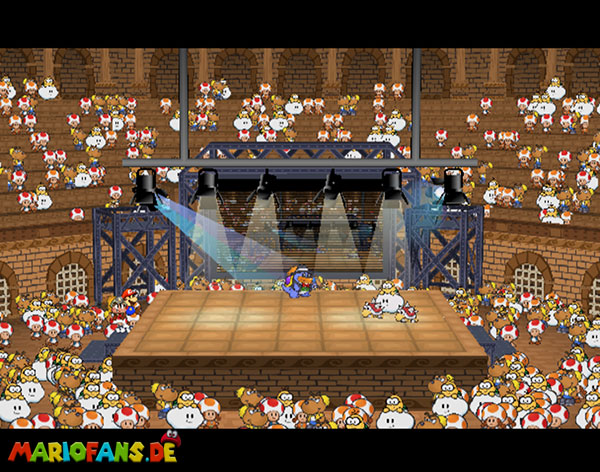
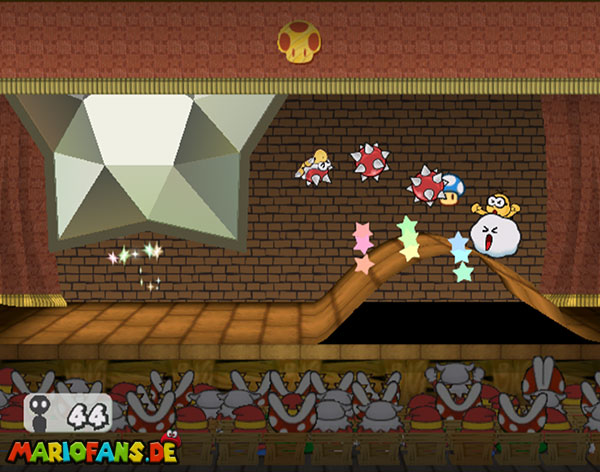
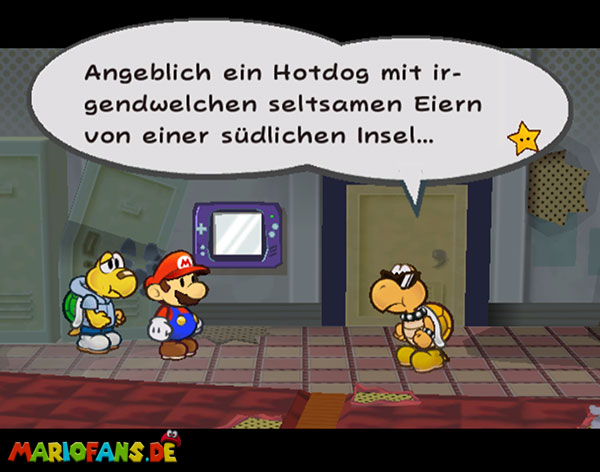
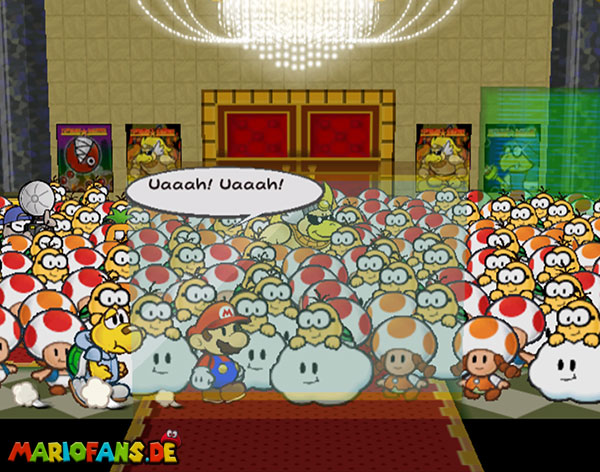
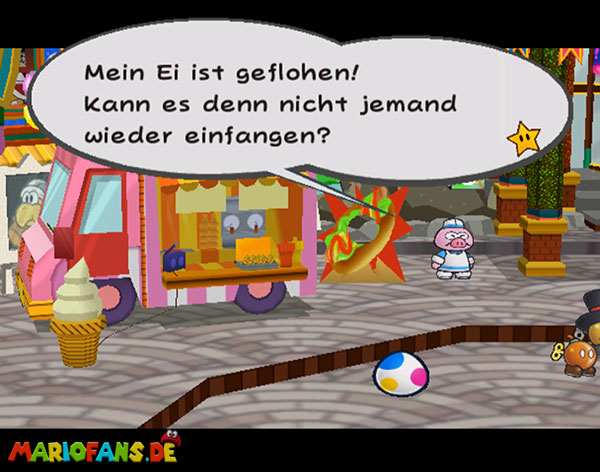
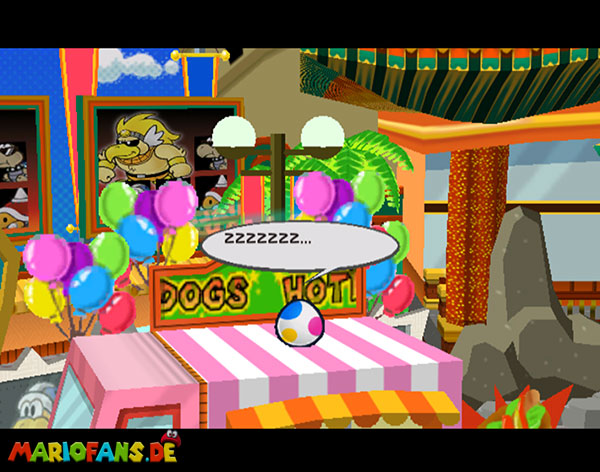
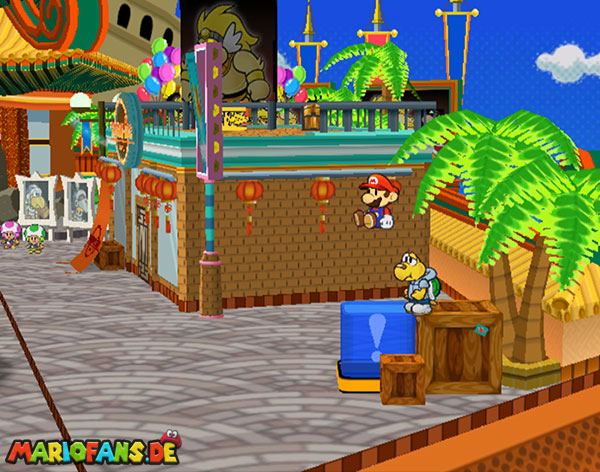
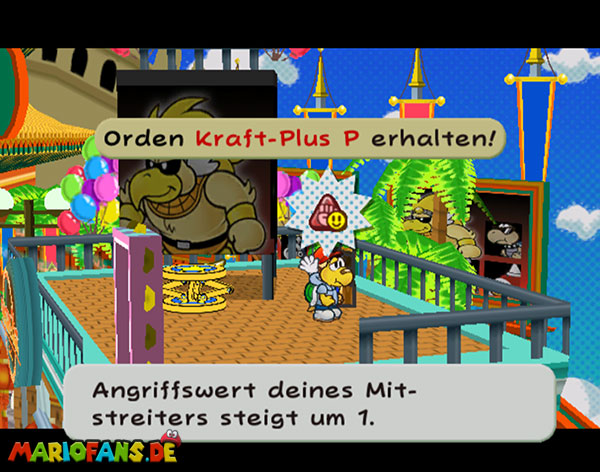
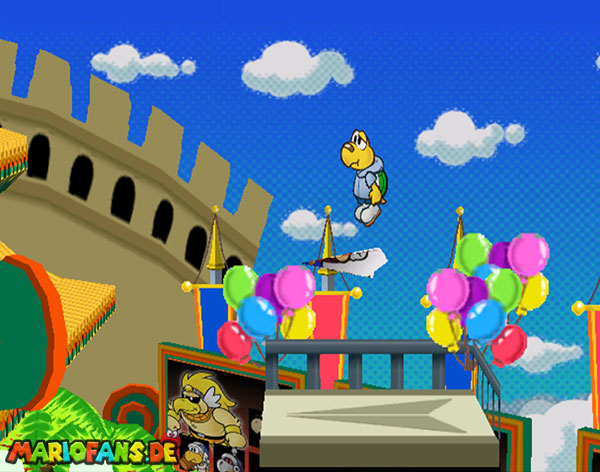
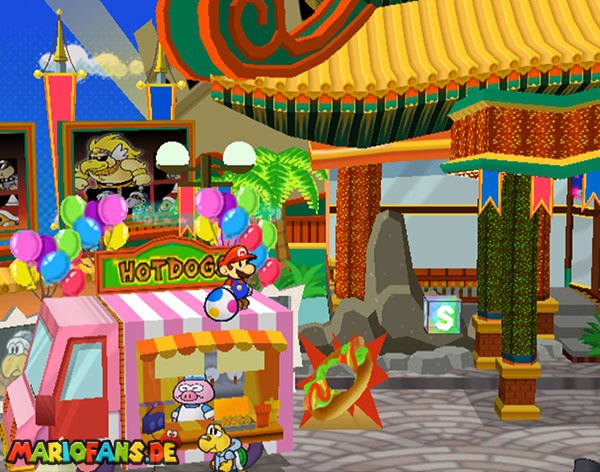
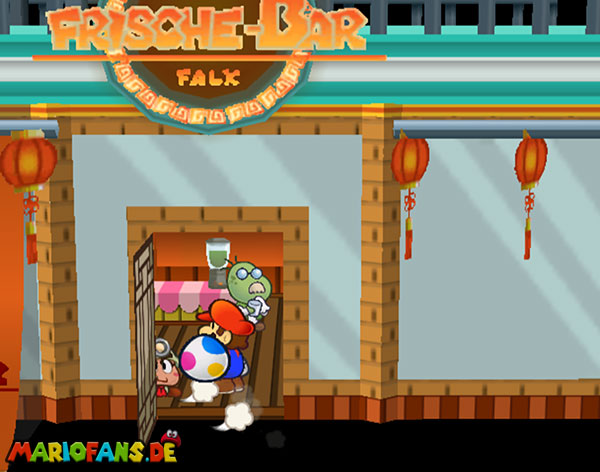
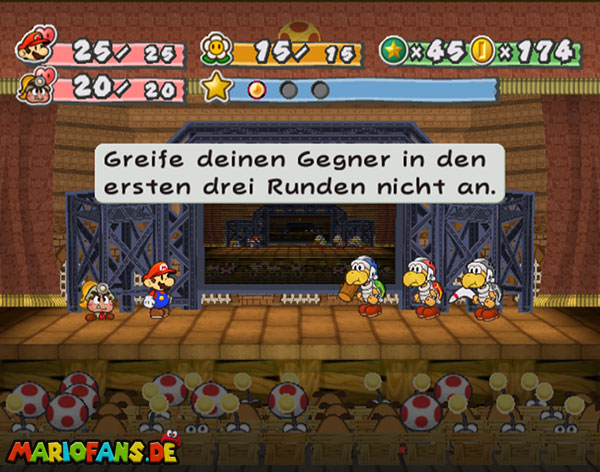
From now on follow some battles that you should create with ease. Always pay attention to the rules of the club bosses. After the third fight comes the sequence with the egg. Go outside to the hot dog stand and let the egg wriggle around until it lands on the roof. Now go to the right and fly to the egg. Help the egg and it will join you. Go back in and go to the next fight.
| Name | Max. HP | Attack | Defense |
|---|---|---|---|
| Goomba brothers | |||
| Tank Party Member | |||
| Pokey trio | |||
| Bone knives | |||
| Spiny + Partner |
Rank 15 – 10 – let Yoshi hatch
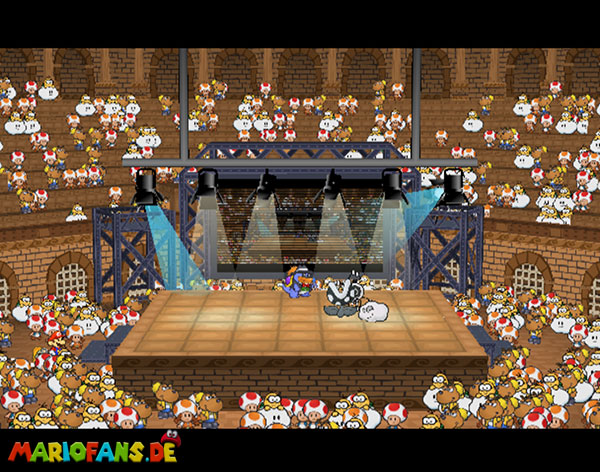
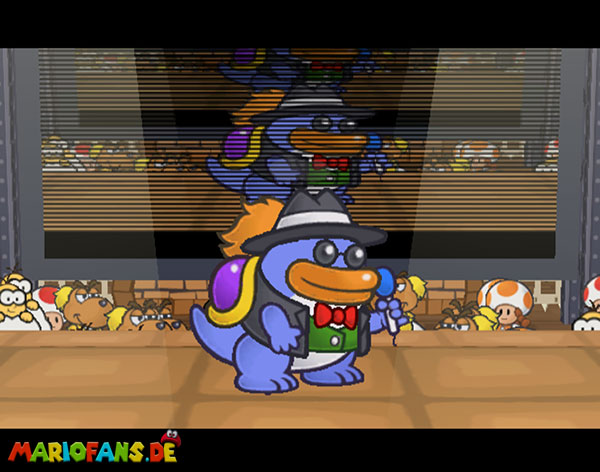
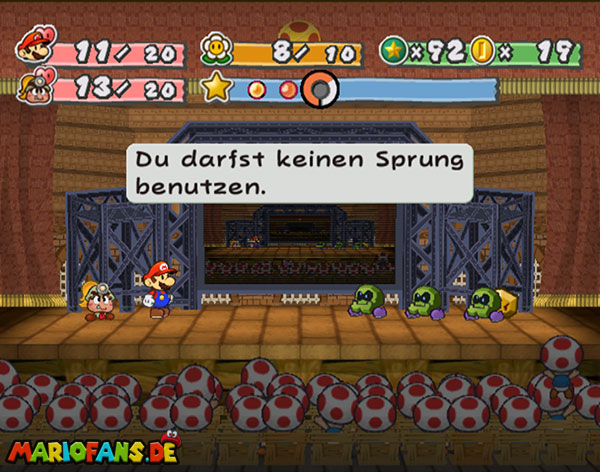
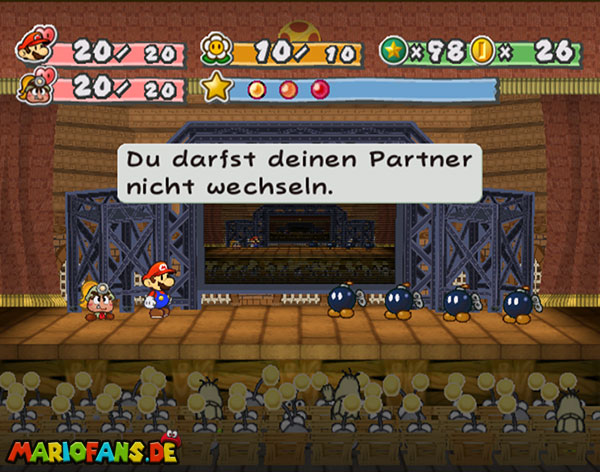
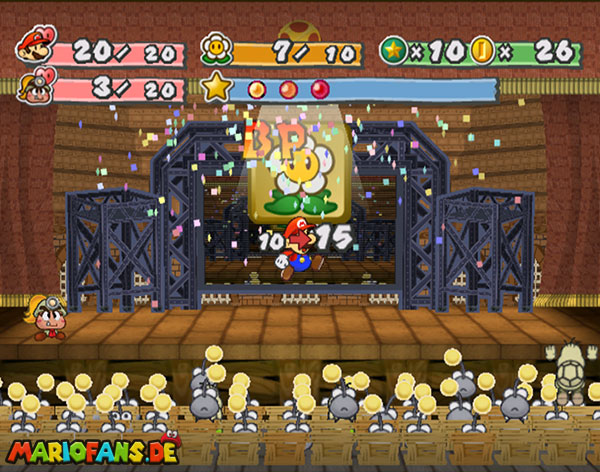
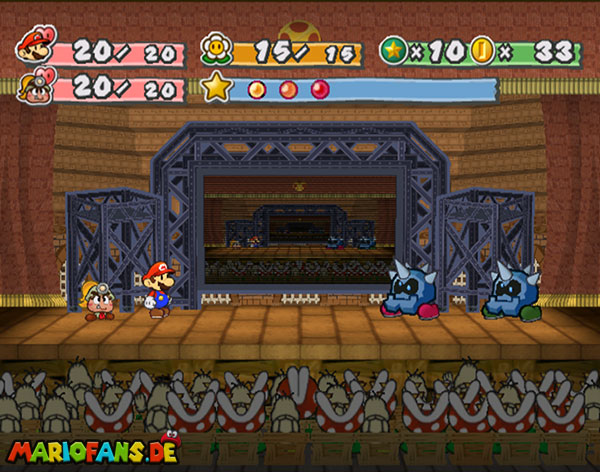
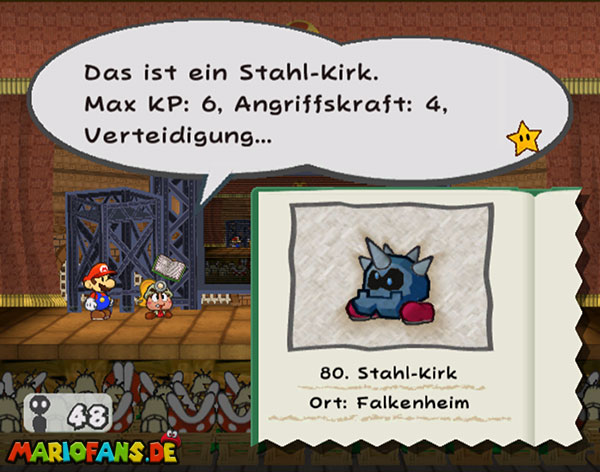
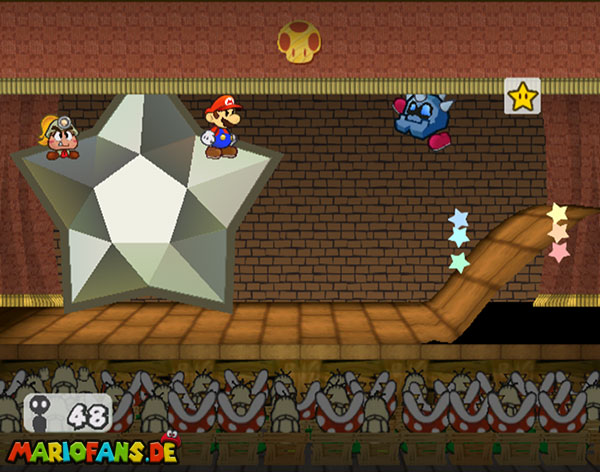
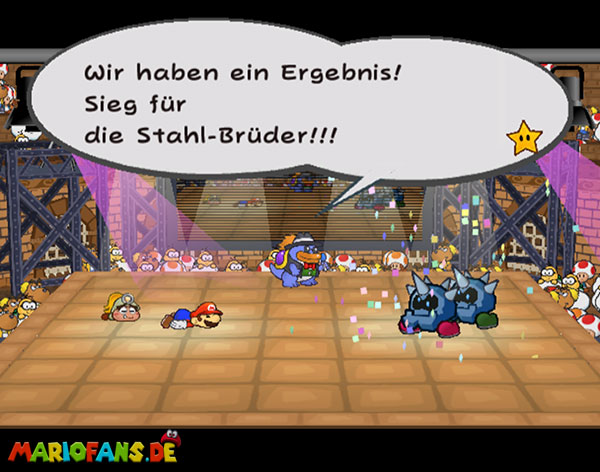
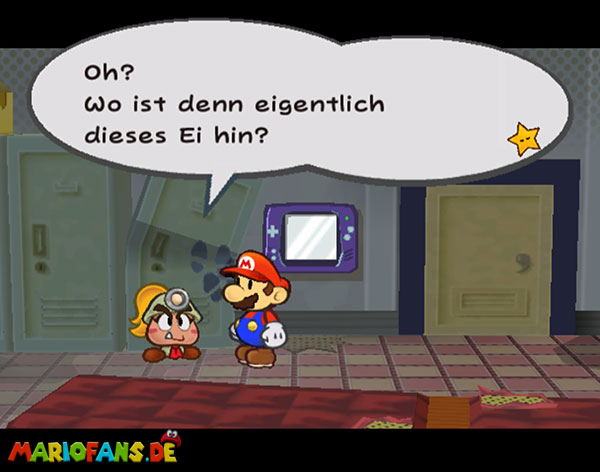
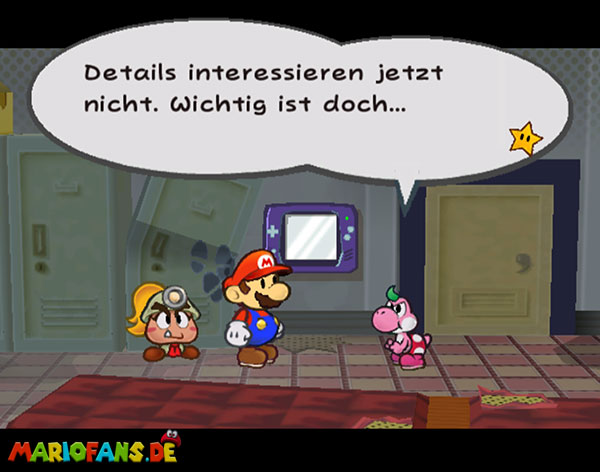
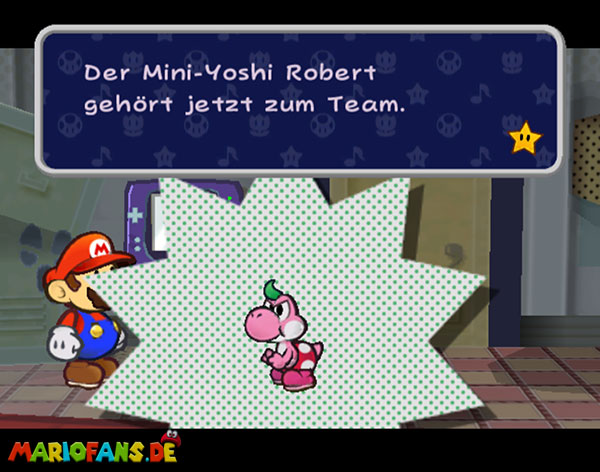
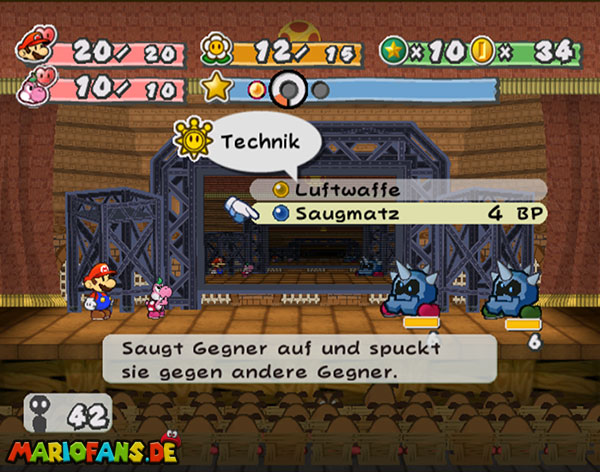
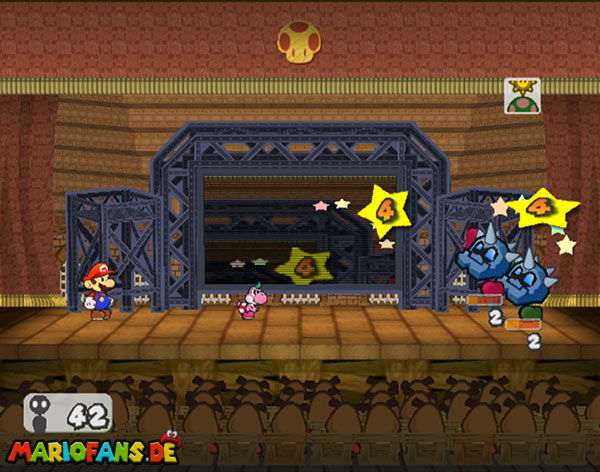
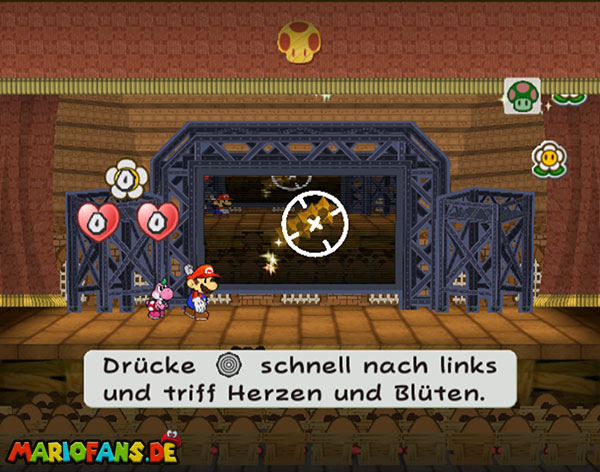
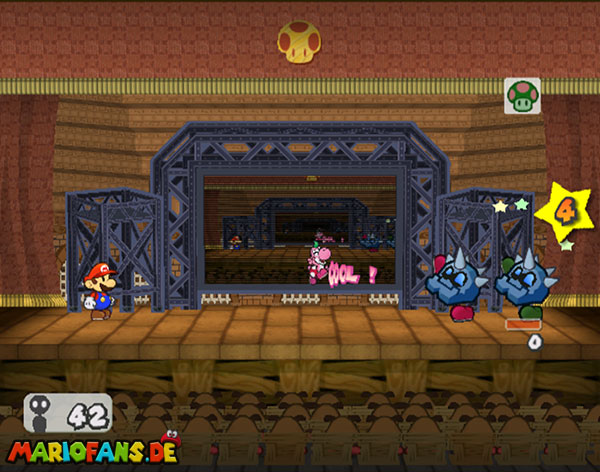
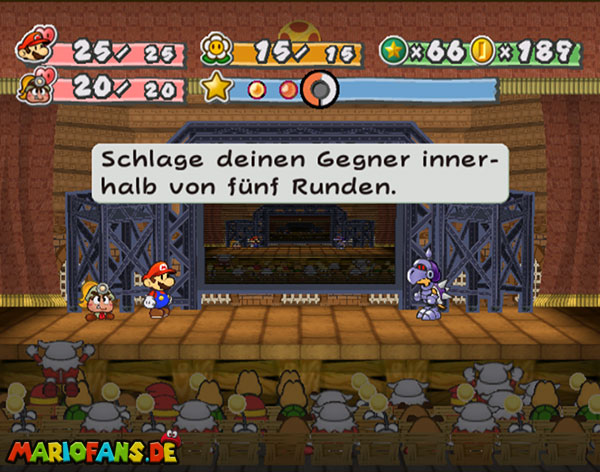
Once you reach the first division fights, you lose the first fight against the Steel Brothers and you get Yoshi into your team afterwards. Depending on how long it takes you to fight, you can influence the paint from the Yoshi. With his suction attack you can now also defeat the steel brothers and make it first in League 1.
| Time | Paint |
|---|---|
| 0-6 minutes | Green |
| 6-9 minutes | Red red |
| 9-12 minutes | Blue |
| 12-15 minutes | Orange |
| 15-18 minutes | Pink |
| 18-19 minutes | Black |
| 19-20 minutes | White |
| Name | Max. HP | Attack | Defense |
|---|---|---|---|
| Bombers | |||
| Bandit gang | |||
| Piranhas & Co | |||
| Bone knives | |||
| Hyper-stones |
The Super Hammer
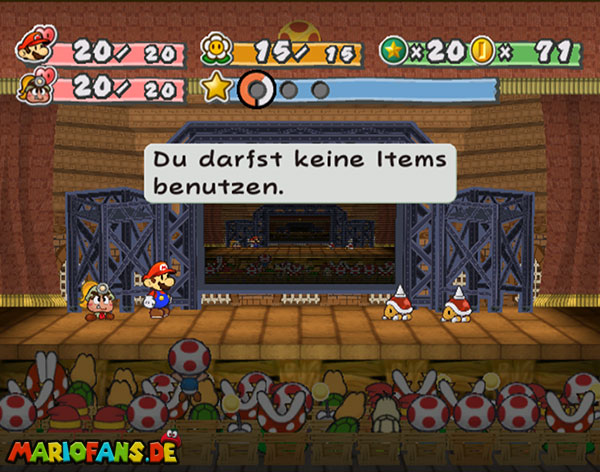
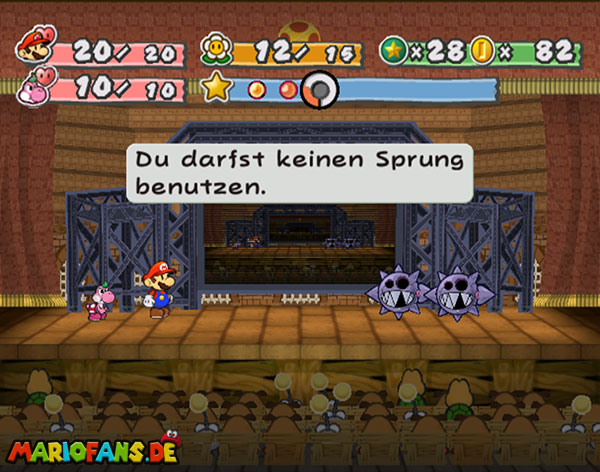
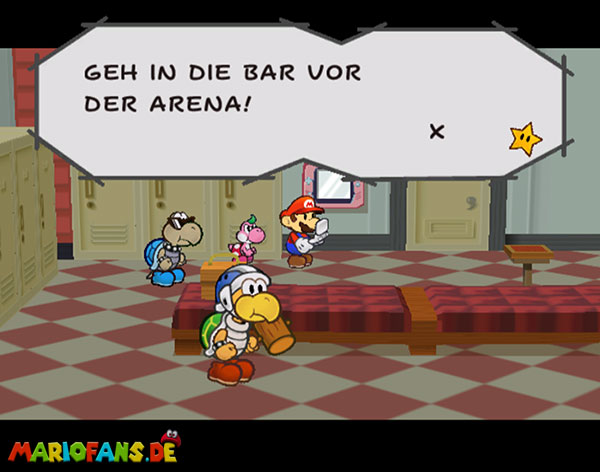
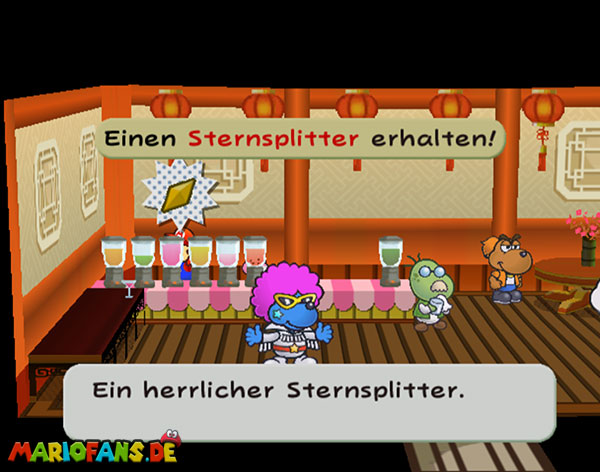
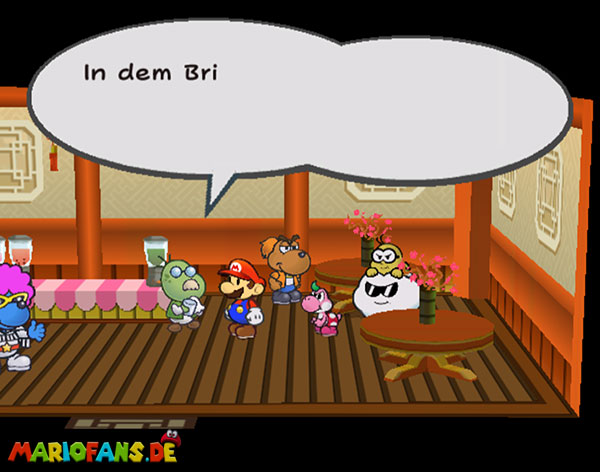
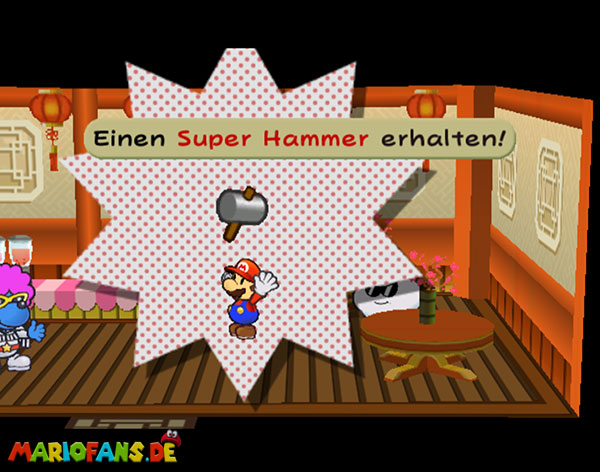
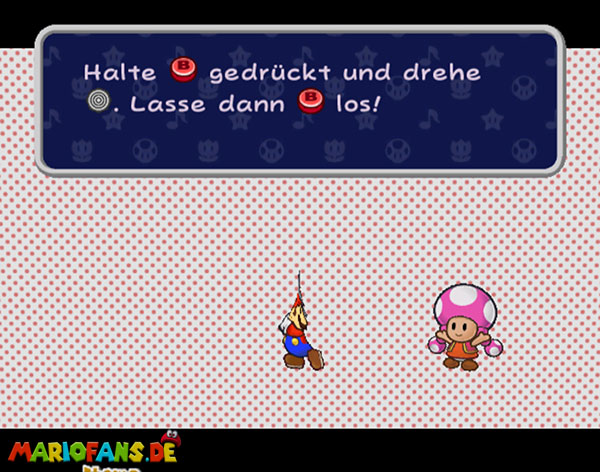
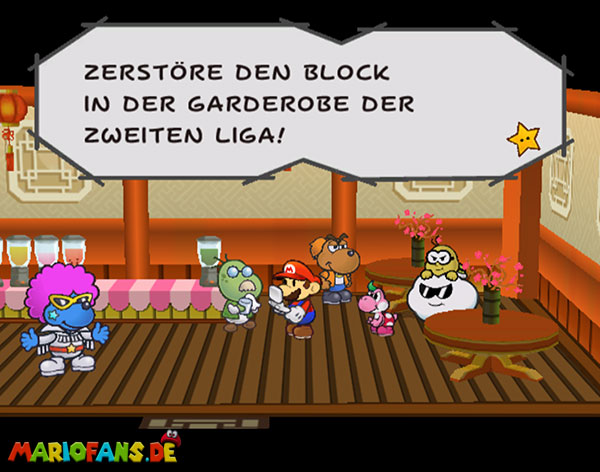
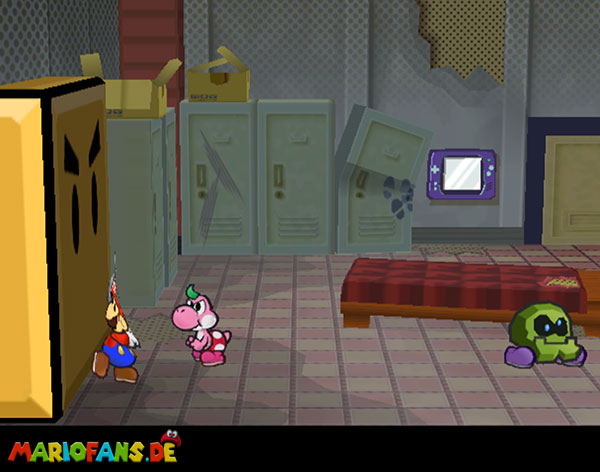
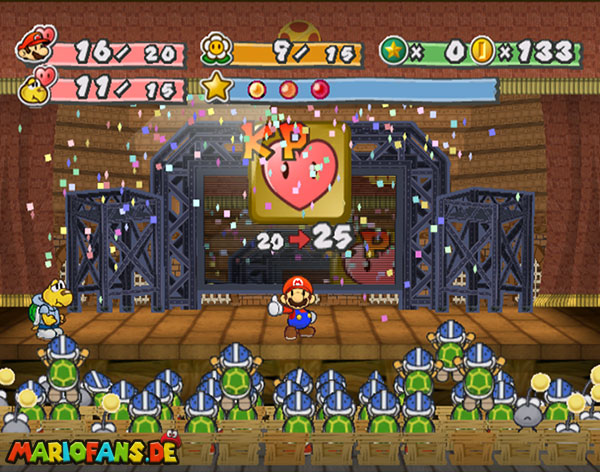
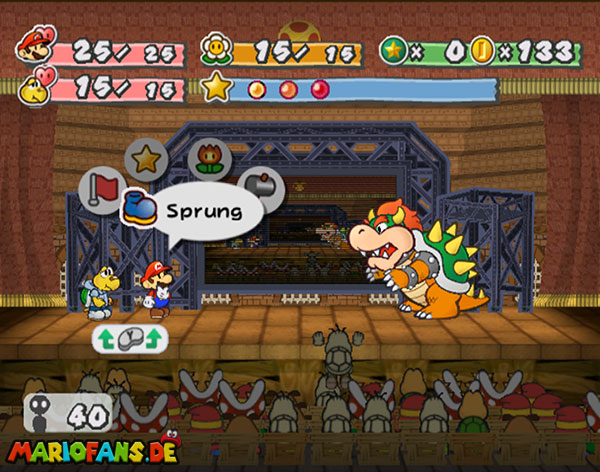
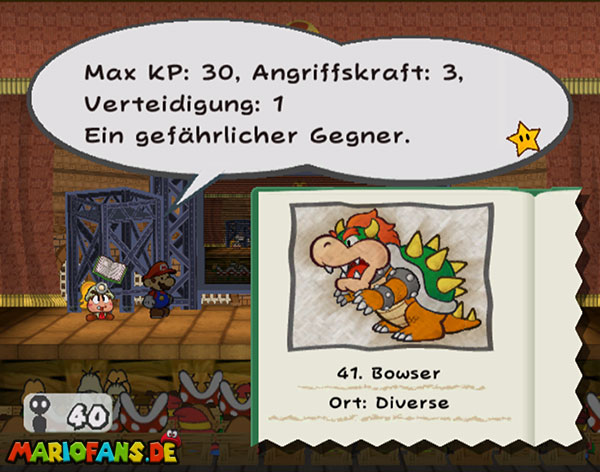
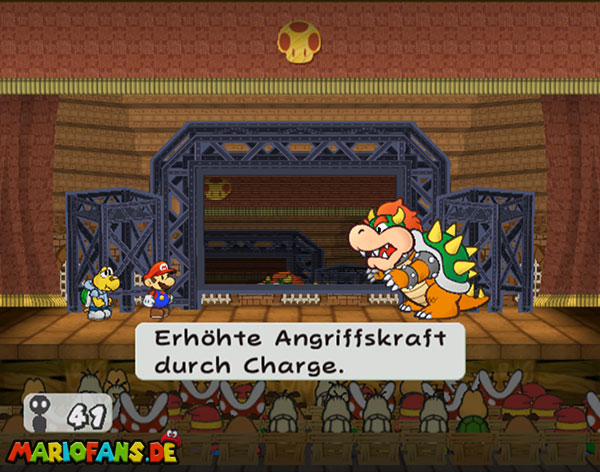
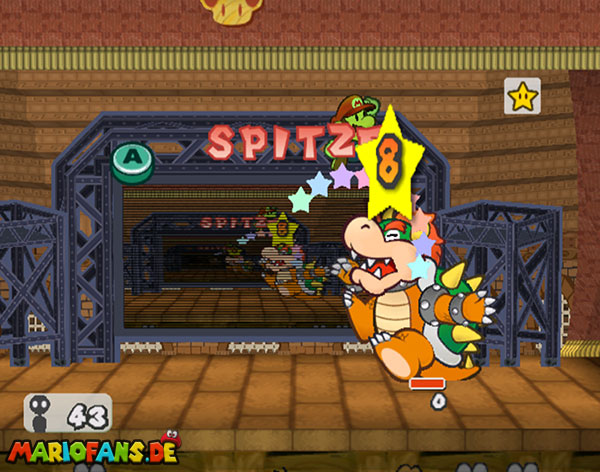
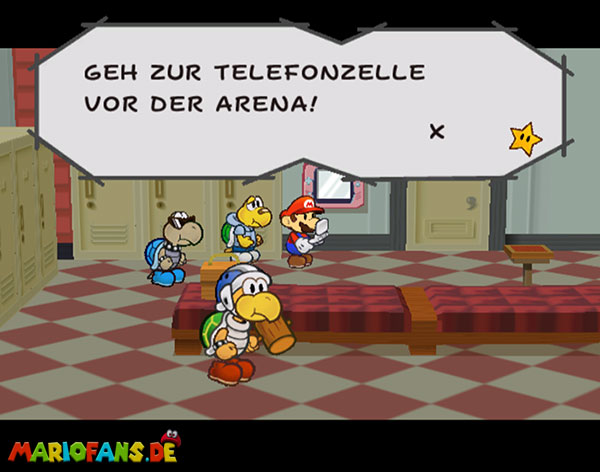
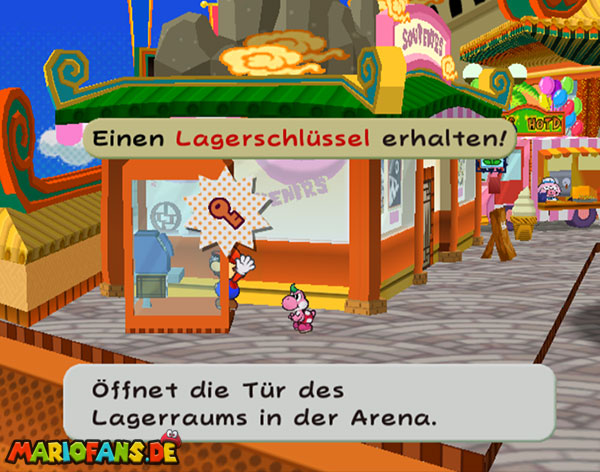
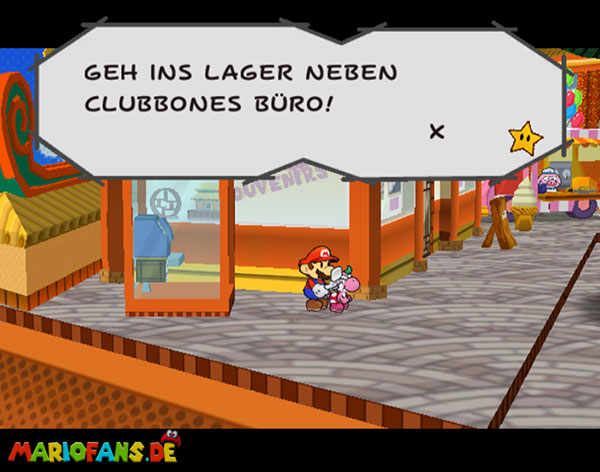
Then fight until you receive 2 mails and you are called to the bar. There you talk to the bartender and you get the Super Hammer. Then go to the wardrobe of the 2. League and destroy the block on the left.
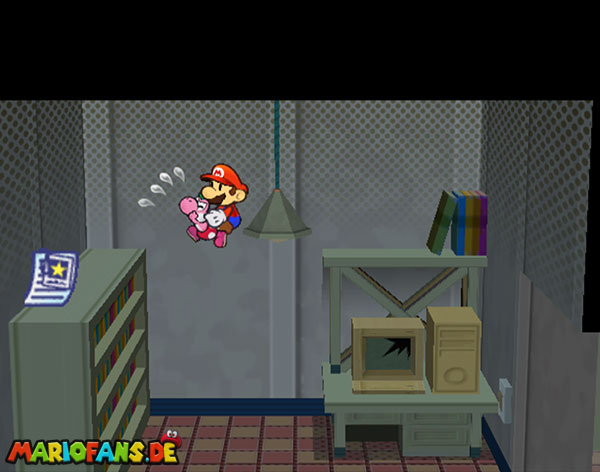
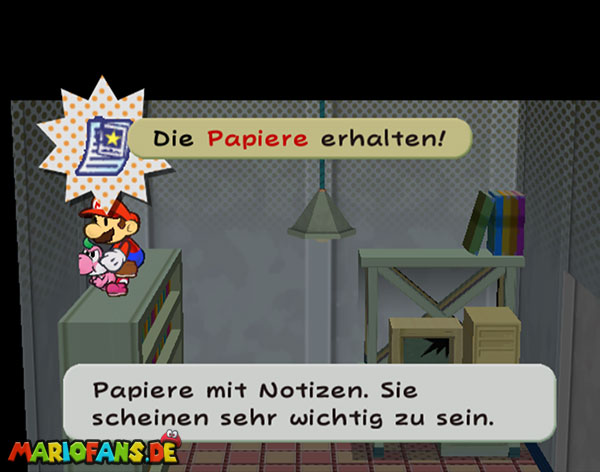
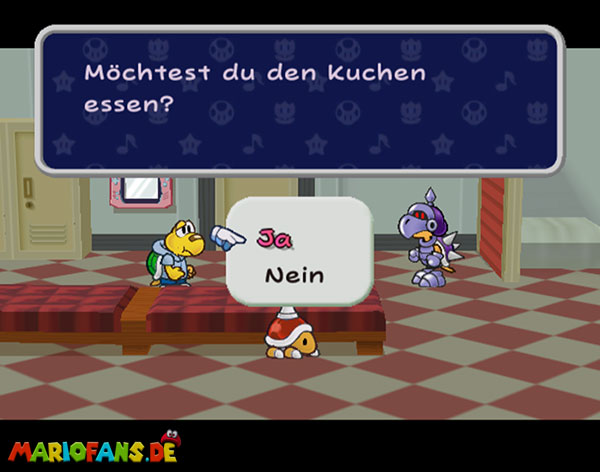
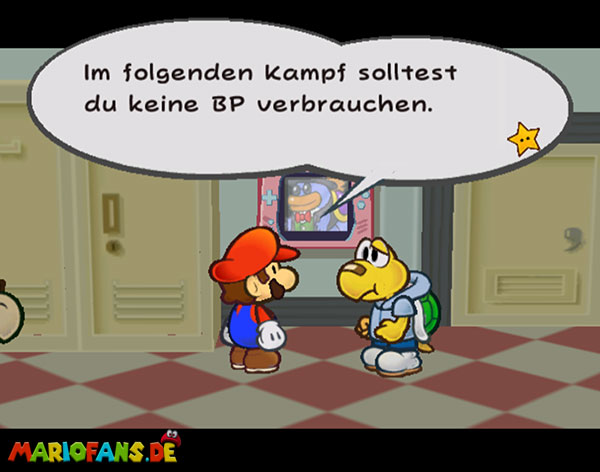
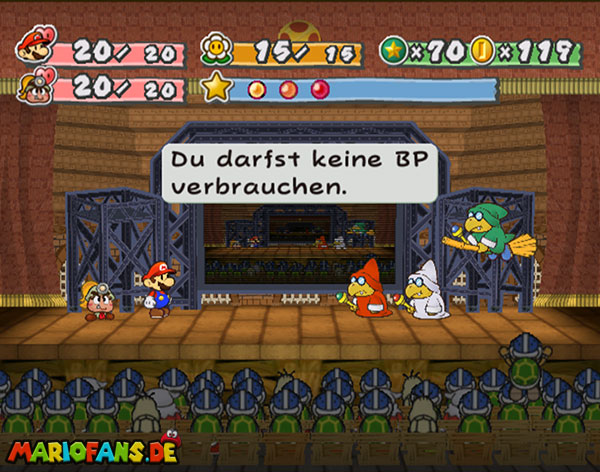
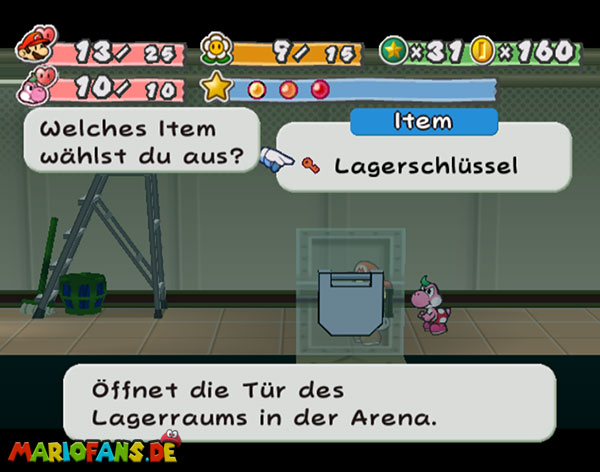
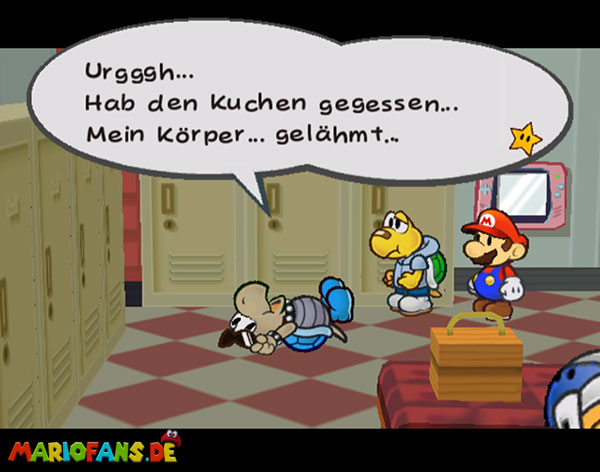
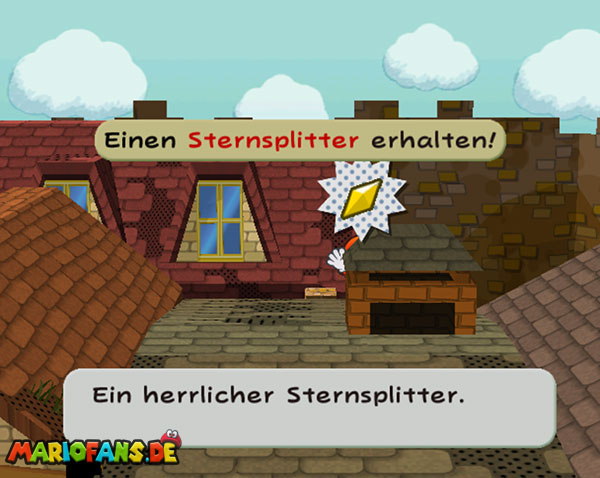
In the room next door, fly with Yoshi on the left platform and get the Dubious Documents. As soon as a cake appears before a fight, let it stand. After this fight, a surprise fight against Bowser is waiting for you. However, the 24 HP should not be the problem. If you have made it to rank 4, go to the telephone booth on the main square on the left and get the storage key. Go back in and after the sequence next to the club chief’s room into the camp.
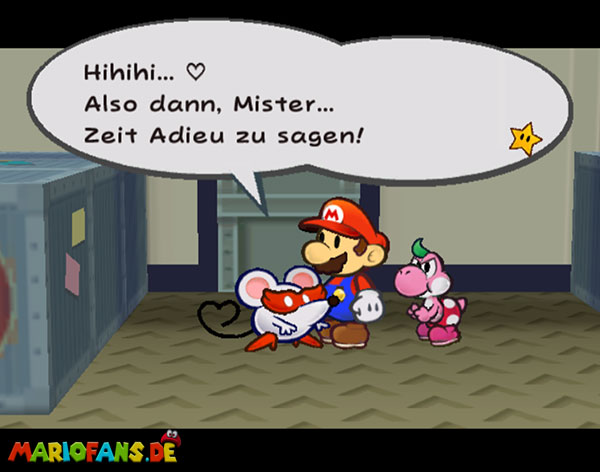
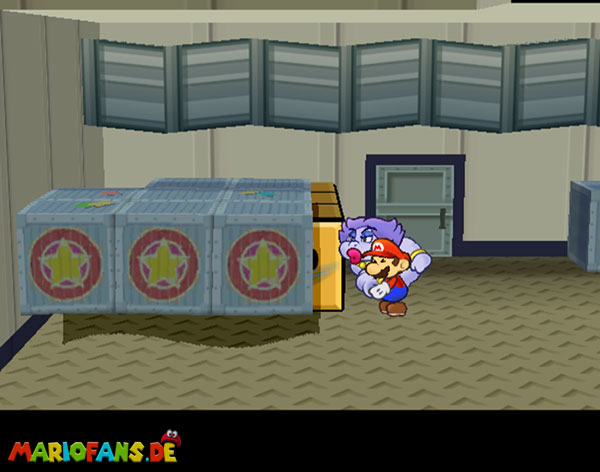
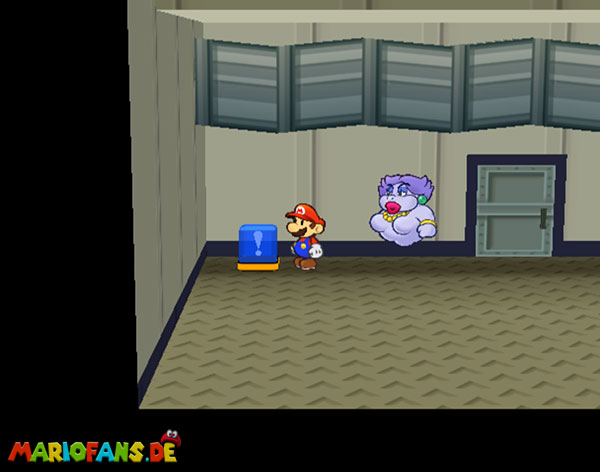
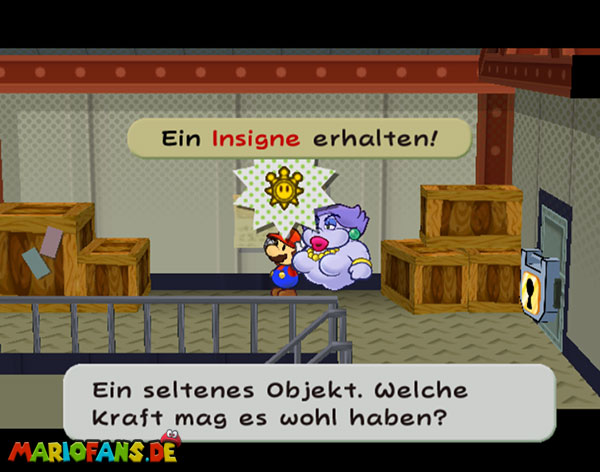
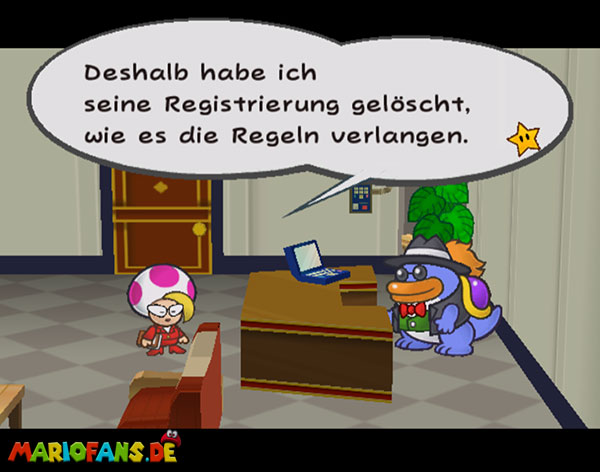
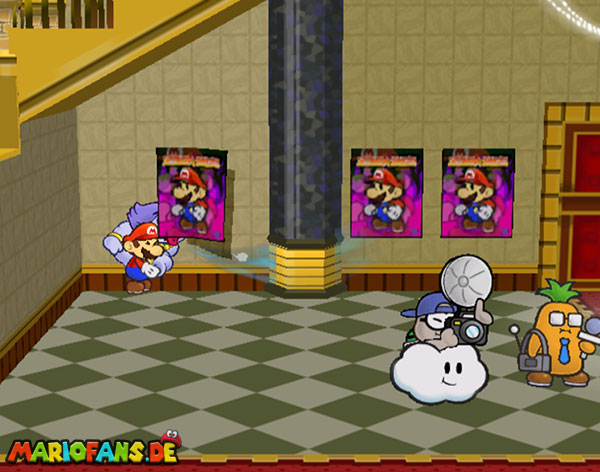
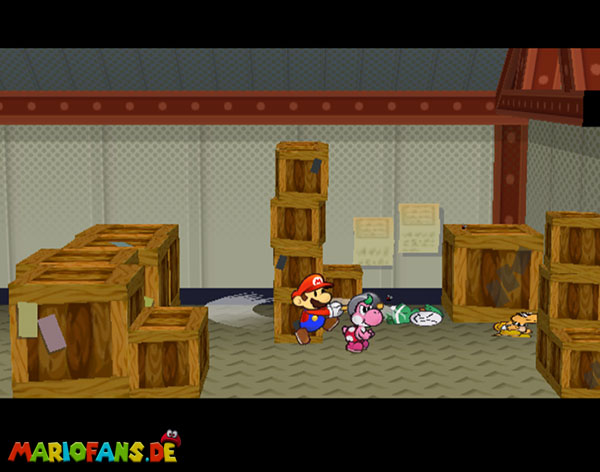
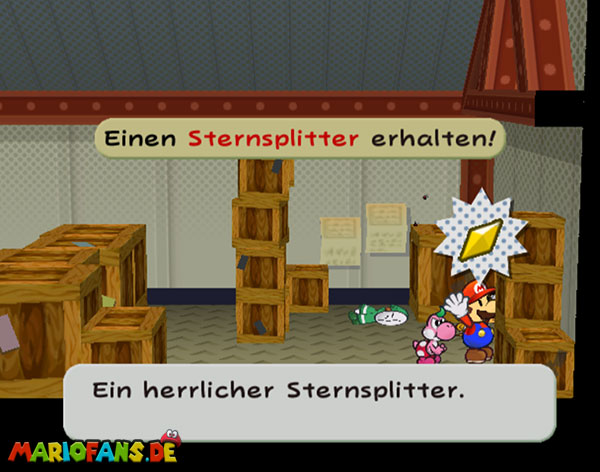
Talk to the mouse and go out and on the left. In the Crate around the corner you will find another badges. Go back to the camp and do the ground pound in different places in the room. For one, you will find such a fragment of stars. Go back to the waiting room and get an Ice Storm on the left of the cabinets. Go back to the camp and use Aeronas Puff to blow away the boxes and uncover an order behind them and the switch for the stairs on the left.
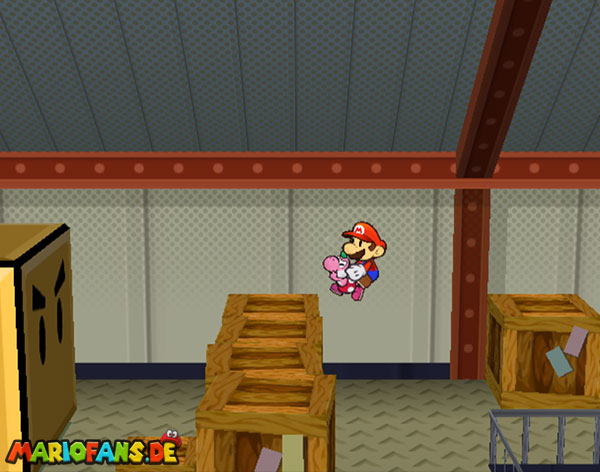
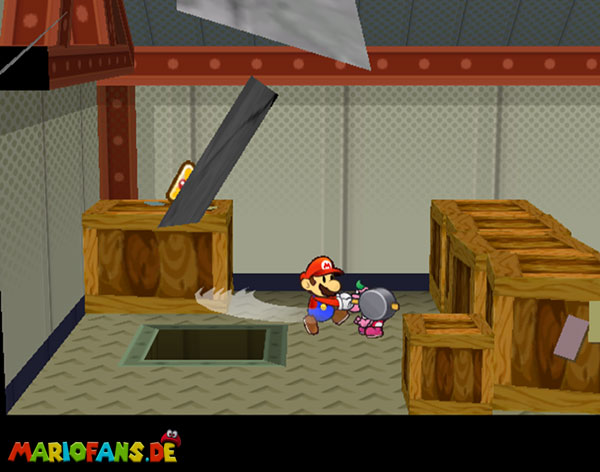
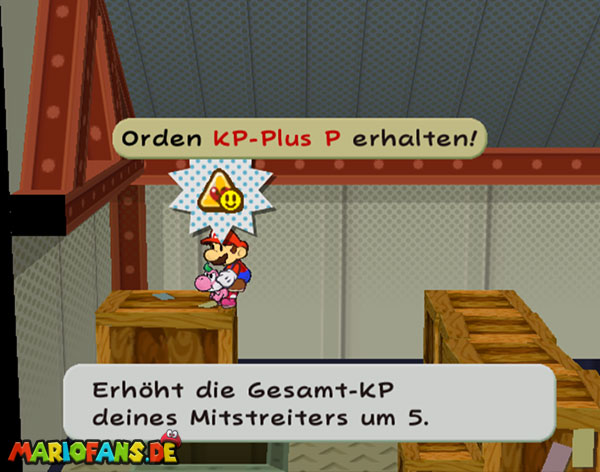
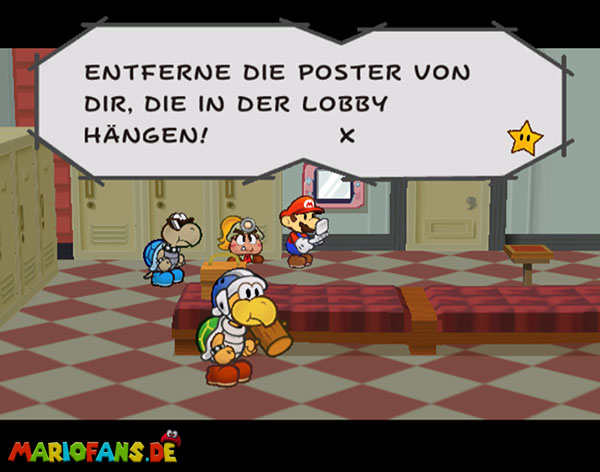
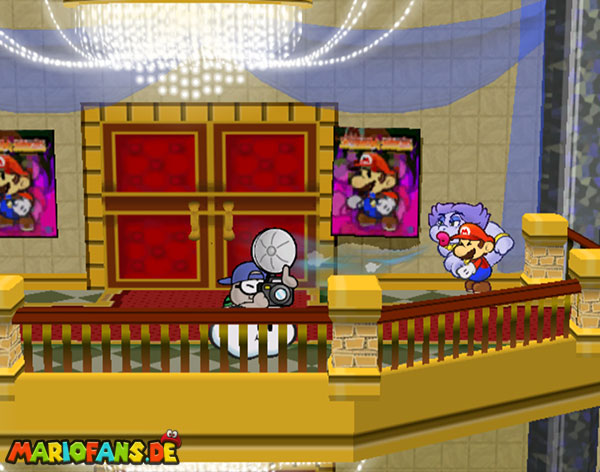
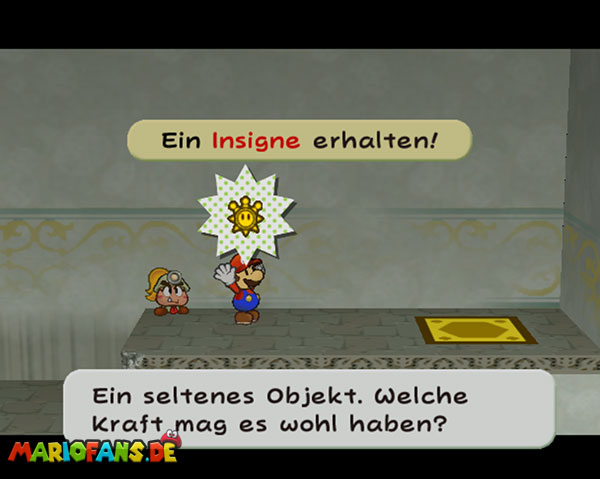
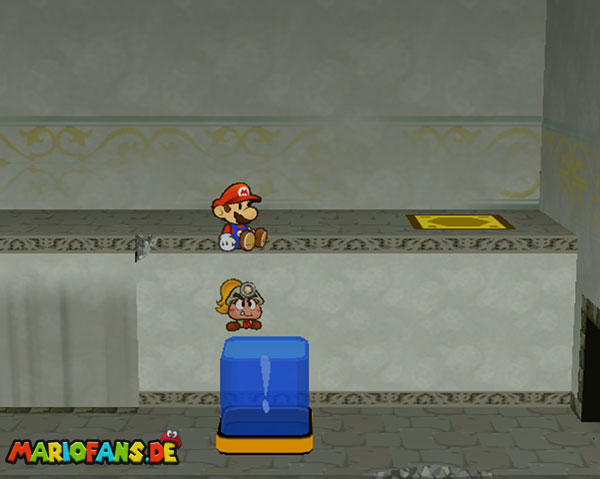
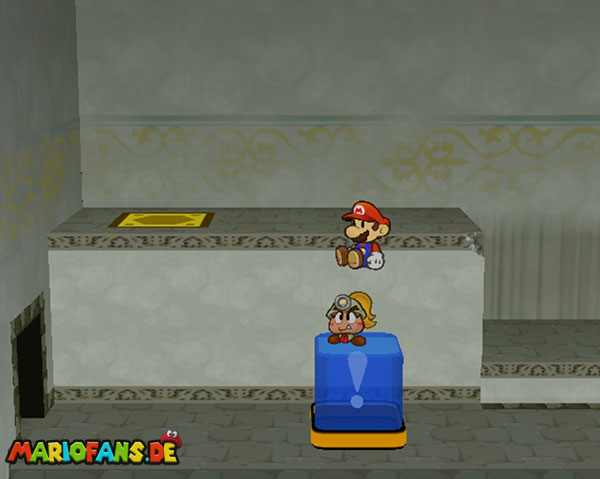
Go upstairs and get the insignia. Then fly left onto the row of boxes and slap away the big stone. Then get the order and drop the pit down. Go to the right and follow the conversation. Then, as a flat Mario, drop through the grid to the left and go back to the lounge and go to the next fight. Reject the cake again in the penultimate fight and fight. Have you made it to rank 1 goes to the lobby and remove the posters with Flurrie.
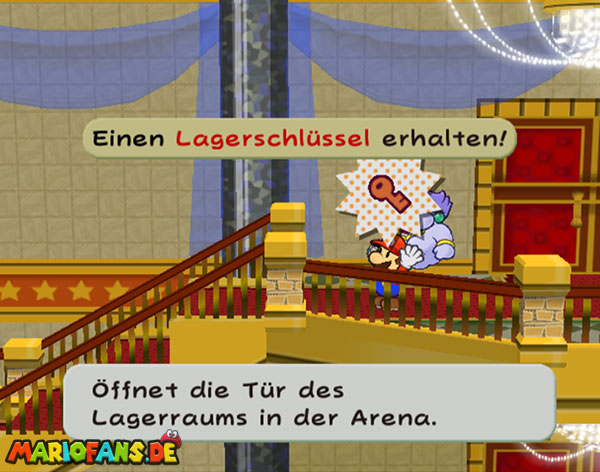
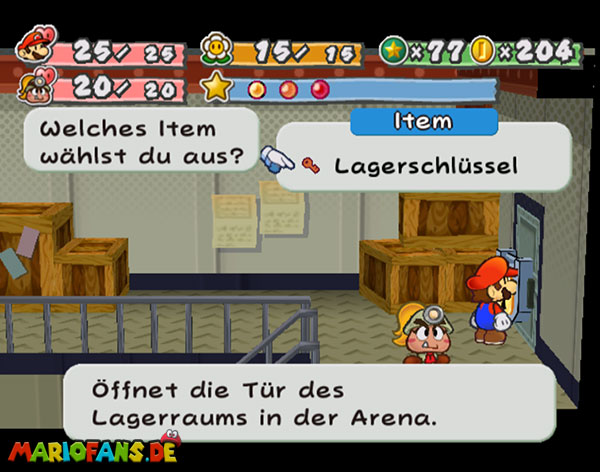
After the last one, you will receive a key. Go back to the storage room and up the stairs. On the right you can now use this key. Inside flies to the right and destroys the block to find 2 party members. Get the splinter right behind the boxes and go to the beginning to see Jolene again. Follow them outside. Save then and accept the final battle.
Fight against Rawk Hawk
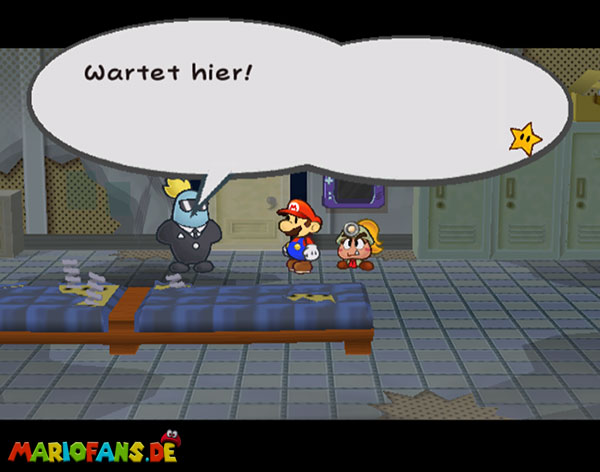
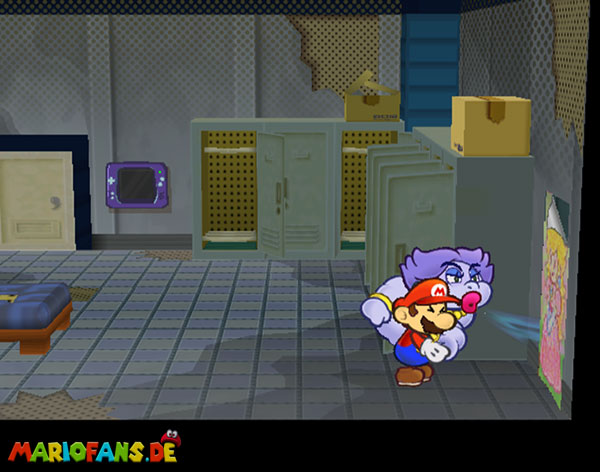
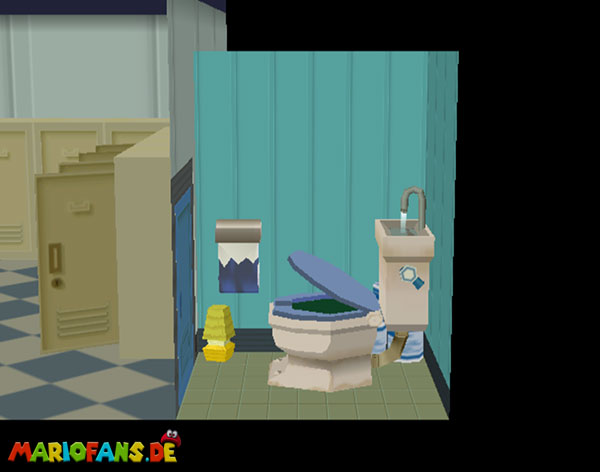
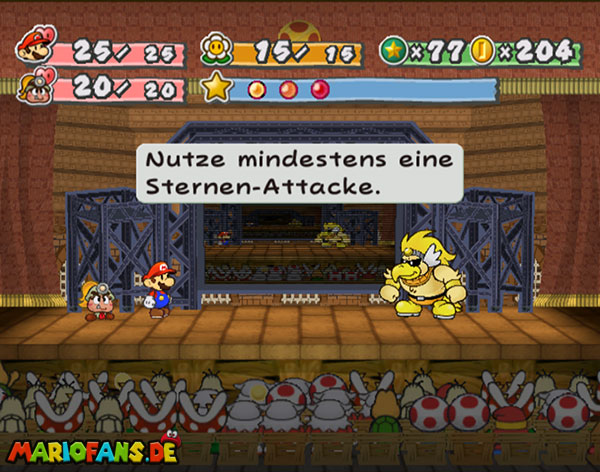
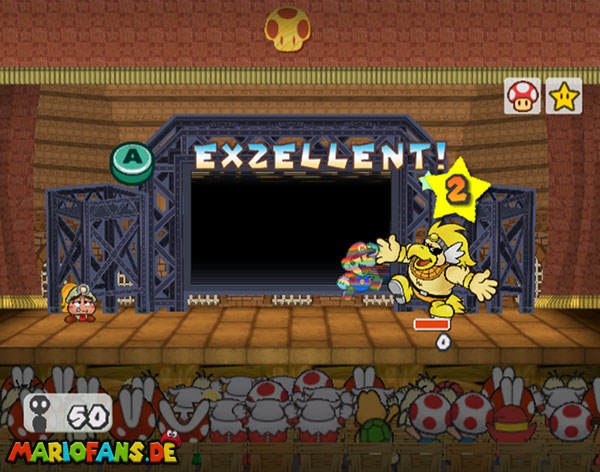
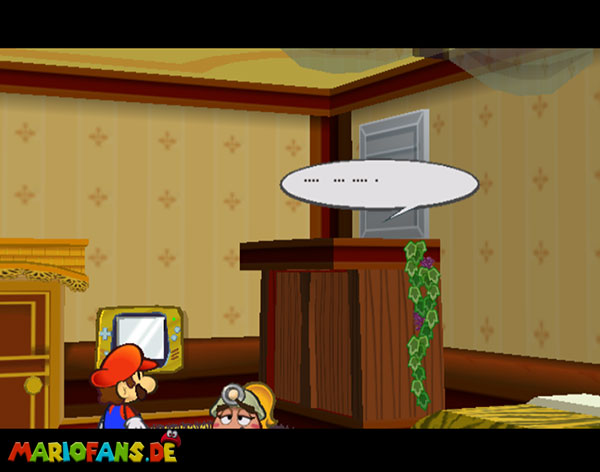
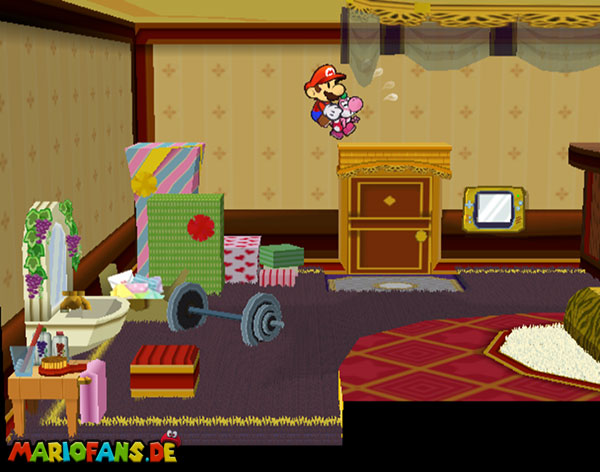
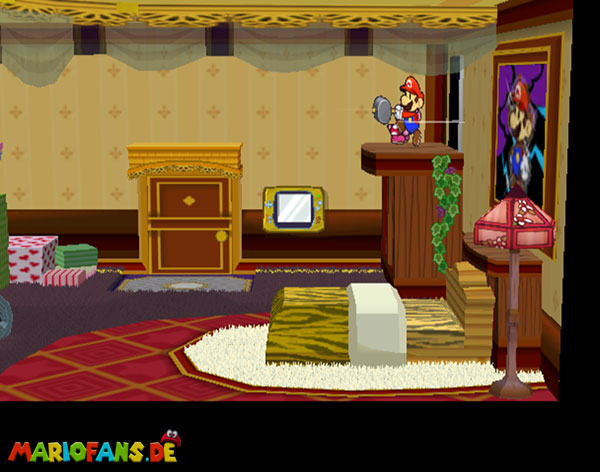
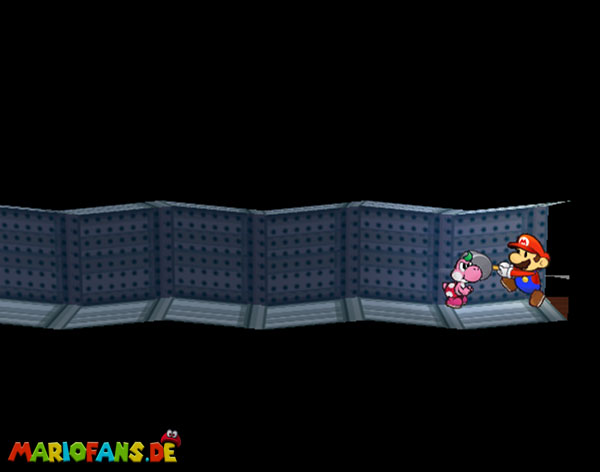
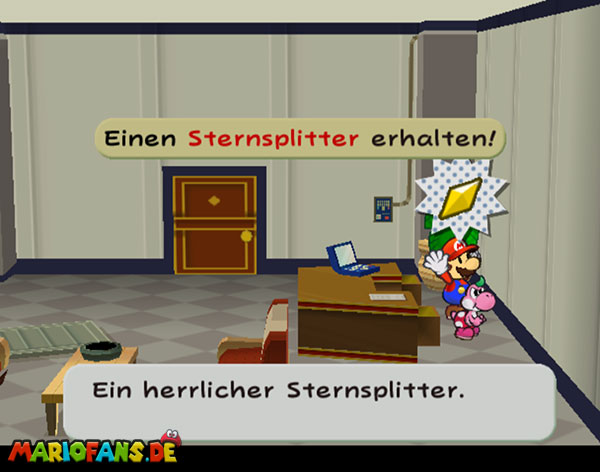
After you have been locked up blast right on the wall the poster goes away and goes to the toilet.
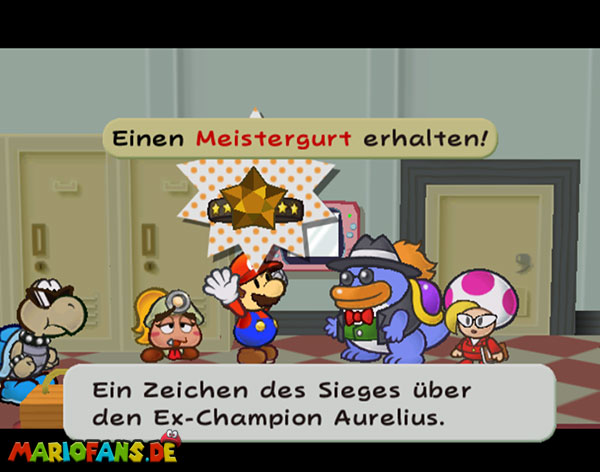
Use it as a warp pipe to get out of the waiting room. After that, go to the ring normally. The final battle is not that hard. Get a few quakes in the lobby shop that work very well. If it hangs on the blanket you use it, on the ground the super jump is very good. At the end you will receive the Champ’s Belt. Then in the wardrobe. Jump up to the left and fly over the door 2x to the right. Open the door there by spinal attack.
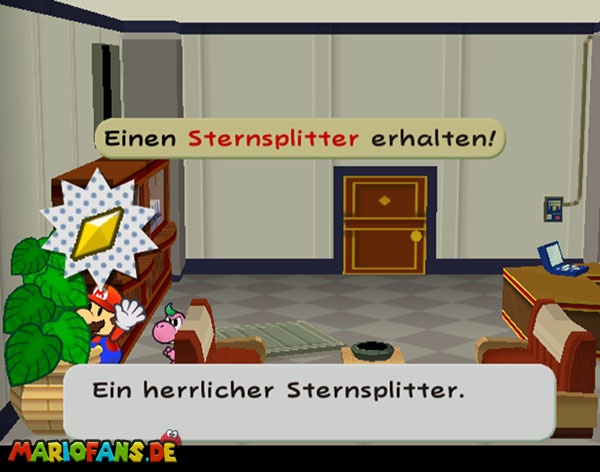
Runs through the shaft and again by spine attack into the office. Get the splinter in the right desk compartment. Get another splinter left behind the palm tree and pursue the club boss. Go to the ring and find it.
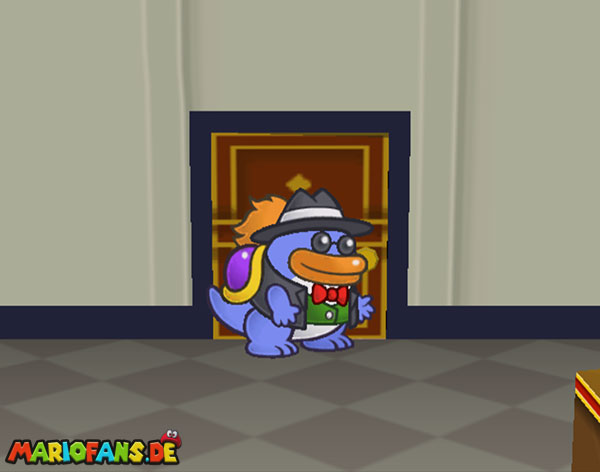
Fight against Grubba
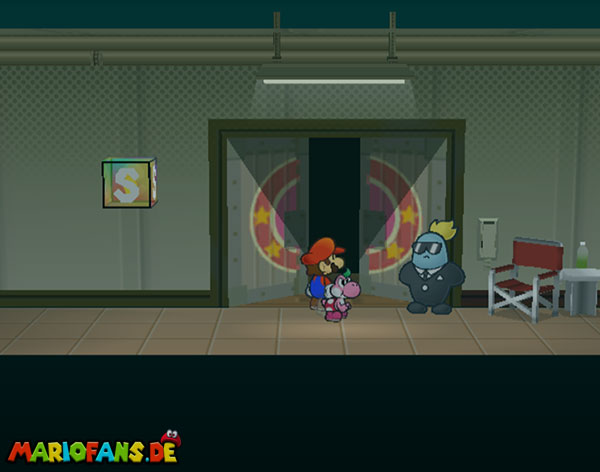
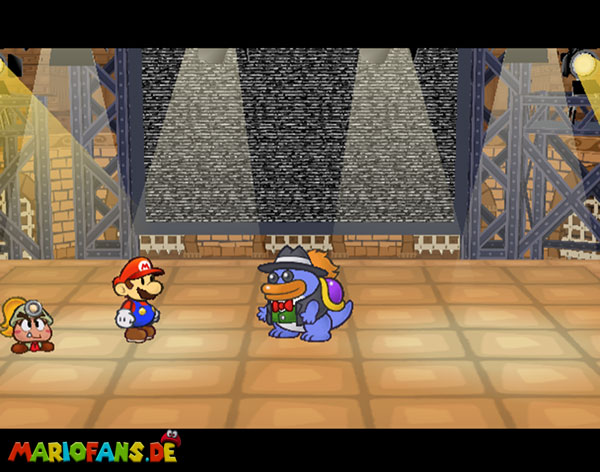
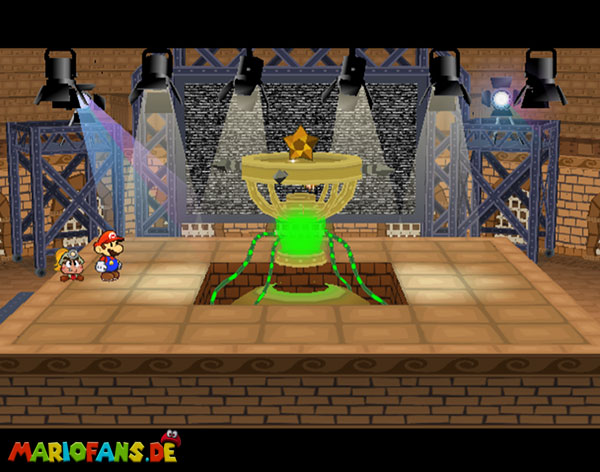
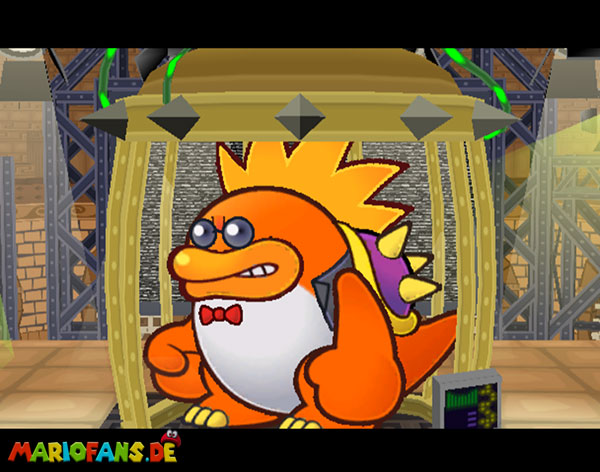
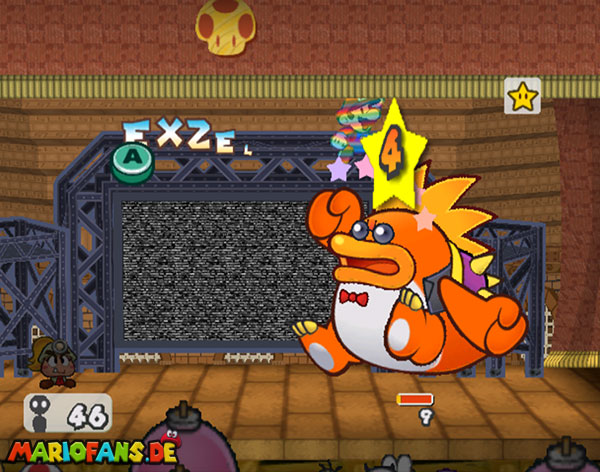
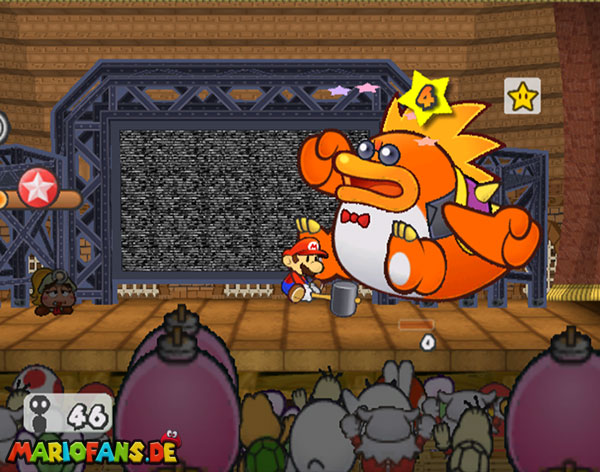
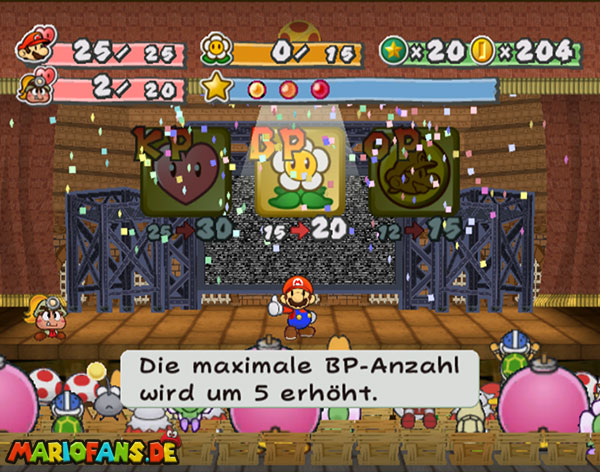
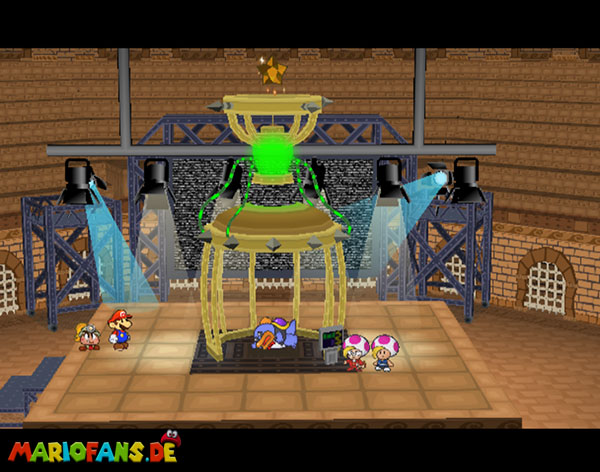
The fight against him is also not so difficult. Take Flurrie into the ring and use the Knutsch kiss when possible. For Mario, the Ground Pound is quite effective. Defense by B brings a lot here.
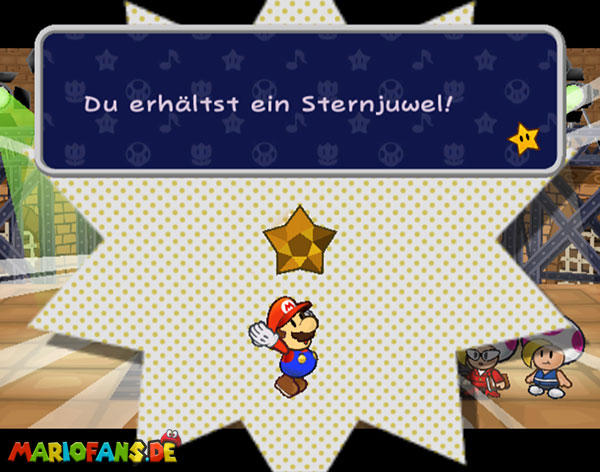
At the end take the jewel and you have also completed this chapter.
| Name | Max. HP | Attack | Defense |
|---|---|---|---|
| Macho Grubba | 60 | 4 | 0 |
Princess Peach and Bowser
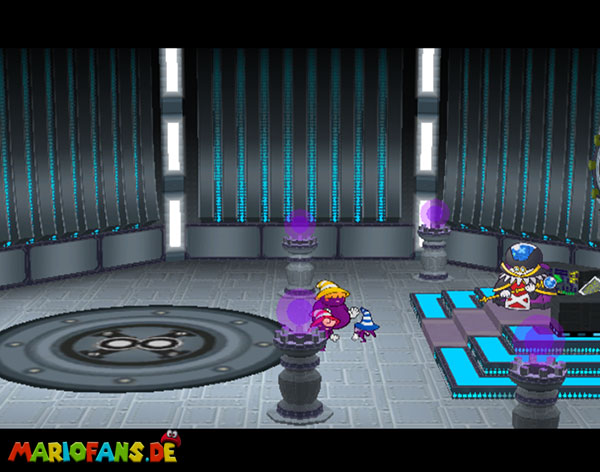
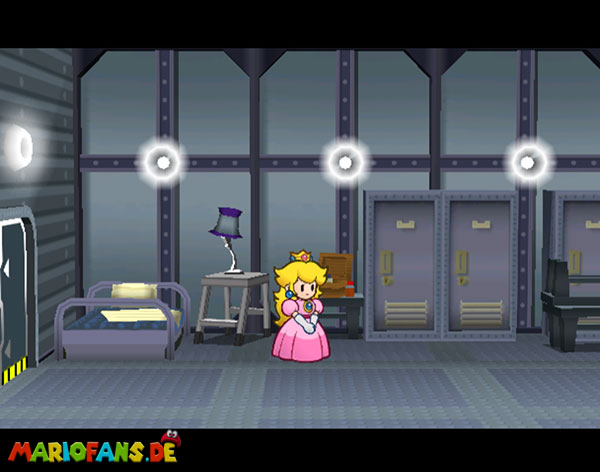
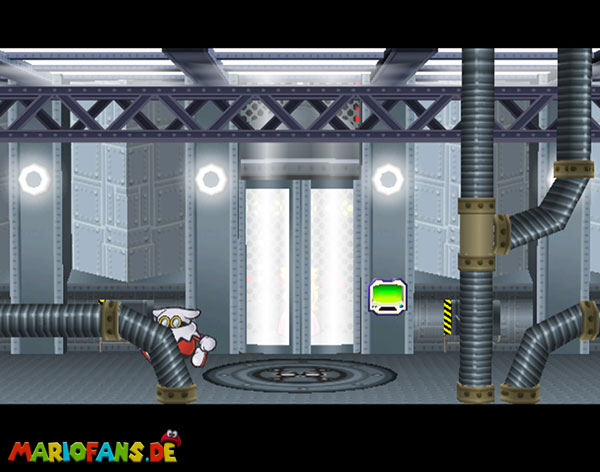
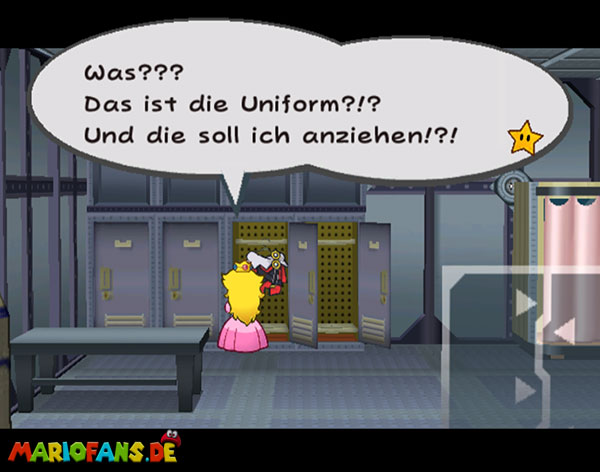
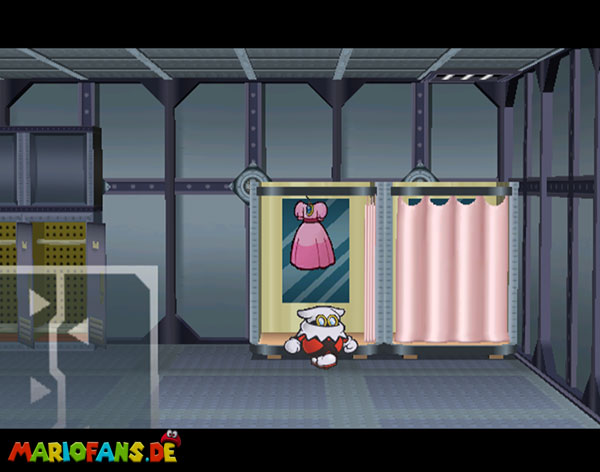
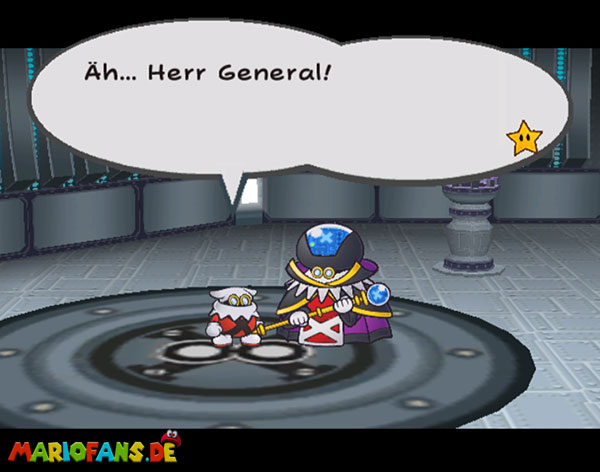
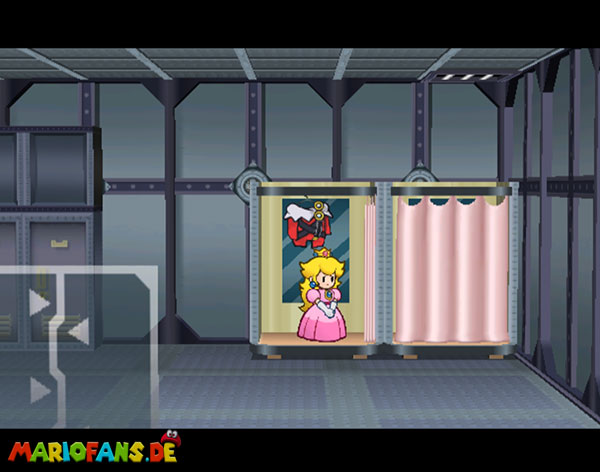
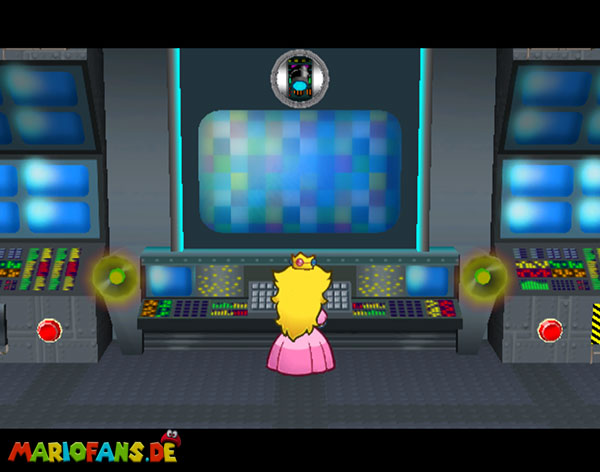
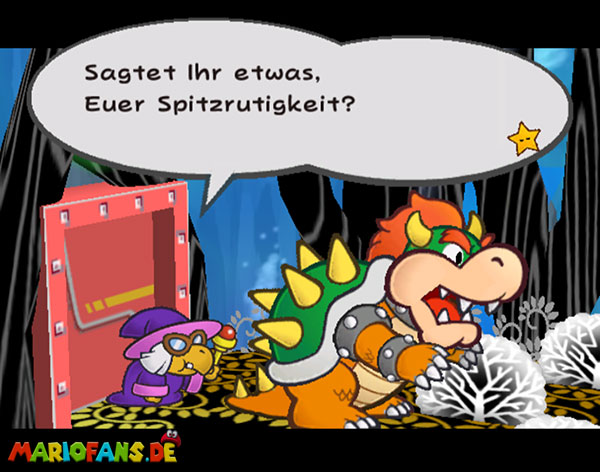
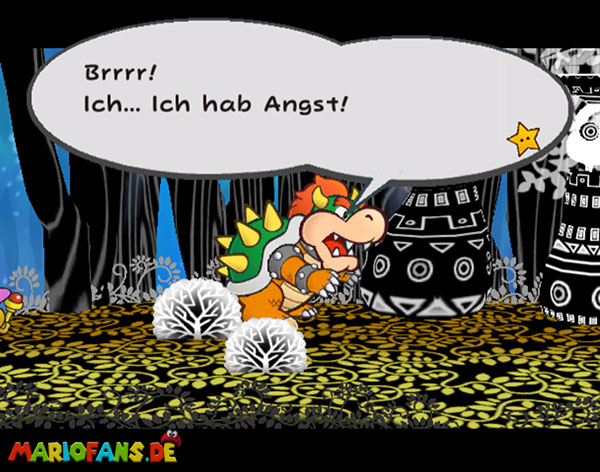
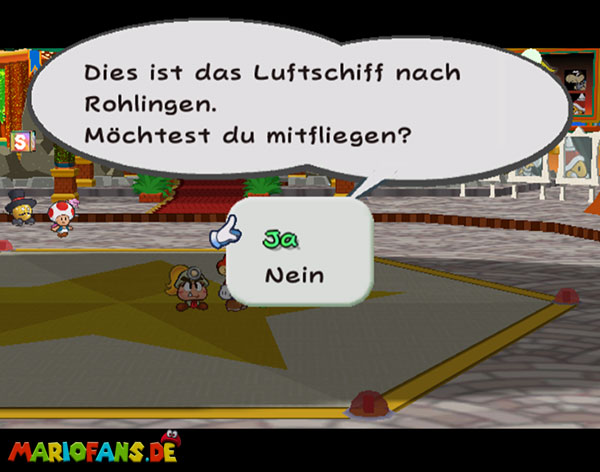
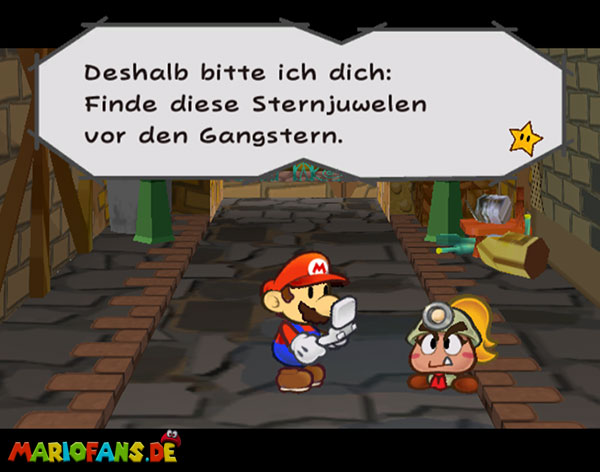
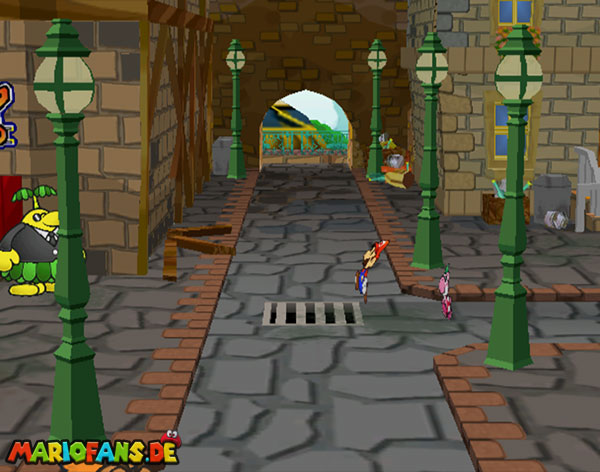
Go to the elevator after the computer visit, go upstairs and then go right into the first door. In 2. cupboard from the right take the uniform and change to the right. Go out and to the General’s right. Talk to him and go back and change your clothes and leave the room. At Bowser runs right up to the last bush and examines him to see the Bubus. After the sequence you take Mario again.
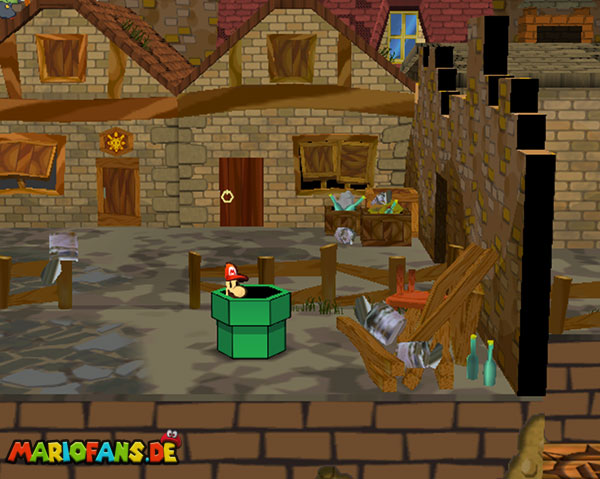
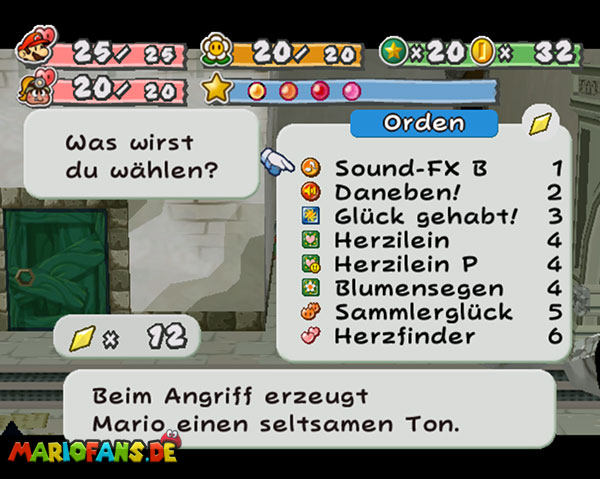
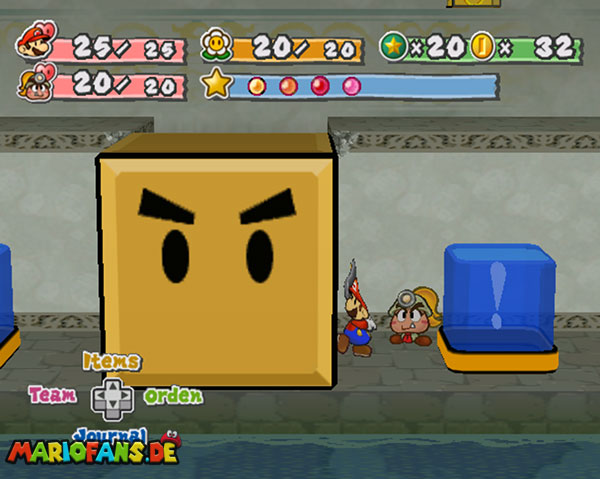
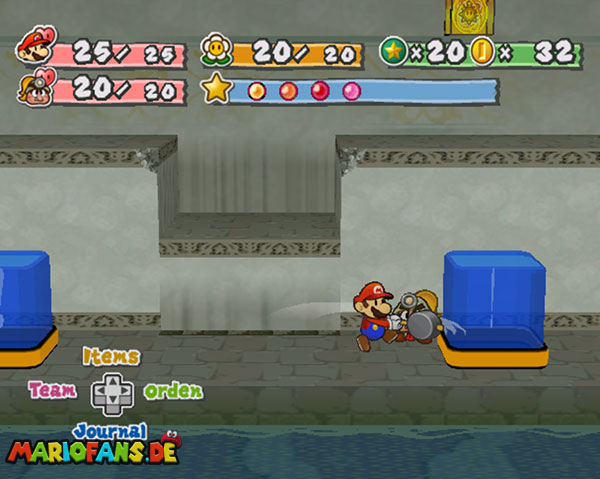
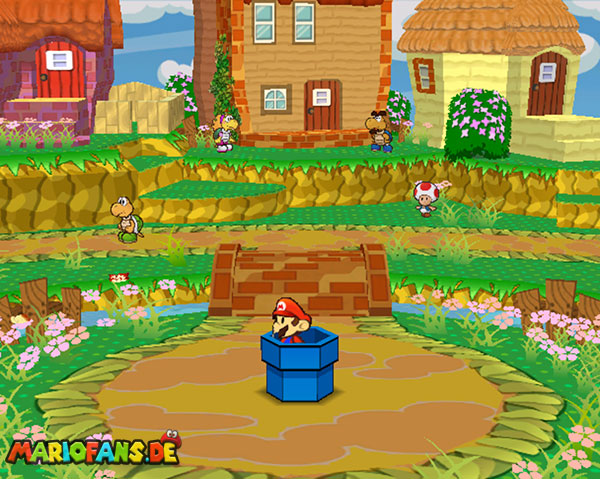
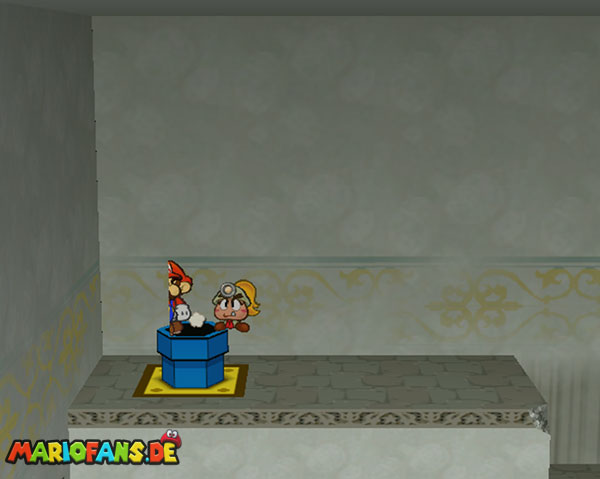
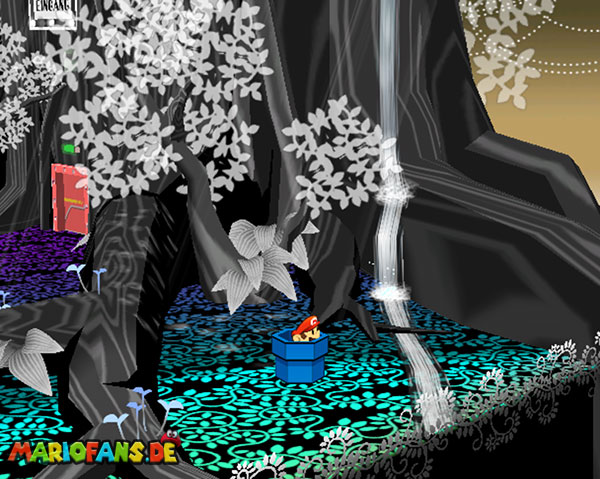
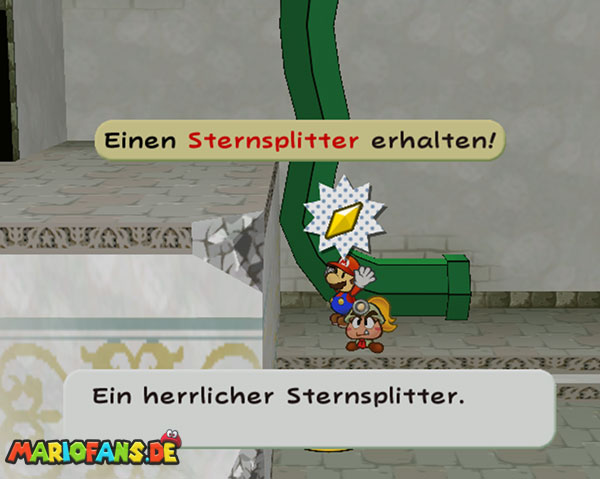
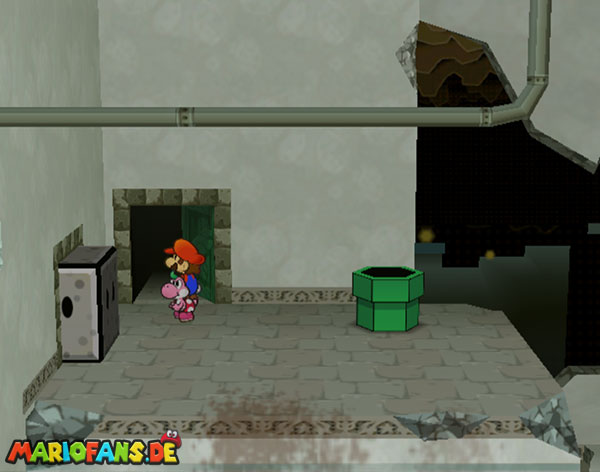
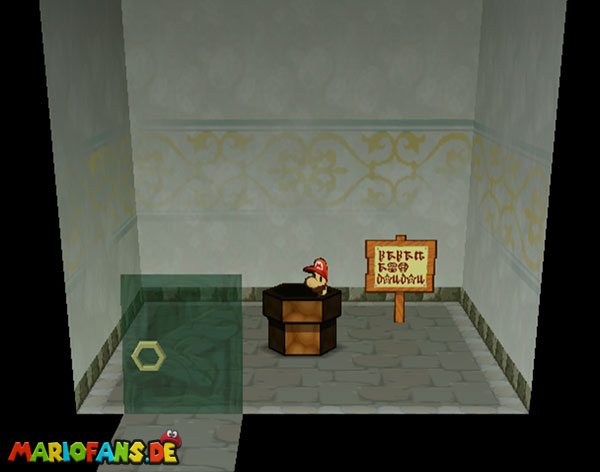
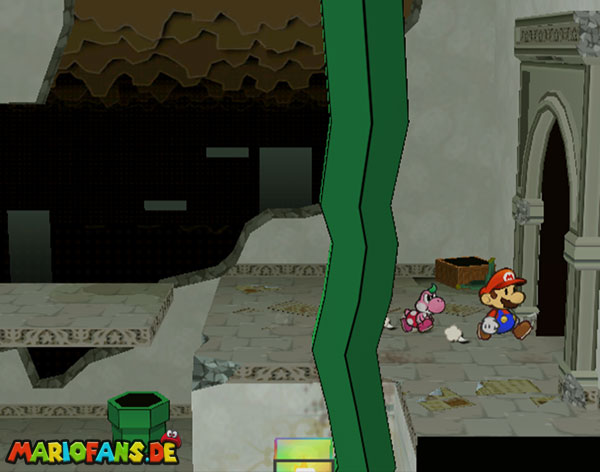
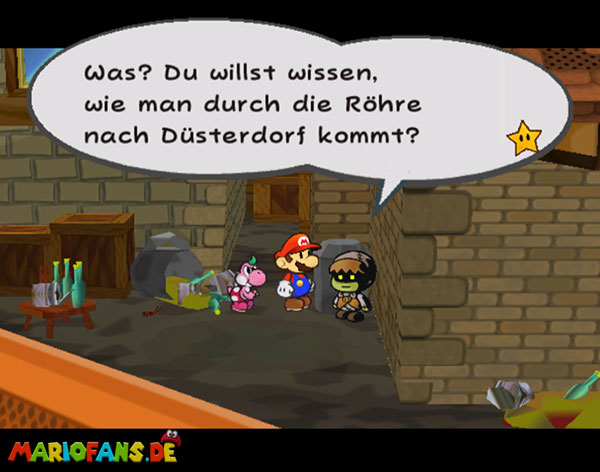
Afterwards, fly with Mario back to Rogueport and go to the Rogueport Underground. Goes the way right through the warp pipe to the left where the big blue switches are. There, destroy the big yellow block and get an insignia first. Then jump from above with the Ground Pound on the two blue switches and you expose 2 blue warp tubes in the forest and to Petalburg.
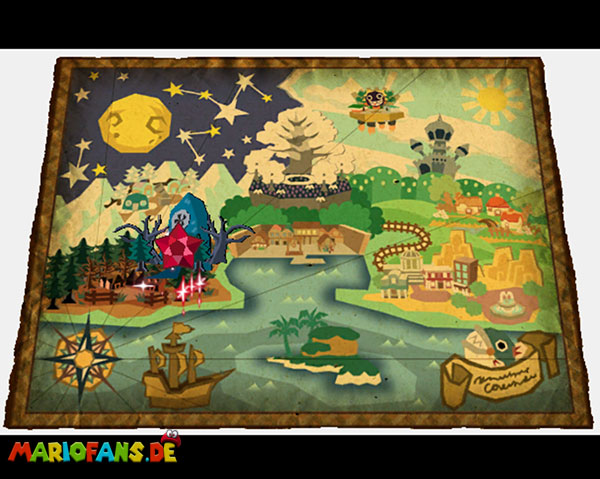
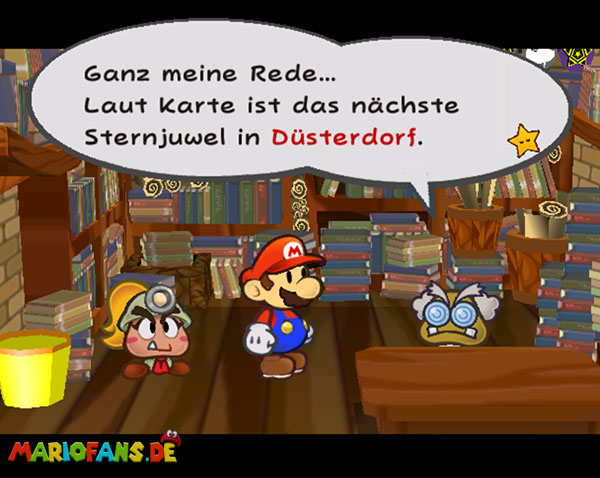
After that, continue again to the Thousand-Year Door for the location for the 4th. Getting to know the jewel. After the obligatory visit to the professor, Yoshi raises a rank and goes to the robber hiding place. Fly left with Yoshi in front and get the insignia. Then on to the West End. Let yourself fall into the gulli as a flat Mario. Go down to the right and into the bottom warp pipe.
After that, head down the path and blast with Flurrie the poster away and expose a warp pipe. Go down here and you reach the Pit of 100 Trials. Now go down one warp pipe after another and fight. After 10 floors comes a floor with a crate and a badge. As you wish, you can now go back or further down. The whole game is quiet until floor 50. Takes a long time, but you get the Strange Sack on this floor and can now carry 20 items.
Here you can choose again where you want. I’m back upstairs for now. Go back to the gulli and back down. Fly to the left and get the insignia first. Then go back and into the green warp pipe to fetch the Star Shard. Go into the door and you will find the warp pipe to the next location, but it will spit you out again. Back again and fly to the right again.
Stay with the moving platforms upstairs and go right into the door and get another star splinter behind the pillar. Go all the way down to the right and get another splinter behind the broken pillars. Go to the Crate in the bottom left and get the Soft Stomp Badges. Now go upstairs, to the professor again and next to the house where you can raise the ranks of your fellow fighters.
Go back in the wall to find the good Darkly around the corner. Talk to him and get yourselves at the back of the aisle, the next splinter at the top right of it. Now go to the Warp Pipe and off to Twilight Town.
The text was originally written by Bibi2000. We have adapted it in some places.