

Boggly Woods
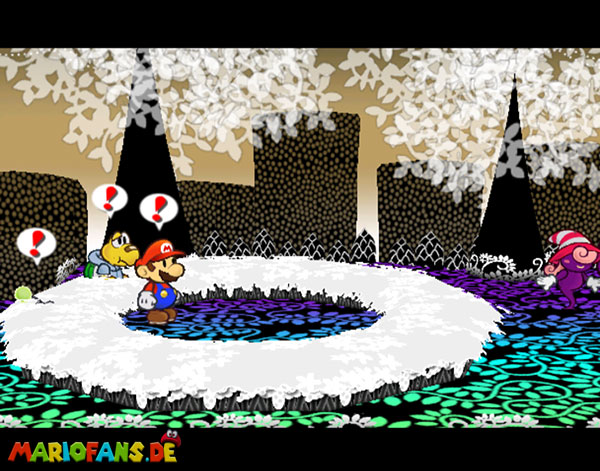
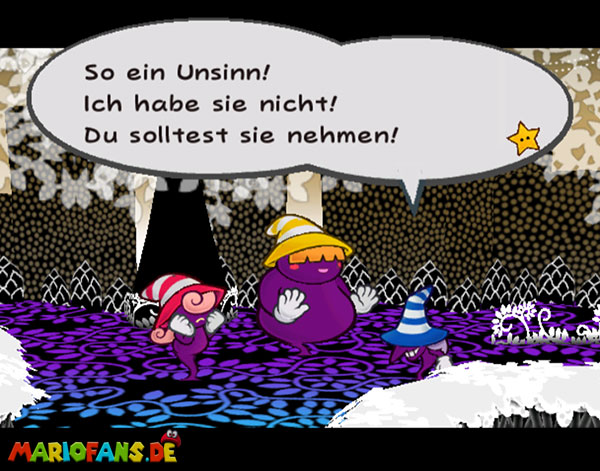
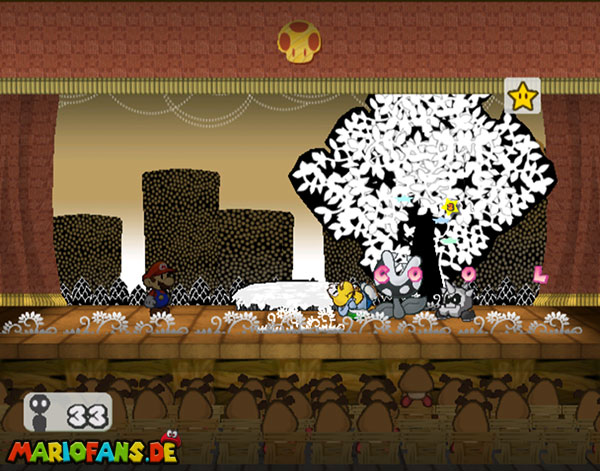
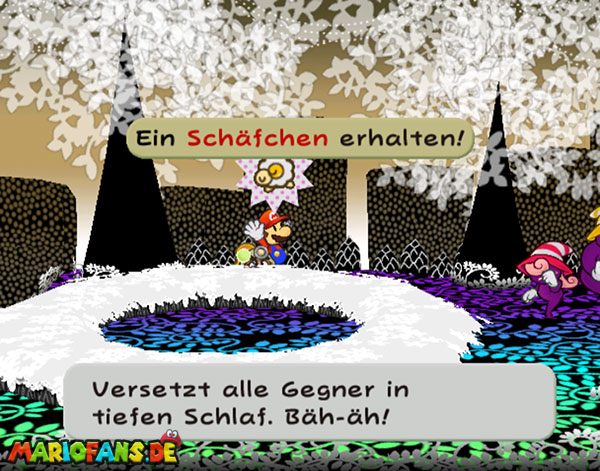
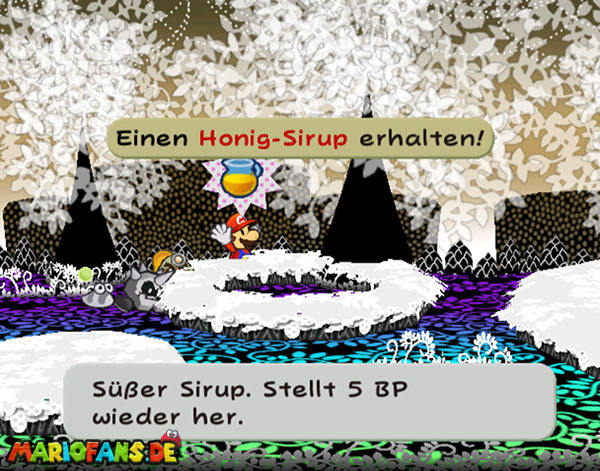
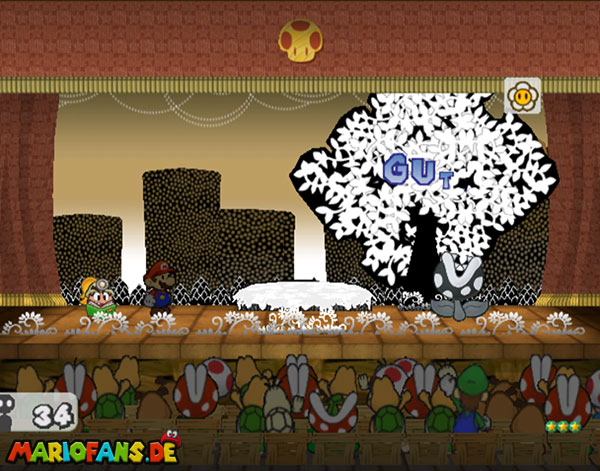
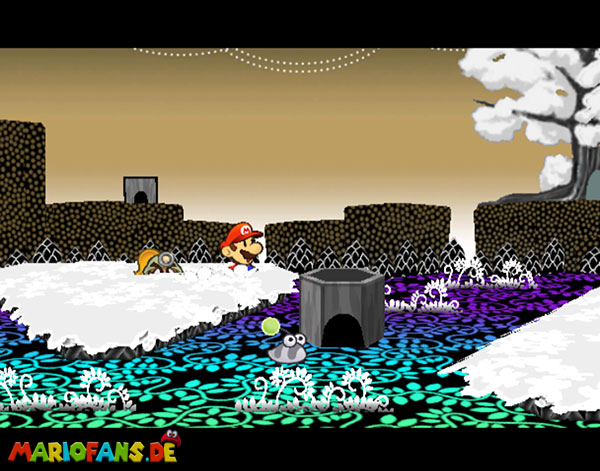
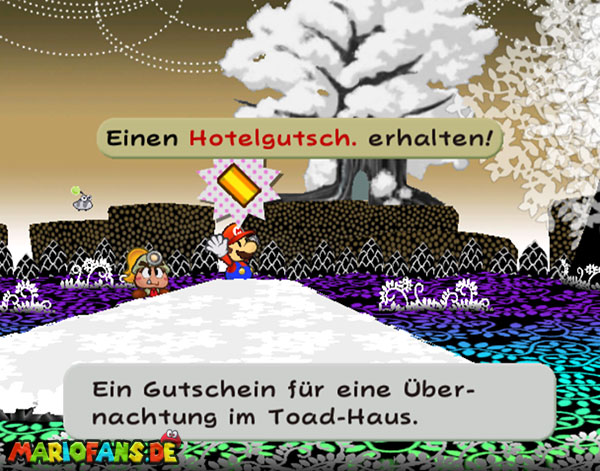
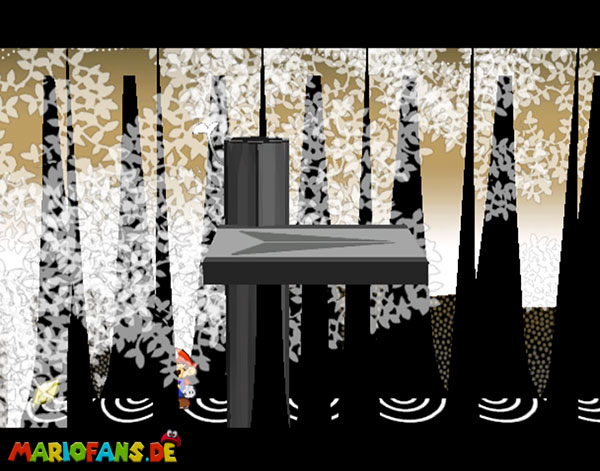
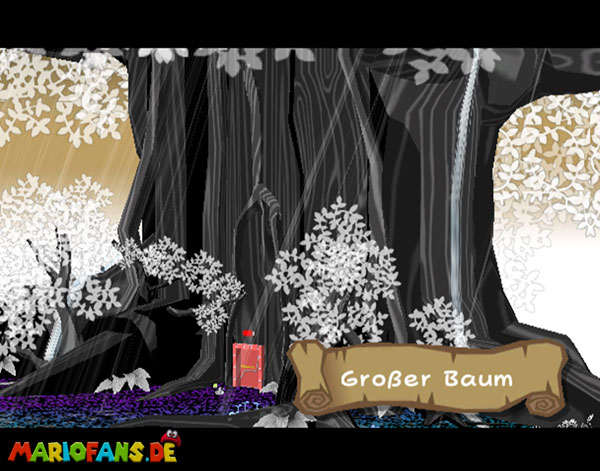
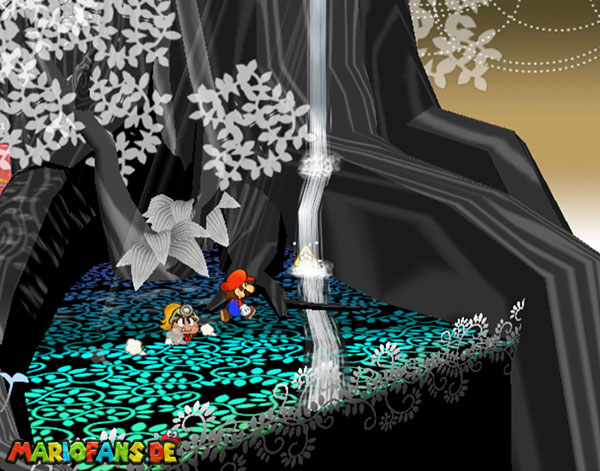
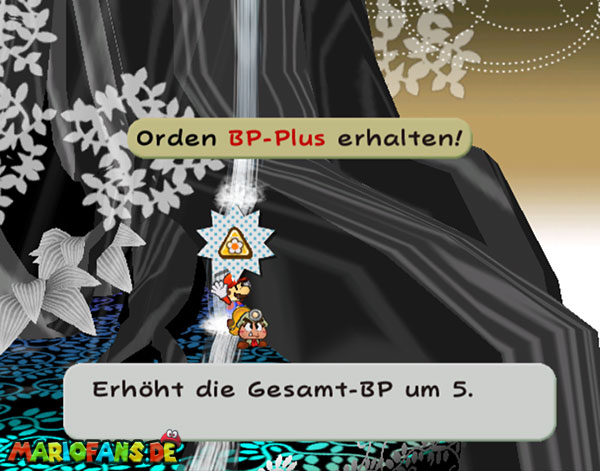
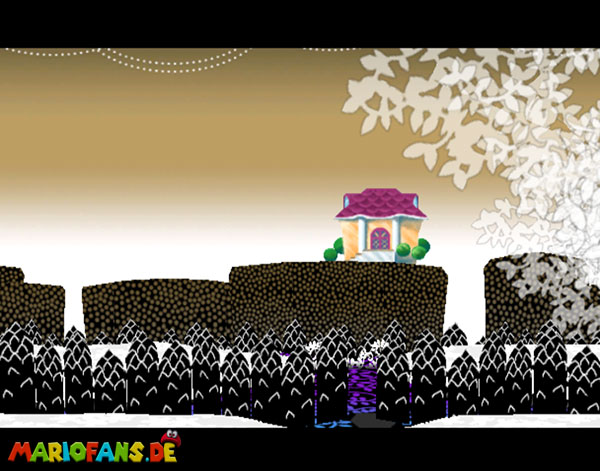
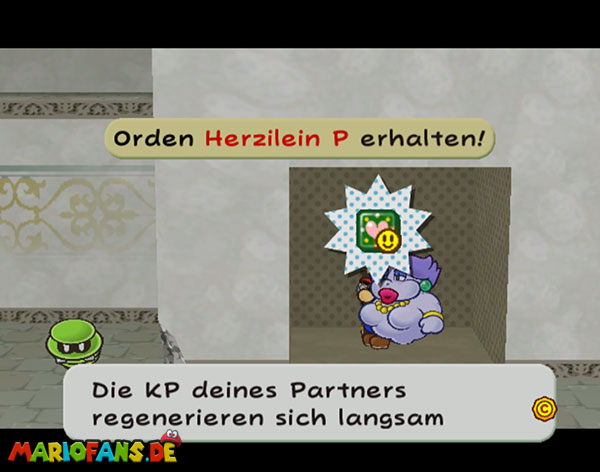
Go to the right and follow the sequence with the shadows. Go by and fight the plant opponents who finally bring some SP again. Continue on the right until your new companion shows you the tree and the way there. On the right is a hotel voucher. Nothing else like afterwards to the tree. At the door goes right around the corner to find a BP Plus badges. Go to the creature to learn about the secret passage.
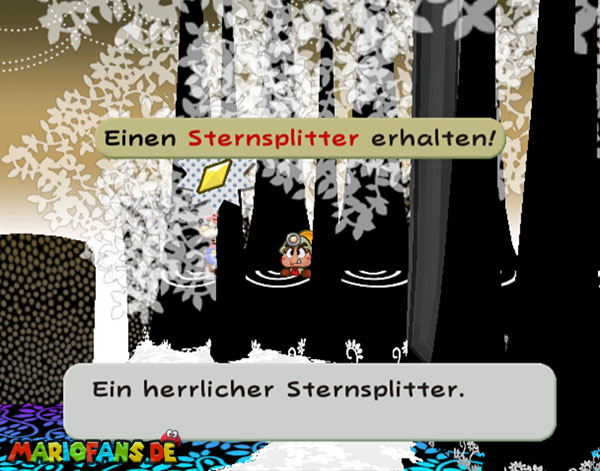
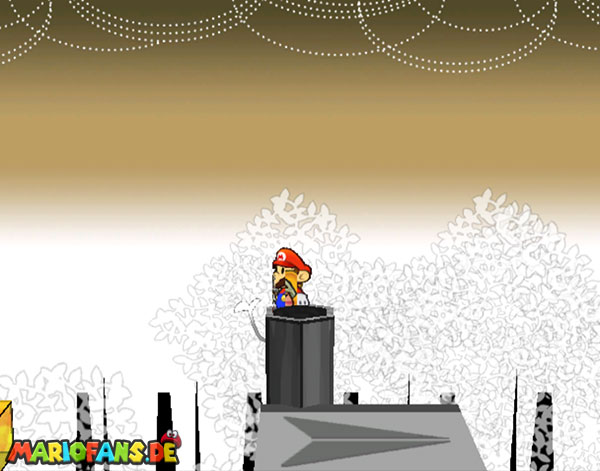
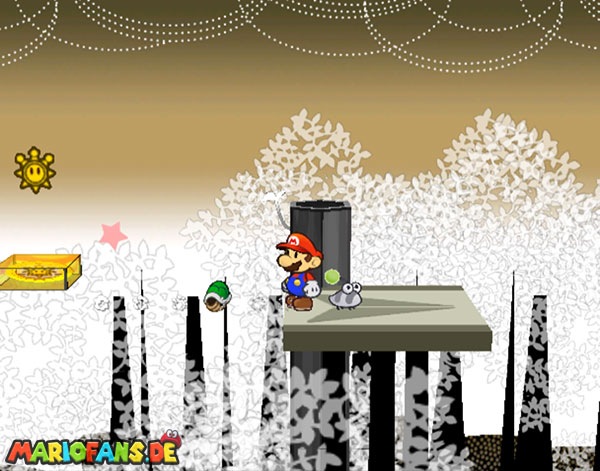
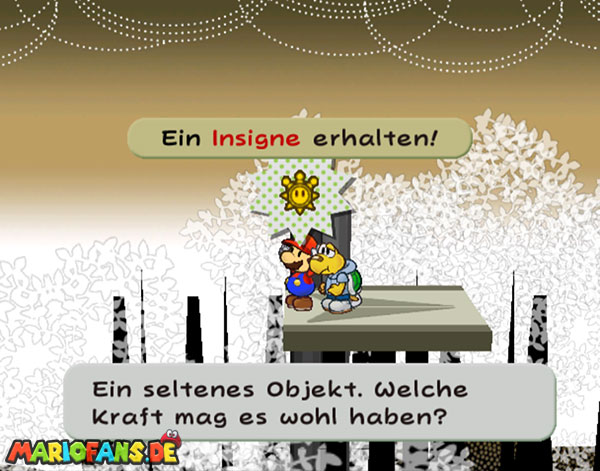
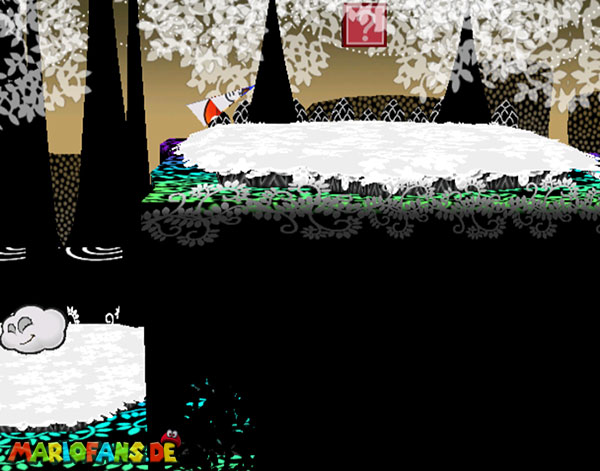
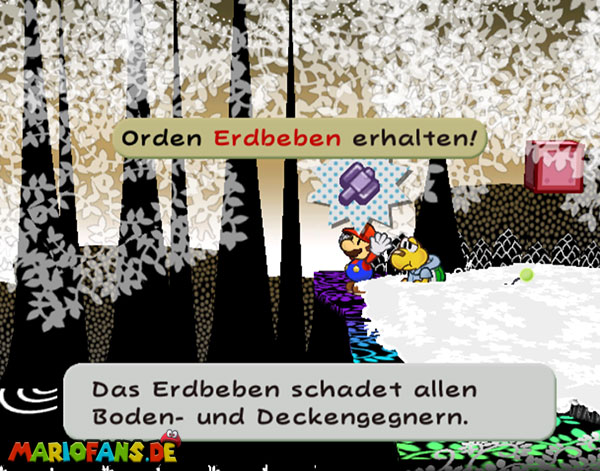
Then back to the warp pipe and on the right, into a new area. Go right here to the high wall. Down there in the secret corridor and walk up and in the background to the left. Hit the blue switch and get the splinter. Now continue over the high flight platform to the right. On the flight platform, an insignia fetches with the tank on the left. On the platform afterwards get the Quake Hammer Badges.
| Name | Max. HP | Attack | Defense |
|---|---|---|---|
| Piranha Plant | 4 | 2 | 0 |
| Pider | 5 | 2 | 0 |
| Dark Puff | 3 | 2 | 0 |
| Cleft | 2 | 2 | 2 |
Flurrie is part of the team
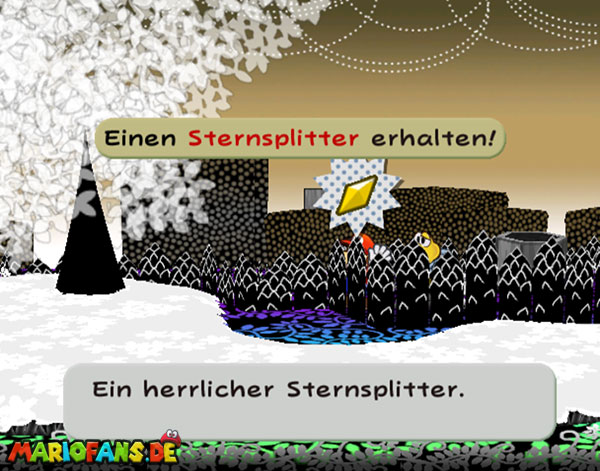
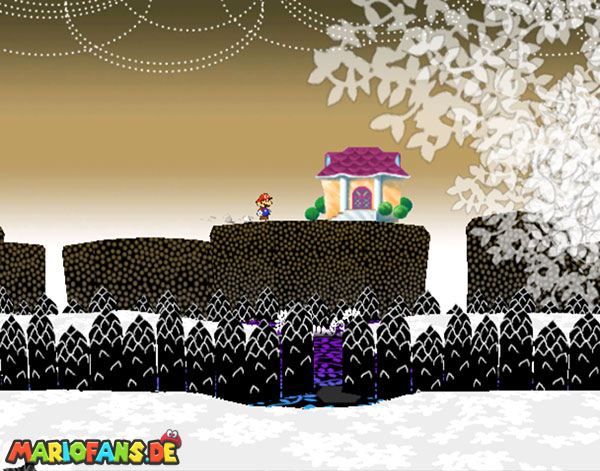
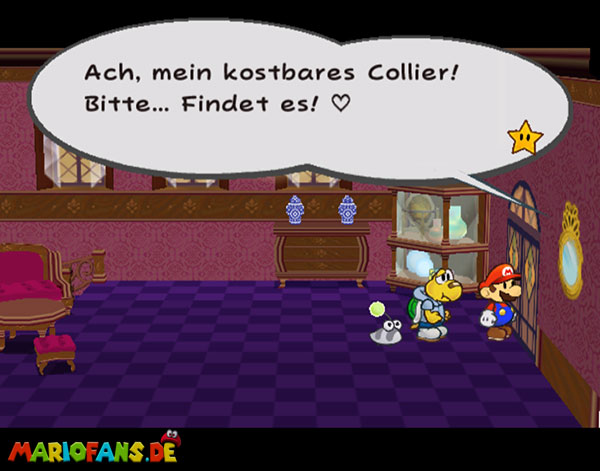
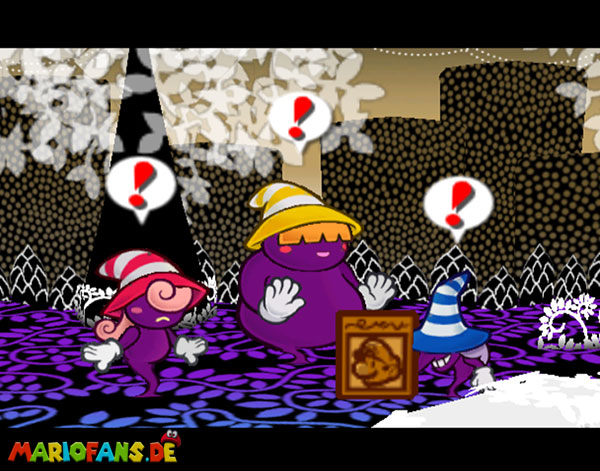
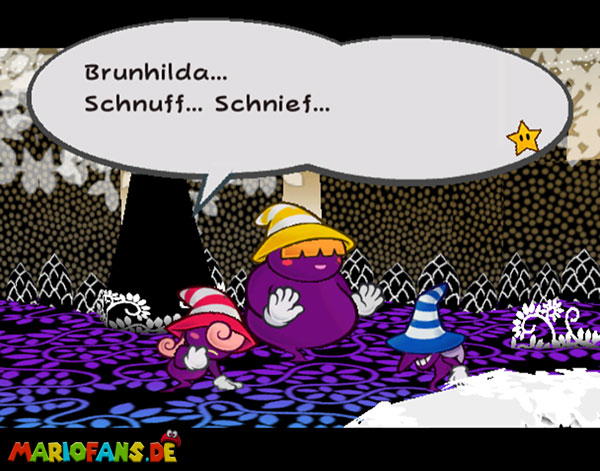
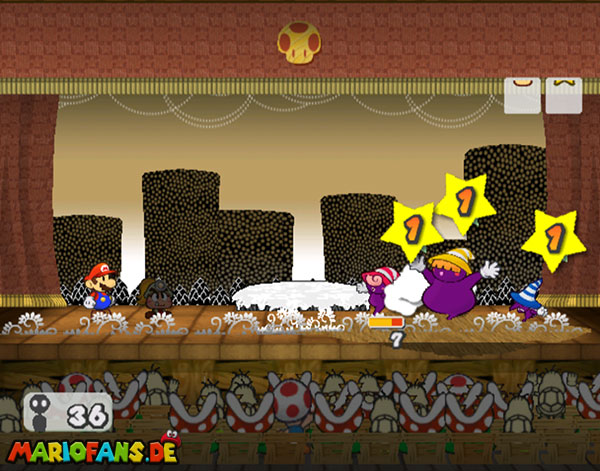
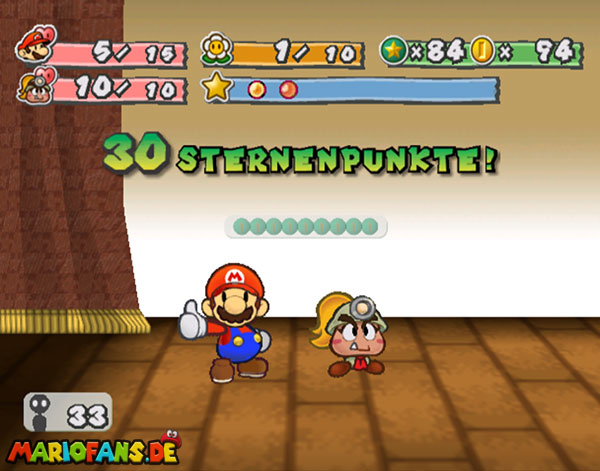
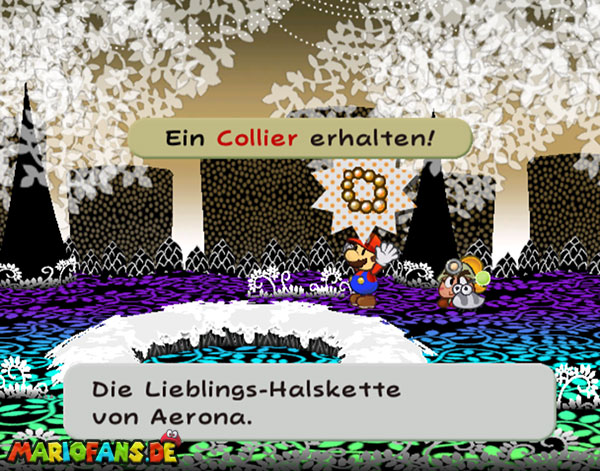
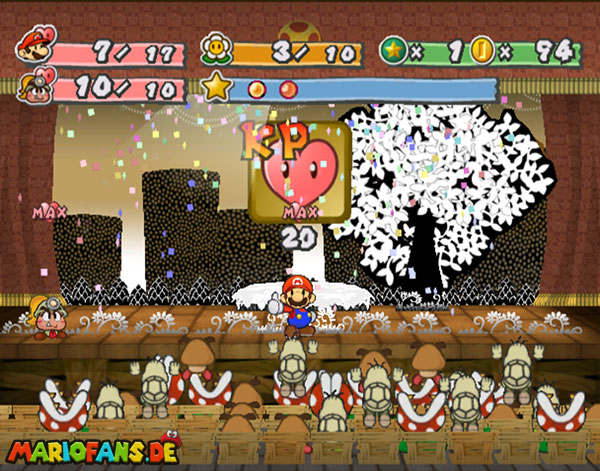
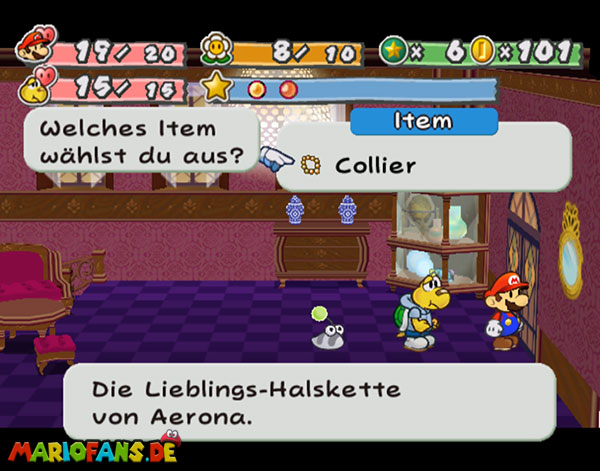
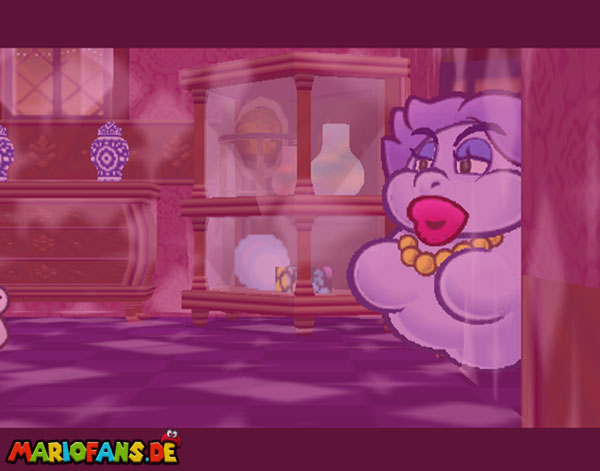
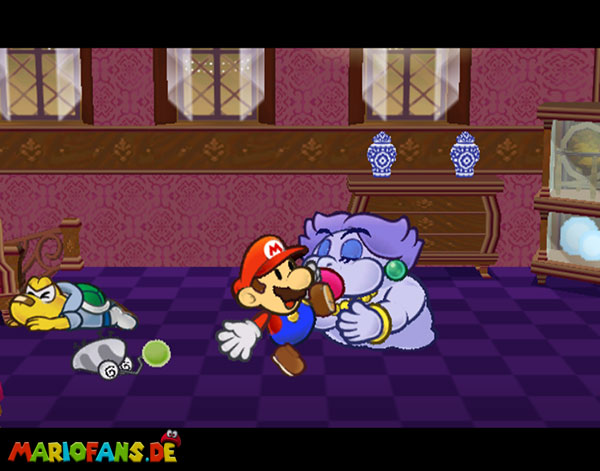
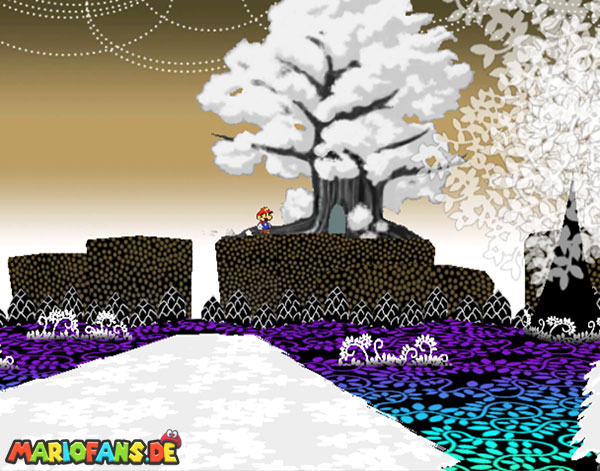
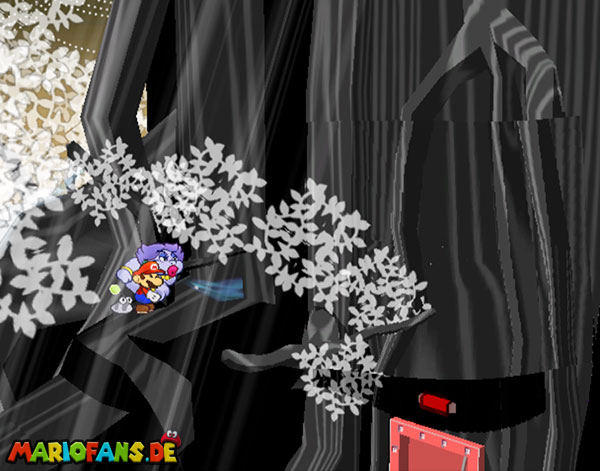
Next to the tree strikes to find another splinter. Go right and as paper Mario into the bushes and left to the warp pipe to get to the house opposite. There goes to the right and traces the sequence around the collier. Go back again and almost to the beginning where you meet the 2 shadow ladies again.
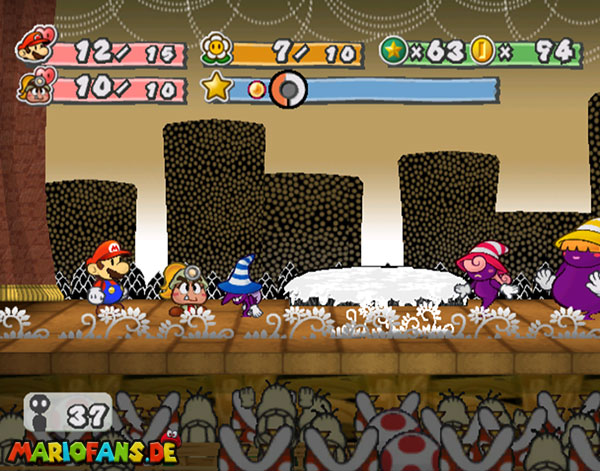
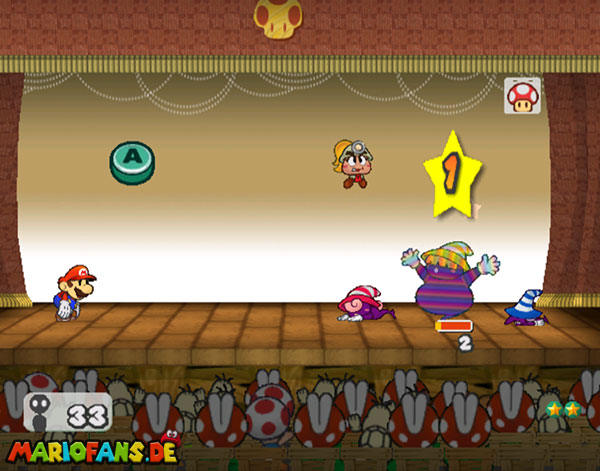
Fighting the Three Shadows
The fight is not difficult with Koops’s tank attacks. 12 HP at all and they are history and you get the collier that you can now bring back.
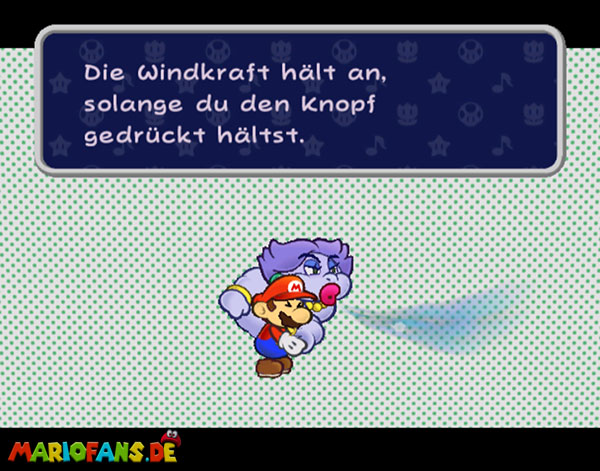
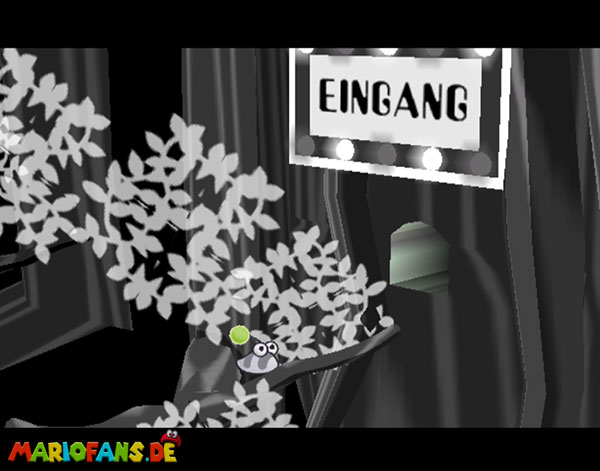
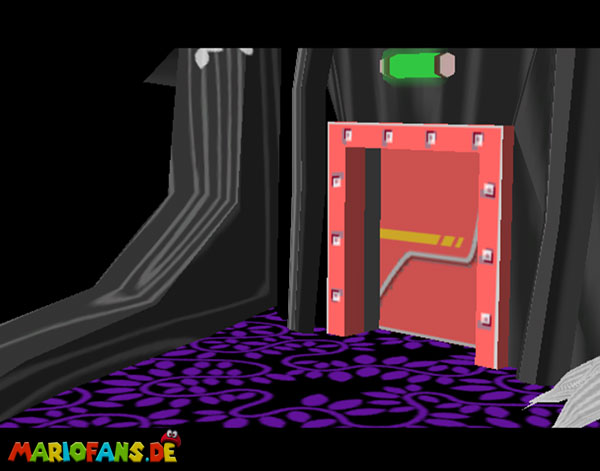
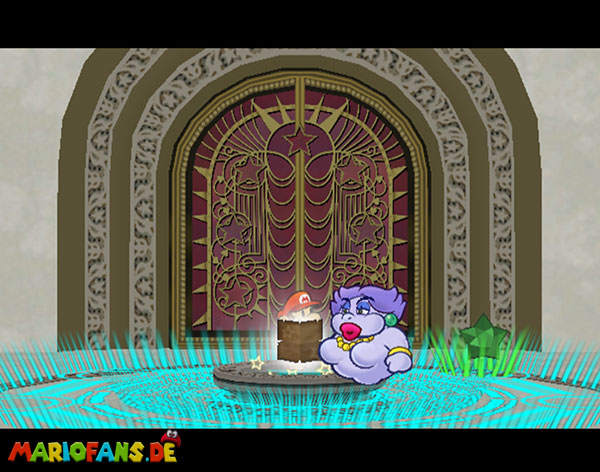
At the end of the sucking sequence, Flurrie now also belongs to your team. Now go back to the tree and blow the hallway to the right and you uncover the entrance and you can go inside.
| Name | Max. HP | Attack | Defense |
|---|---|---|---|
| Beldam | 9 | 1 | 0 |
| Marilyn | 12 | 2 | 0 |
| Barbara | 10 | 1 | 0 |
The Great Tree – Super Boots
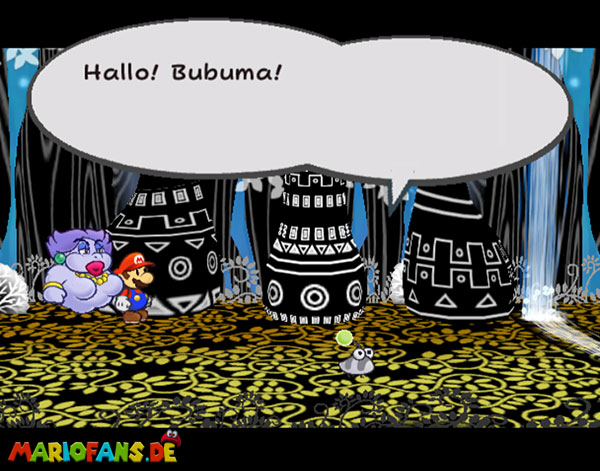
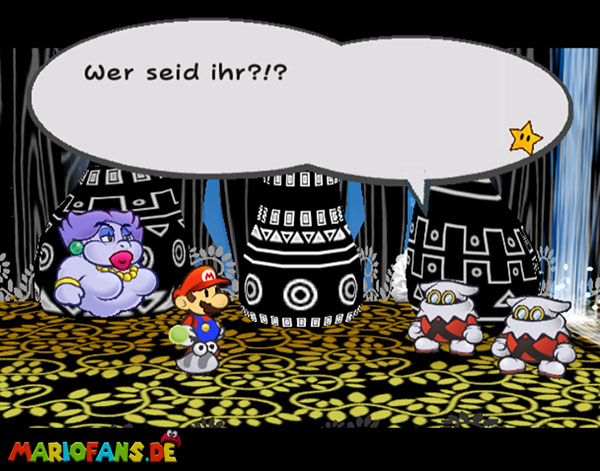
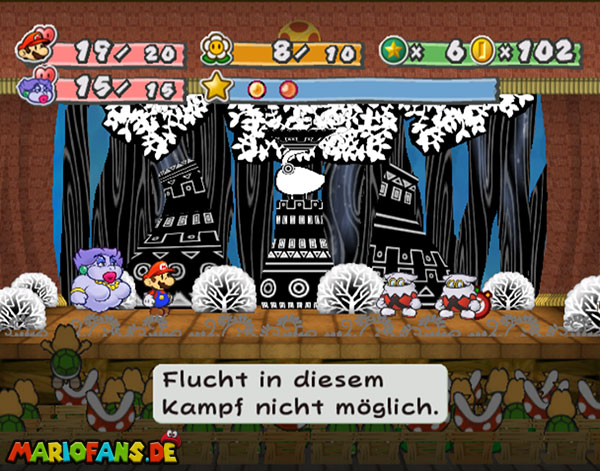
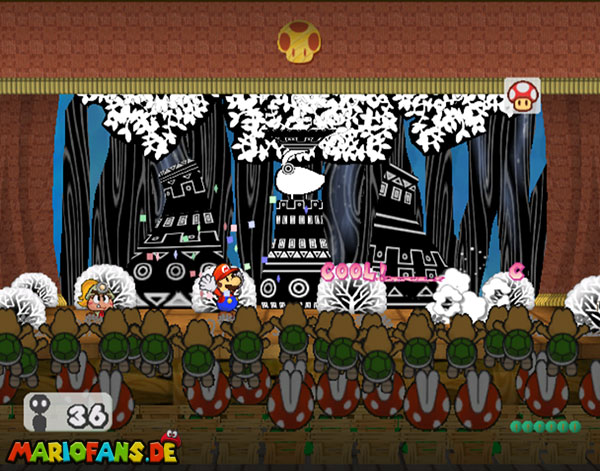
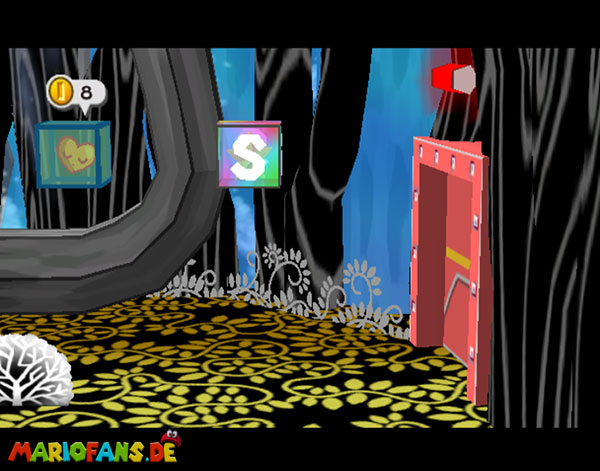
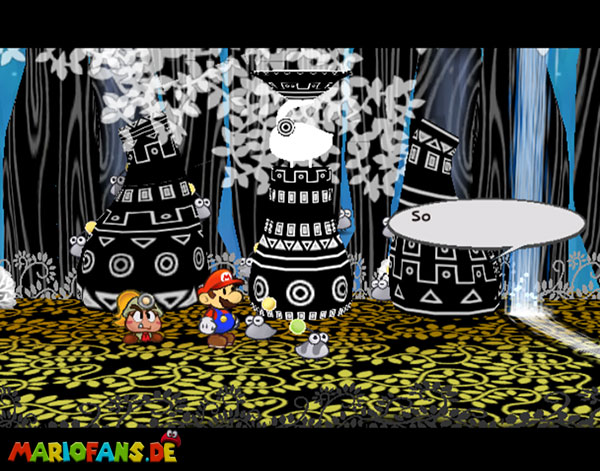
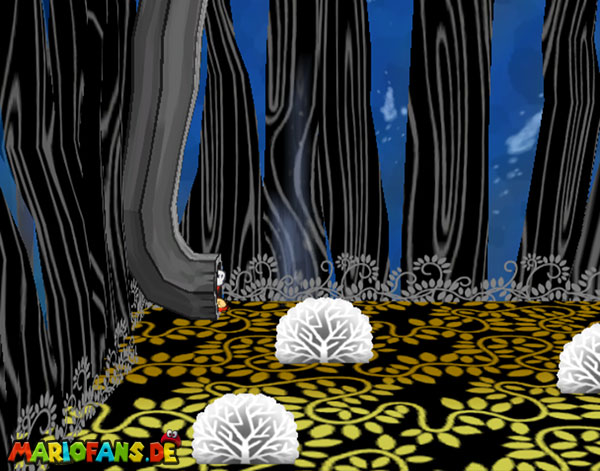
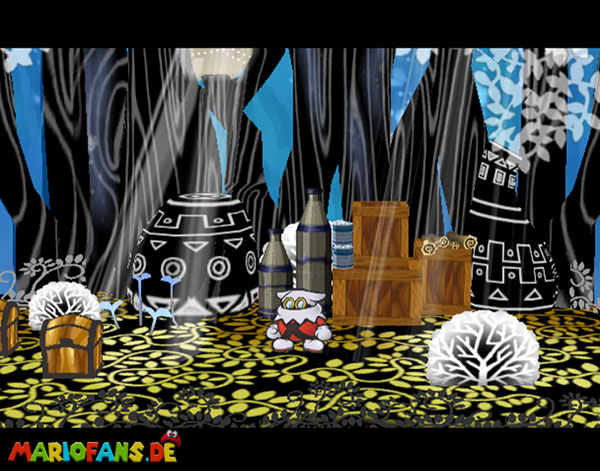
Go right and defeat the first two guards. Track the sequence, refresh and save. Then go into the warp pipe next to you and past the machine into the next warp pipe. Once there, the bushes are examined for a power punch and off to the next warp pipe left.
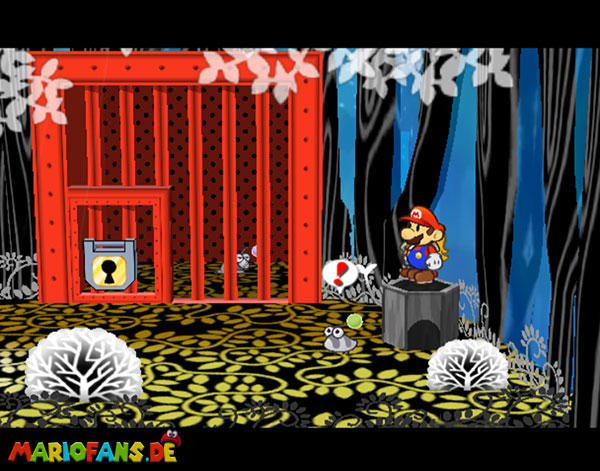
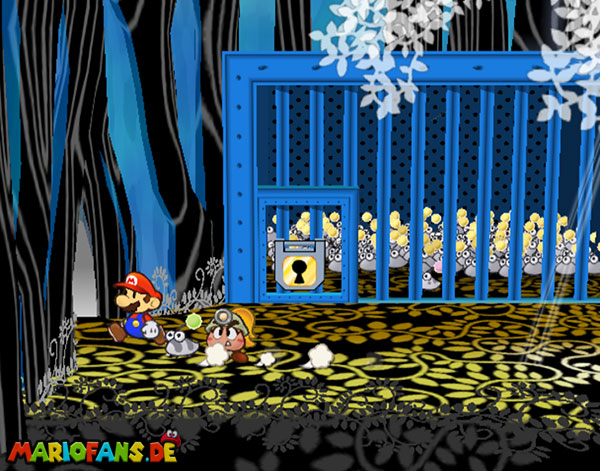
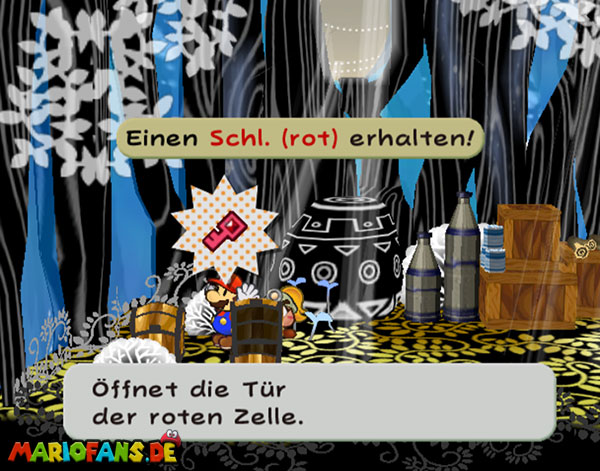
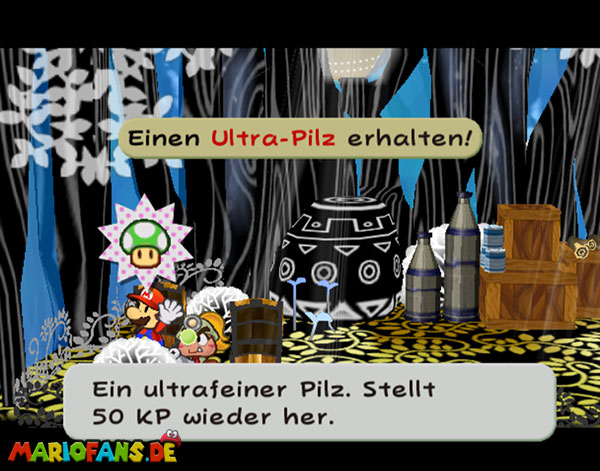
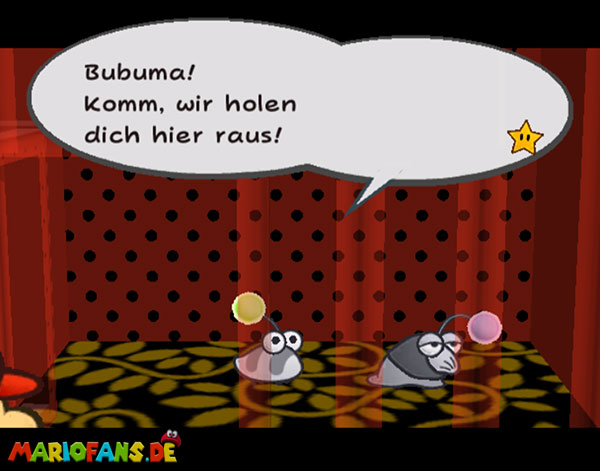
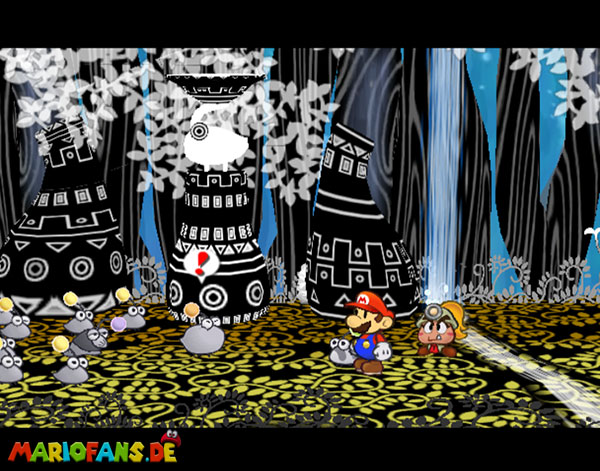
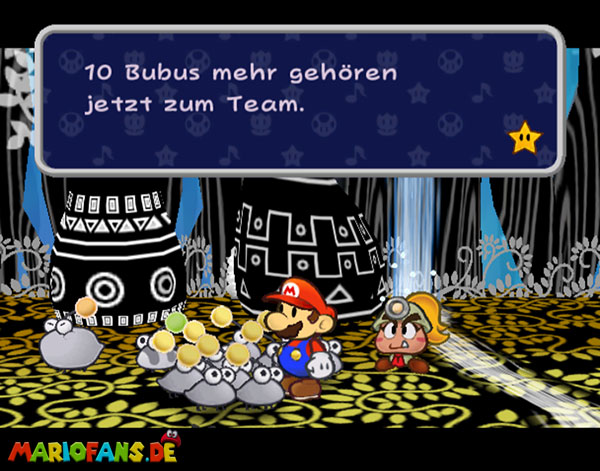
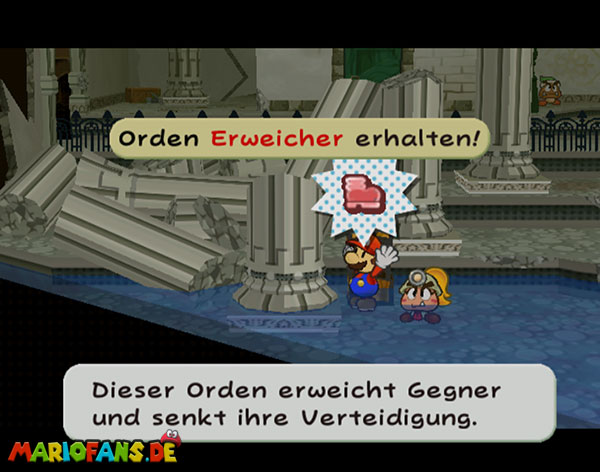
Short fight and off to the next warp pipe and you come out with a prisoner. Go to the left and turn the guard. You get the red cell key for that. Get the Ultra Mushroom at the Crate and go back. Go then and free the individual prisoner and then go all the way down to the other rascals. After the sequence you now get 10 Bubus to your team. You get the Puni Orb as the leader.
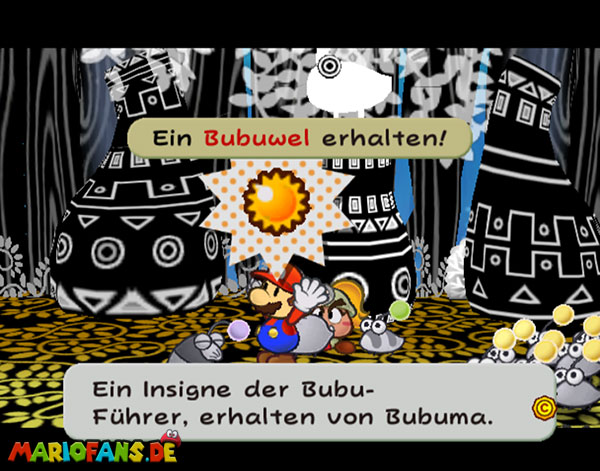
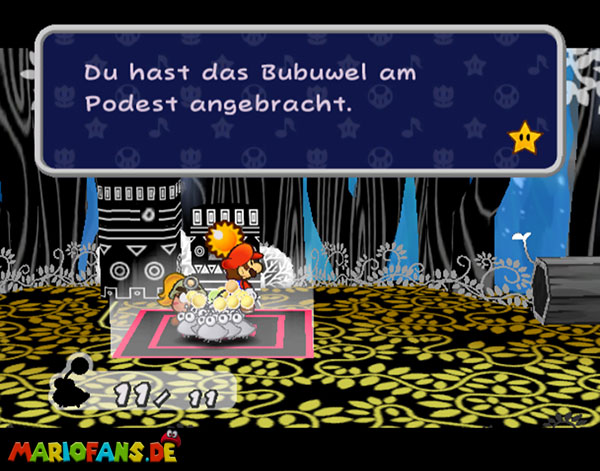
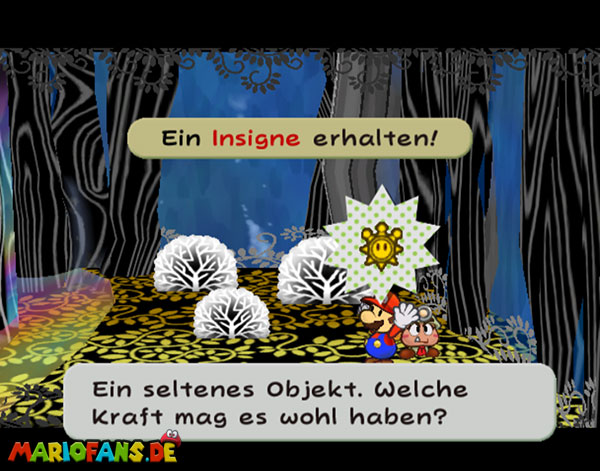
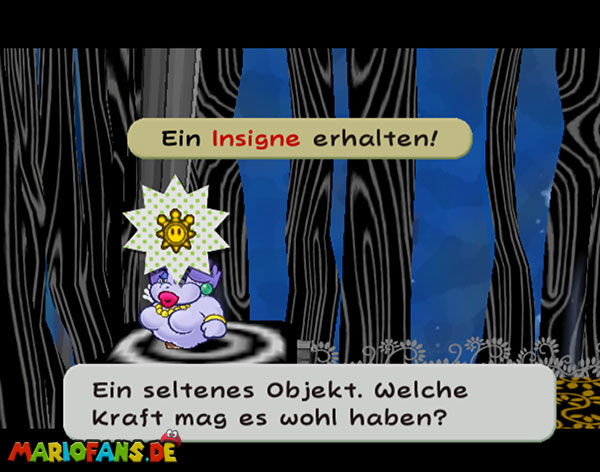
Now go with them one floor up to the machine and use the Puni Orb to create a warp pipe. Grab them all again and down. There. Set the rackers down and jump down to find an insignia and a lightning behind a bush. Go back up and take the bubwel out of the frame and put it over there on the right. Now push down all Bubus with Flurrie, which now come back up by soap bubbles.
| Name | Max. HP | Attack | Defense |
|---|---|---|---|
| Piranha Plant | 4 | 2 | 0 |
| Pider | 5 | 2 | 0 |
| Dark Puff | 3 | 2 | 0 |
| Cleft | 2 | 2 | 2 |
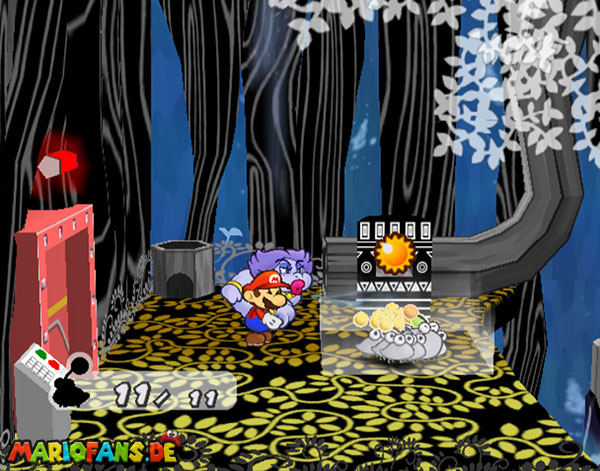
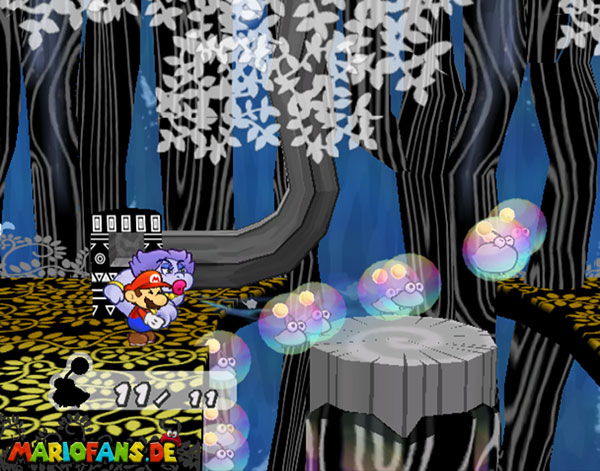
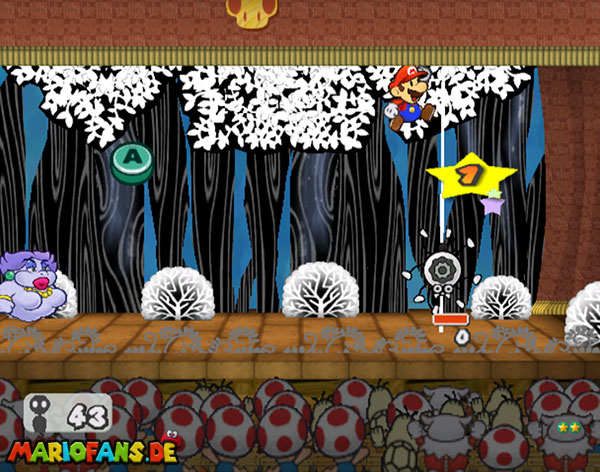
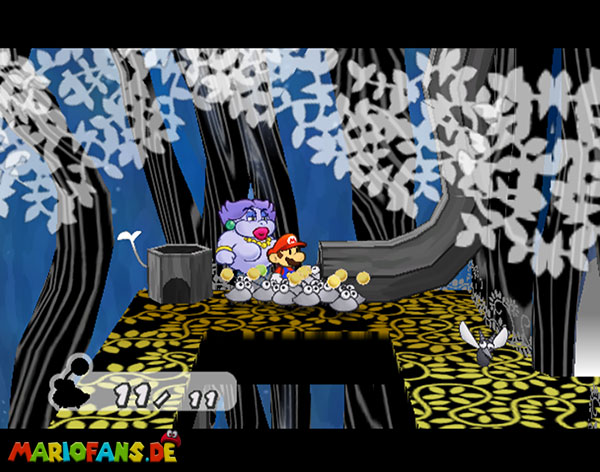
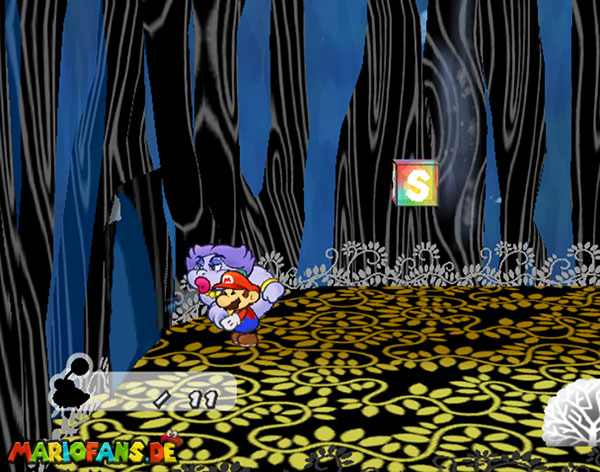
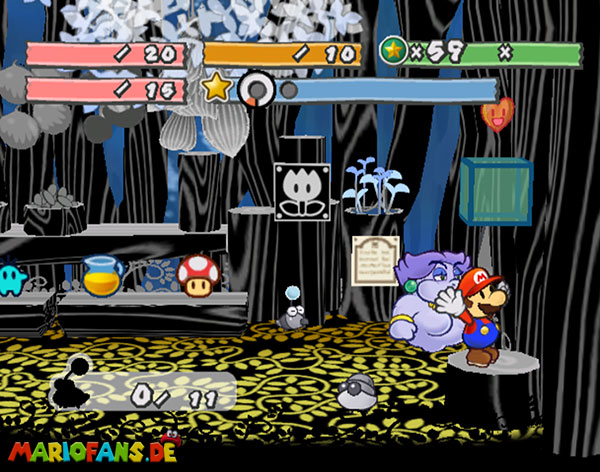
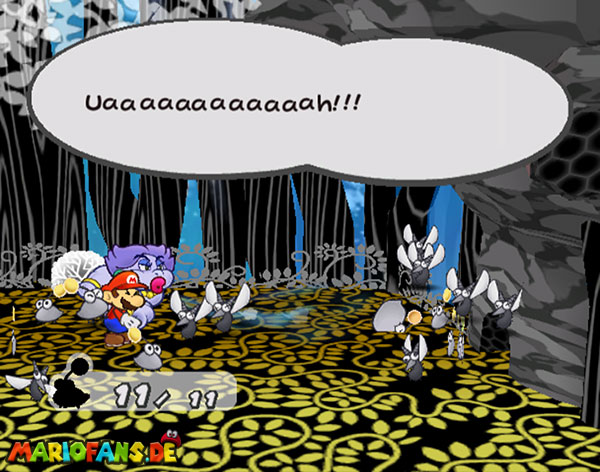
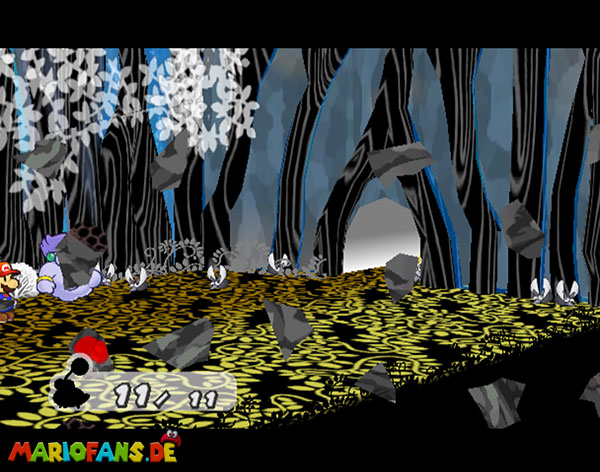
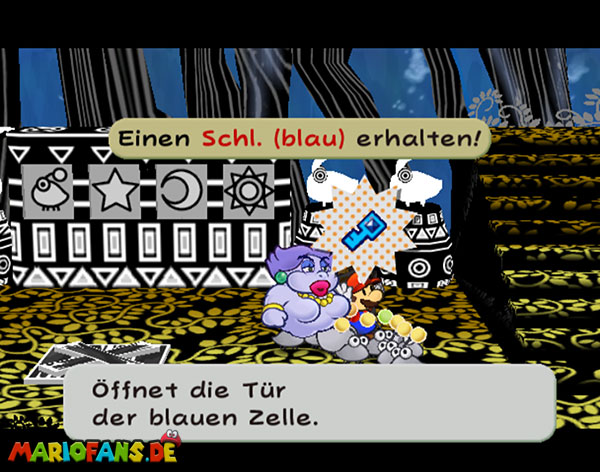
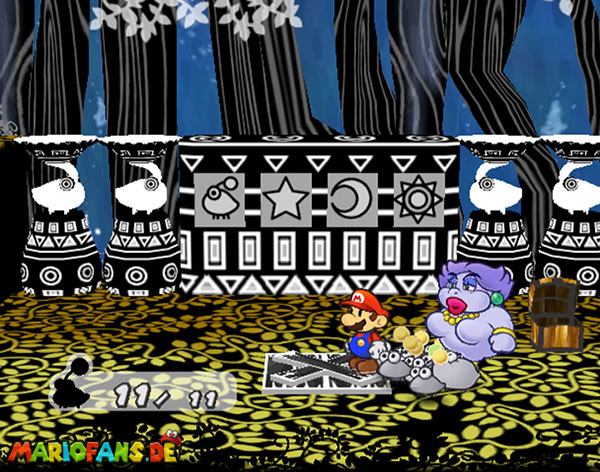
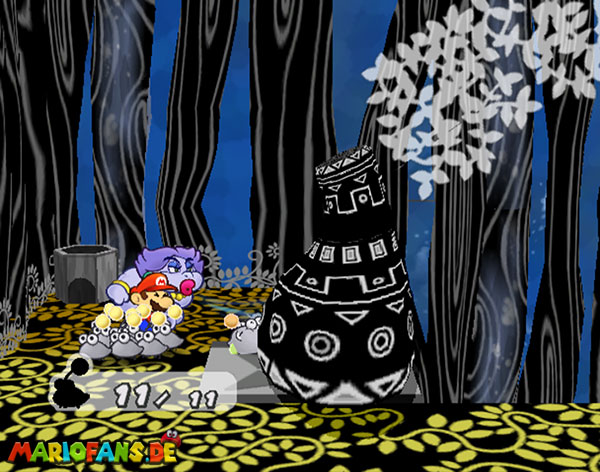
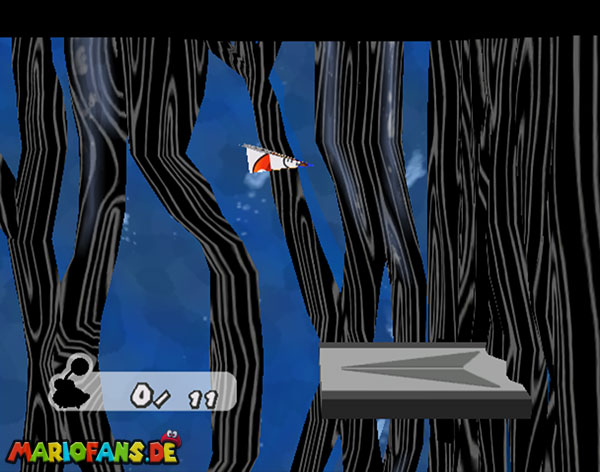
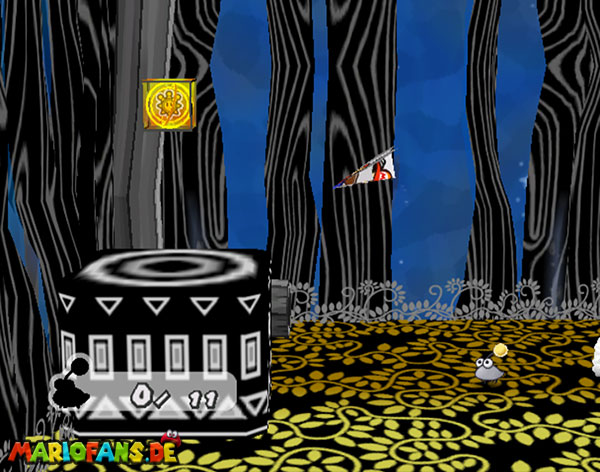
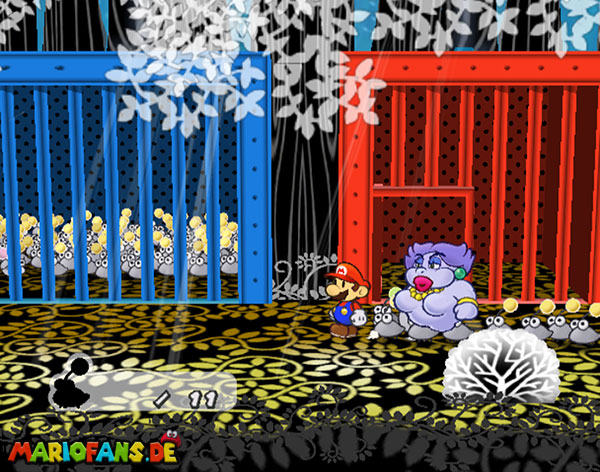
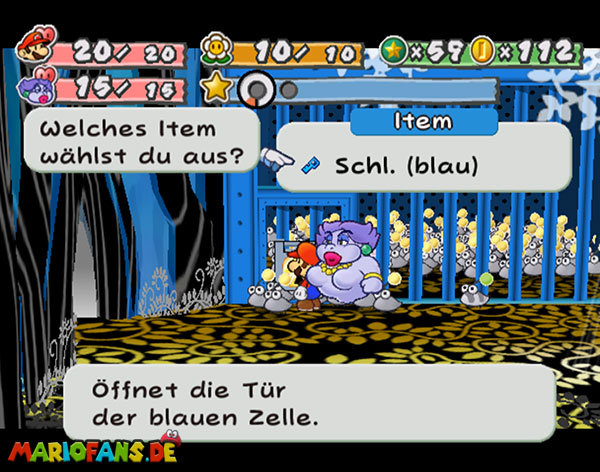
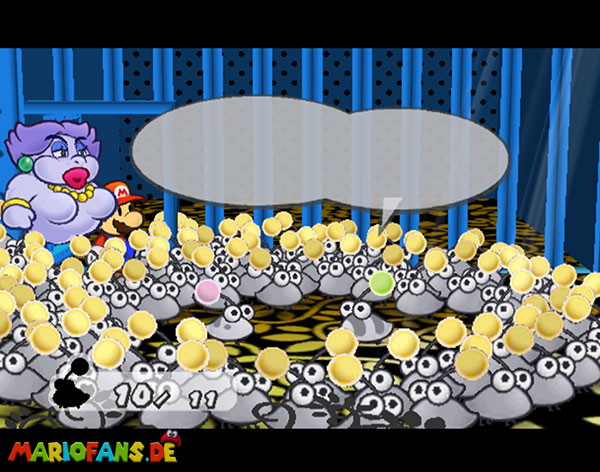
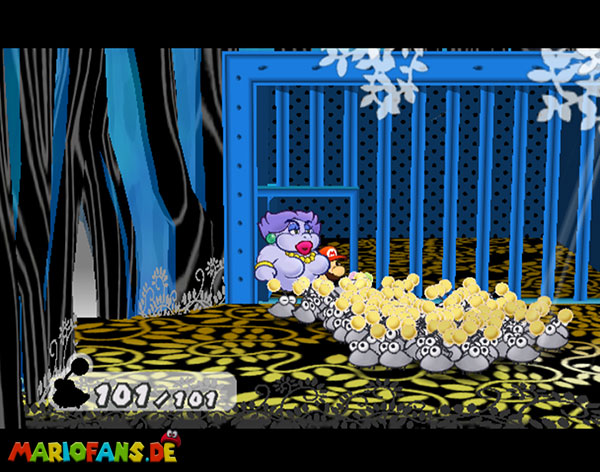
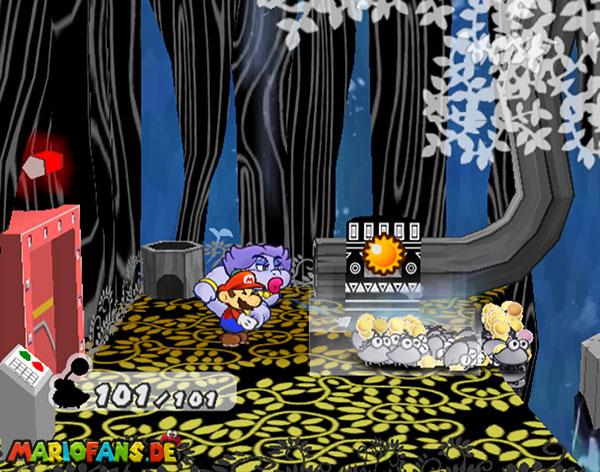
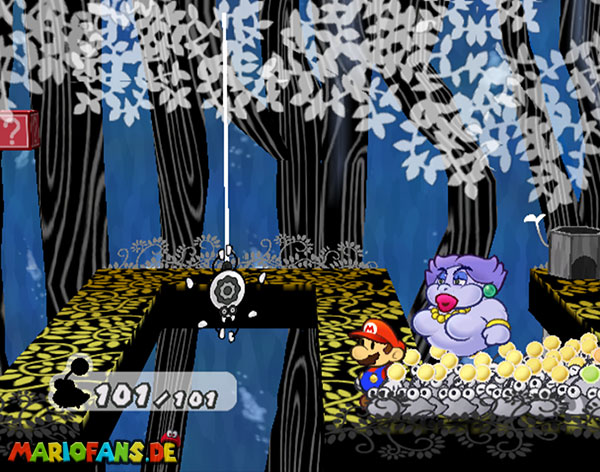
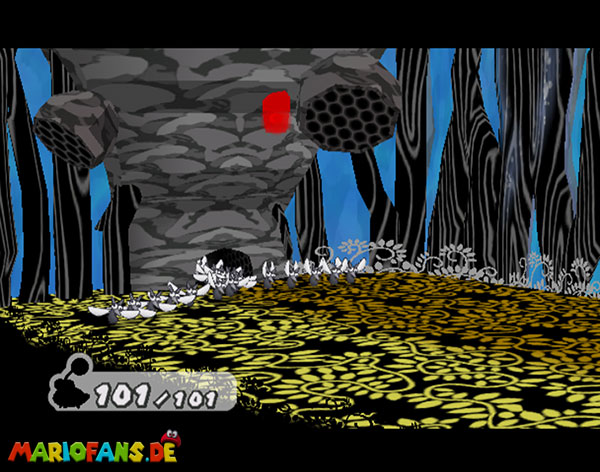
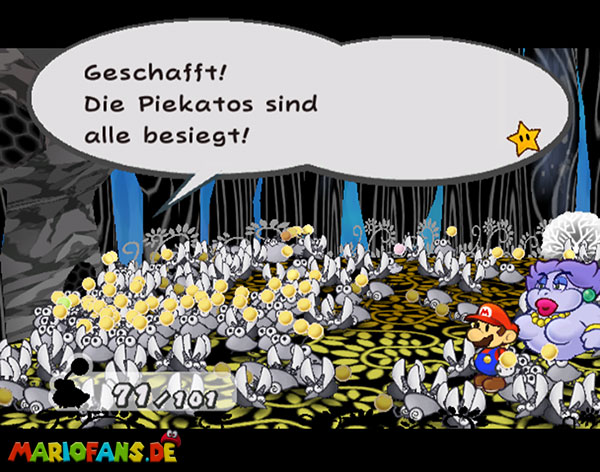
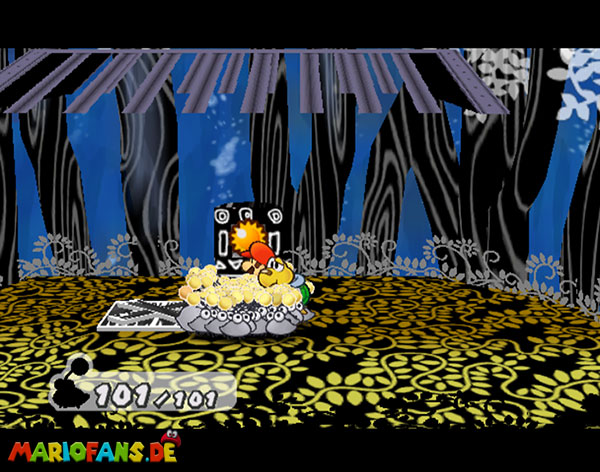
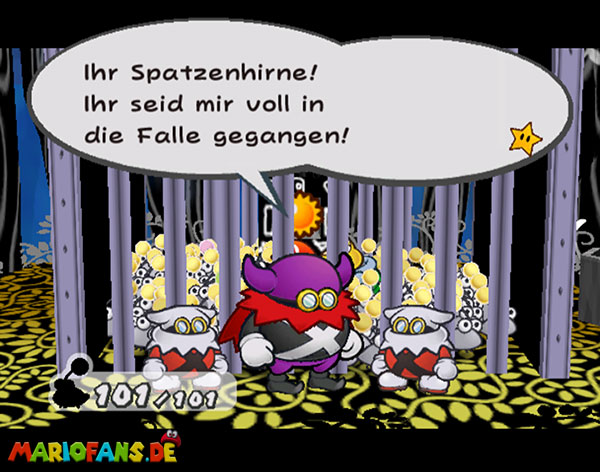
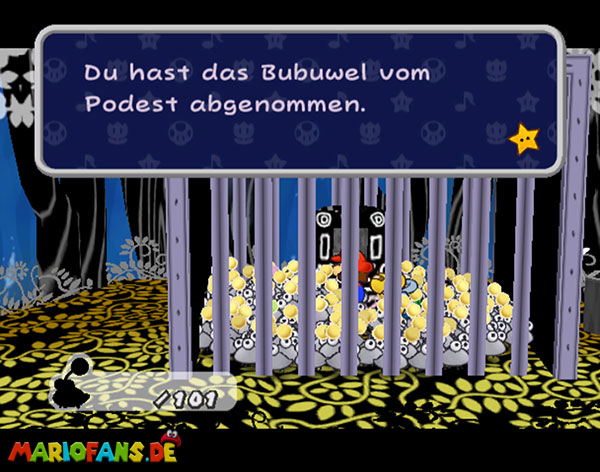
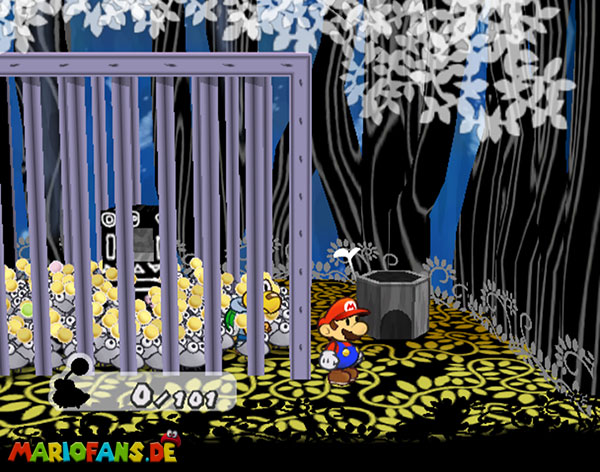
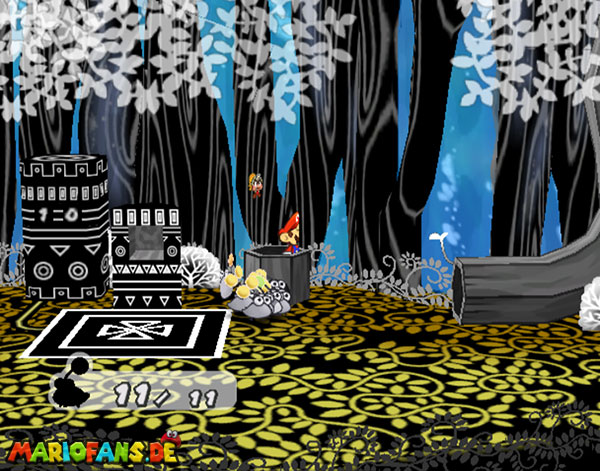
Blow it to the other side to the activated pedestal and you can then with all 11 in the warp pipe there. Drive 3 floors down and go right into the aisle and you can take down the 10 opponents with your 11. Then go right into the castle and get the blue key at the bottom of the Crate. Now go back to the bubble corner and leave the 11 rackers here and go to the prison to free the others. Go with them to the bubble room and send them over there in the old manner.
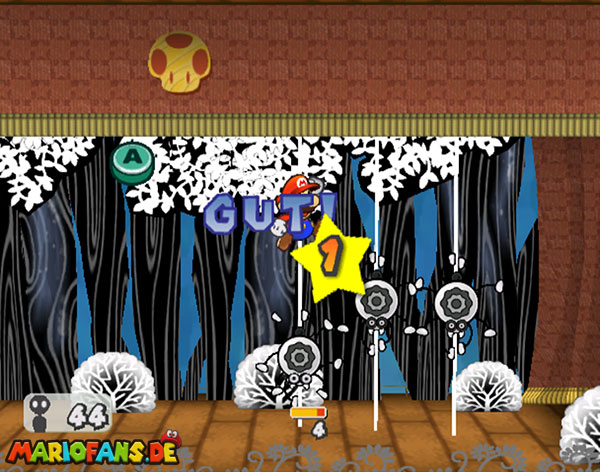
Then go back to the floor of the fight and now to the left and do all the spiders on the way. By tank, create a block below the red one and get the Damage Dodge P-Badges. Only when the spiders are gone do the guys follow you in peace.
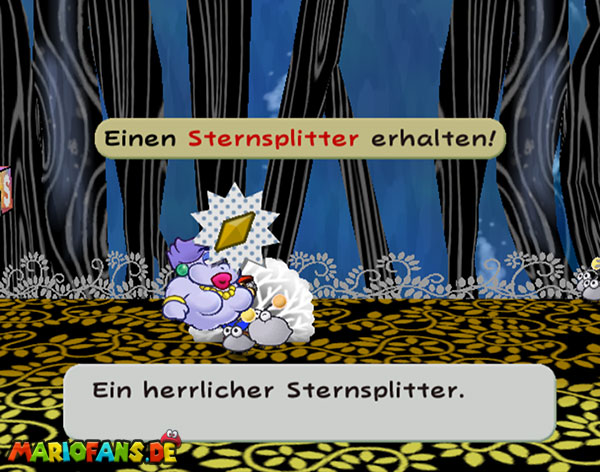
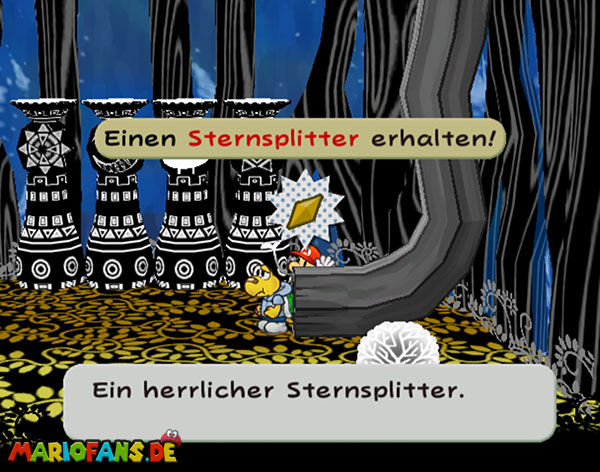
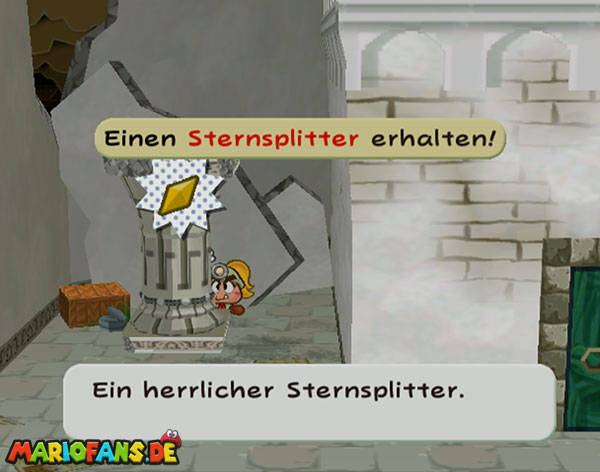
Then drop (which you would have to do anyway if your Bubus fell before) and go to the left. Behind one of the bushes you will find a Star Piece. Use the Save Block and next to it Aeronas Gale Force to open the eye-catching wall and a passage behind it. He leads to an item lobby shop, Bubuviczs Store. Cover up with supplies if necessary. Ice Storm and HP Drain are especially recommended and nowhere else to get. On the left in the corner you will find the Pikato-Kind Piksel, which joins you on request.
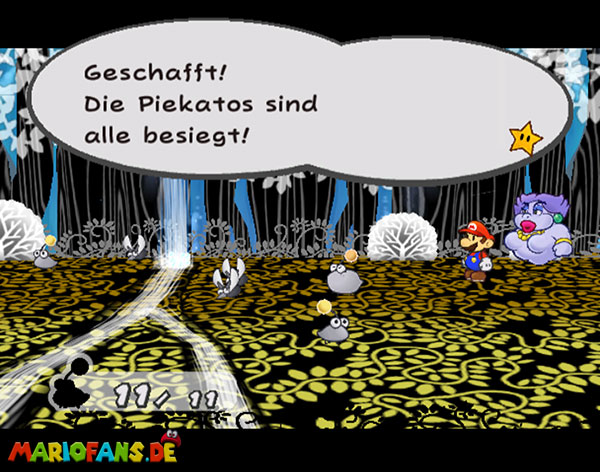
Then to the other side and let her fight against the 100 Pikatos, support her with Flurrie’s breath and enter this castle at the end. Go down to the left and take the Bubus with you. Behind the warp pipe from which you slip is a Star Piece. Go past the log to the right and into the adjacent room where you use the Puni Orb. You will be caught, but you can escape through the bars and continue right into the warp pipe.
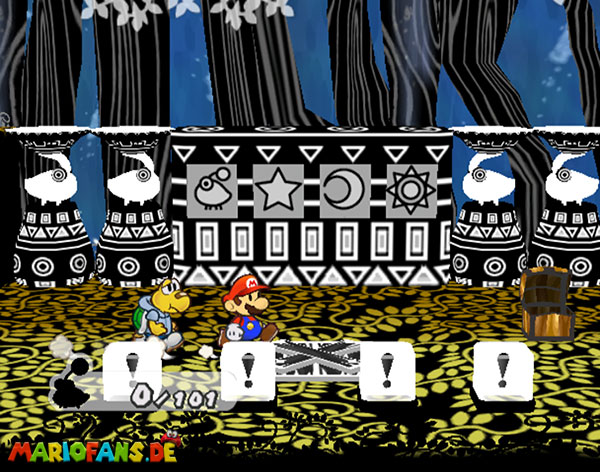
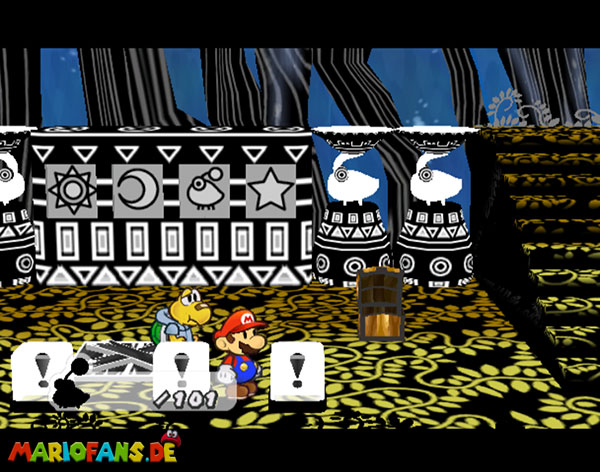
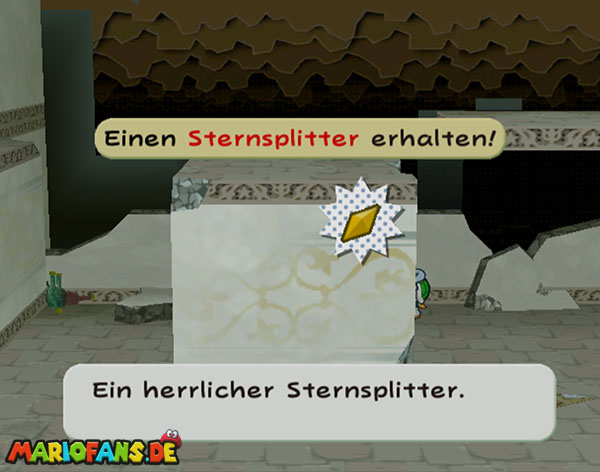
Behind the Warp Pipe you came from, there is another Star Pieces. Activates the black switch, whereupon the tree swings briefly. Return to the room where you previously found the blue key (beyond the right Pikato fortress). In front of the pillars with the symbols you will now find four white switches. Use these to change the arrangement of the symbols as we saw them in the room with the black switch (Sun > Moon > Bubu > Star).
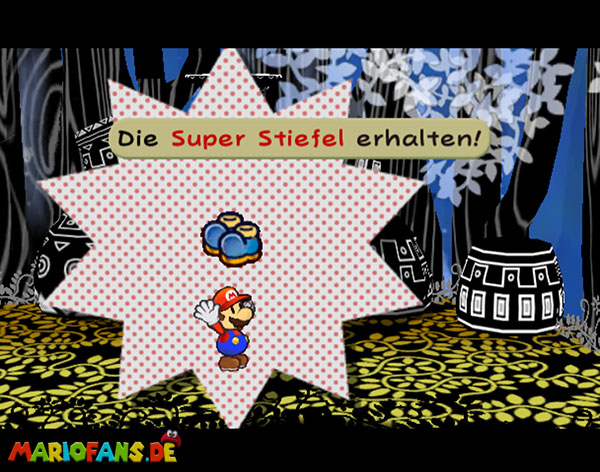
Go in and you get the super boots and can now perform the ground pound normally and in combat.
The Great Tree 2
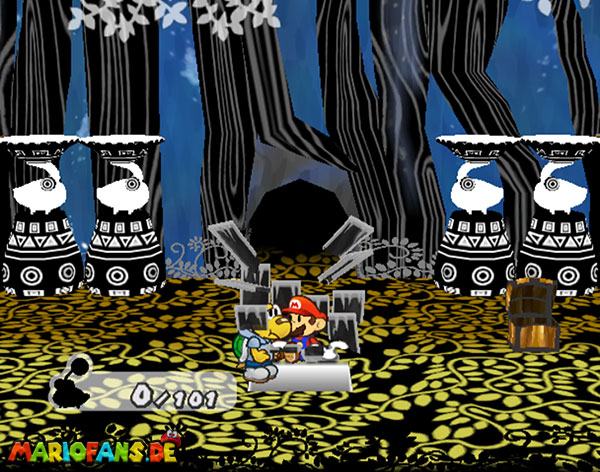
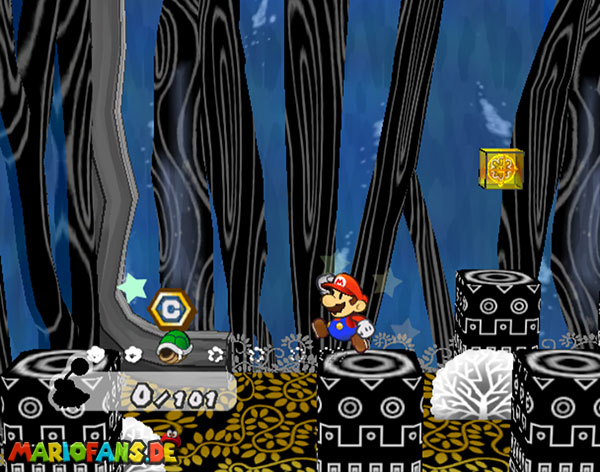
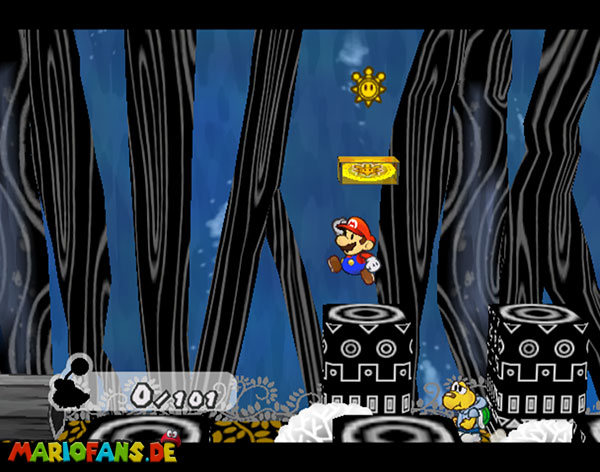
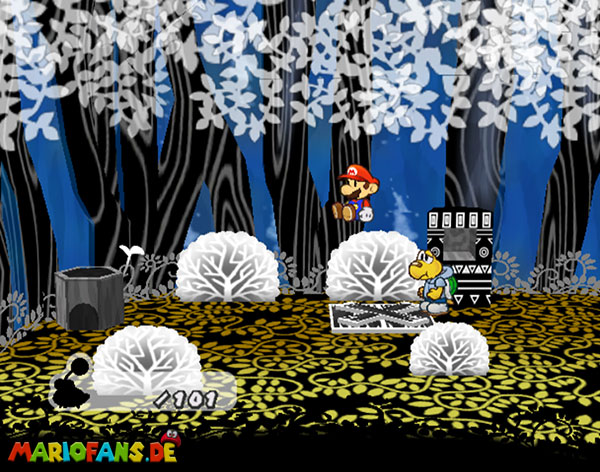
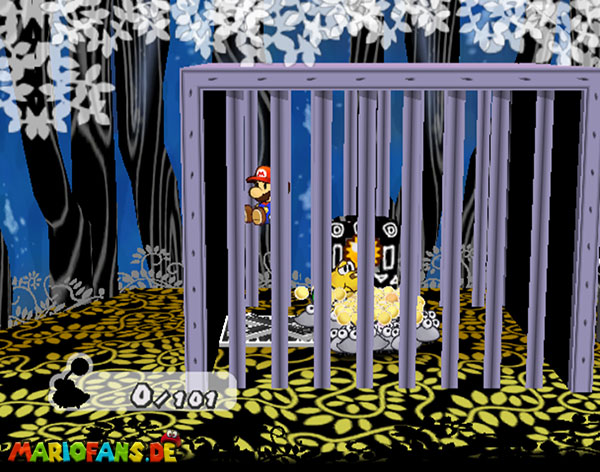
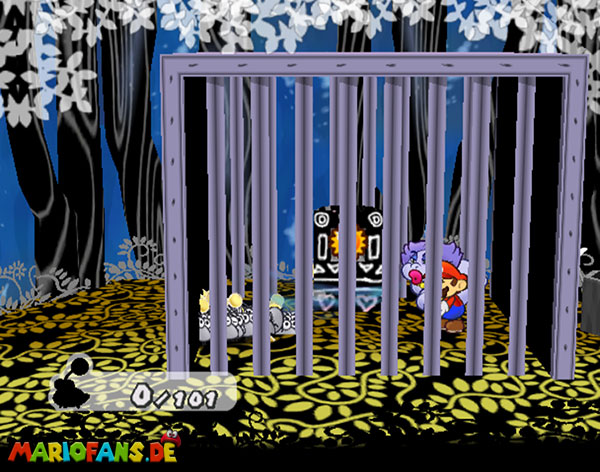
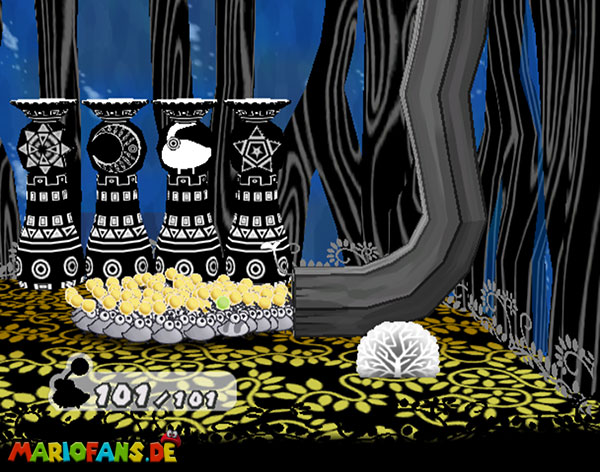
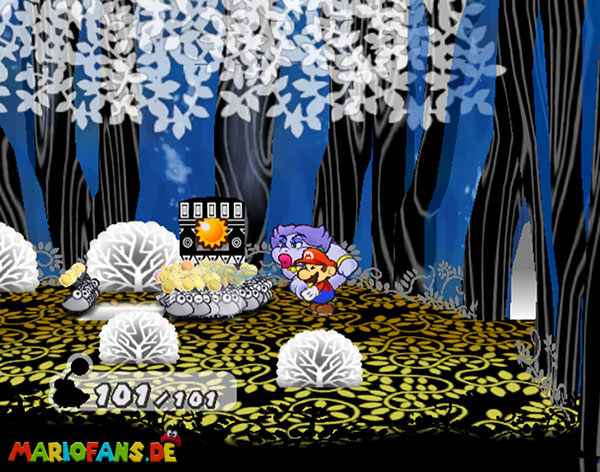
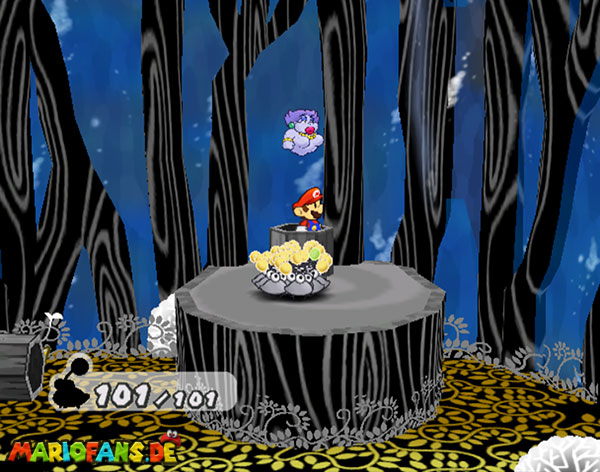
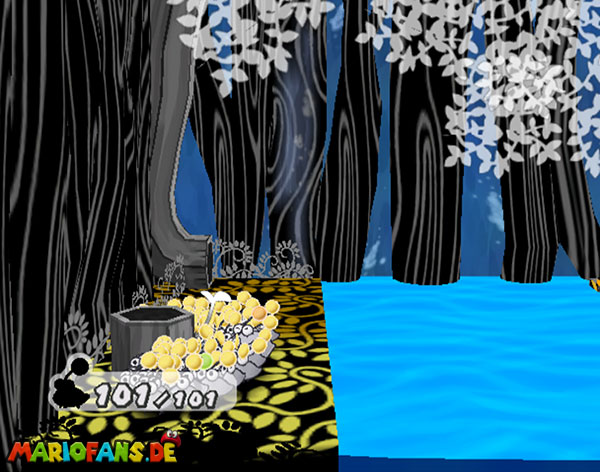
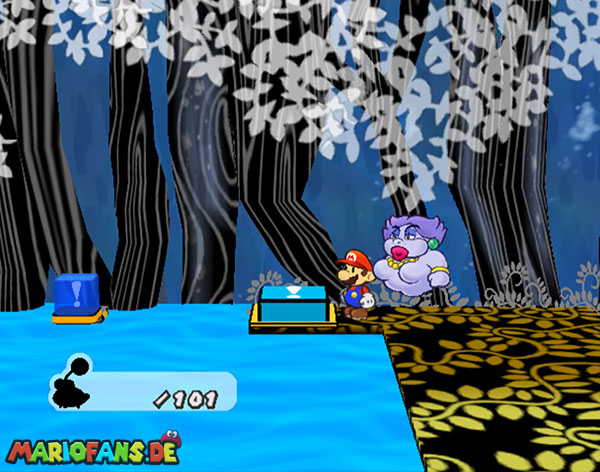
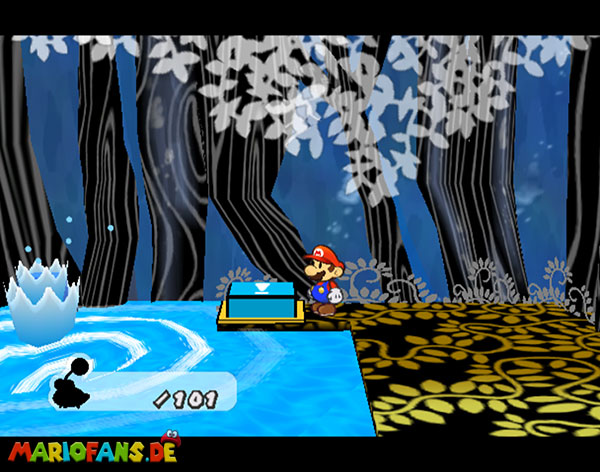
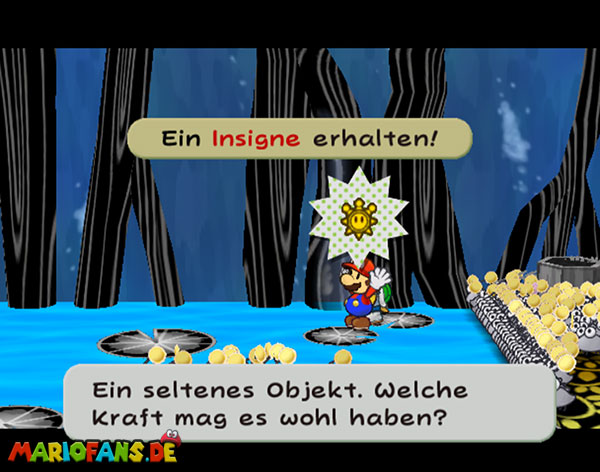
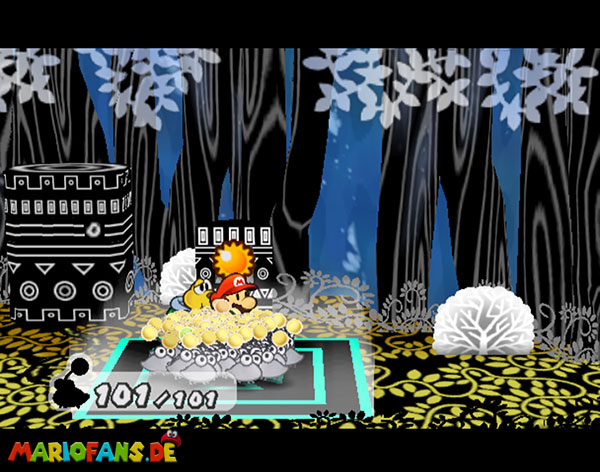
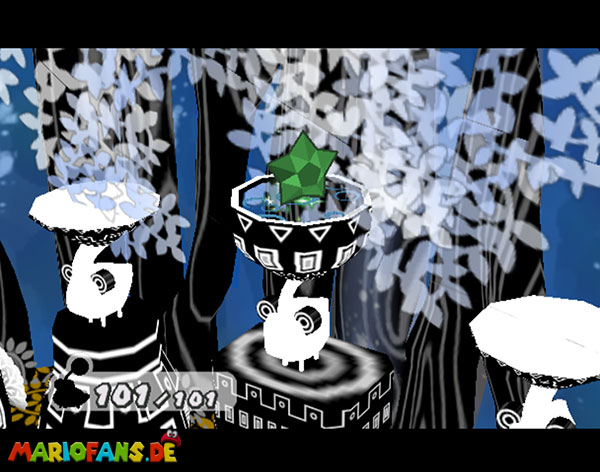
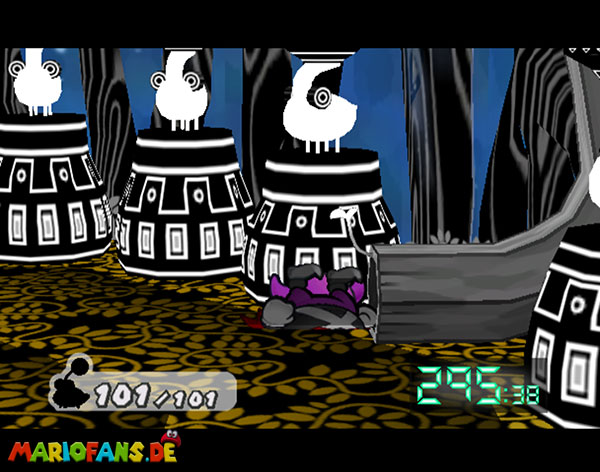
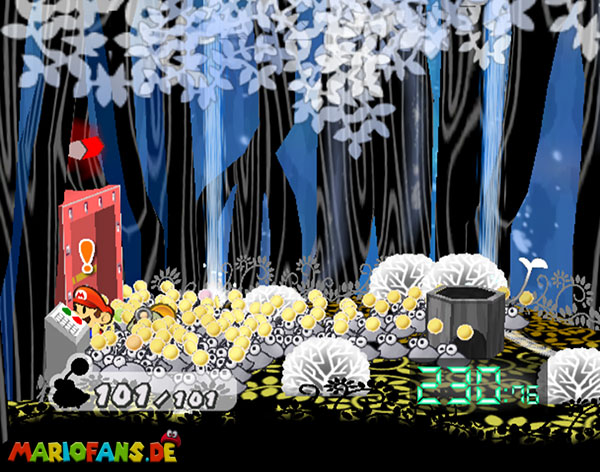
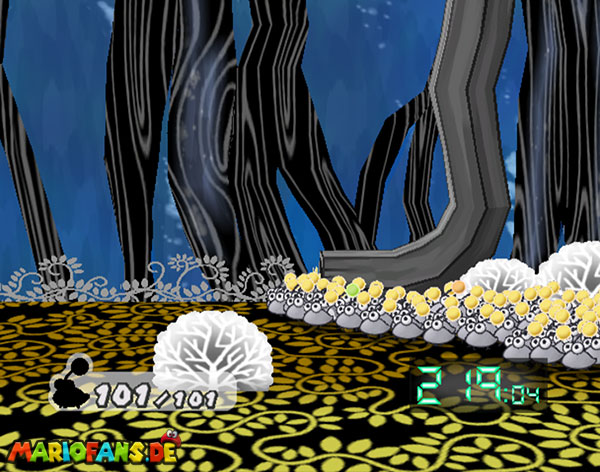
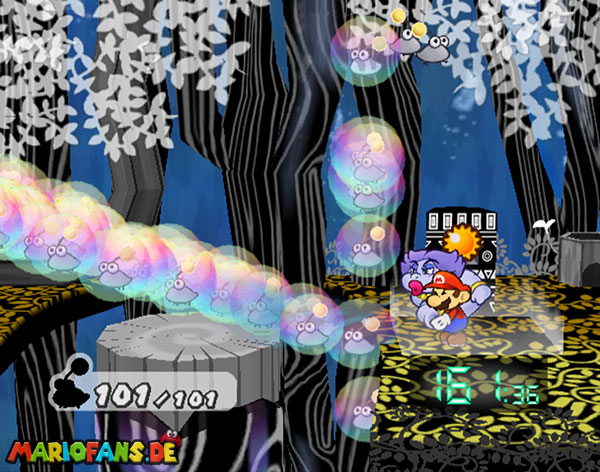
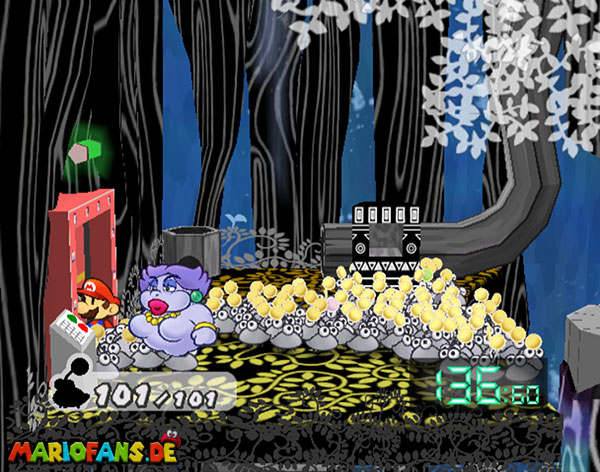
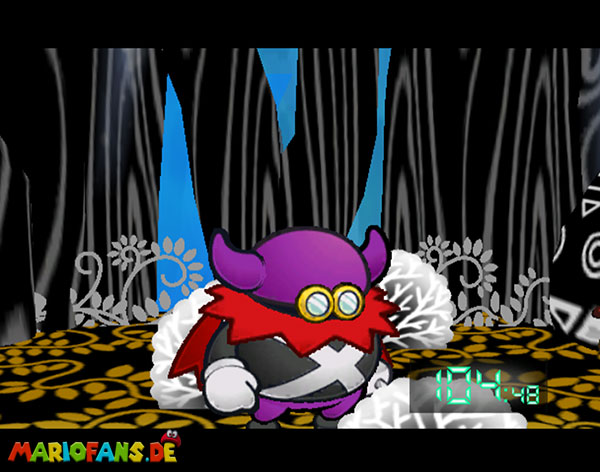
One of these surfaces can be found in the previous room with the pillars. Use the tamper and open a passageway in the ground. Drop and jump over the black pillars to the insignia in the background.
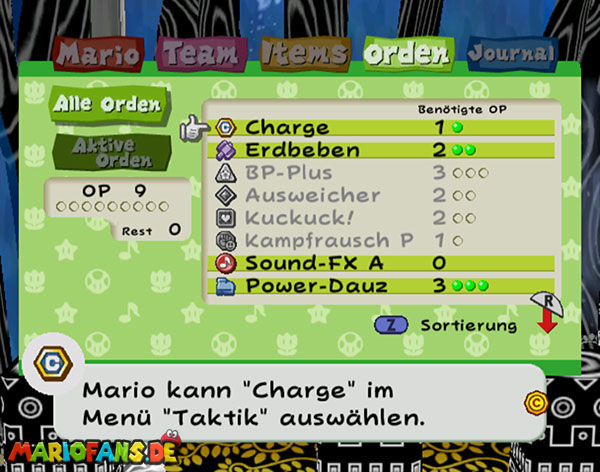
Then we pick up the Badges Charge with Koops’s tank (increases the damage Mario does on the next attack) and then disappear through the Warp Pipe on the left. Back to the cage where our companions are still stuck.
Paper Mode goes into the cage. Insert the Puni Orb into the frame and use the Ground Pound on the wooden floor to provide the Bubus with an escape route down. Use the warp pipe up, re-enter the cage and blow down the little guys with a hallway.
Once everyone is down, get the Puni Orb and leave the room to the left of the cage through the door. In the next room, it goes past the tree trunk to the warp pipe on the left and up to another area for the ground pound. This gives us access to the small warp pipe directly on the trunk. It leads and continues into the Great Tree, but that still has a short time.
Before that you can return to the room directly above the entrance hall (in which we saw the first device for the Puni Orb). Use the Ground Pound on the right and you should see a floor tile being thrown up by the shaking.
Stand right next to it, stamp again and you get a Star Piece. Next we go to the blue cell from which we rescued the 100 Bubus. There, too, a ground pound gives us a Star Piece next to the loose floor plate.
Then it goes through the left Pikatos room into the area next to it. The gap in the ground previously created by Ground Pound paves the way to the tree stump with the Warp Pipe. Use the Puni Orb next to it, blow down the Bubus and continue through the Warp Pipe.
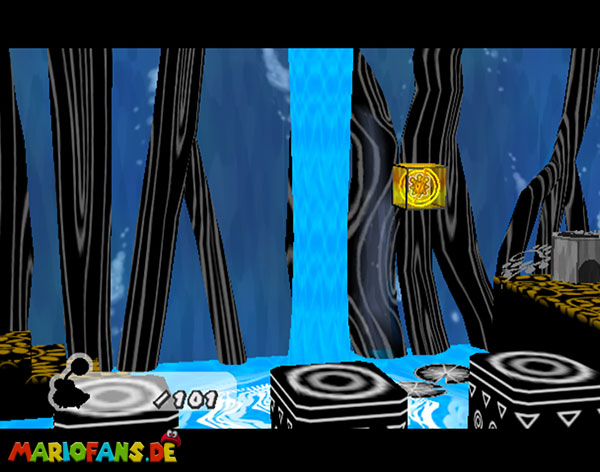
Use the tubes in the next room to reach an area with a huge water basin in UG 4. Down through the lower warp pipe and jump over the black columns to the right.
There it goes through the lower (horizontal) warp pipe to a light blue! platform. It lowers the dark blue switch above the water. Stand on the platform and use Koopios tank (shoot left, hold down button, leave switch, release button and zag) to let the water flow out of the room into the below.
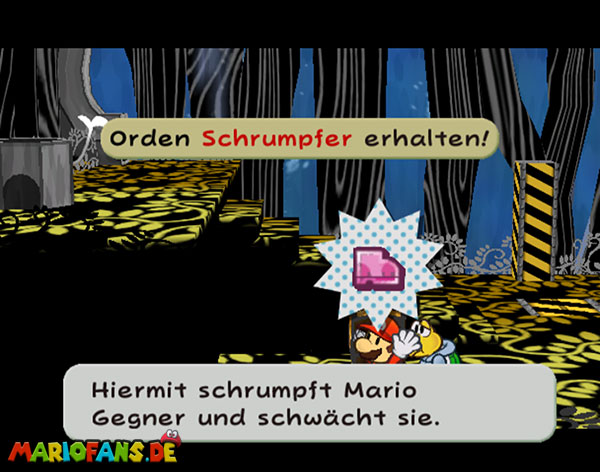
Before you go there, you can open a treasure chest in the dry room and get the Badges Shrink Stomp (Mario learns the Shrink Stomp, costs 2 BP). Behind the stairs you will also find a Dizzy Dial (makes opponents dizzy and maybe paralyzes them).
Down into the now flooded room, where you can safely guide your Bubus over the water lilies and platforms to the right side. Take the insignia along the way.
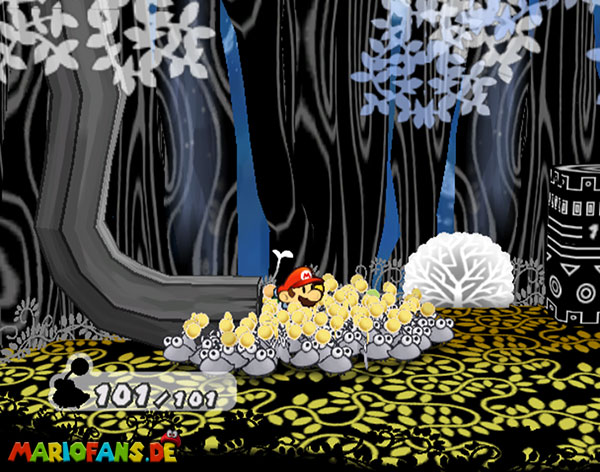
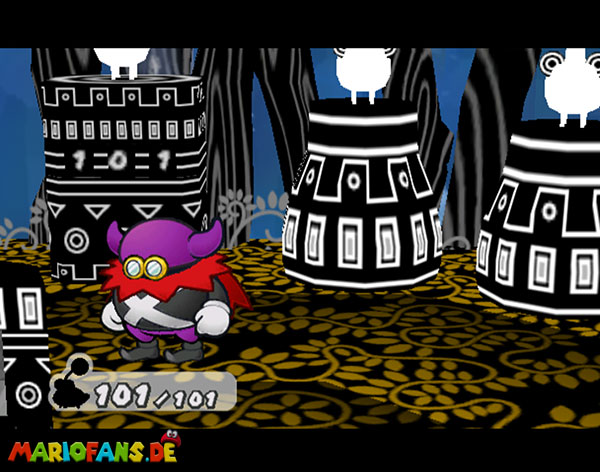
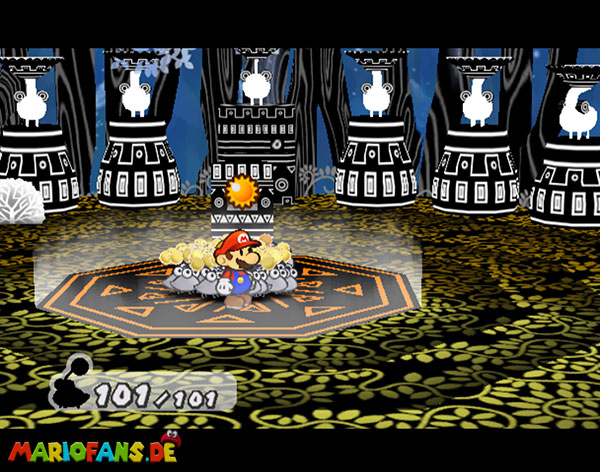
On the right side it goes through the upper warp pipe. We get into a room with a device that demands all 101 Bubus. Place it accordingly and we get down via an elevator.
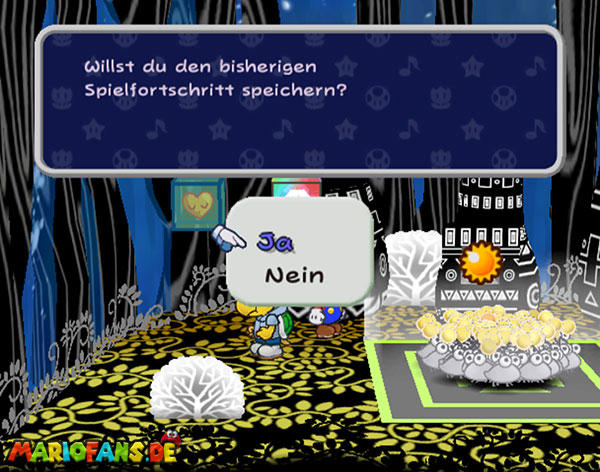
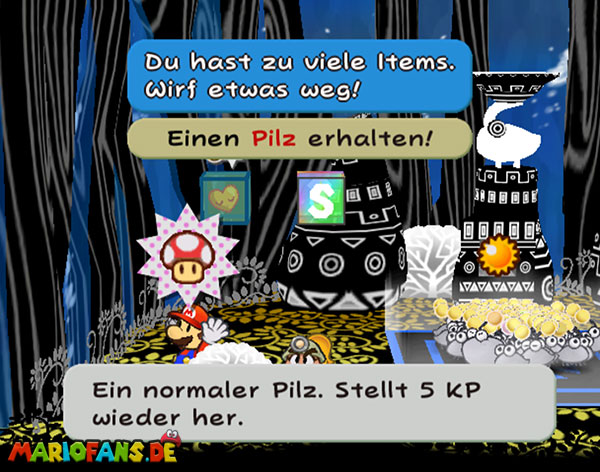
Use the storage block and refresh the energy if necessary. Behind the left bush there is still a mushroom. In the adjacent room to the right, place the Puni Orb on the pedestal after your opponent is scented, and see the star jewel appear behind you. Before it is stolen.
Then a five-minute countdown starts. Remove the Puni Orb quickly from the pedestal and follow the guy through the warp pipe. In the next room, you take the foot soldiers and find a Star Piece behind the bush on the lower left.
Open the door and you land in the room with the item lobby shop on the left. Take the warp pipe up, right next to it, and leave the room on the path you took the first time.
In the room with the blubber bubbles (where we blew the Bubus to the right for the first time) we now have to do the same, but in the other direction. Off through the red door, past the known Save Block and follow the dialogue. The igniter is deactivated.
Fight against Magnus of Grapple
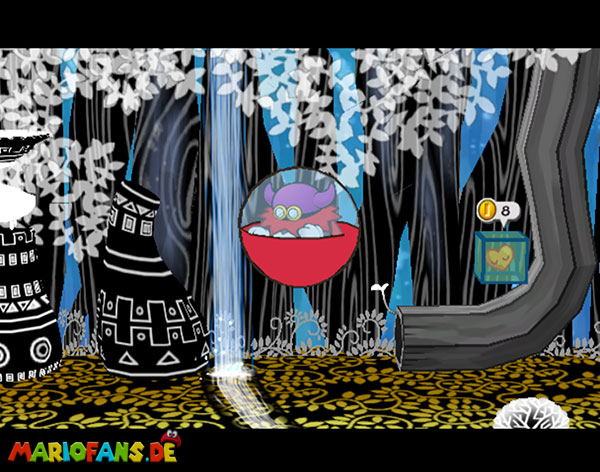
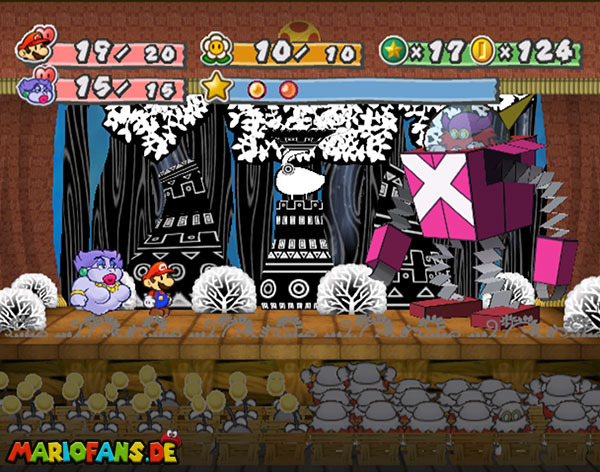
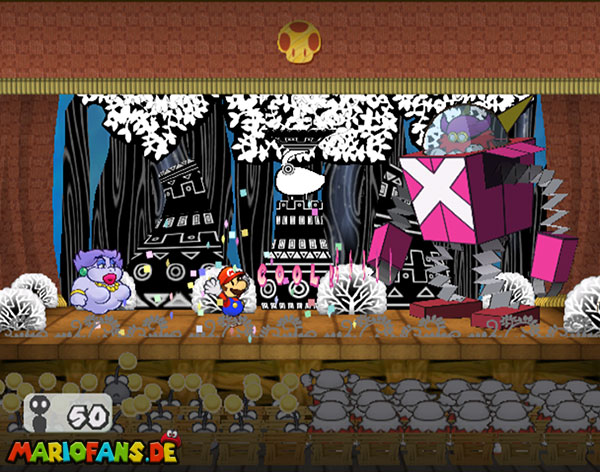
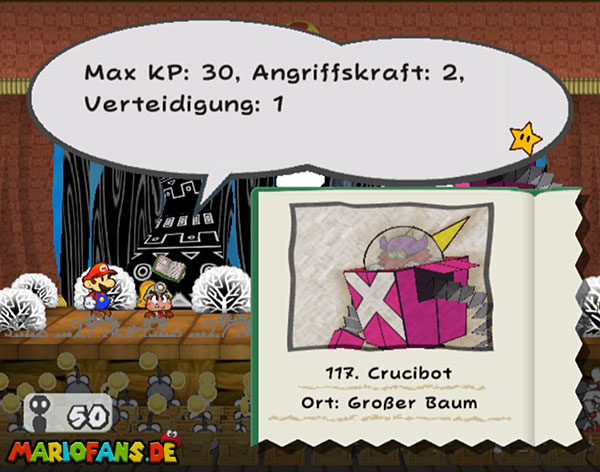
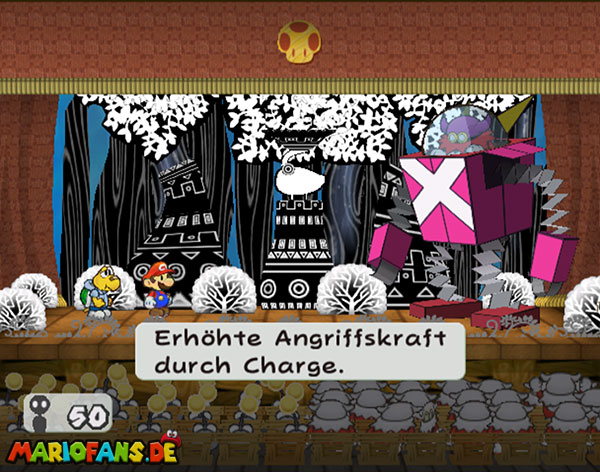
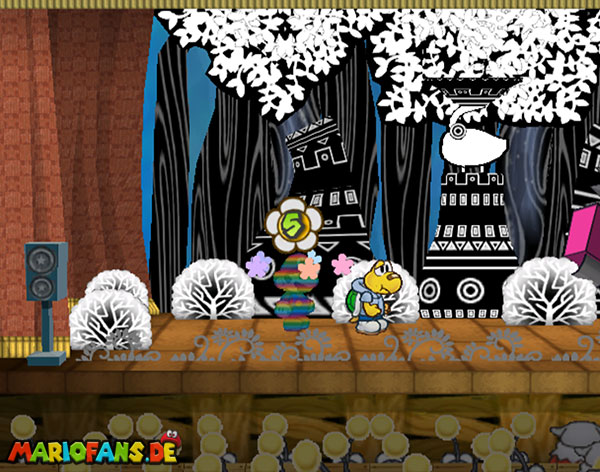
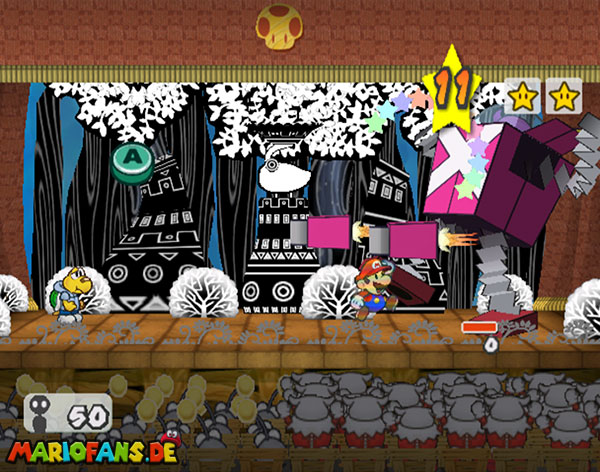
The robot’s strongest (and most common) attack is the Cruci tamper, which is difficult to block. Also nasty are its detachable rocket arms, which have only 2 HP. Turn them off as soon as possible (Multibounce serves well) as soon as they float loosely next to him.
Power-Dauz, Ground Pound and Multibonk are recommended for decent damage values on his body. After the arms have been rendered harmless with normal jumps (they come back in the later course of the fight), we only have to repair damage and attack further and further.
The fight ends after we reduce the 30 HP of the Magnus von Grapple to zero. Think of your powerful star attacks, then victory should not be too difficult. Afterwards we receive the second star jewel (besides the star attack Clock Out ) and end the second chapter.
| Name | Max. HP | Attack | Defense |
|---|---|---|---|
| Mini-Yux | 1 | 0 | 0 |
| Yux | 3 | 2 | 0 |
| Magnus von Grapple | 30 | 2 | 1 |
On to Glitzville
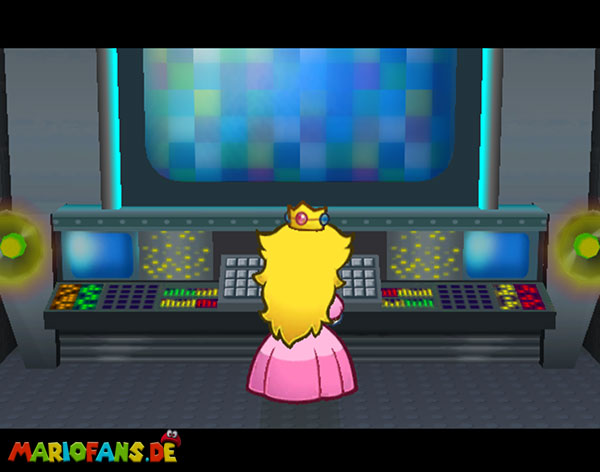
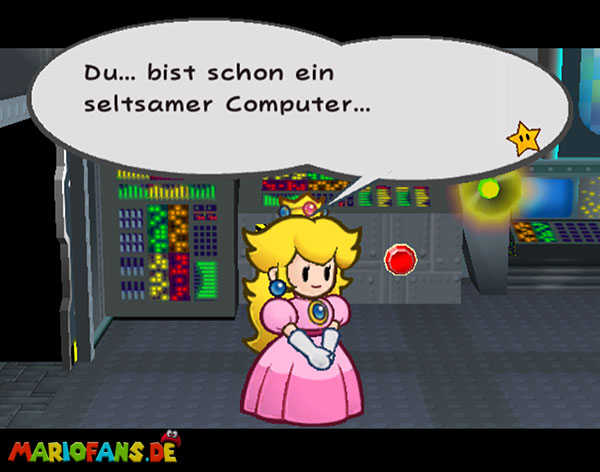
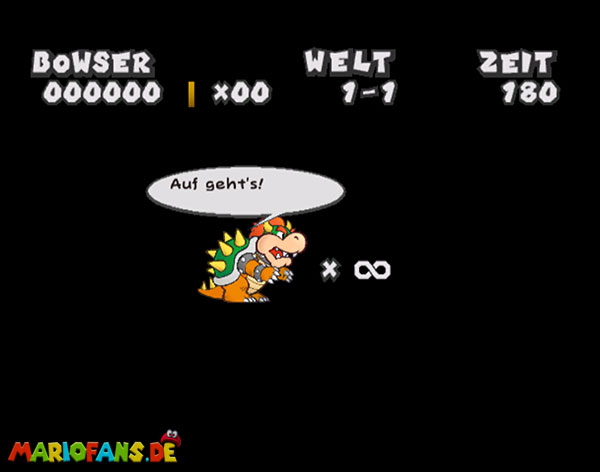
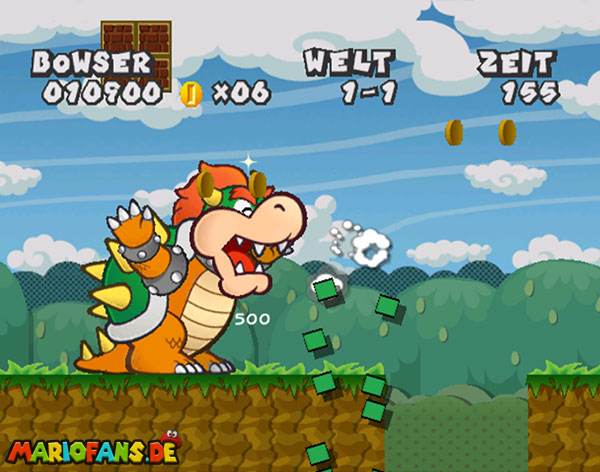
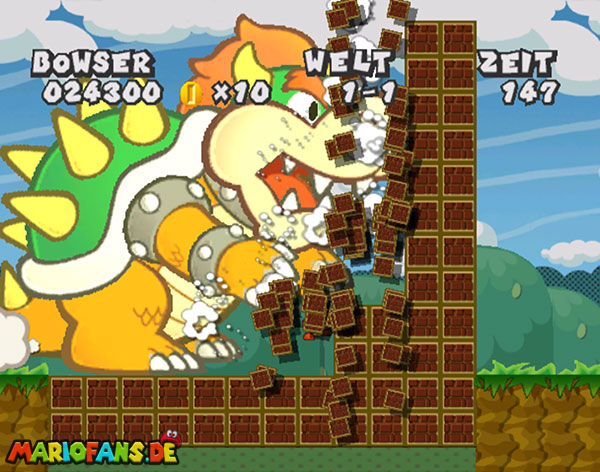
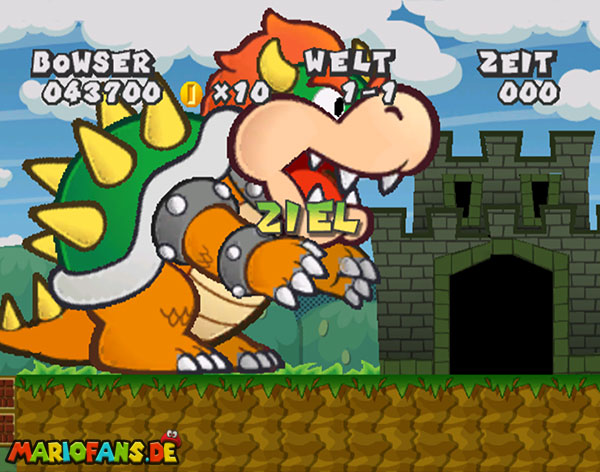
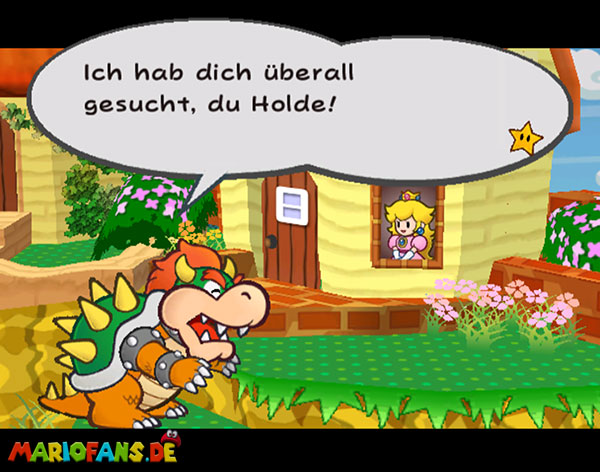
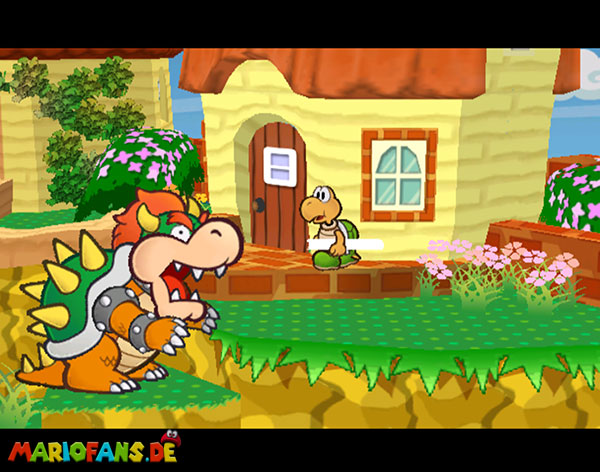
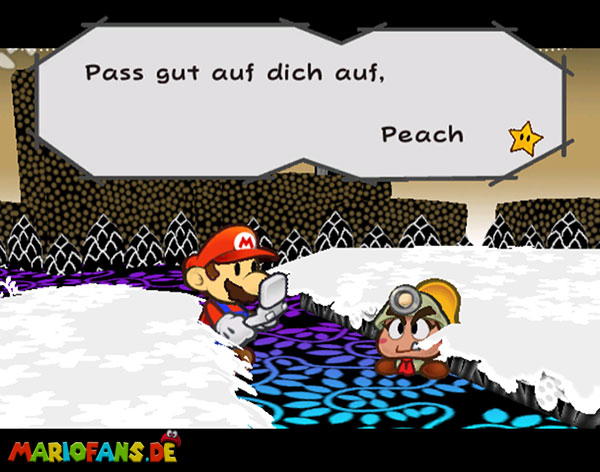
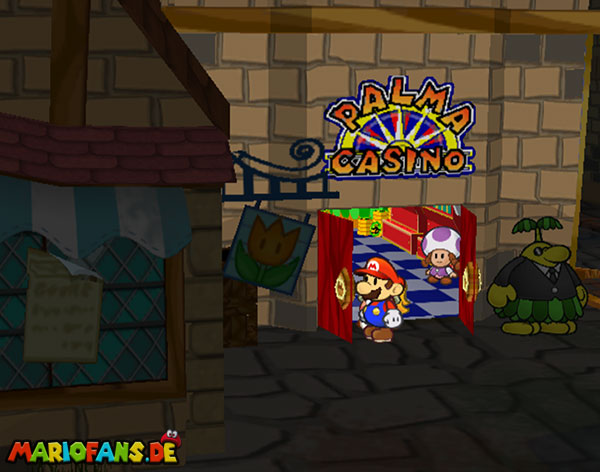
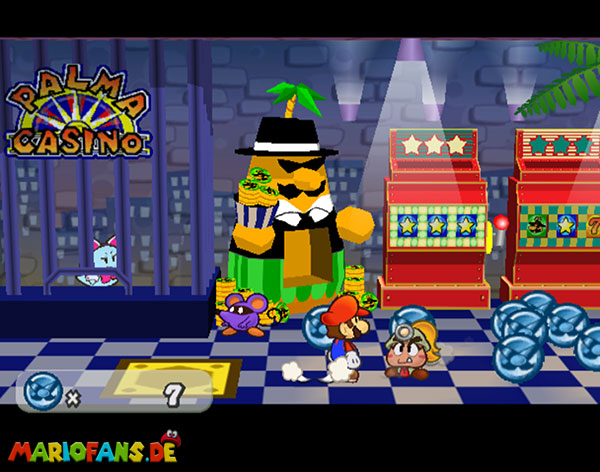
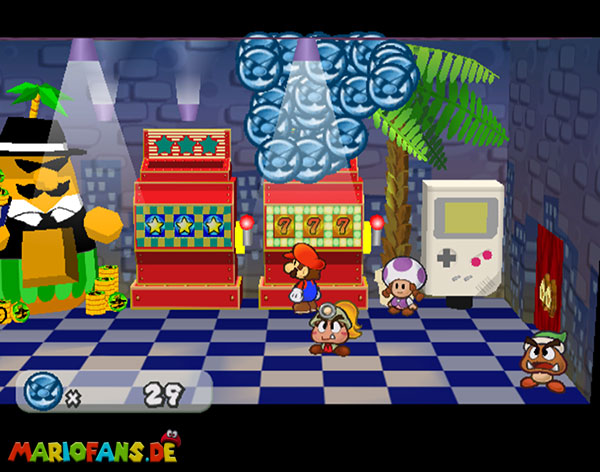
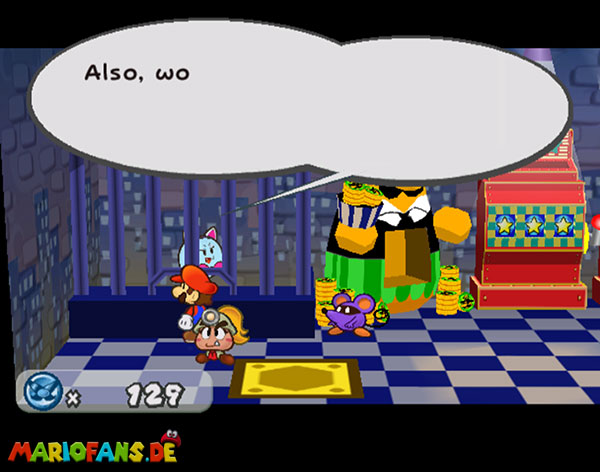
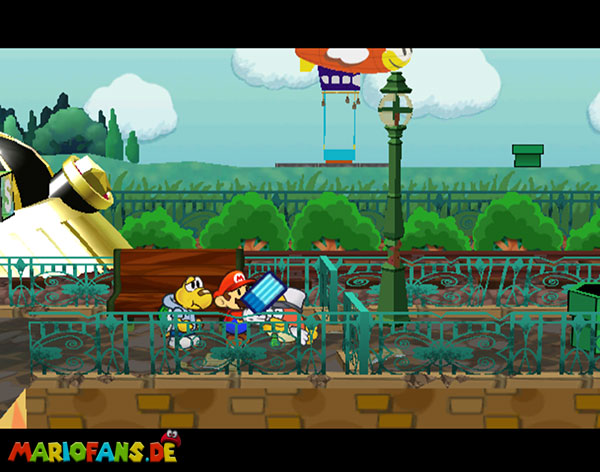
This time relatively short because you only have to go to the computer again. This time he wants to dance with you and you have to press the screen icons to let the dance go. Then send her an email again and you are ready for today. With Bowser there is something very special. You have to play Mario Level 1-1 from Fire Mario Bros. with him and reach the flag. It shouldn’t be a problem. After that, the sequence follows around the Princess Peach poster and it goes back to Mario.
The Road to Chapter 3
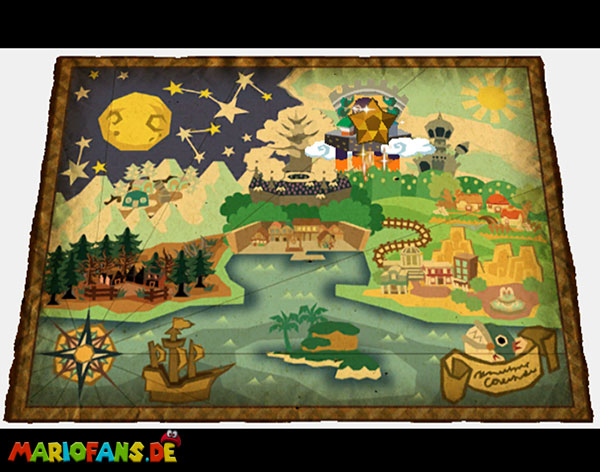
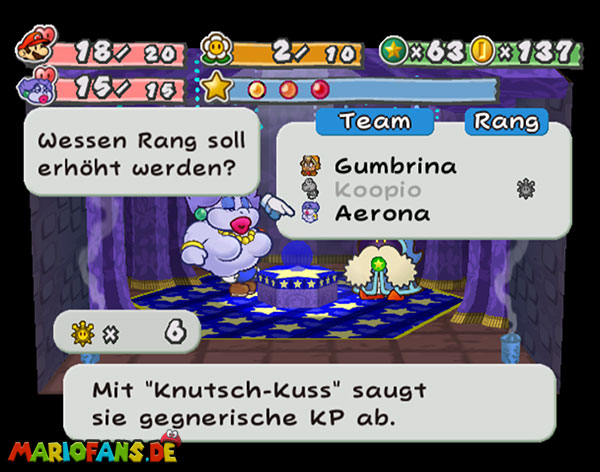
Go back from the tree to the Rogueport Underground and on the secret passage to the left to get the Badges Damage Dodge. Afterwards go back to the Thousand-Year Door to find out the next location. After visiting the professor, a door goes on and raises Flurrie a rank. Afterwards, head to the market and look for Luigi on the right and the dealer on the left, who occasionally has interesting power ups for Mario’s basic attacks. After that, first saves.
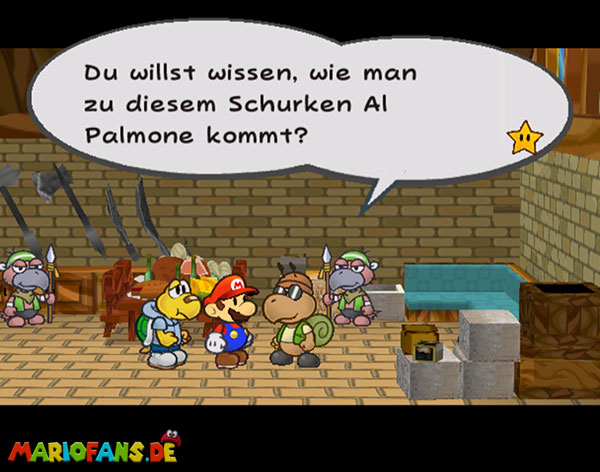
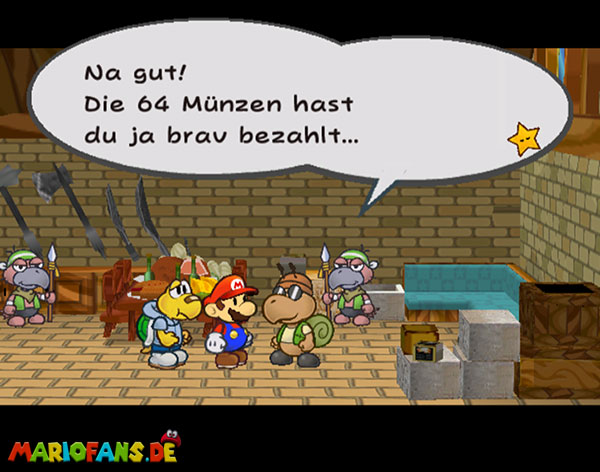
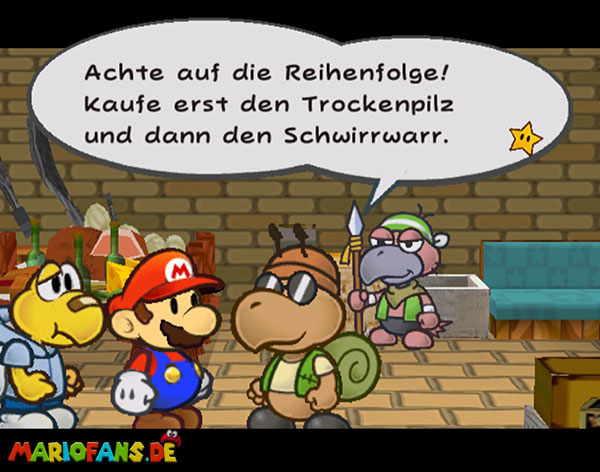
Now make sure you have 64 coins and go to the far right to the Ostend. There you squeeze between the houses through the gap to the other side and you get to the robber hiding place. Talk to the boss and give him the 64 coins and you will find out what you need in the west end to meet Don Pianta. Do the order in the lobby shop next to the arcade and you get admission to Don Pianta’s hideout. He now gives you the task of finding his daughter.
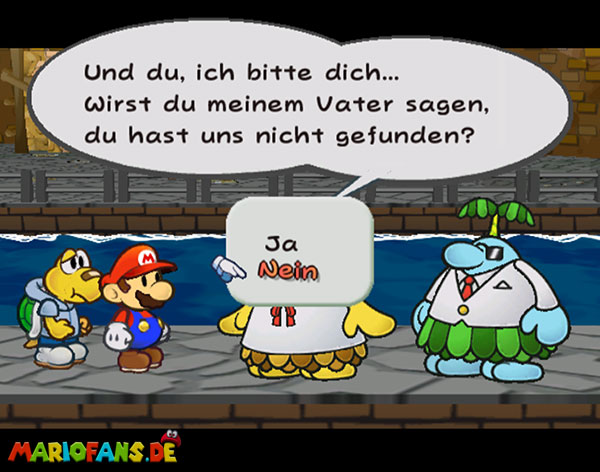
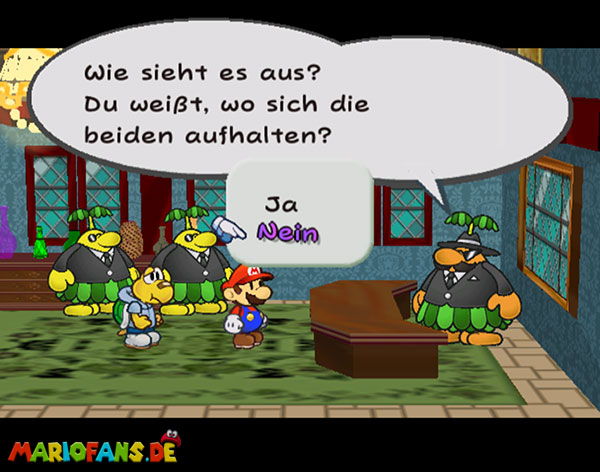
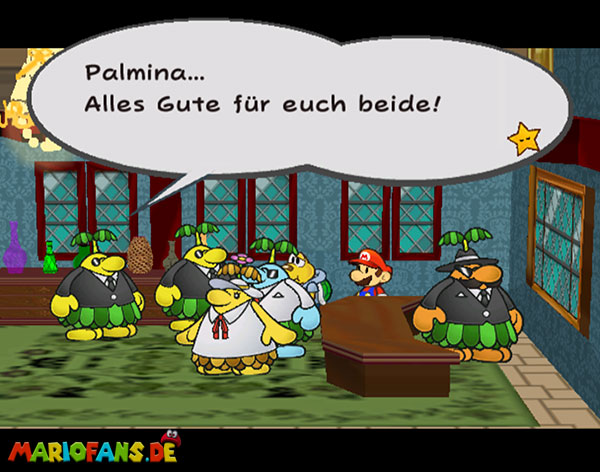
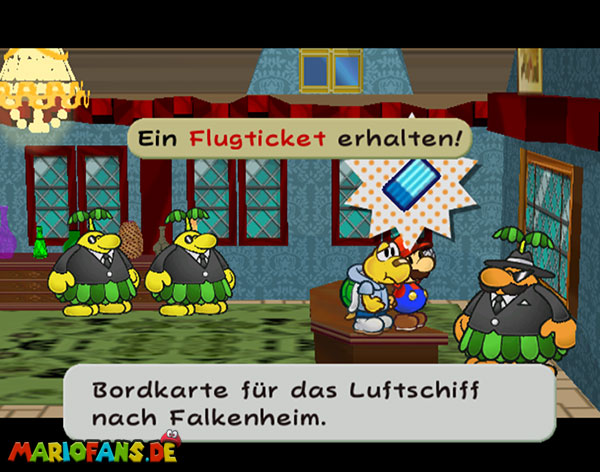
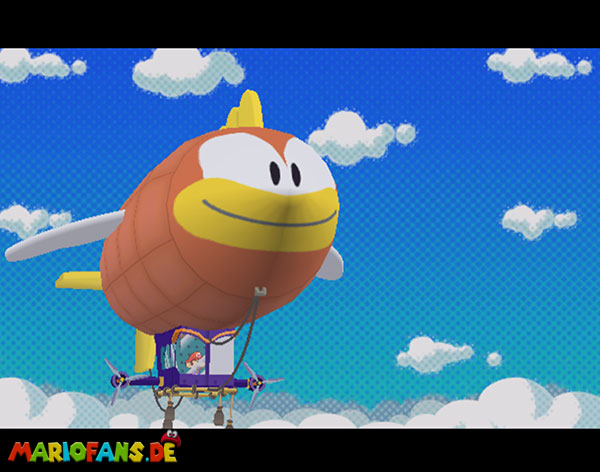
Go out again and down to the pier where you arrived. There you will find both. Choose the answer that you did not find it and go to the boss. Also with him says first that you have not found them. Shortly after, Francesca appears herself. At the end of the sequence you will now receive the Blimp Ticket. Go right at the arcade to the rear and right to the airship and off.
The text was originally written by Bibi2000. We have adapted it in some places.