

In the game, there are 100 stars. How many you already have, you can see on the back sign at the entrance of the Duelkerk. Who does not always want to pay the fortune teller money, can see all the star fragments listed here.
If you are looking for the solution for the Star Pieces from Paper Mario for the Nintendo 64, you can find it here.
Rogueport Centre
| No | Picture | Location |
|---|---|---|
| 1 | 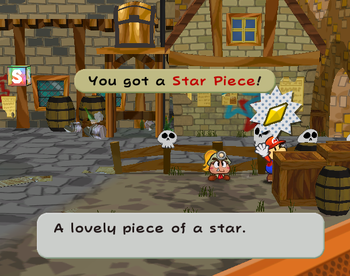 |
Behind the Crate on the right fence |
| 2 | 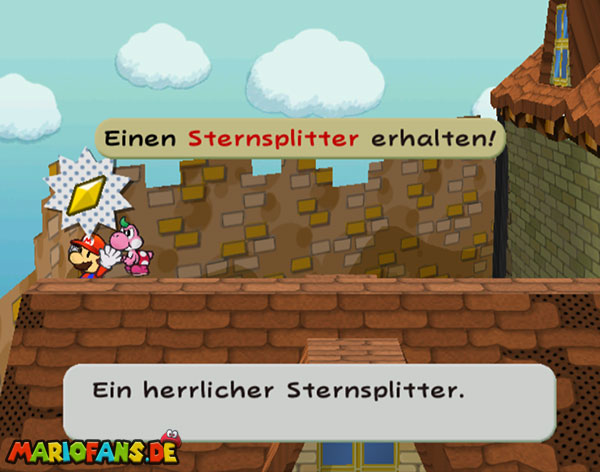 |
On the back of the roof from the house of Zess T. |
| 3 | 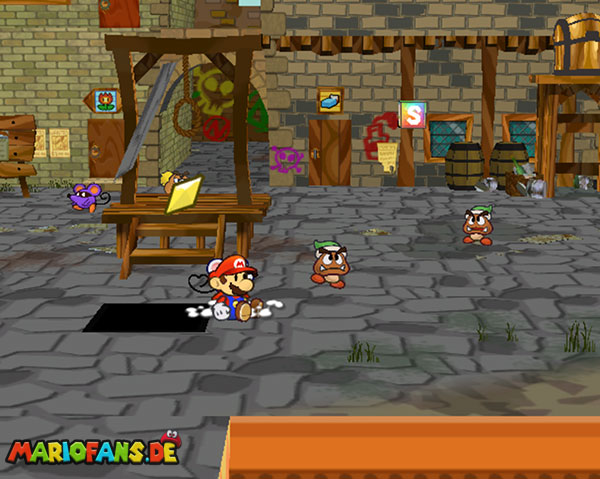 |
Stamping plate in front of the gallows |
| 4 | 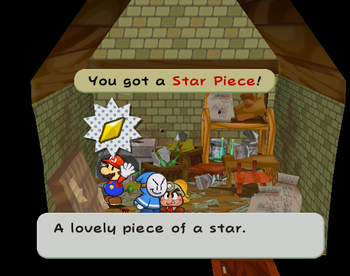 |
In the house of the robber behind the garbage can. |
| 5 | 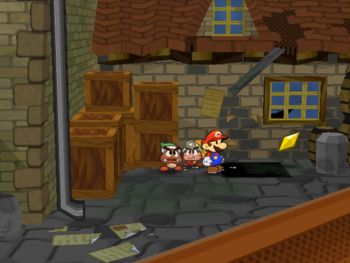 |
Stamping plate behind the house of Zess T. |
Rogueport East
| No | Picture | Location |
|---|---|---|
| 6 | 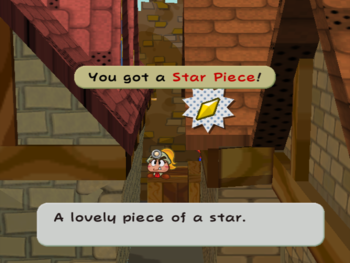 |
In the backyard behind the wall next to the house of the magician Merlin |
| 7 | 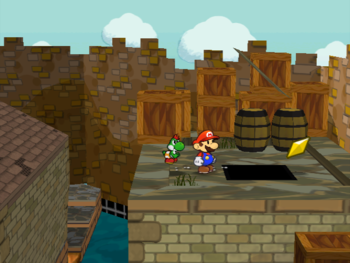 |
Stamping plate on the house of Garf |
| 8 | 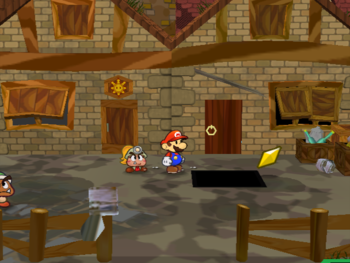 |
Stamping plate before Prof. Gumbarth’s House |
| 9 | 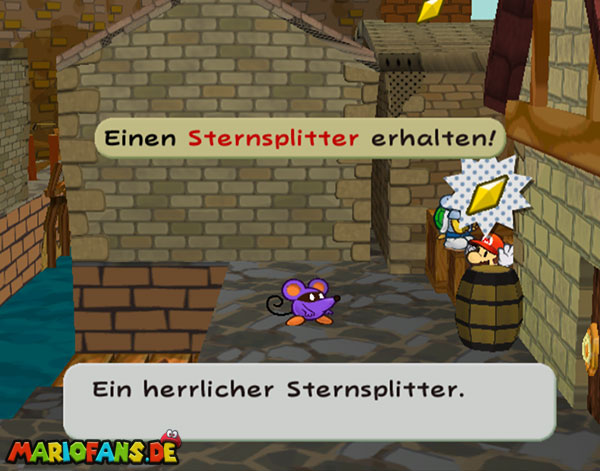 |
Behind the barrel that lies behind the crack between the House of Trouble Center and Bart-Ombs House |
| 10 | 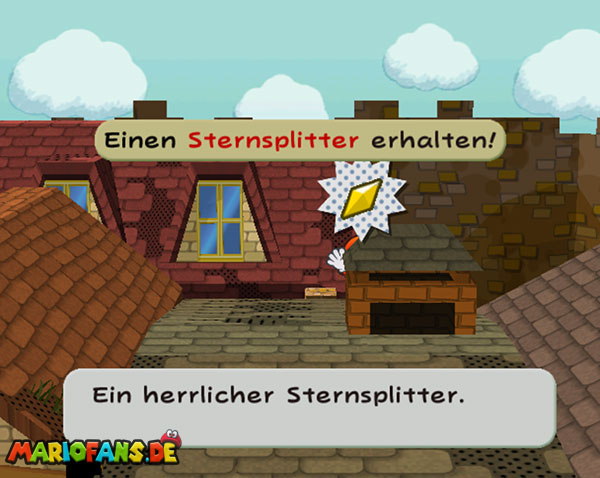 |
Behind a chimney on the roofs |
Rogueport West End
| No | Picture | Location |
|---|---|---|
| 11 | 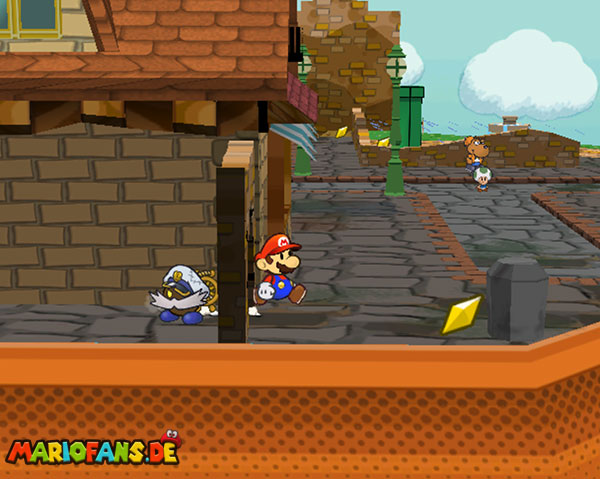 |
Behind the garbage can at the Item Shop |
| 12 | 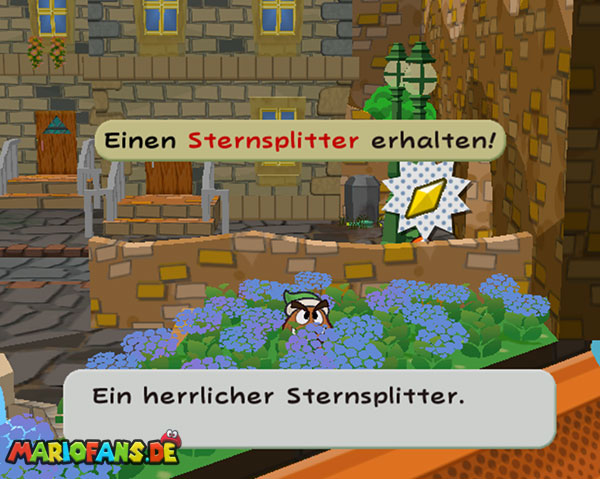 |
Behind the wall of the park |
| 13 | 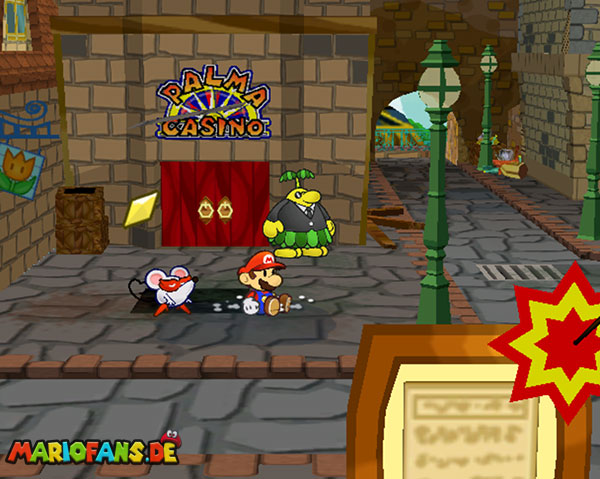 |
Stamping plate in front of the Playroom |
| 14 | 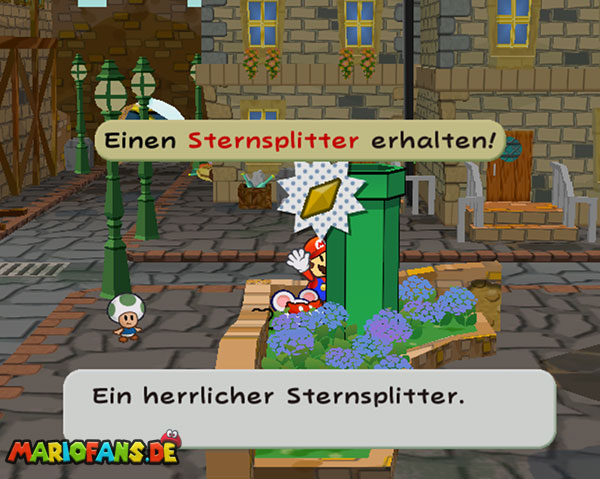 |
Behind the Great Warp Pipe in the Park |
Rogueport port
| No | Picture | Location |
|---|---|---|
| 15 | 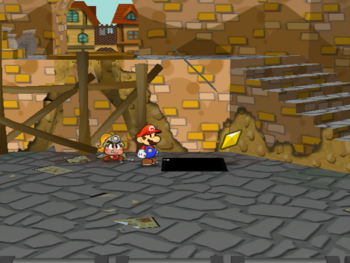 |
Stamping plate next to the stairs |
| 16 | 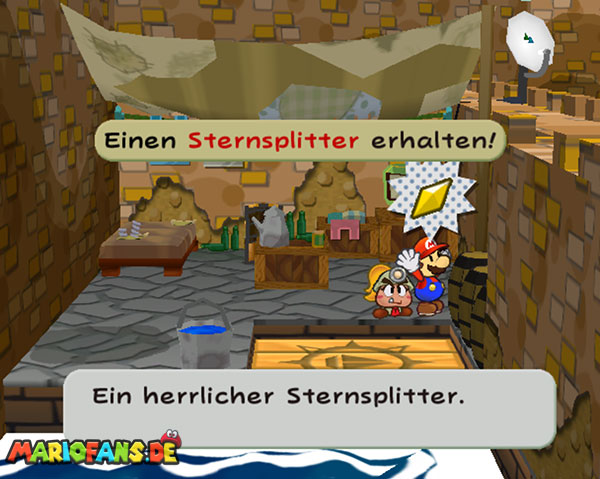 |
Behind a barrel in the otherwise not visible area (drive downwards with the paper ship plate) |
Rogueport station:
| No | Picture | Location |
|---|---|---|
| 17 | 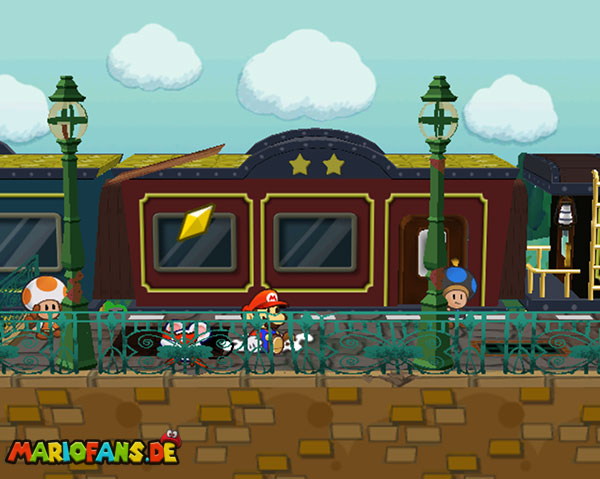 |
Stamping plate at the end of the platform |
| 18 | To the right of the warp pipe under a tamping plate. |
Rogueport Underground
| No | Picture | Location |
|---|---|---|
| 19 | 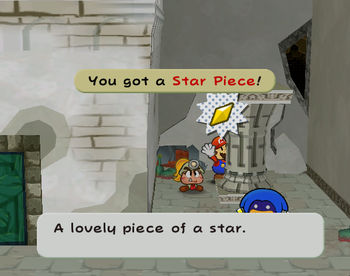 |
At Dazzle behind the pillar |
| 20 | 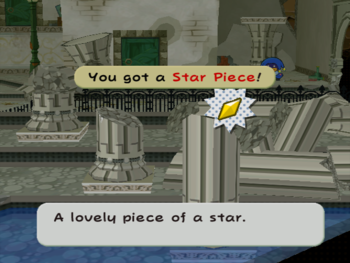 |
Behind the pillar in the west of the lost city |
| 21 | 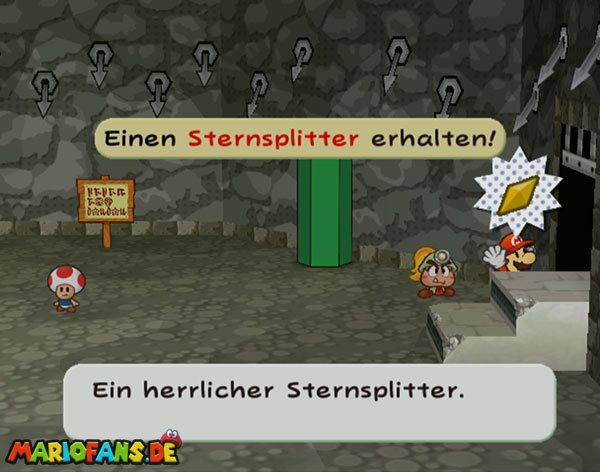 |
Behind the stairs at the entrance of the Pit of 100 Trials |
| 22 | 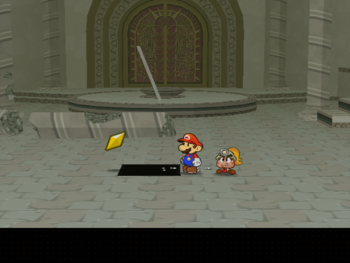 |
Stamping plate in front of the columns at the Thousand-Year Door |
| 23 | 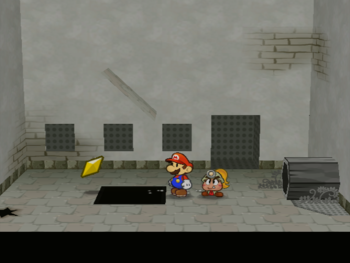 |
Stamping plate in front of the Warp Pipe to Boggly Woods |
| 24 | 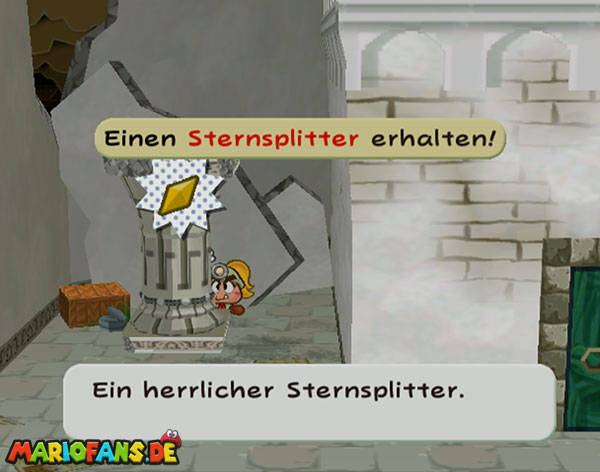 |
Behind a broken pillar in the lost city |
| 25 | 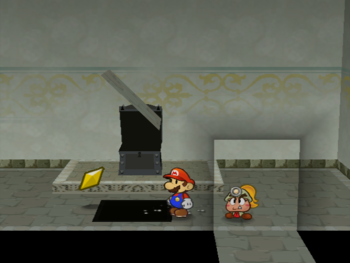 |
Stamping plate in the room of the first black chest |
| 26 | 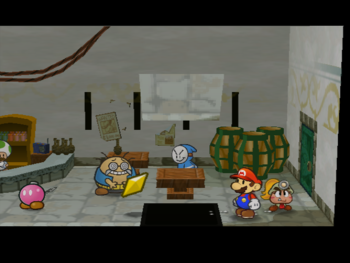 |
Stamping plate in the bar of the lost city |
| 27 | 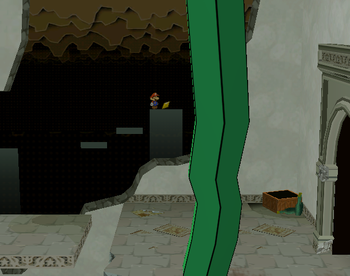 |
In the background of the area (go to the warp pipe), into which you can get through the gulli in Westend |
| 28 | 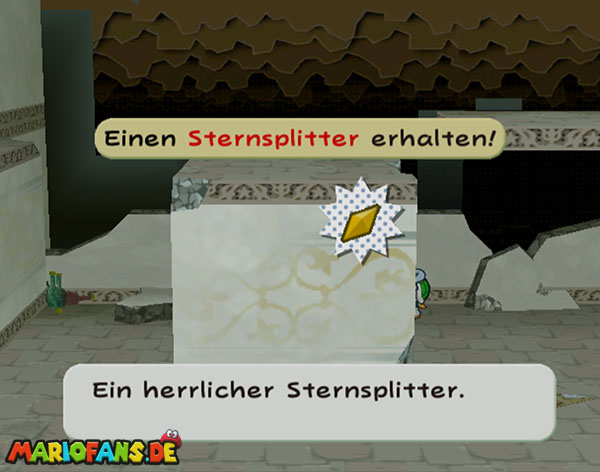 |
In the same area behind a wall |
| 29 | 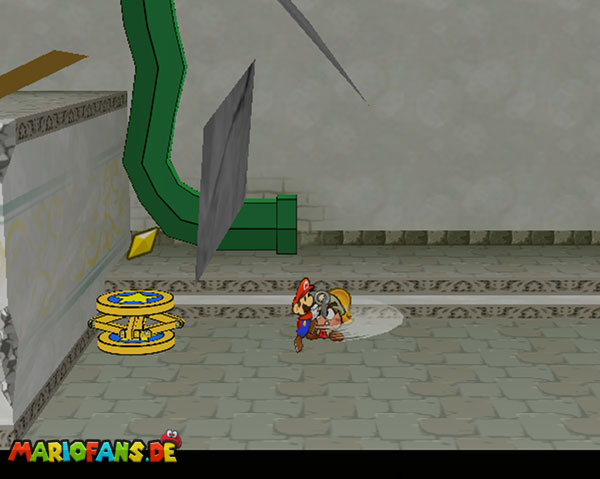 |
Behind the large yellow block in the area east of the Thousand-Year Door |
| 30 | 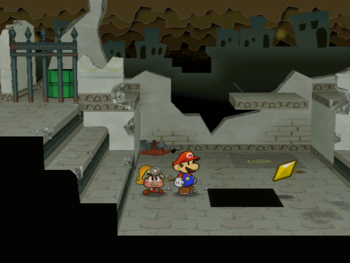 |
Stamping plate in the depression in the area that you can use with the warp pipe in front of Prof. Gumbarth’s house reached |
| 31 | 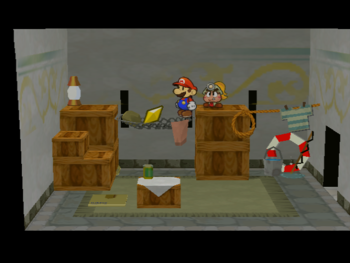 |
In a house, in the background of the area with the Warp Pipe to Petal Meadows (with the ultrajump to the pipe in the air clinging) |
Petal Meadows
| No | Picture | Location |
|---|---|---|
| 32 | 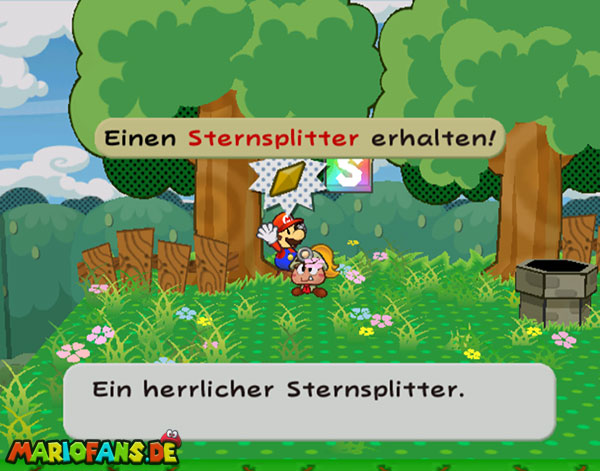 |
On the left tree next to the Warp Pipe into the Chapter 1 |
| 33 | 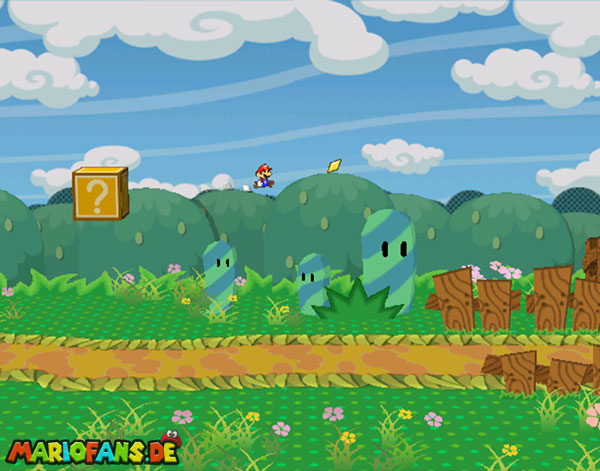 |
In the background of the last area in front of Petalburg (run right) |
Petalburg
| No | Picture | Location |
|---|---|---|
| 34 | 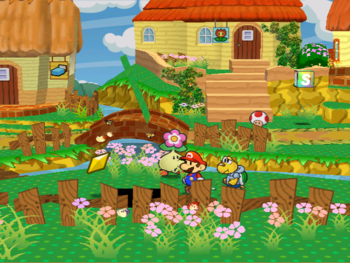 |
Stamping plate on the island from Knospi |
| 35 | 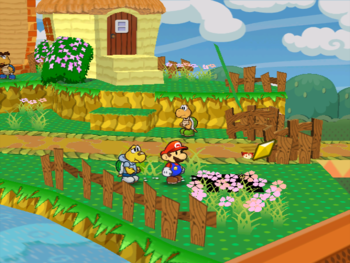 |
Stamping plate in the east, in front of the gate |
Road to Shhwonk Fortress
| No | Picture | Location |
|---|---|---|
| 36 | 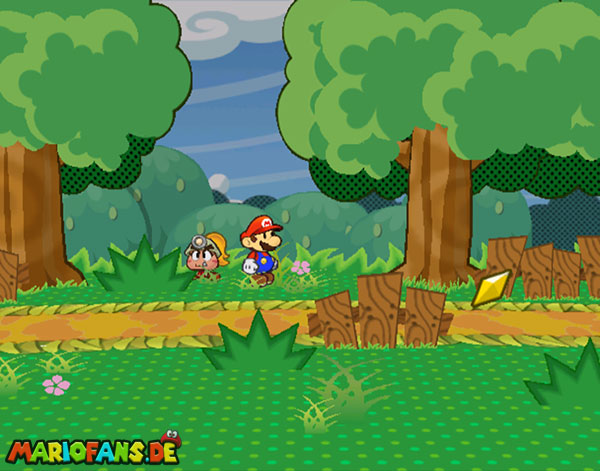 |
In the first area right at the beginning in the upper bush. |
Hooktail Castle
| No | Picture | Location |
|---|---|---|
| 37 | 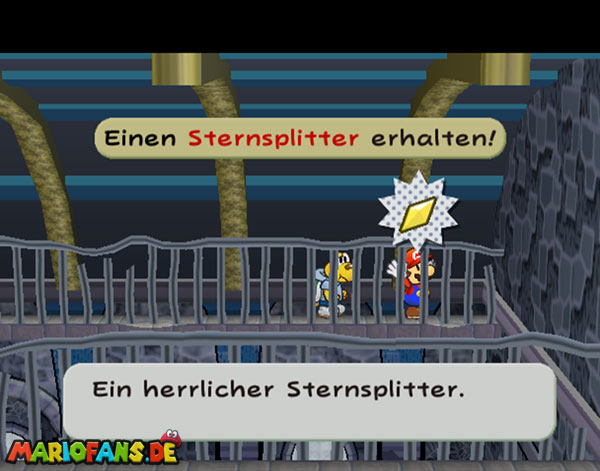 |
To the right behind the bars in the second room |
| 38 | 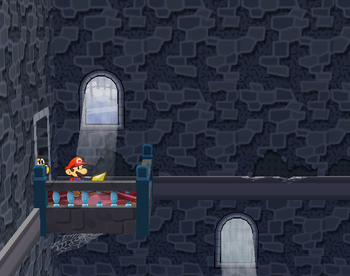 |
On a balcony in the fourth room (to be reached with the violet block in the third room) |
| 39 | 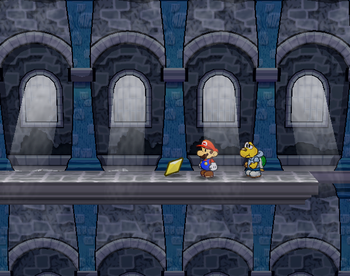 |
On a platform in the third room (to be reached with the yellow block) |
| 40 | 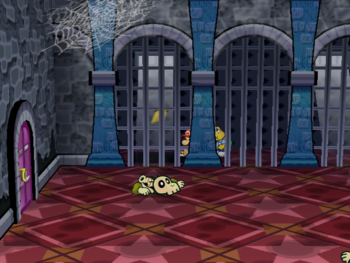 |
Stamp flat behind the grids on the left where the many Dry Bones have met you. |
| 41 | 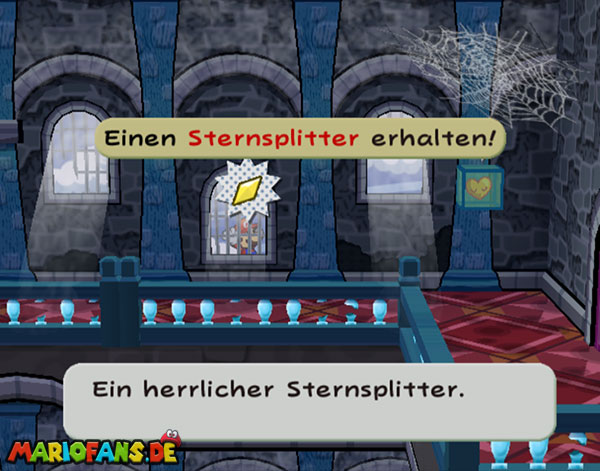 |
With the open window at the far right (in the third room above) |
Boggly Woods
| No | Picture | Location |
|---|---|---|
| 42 | 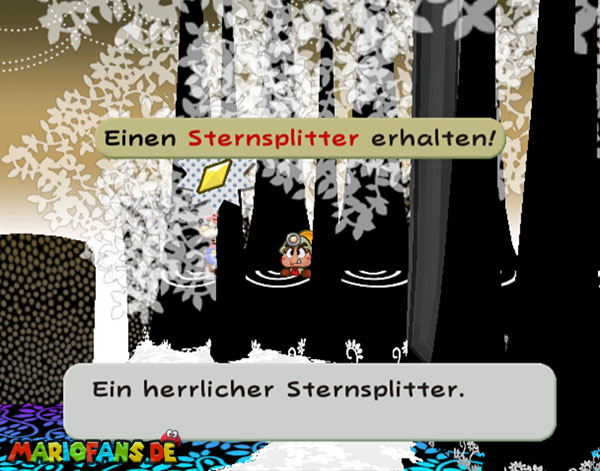 |
In the tree row on the far left (in the area with the high paper flyer platform entirely) |
| 43 | 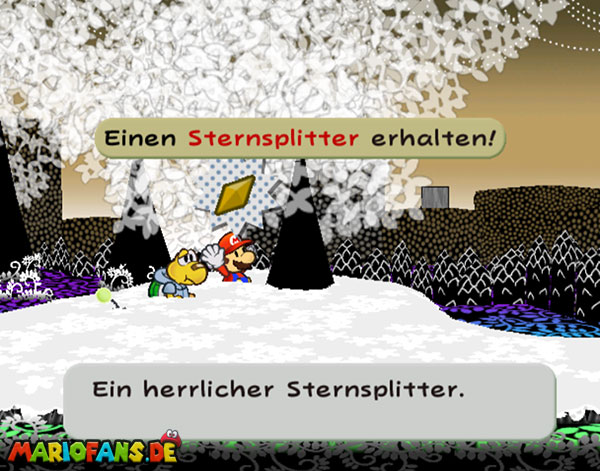 |
In the area in front of Flurrie’s house on a tree |
| 44 | 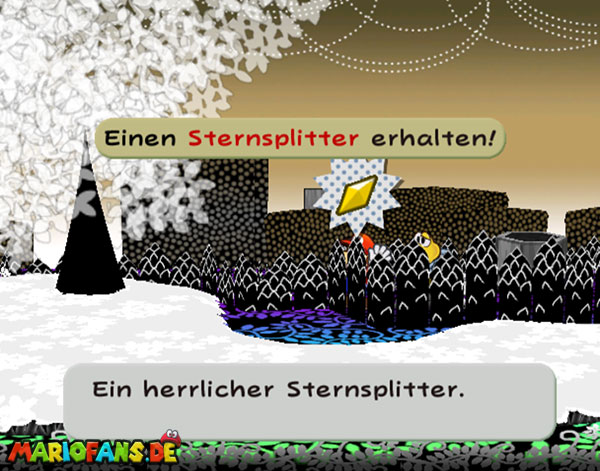 |
In the same area behind the fence on the far left |
| 45 | 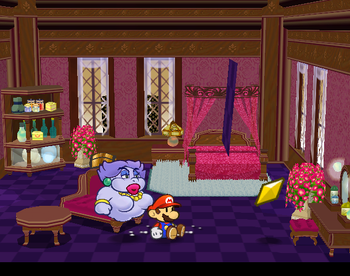 |
Stamping plate in the bedroom in Flurrie’s house |
The Great Tree
| No | Picture | Location |
|---|---|---|
| 46 | 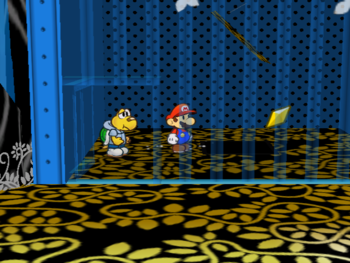 |
Stamping plate in the blue cage (top of the tree) |
| 47 | 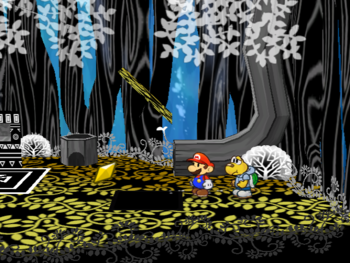 |
Stamping plate in the area above the room where bubbles rise |
| 48 | 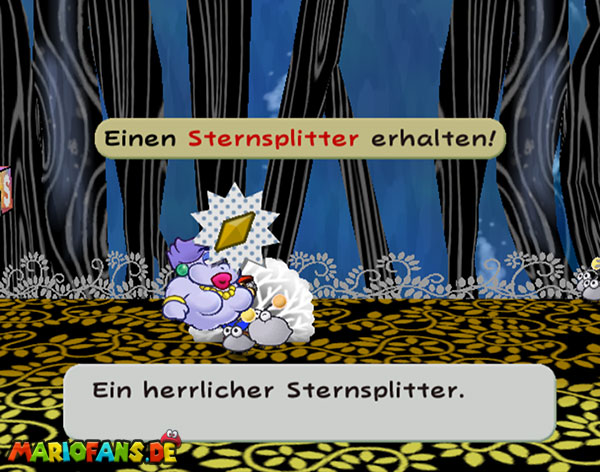 |
In a large bush in the area next to the item store |
| 49 | 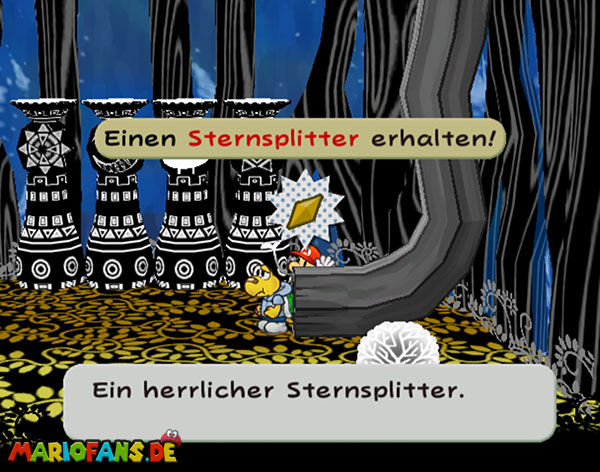 |
Behind the warp pipe in the room with the password for the super boots |
| 50 | 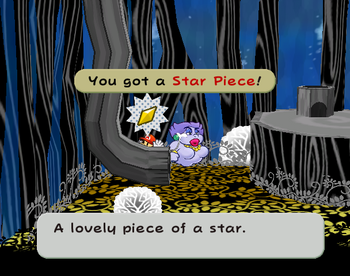 |
Behind the warp pipe in the area with the large tree stump |
| 51 | 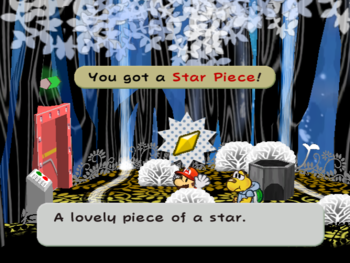 |
Behind a bush in space east of the area next to the item store |
Glitzville outdoor area
| No | Picture | Location |
|---|---|---|
| 52 | 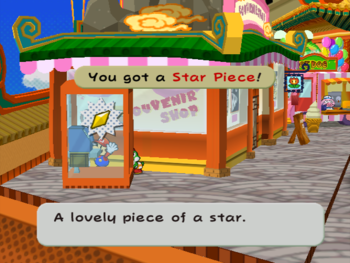 |
Behind the telephone booth in the west |
| 53 | 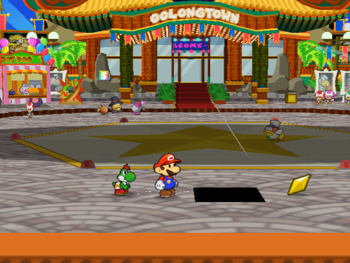 |
Stamping plate in front of the landing site |
| 54 | 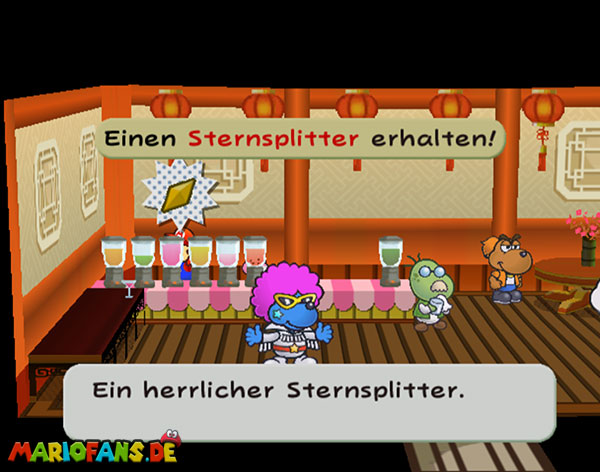 |
Behind the bar counter |
| 55 | 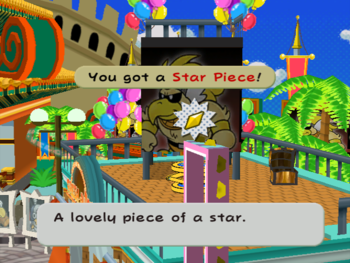 |
On the house of the bar under the paper plane platform |
| 56 | 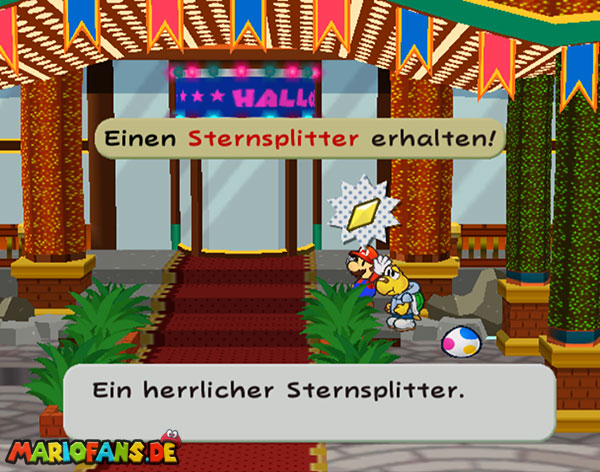 |
Behind a bush at the entrance of the arena |
Glitz Pit
| No | Picture | Location |
|---|---|---|
| 57 | 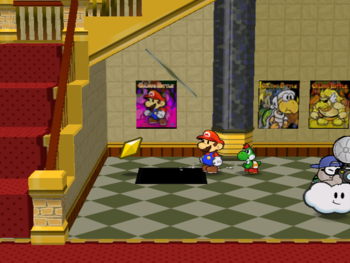 |
Stamping plate next to the left stairs in the foyer |
| 58 | 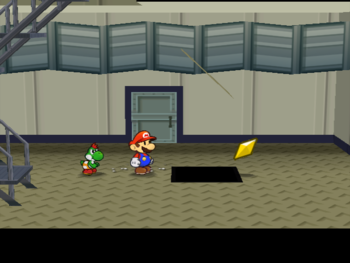 |
Stamping plate in the lower storage room in the middle |
| 59 | 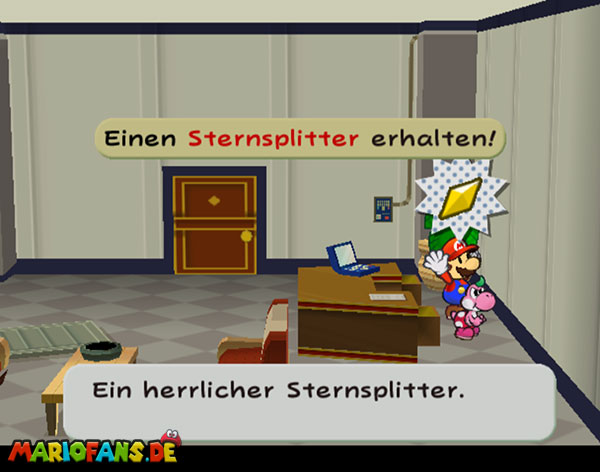 |
In the office of Grubba (later Jolene) in the drawer |
| 60 | 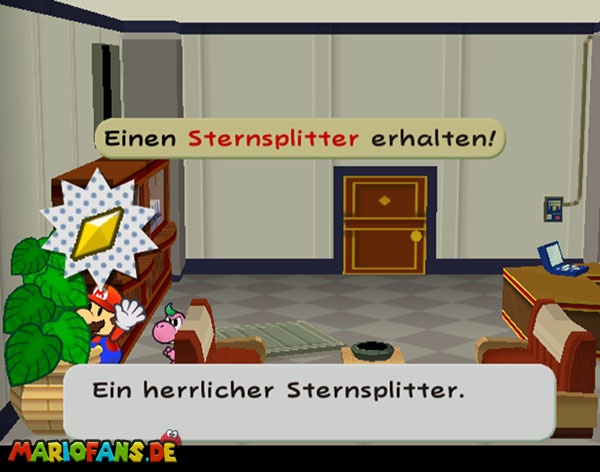 |
In the office of Grubba (later Jolene) behind a potted plant |
| 61 | 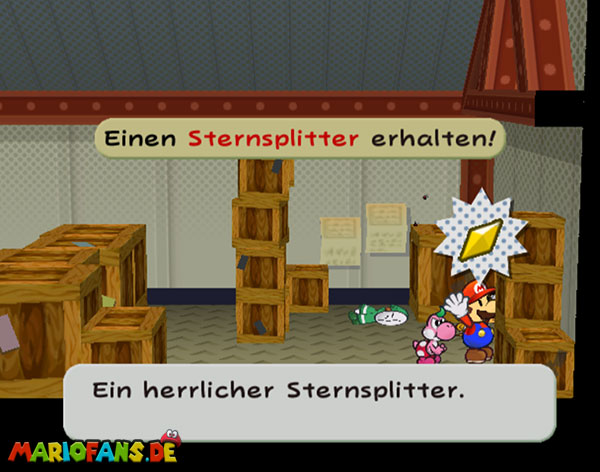 |
In the storage room where you find Samum and Marono behind a crate |
Twilight Town
| No | Picture | Location |
|---|---|---|
| 62 | 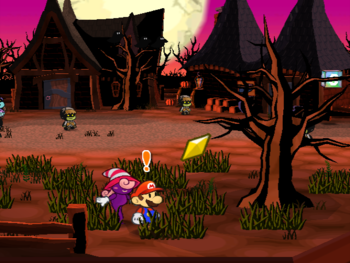 |
West of town in a bush left |
| 63 | 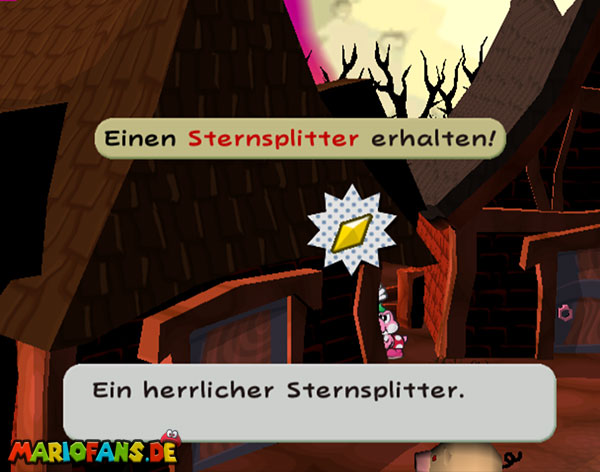 |
To the west of the city behind the first house |
| 64 | 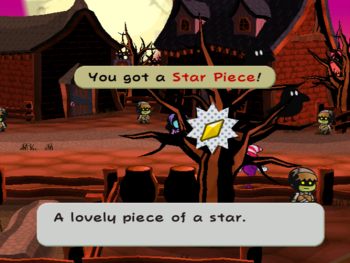 |
To the east of the city behind the tree on the fence |
Twilight Trail
| No | Picture | Location |
|---|---|---|
| 65 | 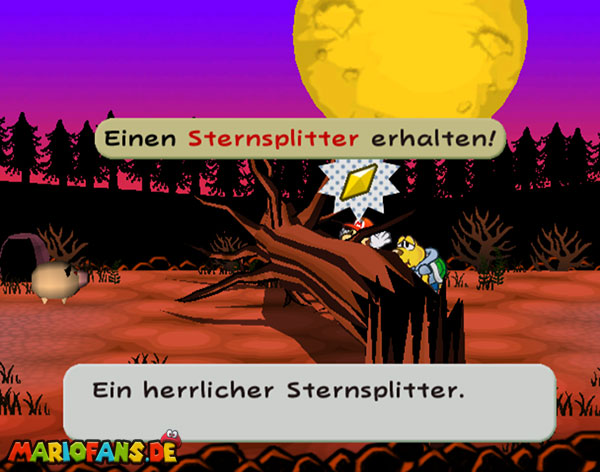 |
Behind the fallen tree |
| 66 | 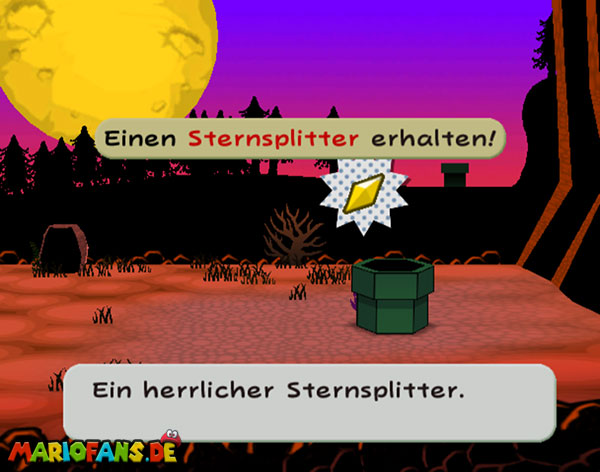 |
Behind the warp pipe that leads into the background |
Creepy Steeple
| No | Picture | Location |
|---|---|---|
| 67 | 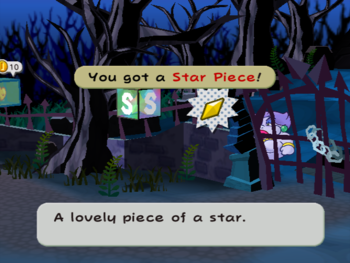 |
Behind the wall at the entrance |
| 68 | 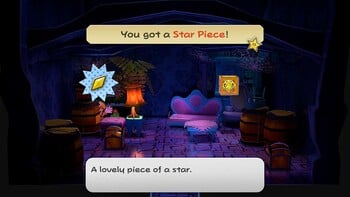 |
In the hidden room north of the entrance behind a barrel. |
| 69 | 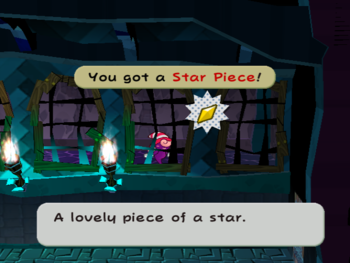 |
Behind the windows in the underground room on the right |
| 70 | 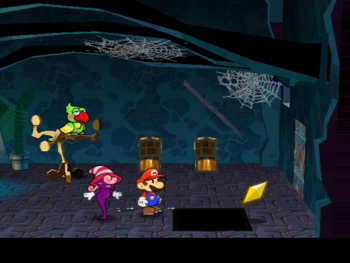 |
Stamping plate in the room with the parrot |
| 71 | 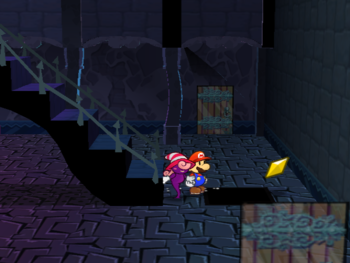 |
Stamping plate in the room with the moving stairs (in front of the middle stairs) |
Keelhaul Key
| No | Picture | Location |
|---|---|---|
| 72 | 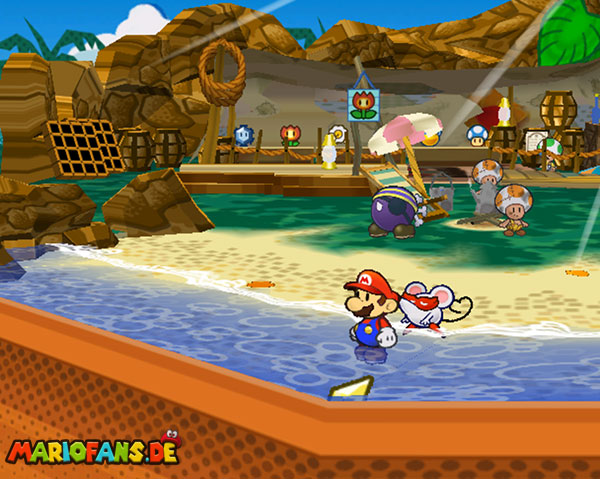 |
Clearly visible in the water at the camp |
| 73 | 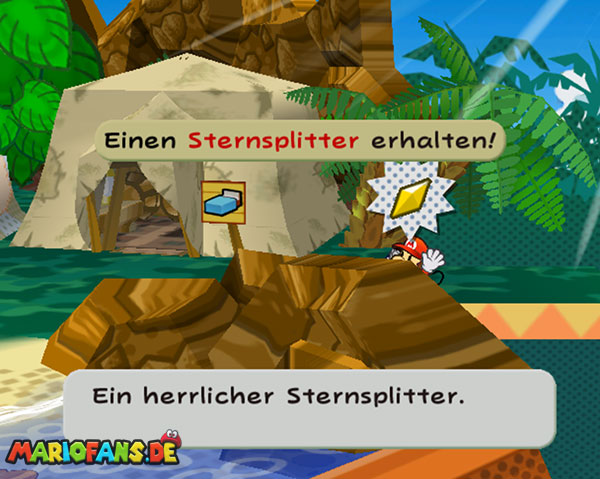 |
Behind the right stones in the camp |
| 74 | 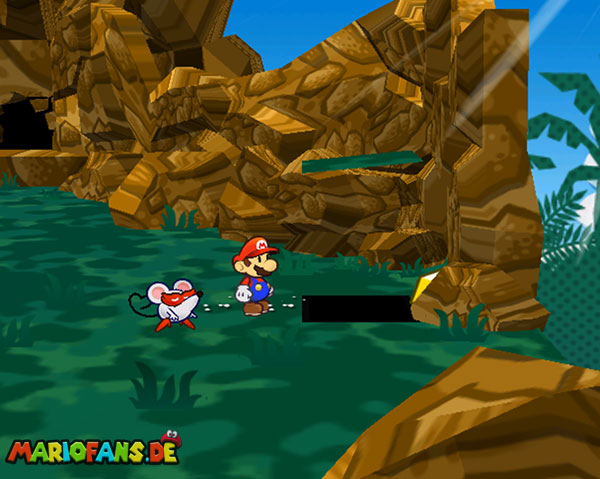 |
Stamping plate at the rocks on the coast |
| 75 | 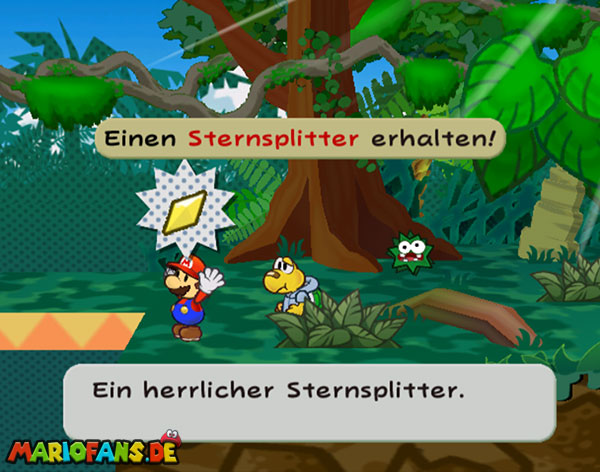 |
Right in the first bush in the jungle east of the camp |
| 76 | 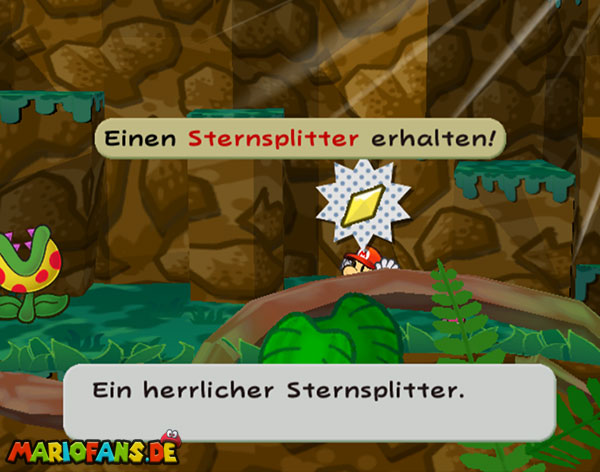 |
In the first area of the jungle to the right of the camp behind the branches front |
| 77 | 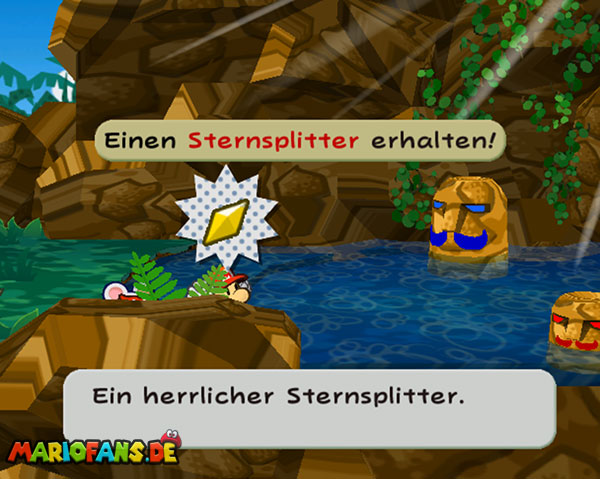 |
Behind a rock at the entrance to Pirate’s Grotto |
Pirate’s Grotto
| No | Picture | Location |
|---|---|---|
| 78 | 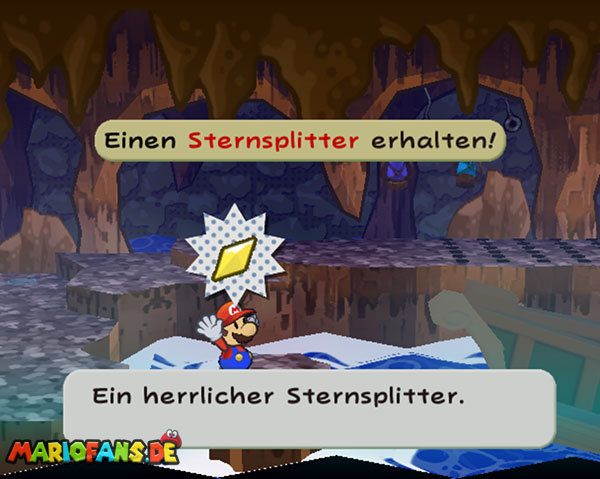 |
On a Small Island in Space with the Spike Trap |
| 79 | 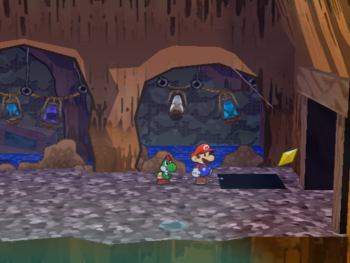 |
Stamping plate at the entrance of the upper area with the waterfall |
| 80 | 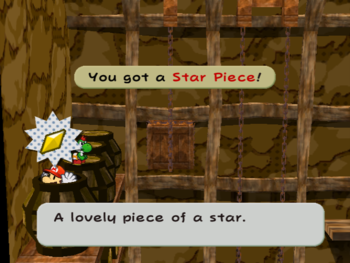 |
In a barrel on the left shelf in the storage room |
| 81 | 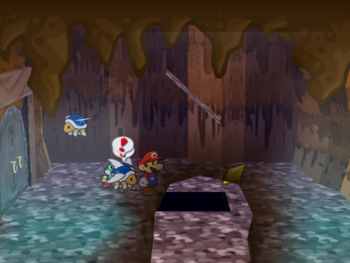 |
Stamping plate in space to the right of the second storage point |
Excess Express
| No | Picture | Location |
|---|---|---|
| 82 | 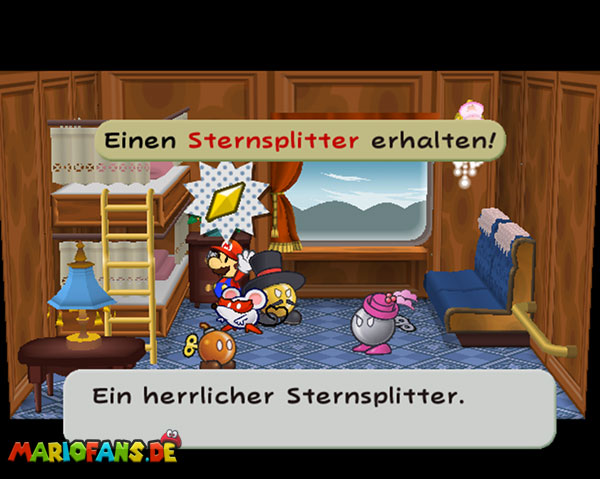 |
In the compartment with the number 008 in the closet |
| 83 | 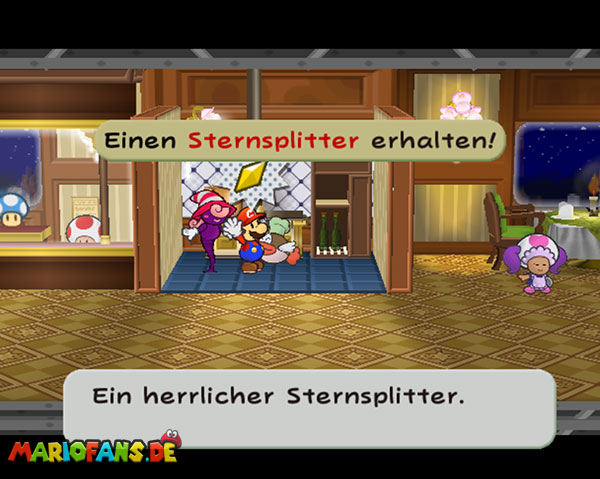 |
You get it when you bring your pot back to the boss Shimi |
| 84 | 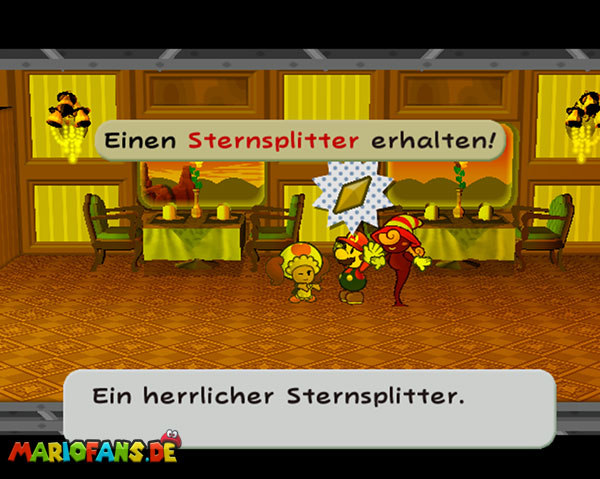 |
You get it when you bring the waitress back her earrings |
| 85 | 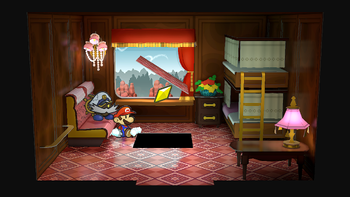 |
tamping plate in compartment 004. The tamping plate is in the middle. |
| 86 | 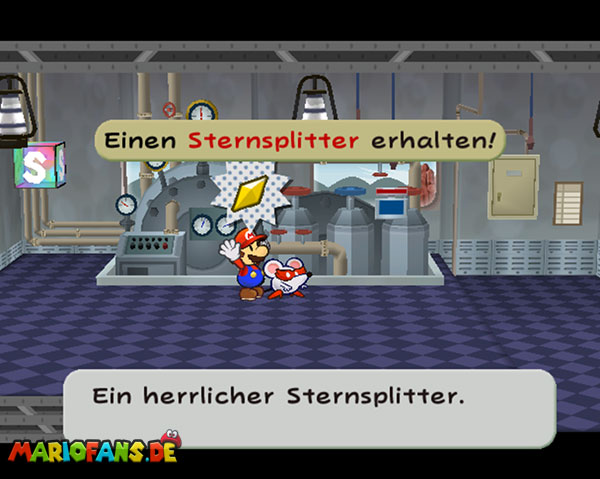 |
Stamping plate in the driver’s wagon |
Riverside Station
| No | Picture | Location |
|---|---|---|
| 87 | 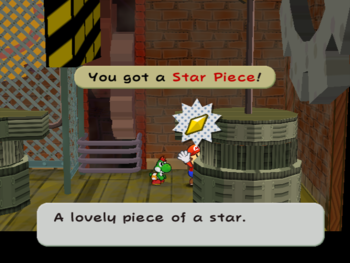 |
Far right behind the machinery in the room with gears |
Poshley Heights
| No | Picture | Location |
|---|---|---|
| 88 | 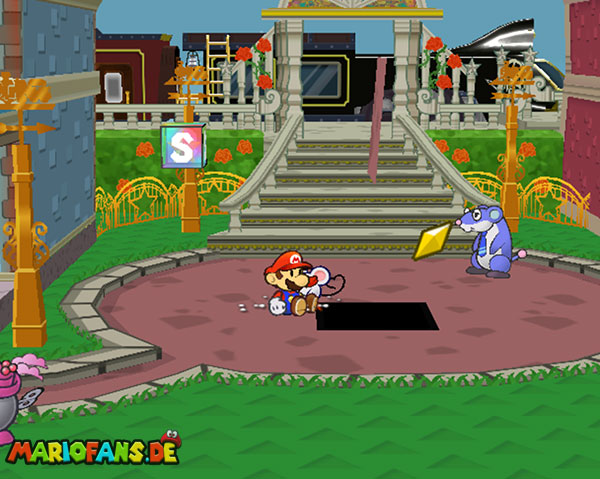 |
tamping plate in the first region in the center |
| 89 | 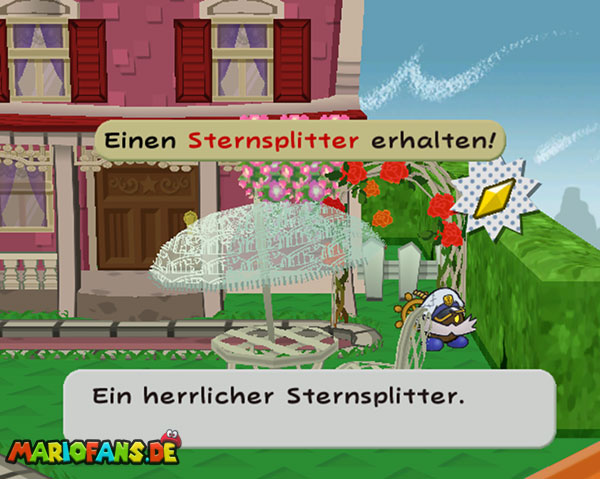 |
In the right hedge in the first area |
| 90 | 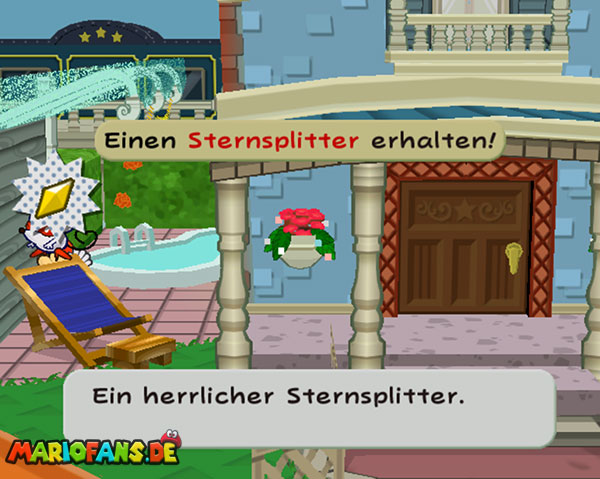 |
Behind the recliner of the left house in the first area |
| 91 | 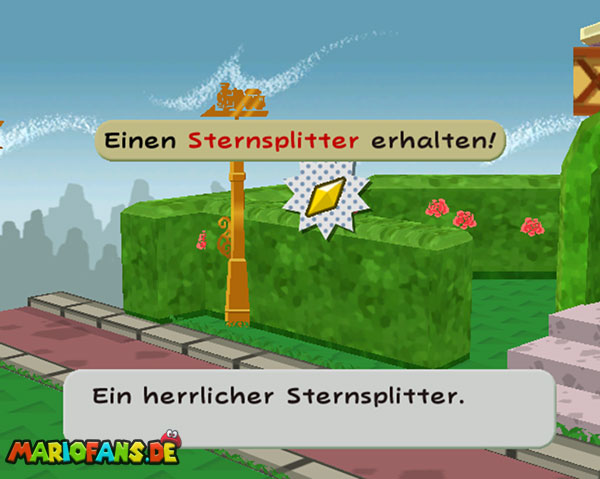 |
Behind the hedge of the first house in the second area |
Way to Drive Outpost
| No | Picture | Location |
|---|---|---|
| 92 | 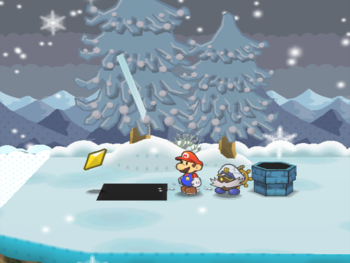 |
Stamping plate to the left of the warp pipe in the first area |
| 93 | 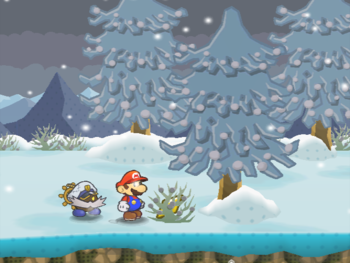 |
Behind a bush in the second area |
| 94 | 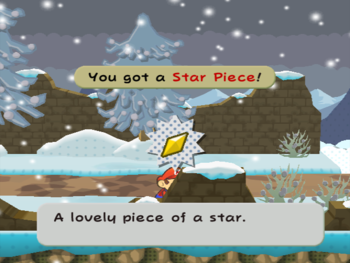 |
Behind the front wall in the third area at the end |
Fahr Outpost
| No | Picture | Location |
|---|---|---|
| 95 | 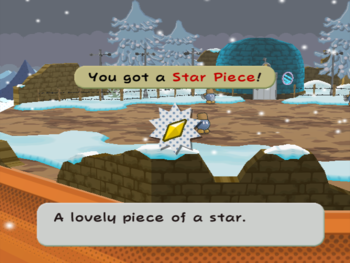 |
Behind the front wall in the first area. |
| 96 | 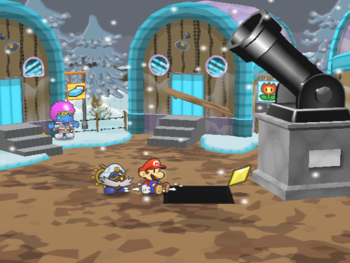 |
Stamping plate next to the Cannon in the second area. |
| 97 | 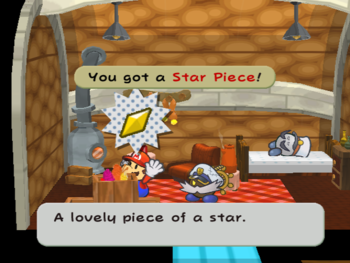 |
Behind the boxes in the house on the far right in the second area. |
Moon
| No | Picture | Location |
|---|---|---|
| 98 | 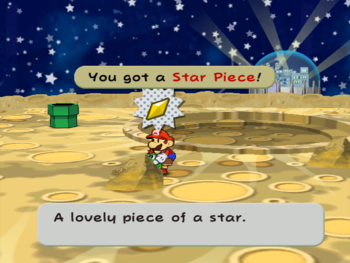 |
Behind a rock in the area in front of the Crucions headquarters. |
Crucions headquarters:
| No | Picture | Location |
|---|---|---|
| 99 | 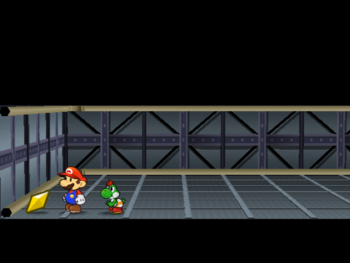 |
In the air shaft above the laboratory on the far left. |
| 100 | 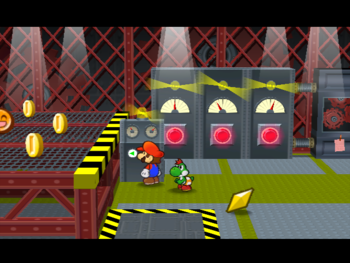 |
You can win at the game with the crane. |