
The Thousand Year Door
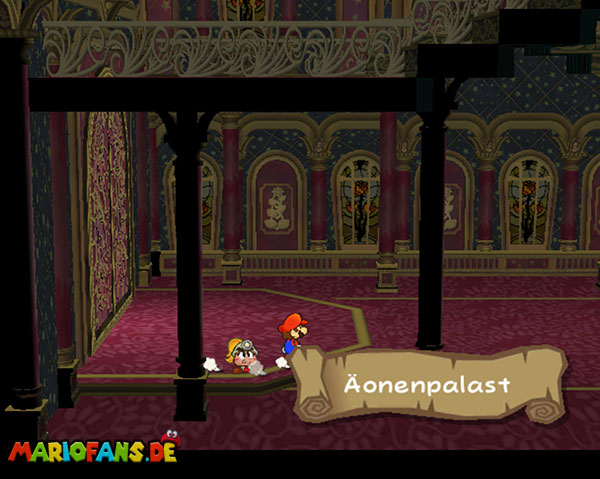
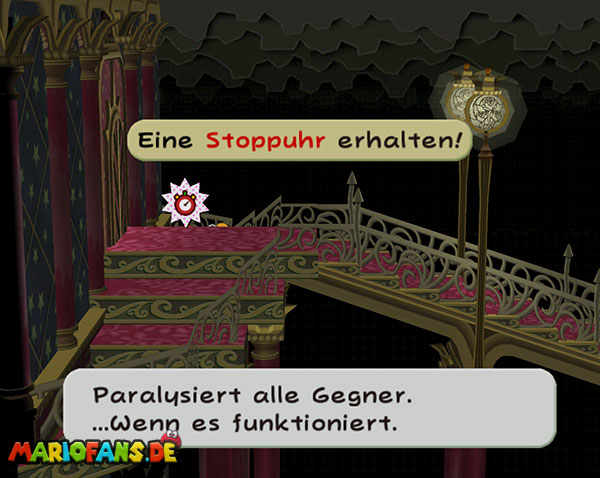
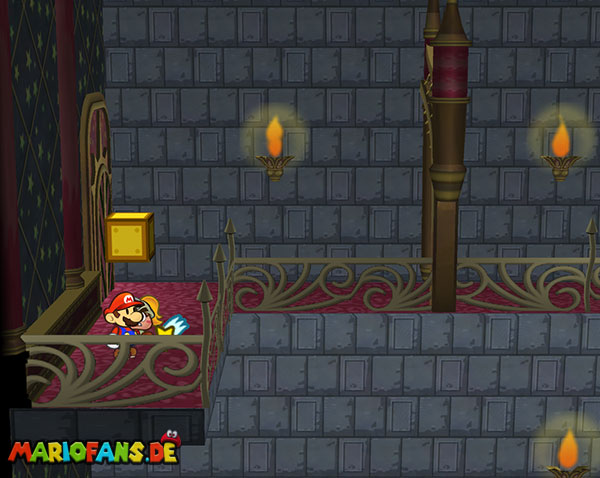
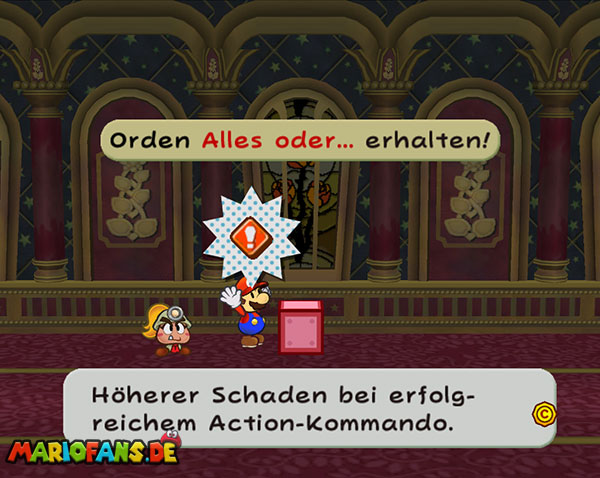
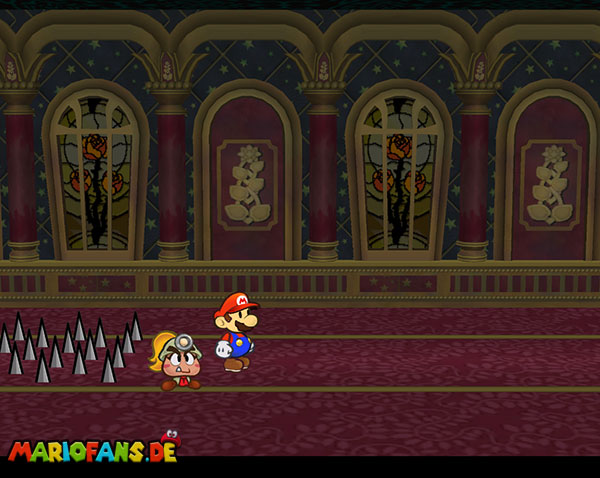
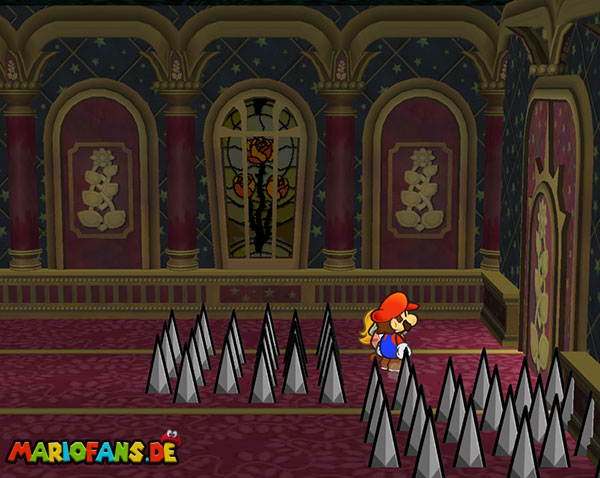
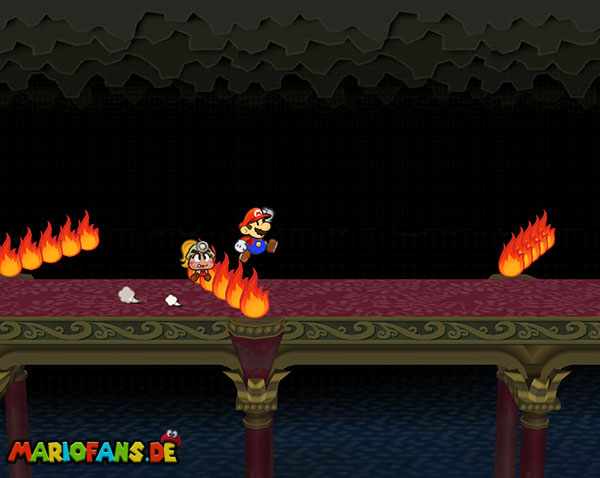
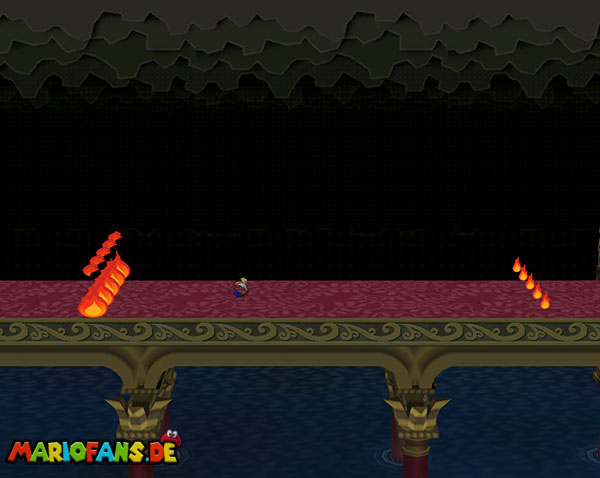
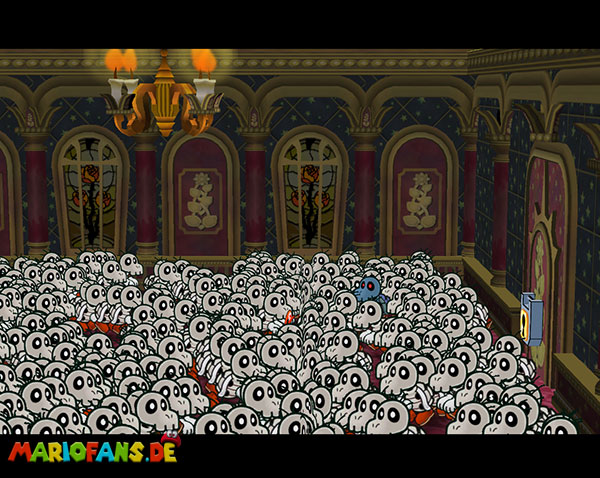
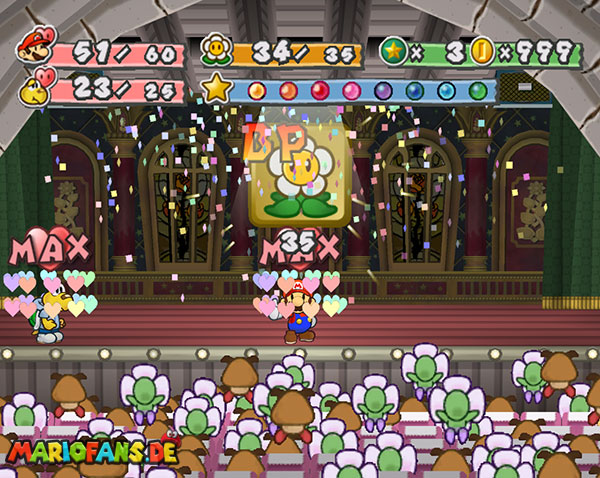
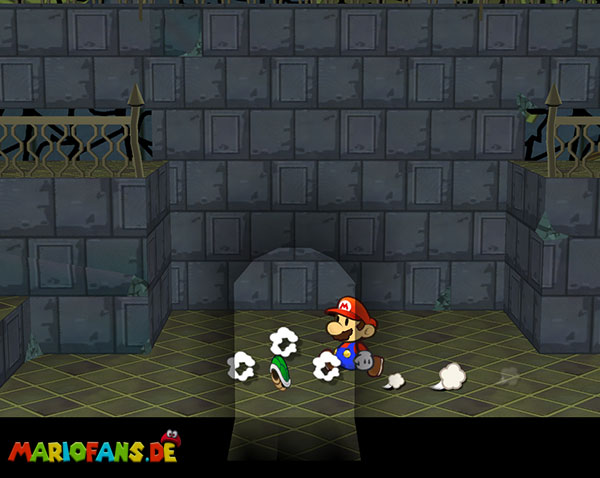
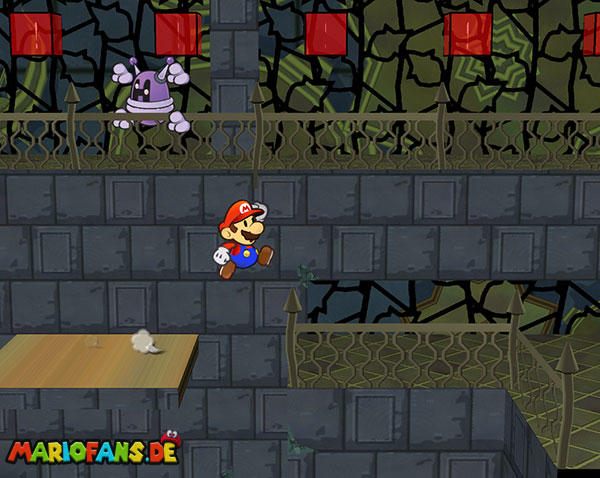
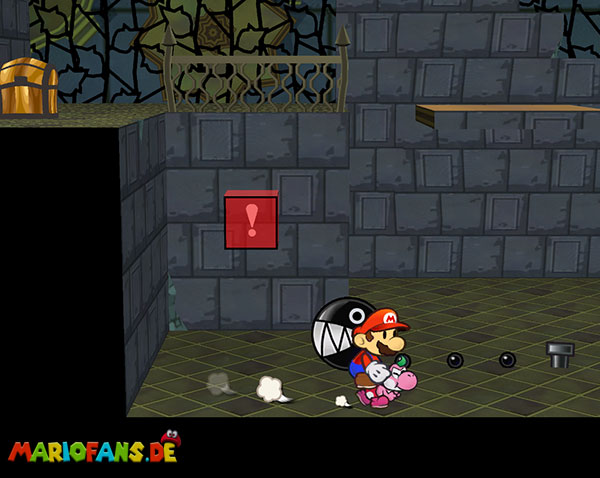
Go the only possible way until you reach a red glance. In this hall you have to take care of the tops. Run very slowly and imagine the whole thing in width in 3 lanes. Always on 2 come the tops. Tested by slowly running out where the come and so traverses this room. At the end you can save first. You jump over the flames best and at the end make invisible by Barbara when the half-high flames appear.
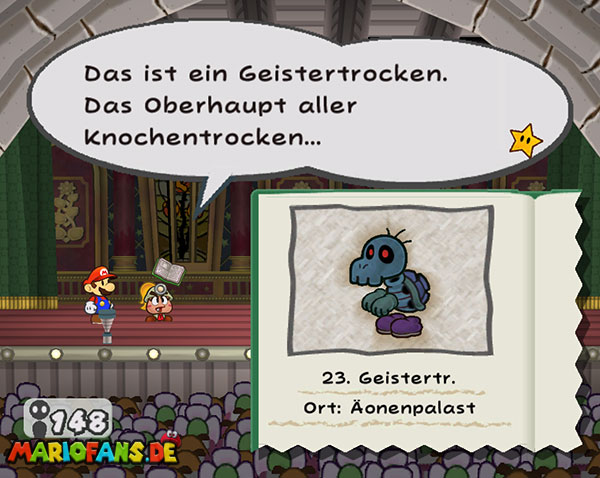
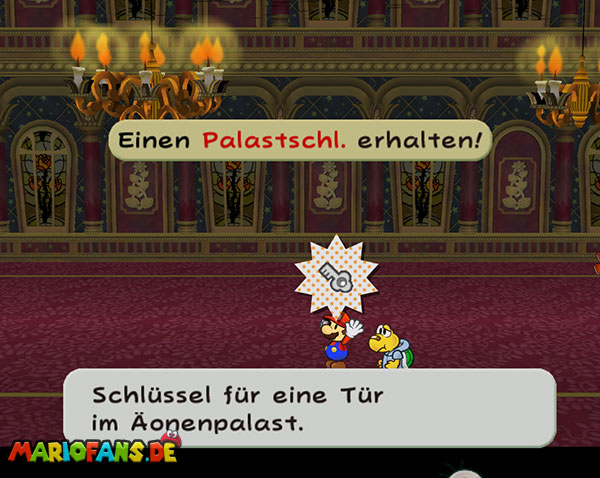
In the room afterwards hit the opponent at the door and then chase him through the masses. Hit him and defeat him to get the key.
| Name | Max. HP | Attack | Defense |
|---|---|---|---|
| Dark Bones | 20 | 5 | 2 |
Door puzzles
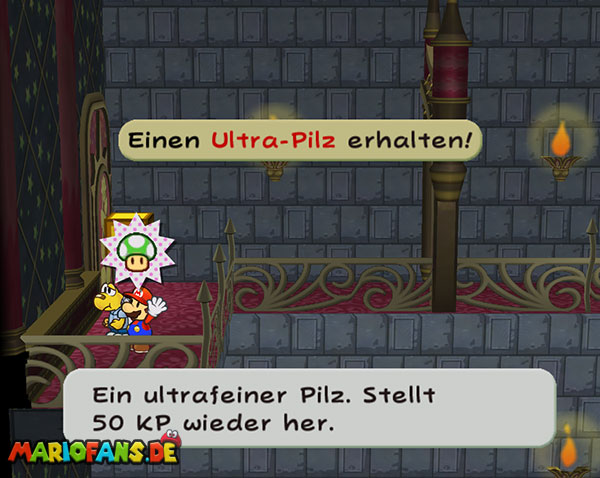
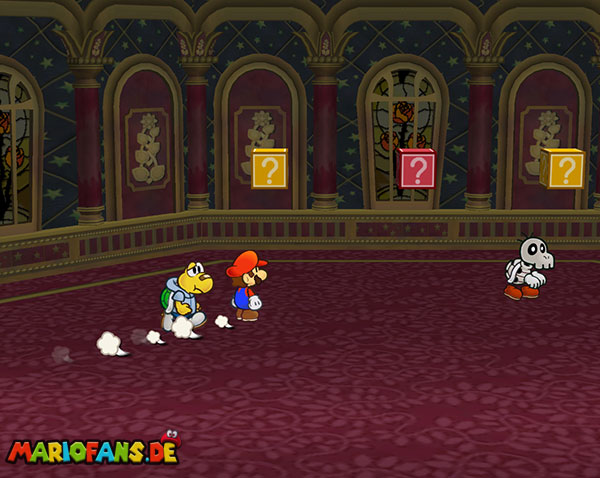
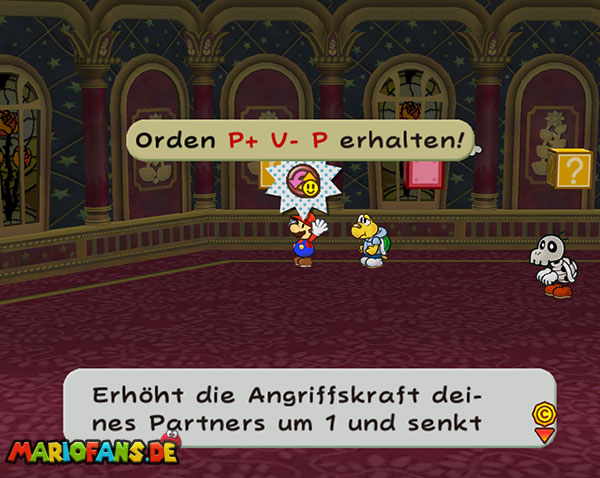
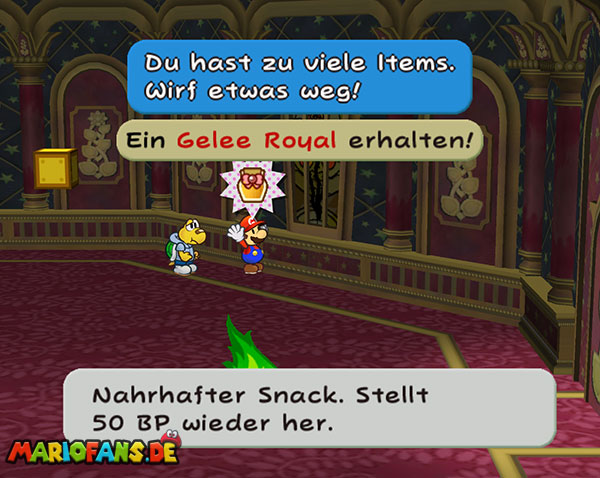
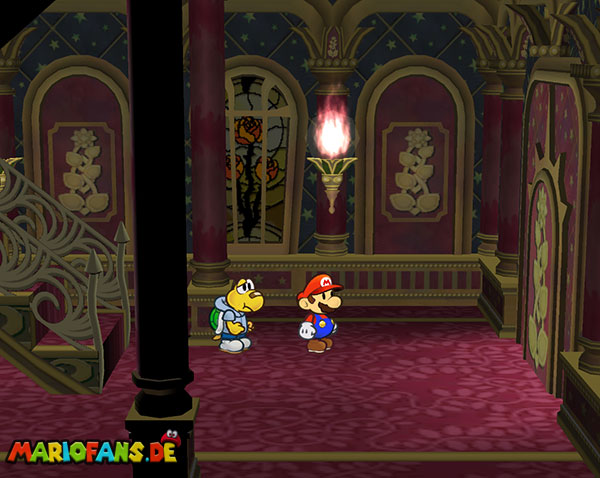
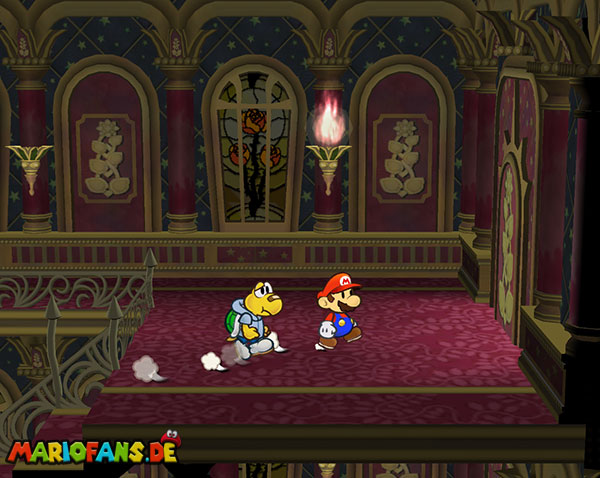
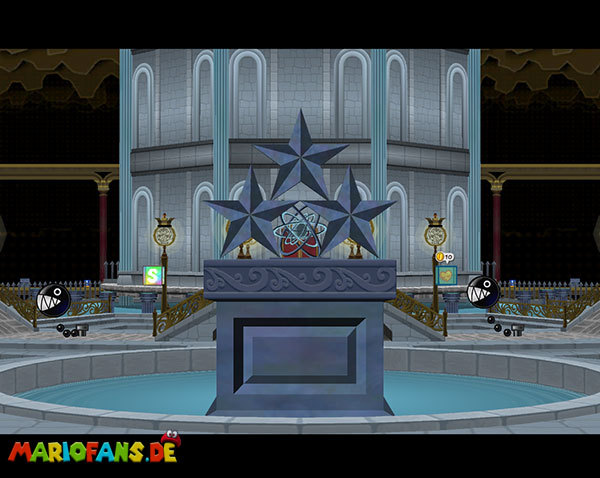
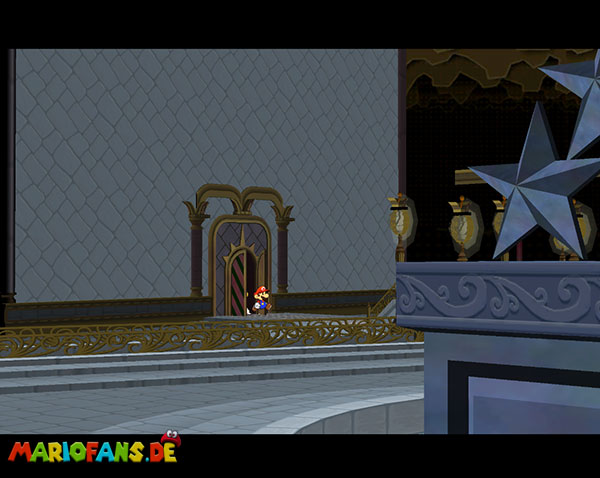
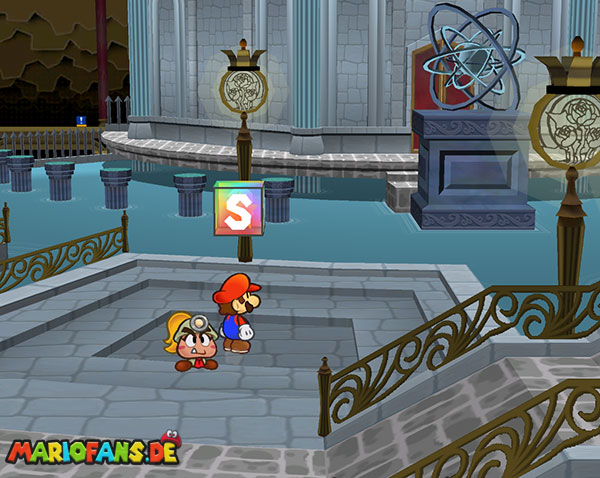
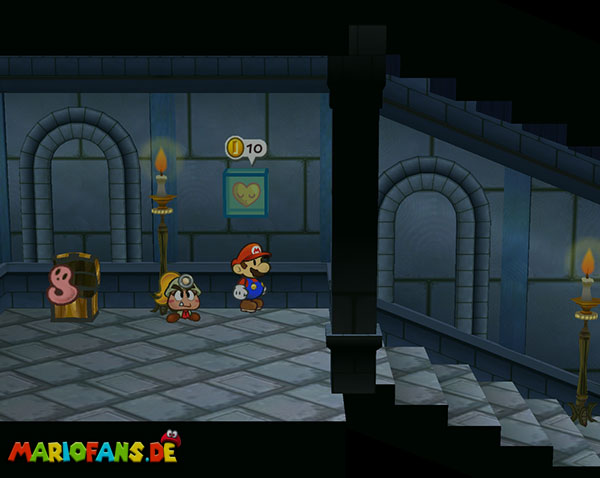
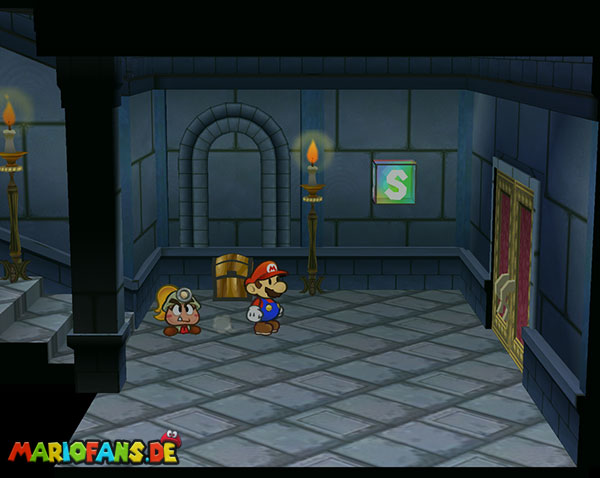
Continue until you come to the room with the stairs. Before that, you can get the P-Up, D-Down P badges. Pay attention to which door the torch burns! Go down here through the door, then down again and then up right through the next one. Next up, then down again, then up again and down again and you reach the destination of the journey. Save once and recharge your energy.
Boss Fight: Gloomtail
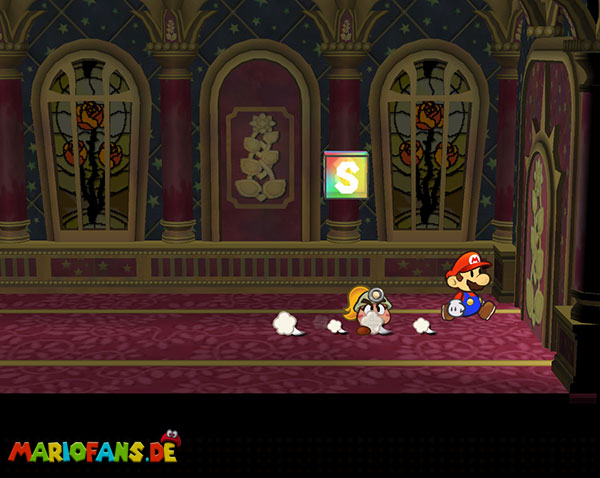
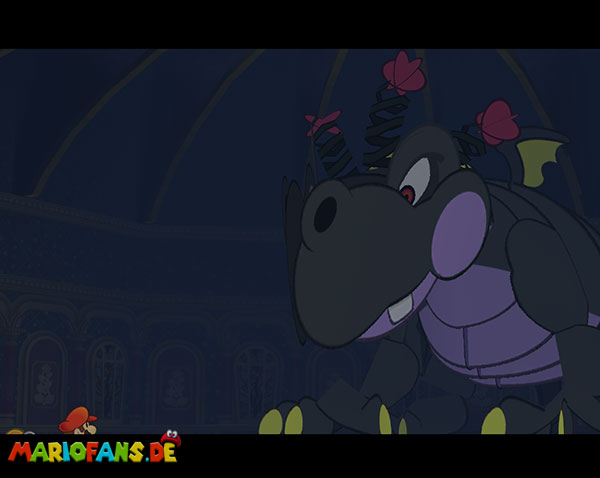
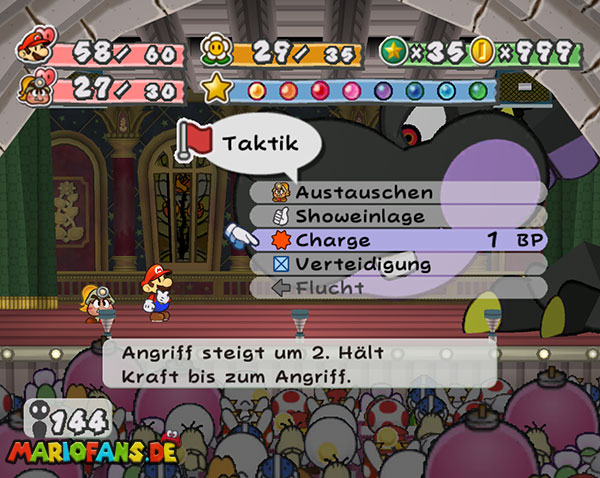
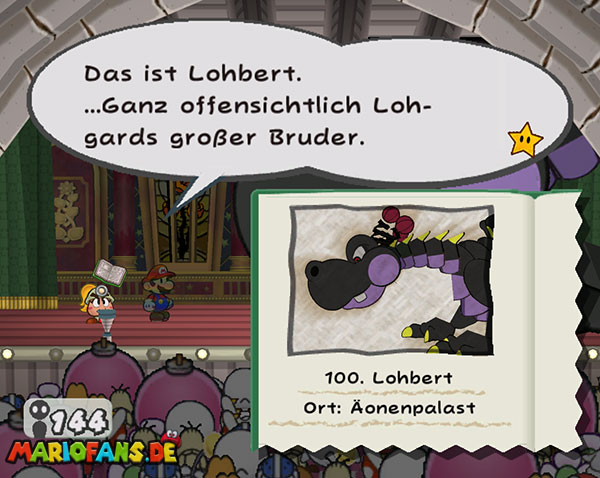
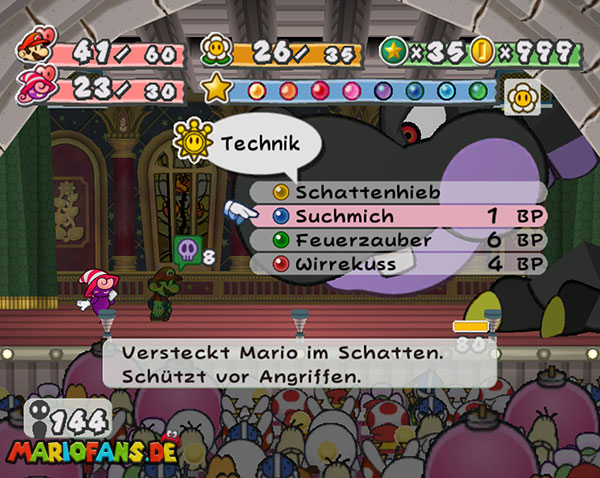
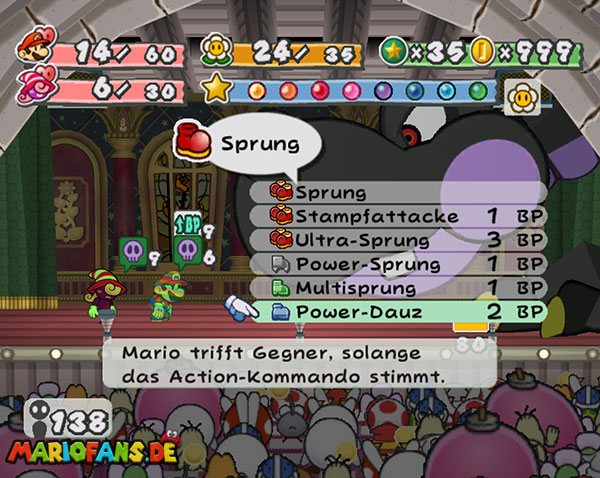
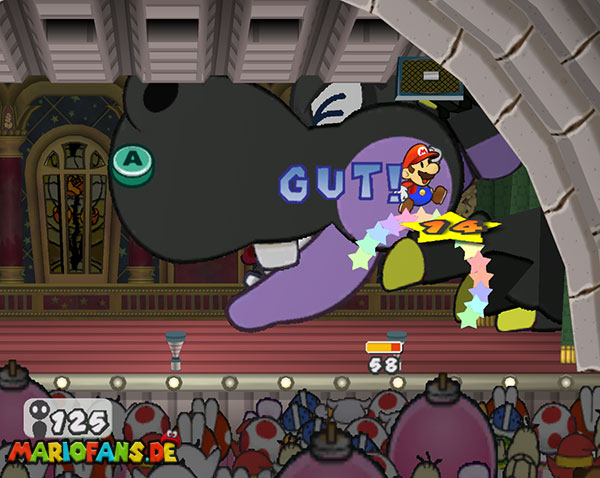
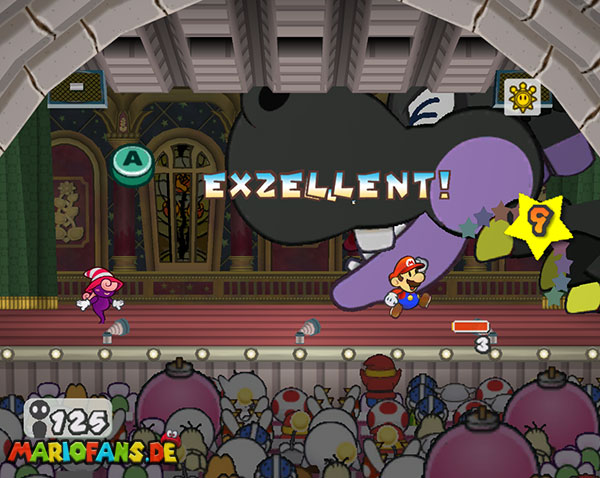
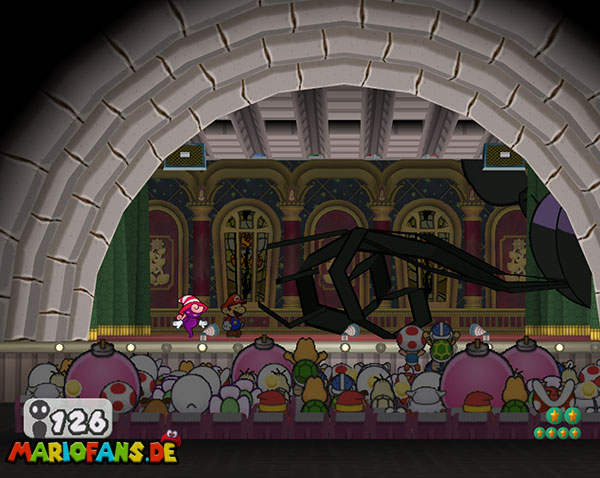
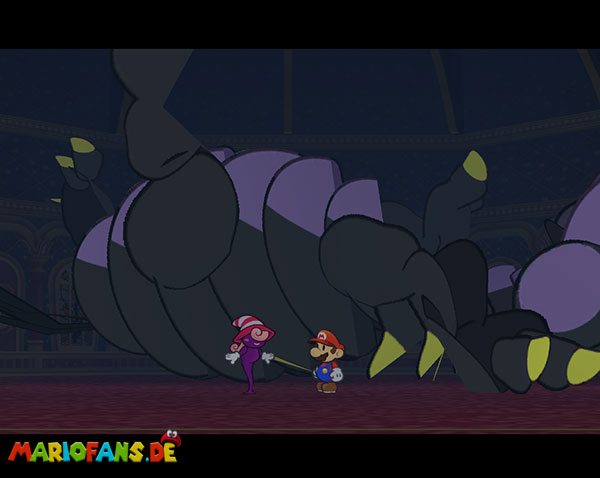
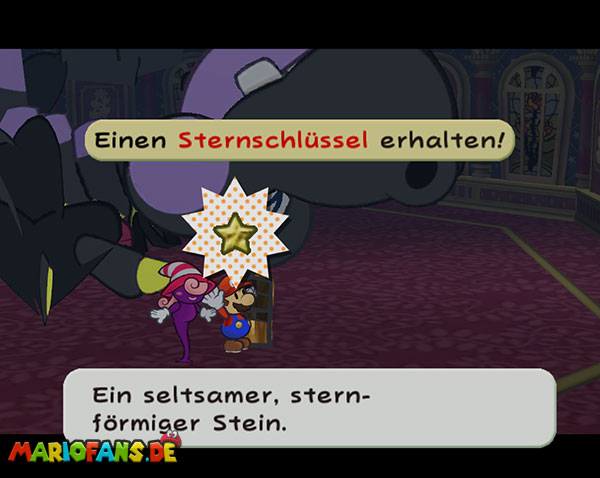
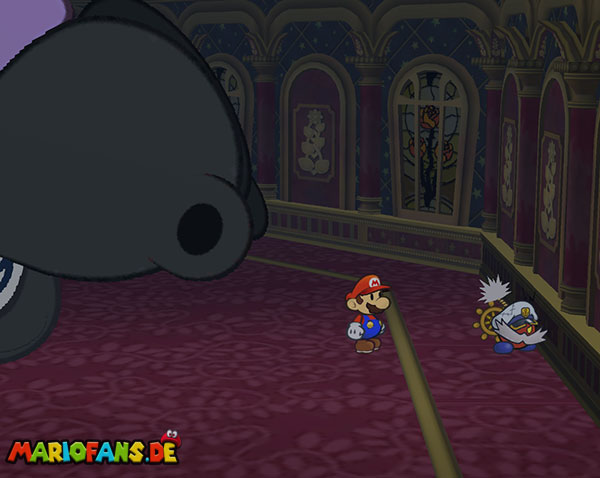
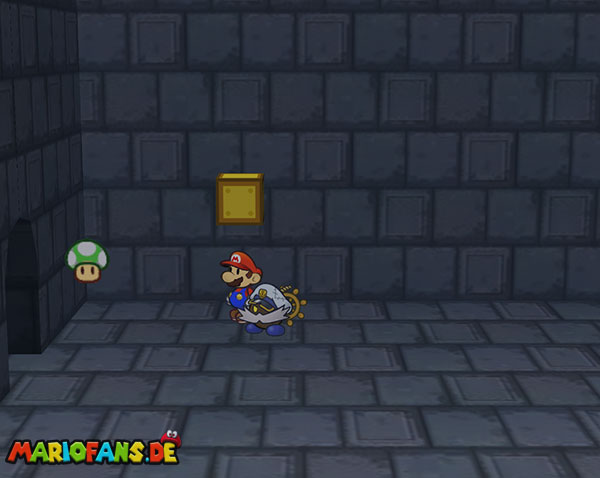
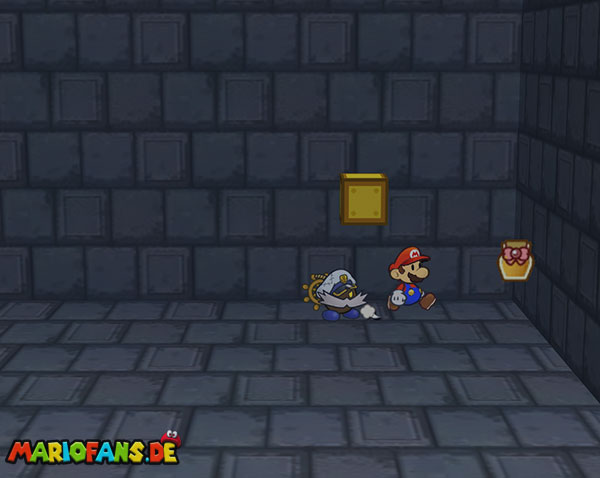
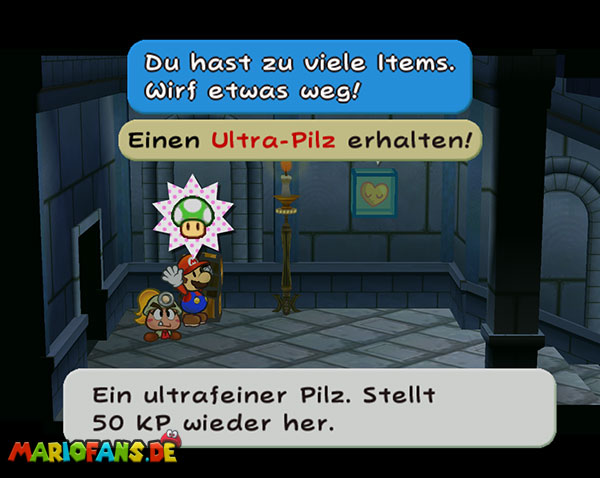
Go to the right first. 3 rooms later and you are expected. Gloomtail as a fight is not so hard with Barbara. Despite the 80 HP, you should use their Veil Move very often, which often makes the attack go empty. The best tactic is to charge the jump about five times with Charge and then do some damage with the Power Dauz Gloomtail. Then you get the star key. You can blow the wall to the right. Behind it you will find two blocks with an Ulra mushroom and a jelly royal. Now go back the three rooms and recharge your energy.
| Name | Max. HP | Attack | Defense |
|---|---|---|---|
| Gloomtail | 80 | 8 | 2 |
The Palace
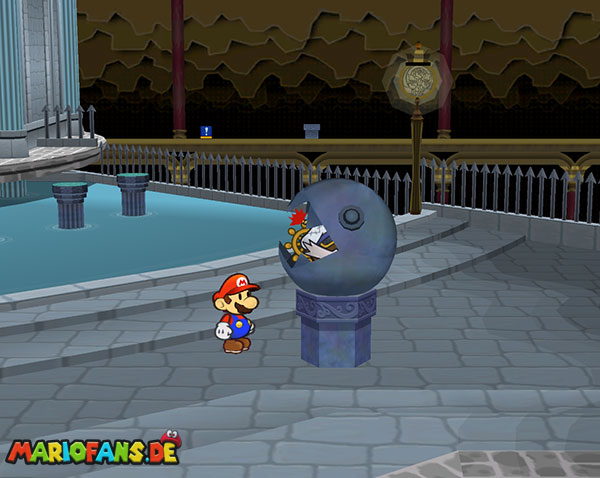
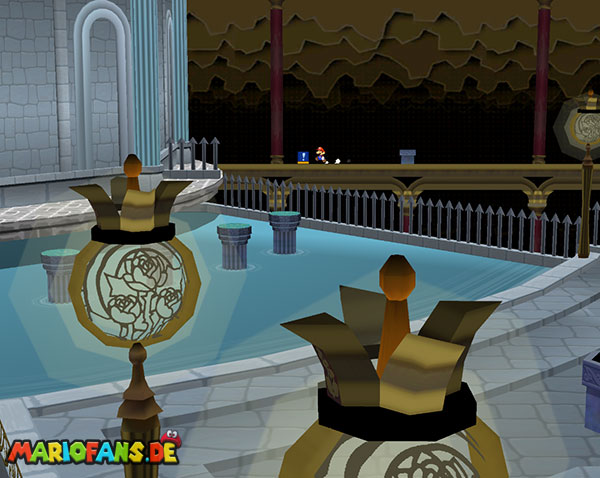
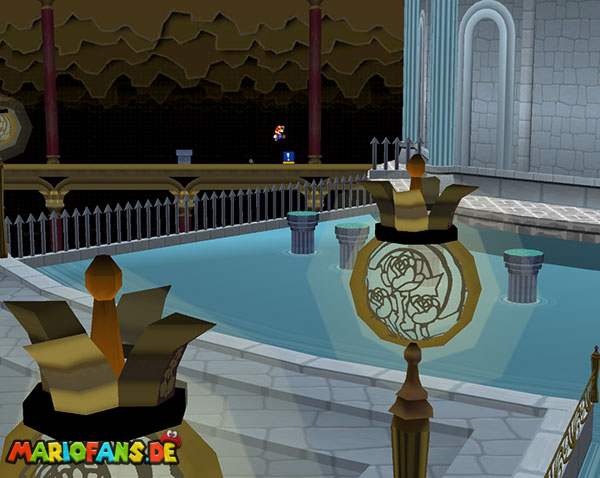
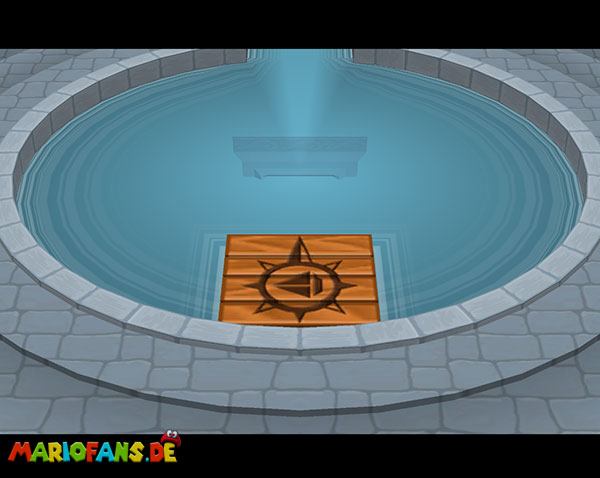
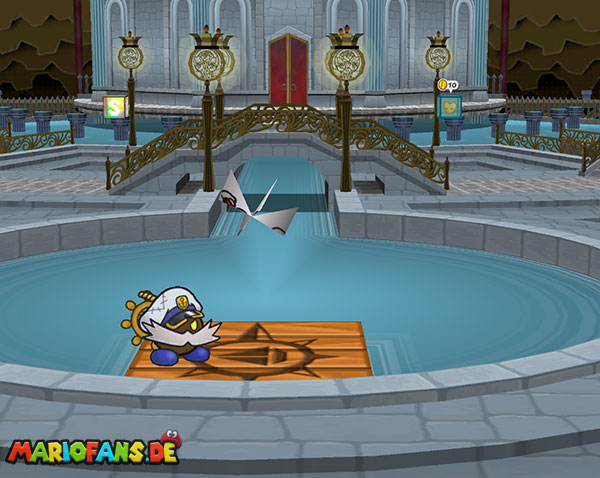
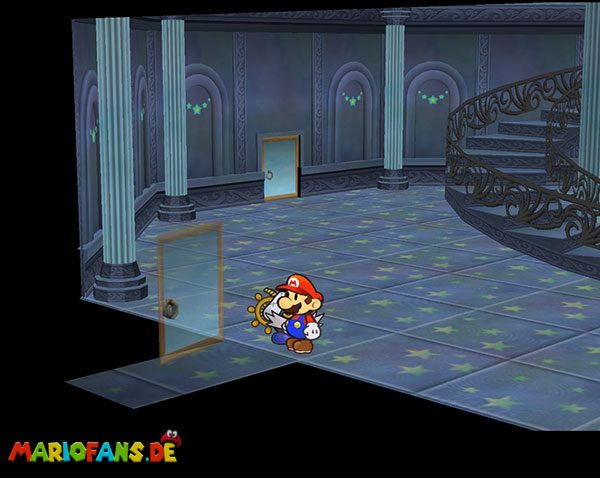
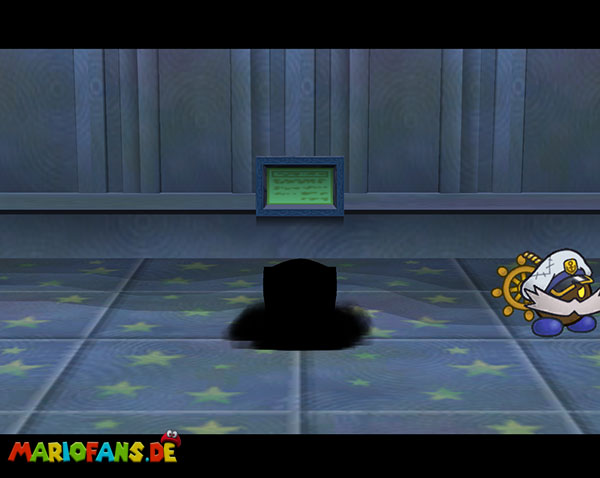
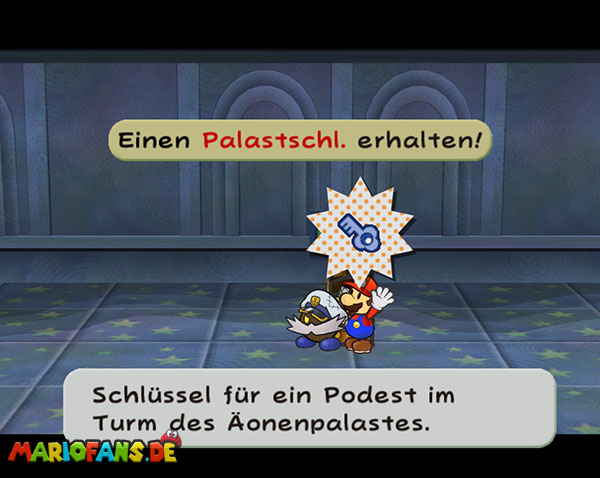
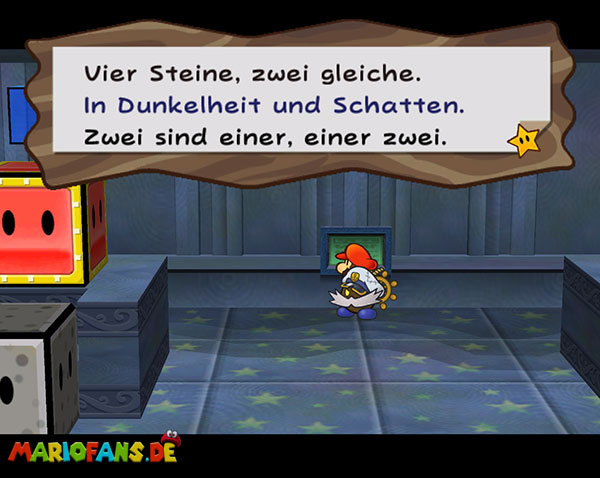
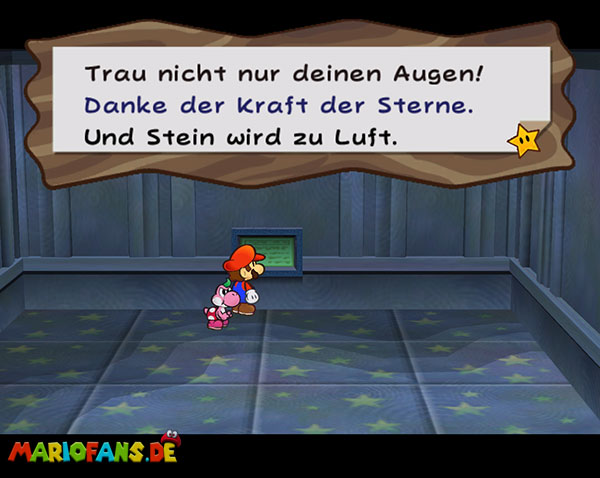
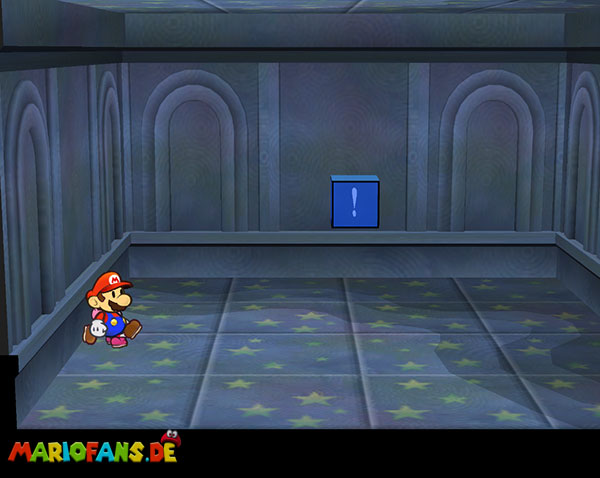
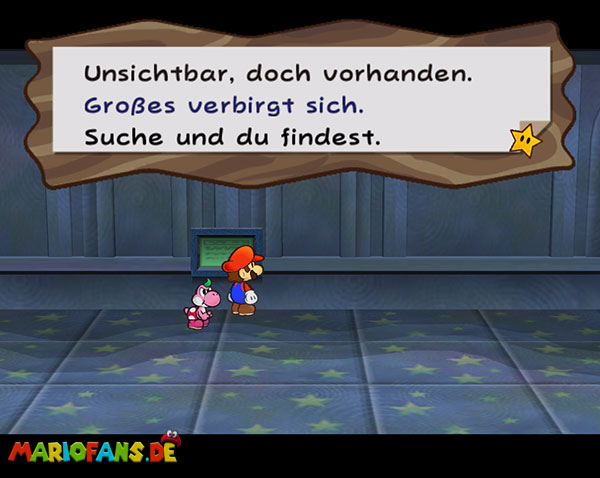
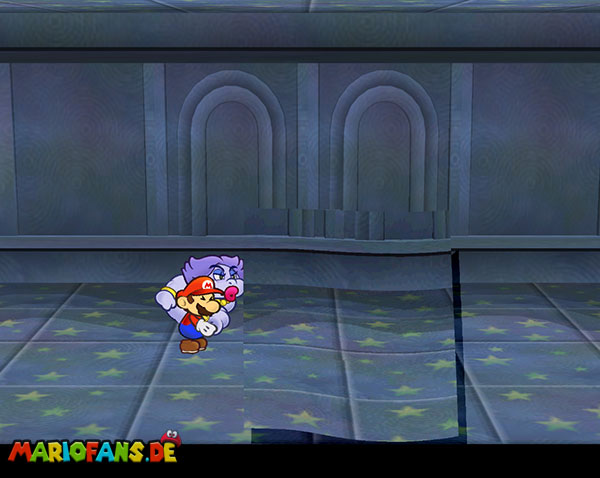
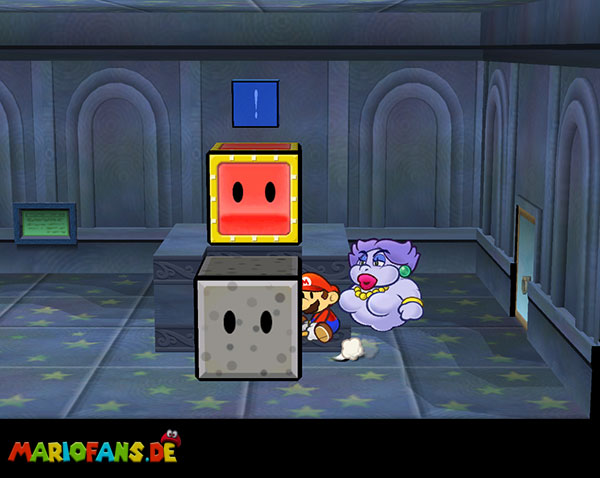
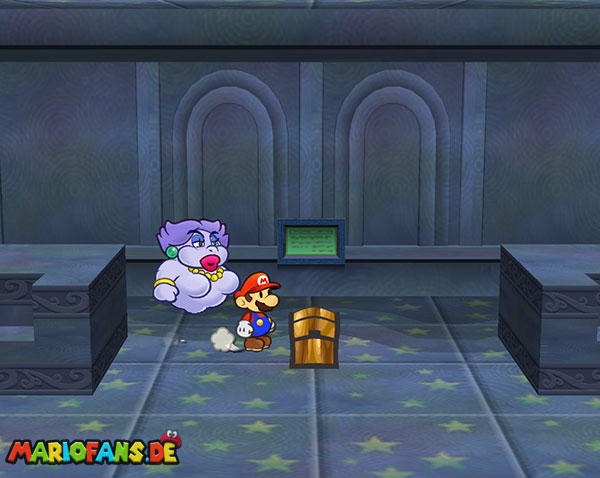
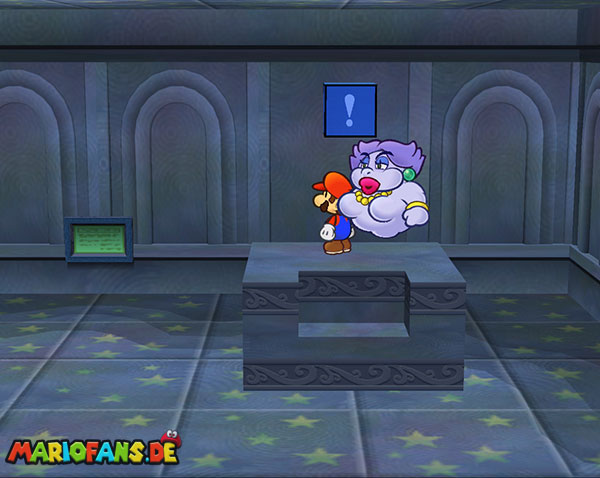
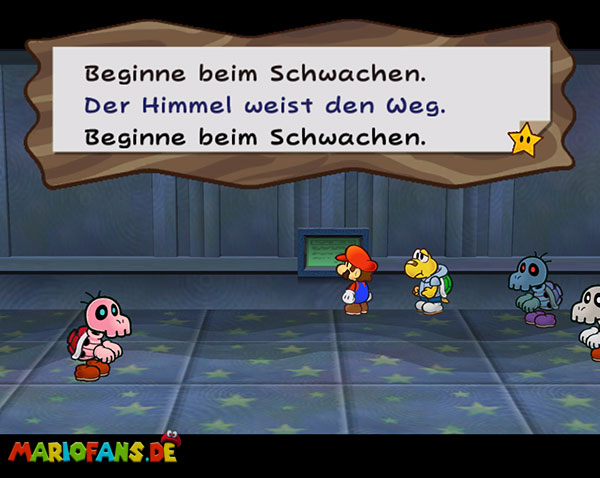
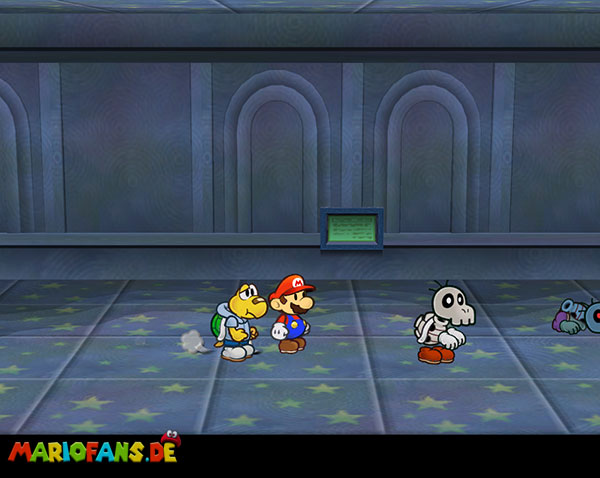
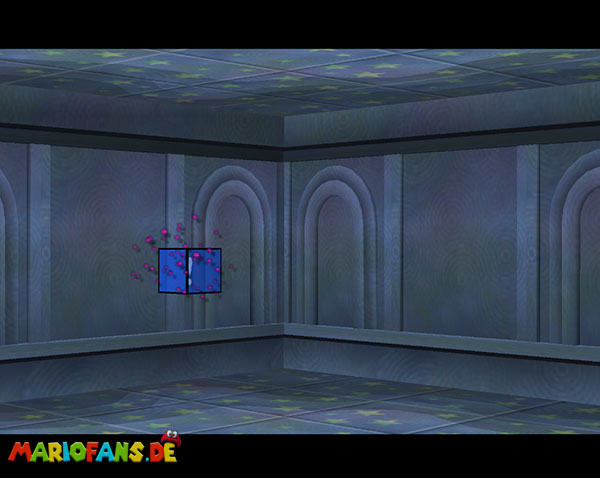
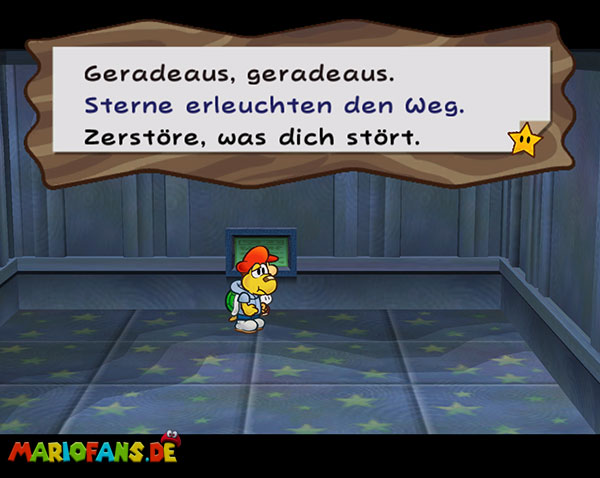
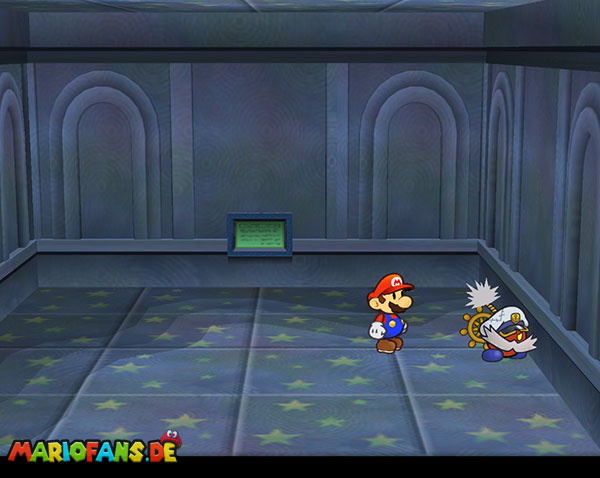
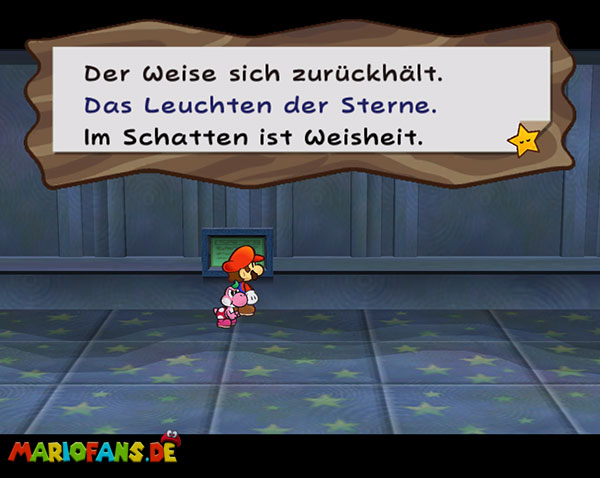
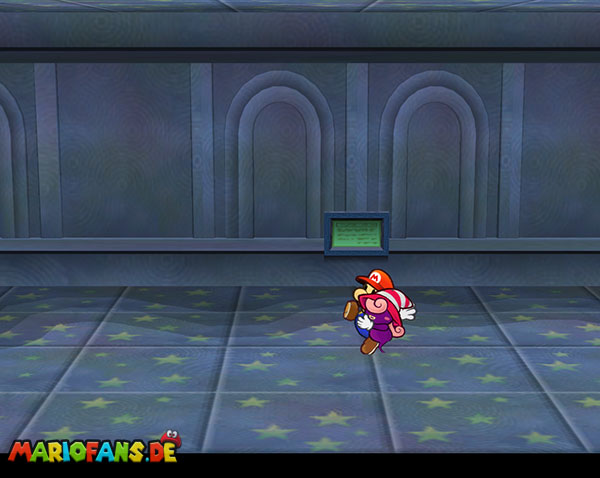
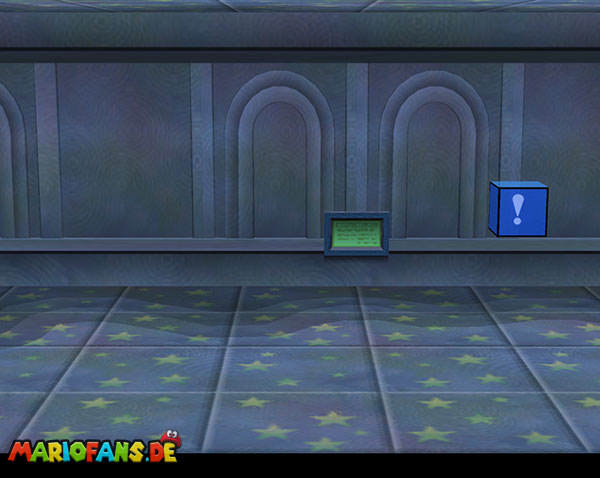
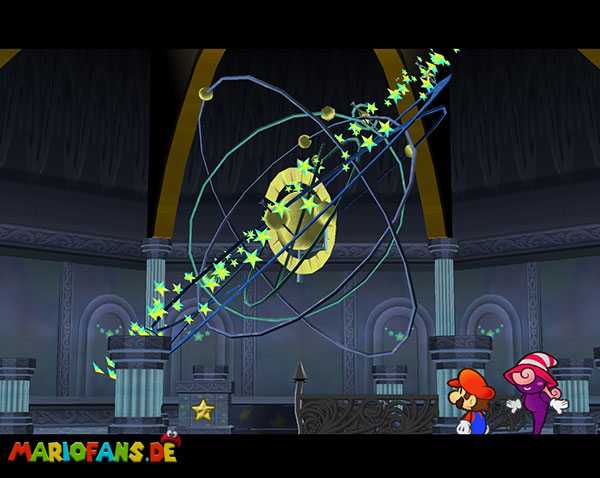
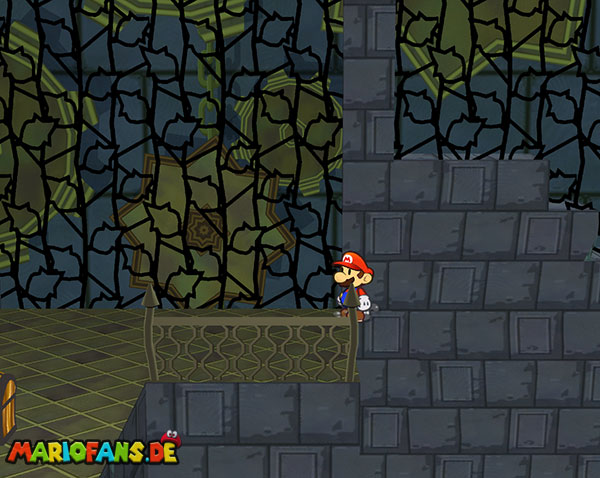
Explode the tubes on the left and right and hit the two blue switches to create the ship platforms. Use the ship platforms to get to the palace.
- In the first room, 3x jumps to the left block and 2x to the right to get a key.
- In the second room, a block is destroyed on the left, a floor higher and through the door that is directly above the room. Destroy both blocks here too. Then you go down again and jump against the blue switch for the next key. Destroy all the gray blocks here.
- In the third room, the lower right jumps through the wall into an adjoining room and thus activates the block for another key.
- In the fourth room, stand in the middle and blast away the invisible block with the hallway to get the next key.
- Then one floor goes up and again left into the door next to the stairs. Inside here, defeat first the left, the pink, the right white, and then the purple Dry Bones to make a blue block appear. Jump to him and get a key.
- In the second room again activate the block for the key.
- In the third room, a pit jumps on the right in the middle of the wall with a beard and you get behind it to the next key.
- In the fourth room goes into the middle of the room and makes you invisible and the block for the final key appears.
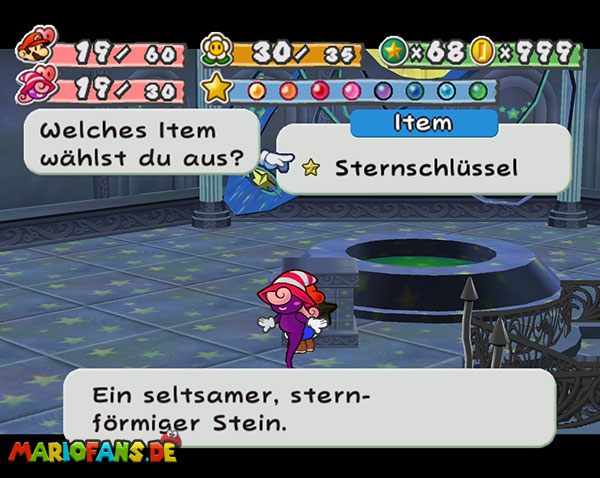
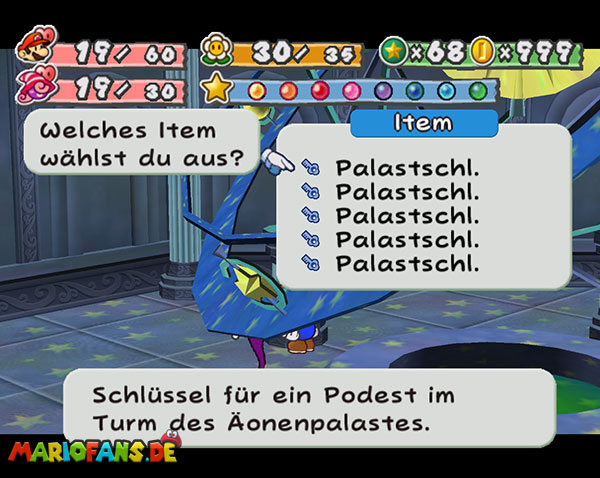
Insert the star key at the top and then the 8 small keys into the pedestals. Then you create a staircase where you were at Gloomtail.
| Name | Max. HP | Attack | Defense |
|---|---|---|---|
| Chain dog | 8 | 5 | 4 |
| Swoopula | 9 | 2 | 4 |
| Missile Willi | 3 | 6 | 2 |
| Bombshell Bill Blaster | 10 | 0 | 4 |
| Dry Bones | 8 | 5 | 2 |
| Dark Wizzerd | 10 | 5 | 2 |
| Phantom Ember | 10 | 5 | 0 |
Three Shadows
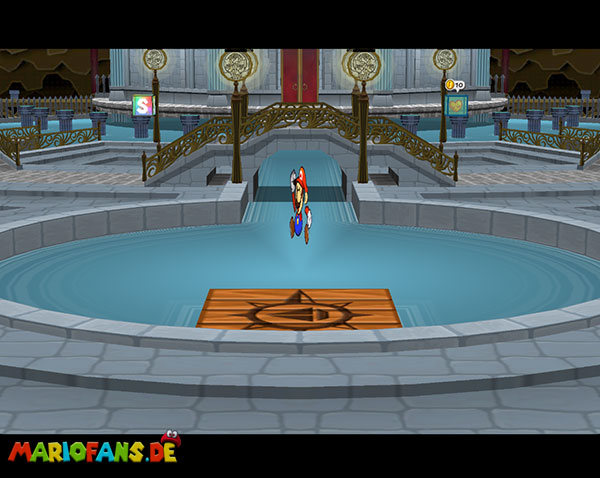
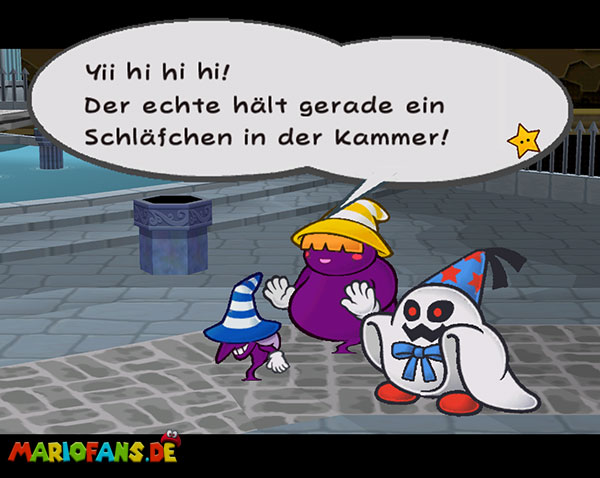
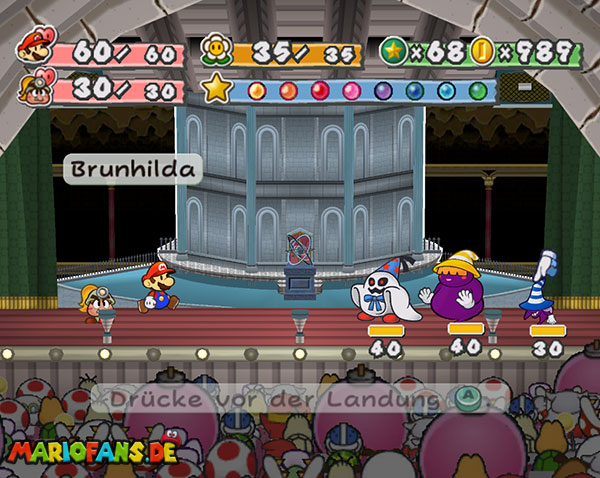
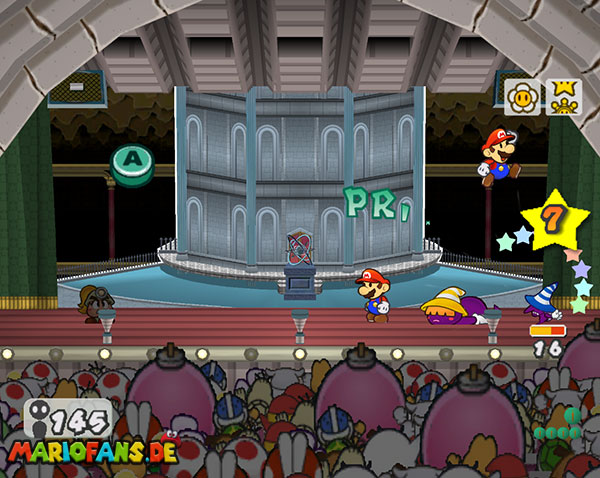
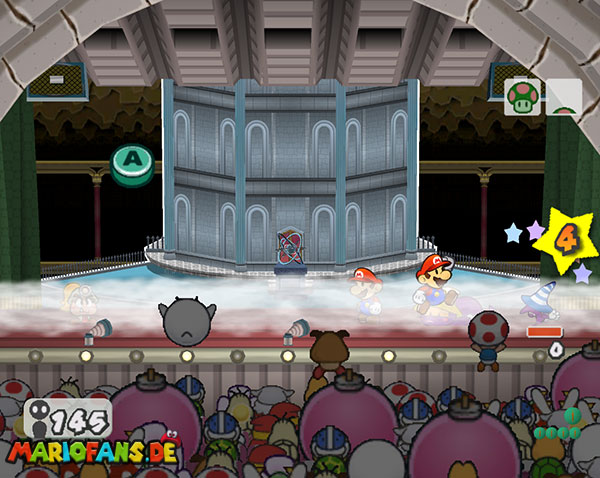
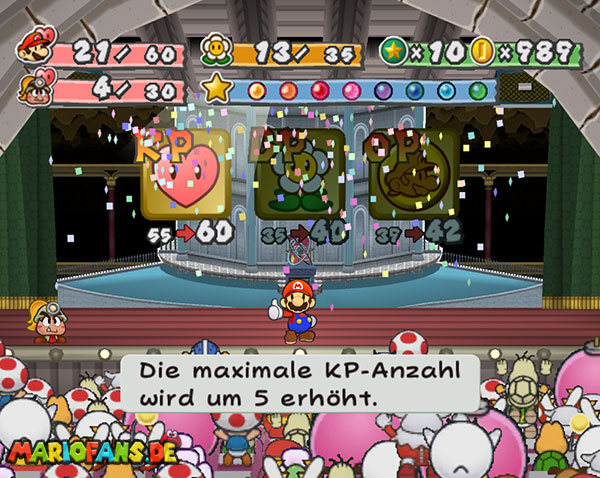
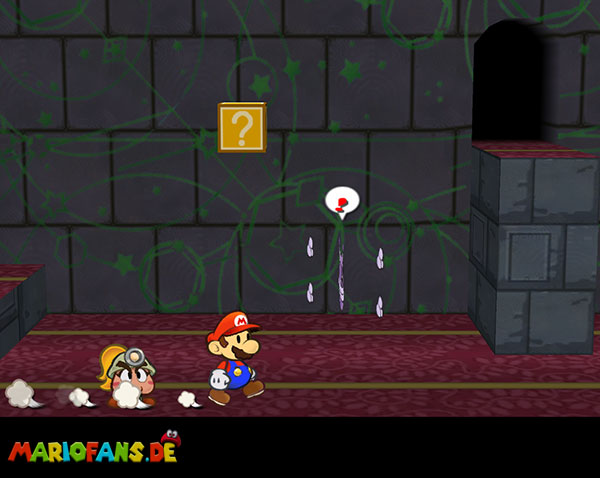
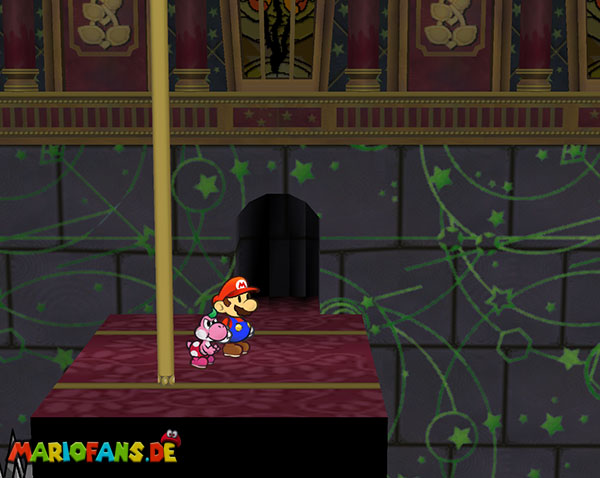
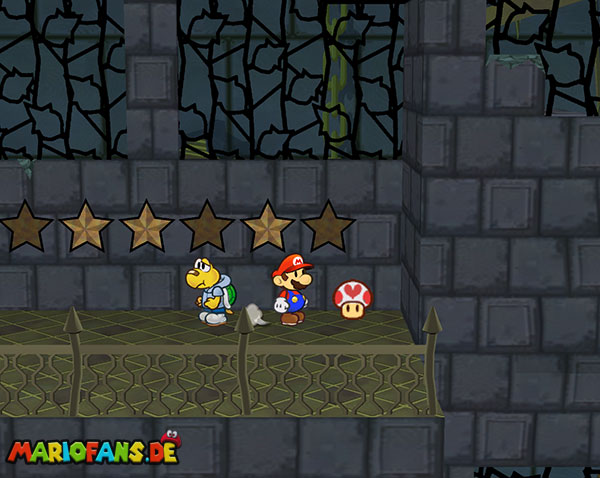
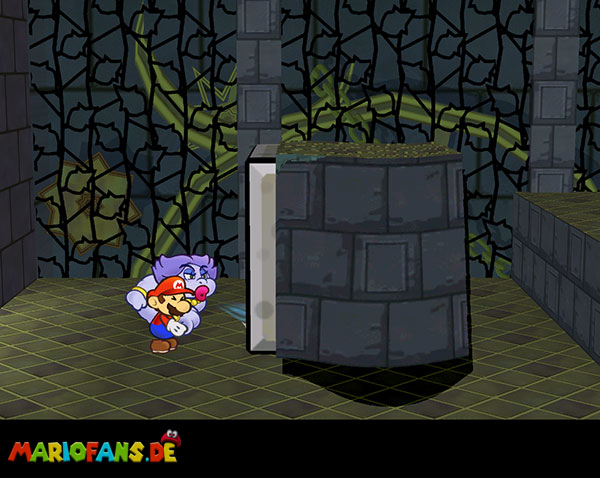
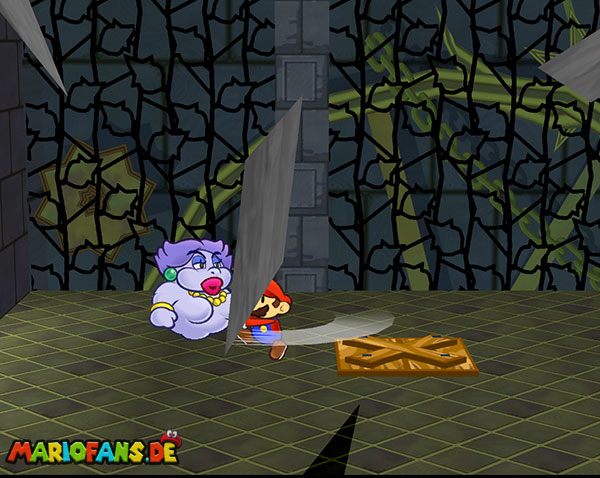
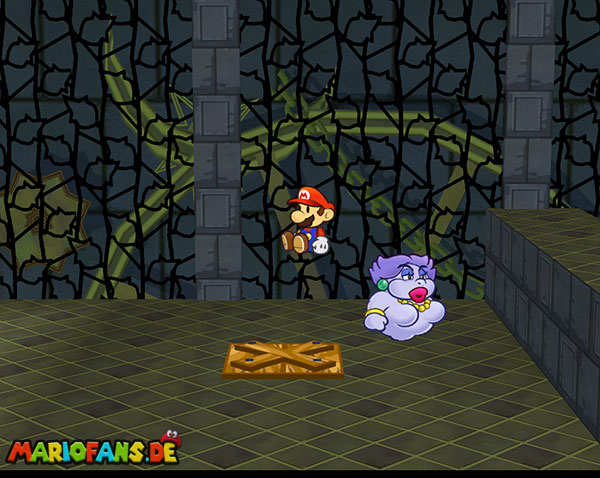
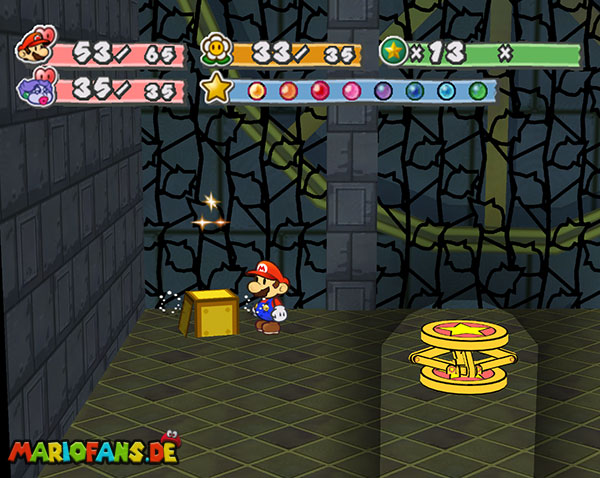
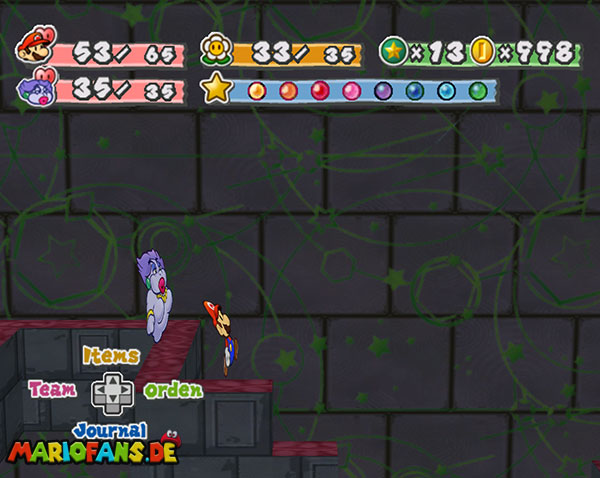
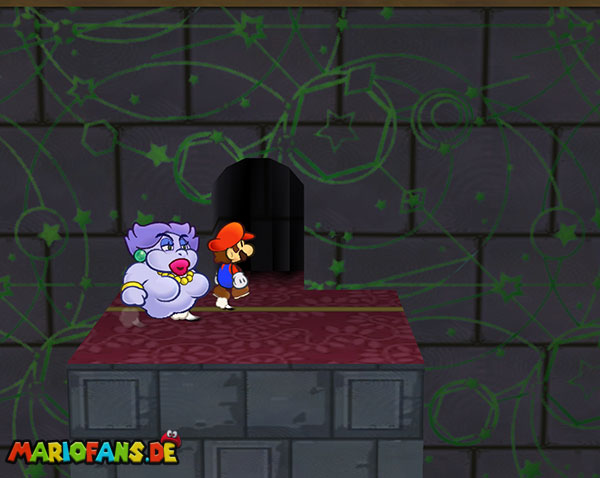
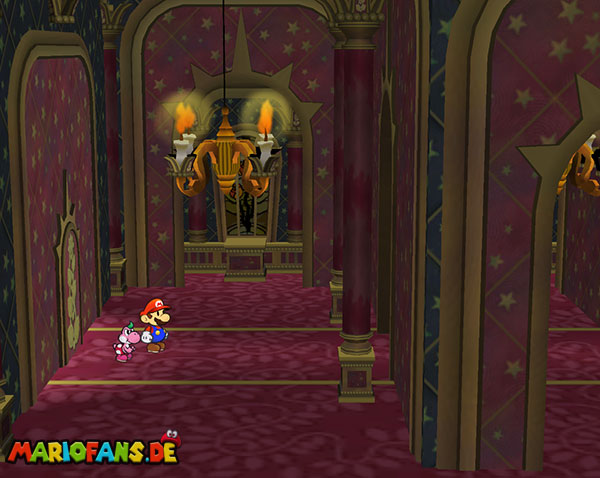
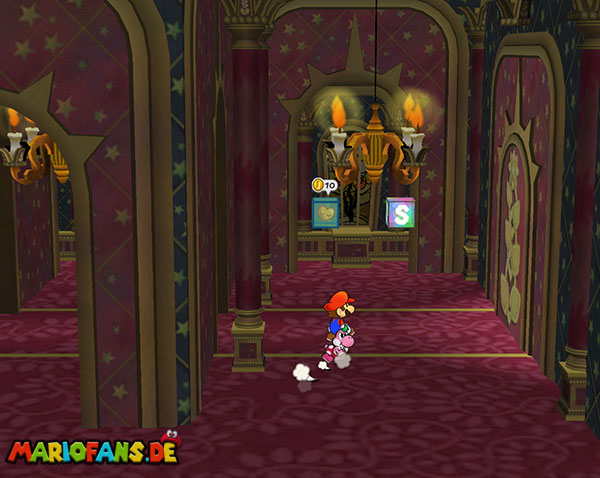
So go out again and the next boss fight against the Three Shadows awaits at the door. For them, you must first take care of Beldam with the ultrajump and then her sister. Rumors are the least dangerous. Attack Beldam first, as she can freeze Mario and his partner at once. The second largest danger comes from Marilyn, who can solve herself. Use Barbara to escape these dangerous attacks. You take care of rumors last. After the fight, you walk through the door on the right side of the square.
| Name | Max. HP | Attack | Defense |
|---|---|---|---|
| Rumble | 80 | 7 | 0 |
| Beldam | 30 | 5 | 0 |
| Marilyn | 40 | 7 | 0 |
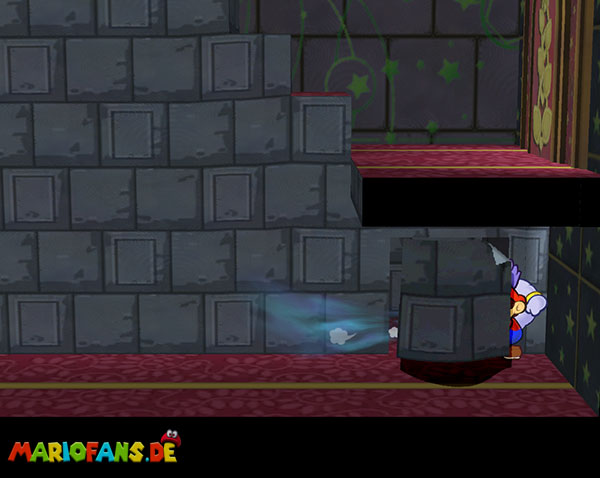
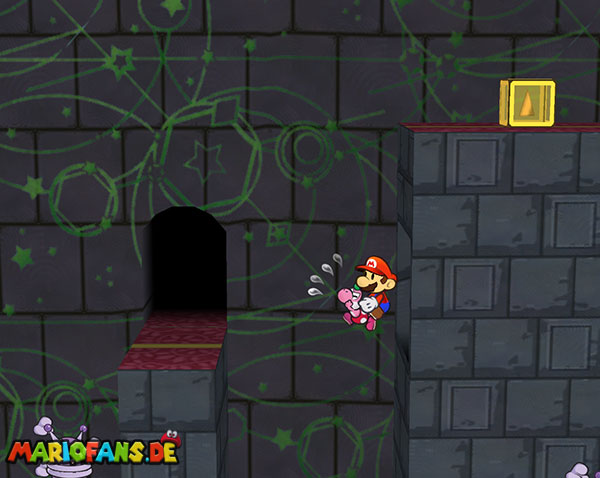
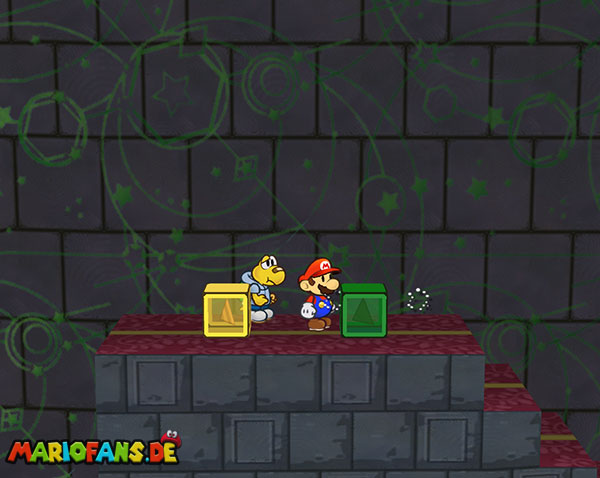
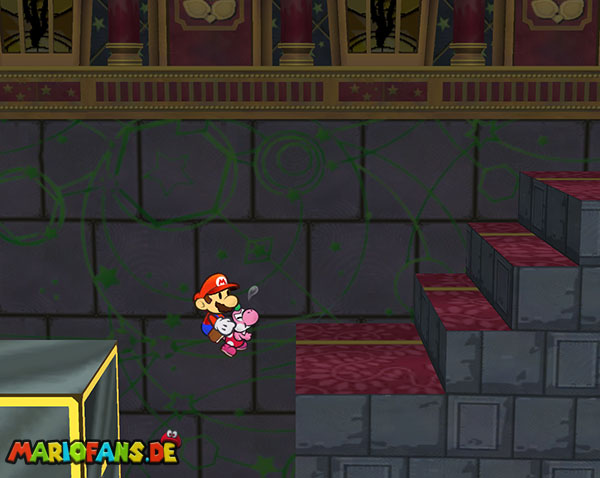
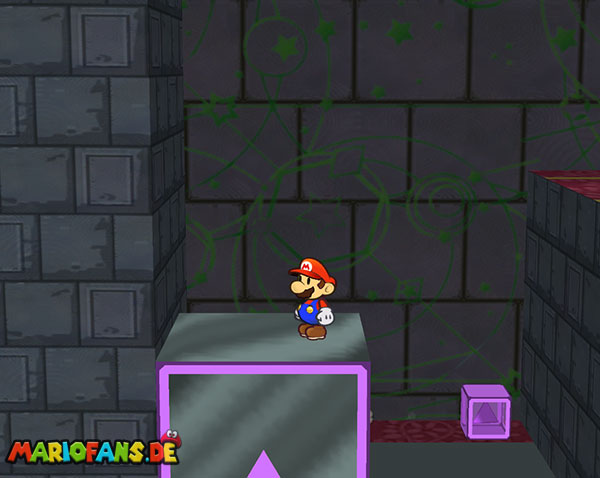
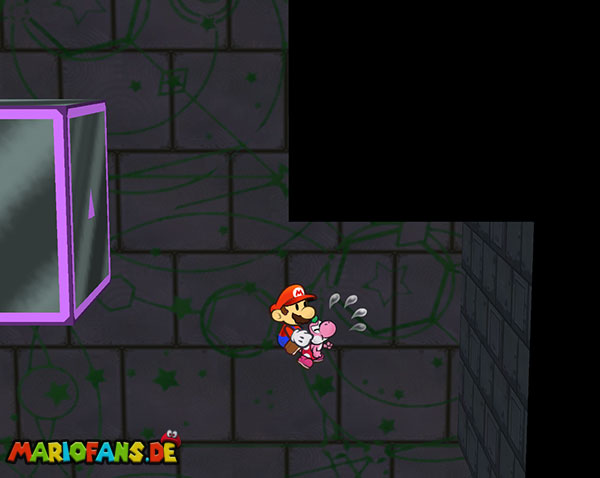
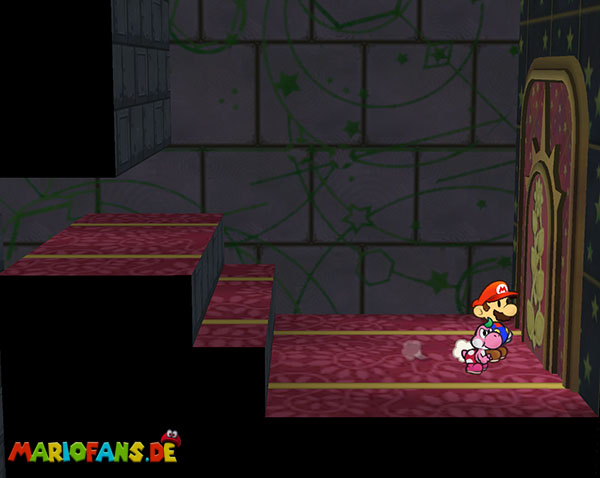
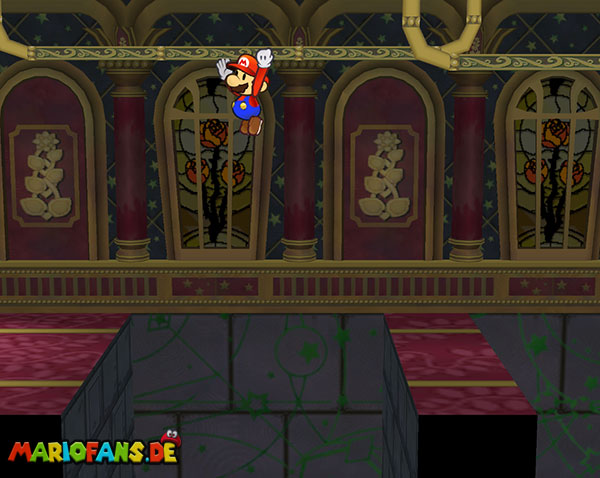
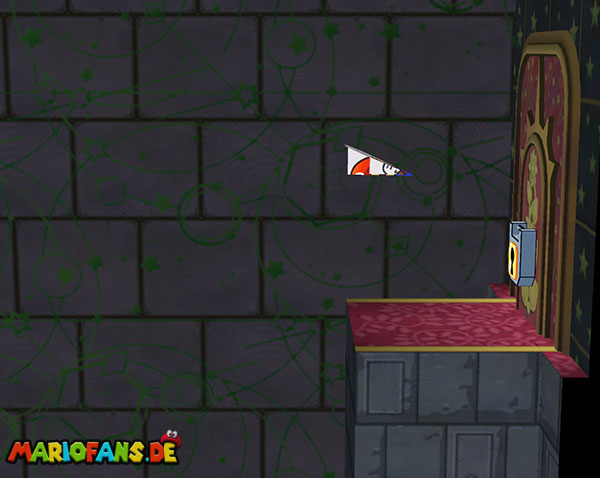
Blast at the end the wrong wall away and goes up behind the wall. With Yoshi flies to the platform and goes into the door. Charge coops and go up left. There you release X and jump quickly over the platform.
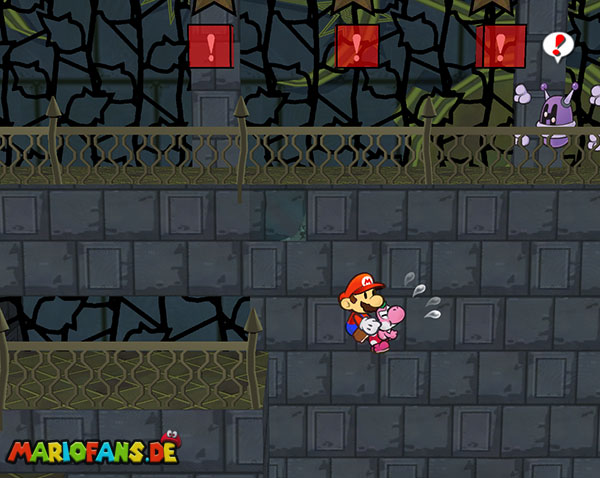
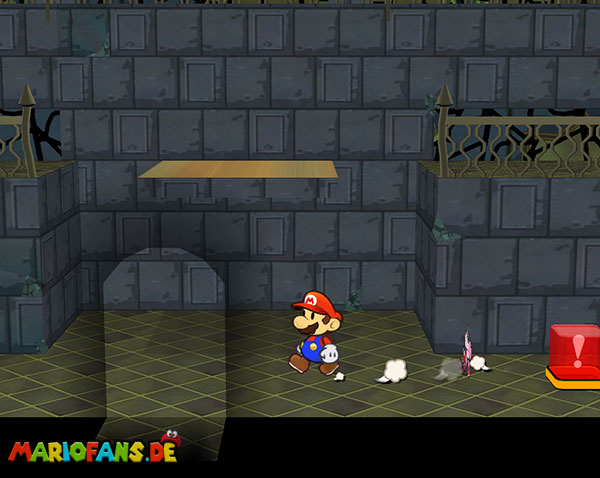
Continue down and then left up into the door. Hit the green switch. Go back, fly to the other side and fall down to hit the lilan block. Drive a bit with high and half high flies to the right and jump over the gap and you reach the next door. Afterwards, we will go on to the next door. Go up the stairs to the right and throw down Bart at the gap and jump over the platform.
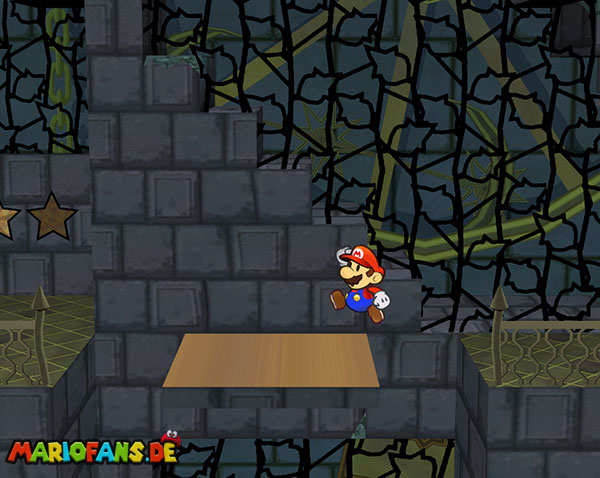
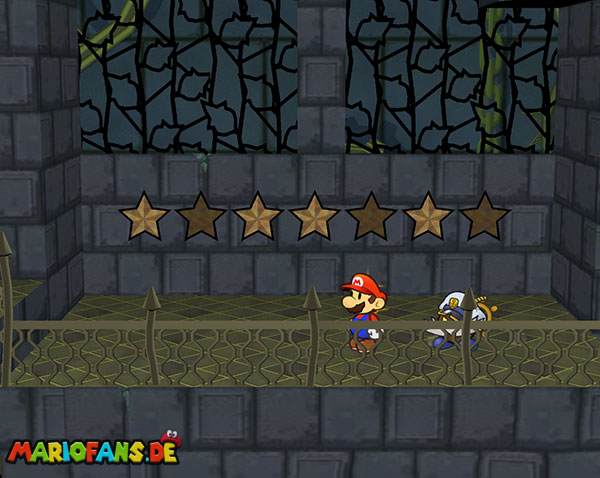
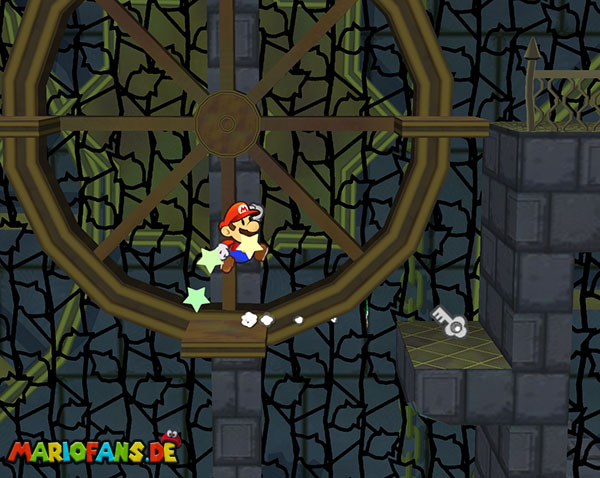
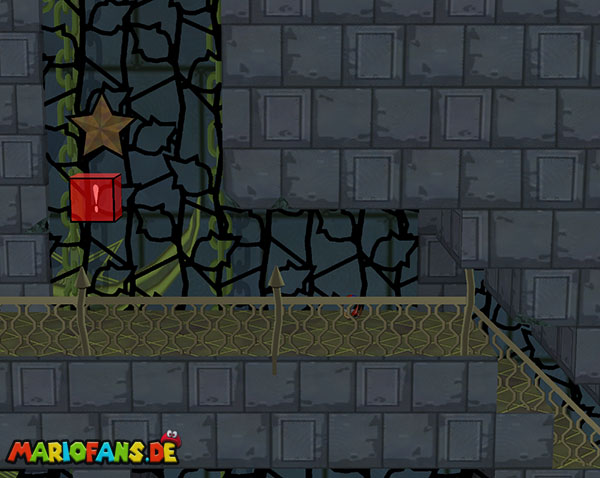
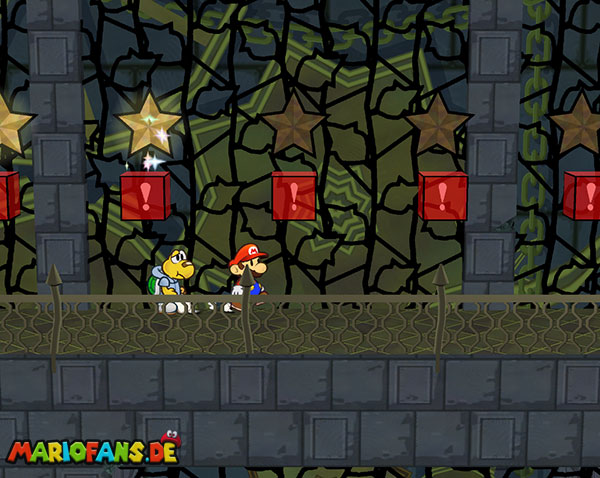
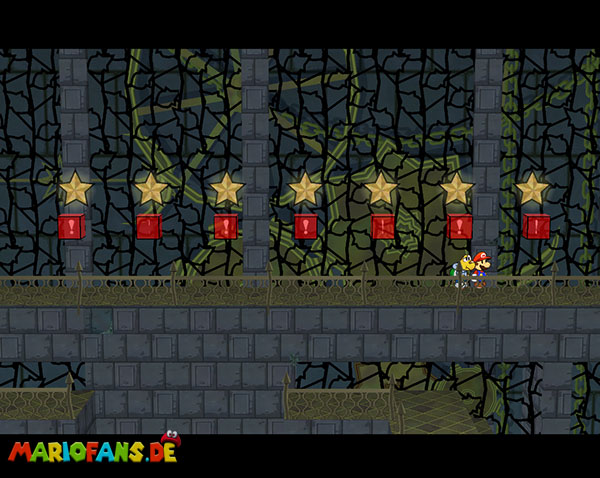
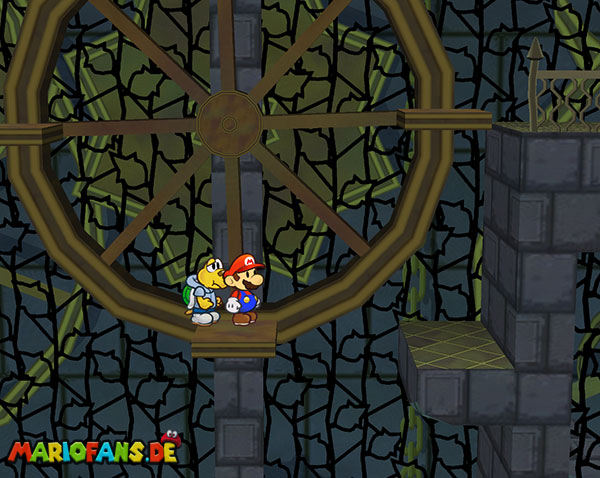
Go to the top right, jump to the bottom platform and get a key with coops and back up the door. At the top jump to the switches on the left – 1, 3, 4 and 6 and the wheel moves a room before you get the key. Go to the other side and walk into the door. Blow the poster from the block, destroy it and you get down by pants. Careful over the narrow paths to the flight platform.
Fly to the door and go down to the red block. Now run on Yoshi what the racker gives to right and top to left over the platform to the Crate and get the key. Go out again and fall down. Run to the left, jump up and fly to the right again. On the one hand, over the door from just to fetch a mushroom of life and then to go to the far right in the next door. Go to the right, refresh and save. Continue through the door to the right.
Boss: Crucuius
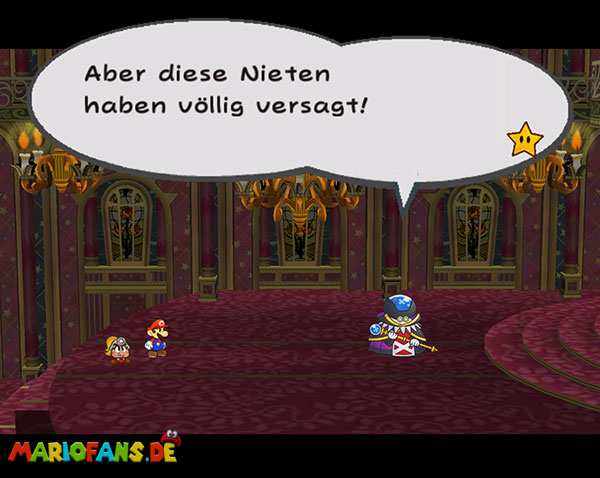
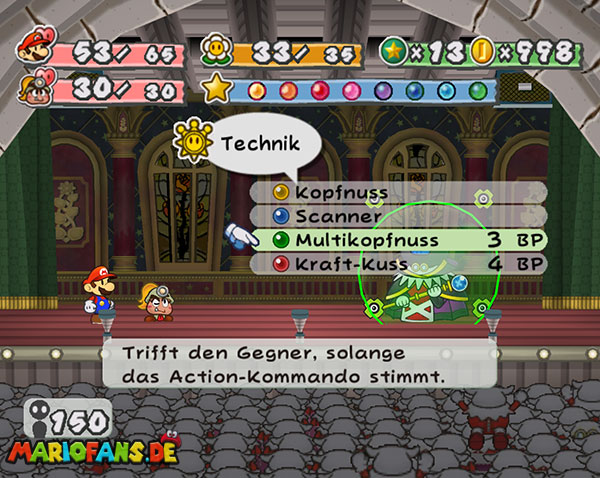
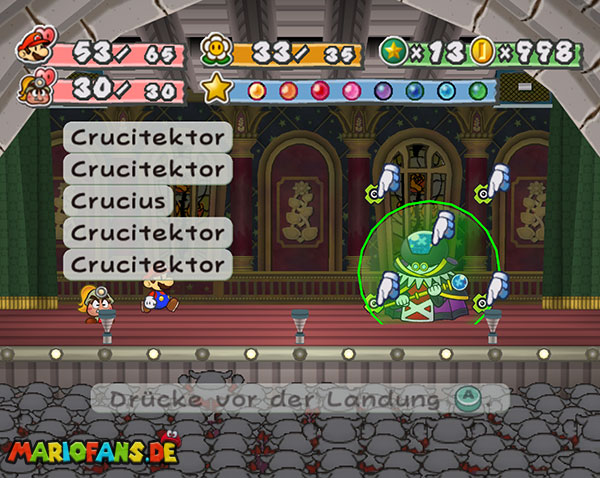
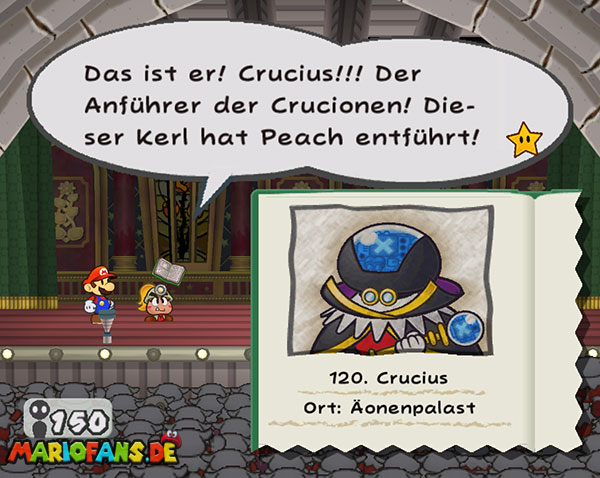
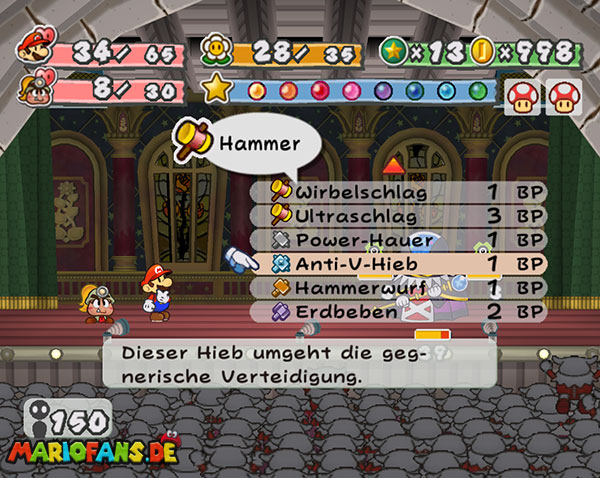
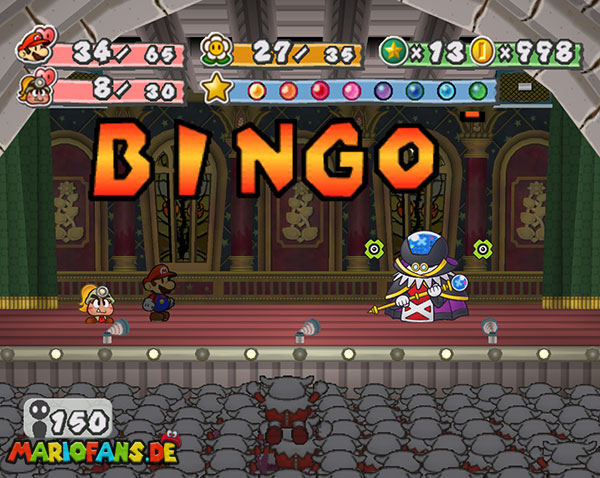
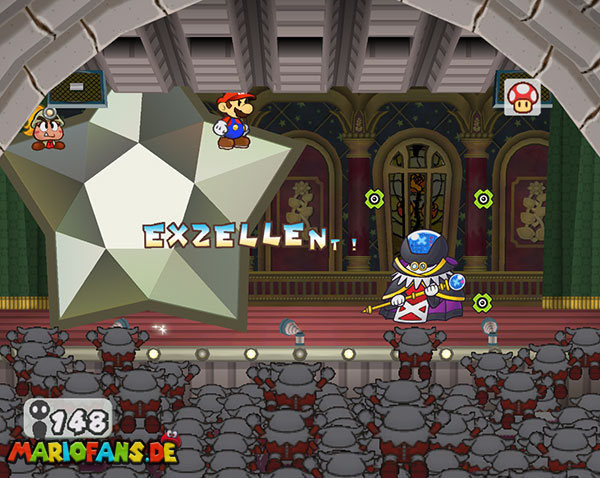
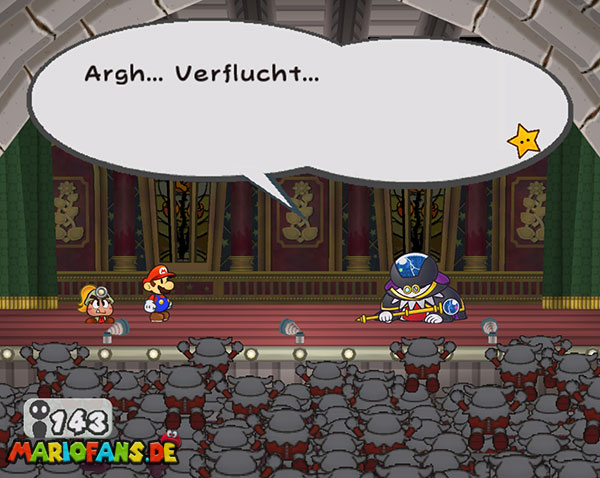
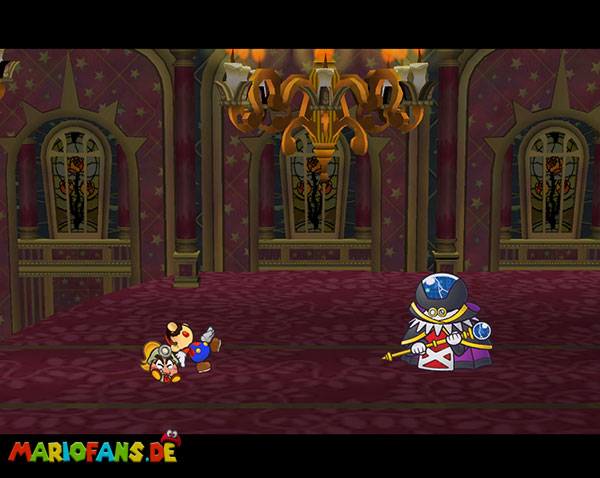
As soon as Grodus wants to protect himself with a sign, you use attacks or items that harm several enemies. If the sign is deactivated, you attack with strong attacks. Keep an eye on your HP and BP supplies. If you destroy one of the satellites, your opponent’s sign will fail and you can attack it. Keep in mind that you have another difficult fight ahead of you, and deal with your items accordingly. Use Mario’s Multibounce or Aeronas Hurrican abilities to take down all of Grodus‘ satellites in one go.
| Name | Max. HP | Attack | Defense |
|---|---|---|---|
| Grodus | 50 | 7 | 1 |
Boss: Bowser and Magikoopa
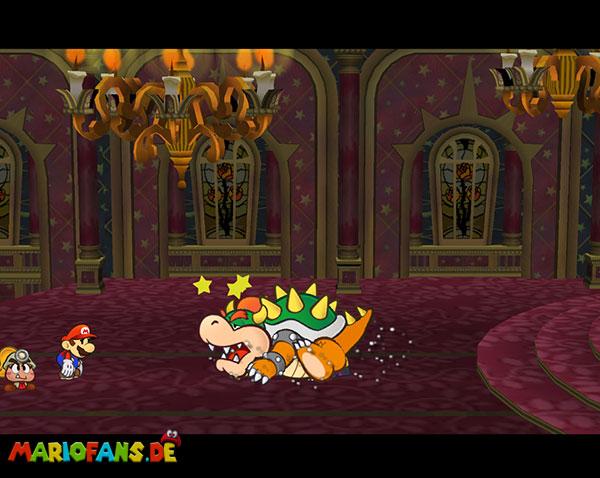
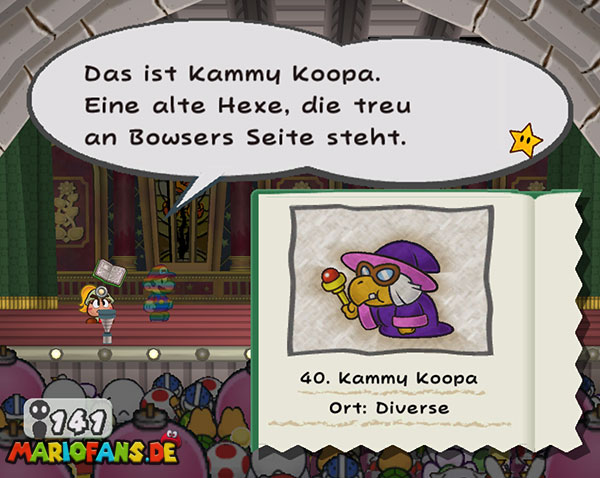
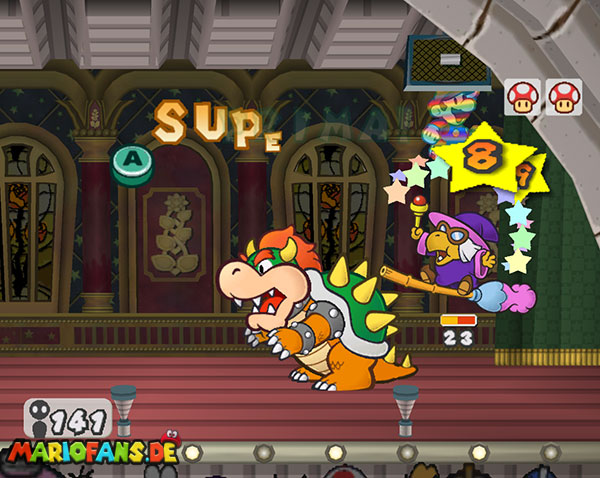
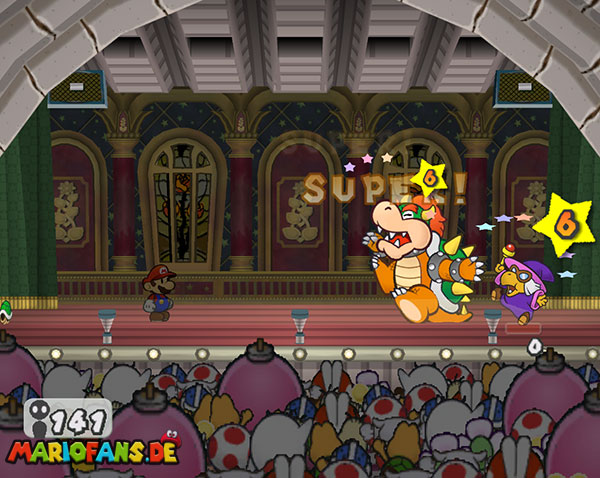
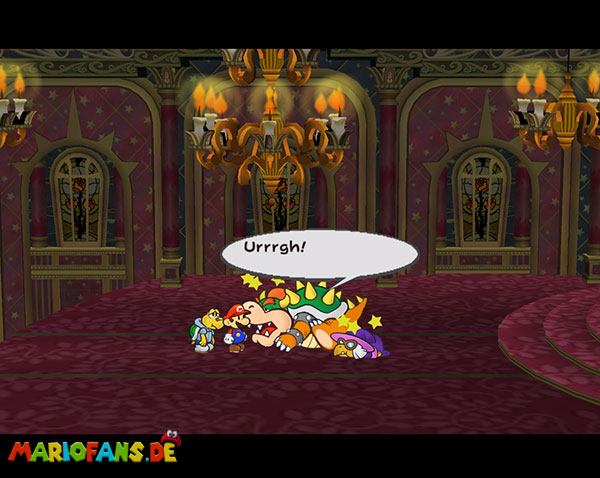
After that, when query selects attack and Bowser appears. With him, use the ruin powder if you have and take care of Magikoopa first. Koops with his protective tank is very good. The rest is done with the ultra jump. Nothing like after when the fight and sequence is over and the aisle down and saves.
| Name | Max. HP | Attack | Defense |
|---|---|---|---|
| Bowser | 70 | 7 | 2 |
| Magikoopa | 50 | 5 | 0 |
Final boss: Shadow Queen
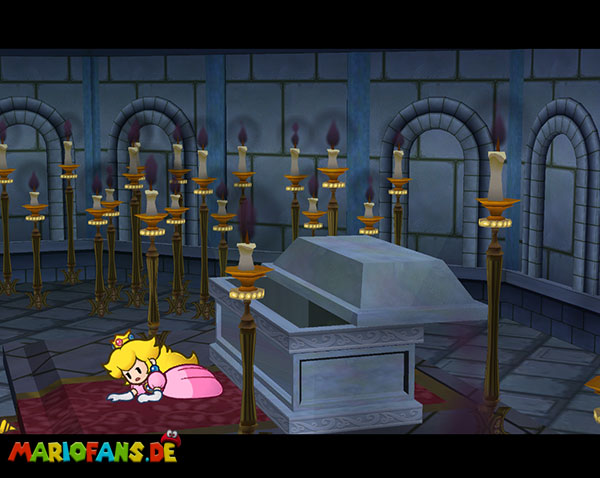
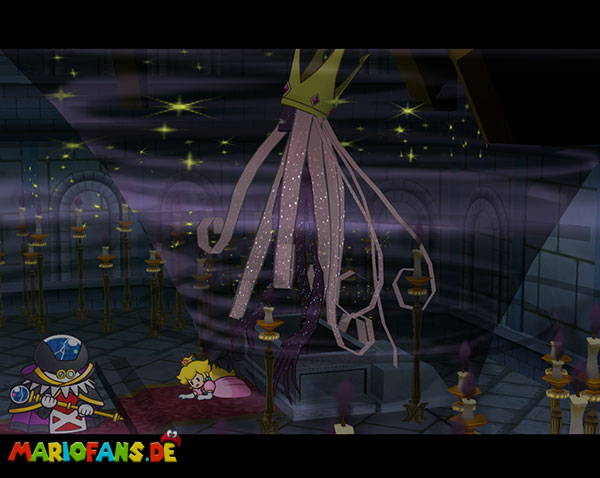
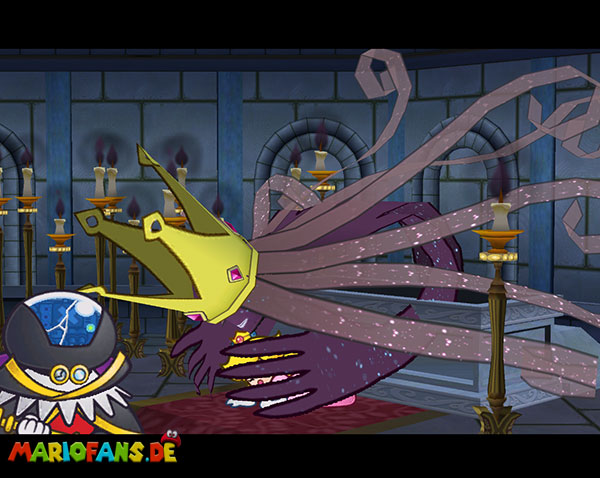
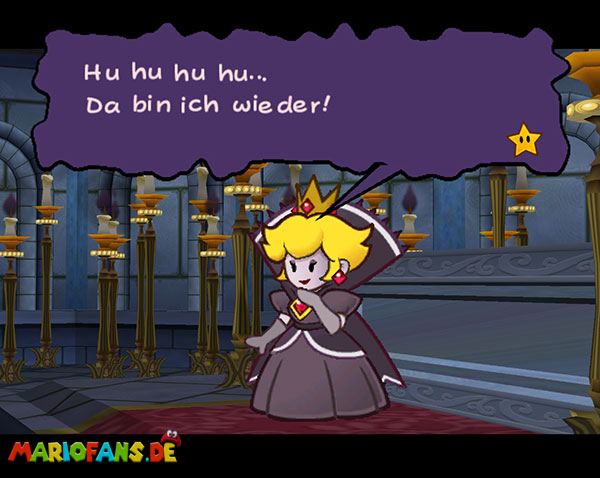
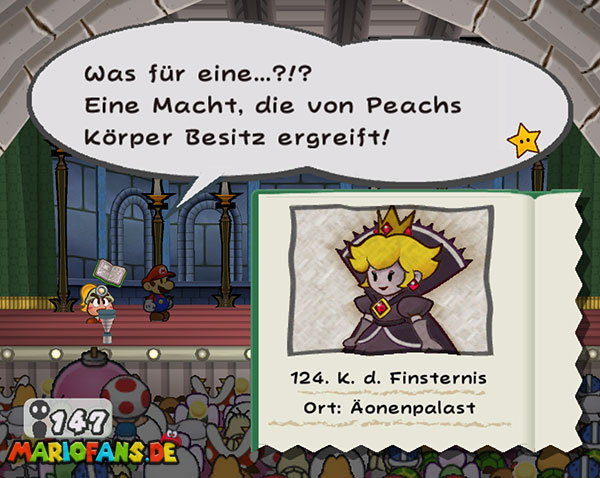
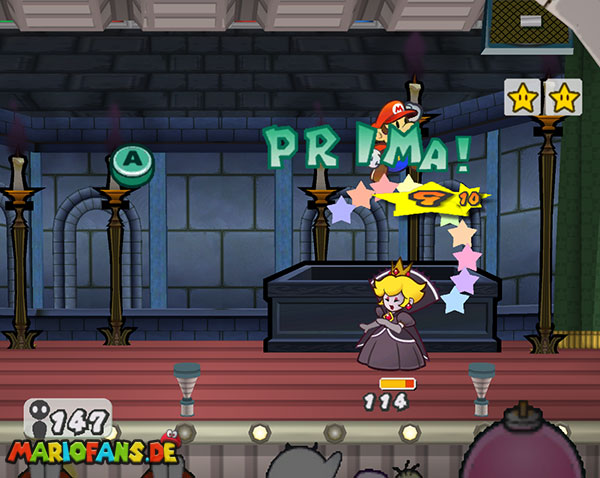
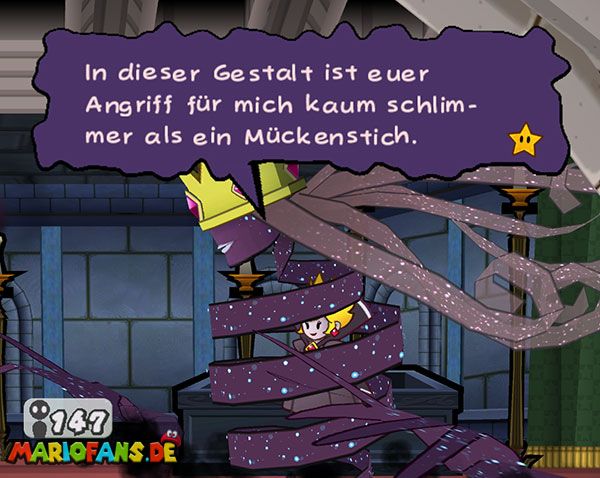
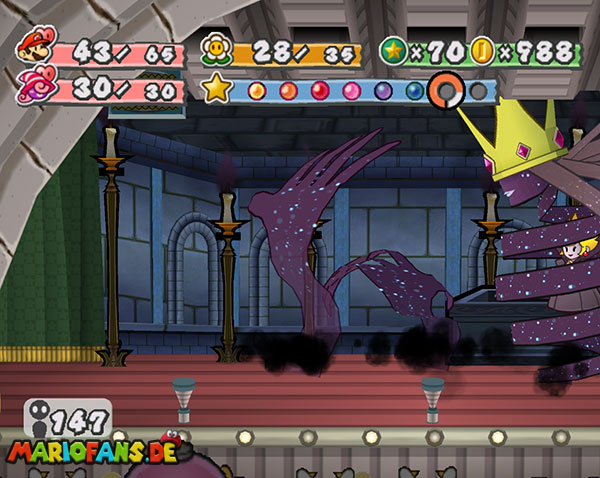
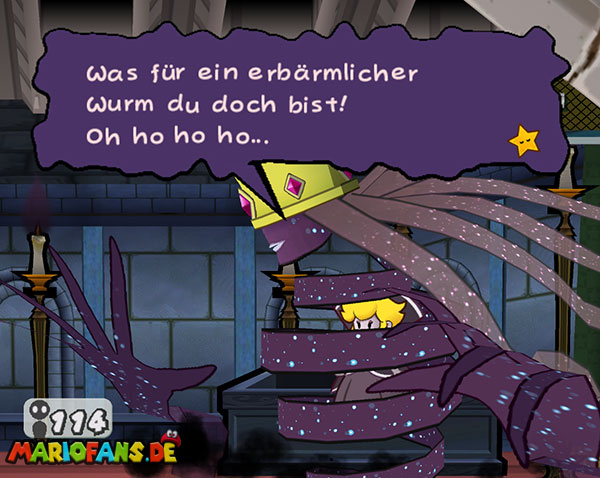
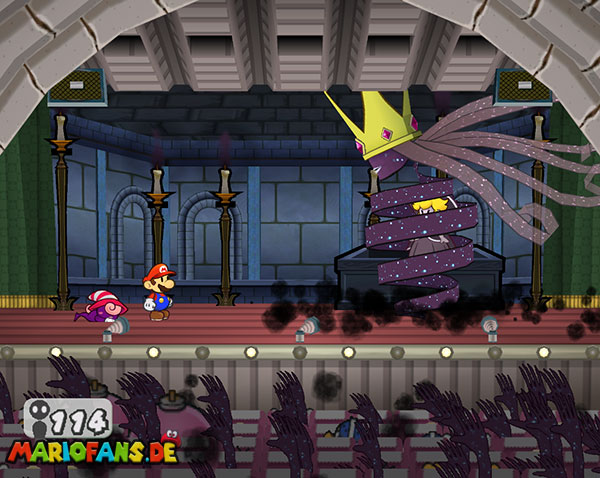
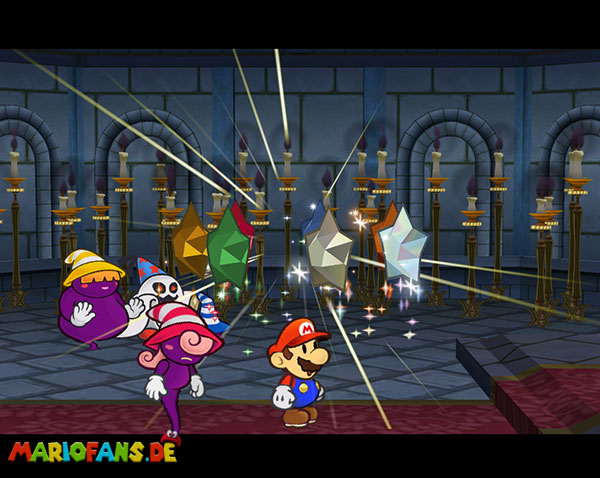
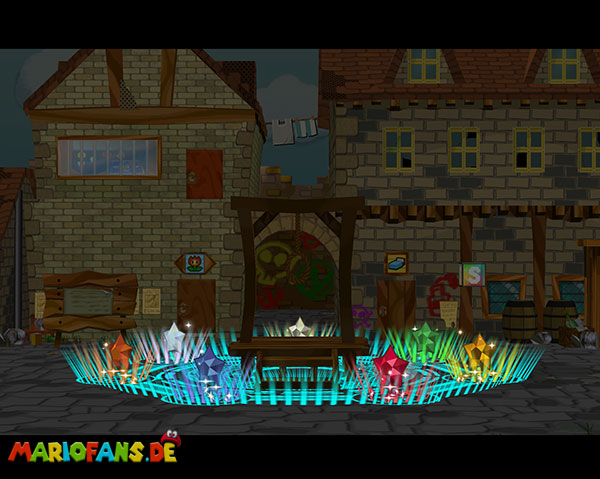
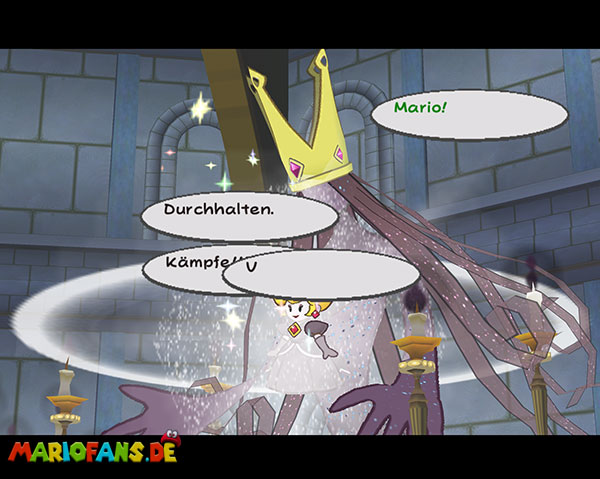
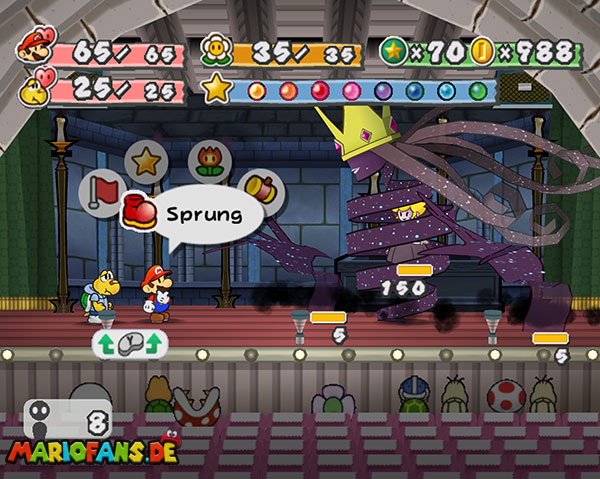
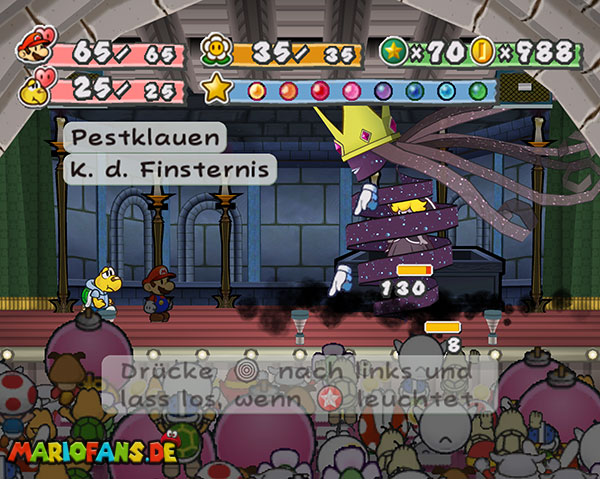
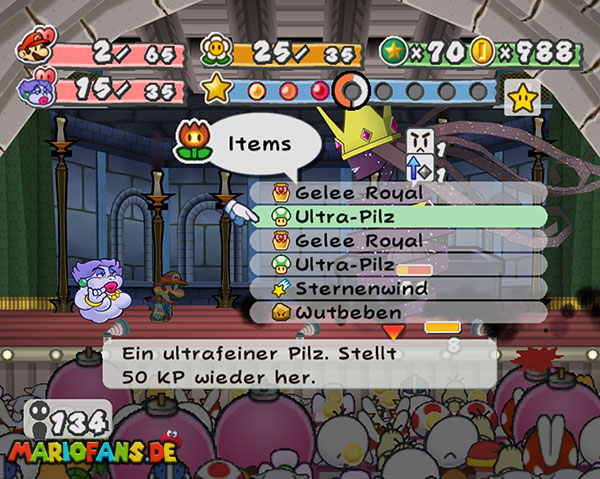
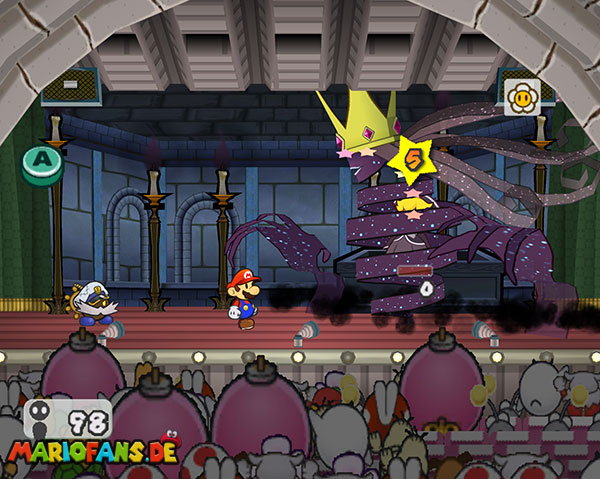
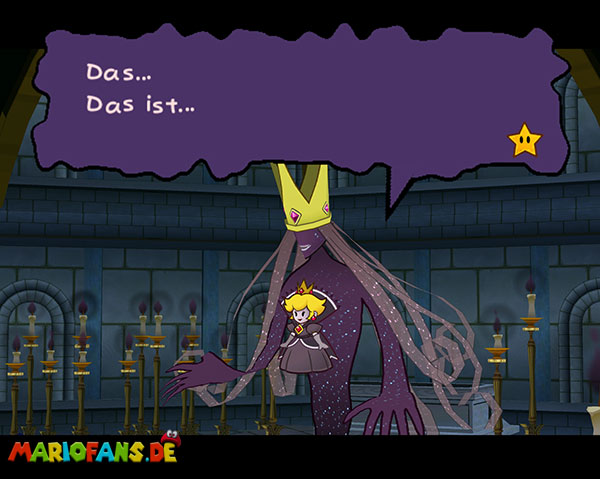
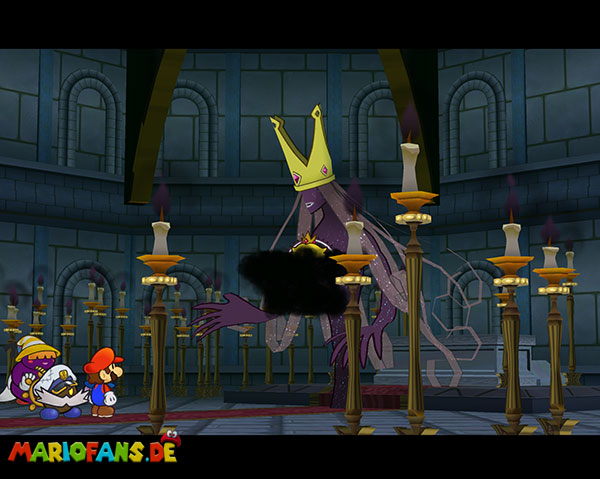
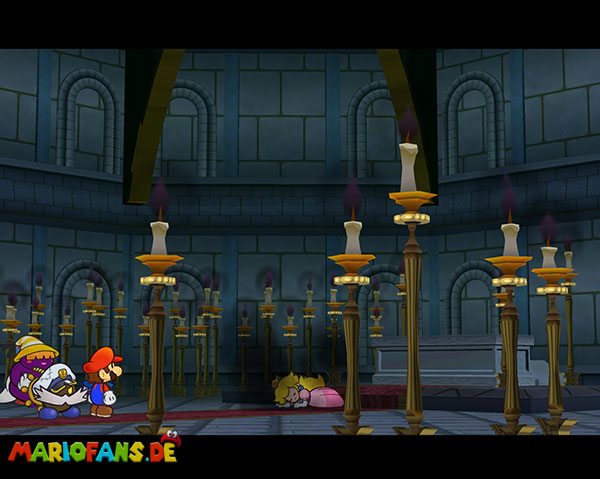
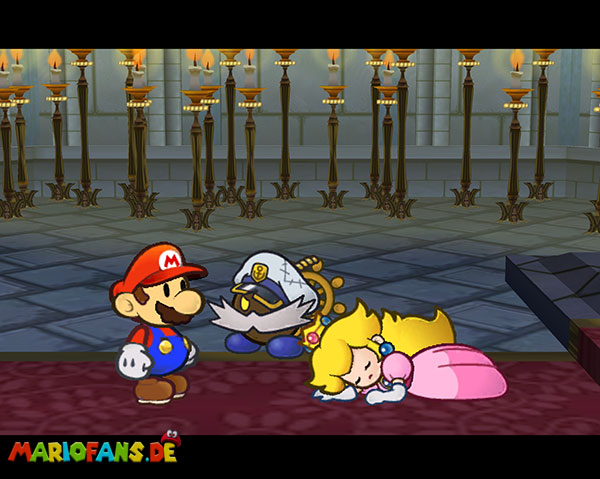
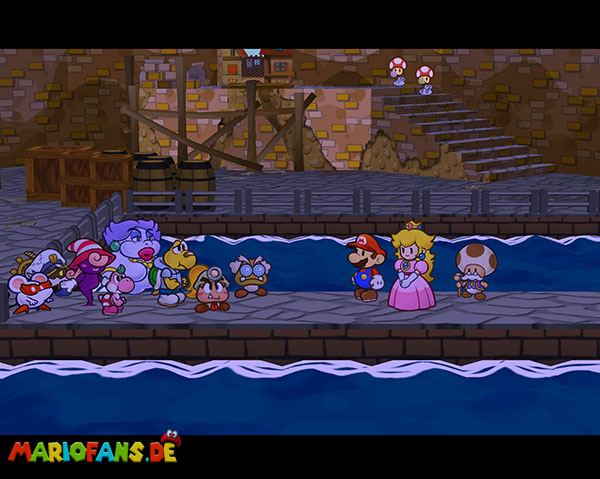
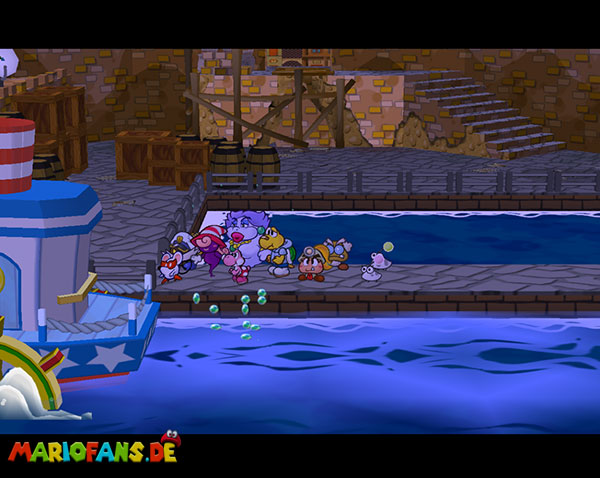
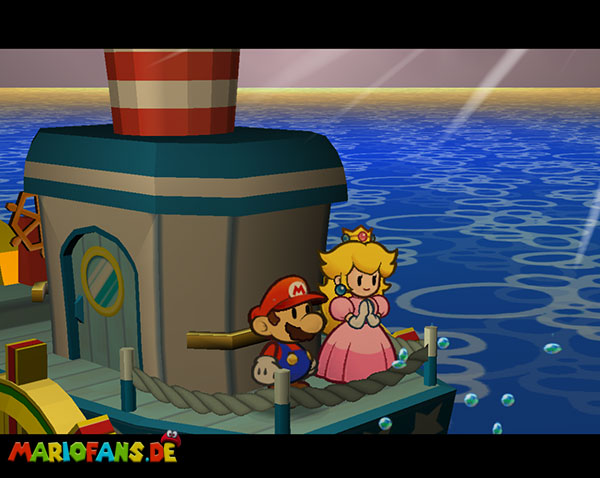
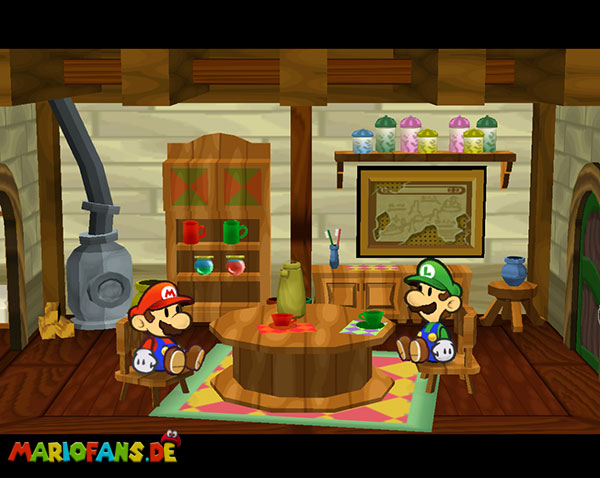
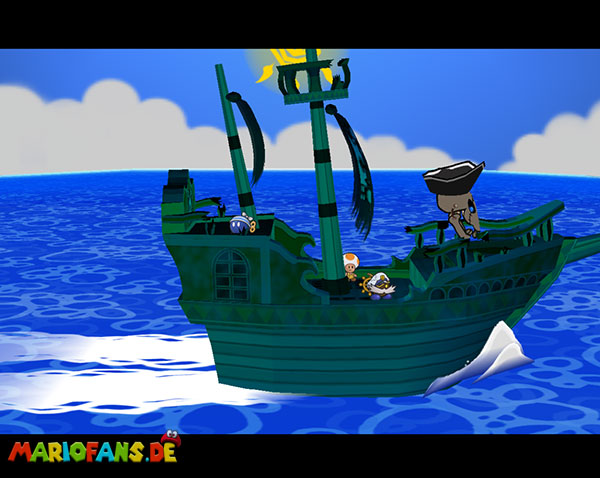
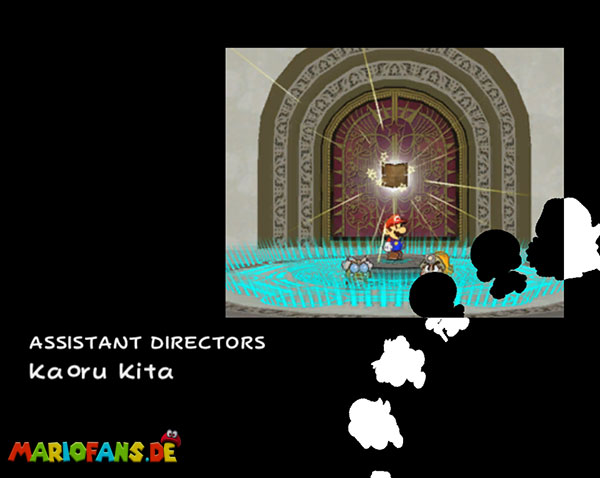
After that, you will face the final battle of the game. Follow the sequence and go. First of all, it is relatively easy. You have to attack the body normally. If this is at 85, it assumes its other form. Here you have to survive 4 rounds. Your attack goes into the void. So focus everything on defense. Once she has completely regenerated to 150 HP, the Crystal Stars come to your aid. Only after the current long intermediate cut comes the actual final battle.
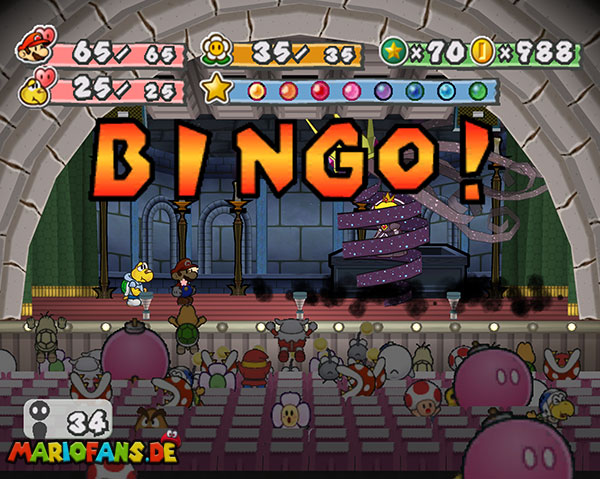
Now the body is also attackable. With the Multibounce always ensures that the hands and servant disappear. Otherwise Flurrie is a good comrade. Use everything there is on items. A little bit of luck is there too. Especially when the slot machine appears which can turn the page again. Afterwards enjoy the credits and you will all find yourself united and din Mario & Luigi’s house again.
| Name | Max. HP | Attack | Defense |
|---|---|---|---|
| Shadow Queen | 150 | 7 | 0 |
The text was originally written by Bibi2000. We have adapted it in some places.