
Keelhaul Key
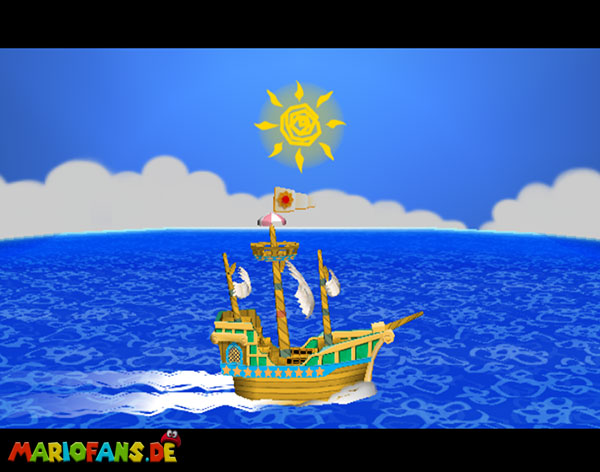
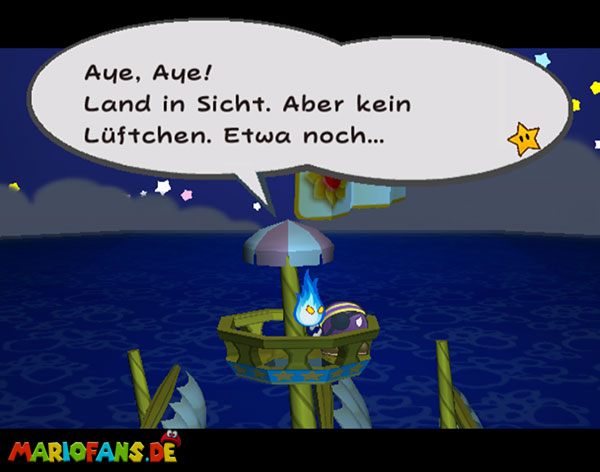
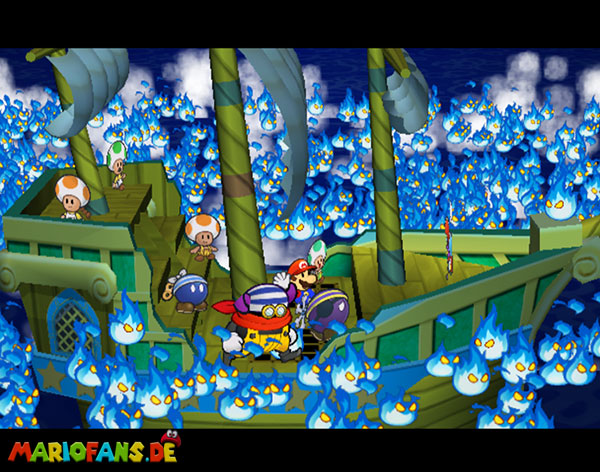
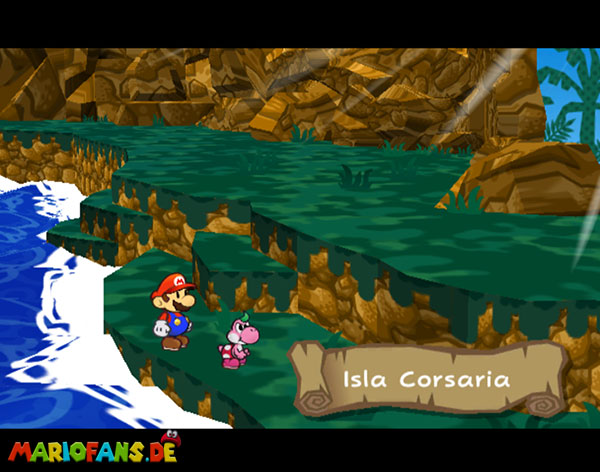
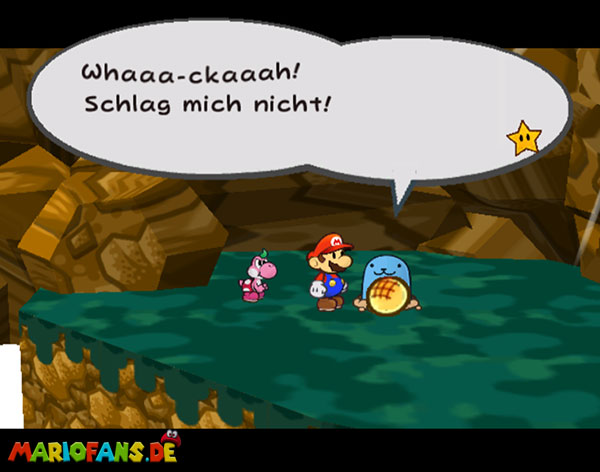
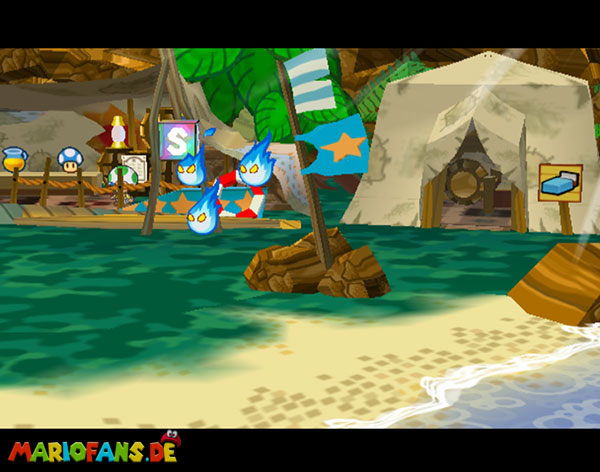
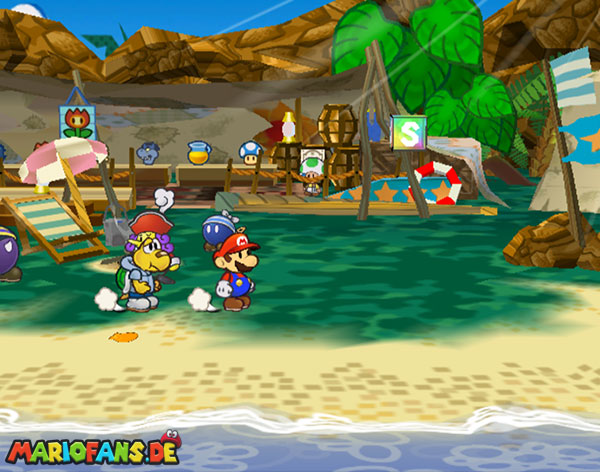
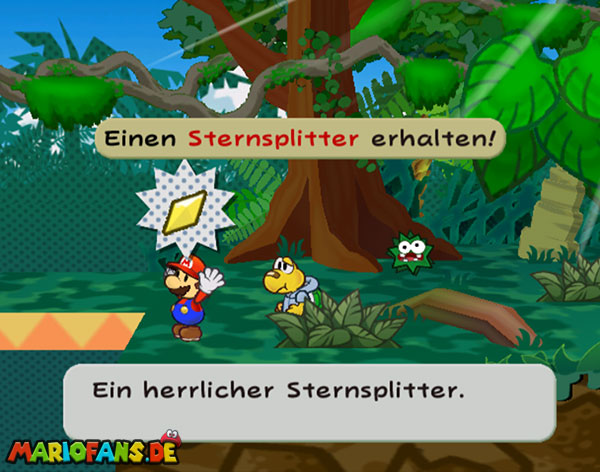
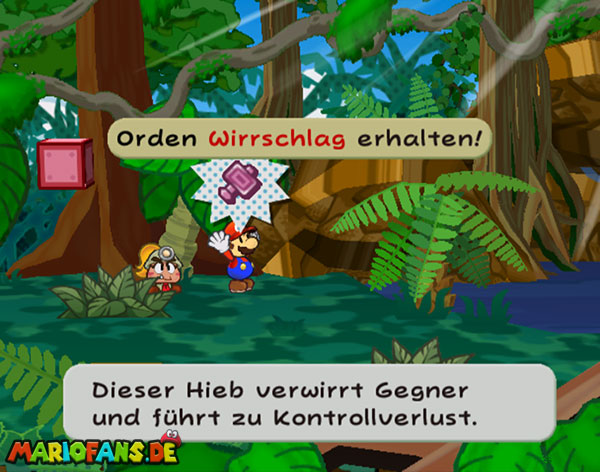
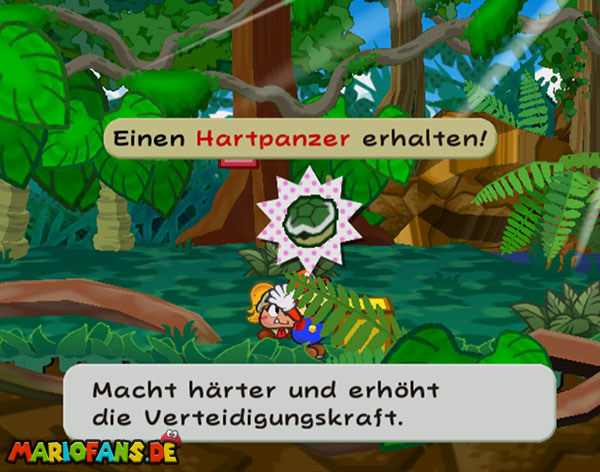
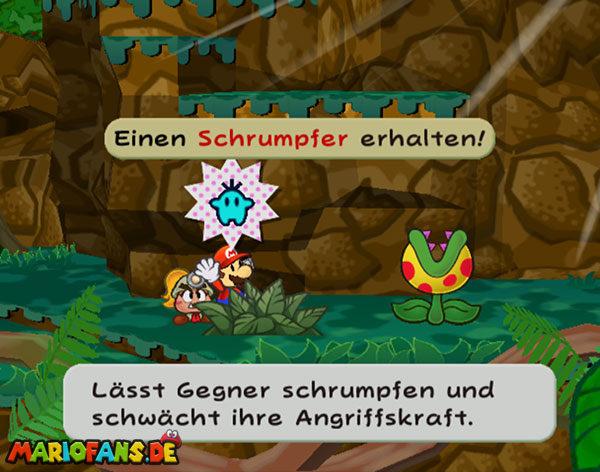
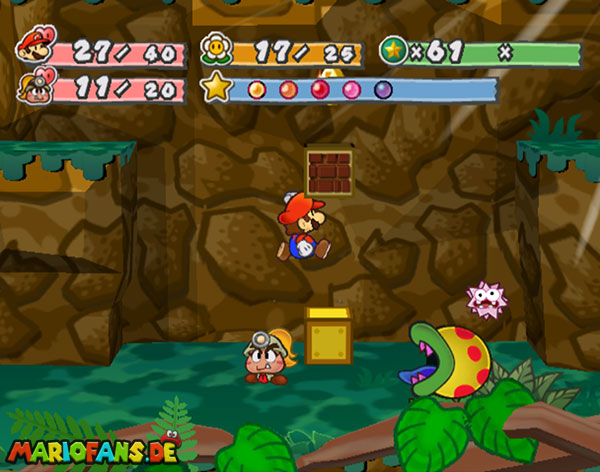
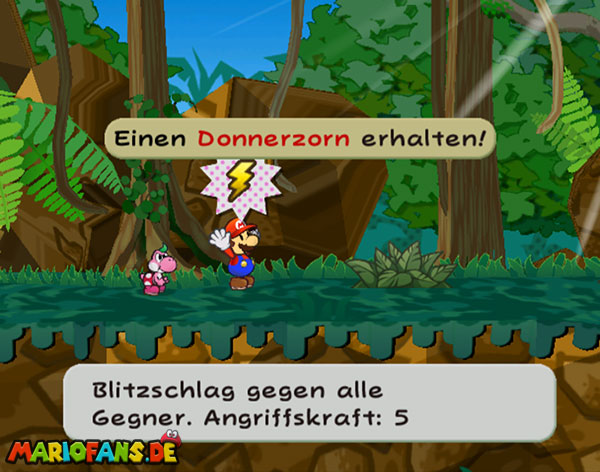
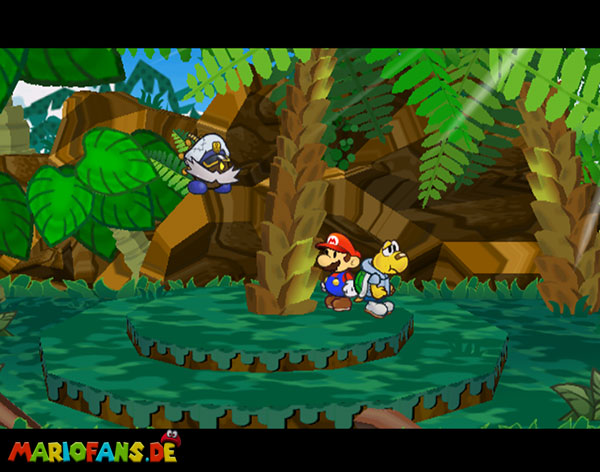
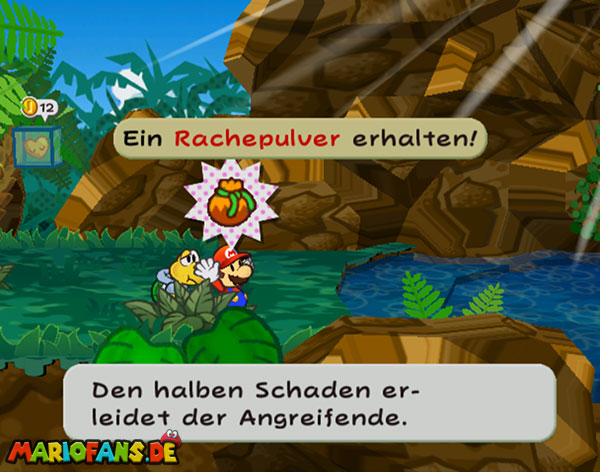
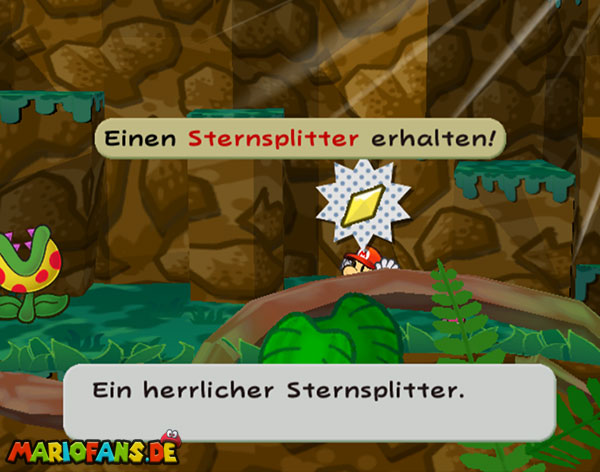
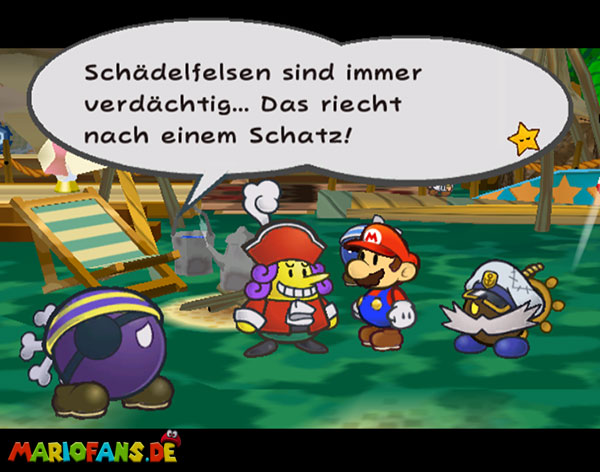
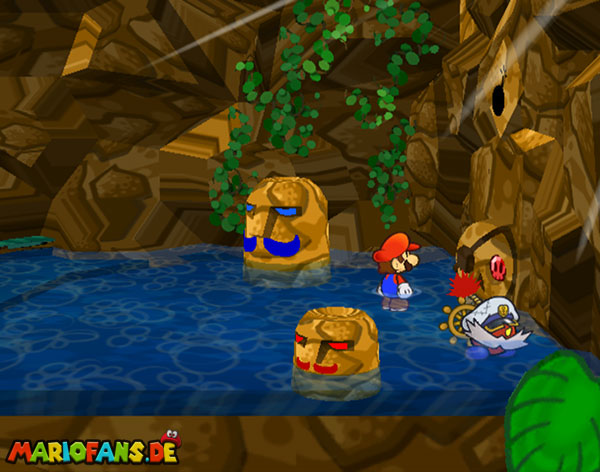
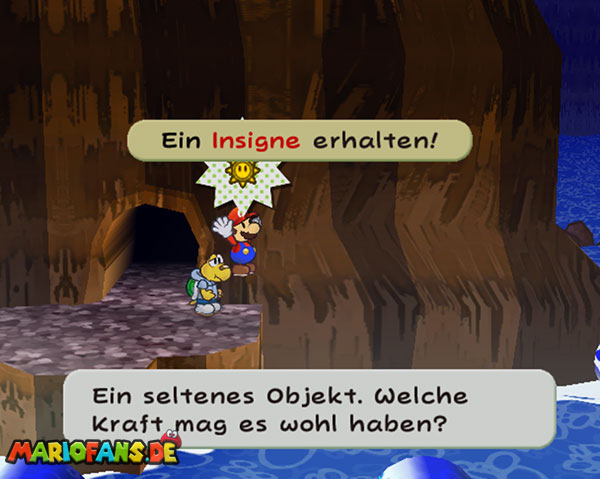
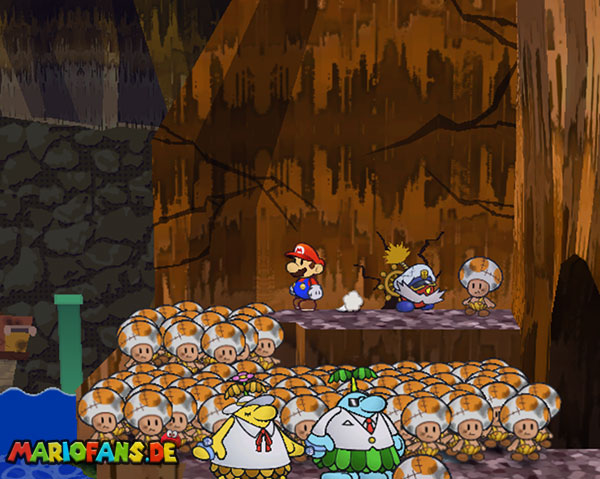
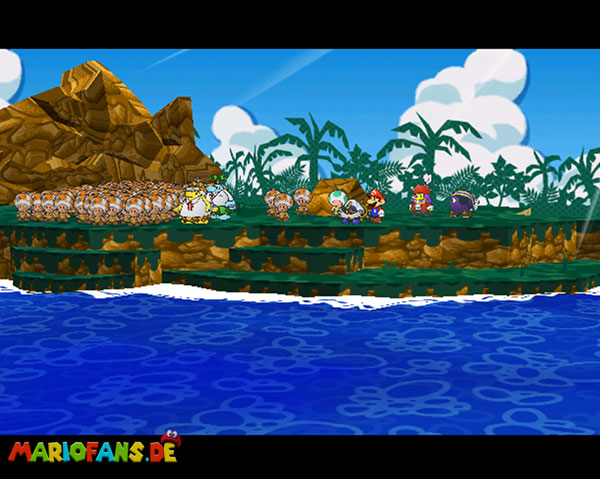
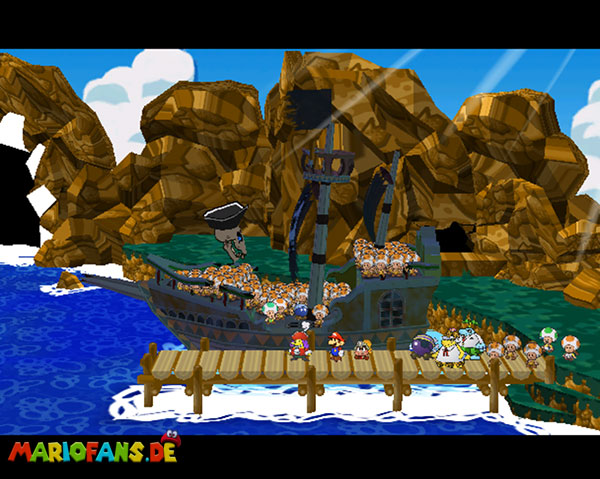
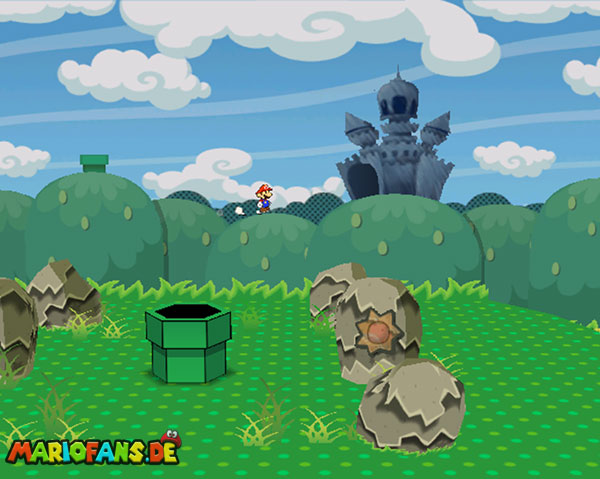
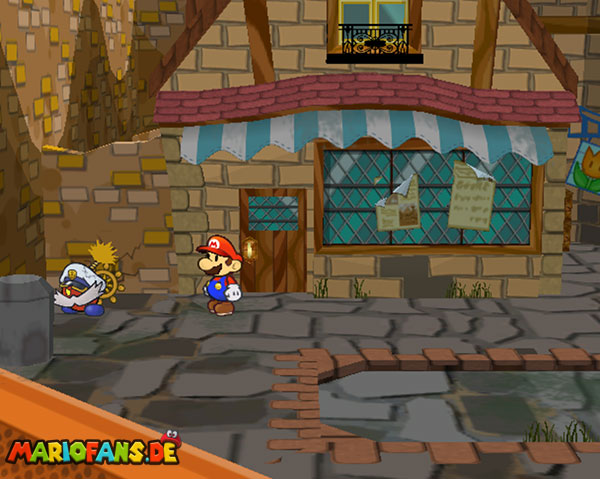
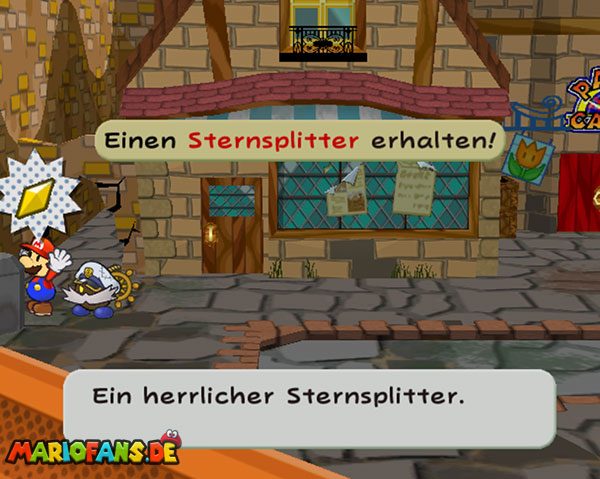
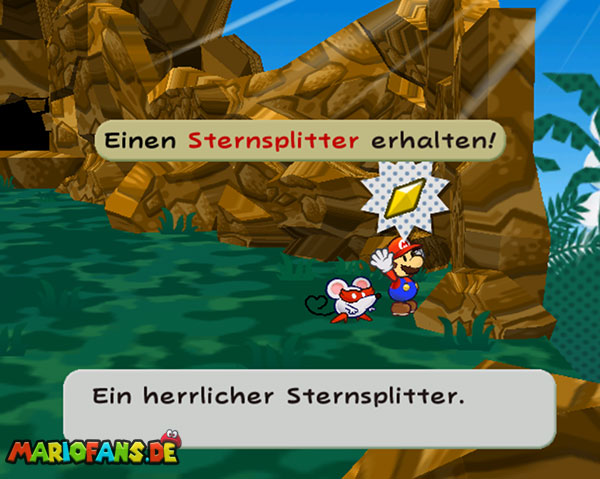
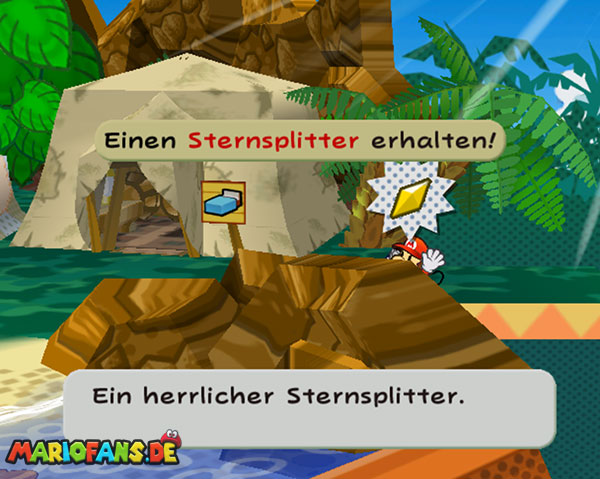
After the rude arrival on the island, the meadow first goes backwards. If a guy comes out of the ground, hit him and you get a special mushroom of 25 HP and 25 BP regenerated. Then go to the camp. There fights the first fight and then goes to the front to bring a splinter. Save first and go to explore the island to the right. Get the splinter and move on to the next area. Get the Head Rattle as a new attack.
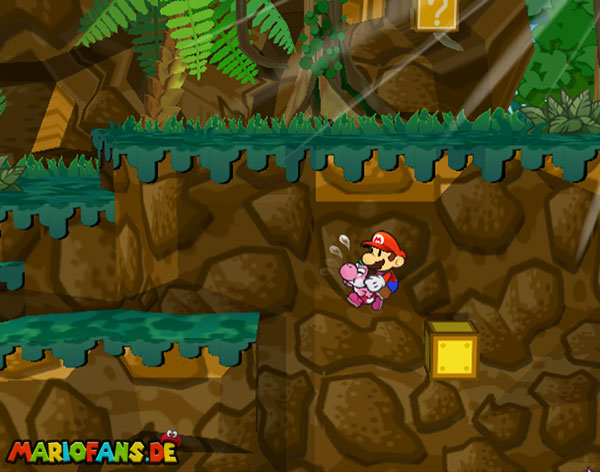
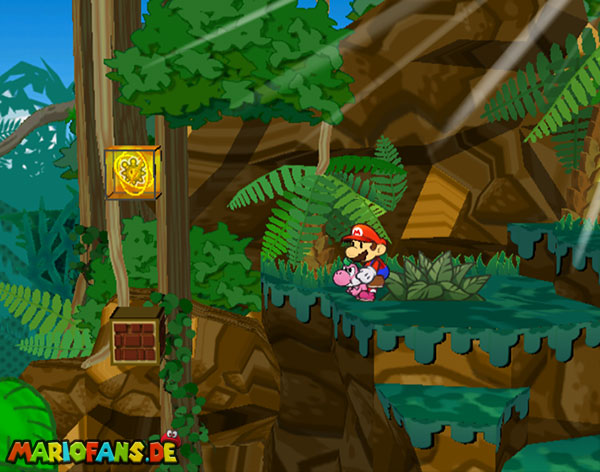
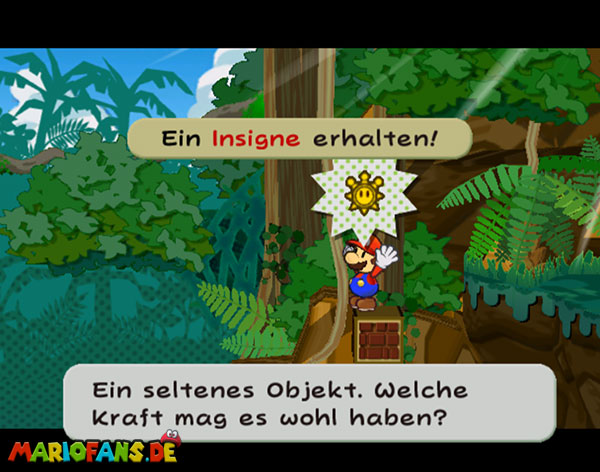
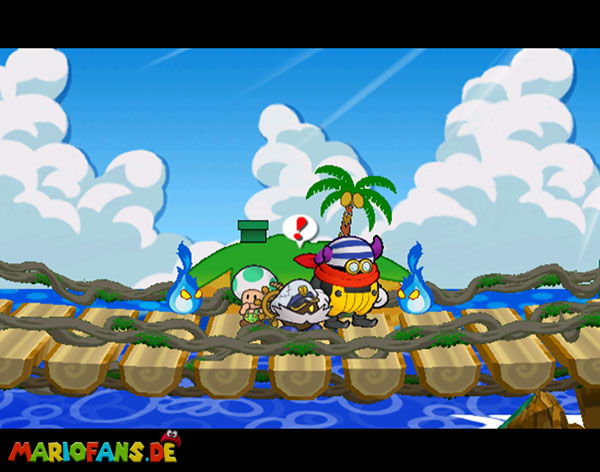
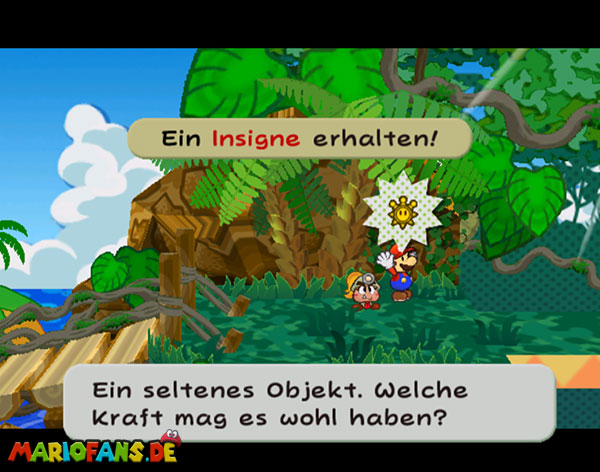
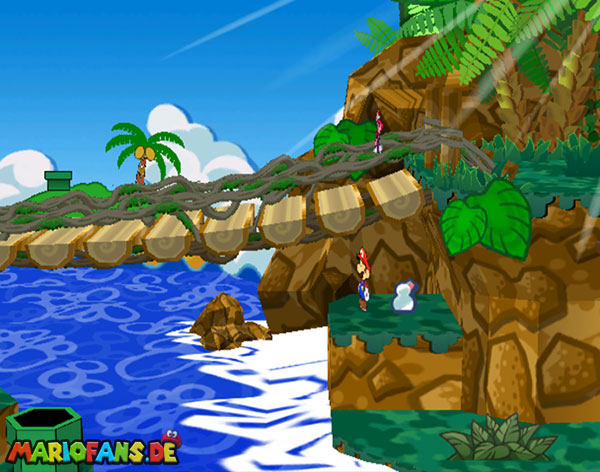
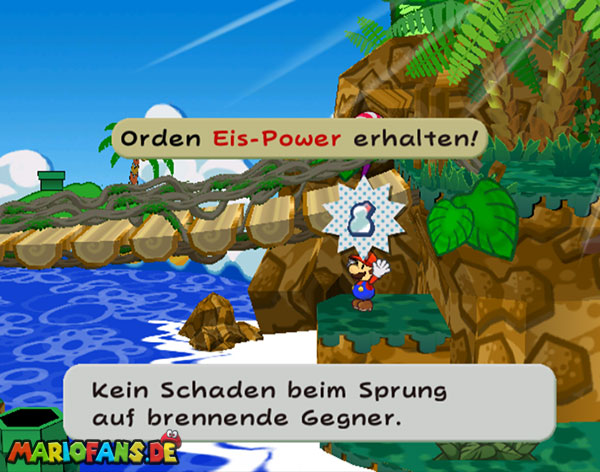
Goes on 2 area and jumps in the middle to the yellow block in the above to make another appear. At the end, the platforms go up and to the left. With Yoshi on the left and there again with him on the block to get to the insignia. Then continue on the top right and find the missing in the next area. After the sequence, cross the bridge and get an insignia there first. Go ahead and defeat the small flames.
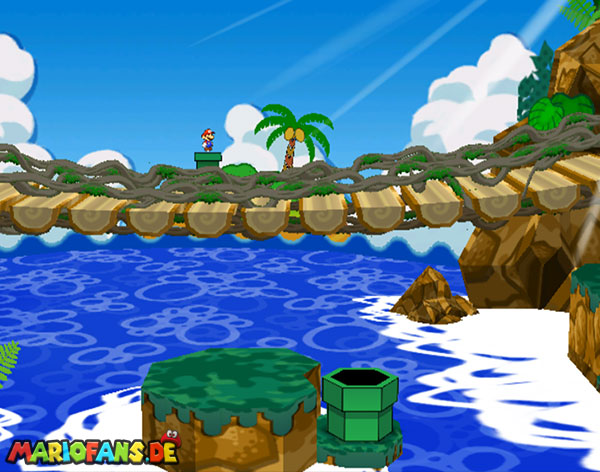
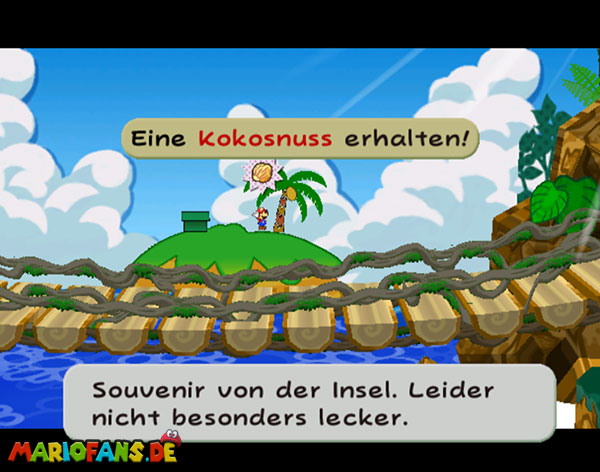
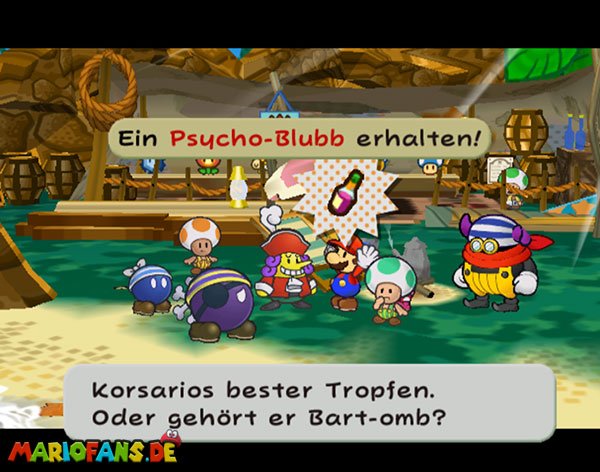
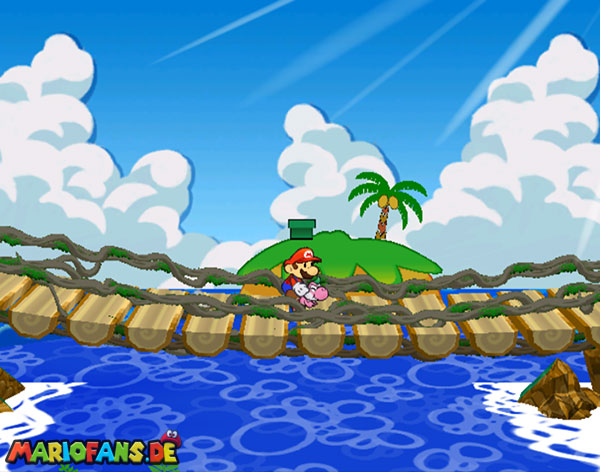
Strike the tree and the old seal falls down. Then go back to the bridge and to the left. Fall down and with Yoshi you now reach via 2 platforms to a warp pipe under the bridge and an island in the background of the picture. Get the two coconuts and come back. Go back to the camp at the beginning and talk to Flavio. Give him a nut and you get the bottle with the Psycho Blubb. Go back to the old seal.
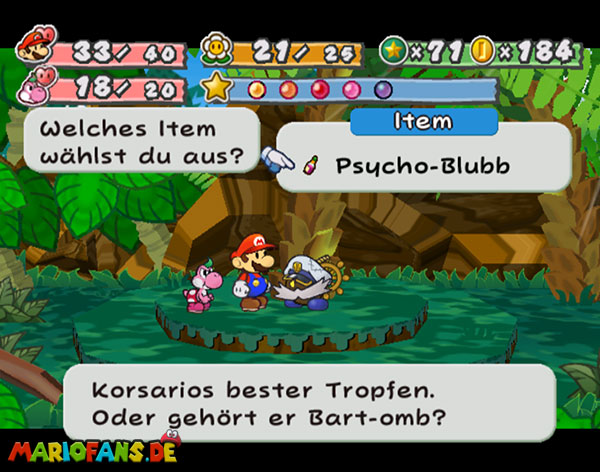
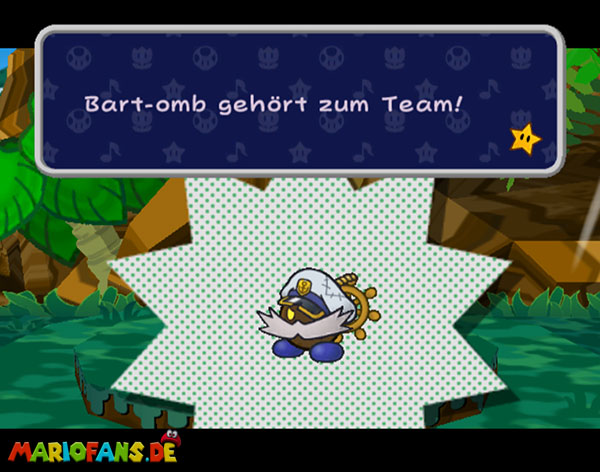
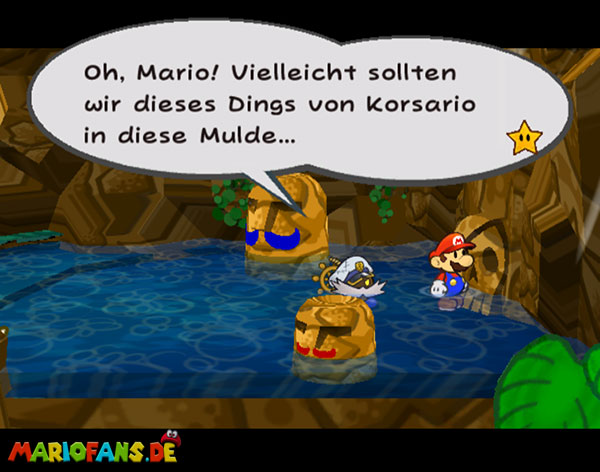
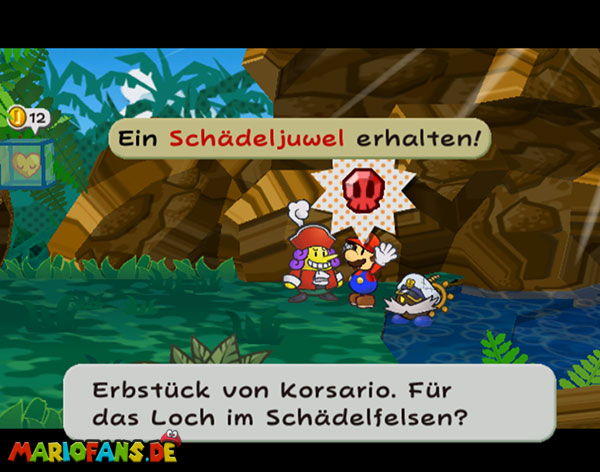
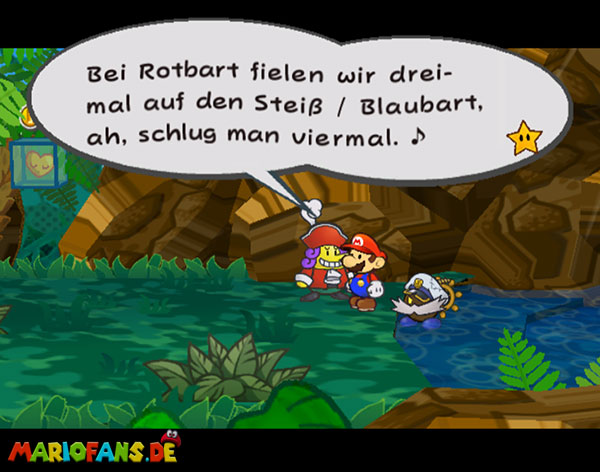
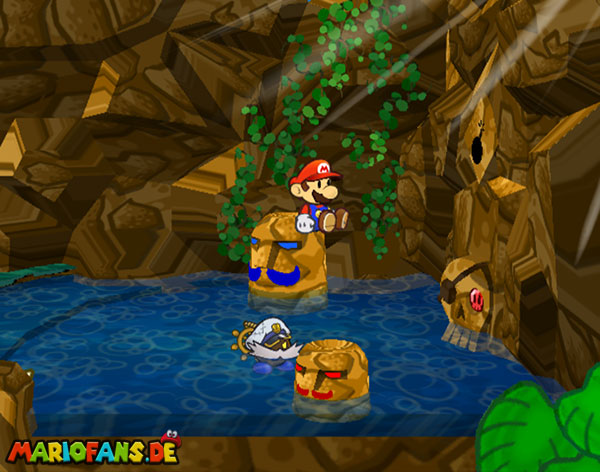
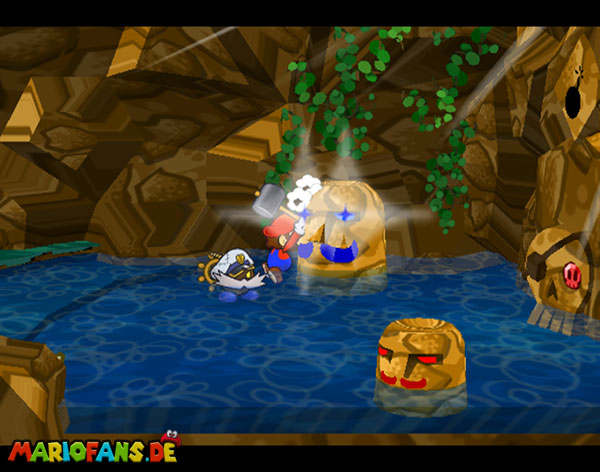
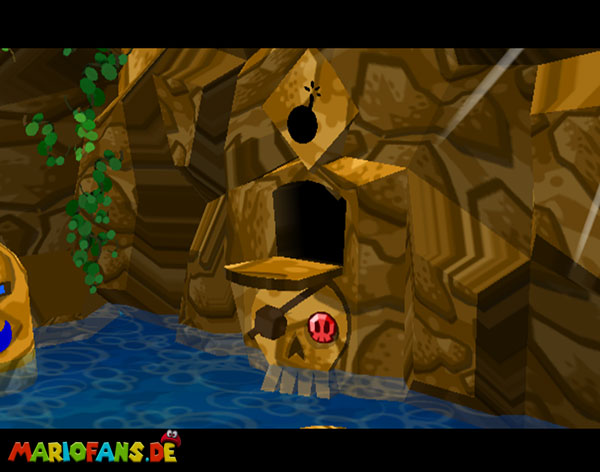
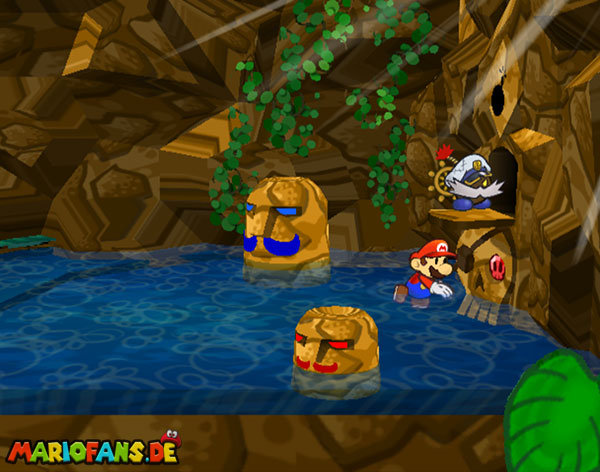
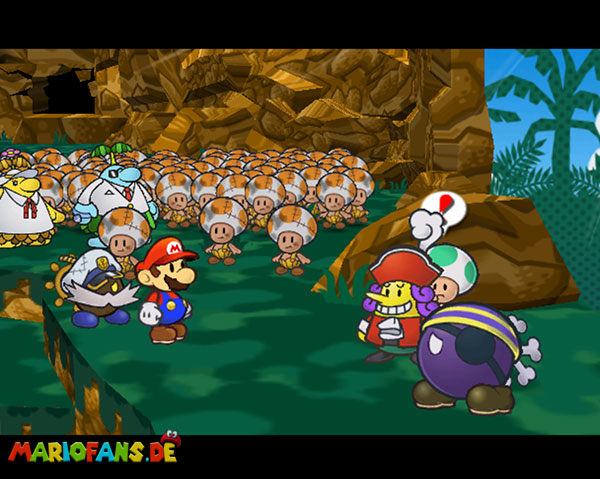
After drinking, he wakes him up with one blow and lo and behold, he belongs to the team from now on. Now go to the camp again and bring the good Flavio into your team for a while. Now go right to the end to the skull and he uses his red gemstone, which was already visible in the bar. Make a ground pound on the lower 3x and beat the blue statue with the hammer 4x. Then a compartment opens into which you can throw beard and the entrance becomes free.
Pirate’s Grotto
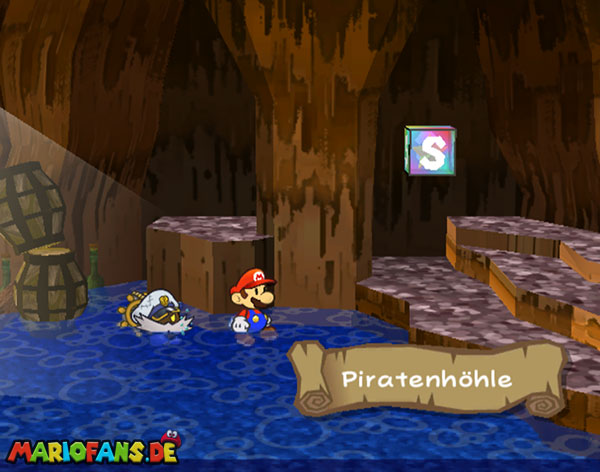
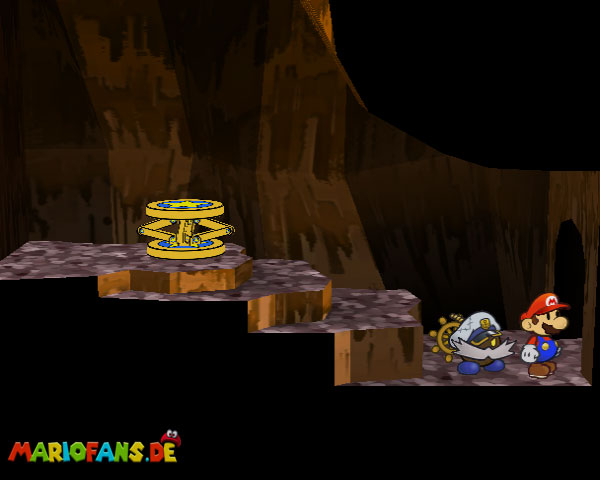
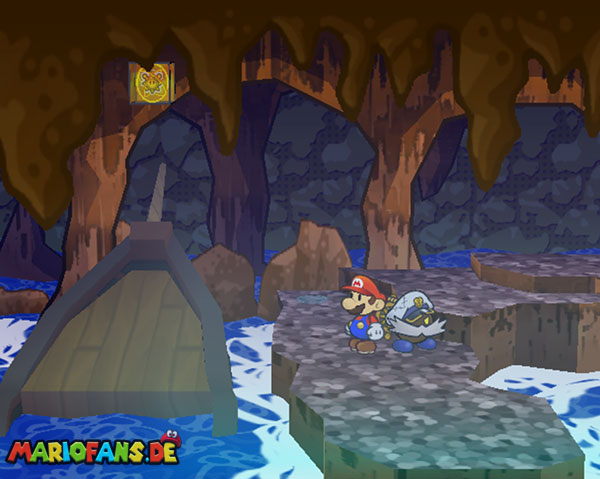
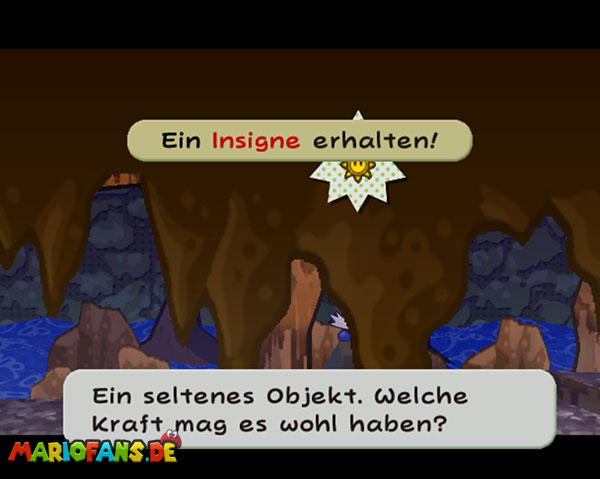
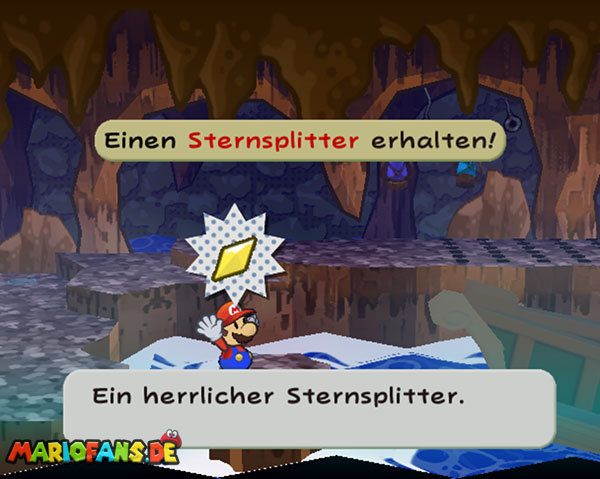
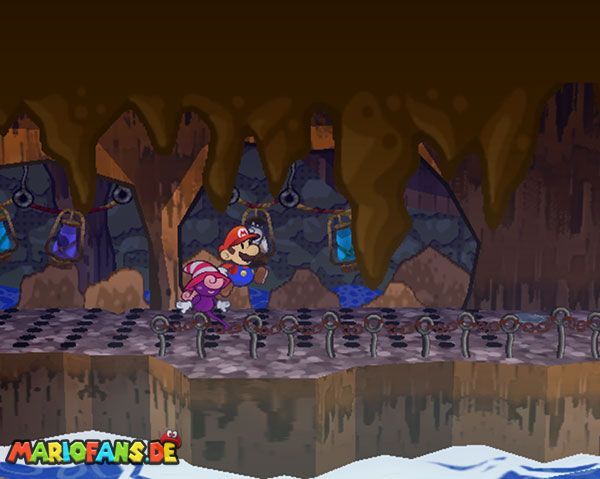
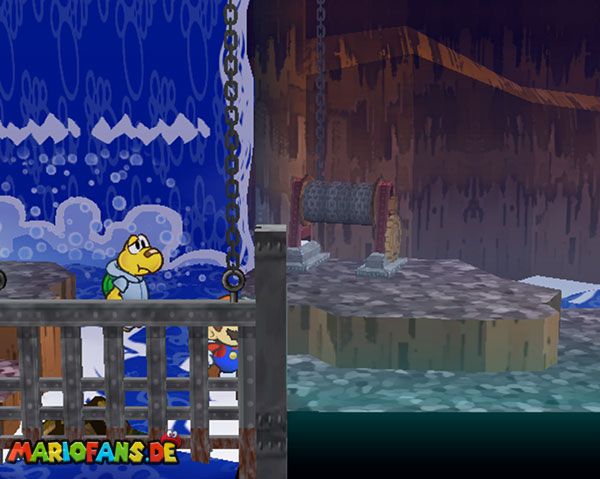
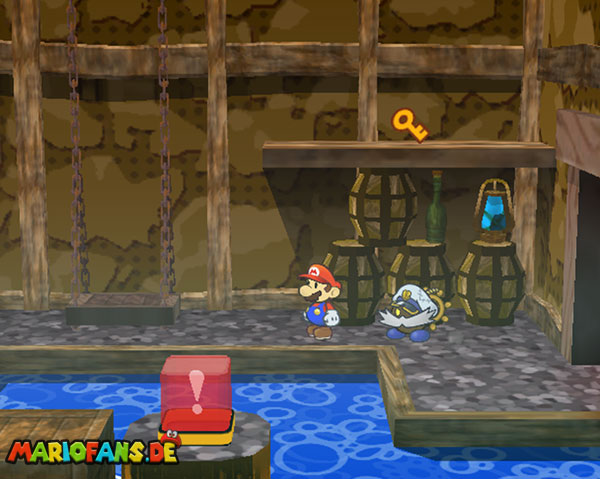
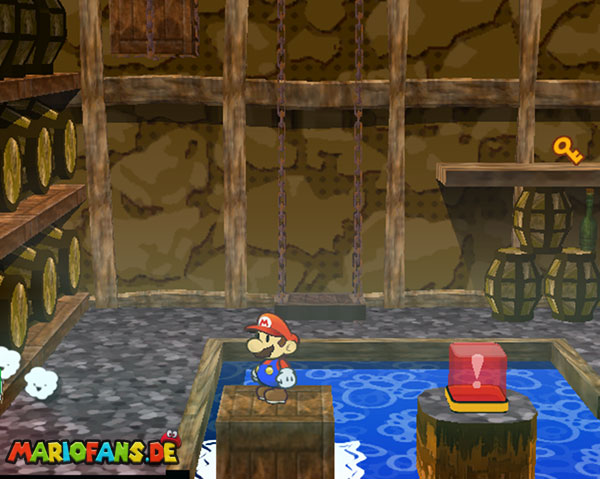
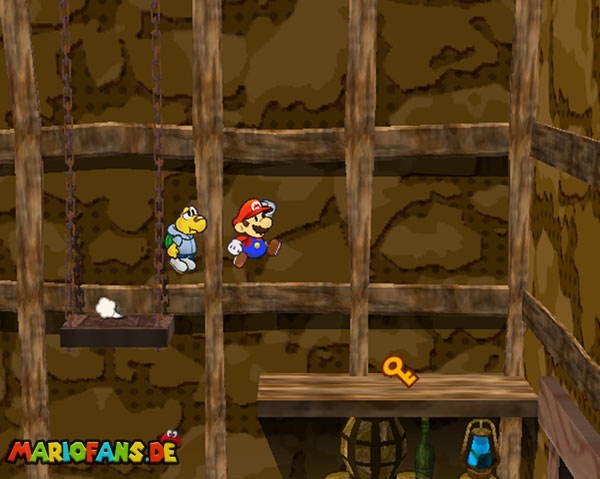
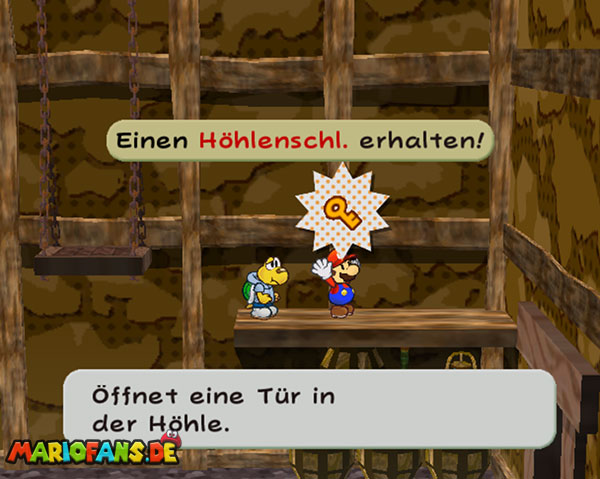
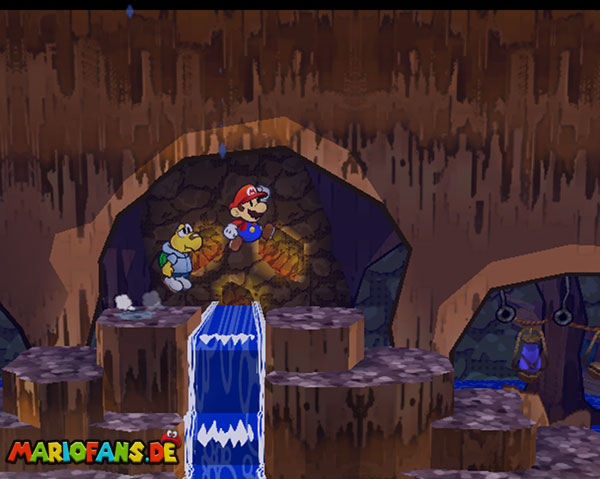
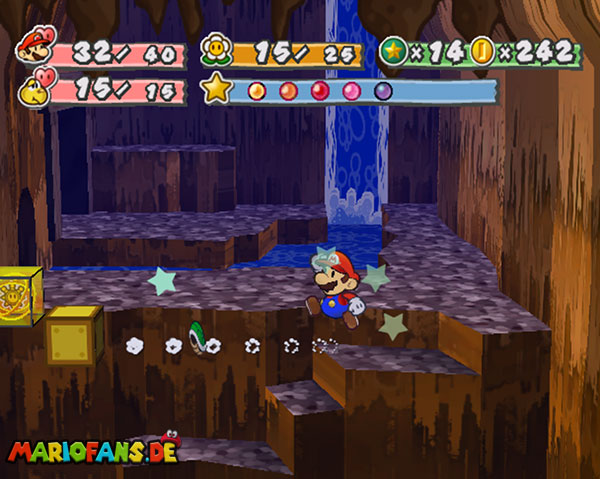
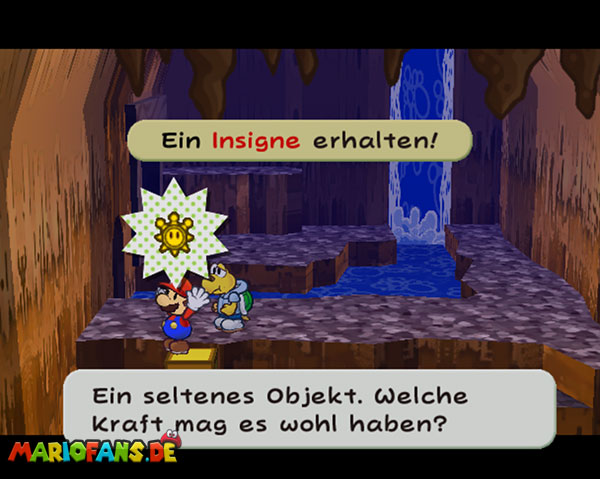
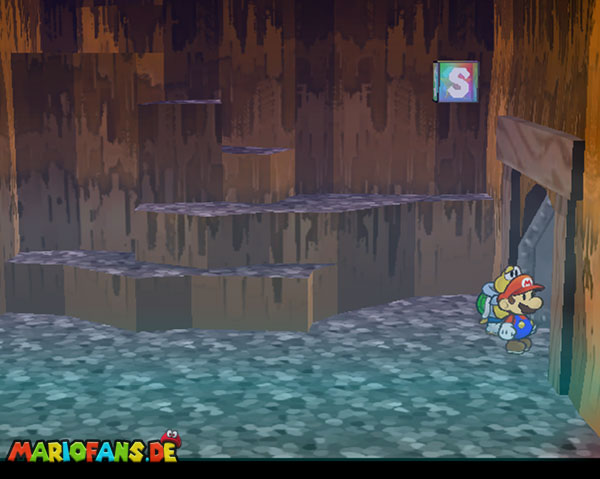
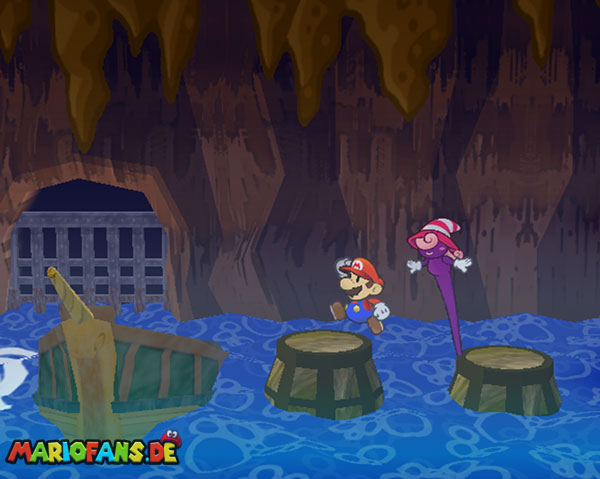
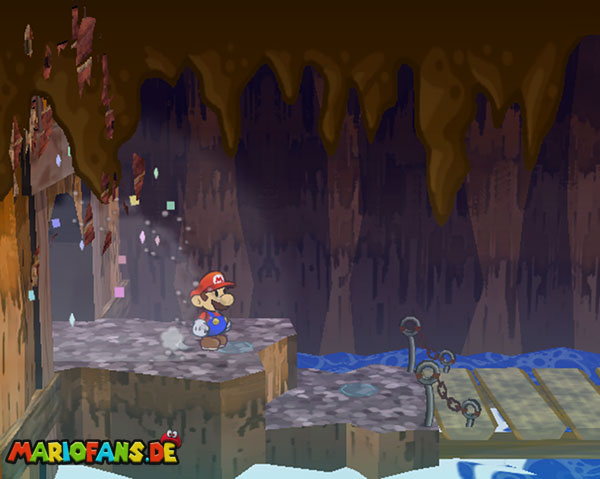
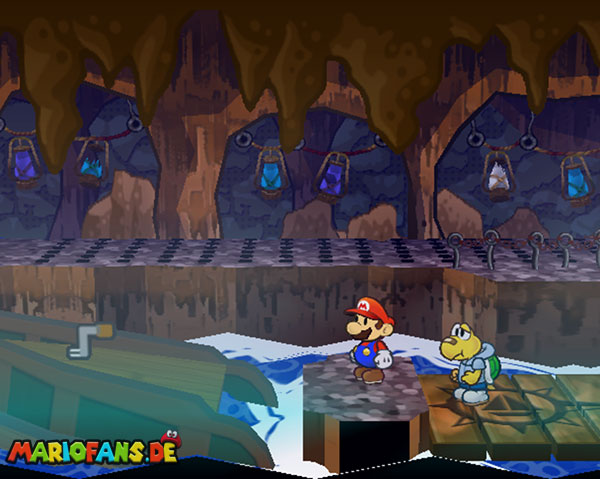
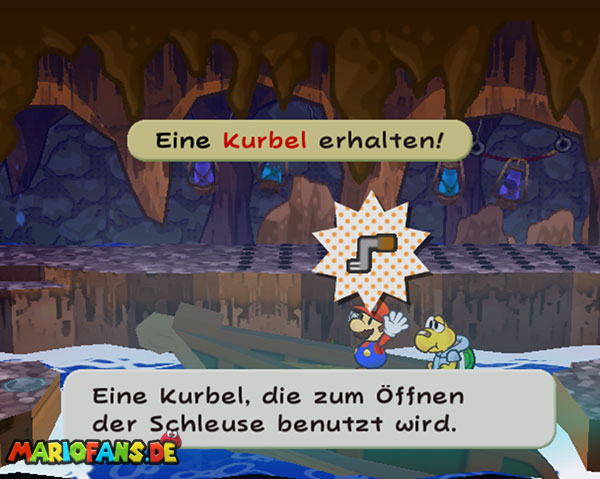
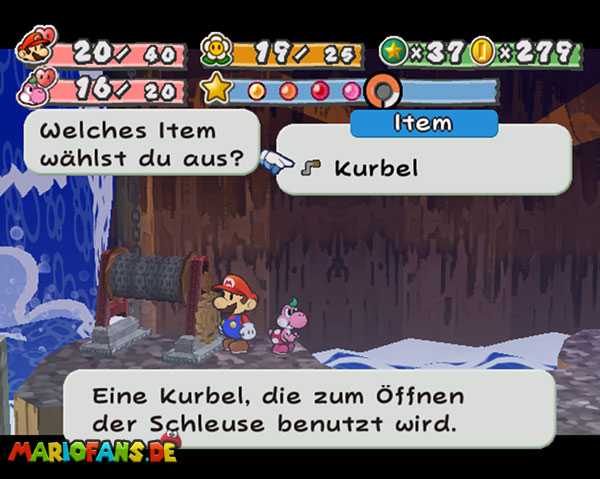
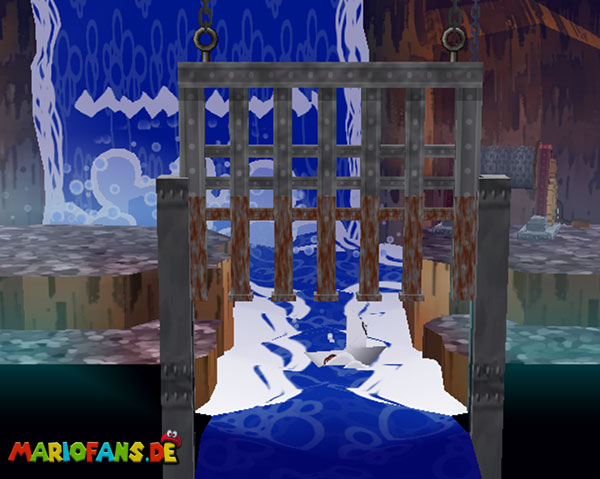
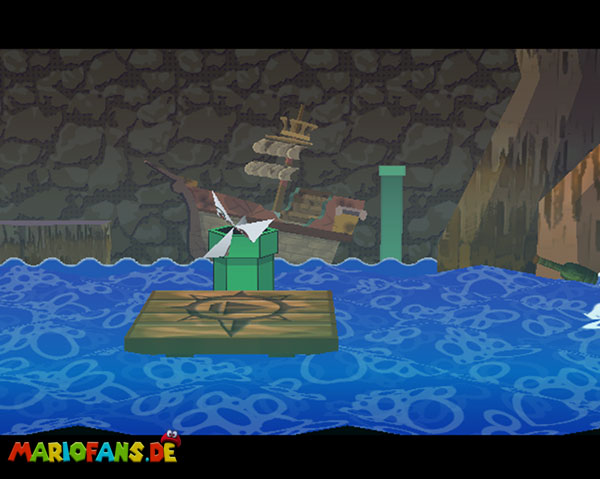
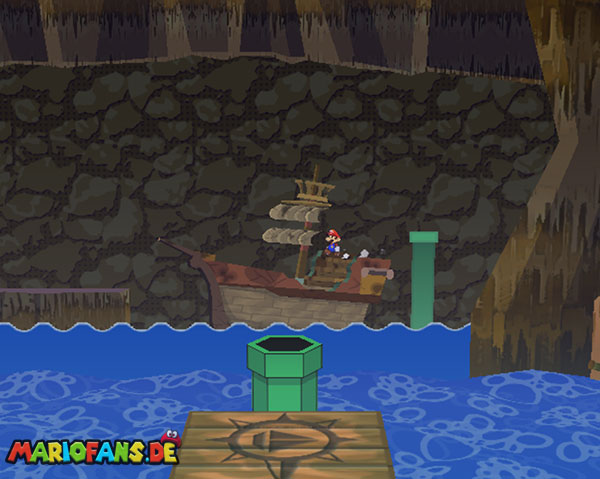
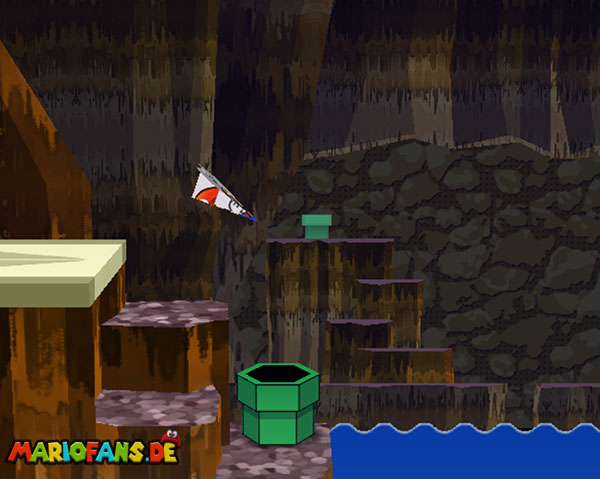
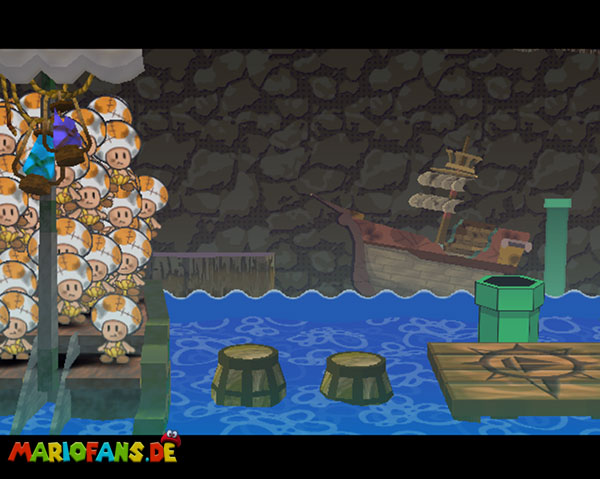
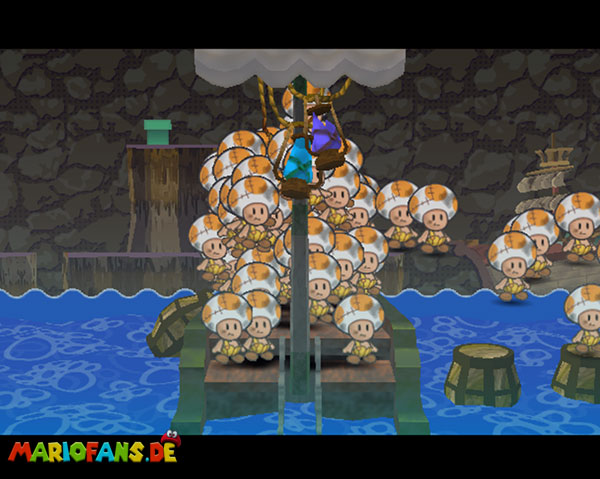
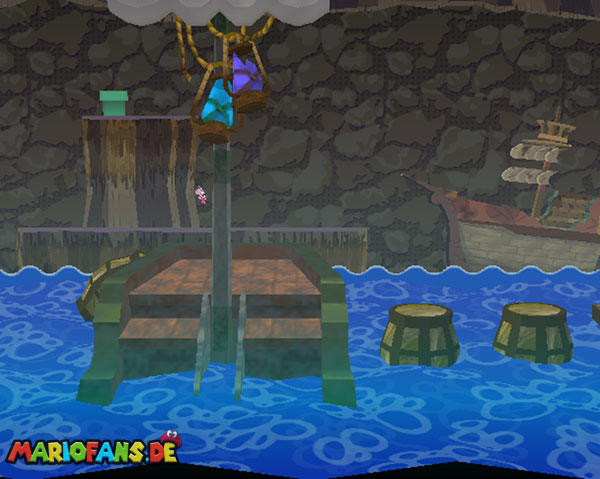
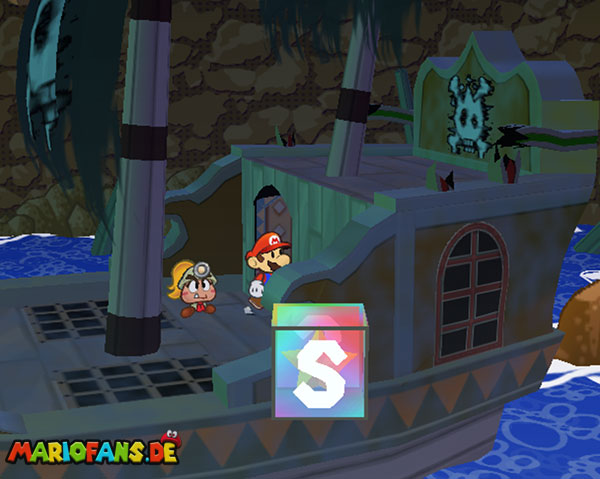
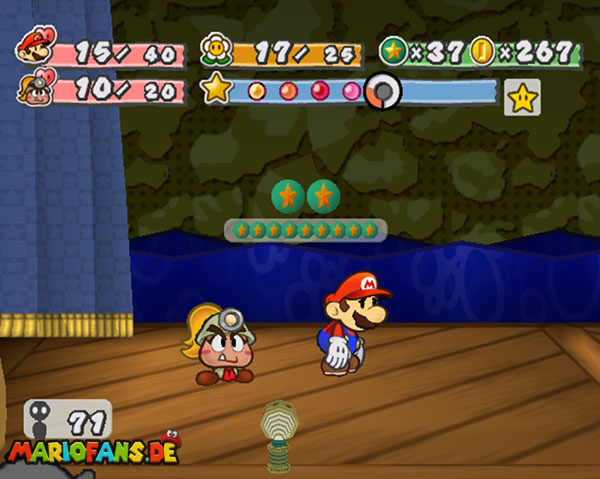
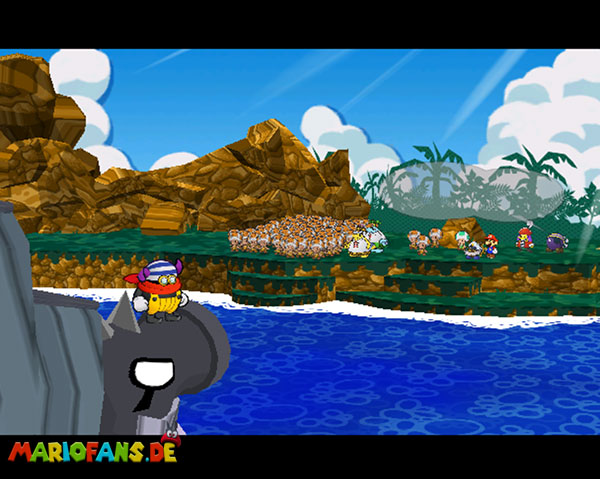
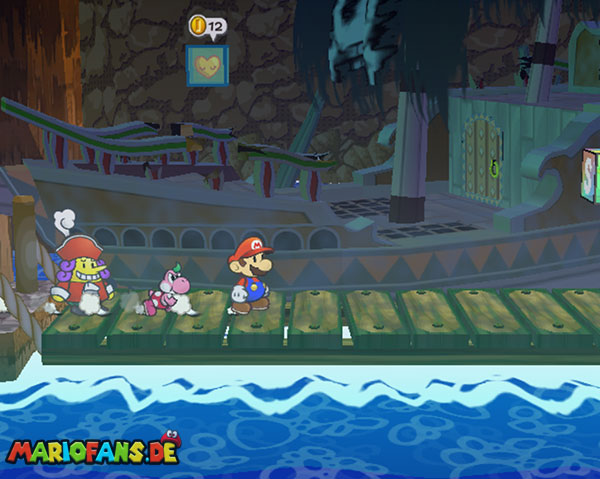
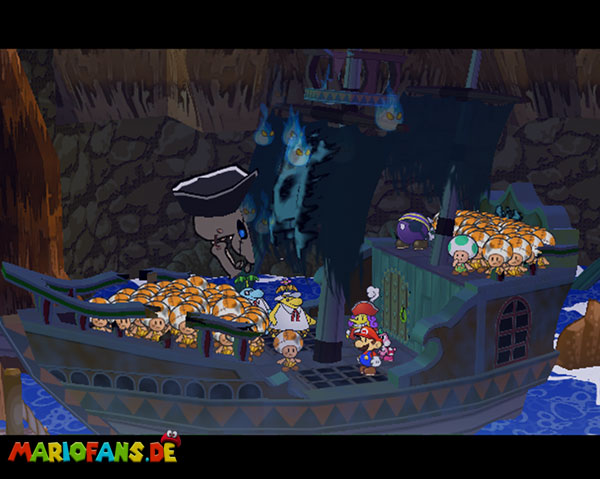
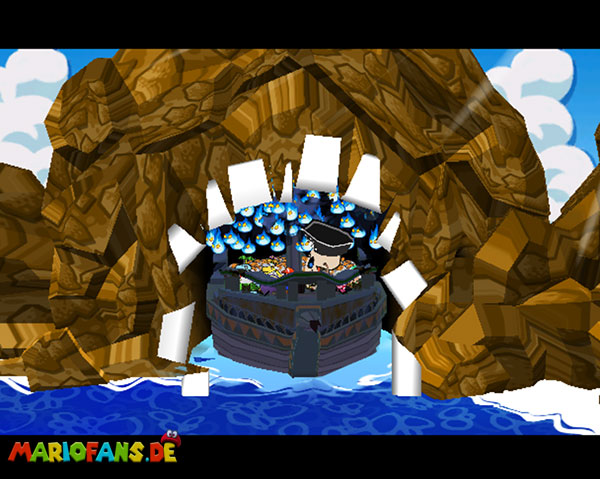
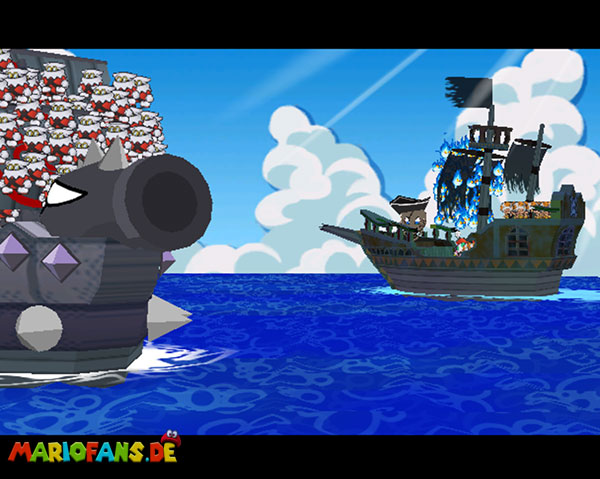
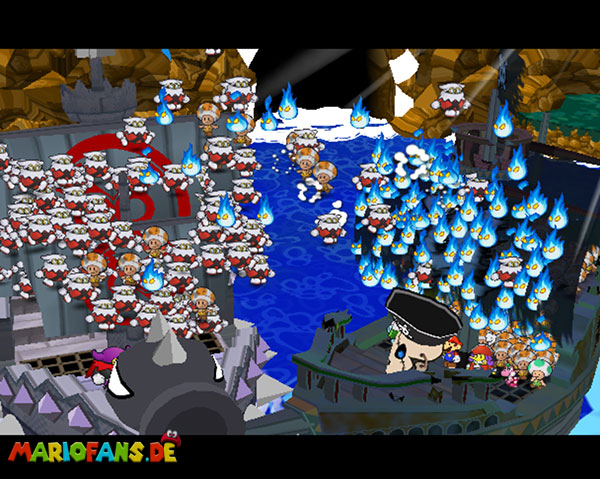
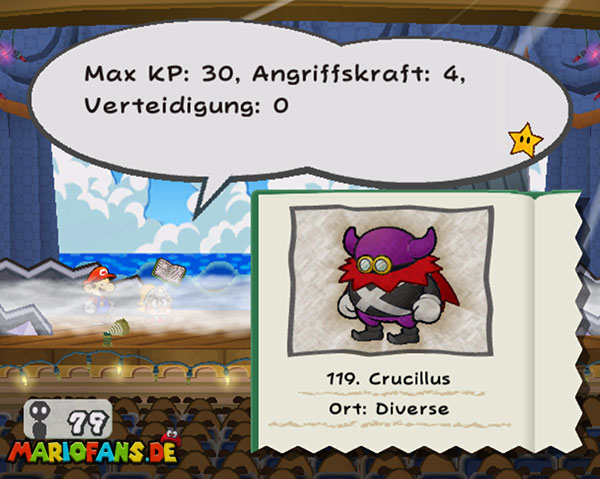
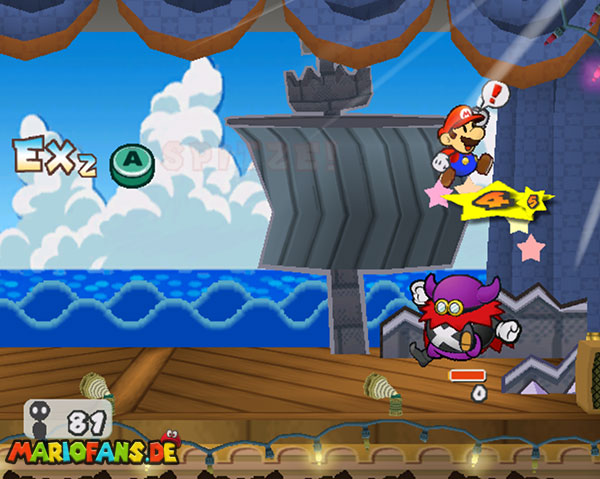
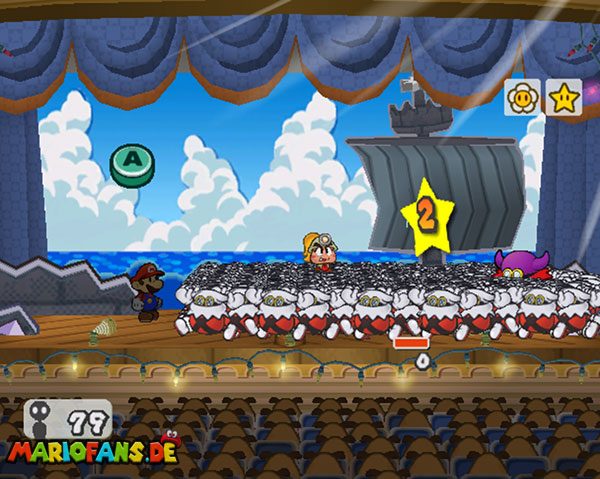
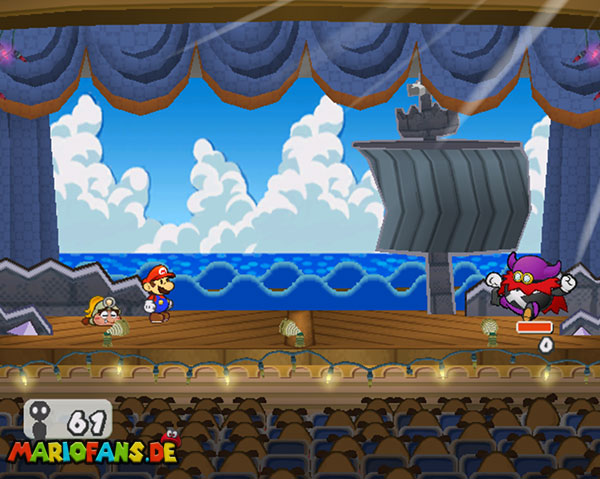
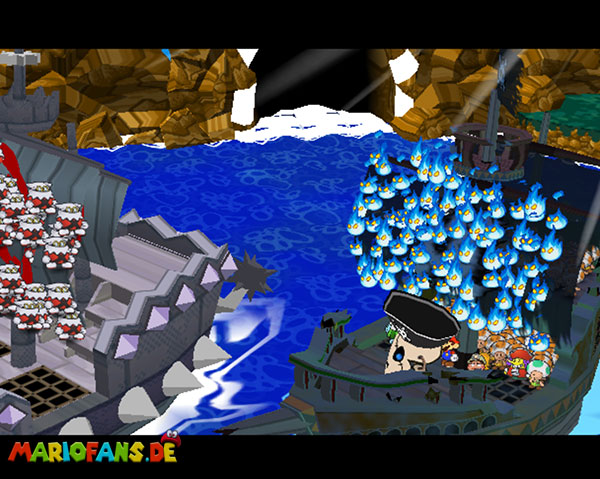
Go down to the red flame. After the fight, get on the boat and move to the top of the boat to get to an insignia. Go ahead and run with Yoshi to the splinter above, right along to get past the tops. Afterwards evade the bombs and run along the bridge. In the next area flies over the gap to the wind. The gate handle cannot be reached yet. Continue to the next area and save.
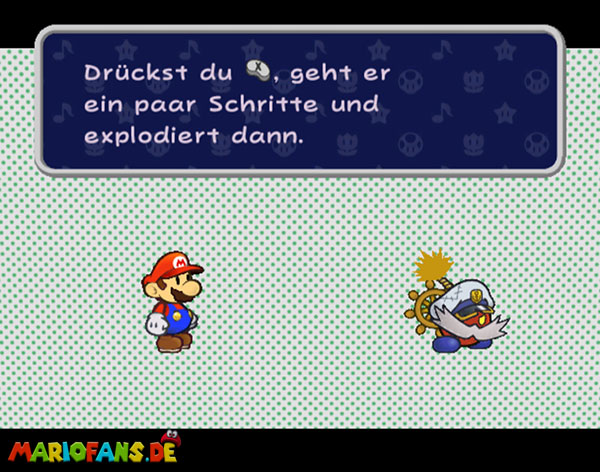
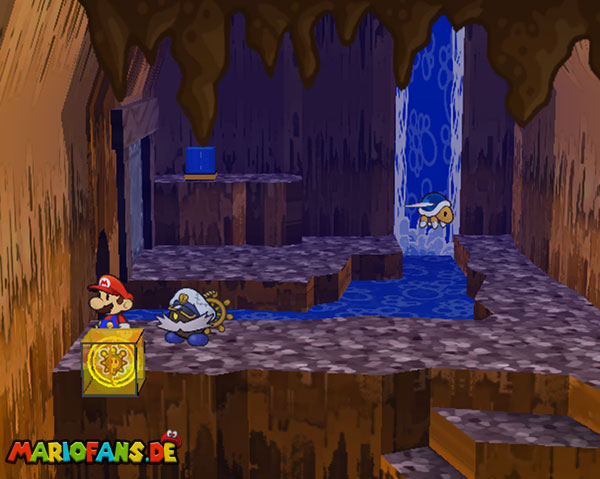
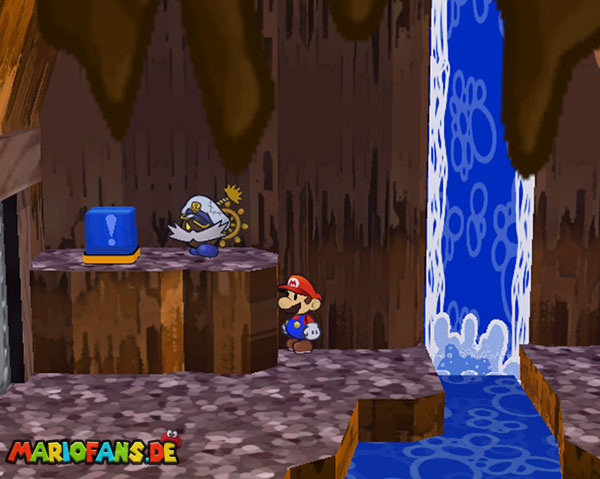
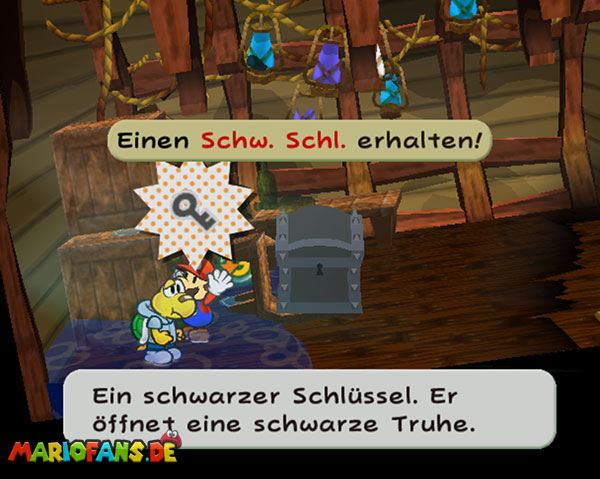
Go up and make an invisible block visible to the right of the insignia. Run on top of it and get the insignia. Go to the back and jump to the left. Ship Bart up and open the door to the left. Go one area to the left here. Here in the counter room goes with coops on the moving platform and holds X. Go to the platform in the background and then let go. You go upstairs and you can get the key.
Go back to the last memory point and open the door to the right there. Go down the aisle and get yourself on the water right with coops another insignia. To the left you come with Barbara. Run short and make yourself invisible when the tops come. They disappear again, etc. Quiet time. Then continue to the left and blast the entrance at the end. Then walk in the middle to escape the bombs.
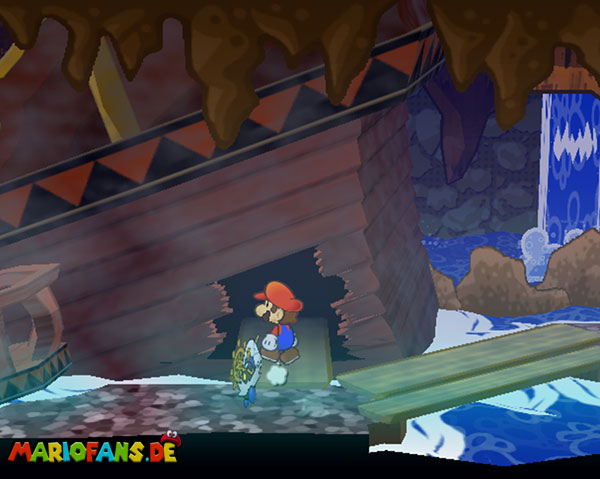
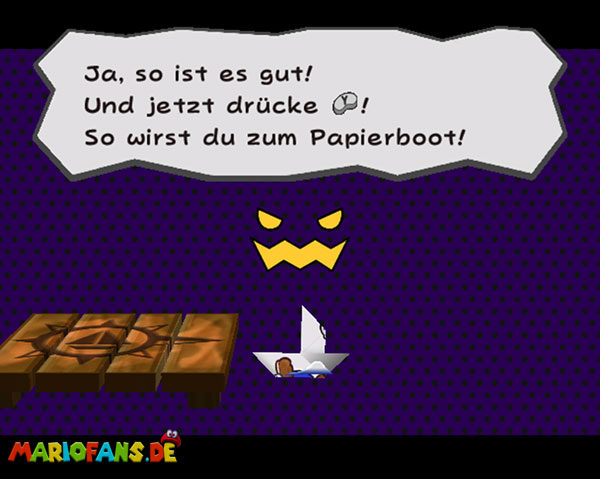
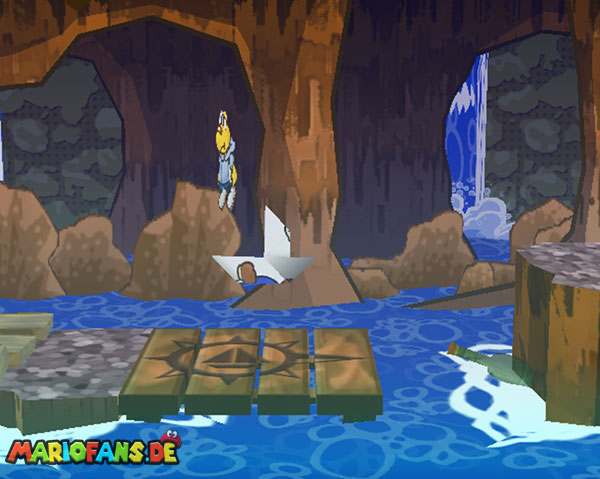
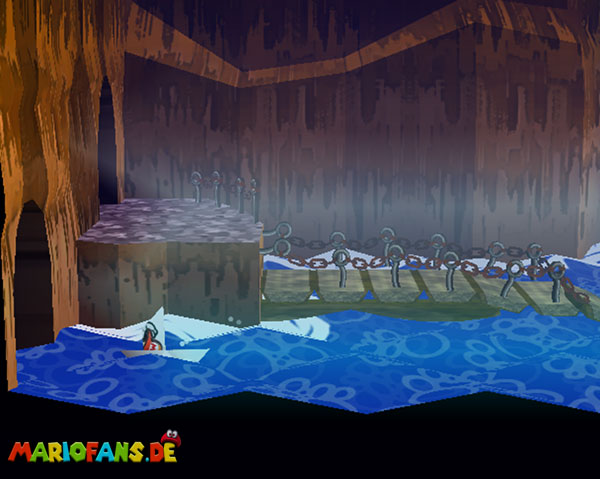
At the end to the next area and past the flames to the wreck. Go inside, talk to the chest, and defeat the opponent, who only shows up to get the key. Get the badges behind the Crate and open them to get a new ability. You can now use the boards and swim on the water. Go back to the memory point and up. There use the board on the left, swim a room to the left and up behind the waterfall to a secret room.
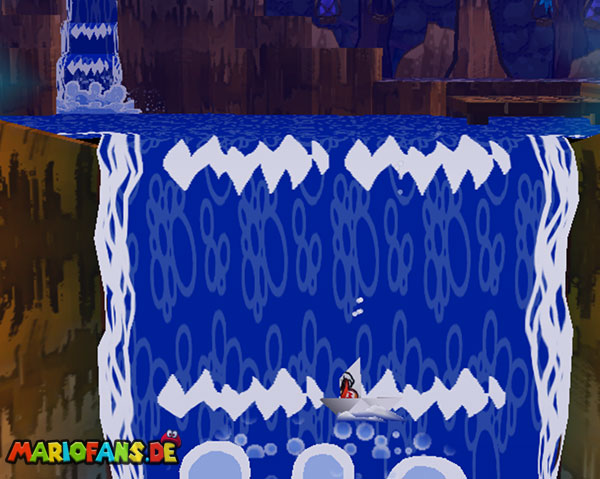
There you will find a badge. Return as a boat and let the great waterfall fall down. Now swim to the left until the first room and you reach the tops on the boat and the gate handle. Runs normally the way to the wind and uses the gate handle. Then goes up and again by ship the waterfall down and through the open gate. Then on to the right and past the waves.
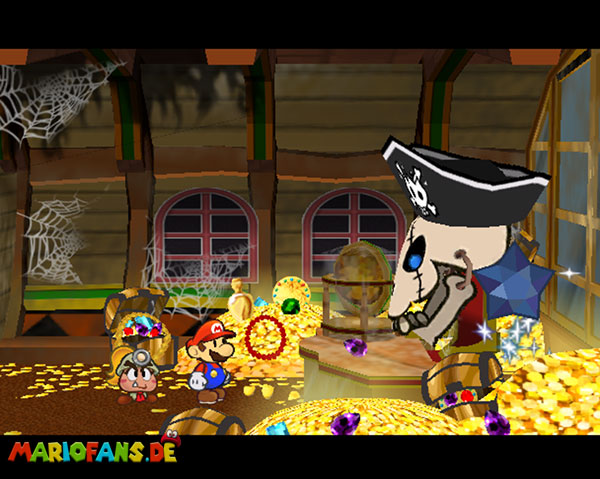
In the large hall to the right, descend and over the tubes to the left and you arrive at the end on a flying podium. Fly to the first warp pipe and hit the blue switch. Then back to the flight platform and the second warp pipe. Turn this switch around so that the prisoners can free themselves. Now go to them and then to the right to refresh and save. Go into the boat and the boss fight is waiting. This is also relatively easy.
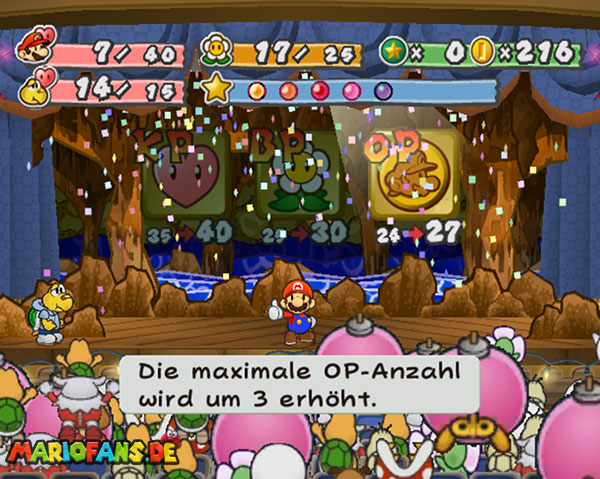
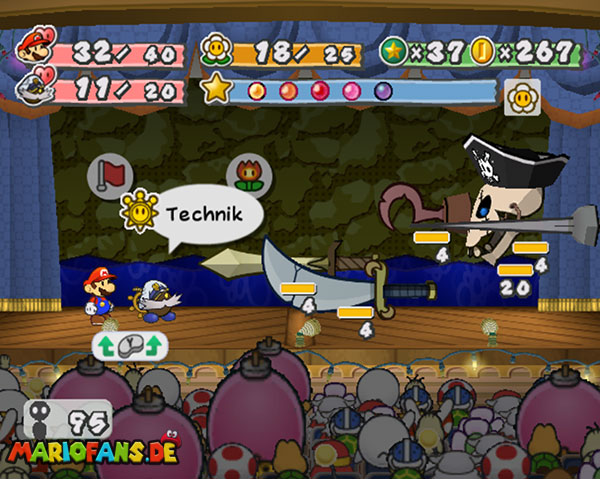
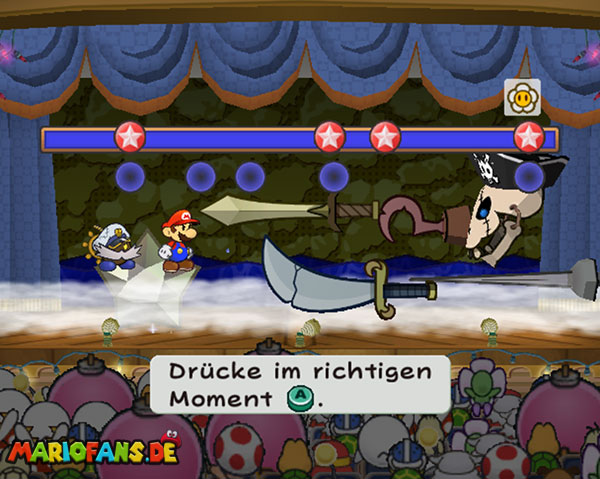
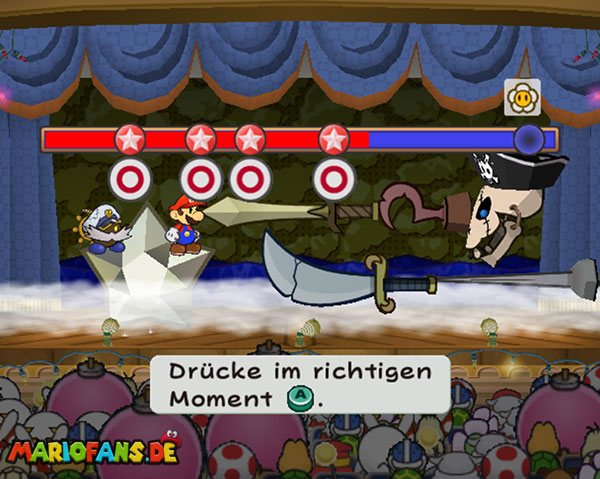
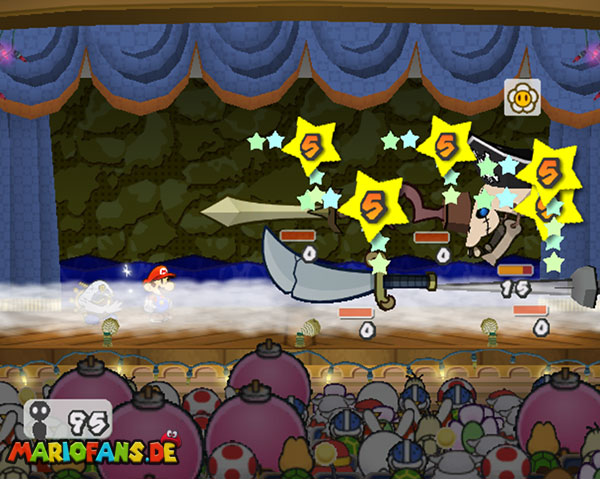
Jump attacks are effective, as are hammer attacks. Take care of the basic structure at the bottom right. Later, when he sets up his weapons, Flurrie is perfect. In the end, the Star Attack uses Pow Ring. The rest is quite easy to do. Then you become a top star and now fight on bigger stages. So this chapter is over for the first time. Go back to the others and blast the entrance. Go along there too, get another Whacky Mushroom and head towards the camp until the sequence begins.
Fight against Cortez
At the end, go back to the final opponent and into his room. After the sequence, step into the sea and you will find yourself at the end in the next boss fight. Also here not so hard you only care about the boss. You have to defeat 2x with 30 HP each, which is feasible.
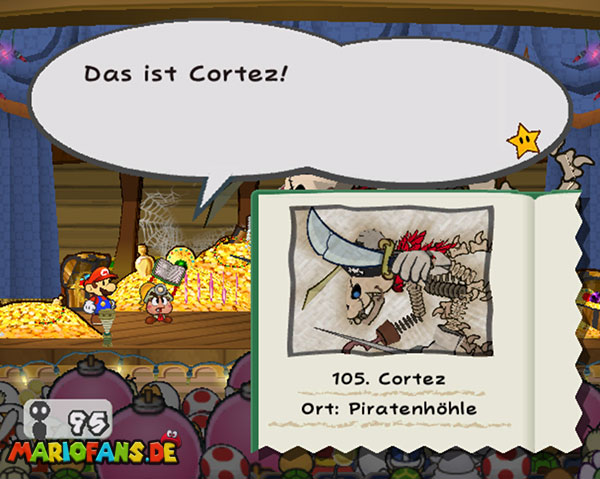
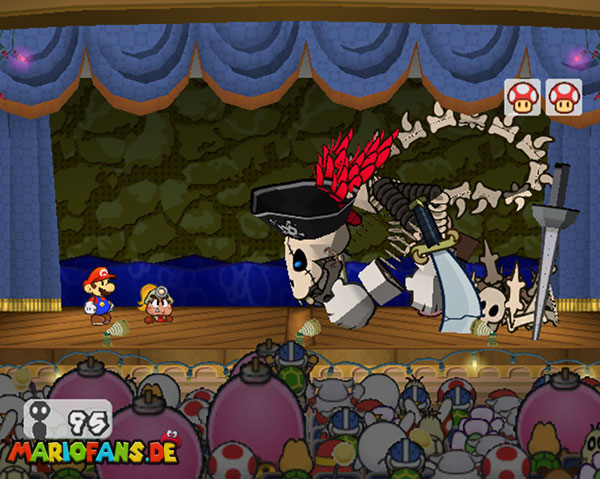
Cortez fights you in several forms. In his first form, he has four arms and a Cortez. If you’ve defeated the latter, it’s easier to hit Cortez on the head. It is best to attack with Mario Cortez and with your partner the Cortez.
In his second form, Cortez takes in each of his four hands a weapon with 4 HP, which can also poison the victim. It is a Cortez, a Cortez, a Cortez and a Cortez. The Cortez has an attack power of 3, the other weapons an attack power of 2. All weapons can be defeated simultaneously with Aeronas Gale Force, Barbara’s Fiery Jinx or a Thunder Rage.
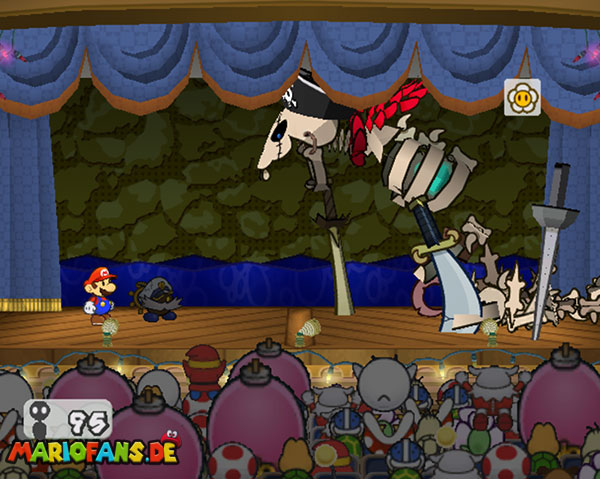
It goes on only against Cortez’s head, if his form was defeated with the weapons. This time he wears a chain with a medallion reminiscent of a huge diamond and bites Mario or his partner. Now he can be defeated with strong attacks, but you should not use Star Attacks, as you can only restore the Star Energy after another boss fight against Lord Crump.
Princess Peach and Bowser
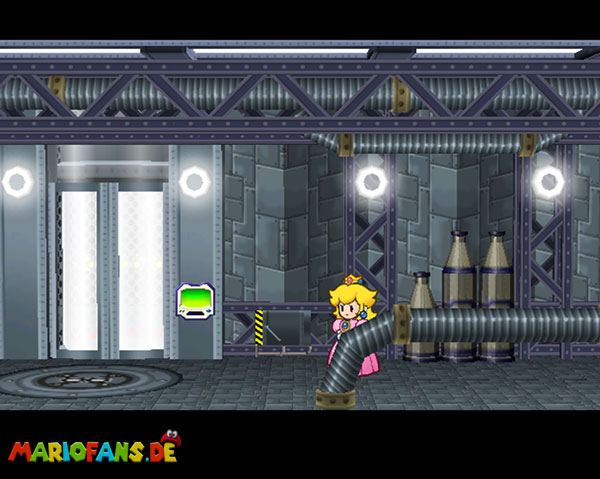
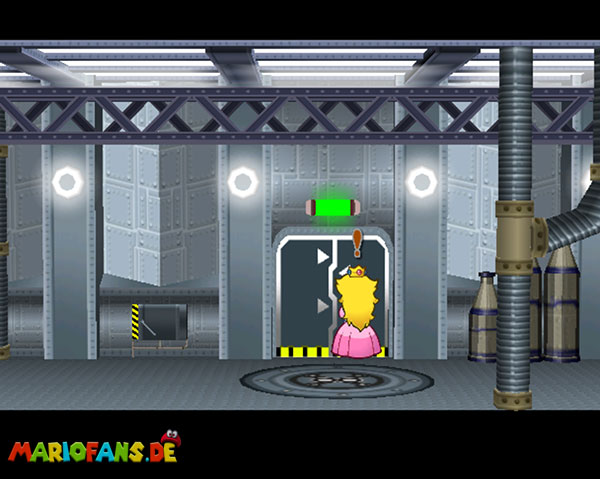
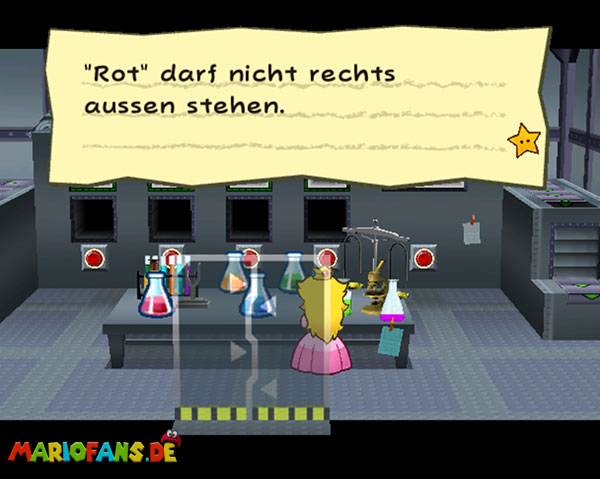
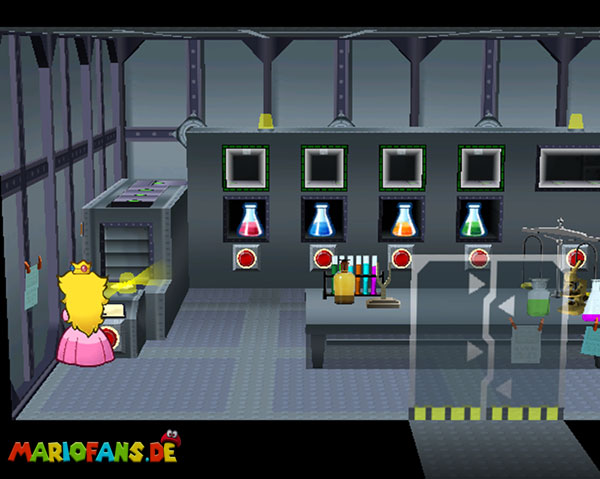
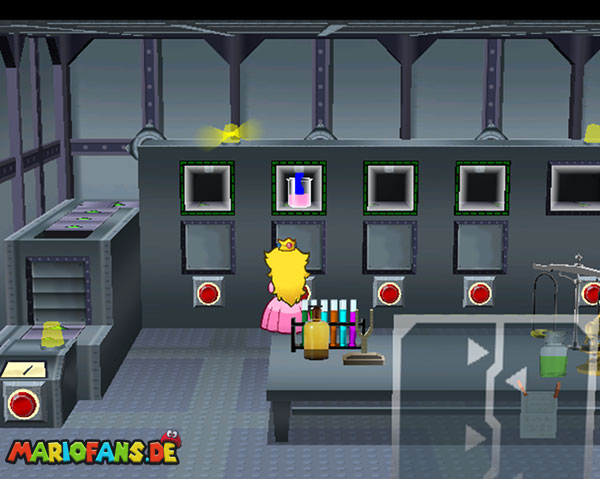
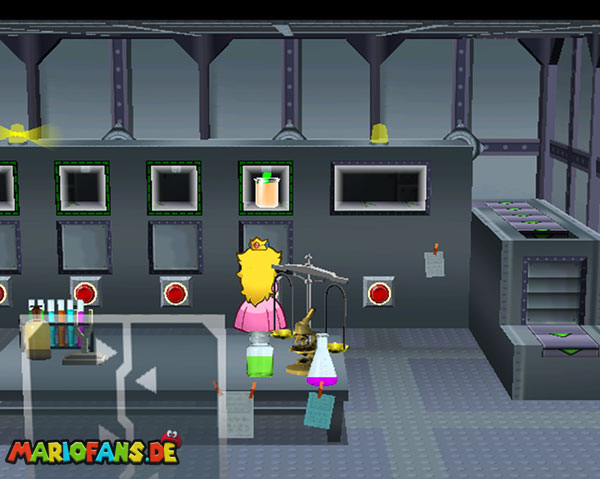
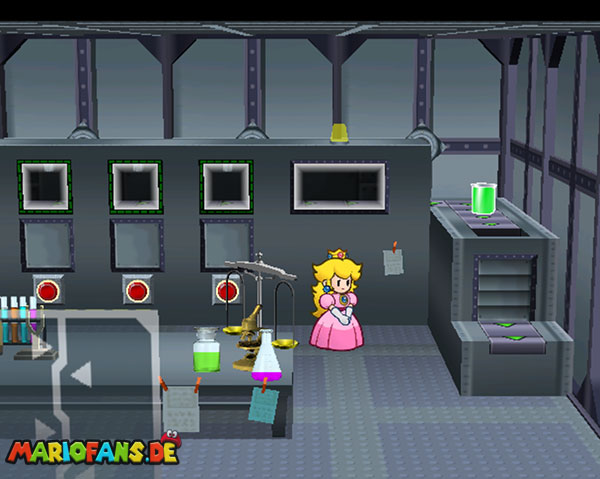
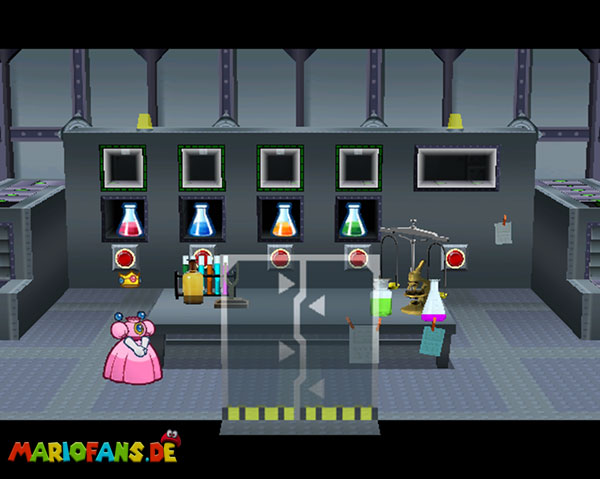
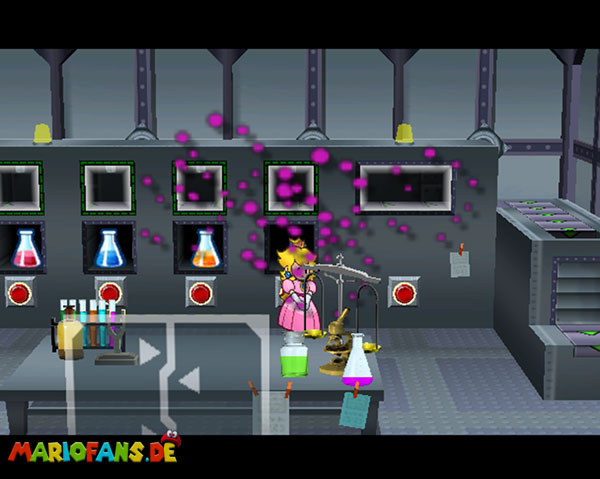
Go back to the elevator with Princess Peach after the visit and drive upstairs. Go so far to the left to the green door and in. Stop the bottles with the order red, blue, orange and green and press the switch. Then press the switches as desired at the right moment. At the end of the 30 seconds, get a tool. If the drink is correct, it comes out green. Drink it to become invisible.
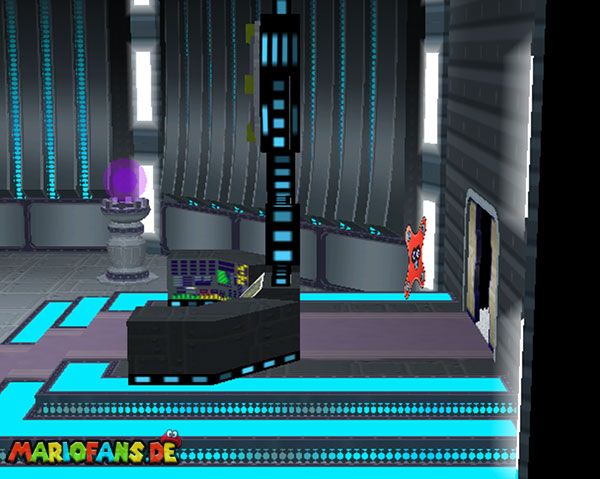
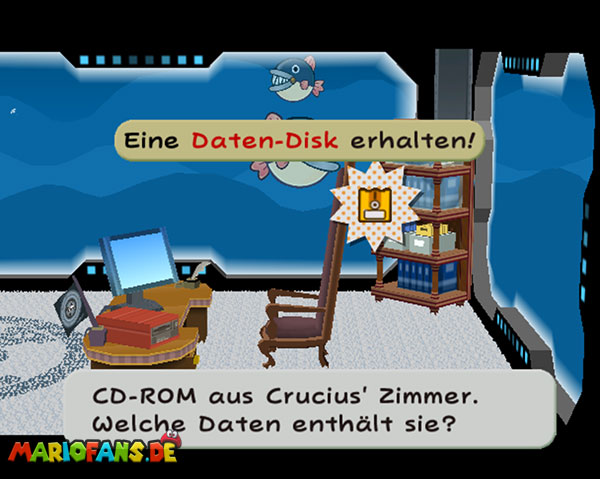
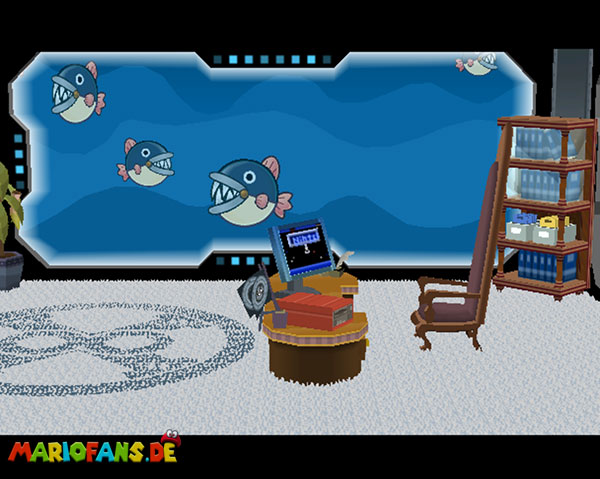
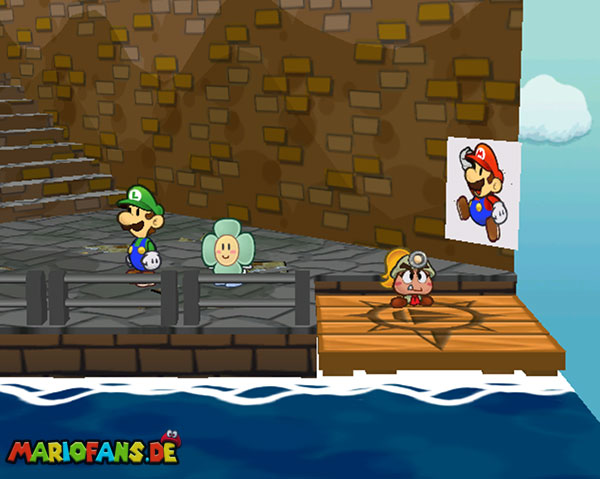
Then walks all the way to the right and into the room behind the main room. Get the disc off the shelf at the back and use it on the computer. Then go back and make yourself visible again. First of all, Princess Peach. With Bowser it is quite short. Talk to the general and follow the sequence. Then you will be driving Mario again after his departure from the island. Go upstairs and you meet Luigi.
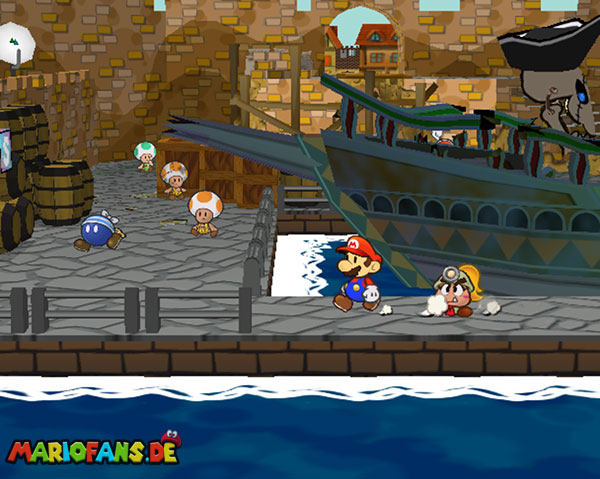
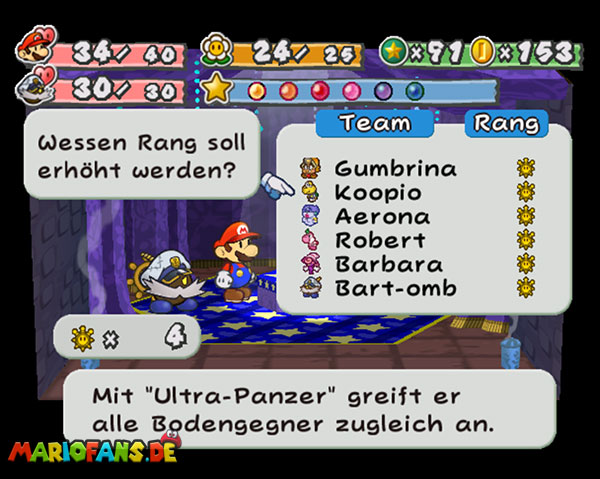
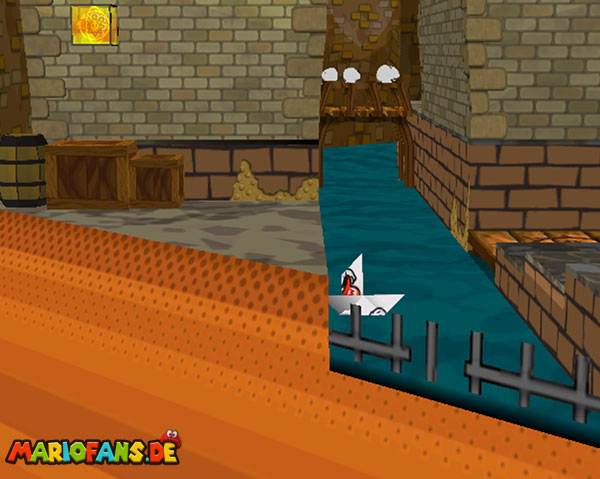
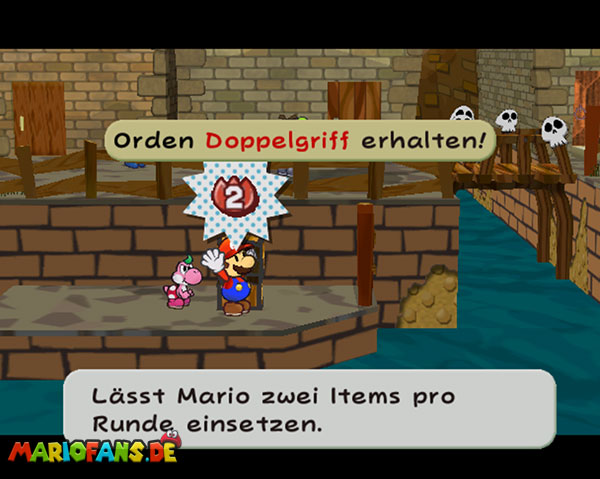
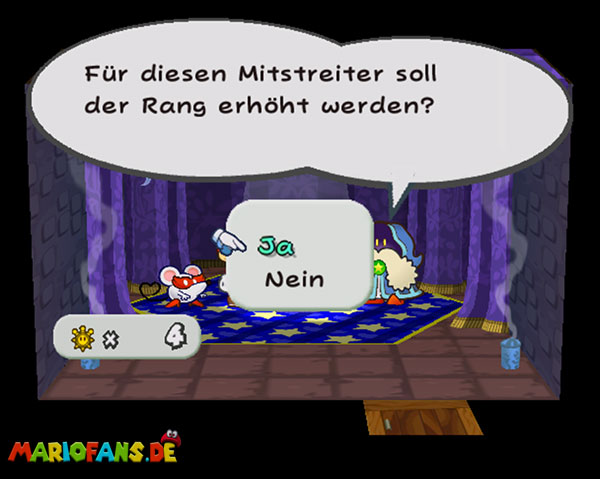
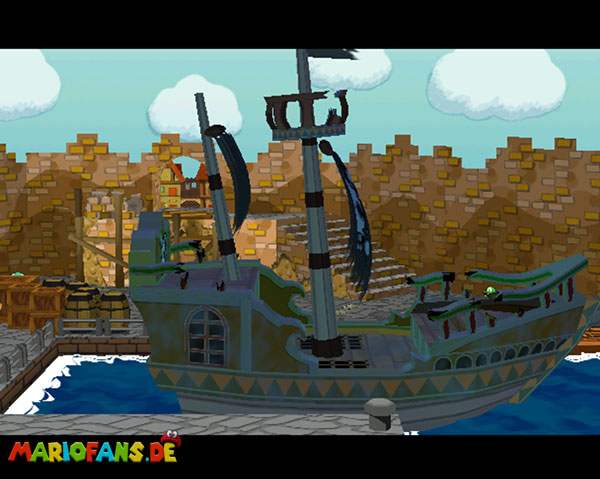
Then travel as a ship at the platform to the bottom left in the port and you will find the Badges HP blessing there. Back and to the market. Go first to the west end and on the far left used beard to blow away the wall and find an insignia. Then go right to the Ostend and you will first meet the magician for the rank increase of the important ones. After that, walk through the gap and travel as a ship downstairs to another badge.
After that, increase the rank of good beard to have pushed everyone. Then go into the Rogueport Underground and blast free in the first Ram ene Warp Pipe. But first go to the left to clear the passage on the columns. The column you blew free brings you to the back of the point exchanger, which raises one value and lowers another for it. Now go all the way to the right to the warp pipe that was in the water. Use the board and float to the right.
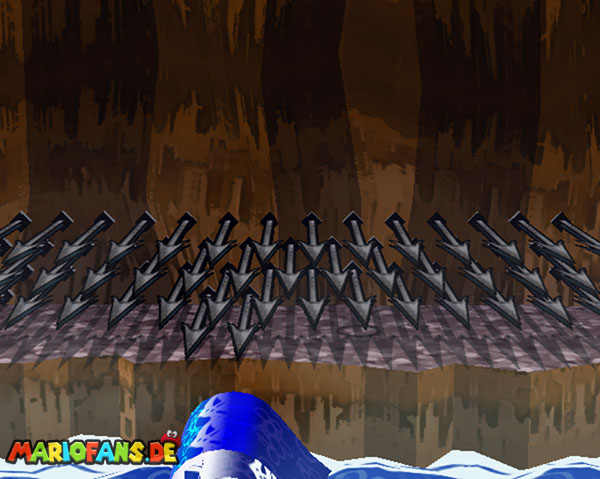
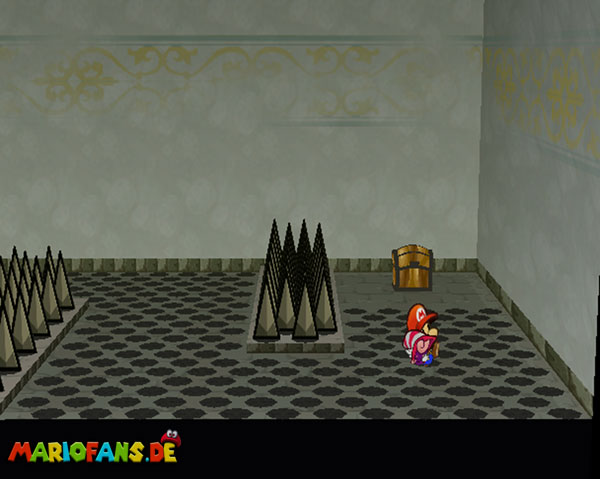
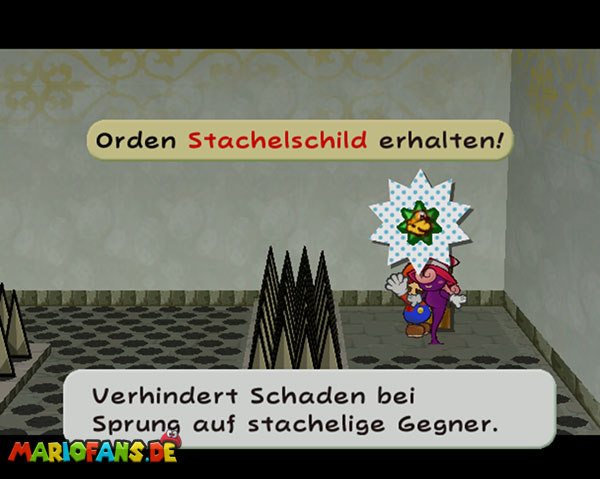
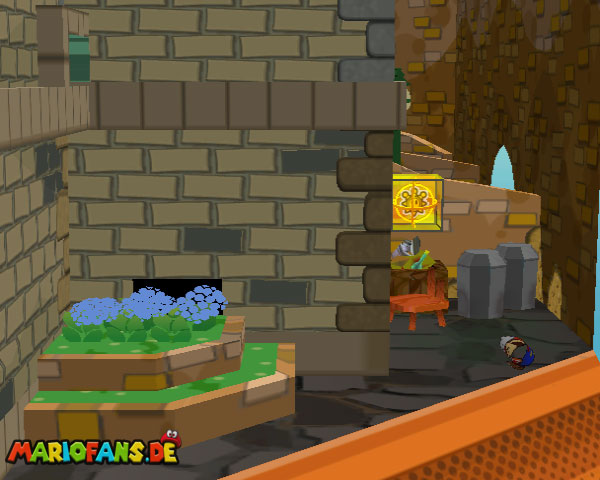
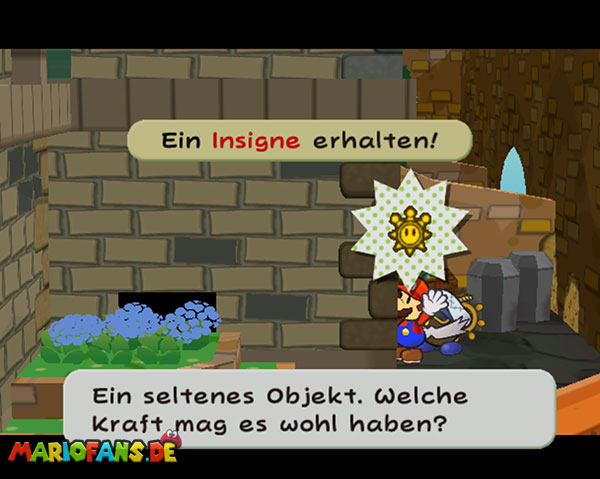
Get the insignia and swim back first. Go back and the normal path towards the Thousand-Year Door. On the way there in front of the blue shortcut tubes you can continue behind a grid and in the barbed room with Barbara the Spike Shield Badges fetch. Then go to the gate and get the next place of a jewel. After the professor goes to Palmone who is now quite sick. Then go back to Keelhaul Key to meet his daughter.
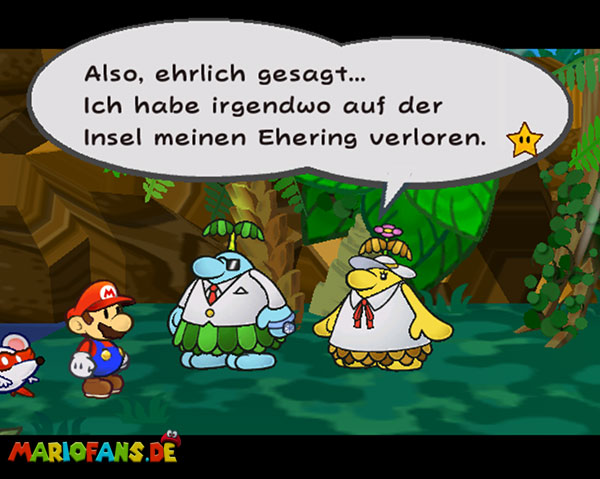
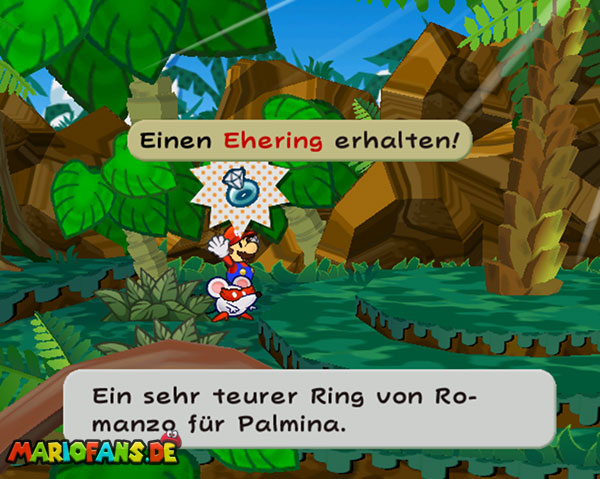
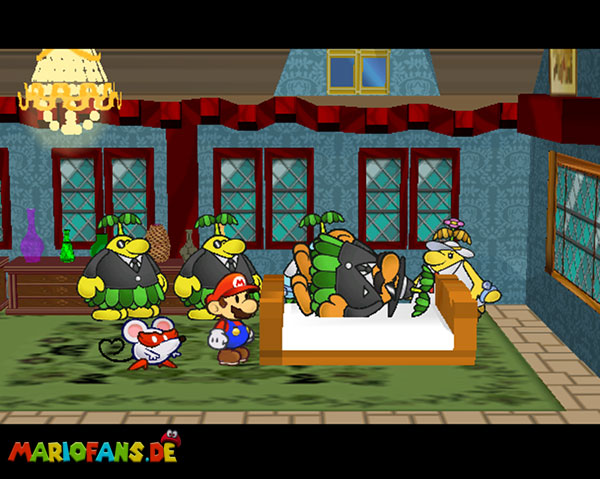
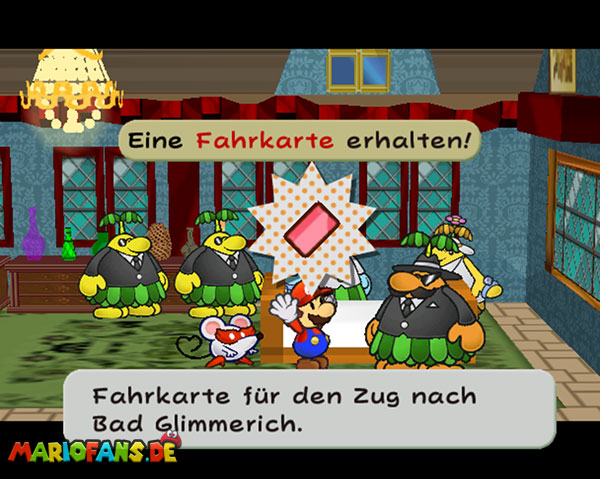
You meet her on the right an area after the camp and then have to look for the ring first. You will find it at the end just before the skull. Go back and then to the port. Get some Whacky mushrooms while we’re here and back to Rogueport. There you get the train ticket for the Glimmer Express and can now go to the station. The text was originally written by Bibi2000. We have adapted it in some places.