

Find the fifteen treasure rooms across Kitchen Island. Take each course’s key to the locked treasure door, open the chest and finish the course with the treasure. Carrying a key prevents the normal shoulder charge and helmet attack, so set it down before breaking an obstruction, then pick it up again. A Game Over can cost a collected treasure; check the collection afterward and recover any missing item.
Treasure A: Goblet — Course 3
Return after Rice Beach floods. Take a Dragon Pot, swim to the second pool and burn the block containing the key. Carry it back left to the treasure door in the first flooded hole. Throw the key at the lock, then charge the chest.
Value: 9,000 coins. Continue with the Course 3 walkthrough for the route to the goal.
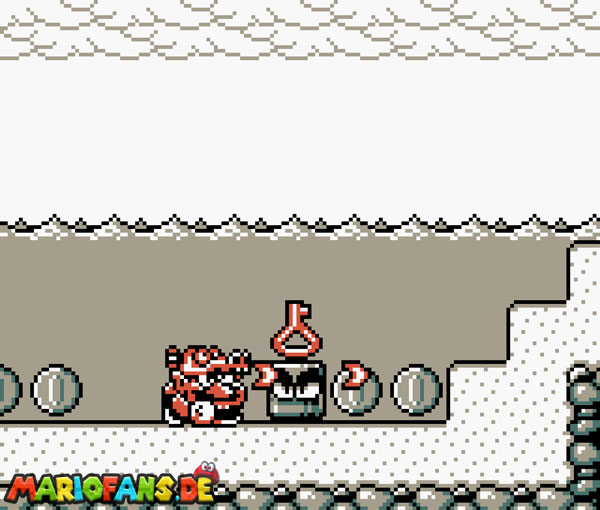
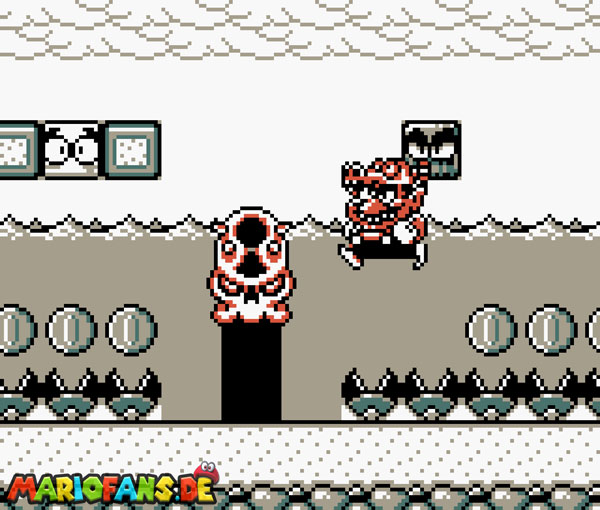
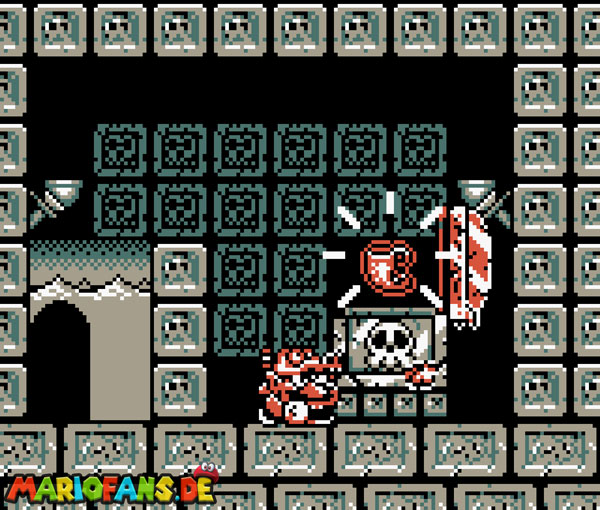
Treasure B: Harp — Course 9
Take the key from the block on the right side of the last waterfall room. Return to the partly broken block on the high rocky ledge, break it and press Up where it stood. Beyond the concealed door, carry the key past the giant 100 Coin block and open the treasure door on the right.
Value: 6,000 coins. Continue with the Course 9 walkthrough for the route to the goal.
Treasure C: Crown — Course 11
At the bottom of the long pirate-lined ladder, take the Jet Pot and fly up between the side ledges. The key block is on the upper left, while the treasure door is on the upper right. Throw the key across and jet into it, or throw it up the right-hand ledges in stages. You cannot begin a jet attack while simply holding the key.
Value: 2,000 coins. Continue with the Course 11 walkthrough for the route to the goal.
Treasure D: Shield — Course 16
Take the key from the first block and carry it to the second cluster of four partly broken blocks. Set it down while opening those blocks to reveal a door. Take the key through that door and cross the small pits to the locked treasure chamber.
Value: 7,000 coins. Continue with the Course 16 walkthrough for the route to the goal.
Treasure E: Bell — Course 17
Enter the first door from the main icy route and climb the long ladder. The middle block in the upper room holds the key. Carry it through the stage to the later door just beyond the second lightning-cloud section. Ride the Floater up over the pit to the treasure door; keep the key away from the edge.
Value: 5,000 coins. Continue with the Course 17 walkthrough for the route to the goal.
Treasure F: Oil lamp — Course 18
The treasure door is near the start. First operate the early ! Block, return to the door between the first two spike beds and climb the new ladder. Follow the upper ice route to the Pouncer room. Its middle key block is still enclosed, so continue through the right door and descend the Bucket Head shaft to the switch at the bottom. Turn that switch off, climb back up the newly supported ledges and return to the key room. The enclosure has disappeared. Take the key all the way back to the starting treasure door.
Value: 9,000 coins. Continue with the Course 18 walkthrough for the route to the goal.
Treasure G: Orb — Course 20
At the bridge that briefly turns left toward the pursuing lava, open the block on its left for the key. Carry it forward along the upper route at the next split, using the star to pass the pirates. In the final wooden room, climb the ladder instead of dropping to the goal and open the treasure chamber above.
Value: 5,000 coins. Continue with the Course 20 walkthrough for the route to the goal.
Treasure H: Trophy — Course 24
Enter the lower-right room from the six-door hub and flood it using the ! Block. Swim to the rightmost block for the key. Return across the hub by climbing the right ladder, crossing the upper floor and descending the left ladder; the lower route is broken by lava. The treasure door is in the first room.
Value: 8,000 coins. Continue with the Course 24 walkthrough for the route to the goal.
Treasure I: Dagger — Course 26
In the early D.D. room, use the hidden block above-left of the lone empty block to reach a high ladder. Pass the forest room and enter the upper-right door hidden among the cracked blocks. Continue right through the indoor chamber to the water switch. Fill the room, swim up its shaft and take the key from the blocks in the upper room. Drain the water again if desired, then carry the key back to the treasure door in the cracked-block room.
Value: 7,000 coins. Continue with the Course 26 walkthrough for the route to the goal.
Treasure J: Hatchet — Course 29
The treasure door is above the first ladder inside the ship. Continue past the checkpoint to the wide room and enter its second side door. Ride the Pouncer to reach the key block on the left, without touching the lances above. Carry the key back through the middle door in the earlier three-floor D.D. room, which shortcuts to the first ship section. Climb the first ladder to its top and unlock the vault.
Value: 3,000 coins. Continue with the Course 29 walkthrough for the route to the goal.
Treasure K: Football-shaped artifact — Course 30
On the main deck, climb the right sail and hit its right-hand block for the key. Carry it toward the mainsail and descend to the treasure door underneath it. Collect the artifact before climbing the mainsail’s upper door toward Bobo.
Value: 4,000 coins. Continue with the Course 30 walkthrough for the route to the goal.
Treasure L: Wario-head artifact — Course 31
Drain the lake using the giant switch in Course 32, then return to Course 31. Break the low blocks near its start for the key and carry it along the exposed lakebed. The treasure door is beneath the final ladder. Bull Wario can ground-pound the block over it; the narrow drop just before the goal is another approach. Avoid dropping the key into the nearby bottomless gap.
Value: 8,000 coins. Continue with the Course 31 walkthrough for the route to the goal.
Treasure M: Baseball glove — Course 34
Climb the left prong of the Fork Tree to the goal and take the key from the block beside it. Return down the branch and swim across to the right prong. Climb its ledges with the key to reach the treasure door at the top. After collecting the glove, return to the left goal.
Value: 4,000 coins. Continue with the Course 34 walkthrough for the route to the goal.
Treasure N: Whale statue — Course 37
Drop into the last gap before the castle-entry door, landing on the safe ground beside the plants. Hit the right-wall block for the key. Follow the strip of leaves into the apparently solid right wall and walk through it to the hidden treasure door.
Value: 7,000 coins. Continue with the Course 37 walkthrough for the route to the goal.
Treasure O: Jeweled ring — Course 39
As Bull Wario, ground-pound the four cracked blocks covering the two Spring-Ups in the late D.D. corridor. Bounce to the upper passage and take the door into the X-shaped room. The key block is in the upper-right arm, and the treasure door is in the upper-left arm behind cracked blocks. The Dragon Pot in the lower-right arm lets you burn the obstruction; the available Bull and Jet forms can also clear it. Carry the key across and claim the last treasure.
Value: 6,000 coins. Continue with the Course 39 walkthrough for the route to the goal.
Treasure value and the ending
All fifteen treasures add up to 90,000 coins. Keep them while building your cash total before the last boss. The Genie awards another 300 coins, so a cash holding of 9,699 before that reward reaches the maximum combined total. Clearing all forty courses and retaining every treasure is part of the full completion route; do not substitute a high cash total for an uncollected treasure.