

Five courses contain a second goal door. Open both routes to reach every course, including the optional Sherbet Land region. Keep at least ten coins when approaching a locked skull goal: press Up and B to produce the 10 Gold Coin, then throw it at the seal. The double-circle map marking identifies courses with two exits.
Course 3 → Course 6
After flooding, swim above the normal goal and jump over its right-hand wall. Follow the high passage to the second skull door. Before flooding, a precise jump from the final sandfall can also reach it.
Follow the Course 3 walkthrough for the rest of the stage.
Course 8 → Course 14
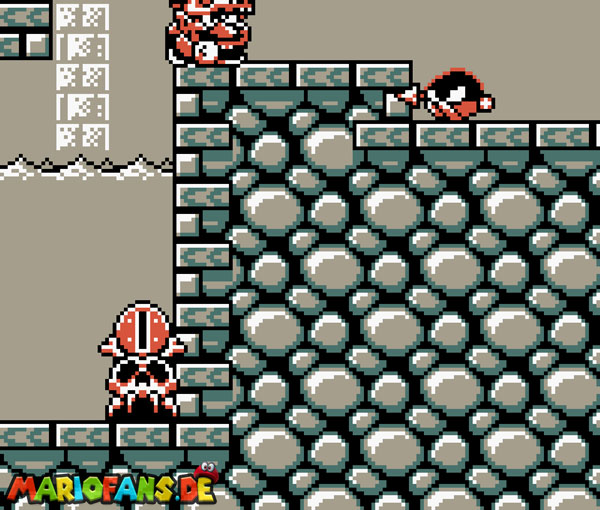
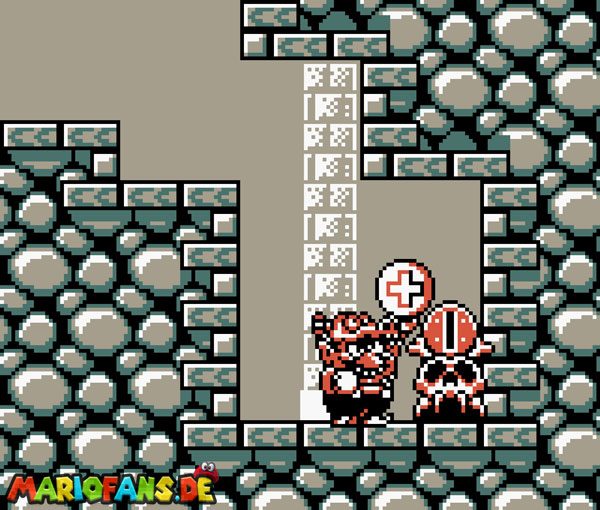
Keep Jet Wario to the dry exit room. At the upward coin arrow, jet left onto the raised block ledge, then launch right to the concealed high platform and second goal.
Follow the Course 8 walkthrough for the rest of the stage.
Course 15 → Course 17
Activate the first ice switch, pass left of the ordinary goal and climb the new staircase. Cross the next spike cave to its far switch, activate it and return across the new ice floor to the secret goal.
Follow the Course 15 walkthrough for the rest of the stage.
Course 16 → Course 18
In the long-ladder room, reveal the invisible block beneath the lone coin on the right. Jump through the ceiling, cross right above the wall and drop to the hidden room. Its door leads to the alternate goal.
Follow the Course 16 walkthrough for the rest of the stage.
Course 23 → Course 24
Ride the final cart close to the lava, then jump to the low ledge beneath the normal goal. Use the two Spring-Ups to reach the high secret skull door.
Follow the Course 23 walkthrough for the rest of the stage.