

World 5 covers courses 5-1 to 5-4 in the original NES version of Super Mario Bros. Open a map to enlarge it, or scroll it sideways to follow the main route and side rooms. These directions describe the first quest.
World 5-1 – Snow and Bullet Bills

View map World 5-1 in original size
Move the map sideways to view the entire level and the side rooms.
Clear the first rows of enemies with a Koopa shell or jump over them in a controlled manner. There is a pit between two tubes; Don’t jump off too early if a Piranha Plant can come out right behind it.
Above the later stone structure lies a row of bricks with a star in the middle block. Afterwards you will encounter cannons that shoot Bullet Bills. A jump from above defeats a bullet willi; Fireballs don’t help against him. If possible, avoid waiting at the firing height of a cannon.
At the next block structure there is an invisible 1-up block between the bricks and the stone column. The high pipe can be reached via the blocks and leads to a coin room. After the return trip, more cannons and two Koopa Paratroopas follow at the broken target stairs. First observe the direction of their jump and then cross each step.
Tip: This level does not offer a normal Mushroom or Fire Flower block. Protect a power-up you brought with you; the star only replaces it temporarily.
World 5-2 – Hammer Brothers and byways
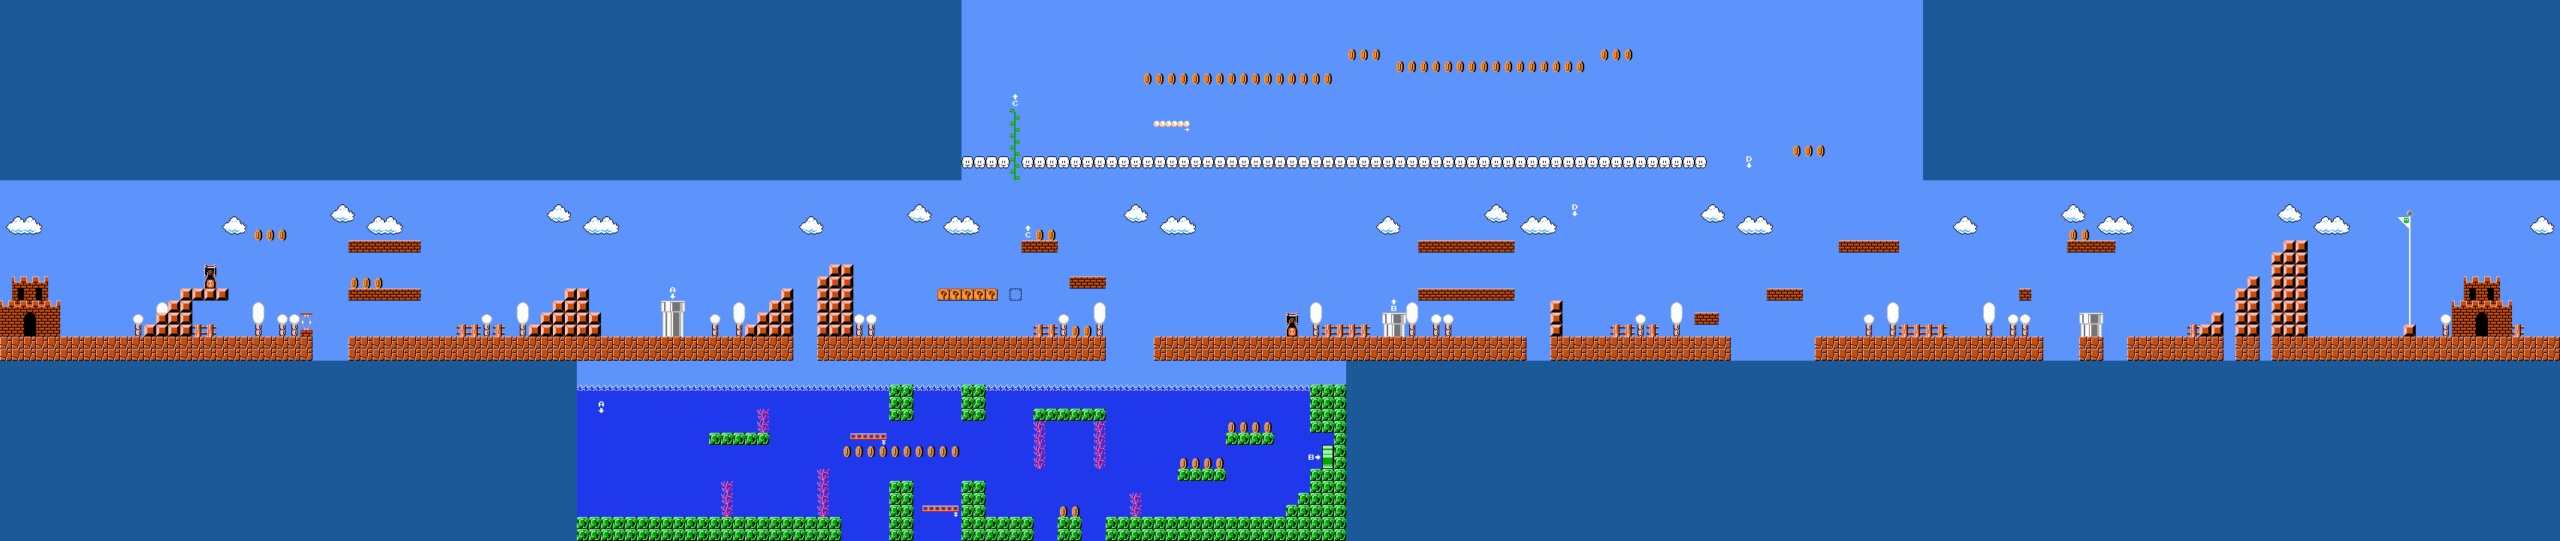
View map World 5-2 in original size
Move the map sideways to view the entire level and the side rooms.
There is a cannon at the first staircase. The springboard behind it takes you to the top row of bricks with a power-up to the right. In front of the first Hammer Bro on the small stairs, brake outside of his throwing range and look for a free window.
The next accessible pipe leads into an adjacent water room. There, avoid bloopers, fish and sinking platforms; the exit will later take you back to the main path. If you stay at the top, you can reach the vine in the top left tile on the next block field using an invisible step. The cloud bonus skips another part of the level.
On the normal route there are still Hammer brothers waiting for two rows of bricks. There is a star in the top right tile. Behind the beetles are two very low blocks: coins on the left and a power-up on the right. Big Mario has to duck as he slides in. Take the last Koopa Paratroopas at the target stairs one at a time.
Tip: Buzzy Beetle resist fireballs. Jump on them or dodge instead of standing right in front of them and continuing to shoot.
World 5-3 – Tree platforms under fire

View map World 5-3 in original size
Move the map sideways to view the entire level and the side rooms.
The island layout is similar to World 1-3, but Bullet Bills come from outside the frame and the moving platforms are smaller. Use the familiar height profile, but also focus your attention on the side of the screen.
The power-up is again on the low side path under a high platform. Only get it if you know the next safe jump point. Koopas and Koopa Paratroopas move between the islands; a Bullet Bill can arrive right as you jump.
Climb onto the horizontal platforms when they are close enough and stay in the middle of them if possible. Only start the next jump when you are in the right position. In the back you switch between a high, wide island and a low intermediate platform. You use the last moving lift to jump to the solid stone step in front of the flag.
Tip: Don’t reflexively jump out of the way of every Bullet Bill. When he flies over Mario, a quick moment on a safe platform is often the better choice.
World 5-4 – The second castle in difficult form

View map World 5-4 in original size
Move the map sideways to view the entire level and the side rooms.
This castle follows the same basic layout as World 2-4. This time, additional Fire Bars and fire bubbles reach into the previously safe jump paths. At the start, the power-up hangs over the middle lava island; a long pole can reach multiple adjacent platforms.
The following double corridor has a different danger distribution: There are now more Fire Bars at the bottom. Therefore, check the upper route instead of automatically following the path from World 2-4. It is crucial to observe the rotation before entering and to briefly realign it in every free space.
There are also Fire Bars on the two opposite lifts. Switch platforms before their movement carries you into the next spinning circle. The final gaps are complicated by fire bubbles, while flames are already coming from the boss. Don’t go onto the bridge until the landing point is clear and reach the ax behind the fake Bowser.
Tip: Familiar geometry does not mean an identical solution here: the additional dangers change the favorable waiting and jump points.