
World 2-1
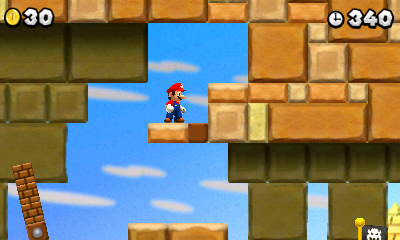
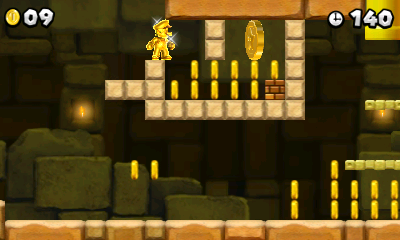
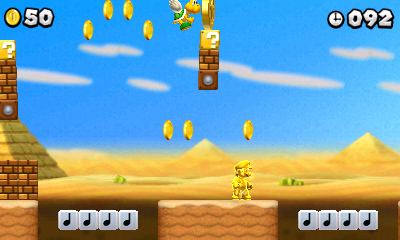
- Star Coin 1 — Before the Checkpoint Flag, wait for the upper-right rotating Brick Block to stand upright. Jump onto it and immediately jump up and right to the coin.
- Star Coin 2 — After the Checkpoint Flag, enter the yellow pipe and collect the Gold Flower. Leave enough Brick Blocks intact to climb toward the coin; firing at every block can remove the steps you need.
- Star Coin 3 — After leaving the second coin’s bonus room, backtrack a little along the main course. The third coin is suspended in the air behind the exit pipe.
World 2-2
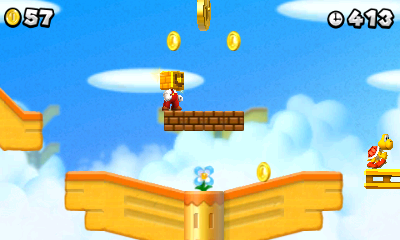
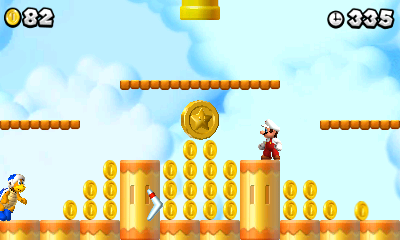
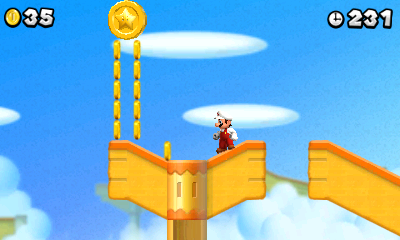
- Star Coin 1 — Shortly after the Gold Ring, the coin floats above a Hammer Bro. Wait for a safe opening before jumping over him.
- Star Coin 2 — After the Checkpoint Flag, find the yellow pipe between two posts, just before the upward arrow sign. Enter it to reach the coin’s bonus area.
- Star Coin 3 — Near the goal, look left of the Sledge Bro to find the final coin.
World 2-3
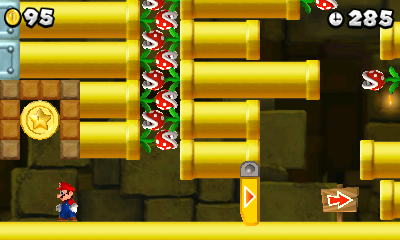
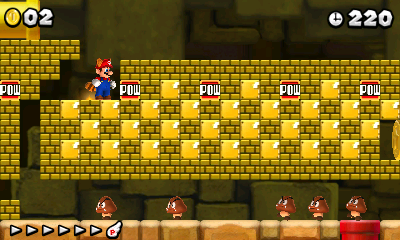
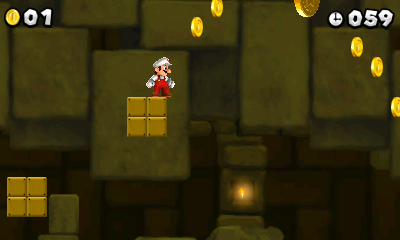
- Star Coin 1 — After the Checkpoint Flag, throw a Buzzy Beetle shell into the red POW Block to expose the second pipe. A Gold Flower can also clear the obstruction.
- Star Coin 2 — On leaving the first coin’s area, take a Buzzy Beetle shell left. Throw it into the next red POW Block and follow the opened passage to the coin.
- Star Coin 3 — Ride the middle floating block all the way up. Jump right, then continue climbing the Brick Blocks to the coin at the top.
World 2-A
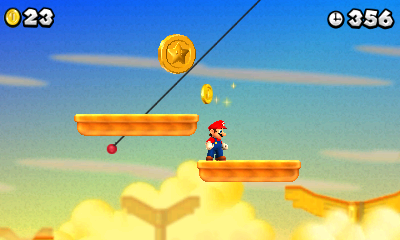
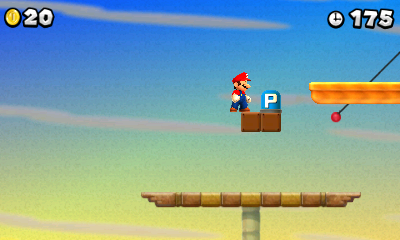
- Star Coin 1 — When you see a green Koopa Paratroopa beside a platform, continue to the next platform and jump left from there to reach the hidden coin.
- Star Coin 2 — In the next section, pick up the red Koopa Troopa’s shell. Carry it until the coin comes into view, then throw the shell into the coin to collect it from a distance.
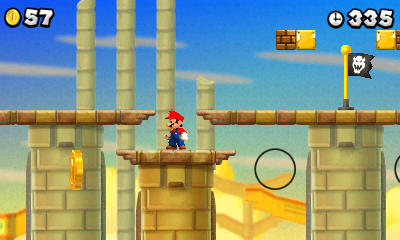
- Star Coin 3 — Shortly after the Checkpoint Flag, jump left to reach the side platform. Follow the route, press the P Switch, and continue to the coin at its end.
World 2-Tower
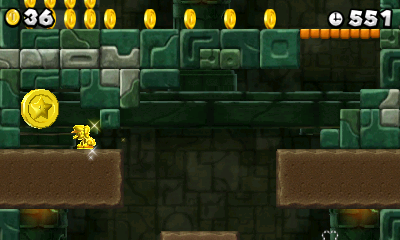
- Star Coin 1 — Crouch beside the low opening and let the moving platform carry you through it to the visible coin.
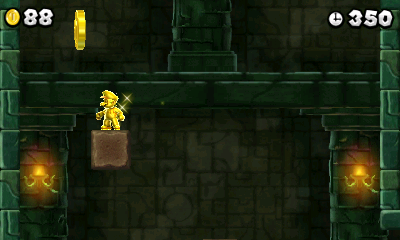
- Star Coin 2 — Enter the door after the Checkpoint Flag. Keep riding the platforms upward: the coin is above the height of the exit door.
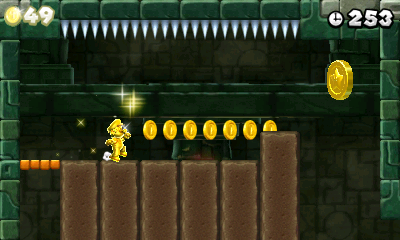
- Star Coin 3 — Just before the Reznor door, Wall Jump up the passage on the left to reach the final coin.
World 2-Ghost House
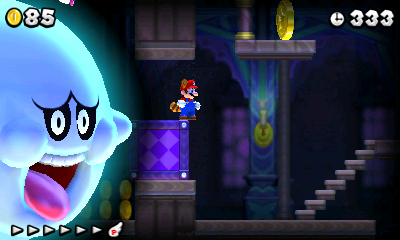
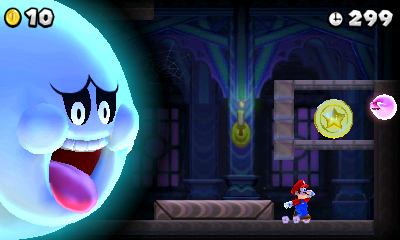
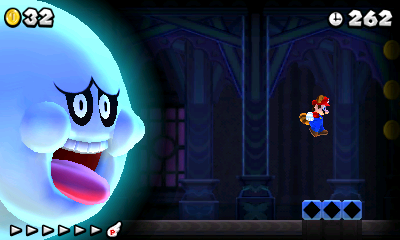
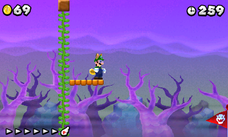
- Star Coin 1 — While the large ghost pursues you, watch for the purple block moving horizontally. Jump from it and Wall Jump up the right-hand side to the coin.
- Star Coin 2 — Ride the descending platform all the way down, then continue right to the coin. Face the pursuing ghost while you wait so that it stops advancing.
- Star Coin 3 — In the area with the springy blocks, time your bounce to meet the coin as it moves from side to side overhead.
- Secret Exit — Just after the second coin, reveal the hidden block containing a Vine. Climb it and follow the alternate route to the red flag. This opens World 2-B.
World 2-4
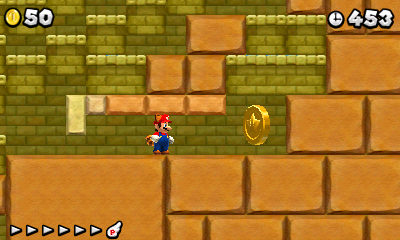
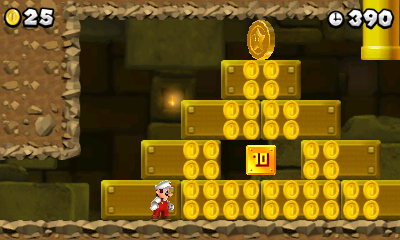
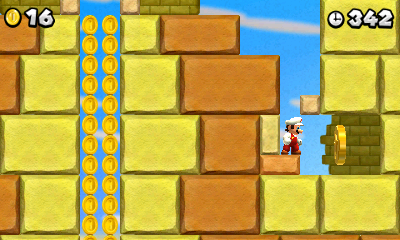
- Star Coin 1 — Crouch and slide through the narrow gap, or throw a Koopa shell through it to collect the coin safely.
- Star Coin 2 — Enter the yellow pipe. Break the Brick Block, then move right into the space it occupied to drop into the hidden passage containing the coin.
- Star Coin 3 — Before dropping into the shaft lined with coins, continue a little farther right. The last Star Coin is tucked into a narrow opening.
World 2-5
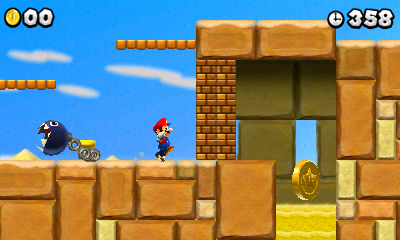
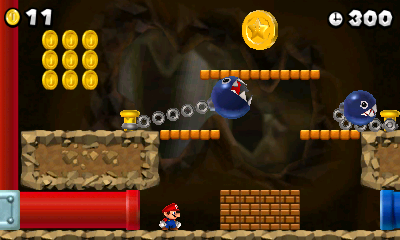
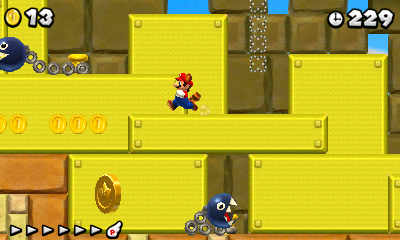
- Star Coin 1 — Release the Chain Chomp so that it breaks the Brick Blocks, or use Raccoon Mario’s tail to clear them yourself.
- Star Coin 2 — Free the Chain Chomp in front of the red pipe before the Checkpoint Flag. Once it is gone, the platform lowers and you can enter the pipe.
- Star Coin 3 — After the Checkpoint Flag, look on the left side of the pyramid. A Chain Chomp guards the approach, so wait for it to move away before collecting the coin.
World 2-B
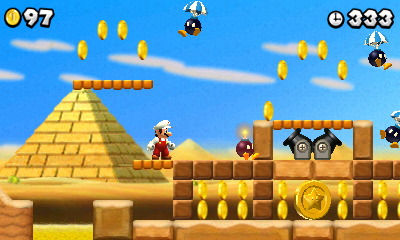
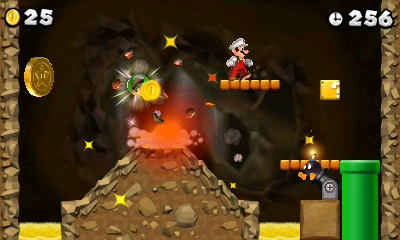
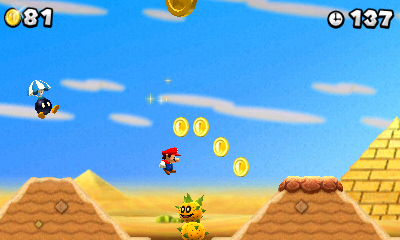
Unlock this course by taking the secret exit in World 2-Ghost House.
- Star Coin 1 — Use the Bob-ombs fired from the cannons to blast open the blocks around the coin. Move away before each explosion.
- Star Coin 2 — Shortly after the Checkpoint Flag, look for six coins in the quicksand. Let yourself sink at that marked spot to enter a hidden room. Use a Bob-omb to destroy the volcanic mound and reveal the Star Coin.
- Star Coin 3 — The coin floats high between two volcanic mounds. Bounce from a parachuting Bob-omb to reach it, or use a Super Leaf to make the jump easier.
World 2-Castle
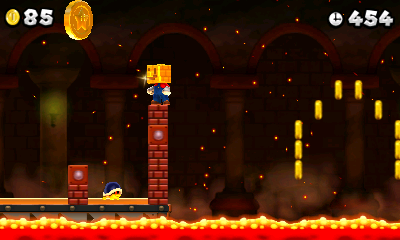
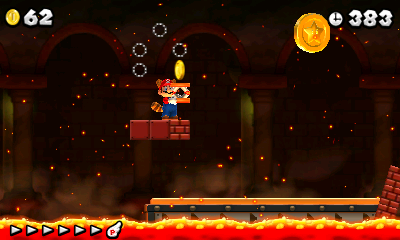
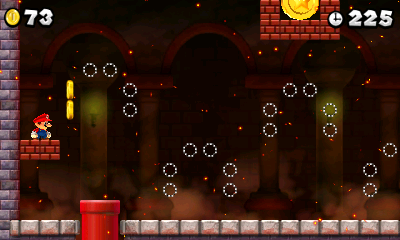
- Star Coin 1 — Use the Brick Blocks as steps to reach the visible coin.
- Star Coin 2 — After the Checkpoint Flag, take the Springboard from the ? Block. Carry it onto the moving platform, then bounce high enough to collect the coin.
- Star Coin 3 — Keep the Springboard with you until you reach the red pipe. Use it to enter the pipe, reveal the coins in the bonus room, and press the P Switch on the left to turn them into a climbable route. Raccoon Mario can also fly to the pipe, but carrying the Springboard is the more controlled approach.
- Iggy — Watch the Chain Chomp’s facing direction to anticipate where it will pull Iggy’s carriage. Jump on Iggy when you have a clear landing, then move away from his shell and the charging Chain Chomp. The chase speeds up after each hit. Three stomps win the fight.