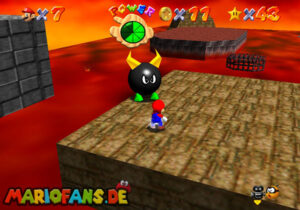
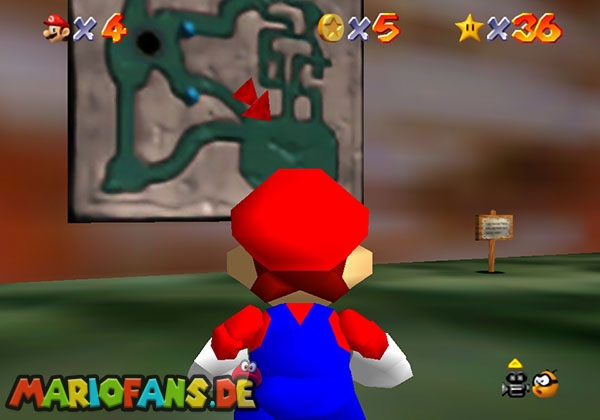
Mission 1: Swimming Beast in the Cavern
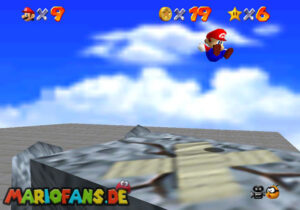
After entering the level, head to the left. Use a long jump (run + Z + A) to cross the gap.
Go through the door and follow the path to the right in the next room.
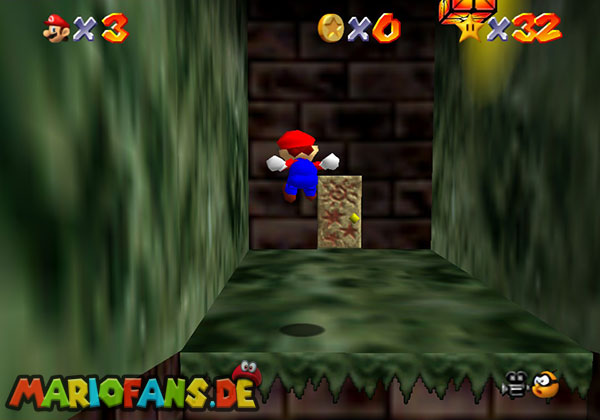
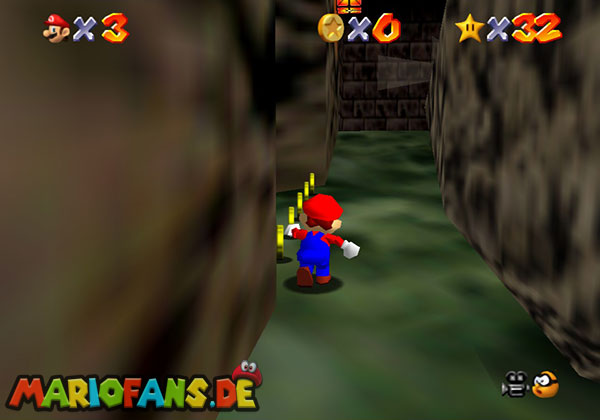
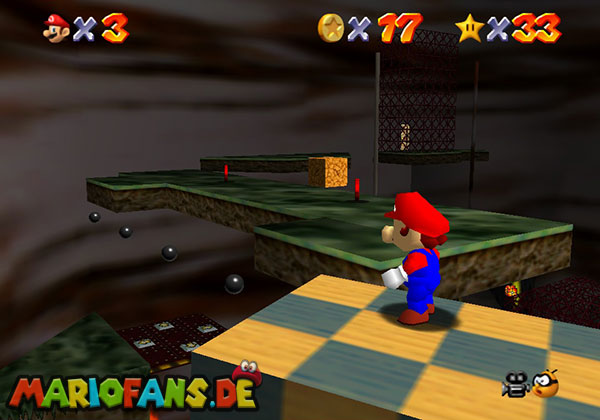
Continue along the path, jump over the small gap, and avoid the rolling boulders.
If you get hit, collect coins to restore health.
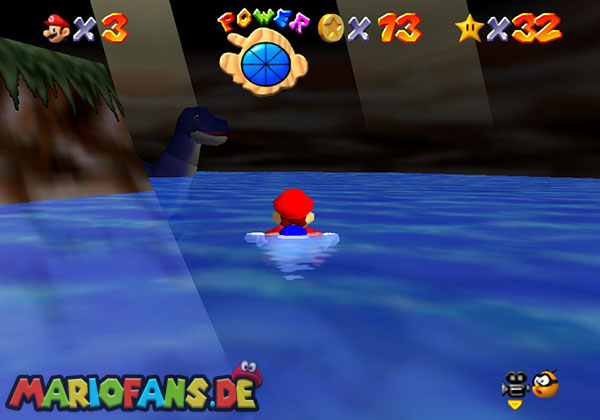
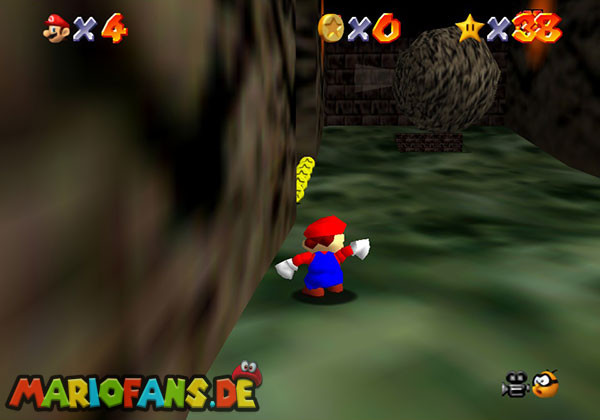
Go through the next door and take the elevator down. Once at the bottom,
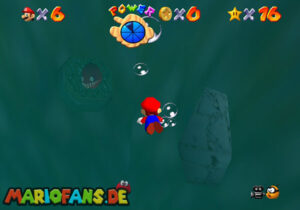
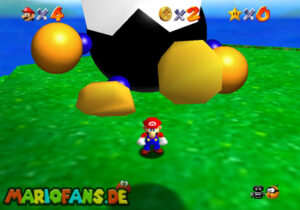
swim in the water until you find Dorrie (the sea creature).
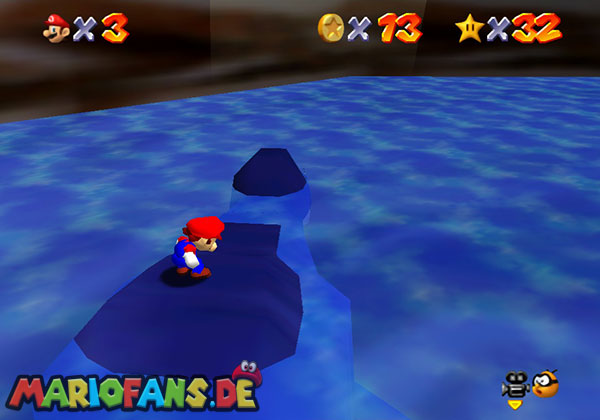
Climb onto her back and perform a ground pound (A + Z), then move onto her head.
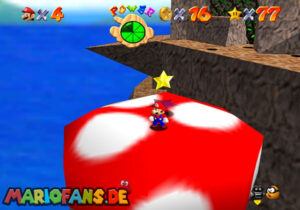
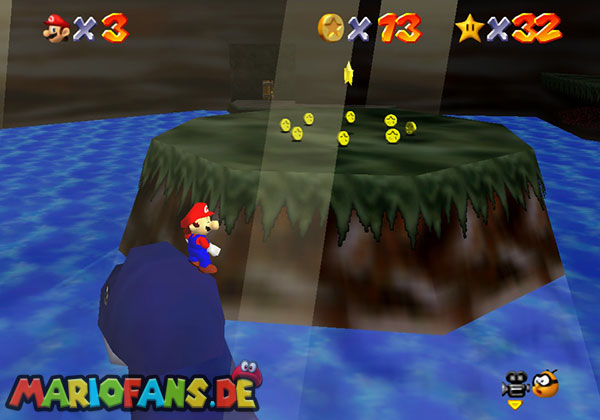
Dorrie will move depending on your position. Use her to reach the island and collect the star.

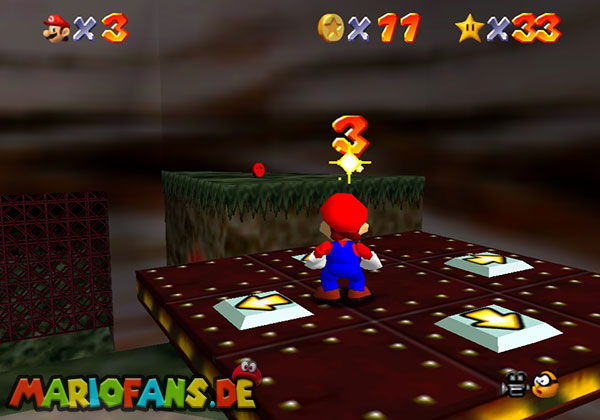
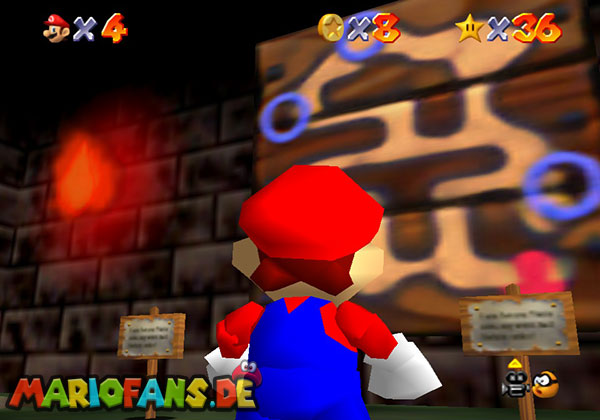

Mission 2: Elevate for 8 Red Coins
This time, go to the right until you reach a door and enter it.
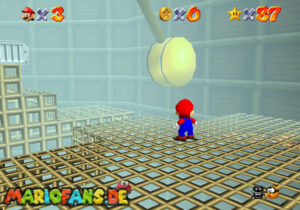
You will arrive in the area where all eight Red Coins are located.
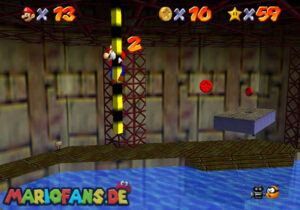
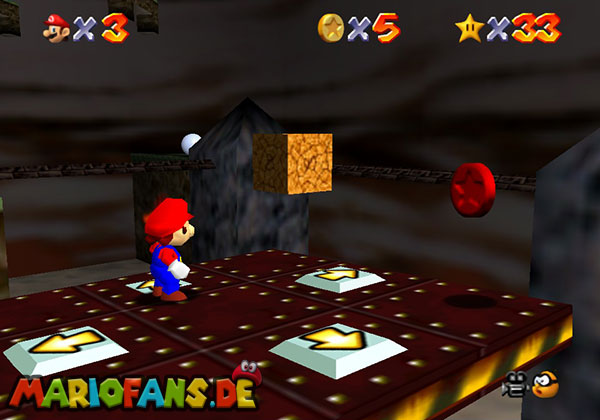
Drop down and head right to find a staircase. Climb up and use the moving platform.
Move it left first, then upward.
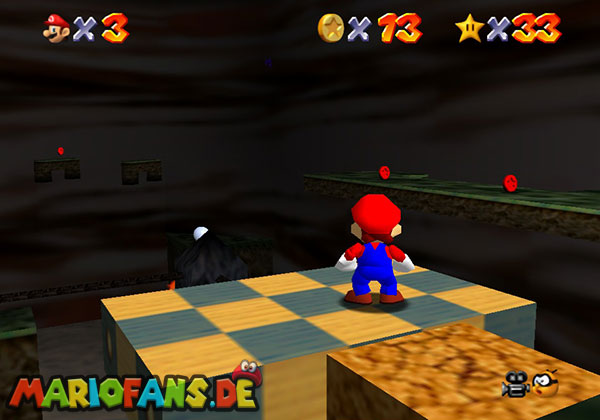
Break the brown blocks (B) to collect coins. Some of them contain Red Coins.
Carefully jump across to the pole while the platform is still moving.
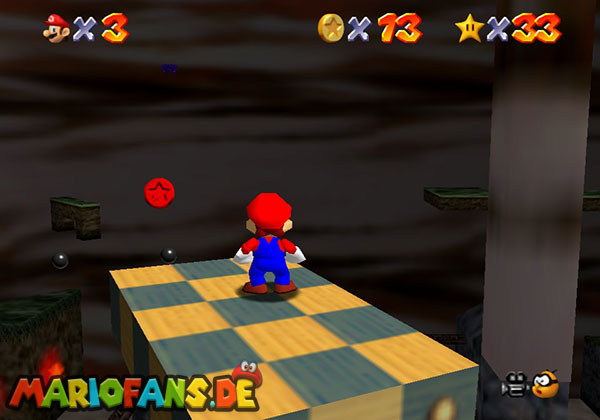
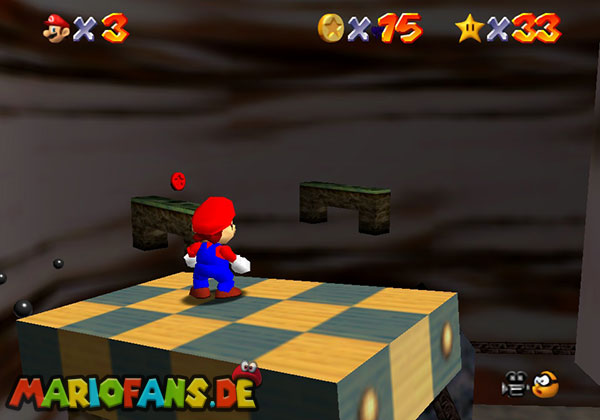
Continue collecting the remaining Red Coins across platforms and ledges.
Use the moving platform again to reach higher areas.
Once all eight coins are collected, the star appears in the center of the room.
Mission 3: Metal-Head Mario Can Move!
You need the Metal Cap for this mission.
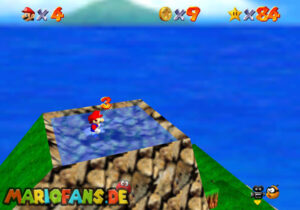
Go to the lake area as in Mission 1.
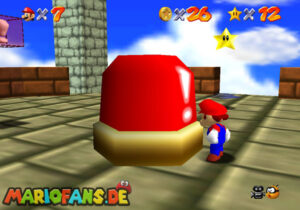
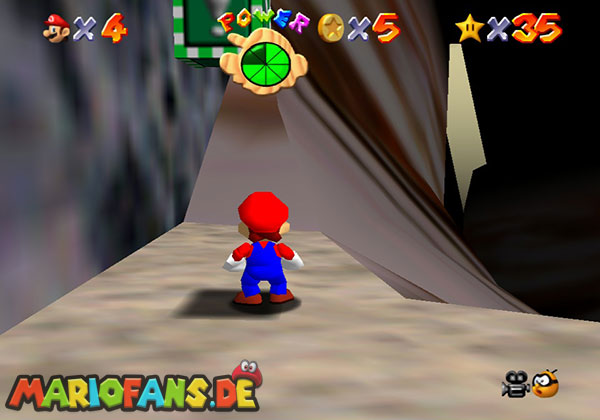
At the top near the elevator, you will see a green block.
Activate it to obtain the Metal Cap.
Quickly run along the path, which continues underwater.
At the end, activate the switch to open the gate.
Go through the door and cross the gaps using long jumps (Z + A).
At the end, collect the star.
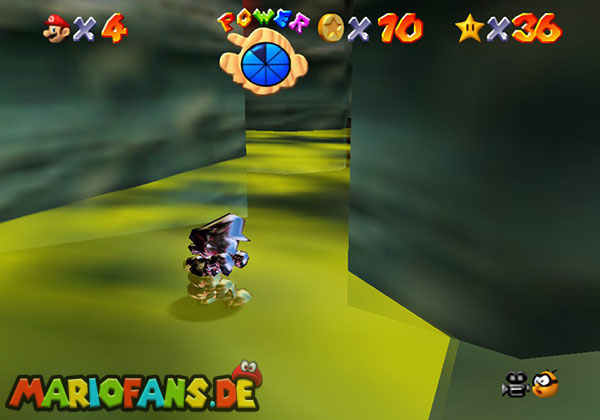
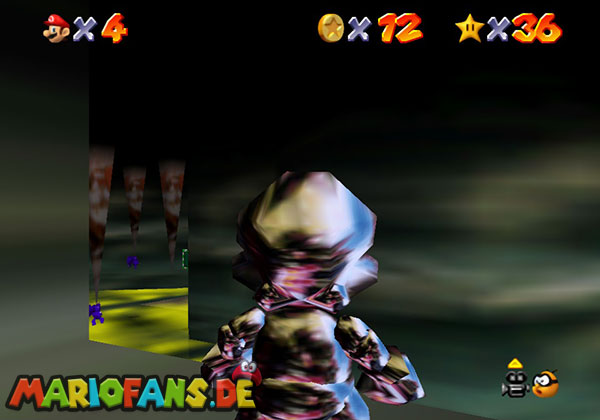
Mission 4: Navigating the Toxic Maze
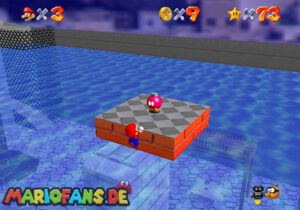
Return to the Red Coin area. There are three passages — take the middle one.
It leads to a wooden door and then into the toxic maze.
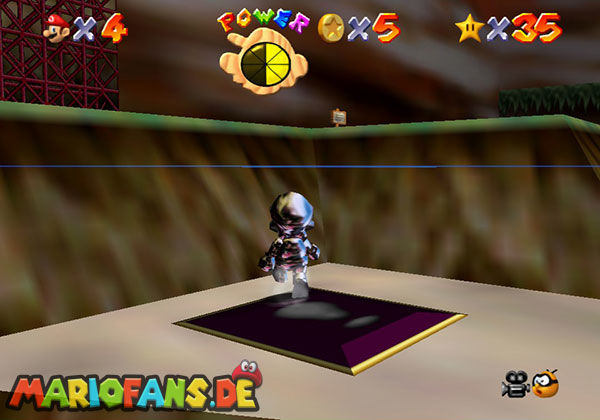
Before dropping down, check your map. Your goal is the blue circle at the top.
Once inside, grab the Metal Cap if possible.
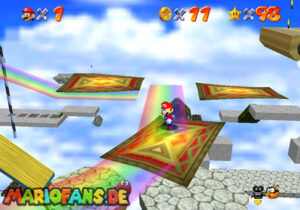
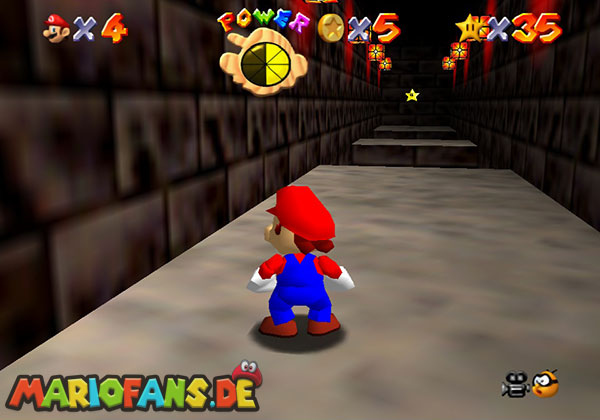
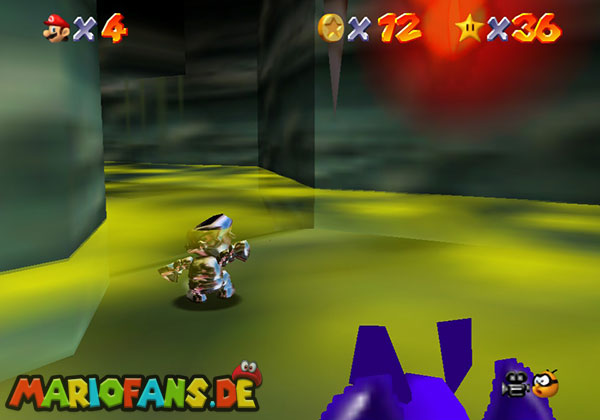
Navigate carefully through the maze, avoiding toxic gas.
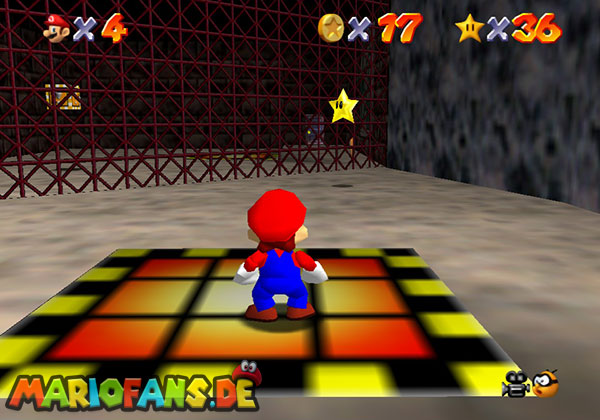
Follow the path toward the blue switch and continue upward.
Find the door above and use a backflip to reach it.
Take the elevator up to collect the star.
Mission 5: A-Maze-ing Emergency Exit
Return to the toxic maze. This time, your goal is the blue circle on the left side.
Grab the Metal Cap again and activate the blue switch.
The Blue Coins will guide you toward the emergency exit.
Follow the path, go through the door, and take the elevator.
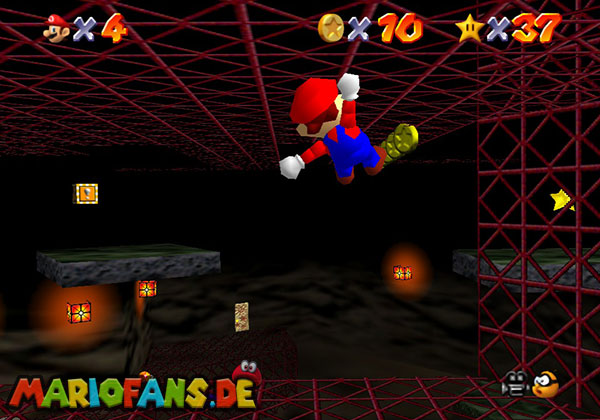
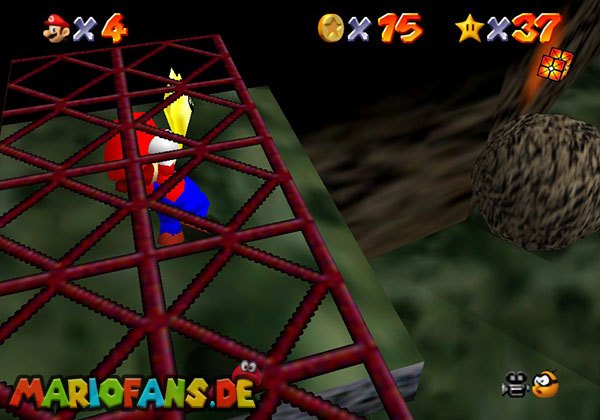
This leads you above the rolling boulders.
Hang onto the metal structure (jump + hold A) and climb toward the star.
Alternatively, skilled players can reach it with a long jump.
Mission 6: Watch for Rolling Rocks
This is one of the easiest missions. After entering the level, go right
and cross the gap with a long jump.
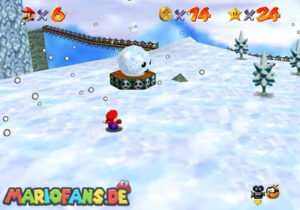
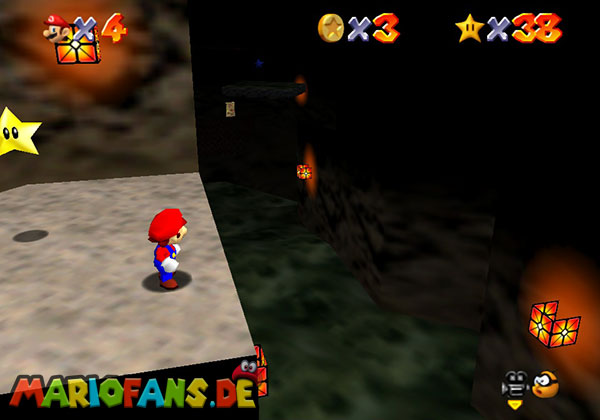
Follow the path to the rolling boulders, but do not enter the door.
Look upward to spot two openings.
Use a wall kick to reach one of them.
From there, either jump across or directly collect the star.
Extra: Collect 100 Coins
Collect 100 coins to receive an additional star. There are 139 coins available:
- 8 Red Coins (= 16 Yellow Coins)
- 47 coins from enemies
- 7 Blue Coins (= 35 Yellow Coins)
- 41 coins scattered throughout the level