

The Crystal Palace is the last big dungeon before Bowser’s castle and one of the cleverest areas in Paper Mario. Almost the entire palace is divided into two seemingly identical halves, separated by glass walls. What looks like a mirror at first is often none at all: On the other side are duplicators who imitate Mario and his partners. At the same time, switches, destroyed floors and displaced statues partially affect both sides of the palace. If you get lost, therefore, always orient yourself to the large entrance hall and remember whether you are currently on the front or rear side of the glass wall.
The mystery with the doors and the blue key
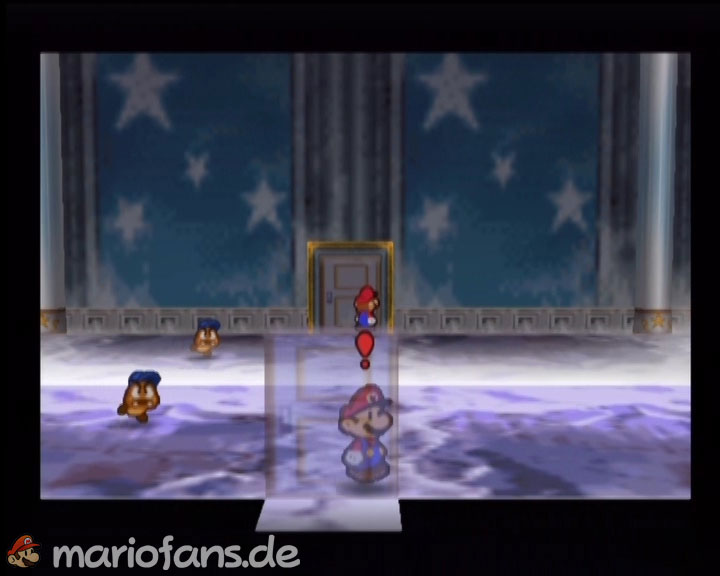
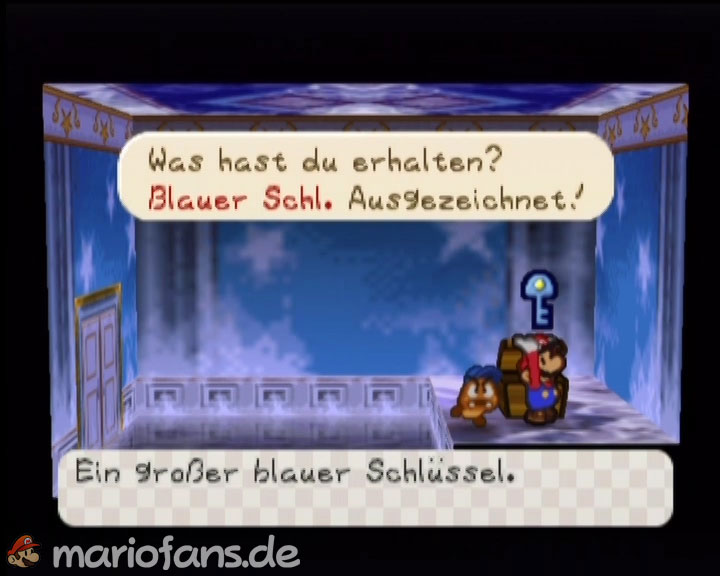
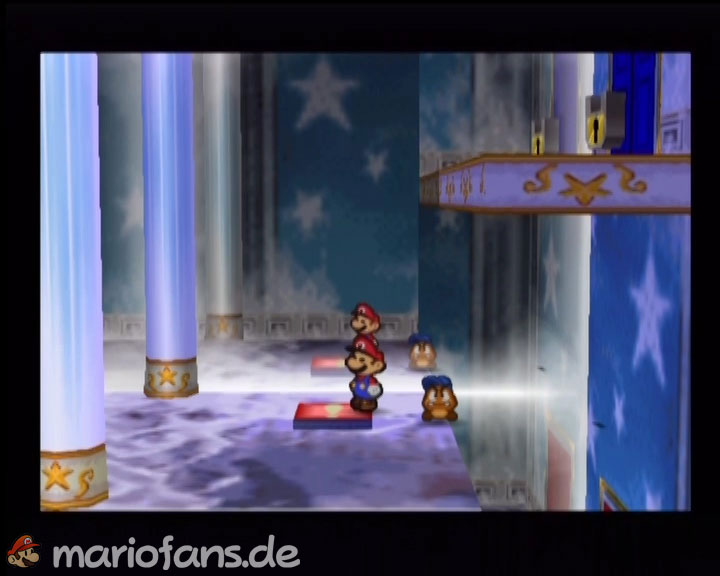
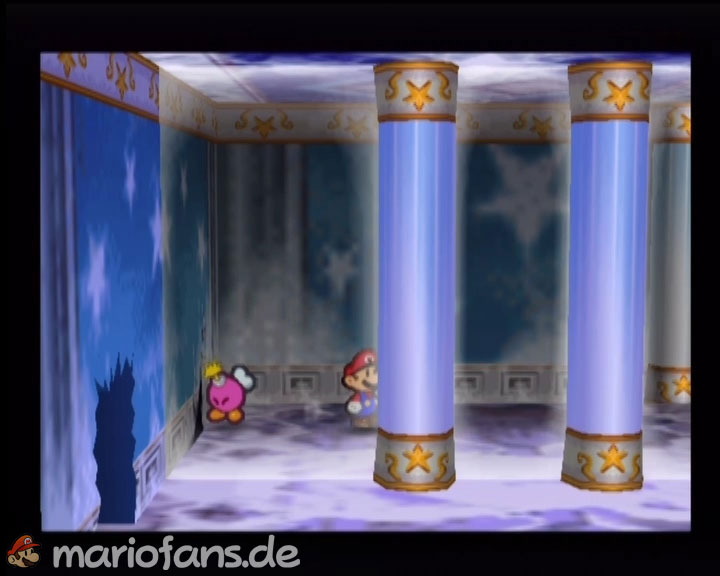
Enter the Crystal Palace and first walk through the door in the lower part of the entrance hall. Save your progress and follow the walk to the right. Here you will encounter for the first time the Swoopulas, a stronger variant of the bat opponents from the Dust-Dry Ruins. They first hang on the Blanket and suck Mario on a hit HP. At the end of the path is a treasure chest with the blue key. Return to the entrance hall and use the ultra jump on the red floor switch. As a result, the locked blue door moves downwards and can be opened with the key.
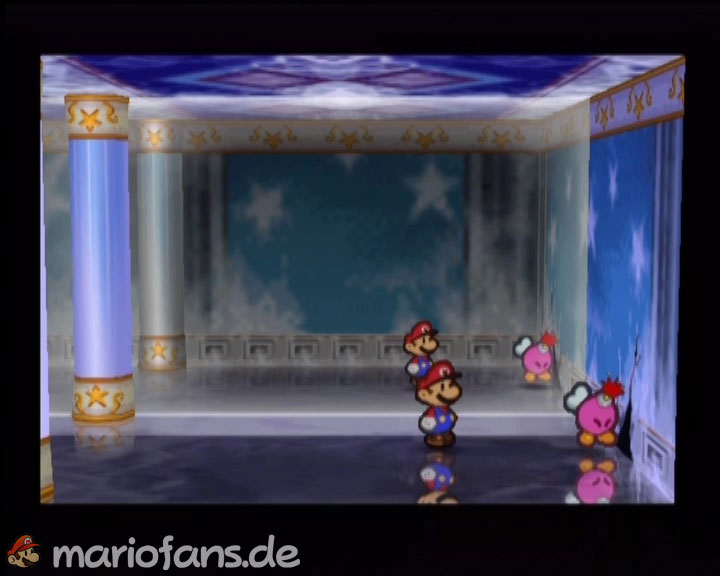
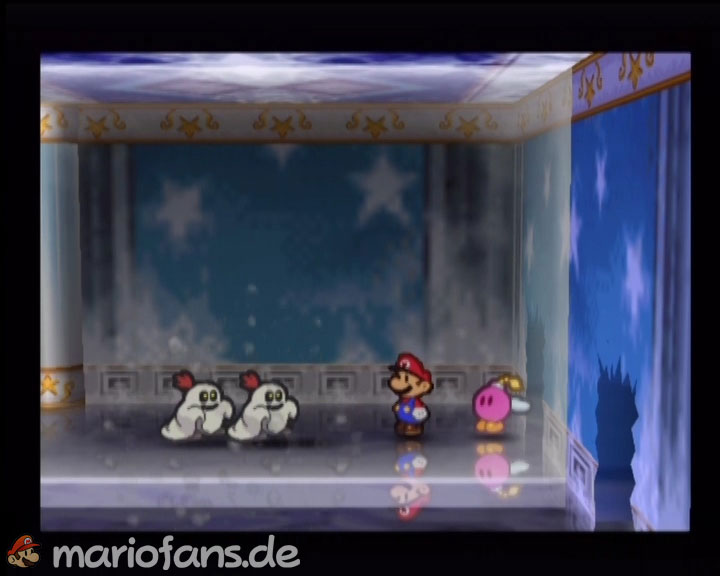
Follow the new path to the right and blow up the cracked wall with bombette. Shortly afterwards you realize the actual trick of the palace: between the glass walls there is a gap, through which Mario can switch to the supposed mirror side. Go through it and also blow up the cracked wall on the rear side. There is already a false mirror image of Mario and Bombette, which turns out to be duplicative spirits. Defeat them and follow the path back to the other side of the entrance hall. Leave the palace here to the left. In a small cave outside lies a Star Piece. Then it goes back in.
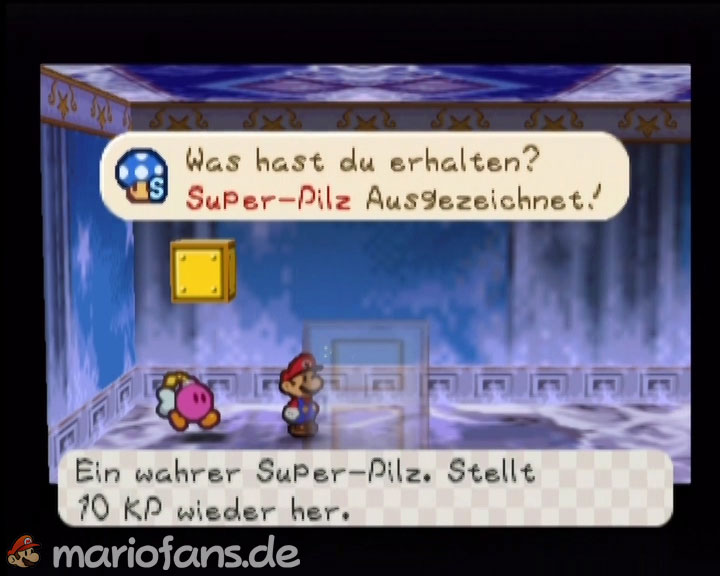
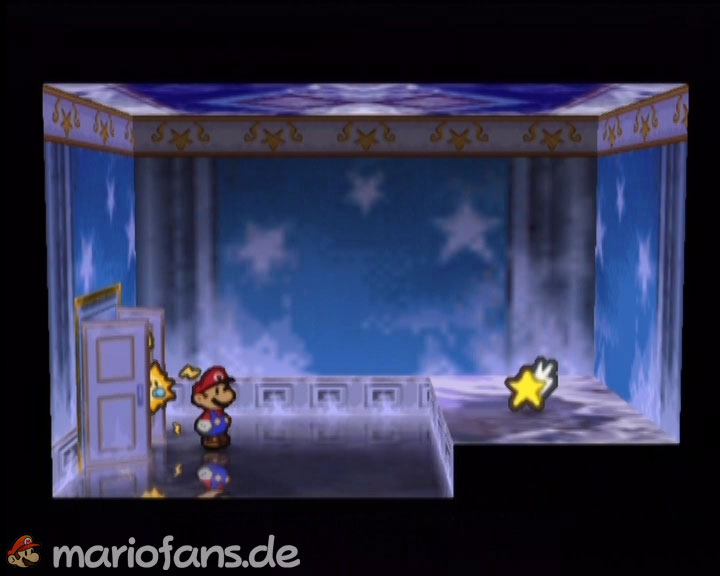
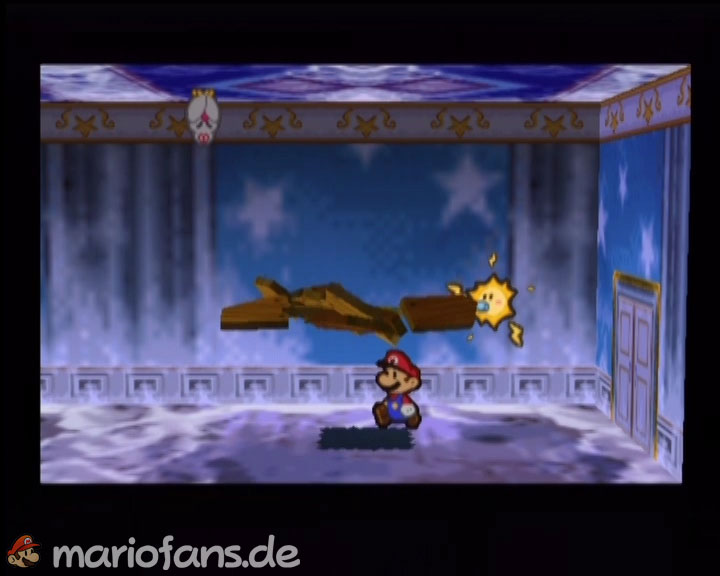
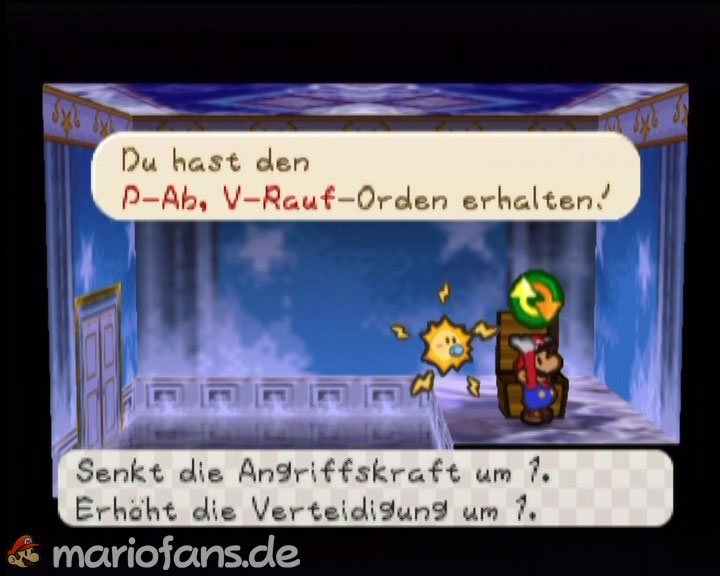
Now take the small door on the back of the entrance hall. In the next room you will find a super mushroom and a wooden floor. Break this up with the vortex or ultra jump and let yourself fall down. Follow the lower aisle to the right, complete the swoopulas and open the treasure chest at the end. Therein lies the badges P-Ab, V-Rauf. He lowers Mario’s attack power by one point, but increases his defense by one point and only needs 2 OP. Then returns to the top over the jump field. Via the normal upper gear you can also collect a star storm.
Then go back to the entrance hall, save and take the lower path again. Due to the previously destroyed ground, an opening now also exists on the opposite side. Drop down there and follow the corridor until Bombette blows up another cracked wall. As soon as she returns, suddenly five bombettes stand in front of Mario. Four of them are duplicators. The real bombet stands in fourth position from the left. If you expose the wrong bombettes with the hammer, you can avoid the fight. On the other hand, if you deliberately beat the real bombet, you have to fight against all four duplication spirits and can earn additional star points. After that, it goes through the blasted wall to the treasure chest with the red key.
The Red Door and False Mirrors
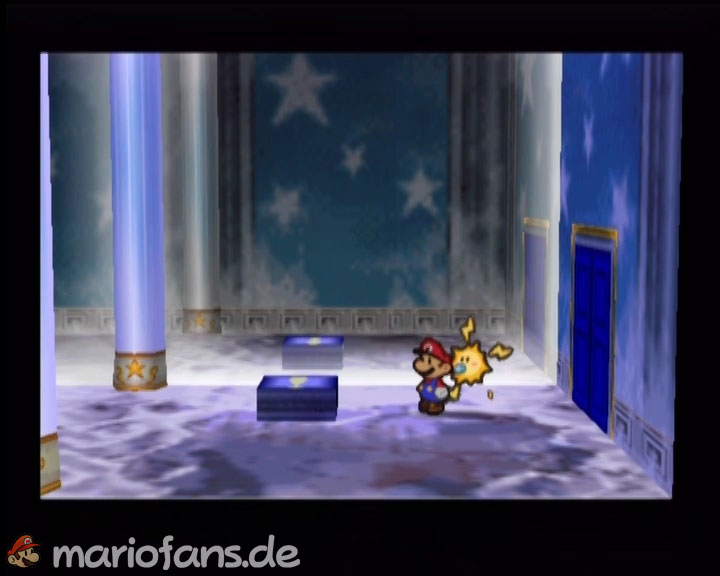
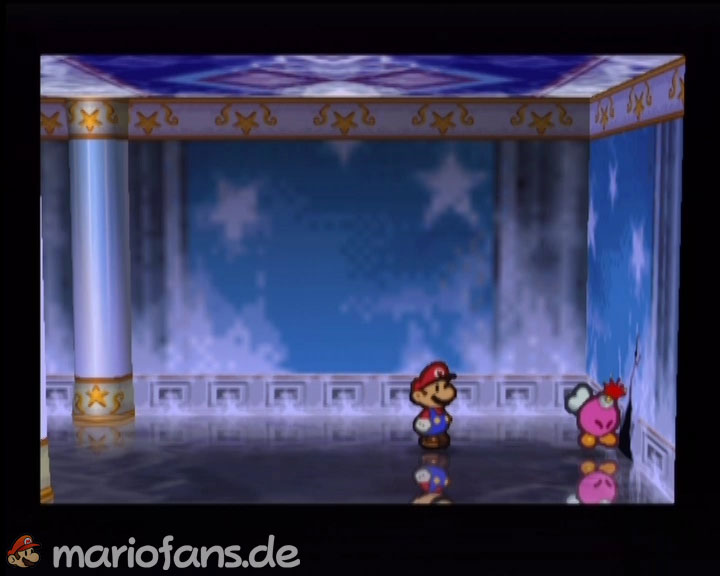
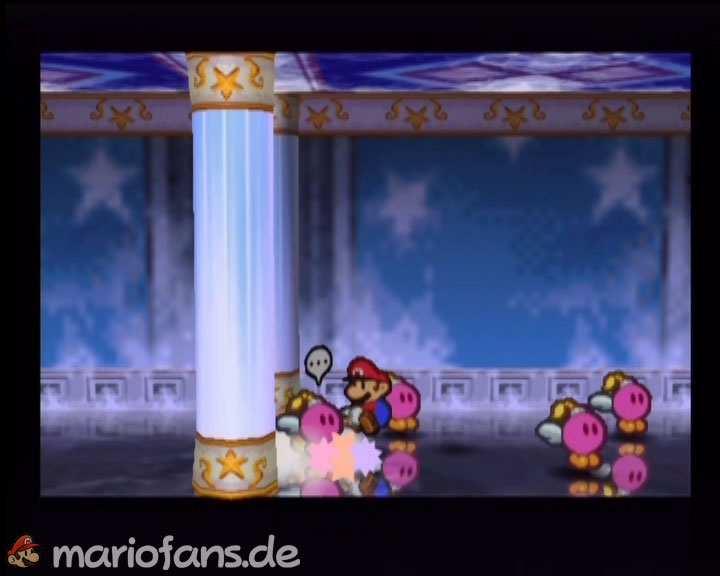
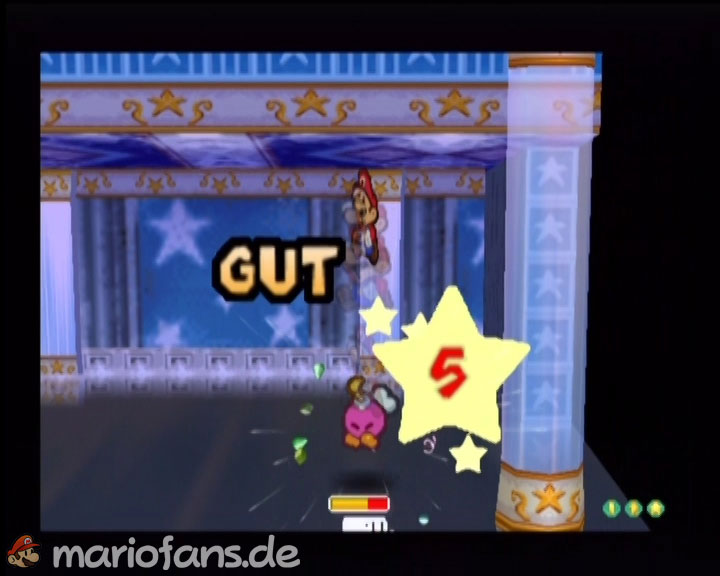
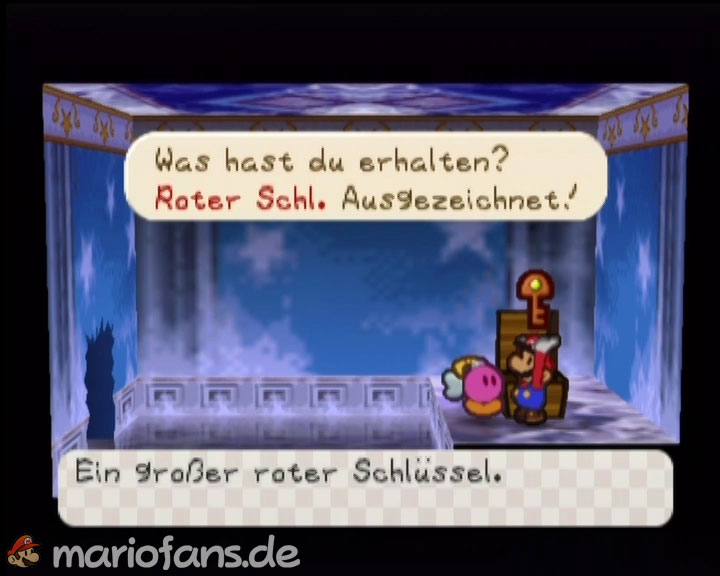
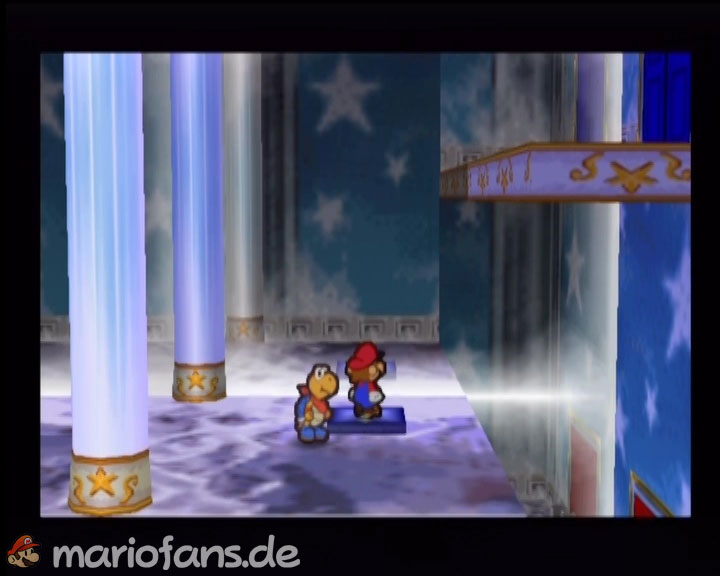
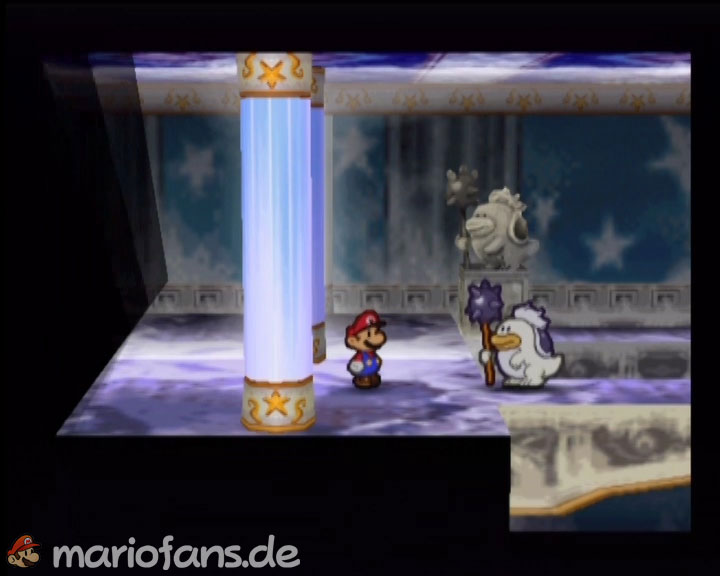
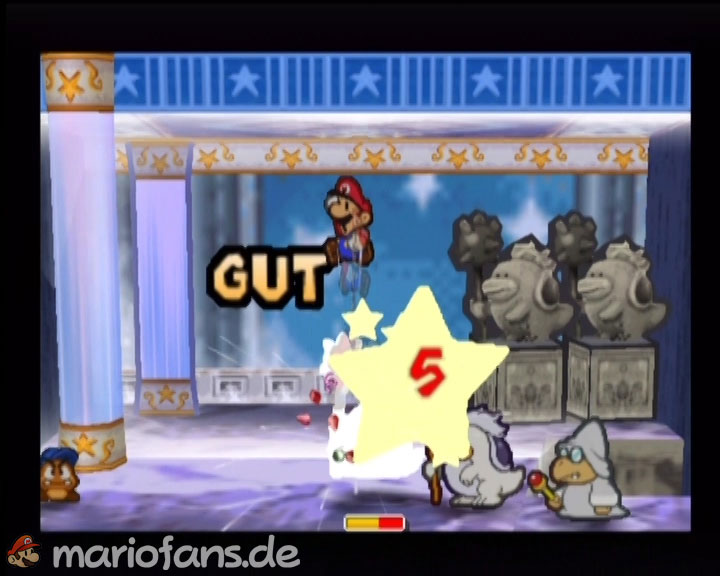
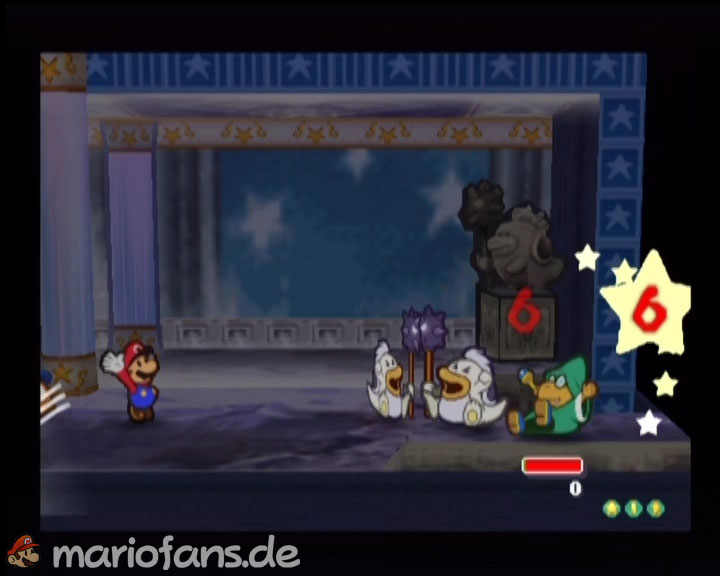
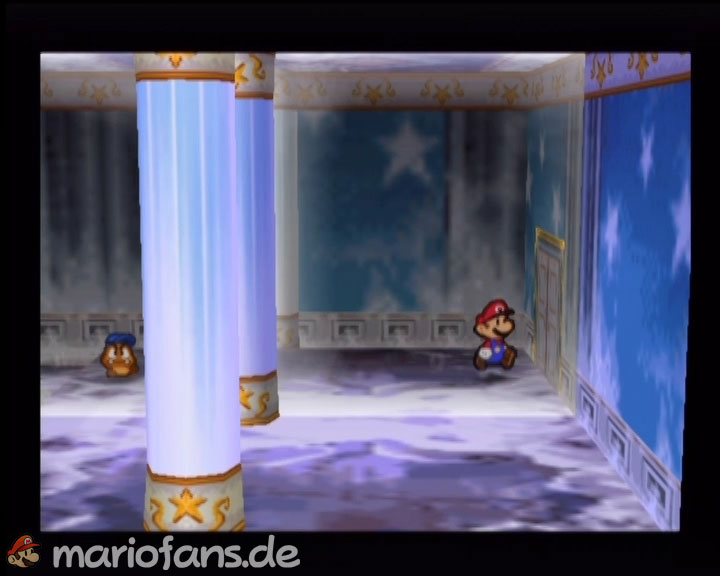
Return to the entrance hall and activate the floor switch again so that this time the red door can be reached. Unlock it with the red key and follow the path. In the next large mirror section, several White Clubbas are waiting together with different colored Magikoopas. You should not avoid the battles: On the other side of the glass wall are matching Clubba statues, and each defeated opponent pair makes one of these statues disappear. In these battles, take care of the Magikoopas first, as they can reinforce their allies, make them invisible or otherwise support them. If all three groups are defeated, the way is clear on the mirror side.
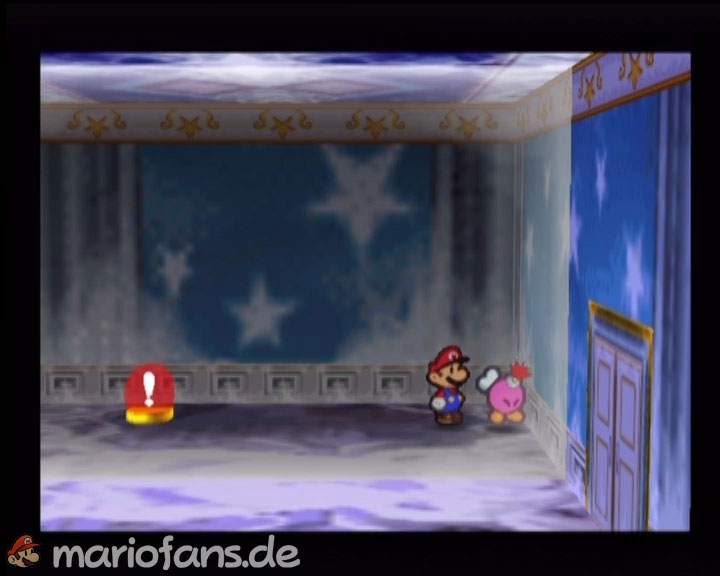
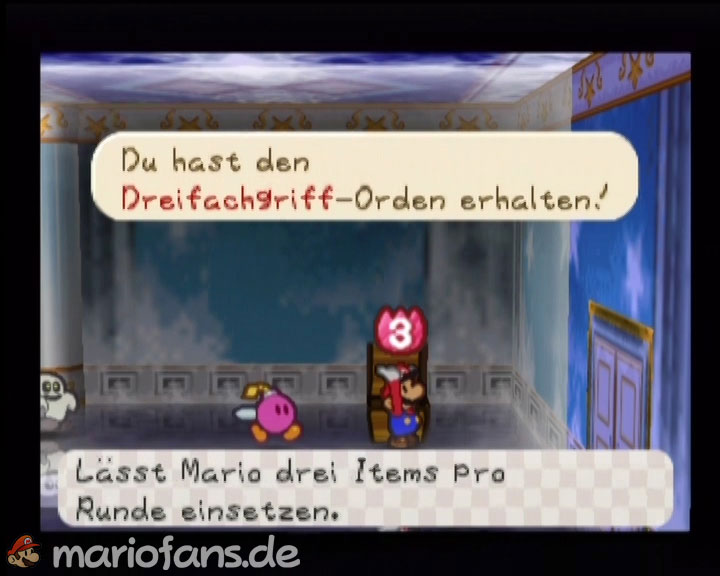
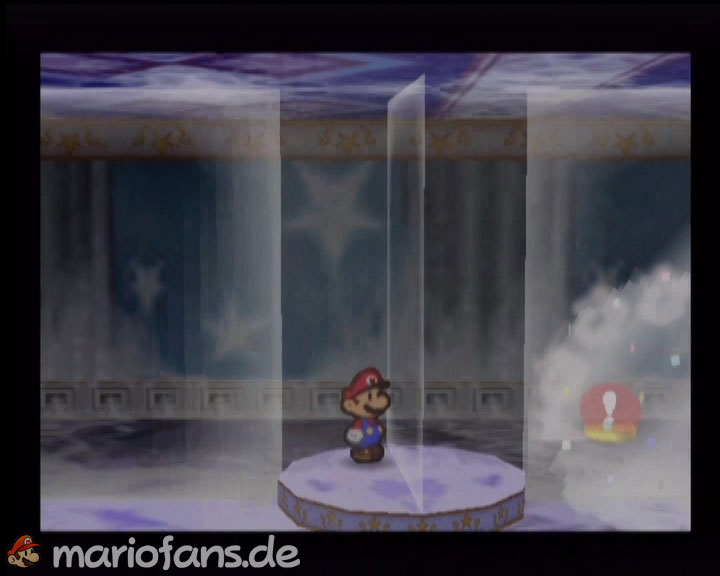
Changes through the gap between the glass walls to the other side and goes through the upper right door. Explode there the seemingly normal wall with bombette. Behind it awaits a duplication spirit and then a treasure chest with the Badges triple attack. With this badge, Mario can use three items in the same round for 6 BP. Return to the red switch. Now some timing is required: Put Bombette next to the switch and put Mario immediately on the round rotary platform. As soon as Bombette explodes and activates the switch, the wall rotates and transports Mario to the other side.
Follow the path to the right. Shortly afterwards you have to shoot cooper through a small opening in the wall. When he returns, suddenly several supposed Koopas or acquaintances are in front of you: Luigi, Kolorado, Goompa and Mekoopalem are of course duplicative spirits, while only Kooper himself is real. If you simply edit the four obviously wrong characters with the hammer, you can go on without a fight. Who wants additional star points, beats instead cooper and then fights against the four duplication spirits. Then continue through the opening.
In the following mirror space there is a blue switch on the opposite side. Set up Mario to look through the glass wall and shoot co-opers through the small opening. His supposed mirror image hits the switch on the other side and a bridge appears. Cross it and follow the path through the palace.
P-Rauf, V-Ab and the Palace Key
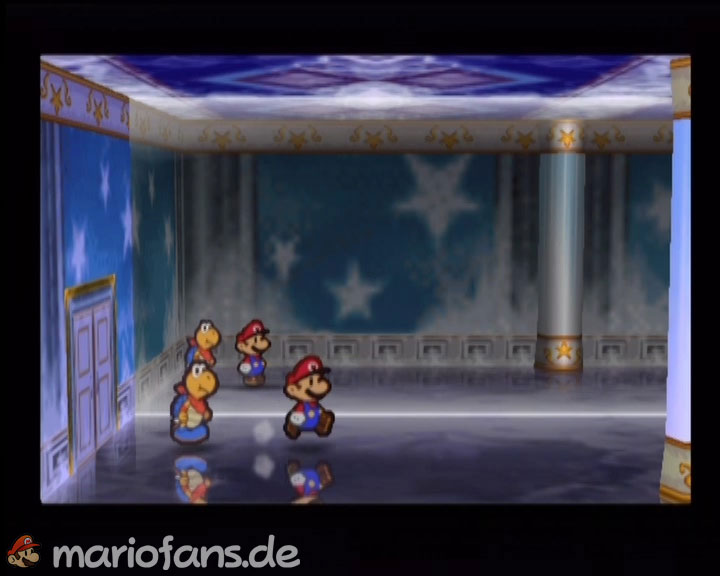
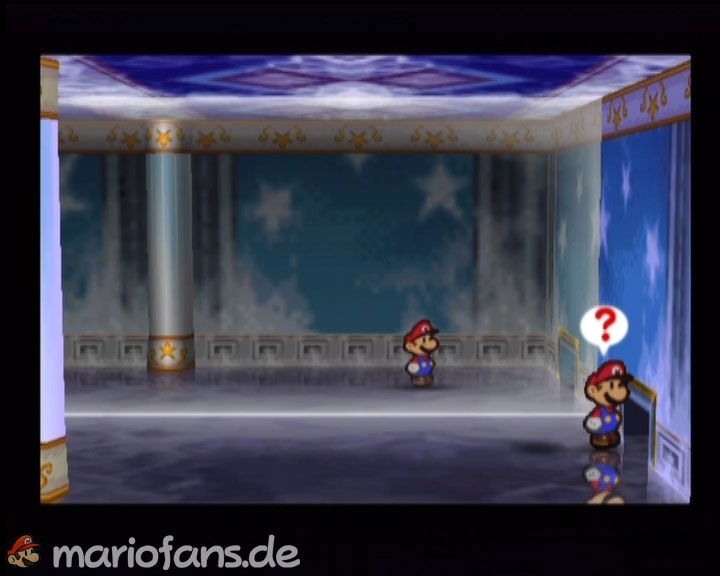
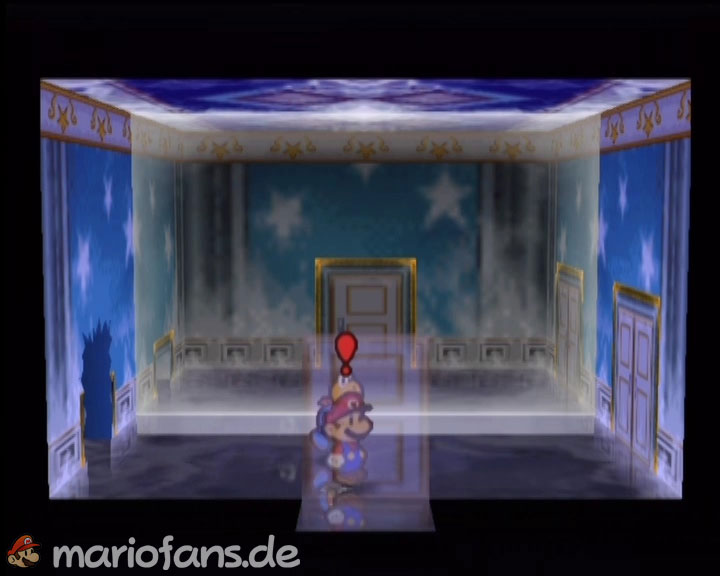
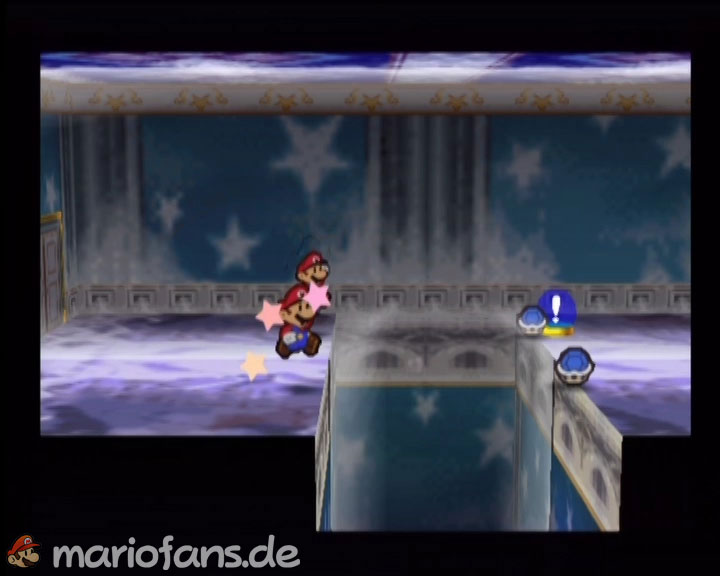
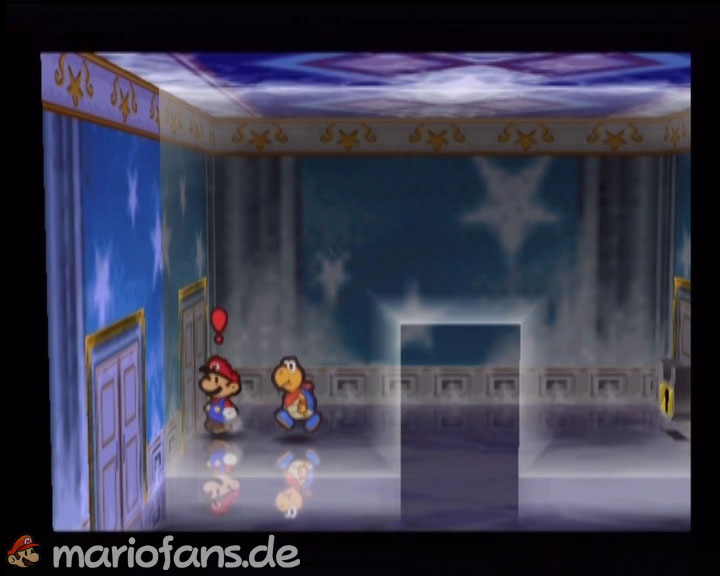
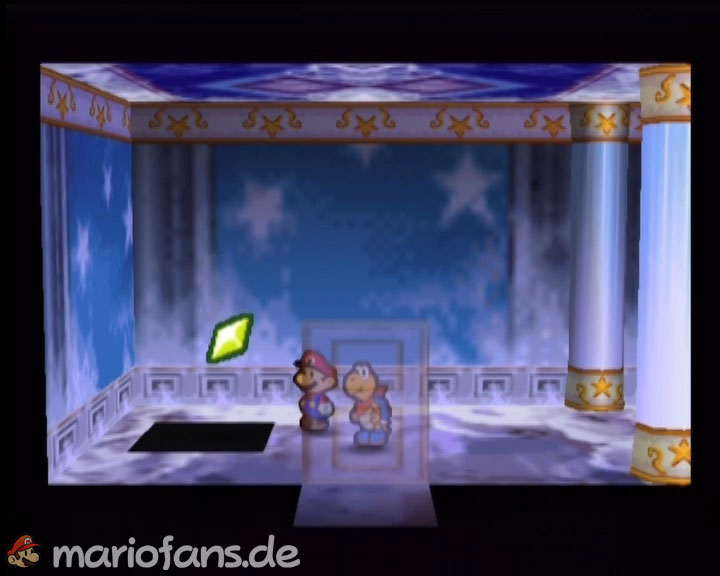
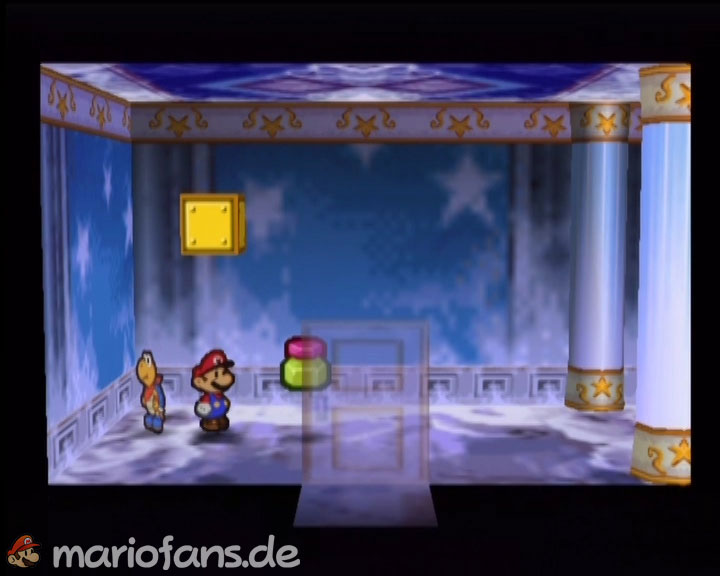
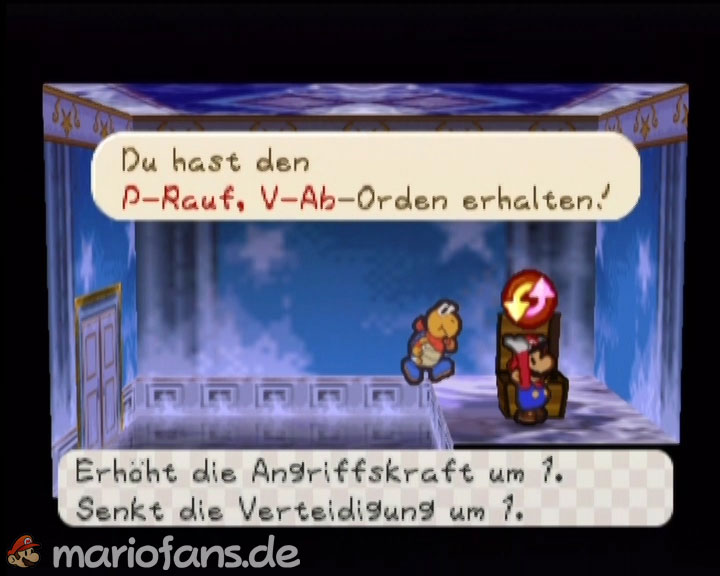
From now on we alternate several times between the front and back of the palace. In one of the northern rooms you should use Watt. She makes a high-floating invisible? Block visible that you can hit with the ultra boots. Inside is a rare Jammin‘ Jelly that restores 50 BP. Then examine the floor under this block: Under a hidden plate lies another Star Pieces.
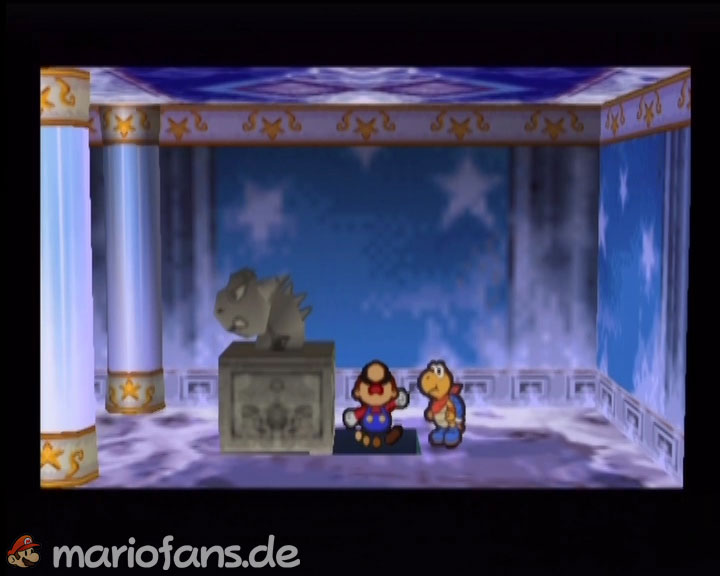
On the right in the same section is a small statue of albino dino. Push it aside and a pit opens underneath. Drop down, follow the lower aisle and open the treasure chest at the end. In it you will find the Badges P-Rauf, V-Ab. It works exactly the opposite of the previous badge: Mario’s attack increases by one point, but his defense decreases by one point. Applying both badges at the same time would of course be nonsensical, since their effects cancel each other out.
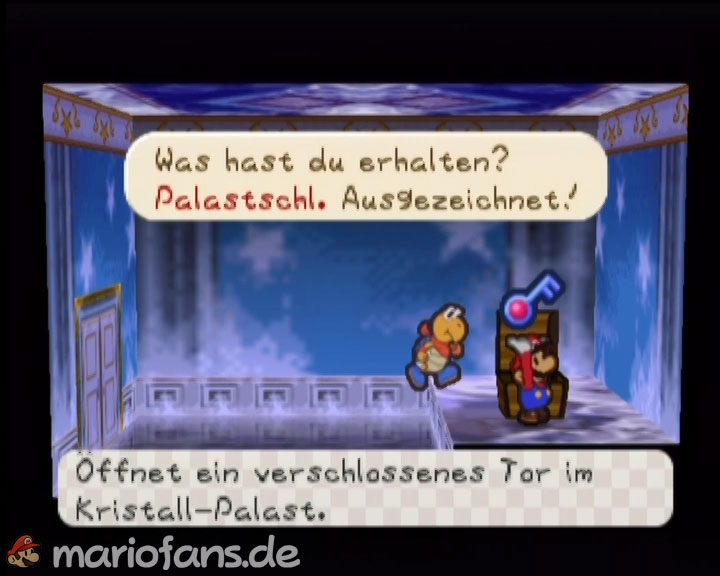
Return to the front of the palace. In the corresponding mirror room you will find a Maple Syrup instead of the Jammin‘ Jelly. Also under this block hides a floor plate with another Star Pieces. Behind the large dino statue is now also a pit due to the displacement of the small statue on the opposite side. Jump down and follow the aisle. After another duplicity, you reach a treasure chest with the palace key.
Return to the large room with the two closed doors. Both ultimately lead to the same section, so you can open one of them with the palace key. With this you reach the last great mystery of the Crystal Palace.
The Last Mystery with the Albino Dinos
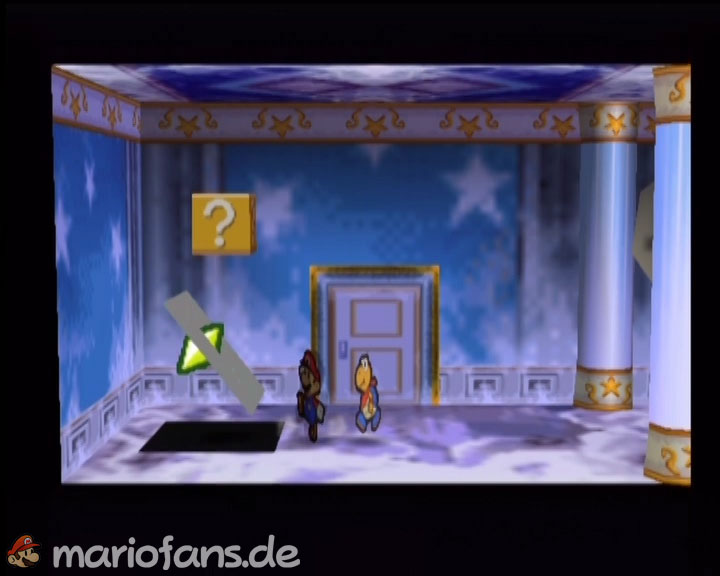
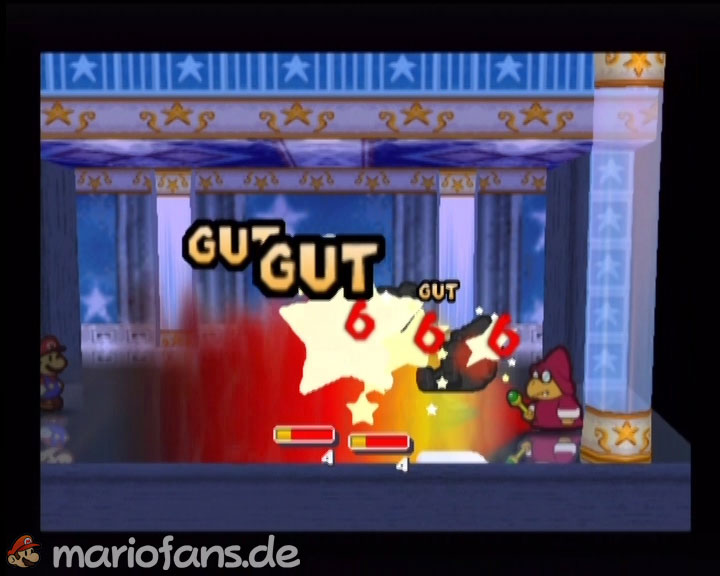
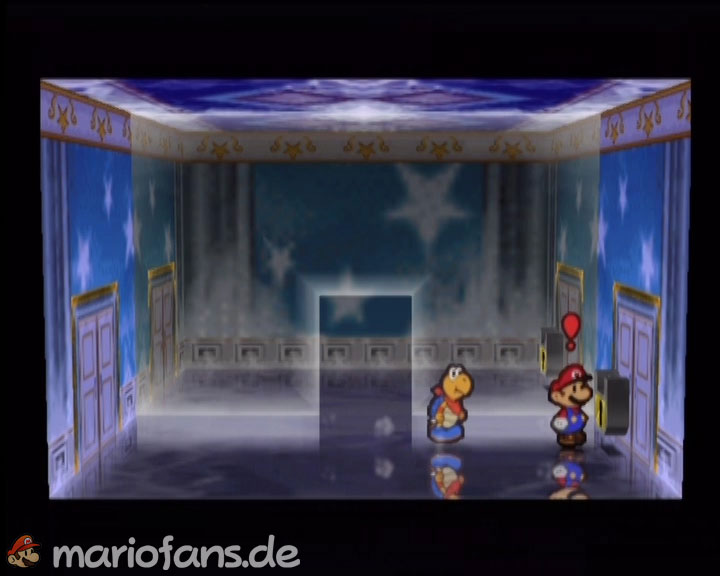
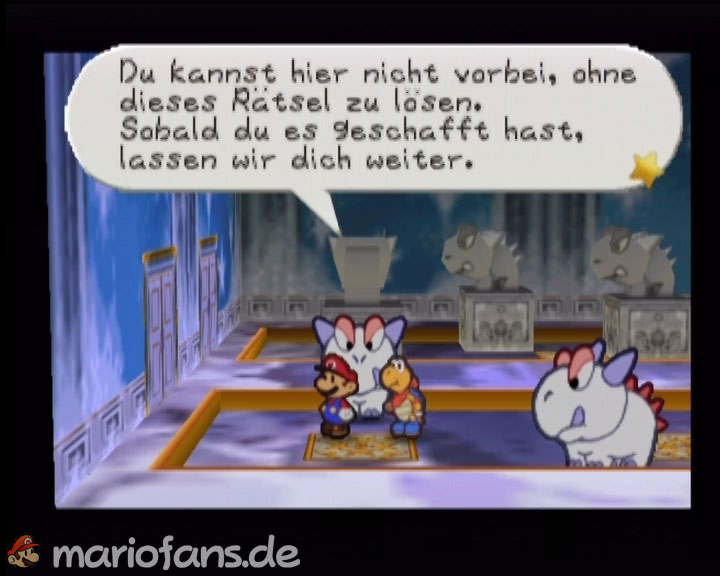
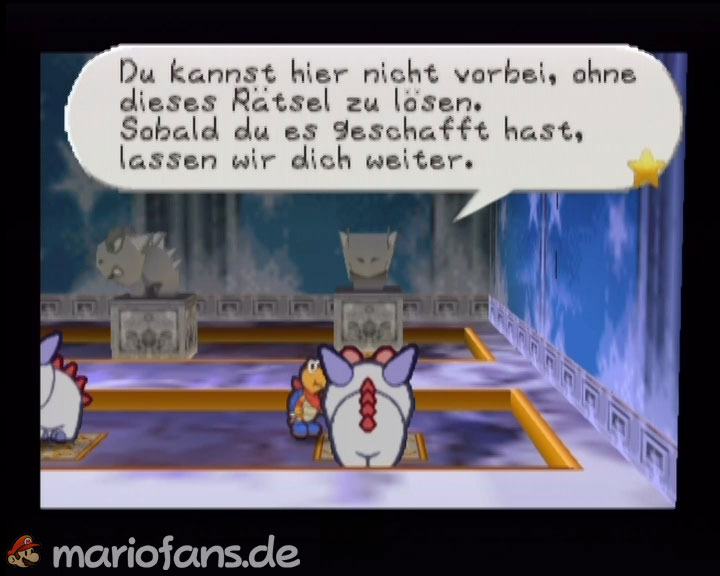
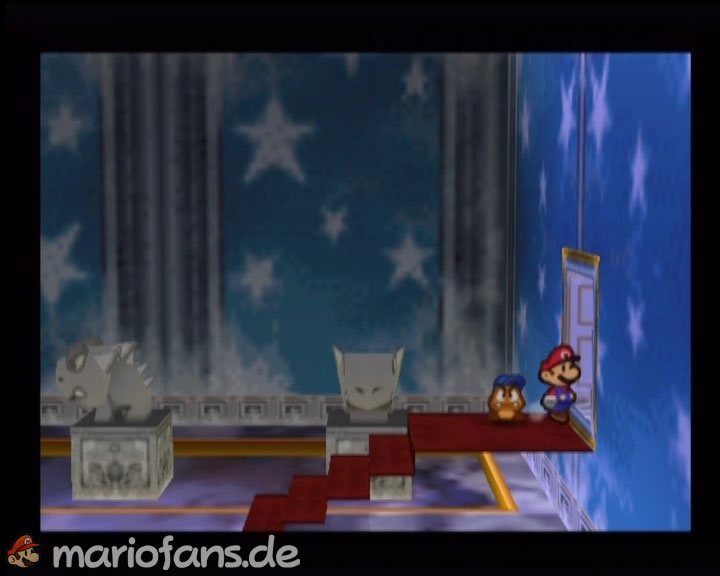
In the room stand on one side three living albino dinos and on the other three matching statues. In front of the statues are three square fields. The goal is simple: all three statues must land on these fields. The trick is that the real albino dinos and their respective statues are connected. Speak to her a dino from a certain direction, his statue rotates accordingly. If you push a statue, the accompanying living dino moves again.
Start with the left dino. Speak to him from below so that his statue aligns accordingly, and then push the left statue up a field. After that, speak to the left dino from the left side and push his statue left onto the first field. At the middle dinosaur, you first address him from the right and push his statue a field to the right. Then push the real middle dino four squares to the right, address him there from above and then push his statue one square down onto the right. The remaining statue in the middle you now only have to push one field to the left on the last free field. Once all three positions are in place, a large staircase moves out of the ground.
Go up and walk through the last door. Behind it are a heart block and a Save Block. Heal Mario completely, fill up your BP and sort out the badges for the upcoming fight. Power Plus, Vert.-Plus, Damage Dodge and Quick Change are particularly helpful. Watt is an excellent choice as a partner, as her electric shock ignores the boss’s high defense. Lakilester, on the other hand, can hit several targets simultaneously with his Spiny litter, which will also be useful later on.
Bosskampf: Crystal King
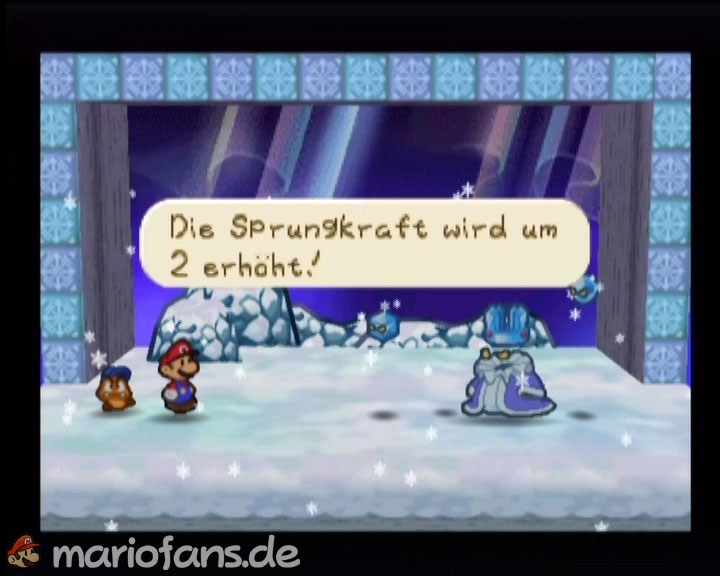
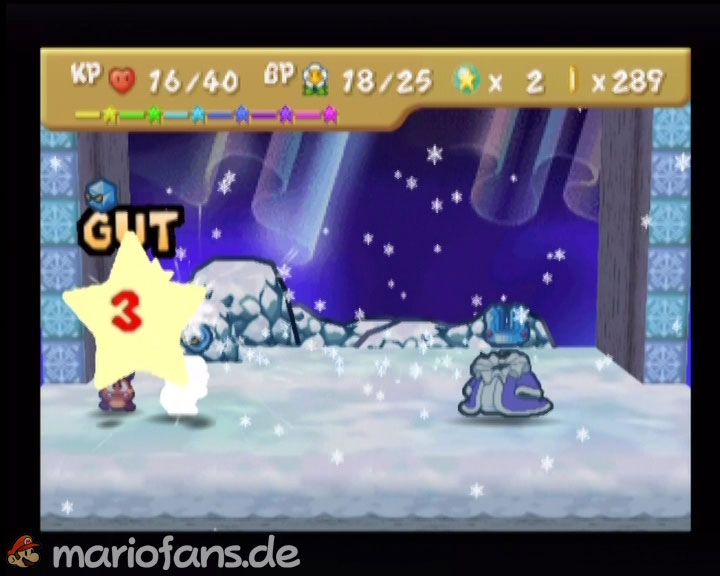
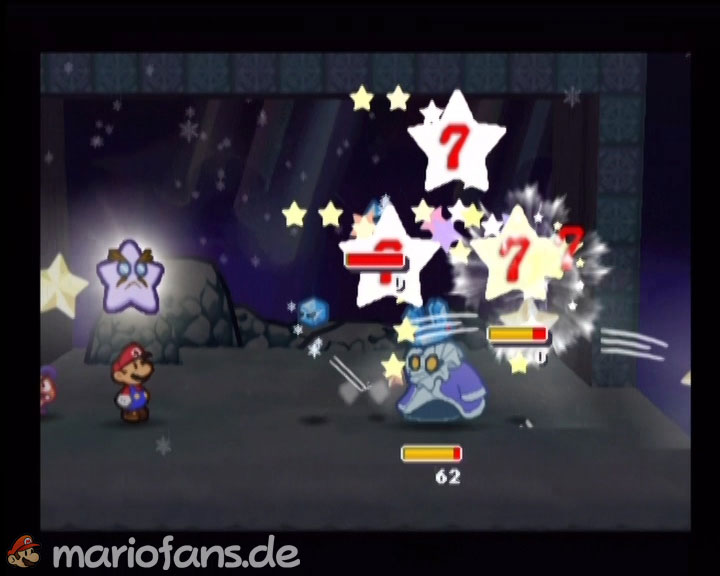
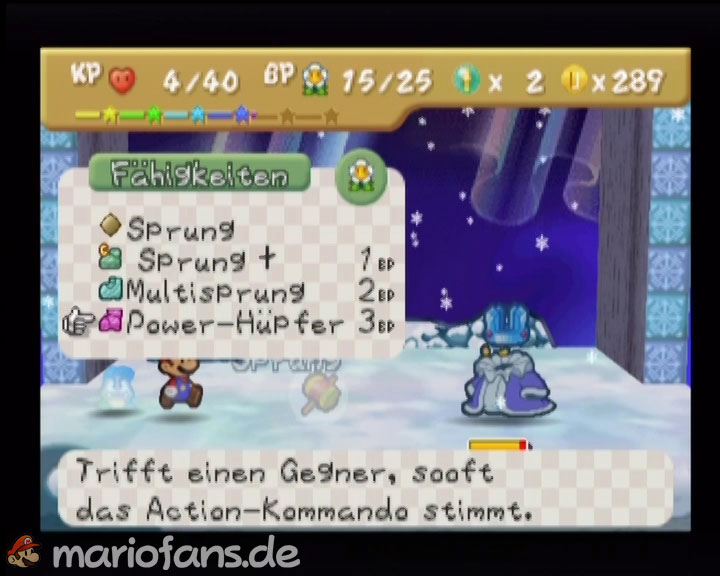
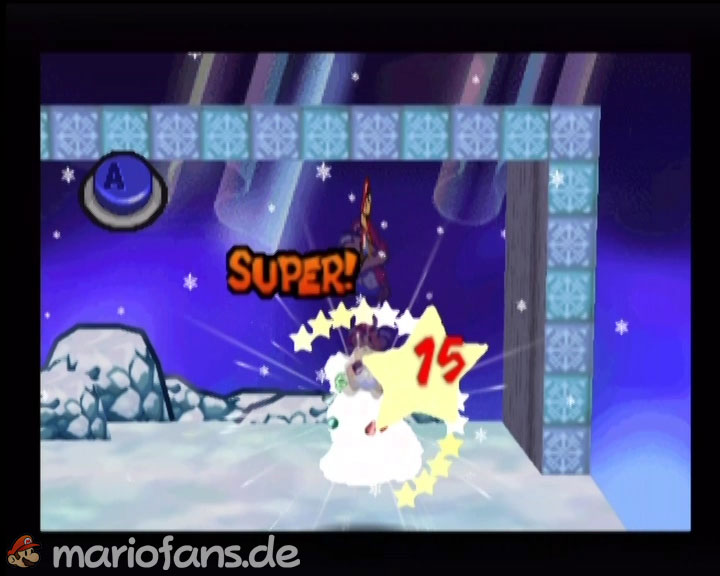
Go outside and follow the icy path. Shortly afterwards, the previously invisible ruler of the palace appears: the Crystal King. He guards Friedstar and is one of the stronger bosses of the game with 70 HP, 6 attack and 2 defense. The struggle consists roughly of three phases. At the beginning, the Crystal King is accompanied by three splinters of ice. Each has only 1 HP, but the boss can suck them in and then individually hurl them at Mario. Each splitter causes up to 4 damage. Watt is therefore particularly strong at the beginning: your electric shock completely ignores the 2 defense of the Crystal King and causes reliable damage. Fire attacks are also a good choice, especially Kooper’s fire tanks.
| Name | Max. HP | Attack | Defense |
|---|---|---|---|
| Crystal King | 70 | 6* | 2 |
| Ice fragments | 1 | 4** | 0 |
*His stronger ice storm attack can cause up to 8 damage. **The Crystal King throws up to three splinters of ice at Mario in succession.
Once you have done enough damage to him, the Crystal King changes his tactics. He now fires a jet of ice that can cause 6 damage and freeze Mario for several rounds. Therefore, try to meet the action command for defense. Later, the boss also creates two identical copies of himself. Only one of the three Crystal Kings is real; attacks on illusions simply pass through. Instead of guessing, it is best to use an attack that hits all enemies at the same time. Lakilester’s Spiny litter, a Star Storm or other surface attack automatically hits the real Crystal King and makes both copies disappear. If you don’t make it in time, the entire group can unleash a strong ice storm that causes 8 damage.
Particularly common is its healing ability. If its energy drops far enough, the Crystal King can regenerate 20 HP. He can do this twice in the entire fight. Do not let this irritate you and stick to your strategy. Watt causes constant damage while Mario uses his strongest hammer or jump attacks. Star power cooling can also help lower its attack.
In the final phase, the Crystal King begins to float and now produces its copies in the air as well. Normal hammer attacks no longer reach him. Switch to jump attacks, Watt or Lakilester and use a surface attack again as soon as the three crystal kings appear. A starstorm is almost perfect: it hits all targets and immediately reveals which opponent is real. As soon as the proper crystal king is damaged, the copies disappear again and it sinks back down. If you prefer a fast offensive strategy, you can alternatively charge Mario’s jump with jump+ or S.-jump+ several times and then use a strong power daze. Just make sure to keep enough HP for his ice beam and the ice storm.
If you have completely dismantled the 70 HP despite his two healings, the Crystal King dissolves and Mario can finally free the seventh and last High Star Friedstar. Thus, all seven High Stars are reunited. Chapter 7 is over – and for the first time since the adventure began, Mario now has the power to confront Bowser’s Star Wand.
The road to the final is free.