

The first steps in the dust dry ruin
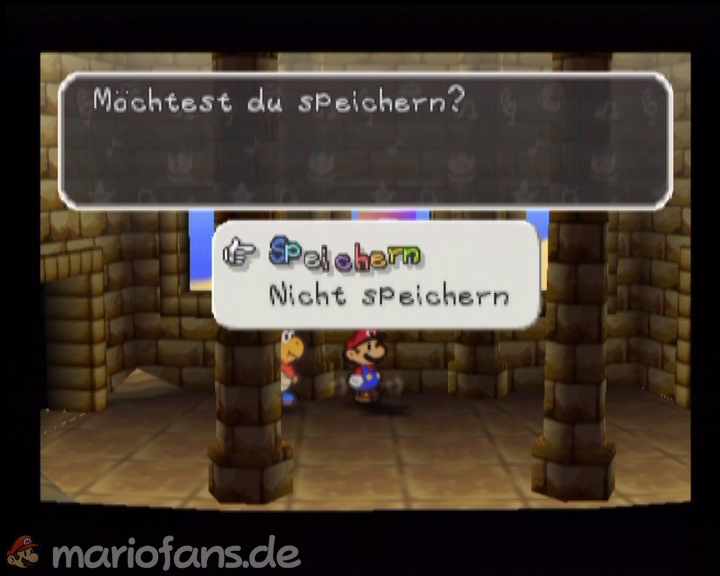
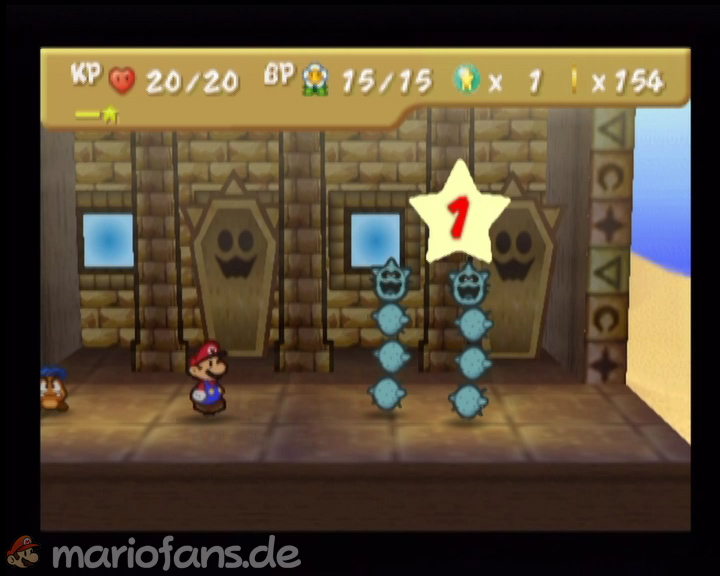
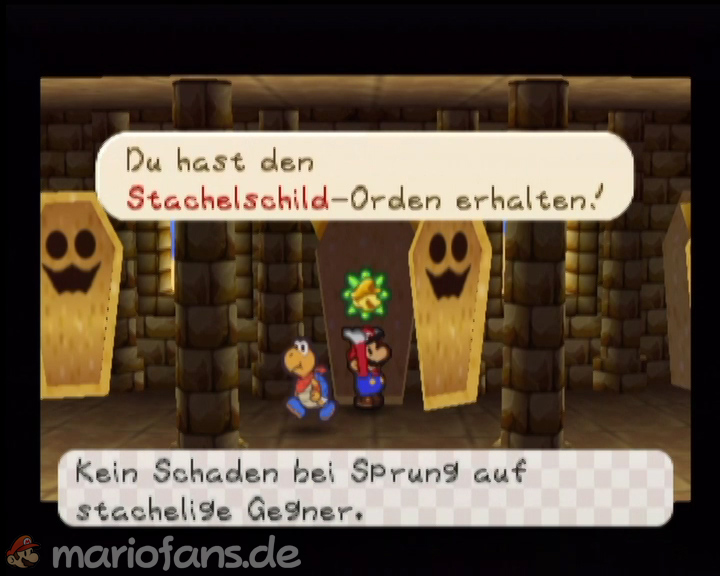
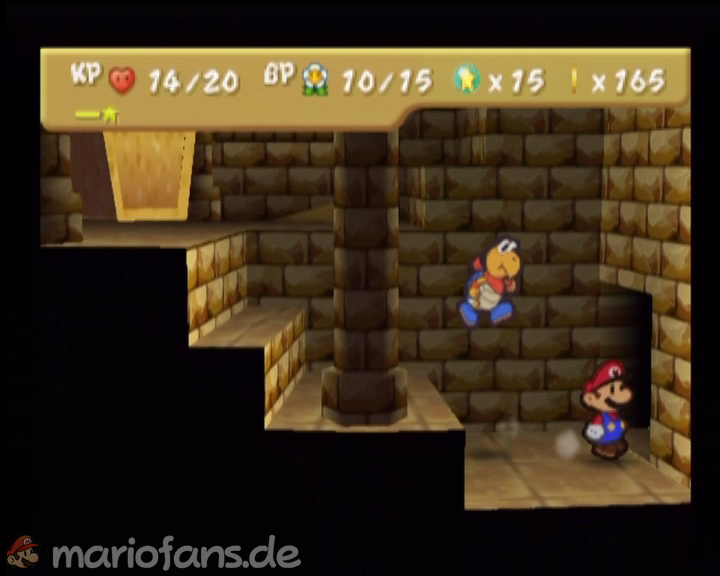
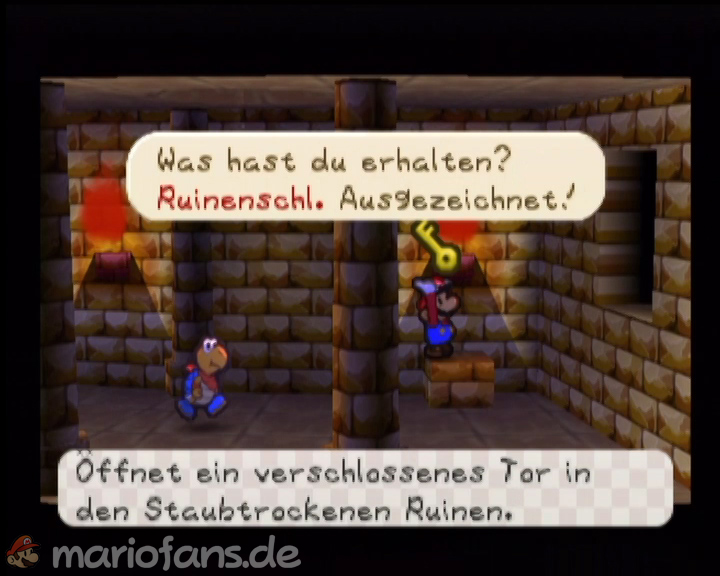
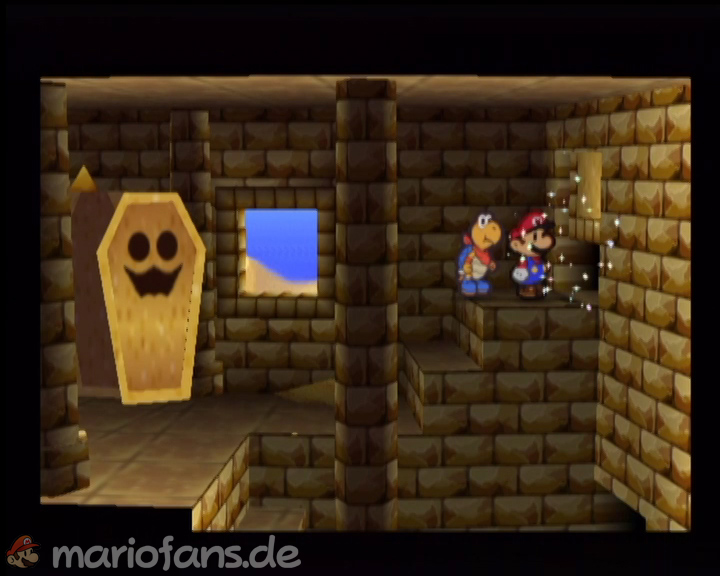
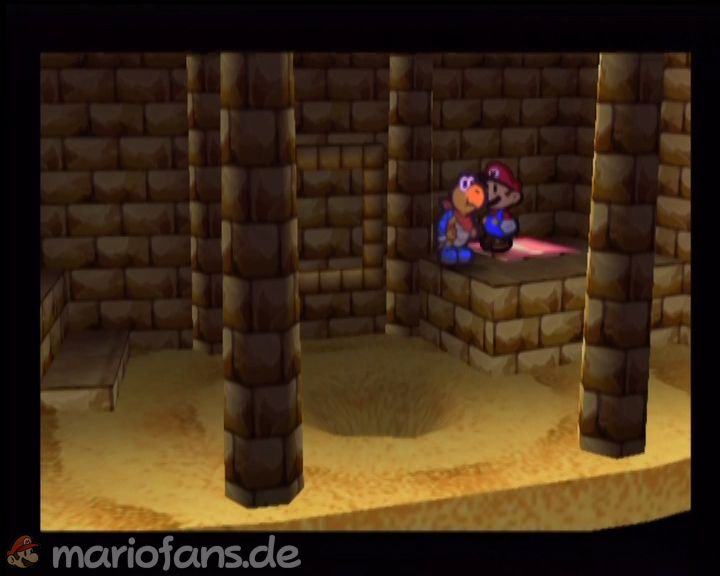
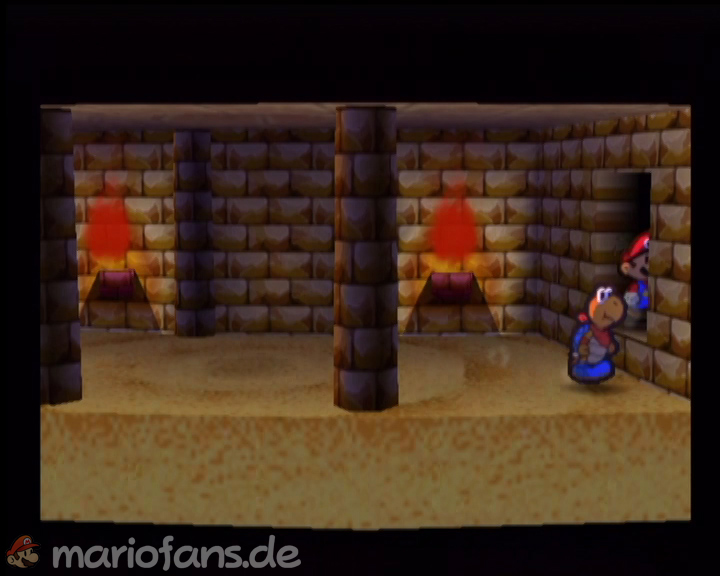
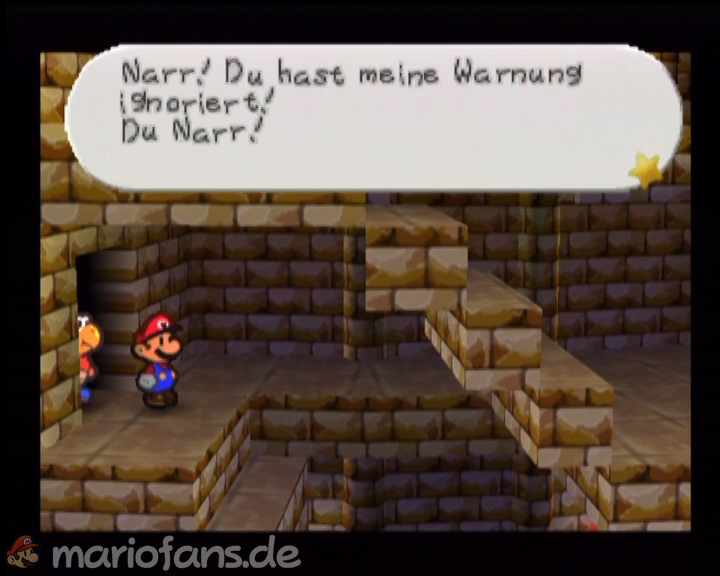
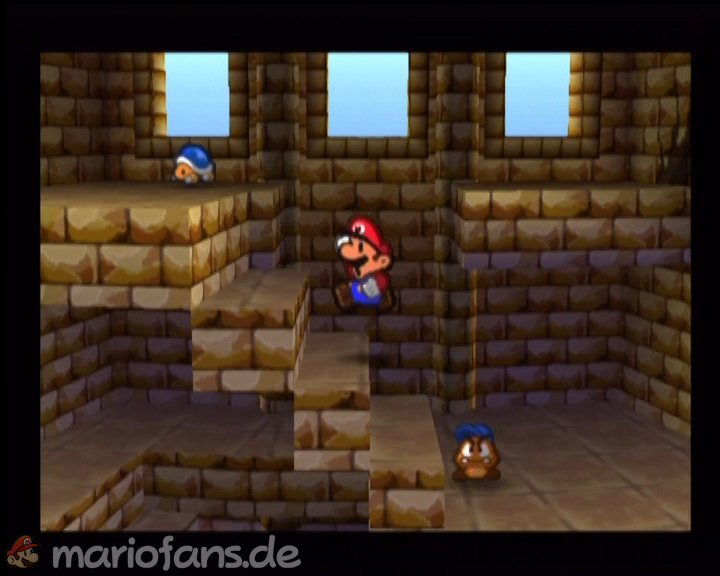
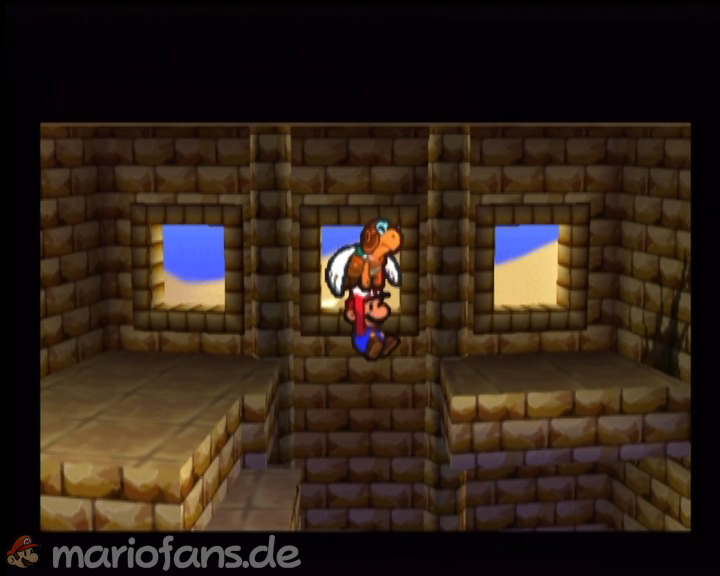
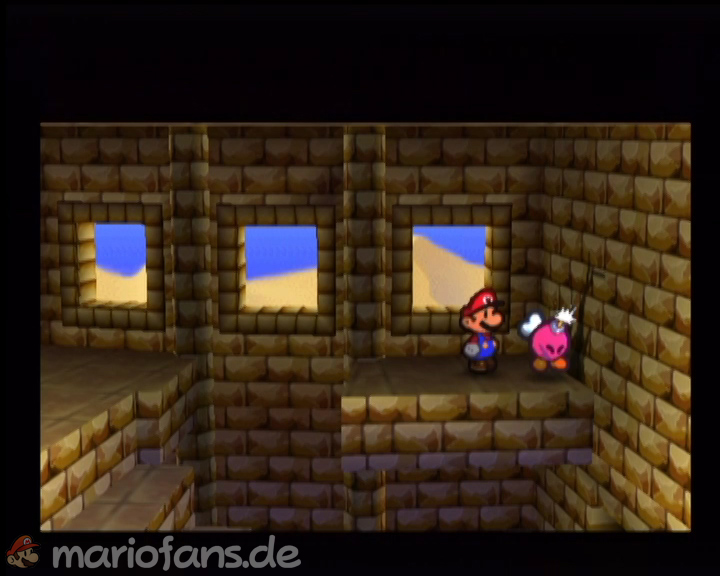
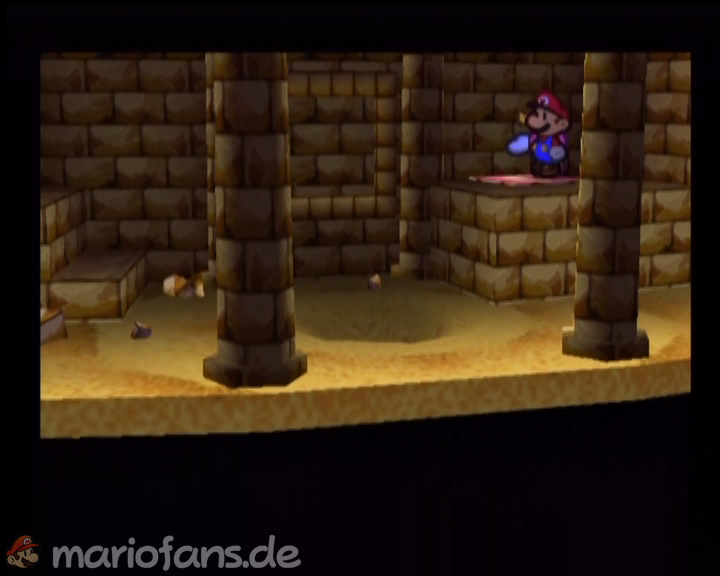
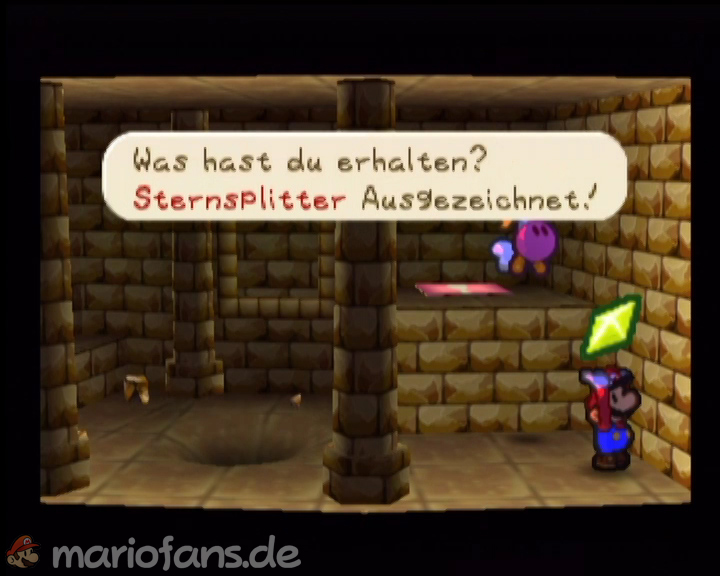
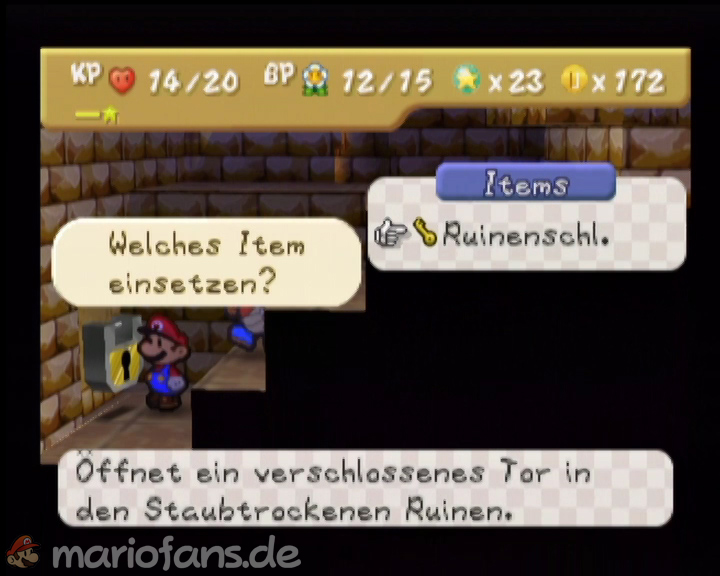
In the temple you can save your progress. Fight the pokey mummy in the sarcophagi. In the second you can find the Spike Shield badges. Go through the door below and get the ruin key from the platform. Open the door and activate it. Switch. In the room you were in before, you can now go further. This is followed by another warning. Go up the stairs and blow up the wall with bombshell. In the room behind it, you first activate the switch and then get the Star Pieces. Now go into the room under it. Here you can now collect the ruin key. Walk the stairs all the way down, open the door with the key you just received.
| Name | Max. HP | Attack | Defense |
|---|---|---|---|
| Pokey mummy | 4 | 2 | 0 |
| Buzzy Beetle | 3 | 2 | 2 |
Fighting the Pokey Mummies
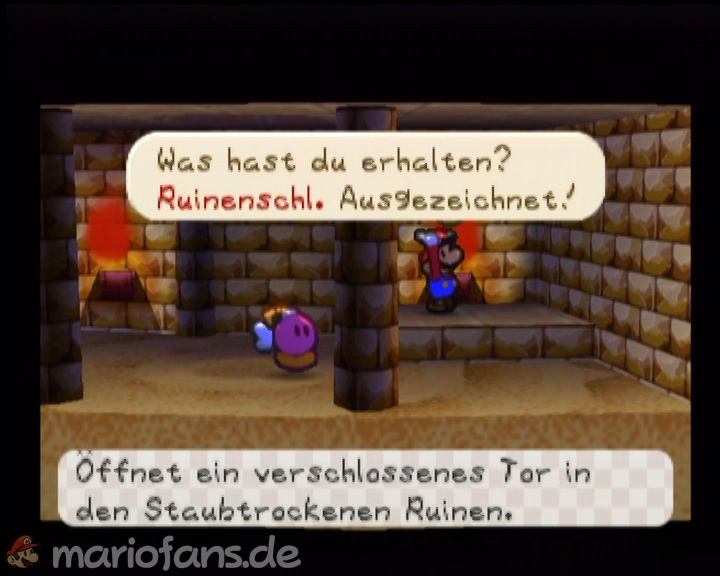
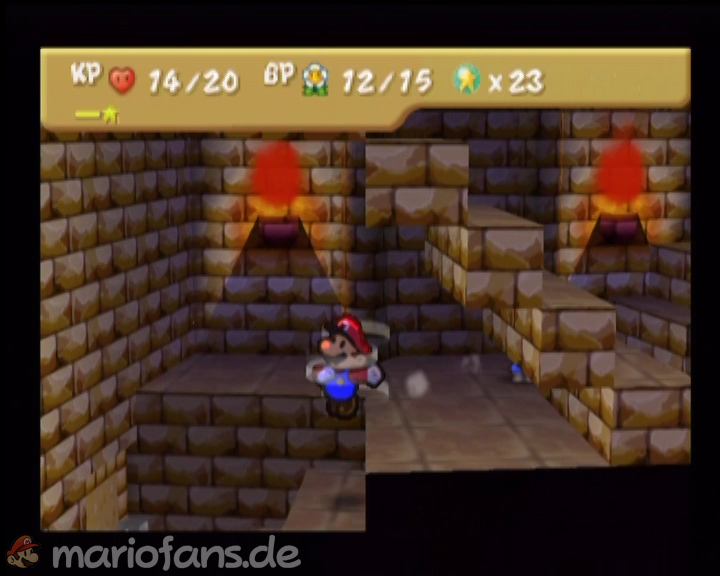
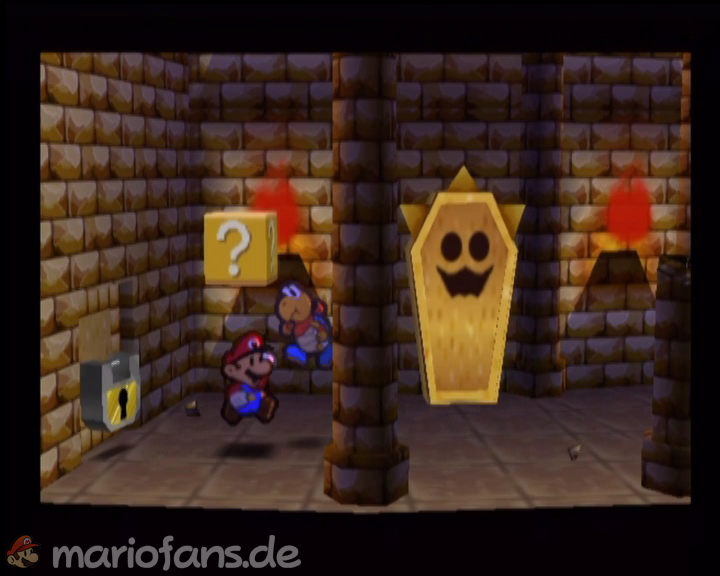
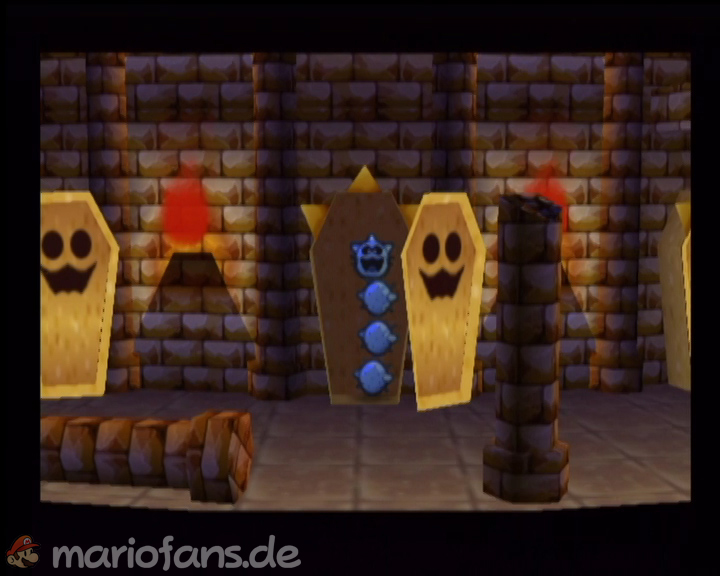
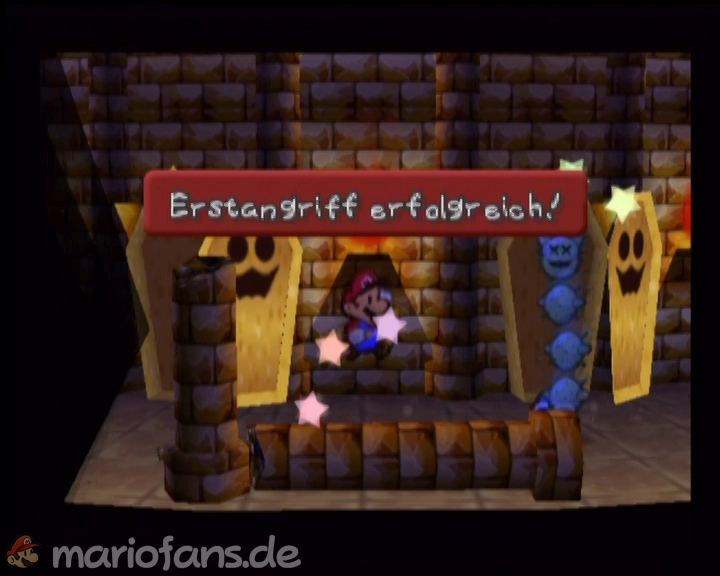
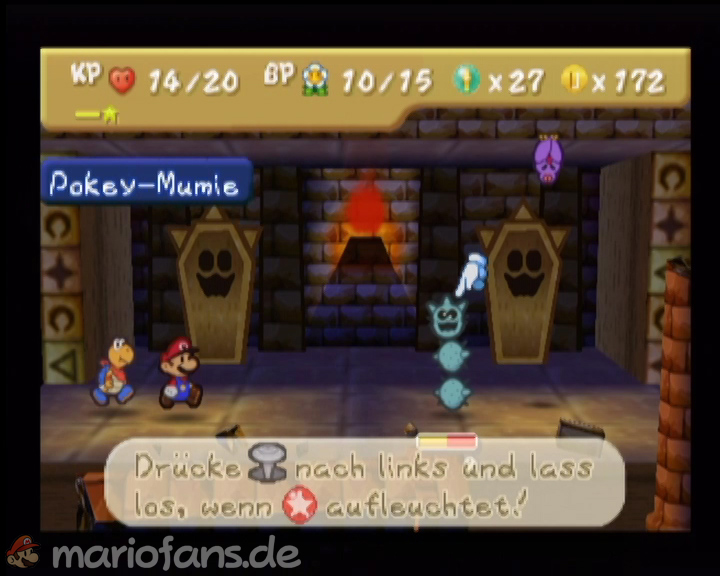
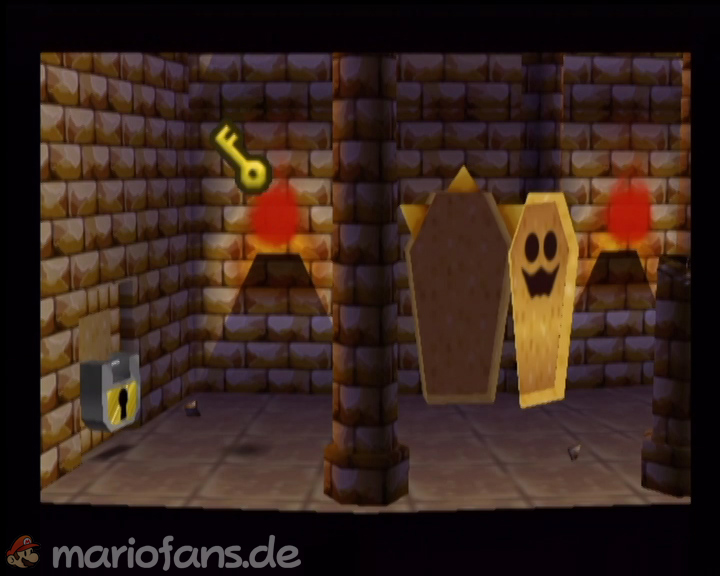
Are you entering a large room at the end? The block is. If you activate this, the sarcophagi open and three pokey mummies appear. Make sure that you have activated the badges “Quake Hammer” to also be able to do the swooper on the blanket. Once all the monsters are defeated, the next key falls from the blanket and you can continue your journey.
| Name | Max. HP | Attack | Defense |
|---|---|---|---|
| Pokey mummy | 4 | 2 | 0 |
| Buzzy Beetle | 3 | 2 | 2 |
| Swoopers | 4 | 2 | 0 |
The Super Hammer
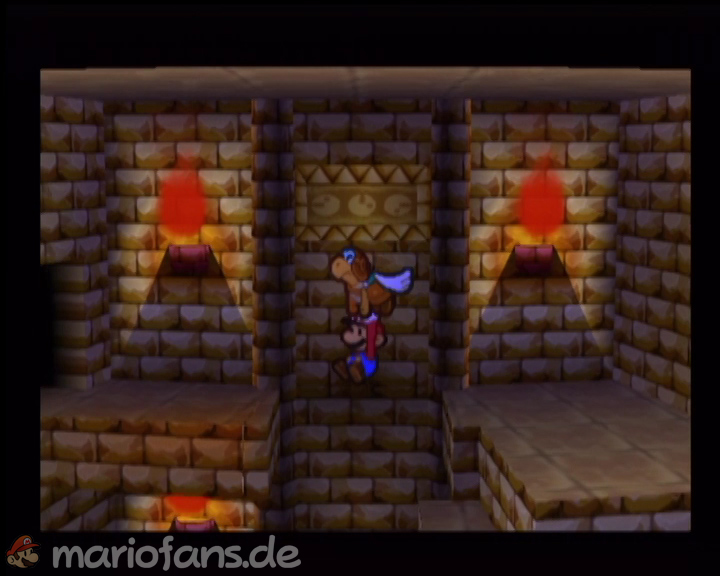
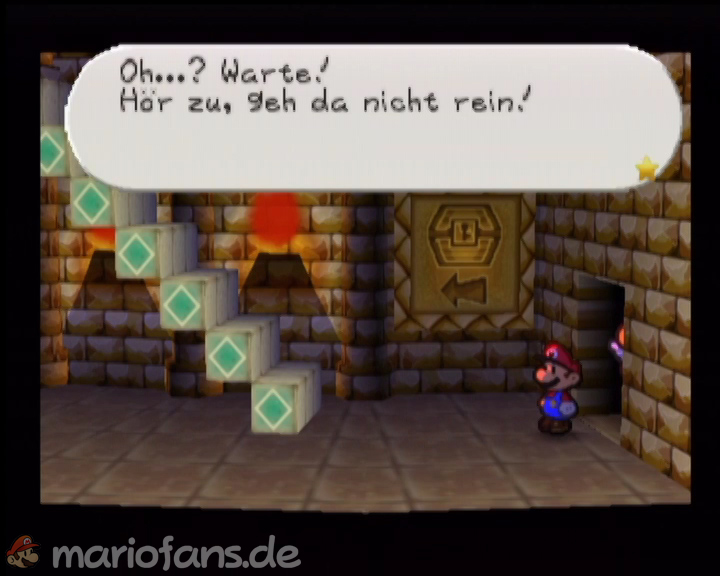
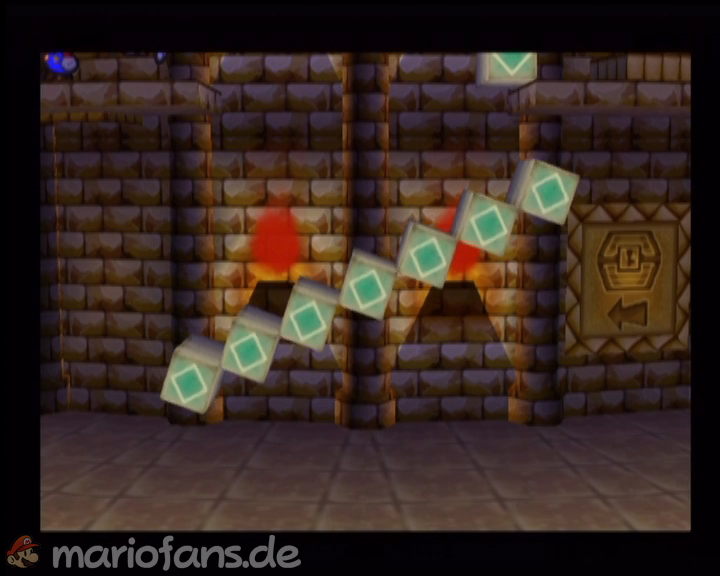
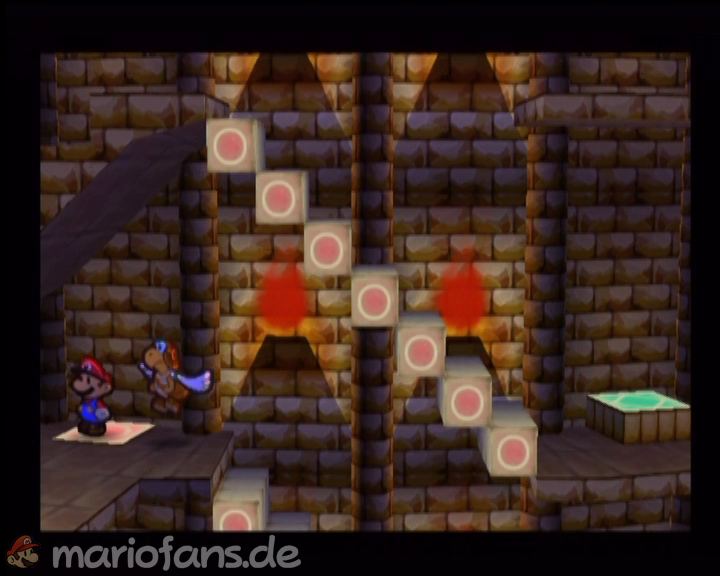
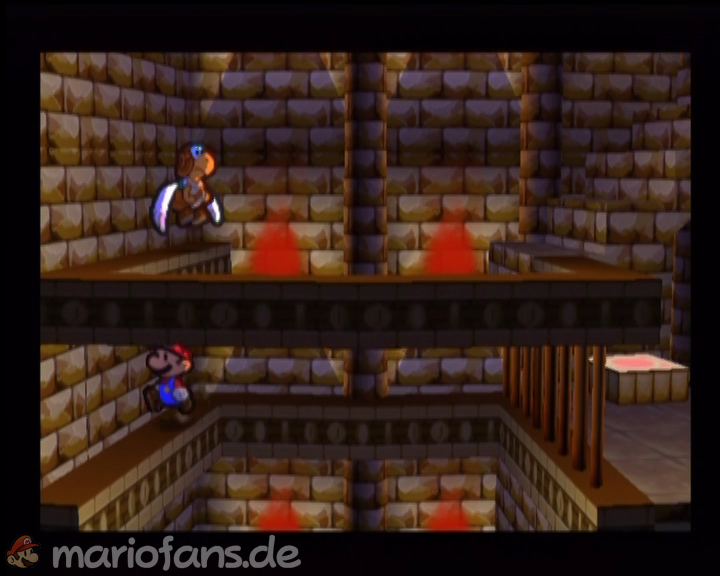
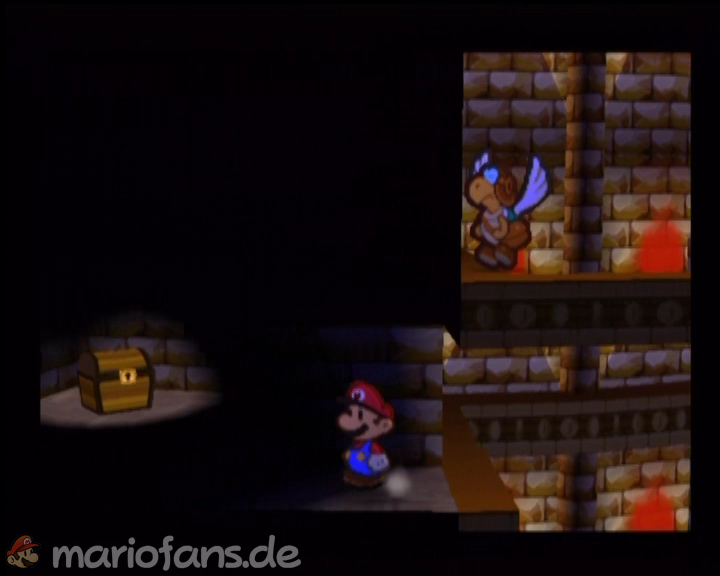
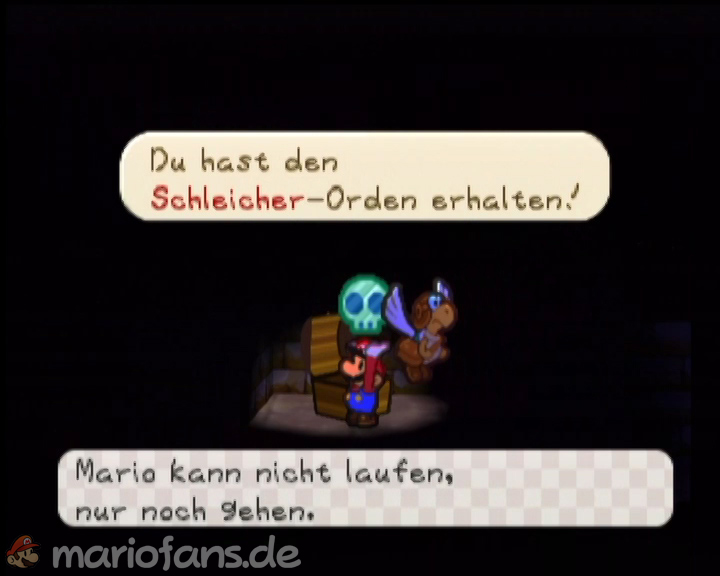
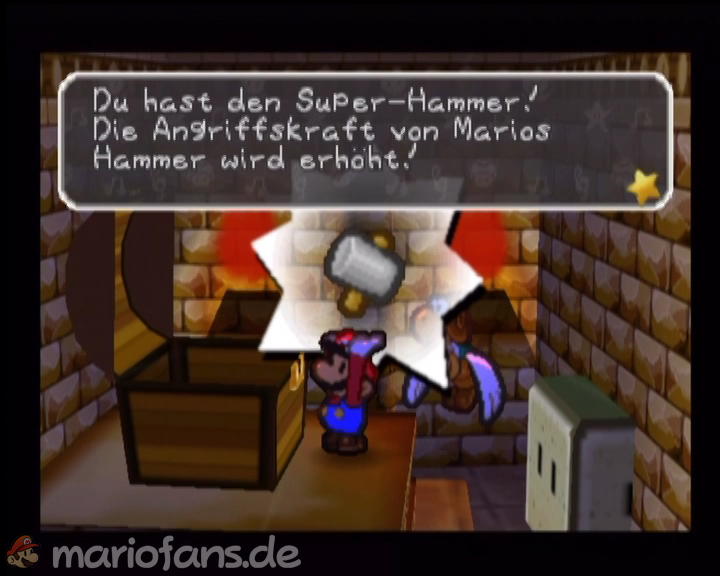
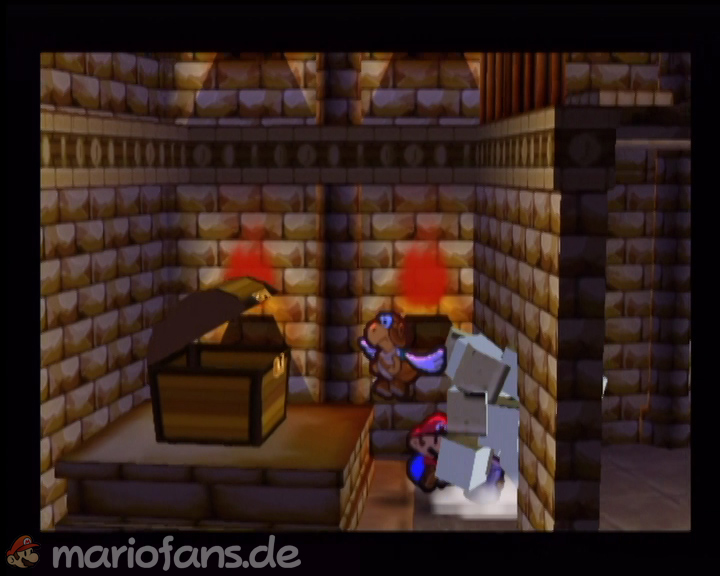
Fly with Parakarry over the abyss and walk through the door into the next room. On the wall you can already see a symbol for a large treasure chest. A little mystery follows. Climb the green stairs up and activate the switch. Climb the next green staircase and activate this switch as well. Now go the green stairs up left and the red stairs down again and activate the red switch. Go all the way down and climb first the green stairs and then the red stairs up. You end up at a grid. Go into the background and let yourself carefully fall on the edge. Follow this edge forward to the left and you can walk through an invisible wall. At the end, a treasure chest with the Slow Go badges awaits you. Go back and jump down and open the big chest. In this you will find the super hammer, which makes it possible to smash even gray blocks.
In Search of the Stones #1
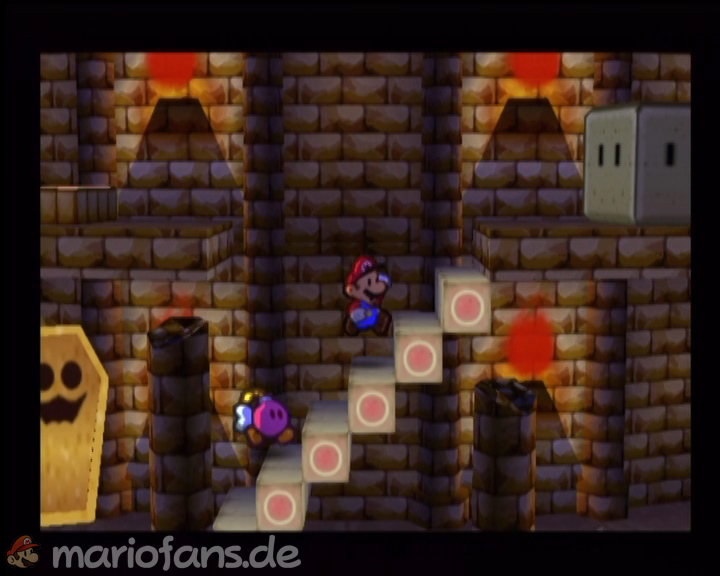
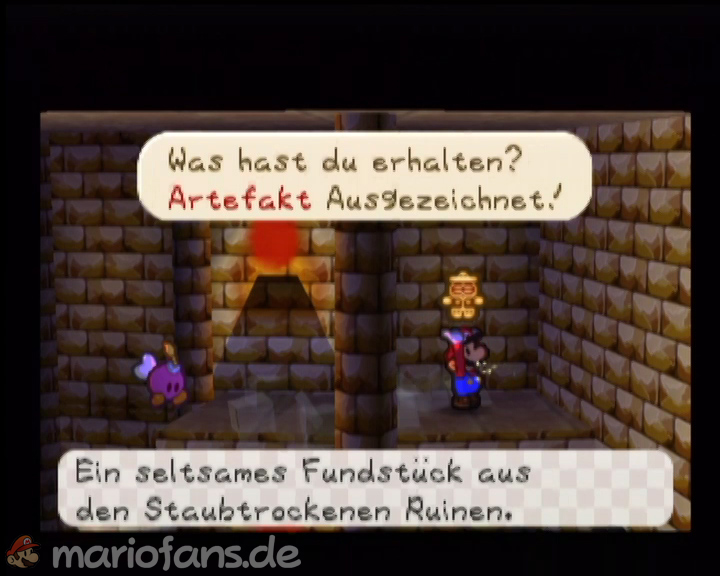
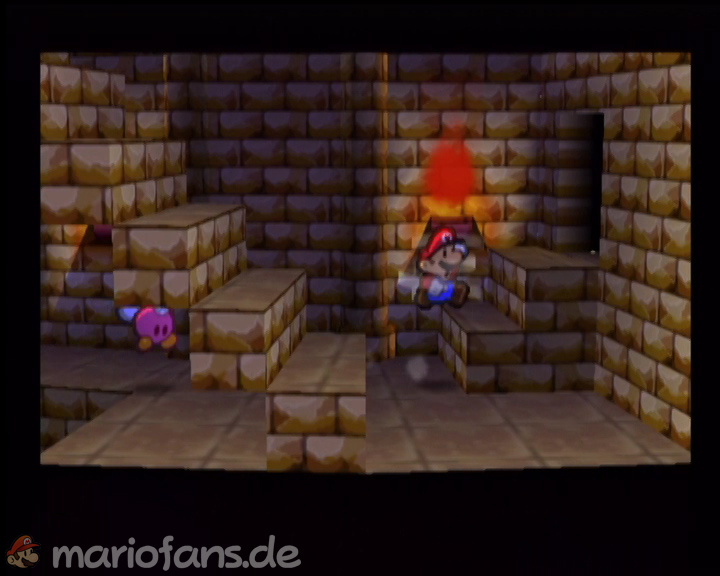
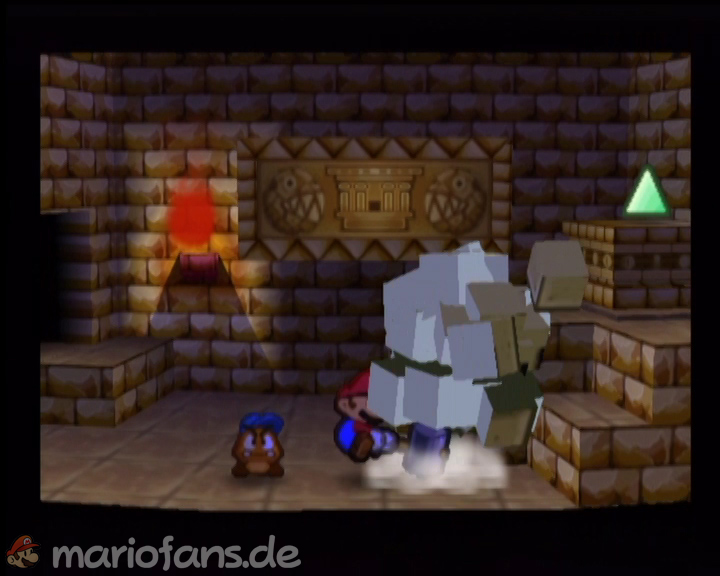
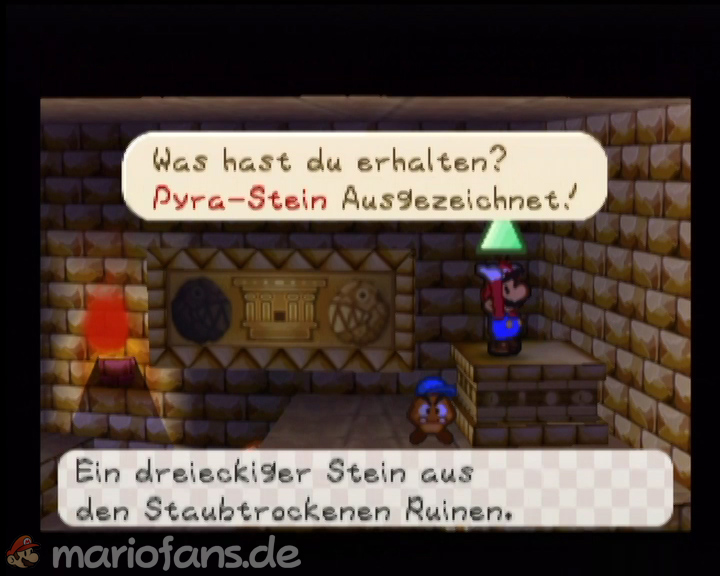
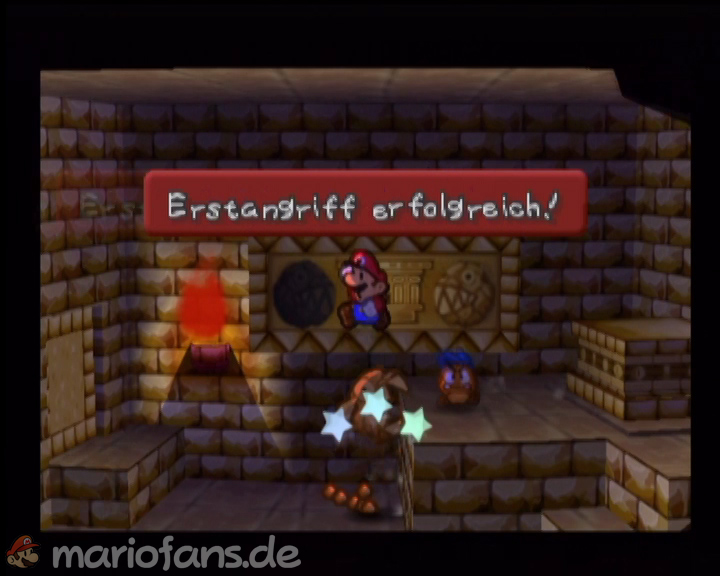
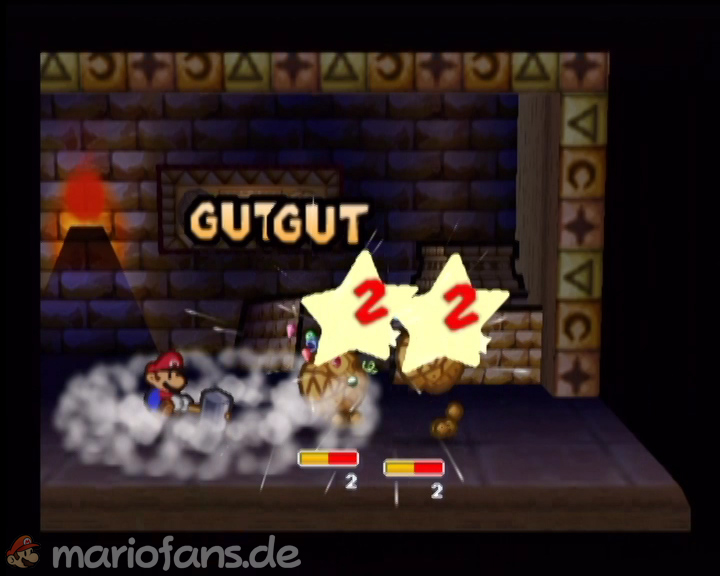
With this new, better hammer, you go back to where you defeated the Pokeys earlier. Climb the red stairs and destroy the gray block. Behind this is an artifact hidden, which you can later exchange for a Star Piece at Kolorado. Continue to the right and the stairs up (see picture). You now end up in a room where you first have to destroy a gray block and then collect the Pyra stone. From the background, a rock chomp is now activated, which must be defeated. He is defeated relatively quickly, after two attacks with the Quake Hammer, both opponents disintegrate to dust. If you have only a little HP, you should now charge your energy outside and save the game once.
| Name | Max. HP | Attack | Defense |
|---|---|---|---|
| Pokey mummy | 4 | 2 | 0 |
| Buzzy Beetle | 3 | 2 | 2 |
| Rock chomp | 4 | 3 | 1 |
In Search of the Stones #2
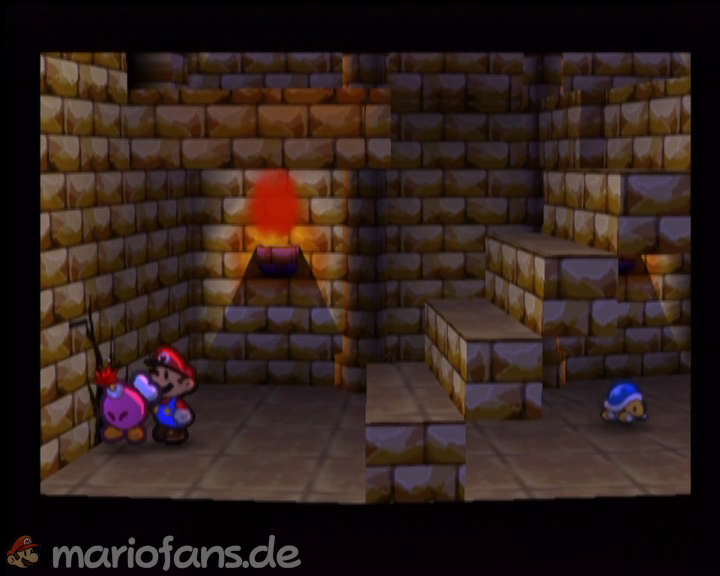
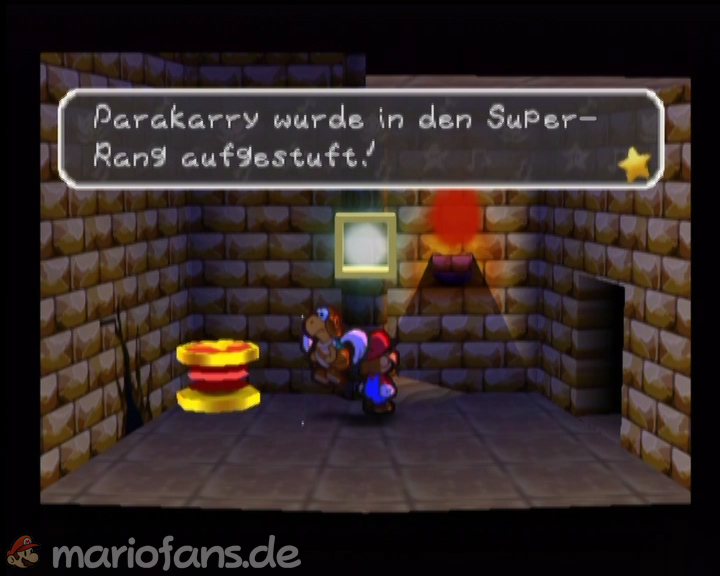
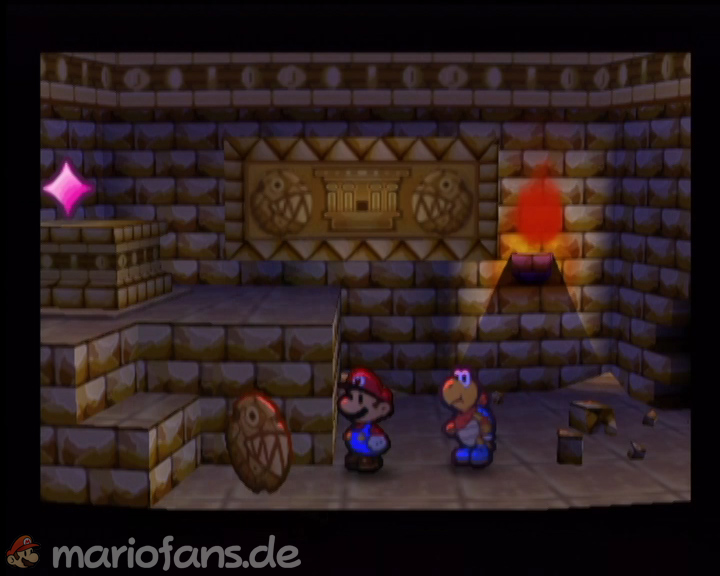
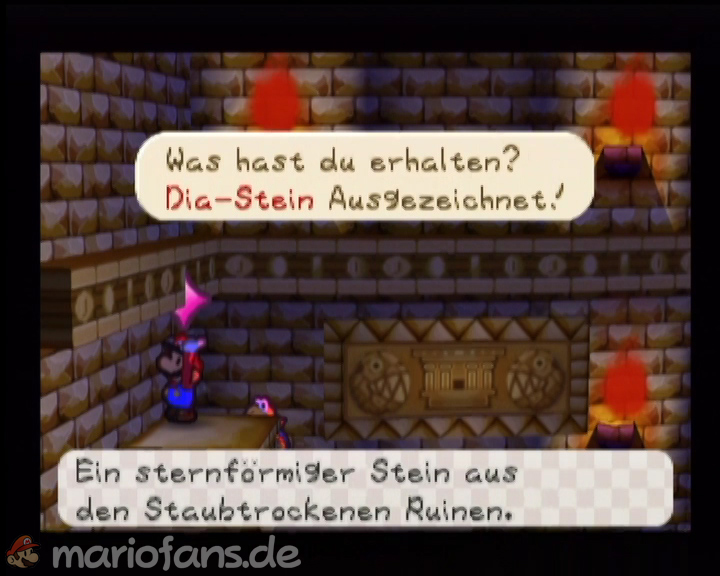
Then go back to the left and down the stairs. There, you can see some cracks in the wall, which means that Bombette can blow them up. In the next room, you’ll find another super block that allows you to upgrade a partner to the super rank. It is best to choose Parakarry. Once this is done, you blow up the next wall on the left and also get hold of the slide stone.
| Name | Max. HP | Attack | Defense |
|---|---|---|---|
| Pokey mummy | 4 | 2 | 0 |
| Buzzy Beetle | 3 | 2 | 2 |
| Rock chomp | 4 | 3 | 1 |
The ruins are deeper than expected
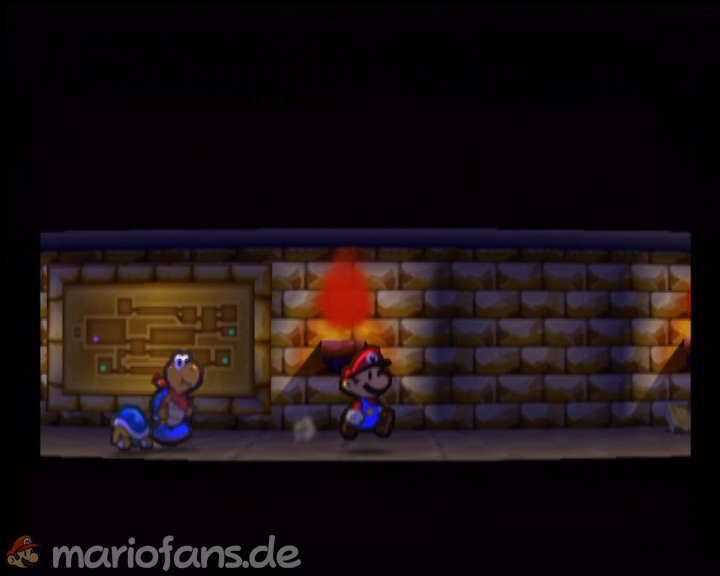
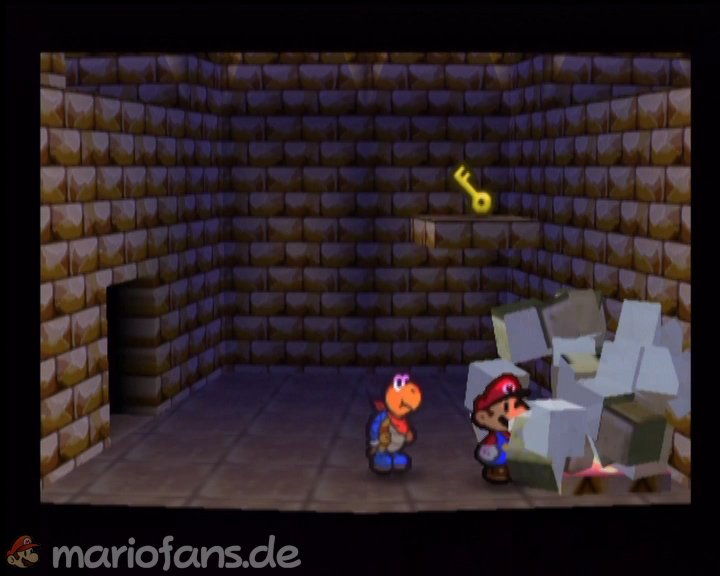
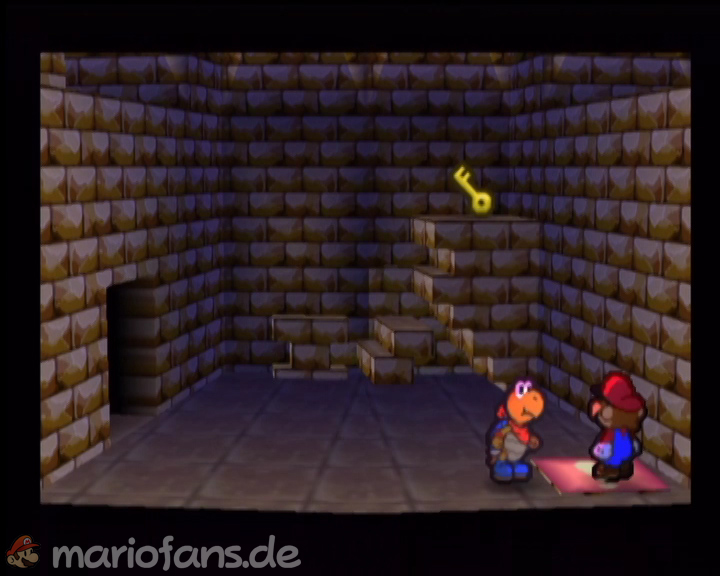
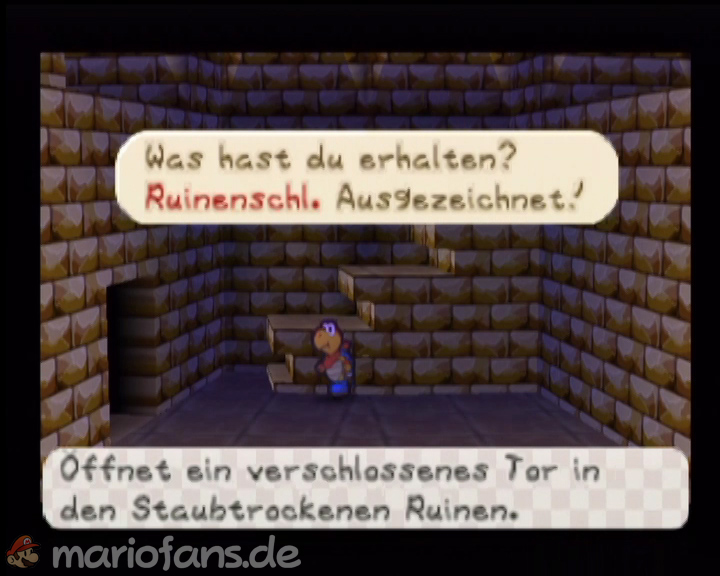
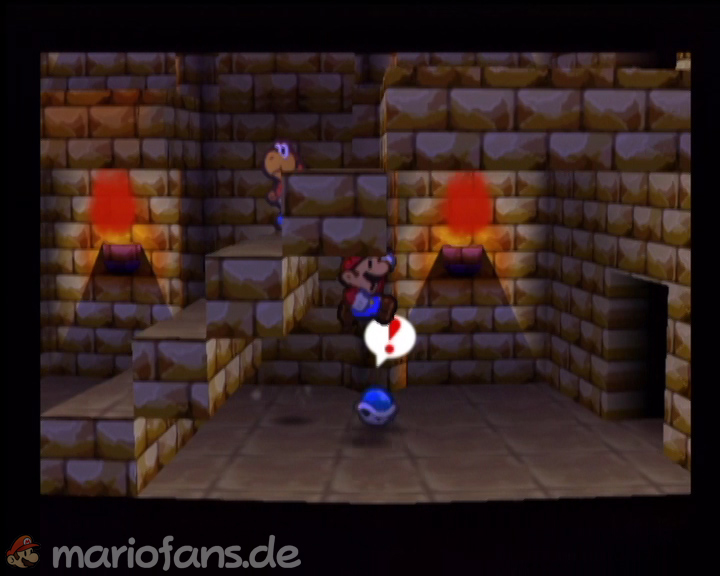
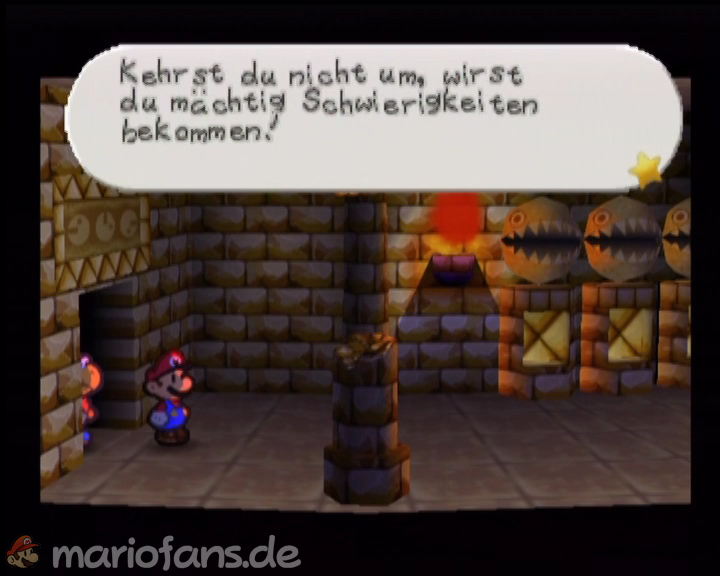
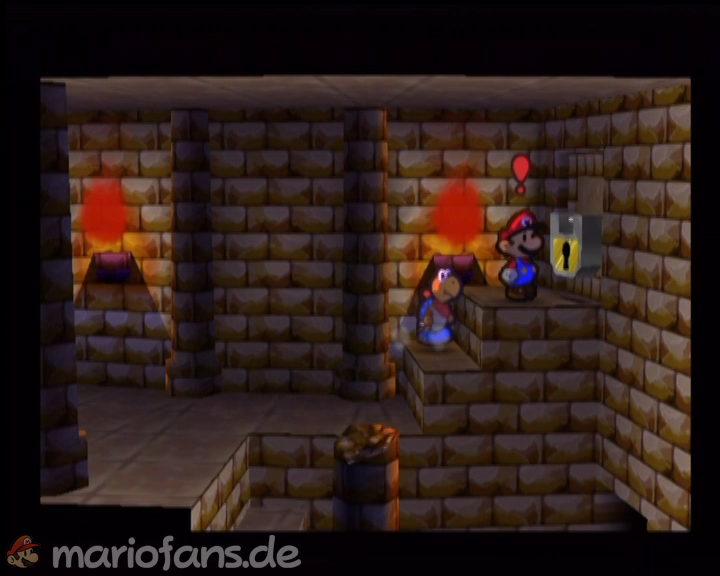
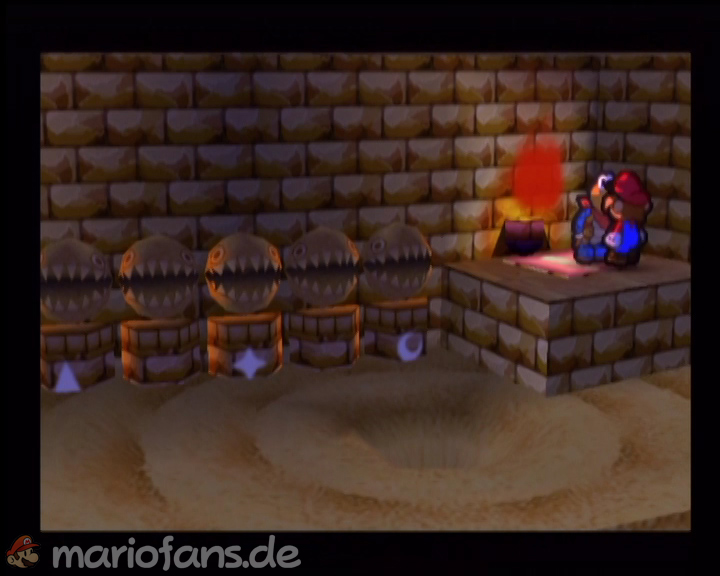
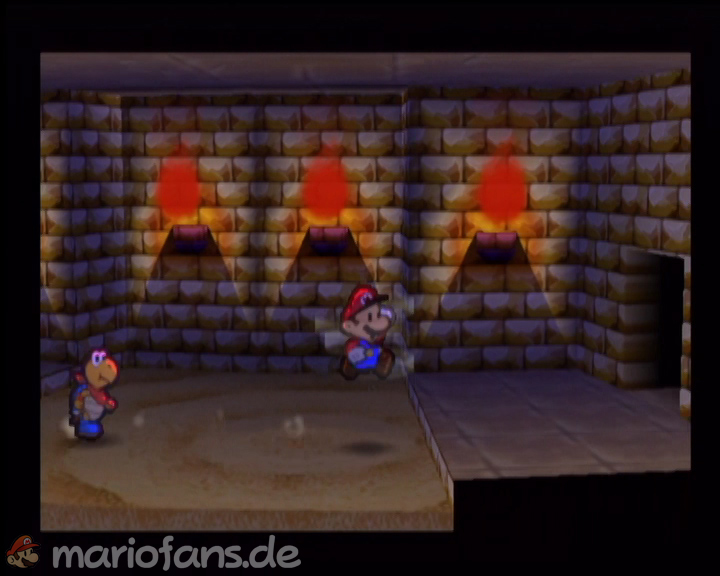
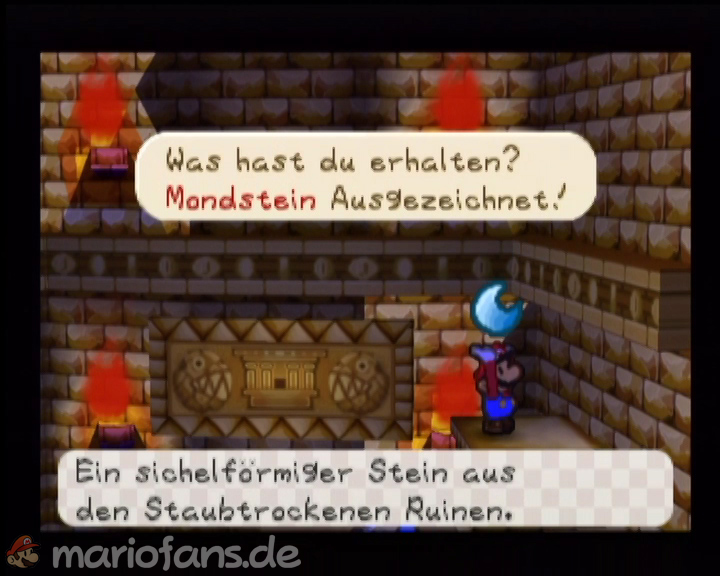
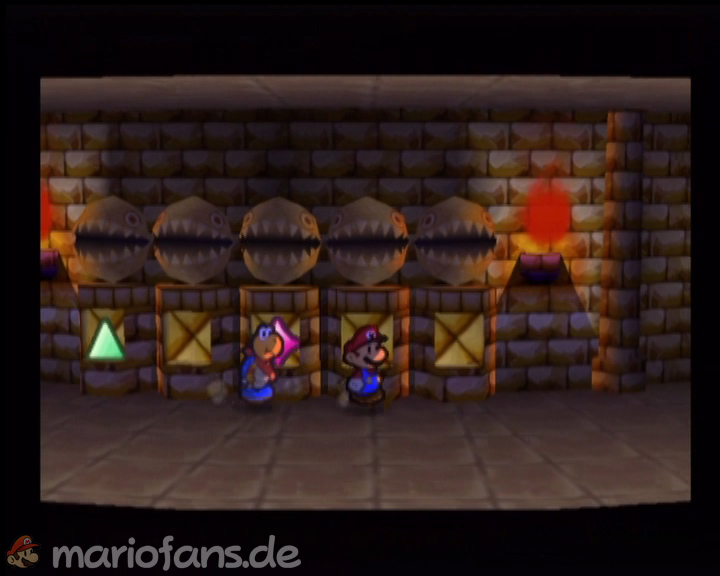
If you also have this stone, follow the tunnel at the bottom right until you reach another room. Crush the thwomp here and expose a switch. If you activate it, stair elements appear and you can get the next key. Jump back up with the trampoline and go through the door to the right this time. After the five statues, you will find the last locked door above. Behind this is another switch and the combination for the three stones. Once you have activated the switch, you go through the room underneath and get the moonstone. After the fight against the Rock Chomps, you go back to the five Chomp statues.
Now put the three stones in. On the left the Pyra Stone, in the middle the Dia Stone and on the right the Moon Stone.
Boss: Tutankoopa
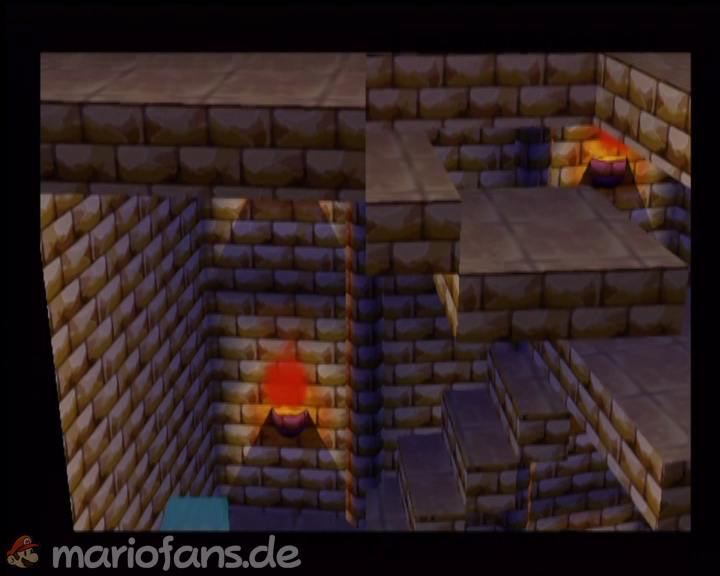
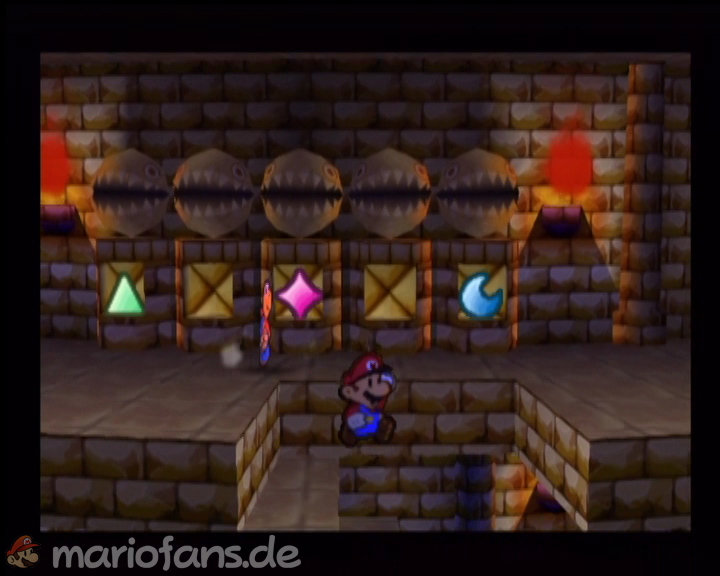
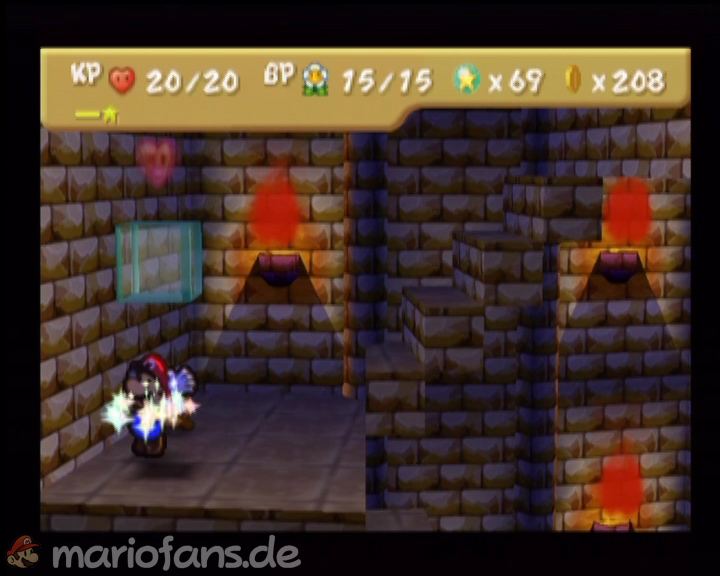
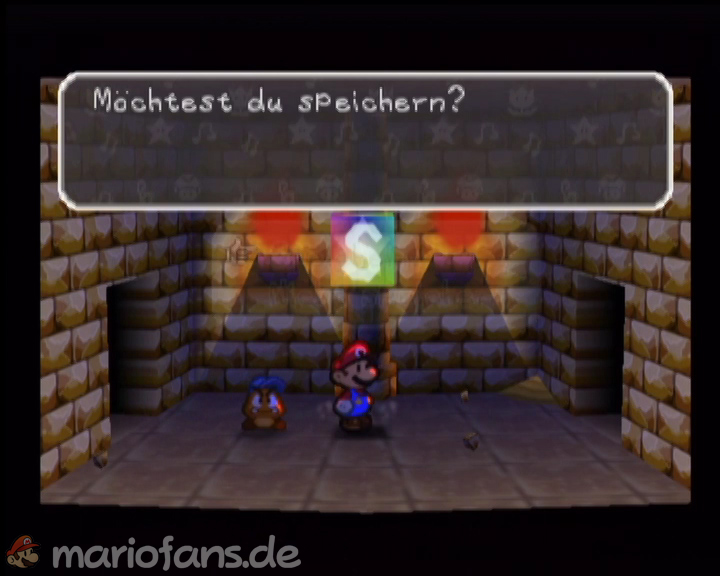
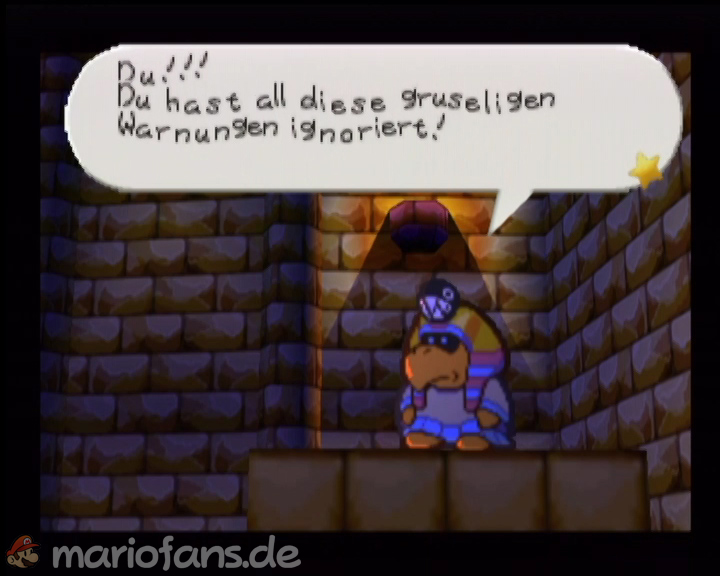
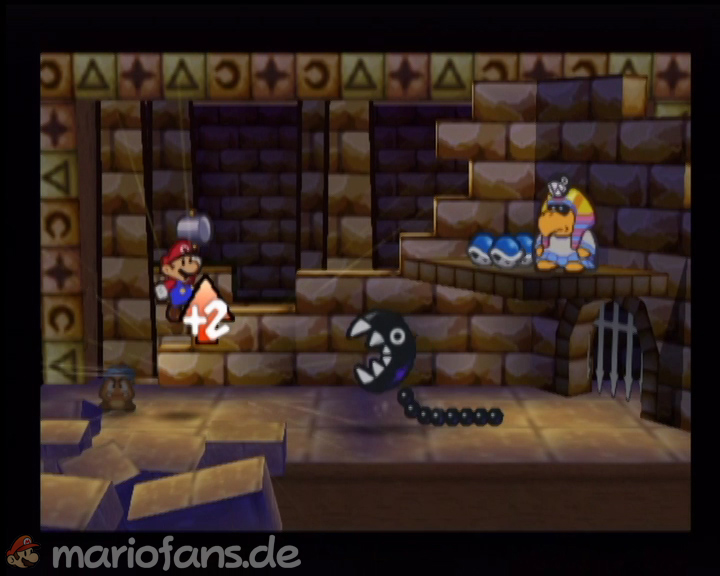
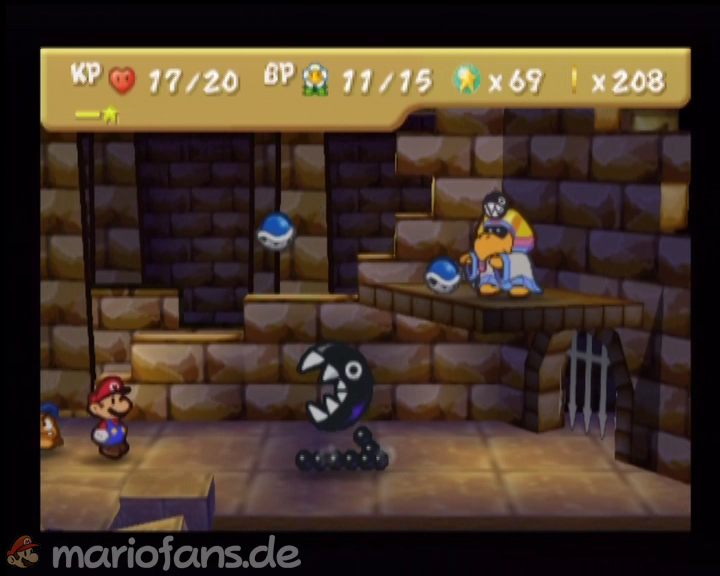
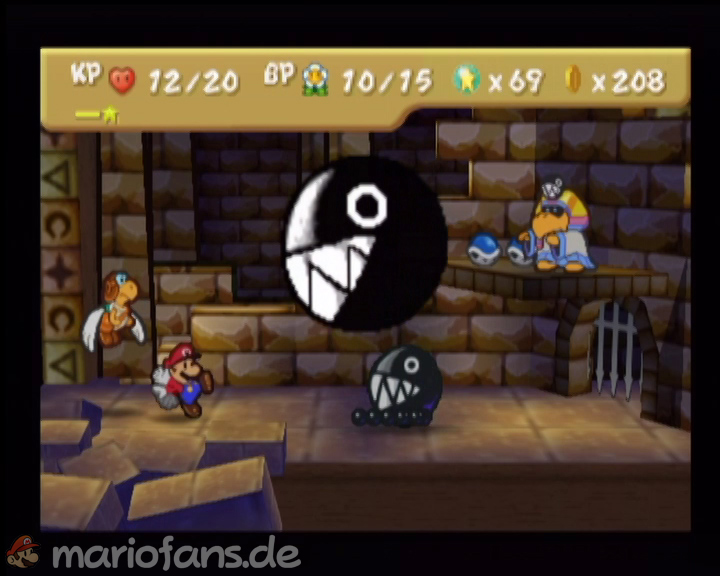
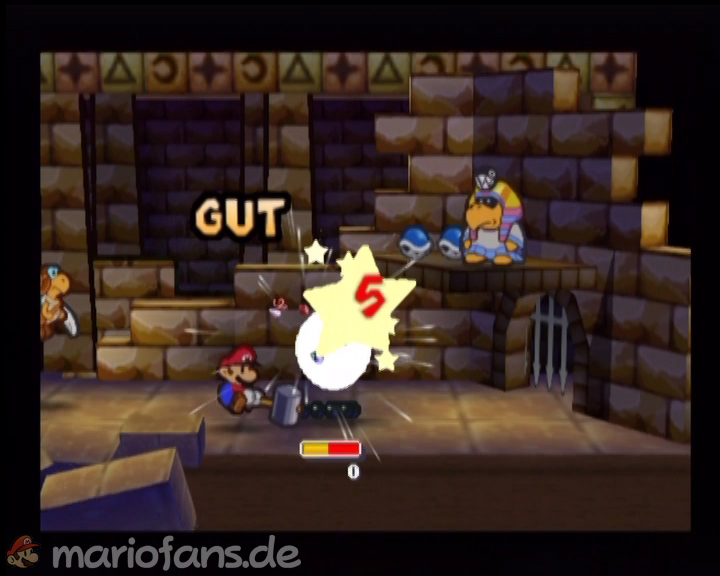
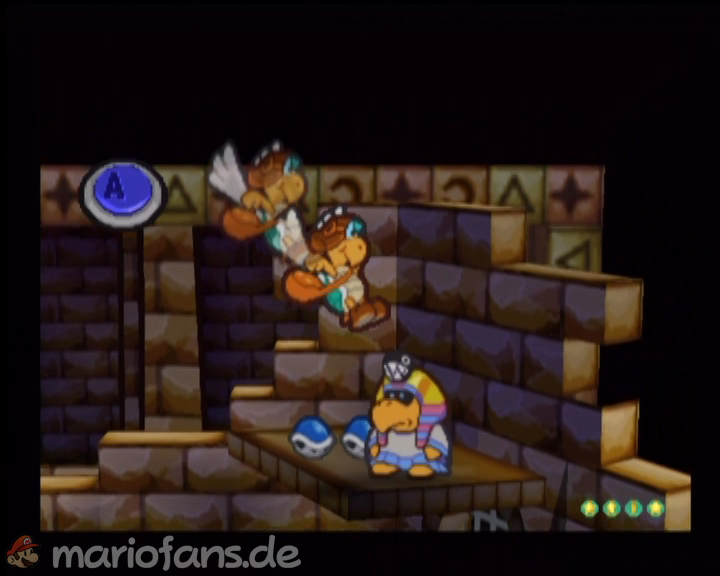
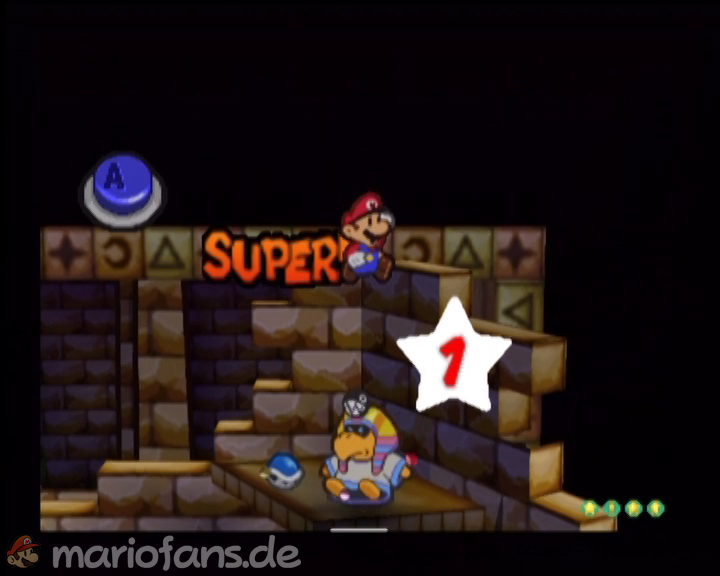
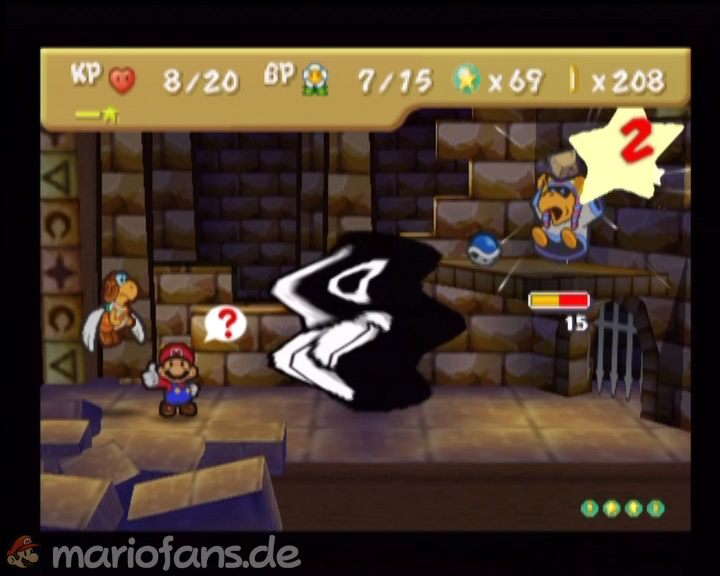
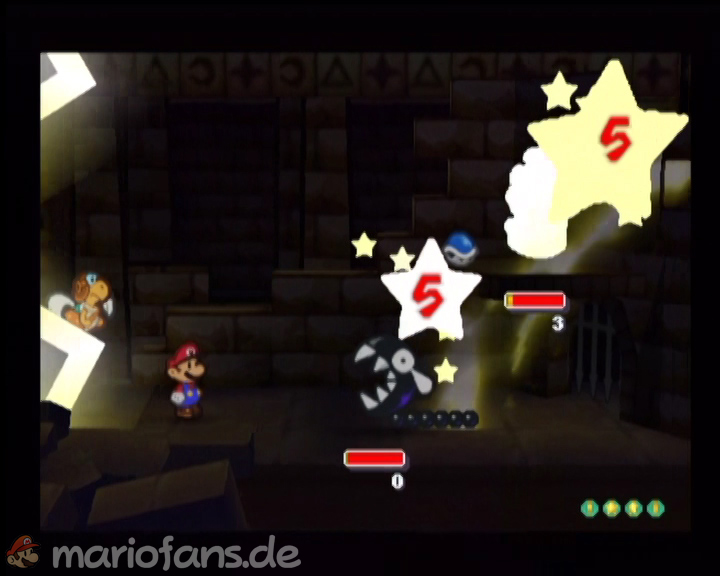
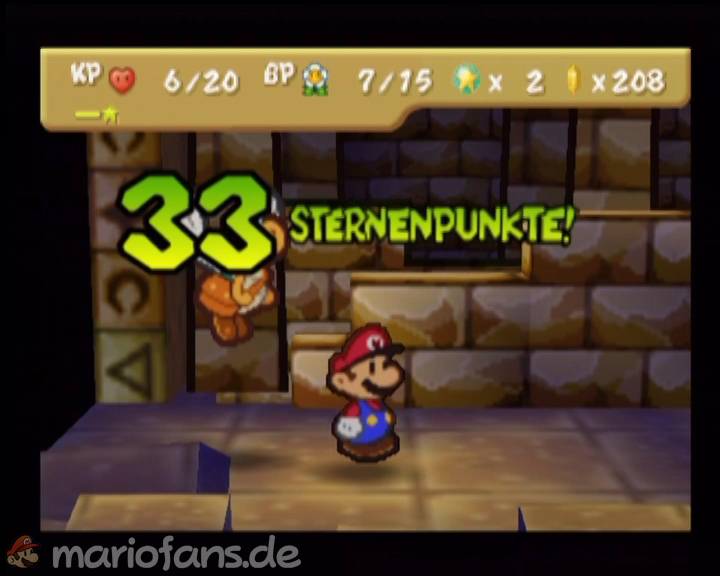
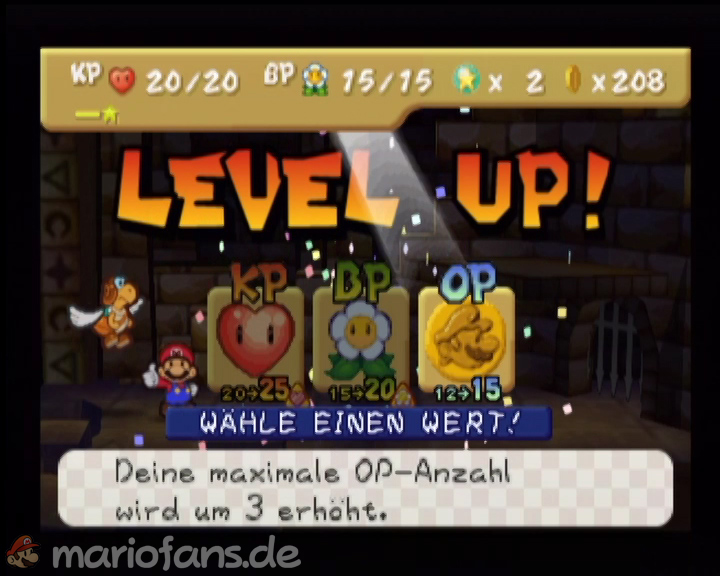
A staircase appears that leads you to a heart block and Save Block. Save the game and get ready for the boss fight. The best partner is Parakarry. First load with stroke + your hammer for two rounds. In the meantime, with Parakarry, you attack the Tutankoopa with an airstrike. If Tutankoopa has now called a chomp, you can easily defeat it with a hammer strike. Next, you should further weaken the Tutankoopa with more power jumps and air attacks. If he calls another chomp, you can also use a Thunder Rage to defeat him. After a few more rounds, you should have defeated Tutankoopa. Grab Mamar and the chapter is over.
| Name | Max. HP | Attack | Defense |
|---|---|---|---|
| Tutankoopa | 30 | 3 | 0 |
| Chomp | 4 | 3 | 3 |