

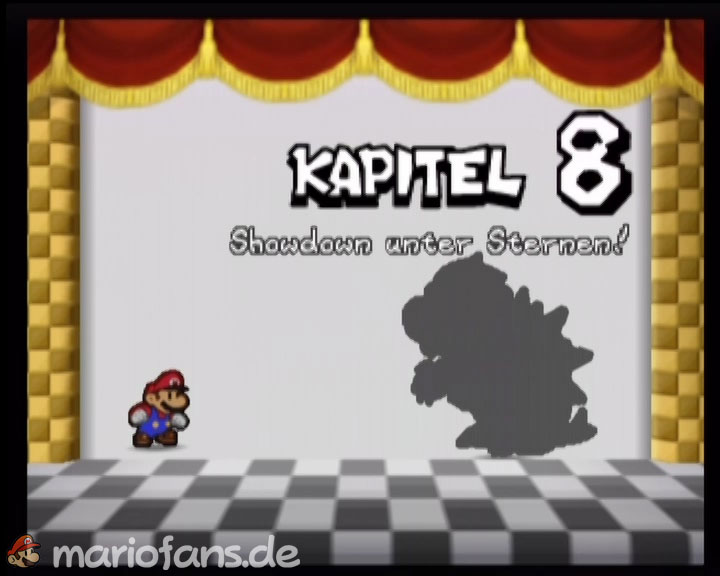
Welcome to the grand finale of Paper Mario. With the Starship, Mario and his partners have arrived directly in Bowser’s flying fortress. In front of us lies by far the longest section of the game: several dungeons, lava fields, dark caves, water and switch puzzles, a small army of Bowser’s strongest opponents and, of course, a final reunion with Jr. Troopa. Then we return to Princess Peach’s Castle and face Bowser several times. If you haven’t collected all the side tasks, badges or Star Pieces, you should keep an older score. After the final win, there is no classic postgame to return to.
First steps in Bowser’s Castle
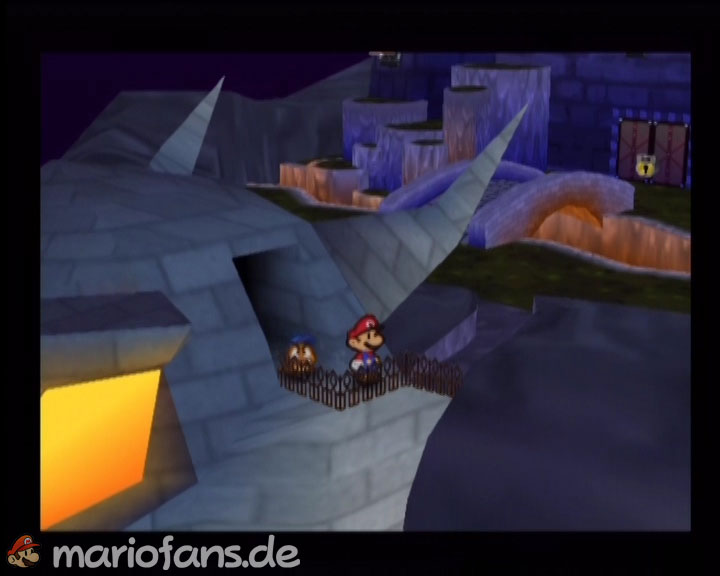
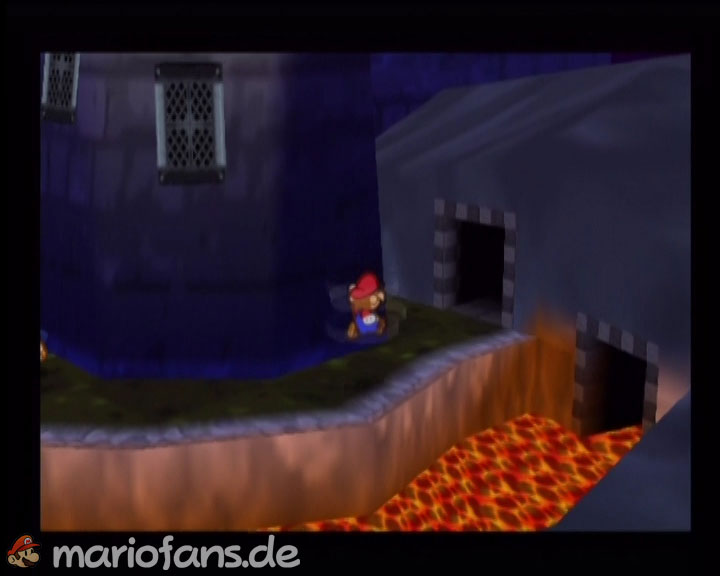
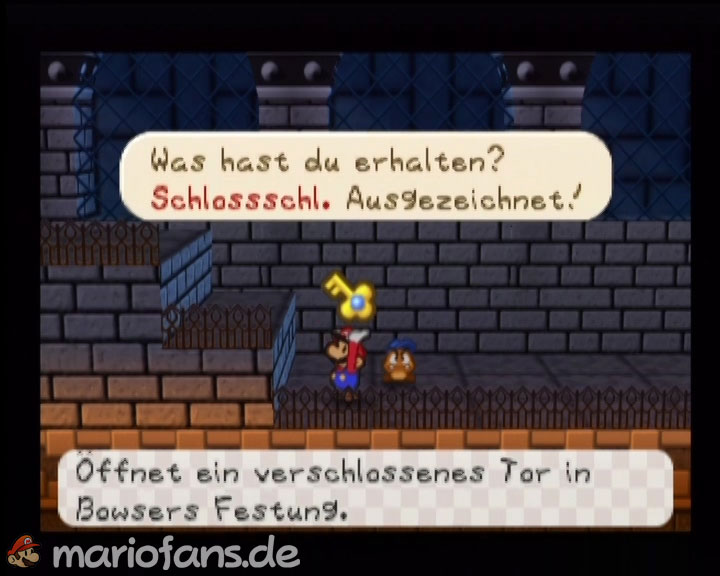
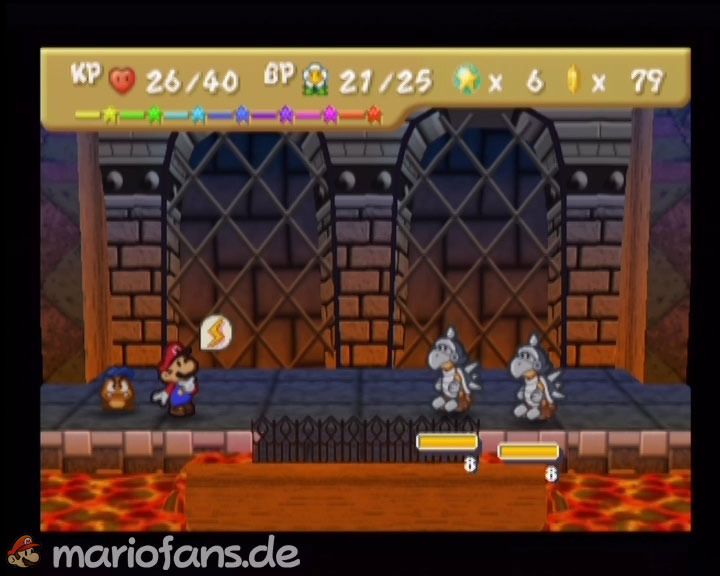
Saves directly after landing with the Starship and goes through the door to the actual castle. The large main gate is locked, so take the smaller open entrance to the right of it. There is a coopatrol waiting. Their high defense makes Watt an excellent partner, alternatively you can put the opponent on the back and then attack. After the victory you get the first lock key. Return to the entrance and open the main gate.
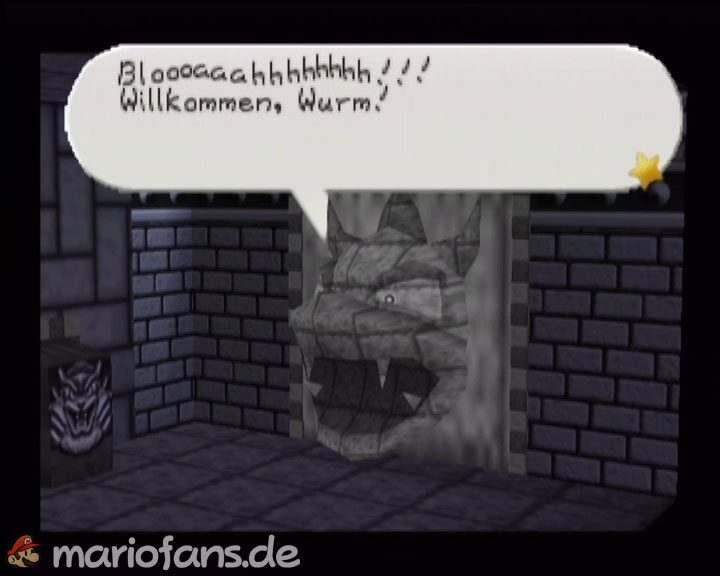
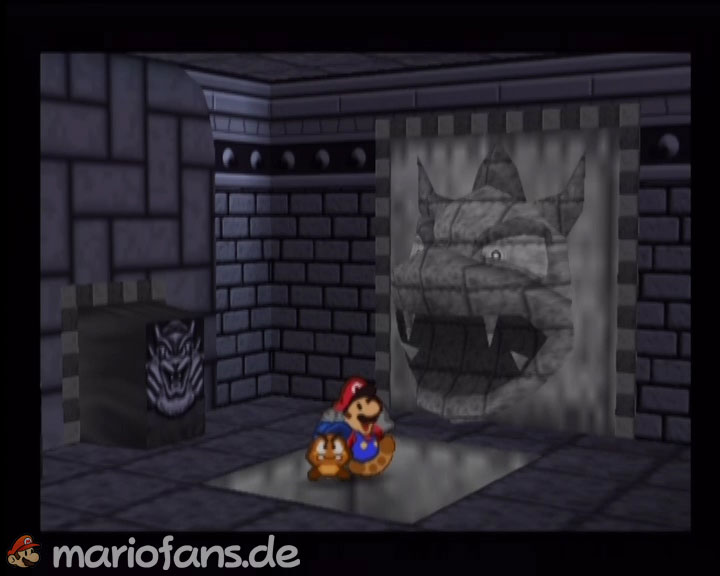
The castle is followed by several longer corridors full of coopatrols, Hammer brothers and other strong opponents. The battles still bring some star points, but on the last meters of the game you should not waste your BP unnecessarily. Watts, bombets and strong surface attacks are particularly useful here. After a few rooms you reach a huge stone Bowser gate. The so-called guardian of the gate asks if you really want to enter. Responds calmly with Yes – but the gate does not respond particularly friendly. A trap door opens and Mario lands deep down in the dungeon.
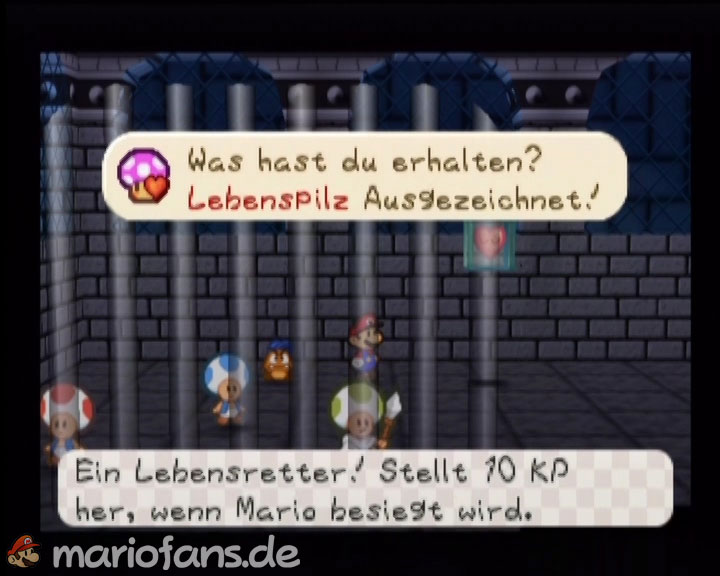
In the prison cell you can completely recover on a heart block. Also examine the boxes before you go on; there you will find useful healing items, among other things. On the right wall, a large crack can be seen. Bring out bombs and blow up the wall. Save in the following area and get ready for the first major puzzle section of the fortress.
Cool the lava
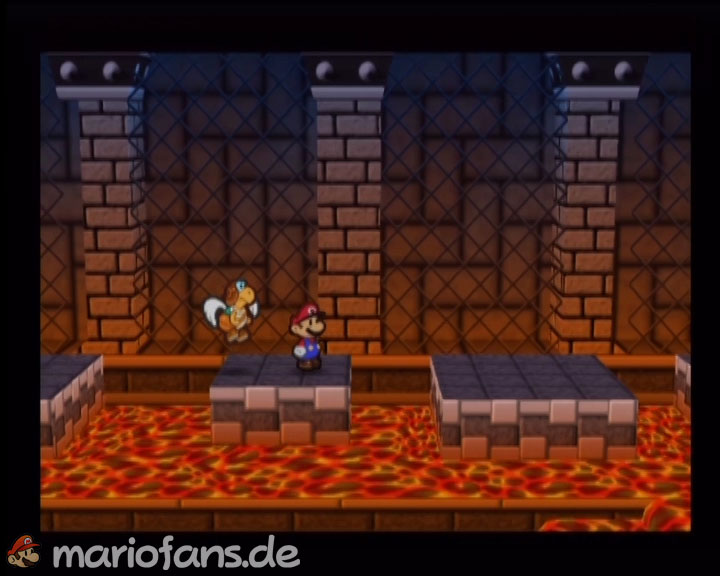
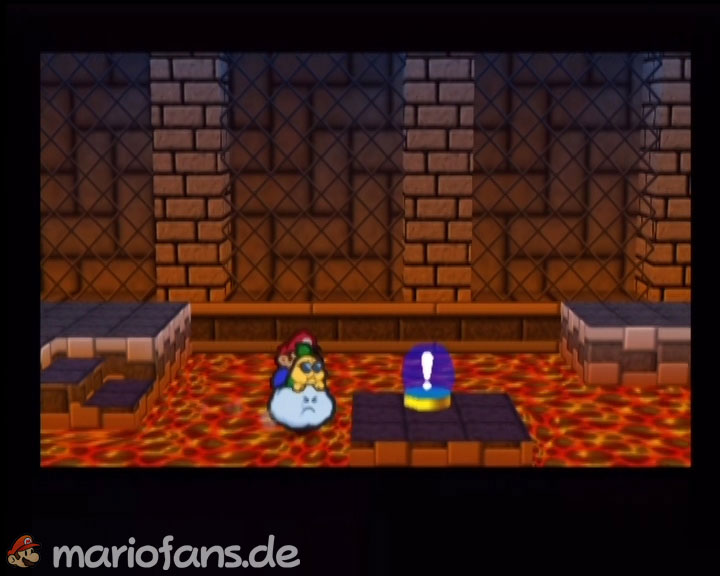
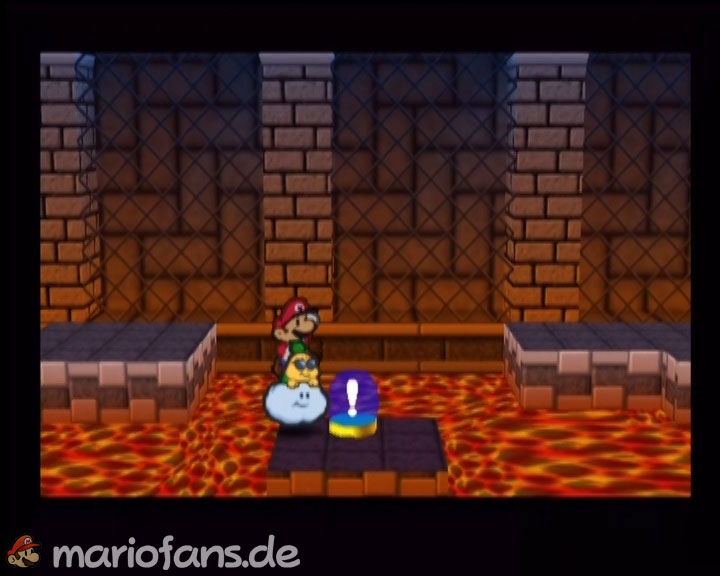
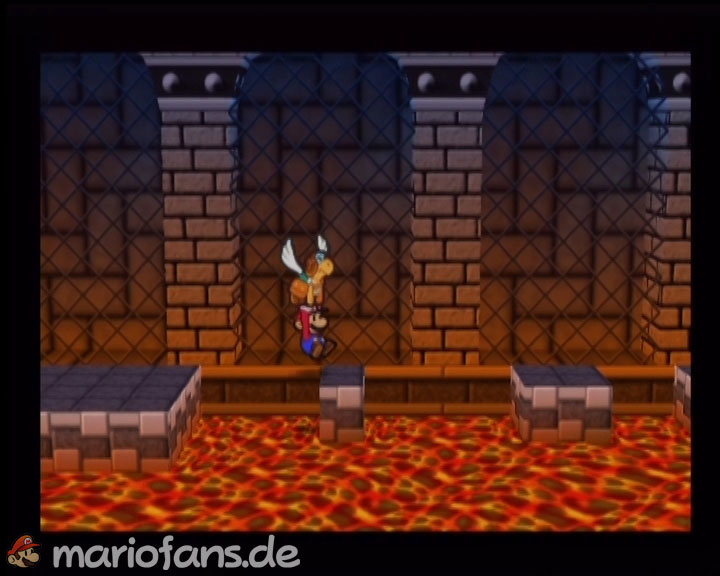
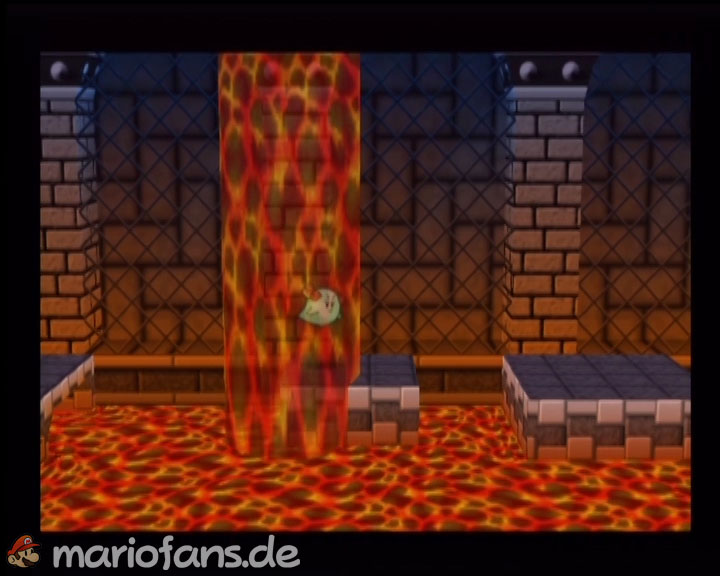
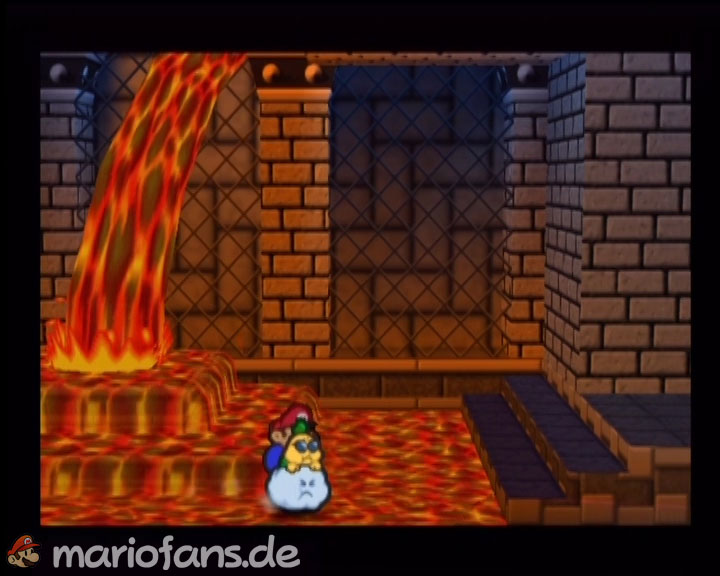
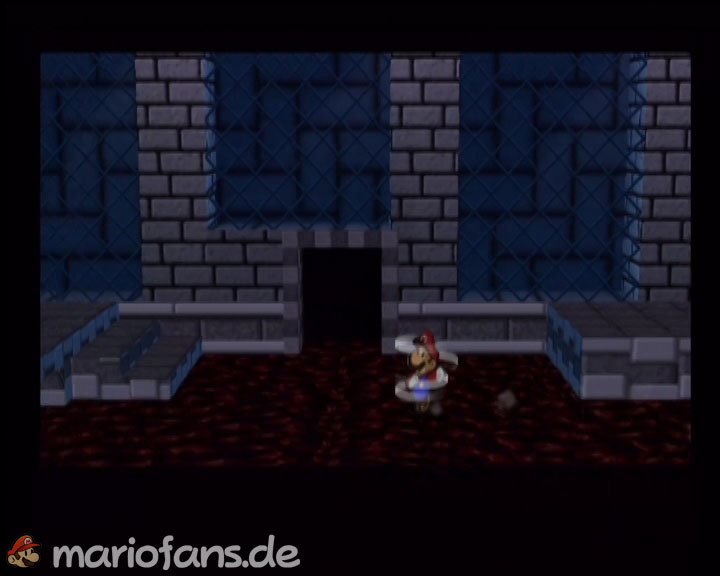
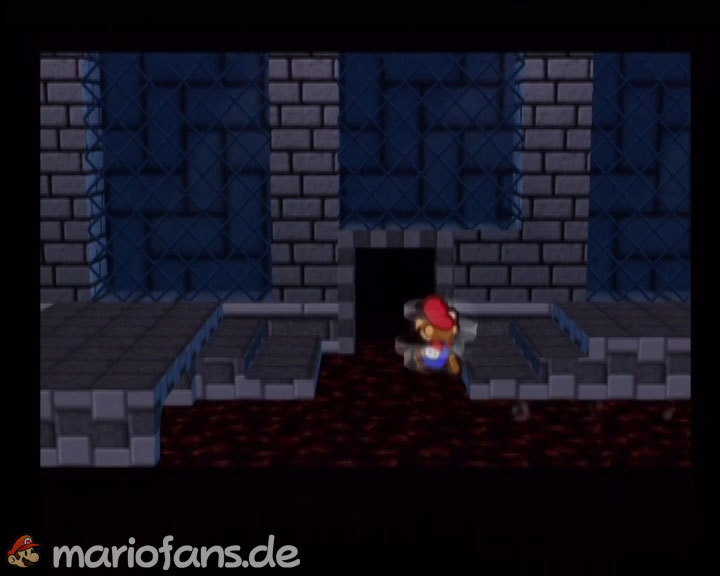
In the next rooms, Bowser’s Castle reminds a little of the Mt. Lavalava. First goes over the platforms and uses Kooper to hit the distant blue switch. This puts the movable platforms into operation. For the larger gaps you need parakarry. With the second switch, Lakilester is particularly practical: hover over the lava to the switch, activate it and then return to the platforms. Over the stairs and the now moving platforms you get further and further to the right.
In the next large section of lava, you use Lakilester to float over the lava. You can’t reach some items yet – for example, remember the Thunder Rage on the platform. Once you arrive at the big lava fall, you stand on the moving platform and use Lady Buus Outta Sight. The lava simply flows through Mario without pushing him off the platform. Then you fly with Parakarry over the next gap.
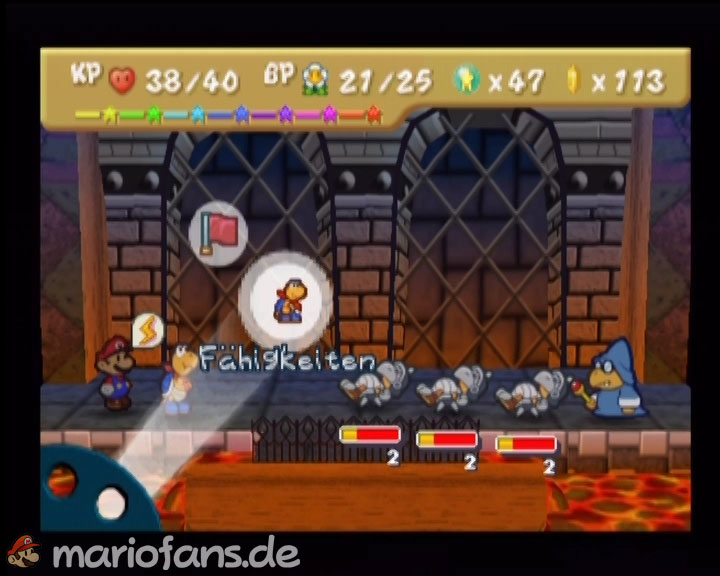
At the end, you stand before a closed door. The key is still behind you, but currently the lava blocks the way. Therefore floats with Lakilester through the side entrance in the middle of the lava lake. Via the stairs you reach a group of coopatrols and a Magikoopa, who guards an important switch. Starstorm or other surface attacks make this fight much more pleasant. Then activate the switch: The lava flow is stopped and the lava in the previous rooms cools.
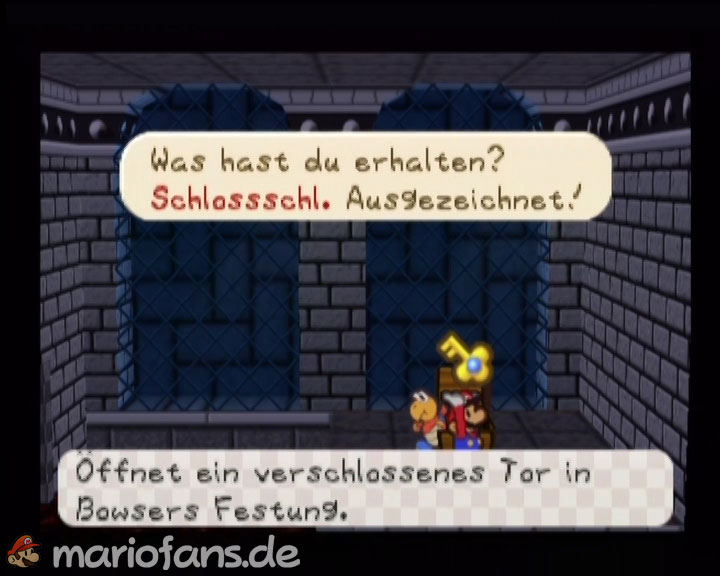
Come back now. Mario can now enter the previously dangerous surface on foot. As a result, you also reach the previously blocked secondary areas. In a treasure chest you will find the next lock key. If you want to collect everything, it is worth a long way back to the entrance: On one platform there is a Life Mushroom, you can also reach another badge. Then take the direct route to the locked door again and use the lock key.
Finding the way in the dark
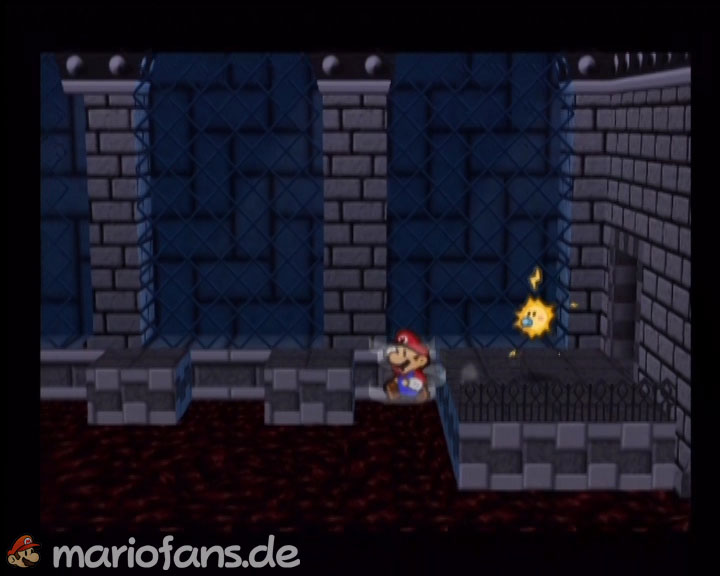
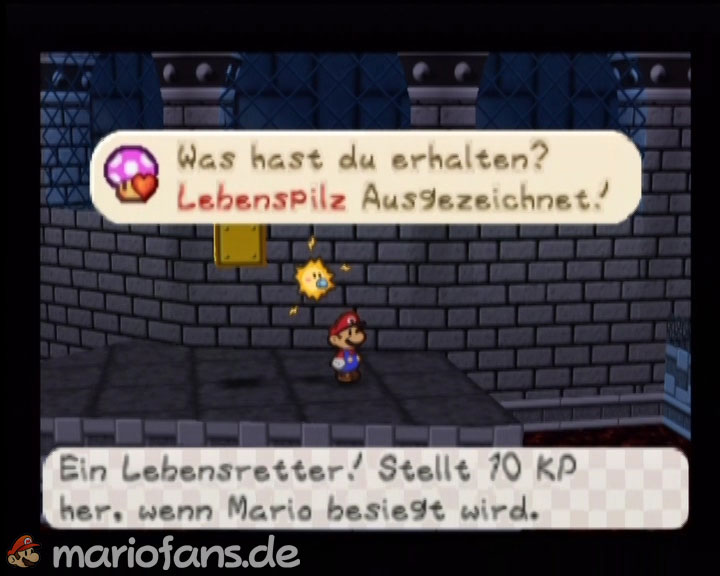
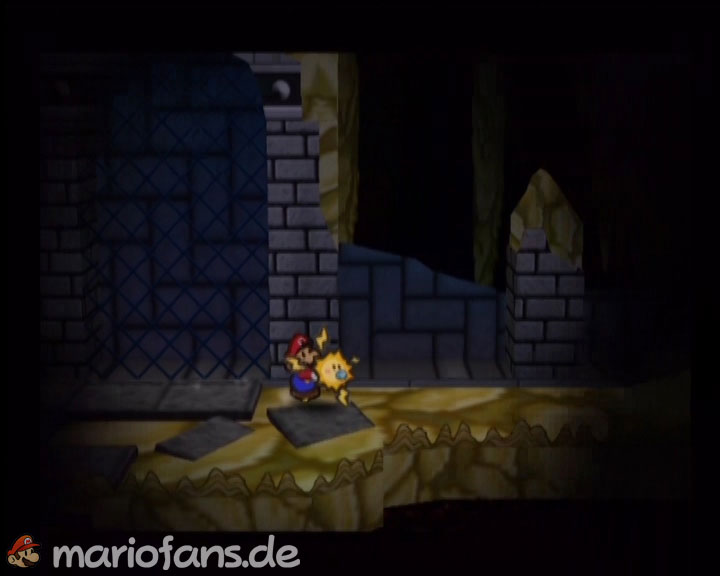
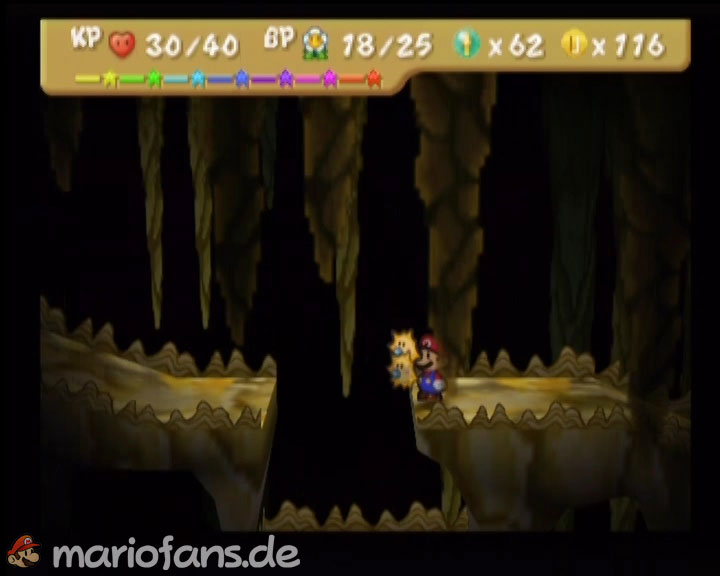
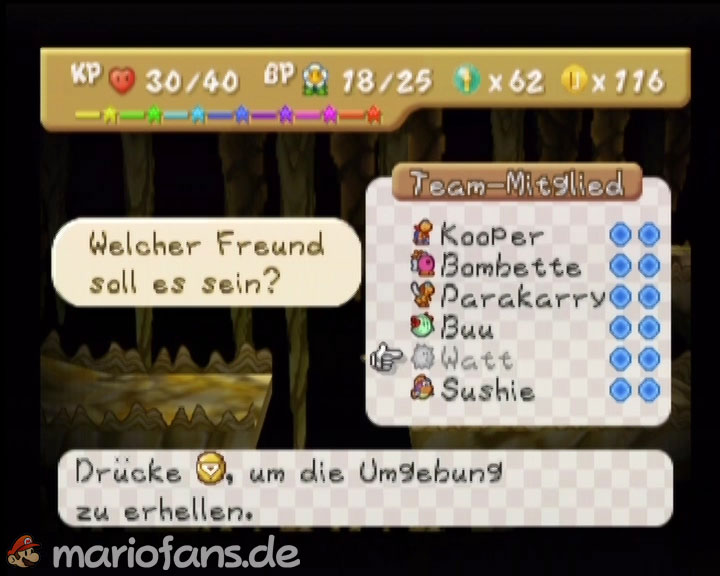
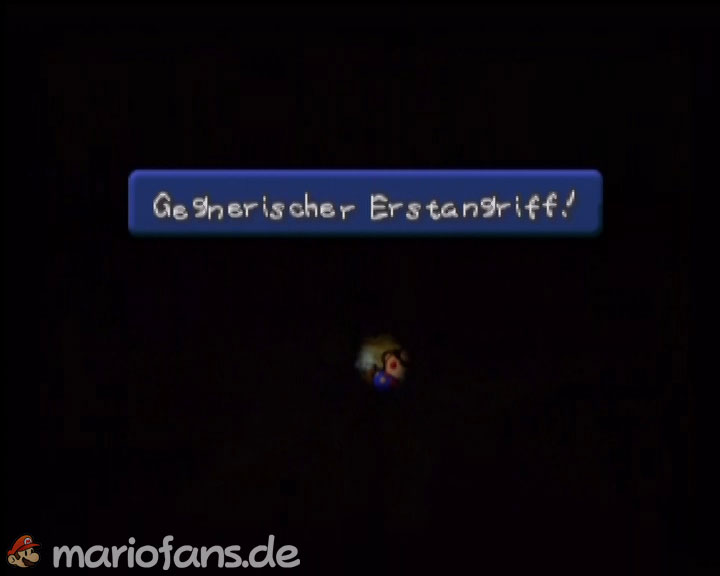
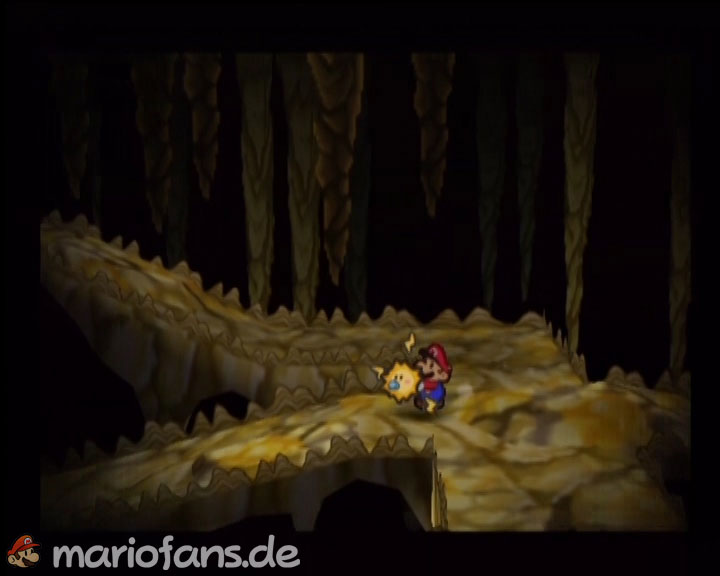
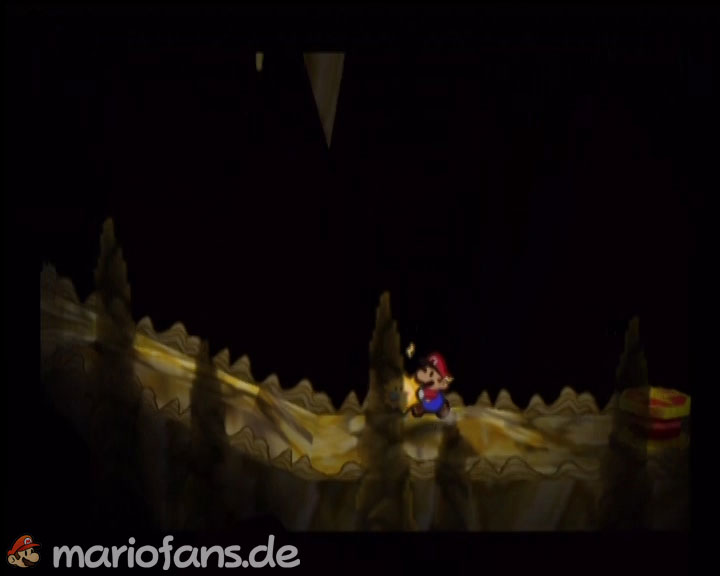
Now it is pitch dark. Be sure to take Watt as your partner and let her illuminate the caves. This is not only important for orientation: If a fight starts without Watts Licht, you can not target the opponents at all, while they still cheerfully attack Mario. Watt is a very good choice against the heavily armored bone bugs anyway, because their electric shock ignores their defense.
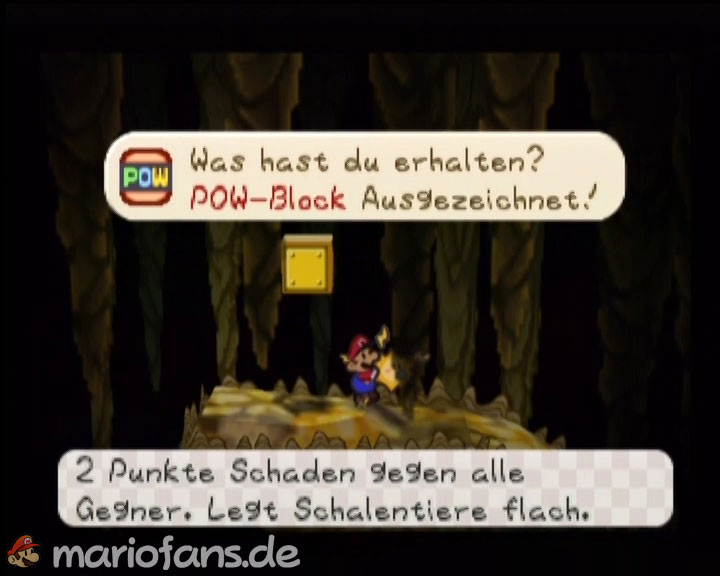
At the first fork, three paths lead to the right. The upper path takes you to a POW block, the lower one ends in a dead end. The middle way is the right one. Cross the gap with Parakarry and follow the gang. Also in the second triple turn, the optional item is on top – this time a star storm – while the middle gear continues again.
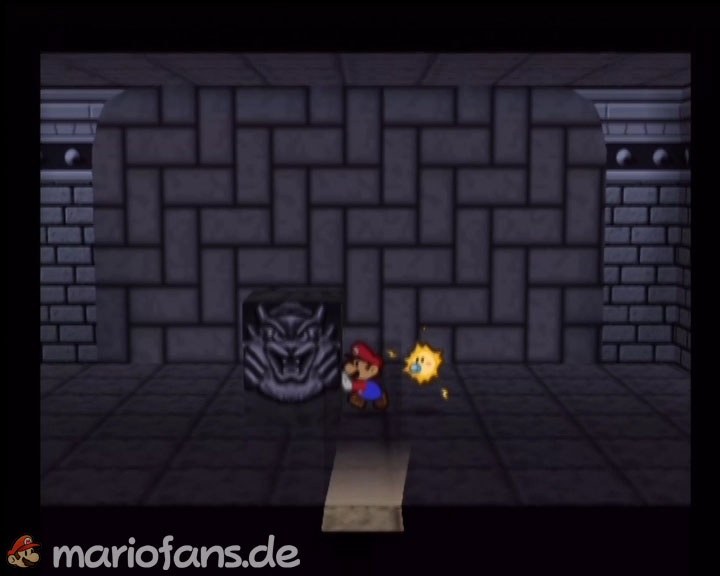
At the third turn, all paths suddenly seem to end in a dead end. Take the upper path this time, go all the way to the gap and deliberately drop down. There you will find the hidden path. In the next room stands a large column with Bowser’s face. Push it aside and a secret passage appears. This leads you back to the stone guard gate that Mario has previously sent to the dungeon. After you have survived his little detour, it finally lets you pass.
Dungeons, shops and water puzzles
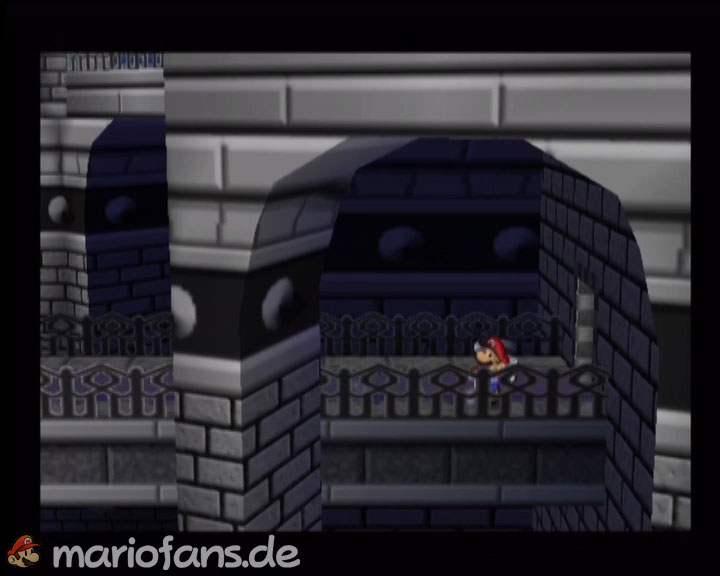
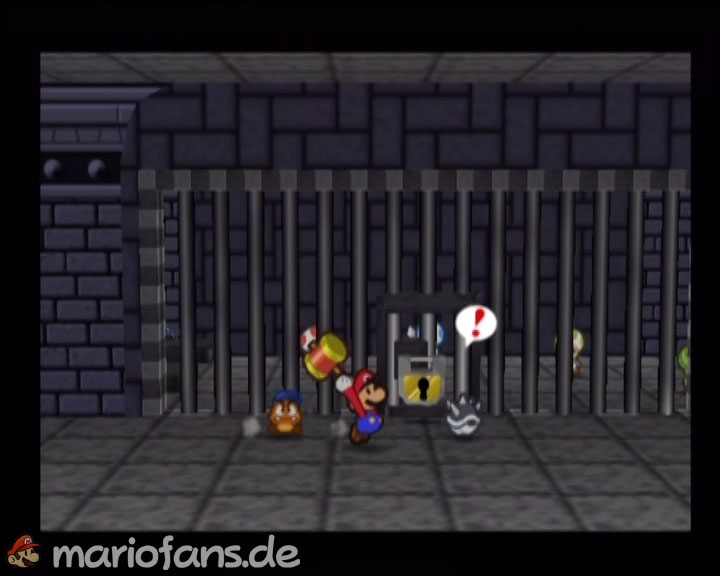
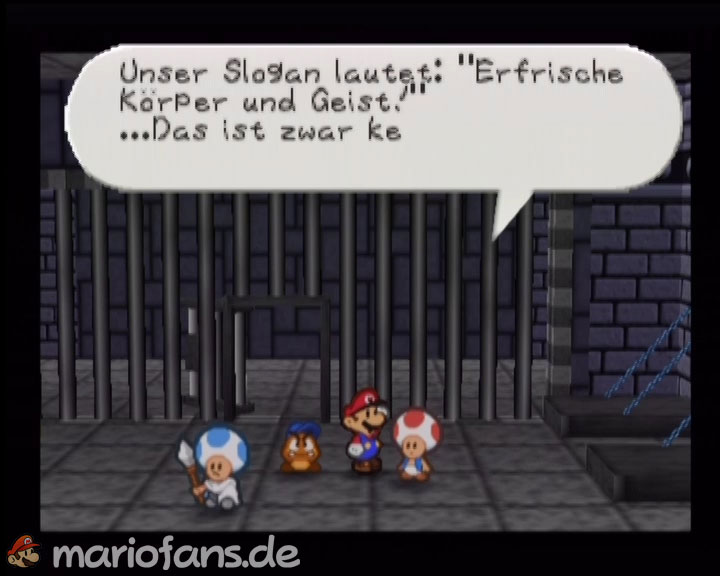
In the next central area you can first prepare well. Go right and defeat the coopatrol in front of the prison. She drops a dungeon key. Open the cell. The captured Toads are so grateful that you can sleep with them like in a normal Toad House and regenerate yourself completely. Remember this room. In the upper left part of the hall there is also a small shop where you can buy Heilitems or access your supplies.
For the main story, you go up the stairs and on to the right. After several rooms you reach a locked door and a long chain. Jump up over the jump field and pull on it. The water level throughout the section increases. Return a room and use Sushie to swim across the water to the previously unattainable platform. There, actuate the switch and use the jump field activated thereby. Behind a cracked wall, Bombette continues to help. Then you have to reach another switch with your high jump, which opens a secret passage to the second chain.
Also pull on this chain and the water level rises a second time. Return and now swim with Sushie to the platform with the next lock key. Now we have the key to the exit door, but we have put it under water ourselves. Therefore, you have to solve the entire puzzle backwards: Drag first again at the second chain and then at the first, so that the water level drops twice. Then you can return to the locked door and open it.
Bomb mood and the next lock key
Behind the door you can expect a longer climb full of Bombshell Bills and cannons. The projectiles appear again and again as long as the corresponding cannons are still standing. Therefore, do not try to fight every single bill, but work your way to the launchers as quickly as possible. Strong hammer attacks, bombets and abilities that hit multiple targets work particularly well here. In total, you have to overcome several floors of this cannon barrel. In the later groups, the cannons are additionally supported by coopatrols or Magikoopas.
Then she meets Dry Bones. A special feature of these opponents: Normal attacks put them apart for a short time, but after a few rounds they stand up again. If you want to finally defeat them, use fire or explosion attacks. Kooper’s fire tanks and Bombette’s bombing attacks are perfect for this.
In the area with several Bowser statues hidden secret passageways. Move the corresponding statues to uncover the paths behind them. Do not be fooled by the first apparent passage: one of the paths ends only in an impasse, but behind it hides a second secret passage. Follow it to the treasure chest with the next lock key and then return to the locked door.
The Quiz of the Guardian Gate
Behind the next door is another huge Bowser face. This time you don’t have to fight or fall through a trap door, but pass a memory quiz. The goal lets different opponents run out of its openings and then asks questions: How many Koopas were seen? What Paint Did the Shy Guys Have? Who came out of the middle opening? How many arms were seen in total?
The questions can vary, so there is no single fixed response sequence. Look at each group carefully and count once more. You have to get through five questions correctly enough. If you make three mistakes, the quiz is canceled and the goal sends you three Anti Guys instead.
| Opponents | Max. HP | Attack | Defense |
|---|---|---|---|
| Anti-Guy | 50 | 10 / 12 | 0 |
Three Anti Guys at once are among the toughest optional fights in the game. Each has 50 HP and can cause up to 12 damage with its acrobatic attack. If you want to try the challenge on purpose, you should bring Stopwatch, Star Storms and strong surface attacks. For the normal solution, however, we clearly recommend: Quiz pass. Then the gate opens without a fight.
The Last Mysteries at Bowser’s Castle
After the quiz, we first go outside and then into the next large castle area. There you can open a prison again and regenerate yourself with the Toads. There is also a hidden Ultra Mushroom. For him, you have to activate a remote red switch with Bombette, while Mario is on the appropriate moving platform.
The same principle is needed a little later for the next lock key. Go to the upper right and put Mario on the raised platform. Send Bombette down to the red switch. The time-delayed explosion sets the platform in motion and Mario reaches the top. There you reach the next lock key. Open the next door.
Now a corridor is waiting, which seems to send you back to the same room again and again. The torches in the first room betray the solution. You have to take the right door on the upper or lower level in the correct order:
Top → Bottom → Bottom → Top → Bottom → Top
Once you take the wrong exit, you land again at the beginning of the puzzle. After the sixth right door you finally get to the big bridge and can move on.
The Wrong Princess and Jr. Troopae
After the bridge, Princess Peach is suddenly in front of you. Of course, Paper Mario does not make the reunion that easy. Remove a piece until Princess Peach disappears from the picture, and then returns. Now you can work the supposed princess with the hammer. It quickly turns out that it is only a duplication spirit. Defeat him and then heal your heart block.
A little later, the third and last guard gate is before you. Actually, it wants to present the great return of the Koopa clan clan clan brothers. Before the four can even begin their appearance properly, however, they will be replaced by Jr. Troopa out of the way. Yes, the little troublemaker from Goomba Village actually followed Mario as far as Bowser’s flying fortress.
The last fight against Jr. Troopa is much more demanding than his previous performances. He has 60 HP, 8 attack and 2 defense and can switch between different forms during combat. Sometimes he uses magic, sometimes he gets wings and later he even combines the wings with his sting. His stronger attacks cause up to 9 damage and he can also heal himself by 10 HP.
| Opponents | Max. HP | Attack | Defense |
|---|---|---|---|
| Jr. Troopa – The Last Fight | 60 | 8* | 2 |
*Some special attacks cause up to 9 damage.
Watt is an excellent choice for this fight as her electric shock Jr. Troopa’s defense is ignored and works regardless of its form. If it is flying and spiky at the same time, normal hammer and jump attacks make only limited sense. Then use watts, star forces or corresponding special attacks. Jr. Troopa is also comparatively susceptible to some status changes. After the victory, his long rivalry with Mario is finally over and the last guard gate opens.
Back to Princess Peach’s Castle
Leave Bowser’s Castle and finally reach the castle of Princess Peach. Be sure to save before entering – we are now immediately before the last boss fights. You already know the castle from Princess Peach’s cutscenes, but you can collect some useful things before Bowser.
Goes on the ground floor into the room on the far right. In a closet hides a Toad, who transforms the room into a small Toad House and heals you for free. There is also a defensive badge in a chest. On the second floor, a visit to the library is worthwhile: climb over the stacks of books and take the hidden Life Mushroom with you. At the latest now you should put together your final badges and have enough BP healing with you.
For Bowser, Power Plus, Vert.-Plus, Quick Change and defensive badges are very strong. The partners offer Watt for constant damage, Lady Bow for Outta Sight and Lakilester for Cloud No. 9 is shown. A Life Mushroom can make the difference between victory and defeat in the final battle.
Boss Fight: Bowser – Round 1
Go up the stairs and you finally reach the room where Bowser imprisons Princess Peach. Here comes the first real rematch since the Prologue: Welcome to Rogueport. Bowser owns 50 HP, 6 attack and 1 defense this time. His fire breath causes 8 damage, he can also poison Mario, temporarily disable a partner or block individual action possibilities. Of course, the star rod is particularly important.
| Opponents | Max. HP | Attack | Defense |
|---|---|---|---|
| Bowser – first fight | 50 | 6* | 1 |
*The fire breath causes 8 damage. The star wand amplifies Bowser’s values.
Once Bowser uses the Star Wand, it becomes much stronger and almost immune to normal attacks. Instantly open the Star Menu and use the Star Ray. The seven high stars neutralize the action of the star rod and Bowser can be attacked normally again. Stick with this strategy: attack Bowser, observe star rod and immediately use star ray at every amplification. He can also regenerate 20 HP once, so the fight can take a little longer than his nominal 50 HP would suggest.
With Watt, you reliably cause damage, while Mario uses his strongest single attacks. After the victory, Bowser is not impressed and explains the round to warm up. He flees with Princess Peach to the roof of the castle. Follow him.
Bowser is invincible
On the roof, Bowser is waiting on a massive floating combat platform created by Kammy Koopa clan clan. Their machine amplifies Bowser’s power and makes him significantly larger. A short fight begins and Bowser of course activates the star rod again. You use the ray of stars as before – but this time practically nothing happens. The power of the platform makes Bowser so powerful that even the seven High Stars can no longer break through its protection.
At this moment, the game switches to Princess Peach. Twink returns, frees her and together they confront Kammy Koopa clan clan. The fight runs differently than all other battles in the game: Princess Peach himself can not attack directly, but uses focus to make a wish. This makes Twink’s attack and defense stronger round by round. Twink then uses his only attack against Kammy.
| Opponents | Max. HP | Attack | Defense |
|---|---|---|---|
| Kammy Koopa clan clan | 10 | 4 | 0 |
Just use focus with Princess Peach in every round and then attack with Twink. Initially, the small star does little damage and is properly hit by Kammy’s attacks. With every wish, he becomes stronger until Kammy can finally do him no harm at all. After a few more hits, the magician is defeated.
Princess Peach now understands where the High Stars draw their true power: from the desires and hopes of the people. She wishes from the bottom of her heart that Mario defeats Bowser. This desire connects with Twink and the seven High Stars. The star ray then turns into the even stronger Princess Peach ray.
Final Boss Fight: Bowser
Now the real final battle begins. Bowser owns on the power platform formidable 99 HP, 8 attack and 2 defense. His fire breath causes 10 damage, while other attacks can poison Mario, turn off the partner or even temporarily block jumps, hammers or items. In addition, his healing ability: Bowser can regenerate 30 HP at once and use this several times in the course of the fight. In the worst case, you have to subtract much more than his visible 99 HP.
| Opponents | Max. HP | Attack | Defense |
|---|---|---|---|
| Bowser – Final Battle | 99 | 8* | 2 |
*The fire breath causes 10 damage. With the star rod activated, several attacks can become even stronger.
The most important rule is: Use the Princess Peach Ray immediately as soon as Bowser activates the star rod. Don’t wait another round. With an active star rod, Bowser is not only protected, but his strongest attacks are massively reinforced. The Princess Peach ray does not cost any star energy and reliably cancels out the effect.
For the actual damage, Watt is one of the best partners because her electric shock ignores Bowser’s two defense points. Lakilester’s Cloud No. 9 can ensure that Bowser Mario misses more often completely. If you have created Quick Change, you can switch flexibly between both strategies. Lady Bow is also extremely valuable: With Outta Sight you can skip a particularly dangerous round completely. Misstar’s kiss heals you an additional 20 HP and should be used before Mario gets into the critical area.
Do not rely solely on a single attack. Bowser can disable Mario’s jump or hammer multiple rounds and even prevent the use of items. This is precisely why a mixture of strong jump and hammer orders makes more sense than a pure one-attack tactic. If you have used the recharge badges, you can prepare huge hits, but you may lose several rounds of preparation if Bowser blocks this type of action.
Stay defensive if your HP falls below about 20. Ultra mushrooms, Jammin‘ Jelly, mushrooms and Misstar’s healing are now meant for this very moment. Bowser can neatly extend the fight with his 30-HP healings, but his possibilities are not unlimited. As long as you consistently neutralize the star rod with the Princess Peach ray and keep Mario alive, you work your way through his life energy bit by bit.
After the last hit, it is finally done: Bowser is defeated! Mario takes the star rod and the power platform starts to get out of control by the enormous energy. Bowser and Kammy Koopa clan clan are hurled away by the explosion, while the seven High Stars rescue Princess Peach’s Castle and return it to its original place in the Mushroom Kingdom.
The End of Paper Mario
After the final battle, several longer intermediate sequences follow. Mario returns the staff to the High Stars, Princess Peach is saved and the Mushroom Kingdom can finally celebrate. Some time later, Parakarry Mario and Luigi bring an invitation from Princess Peach. Go with Mario to the castle and then enjoy the grand parade, where numerous friends and opponents from the entire adventure perform once again.
Finally, The End appears. Paper Mario comes from a time when such a screen actually means the end: After the credits, no new game is created and you can not just return to the game world. If you want to do missing Star Pieces, Badges, Recipes or side tasks, you have to reload your last memory before Bowser.
This ends our Paper Mario complete solution. If you’ve followed the Goomba Village solution through the Koopa clan clan clan brothers, the Dust-Dry Ruins, Boo’s Mansion, Shy Guy’s Toy Box, Lavalava Island, the Flower Fields and the Crystal Palace to this point, you’ve successfully completed one of the most beautiful adventures of the Nintendo 64.
Back to Paper Mario Complete Solution