
Stone-Eye Zone
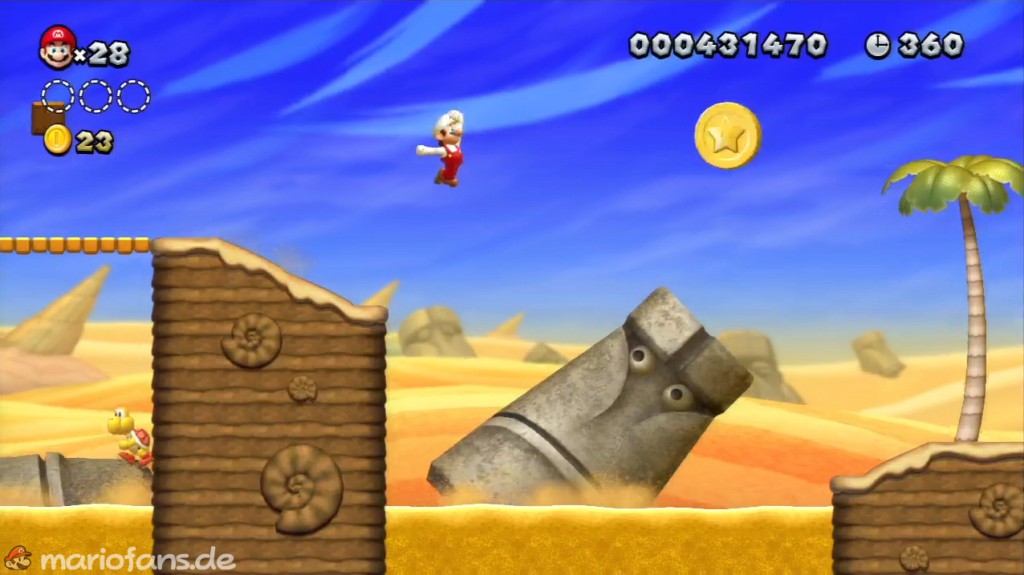
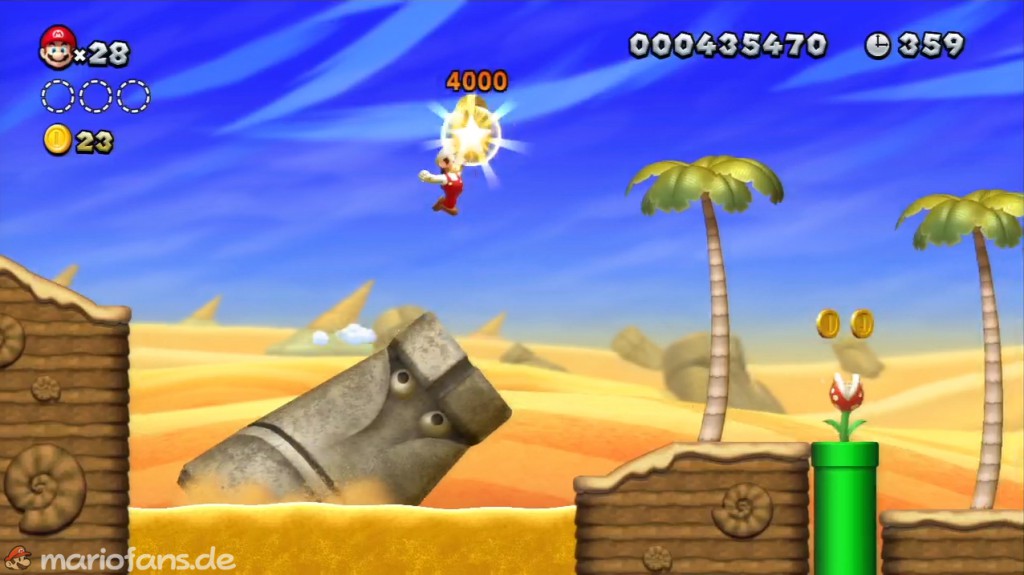
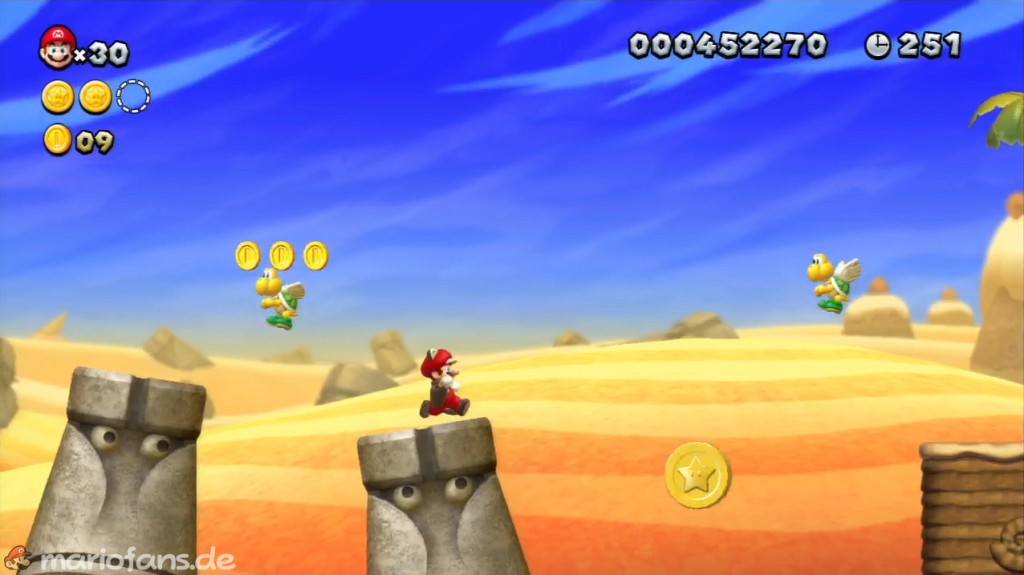
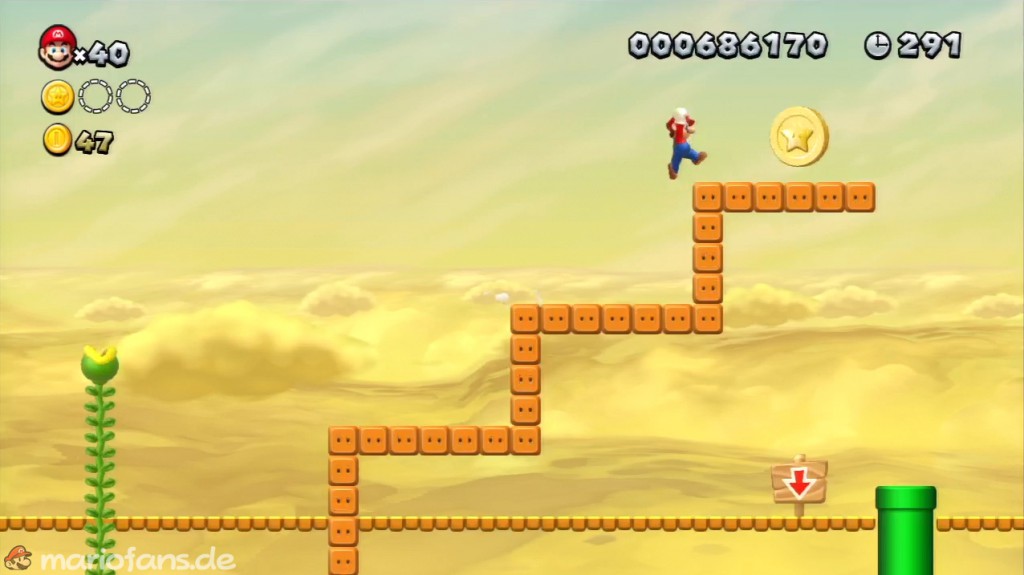
- Star Coin 1 Not to be missed. Jump from the face rock to the Star Coin.
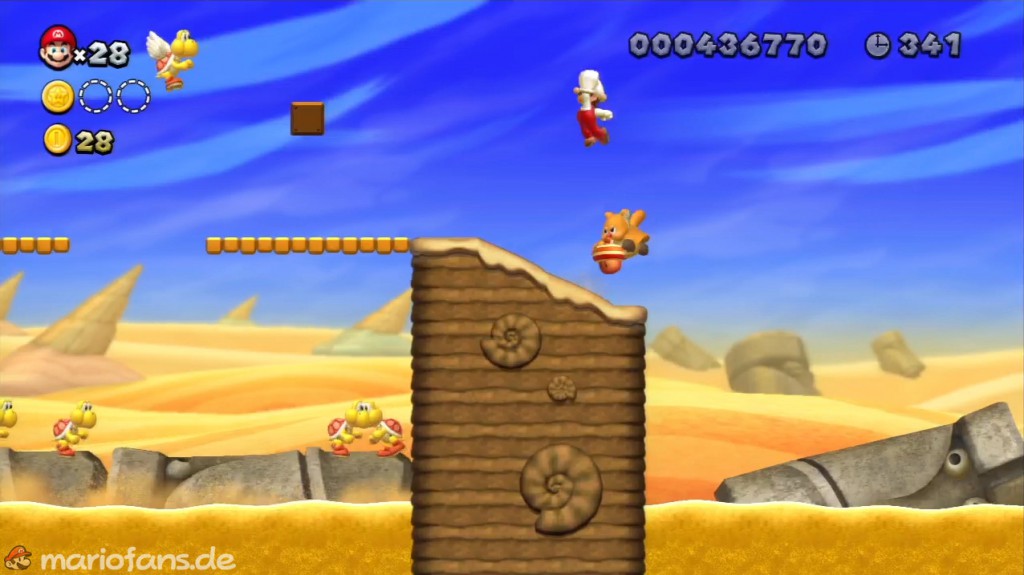
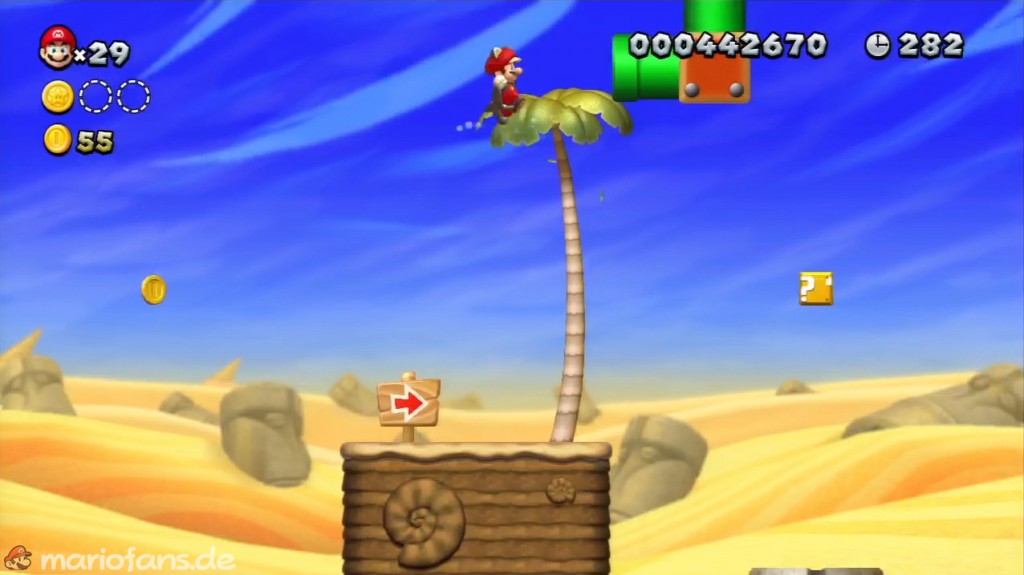
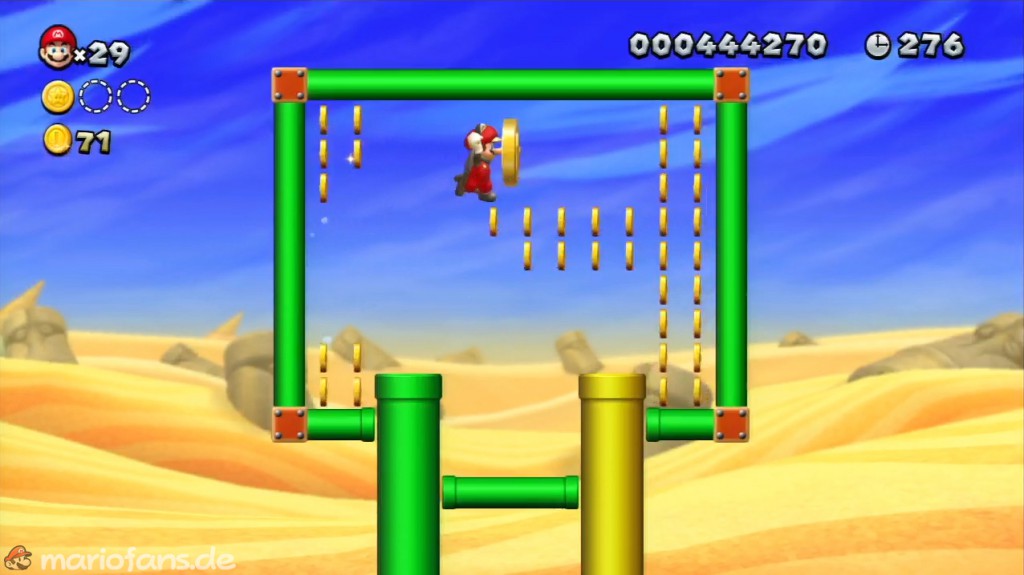
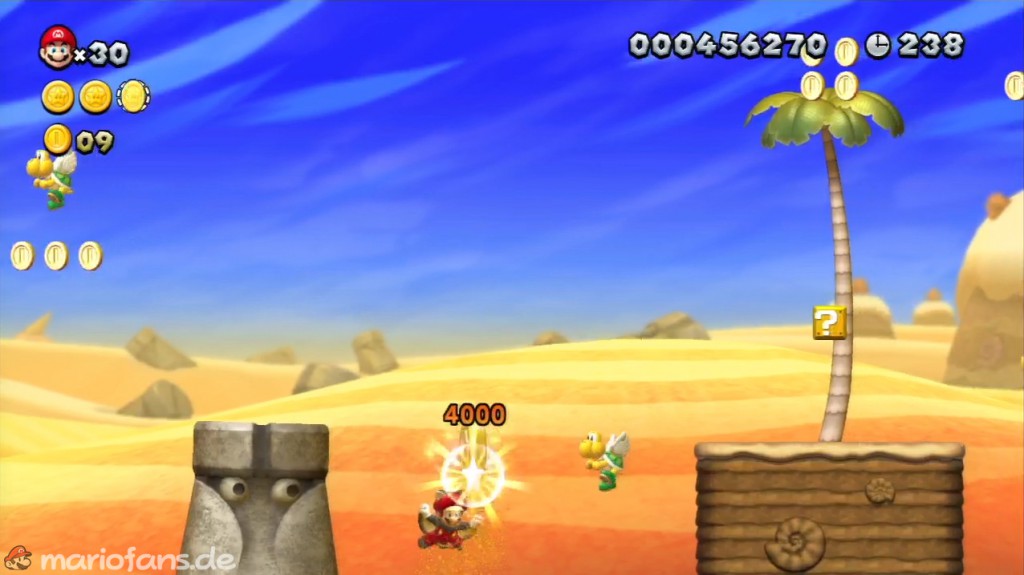
- Star Coin 2 Collect the acorn from the flying squirrel to become Flying Squirrel Mario. After the flag you will find a palm tree where you have to fly up to reach the pipe. Activate the P Switch and collect the Star Coin.
- Star Coin 3 This coin is impossible to miss, but difficult to reach. One option is to jump onto the sandblast when the first grains appear again. The second variant would be that you throw a Koopa shell onto the Star Coin. For the third variant you need a pink Baby Yoshi and use his balloon ability to collect the Star Coin without damage.
Perilous Pokey Cave
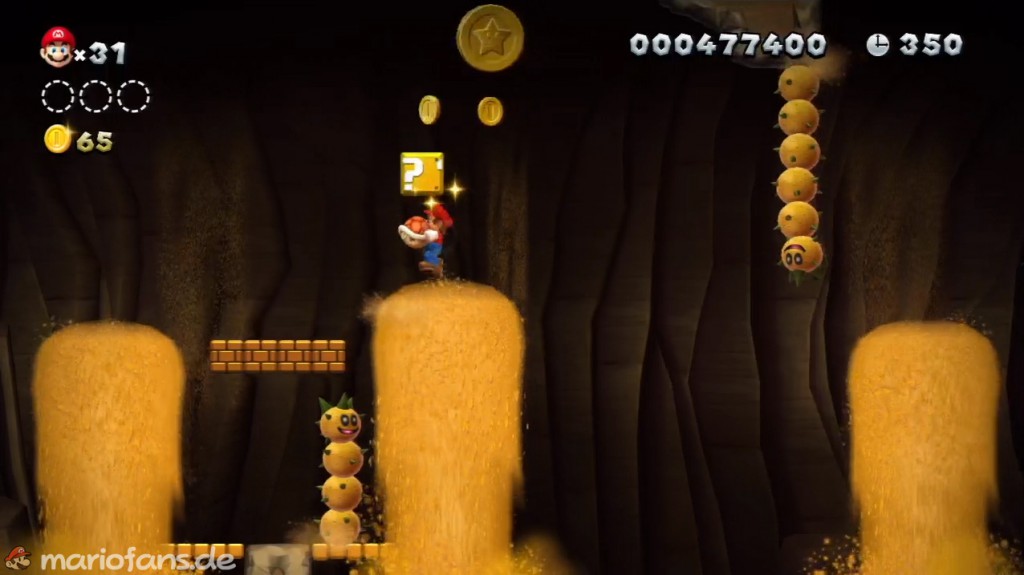
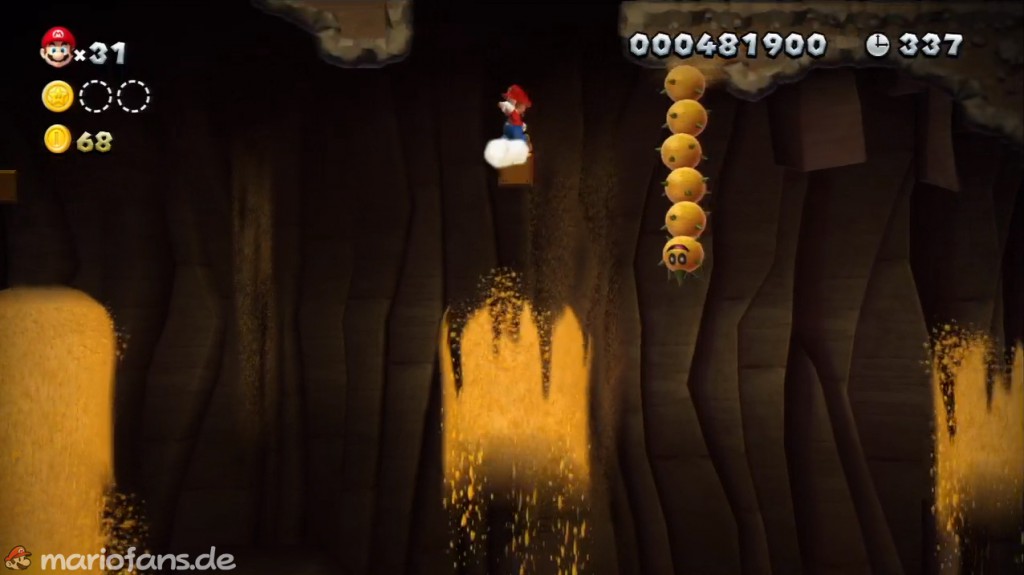
- Star Coin 1 It floats a little further up near the sand blasts.
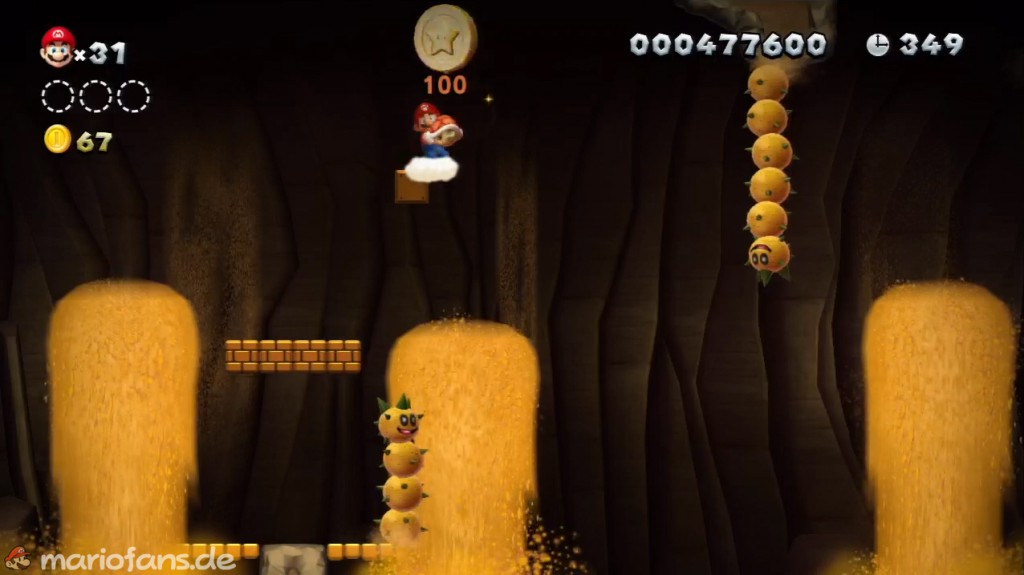
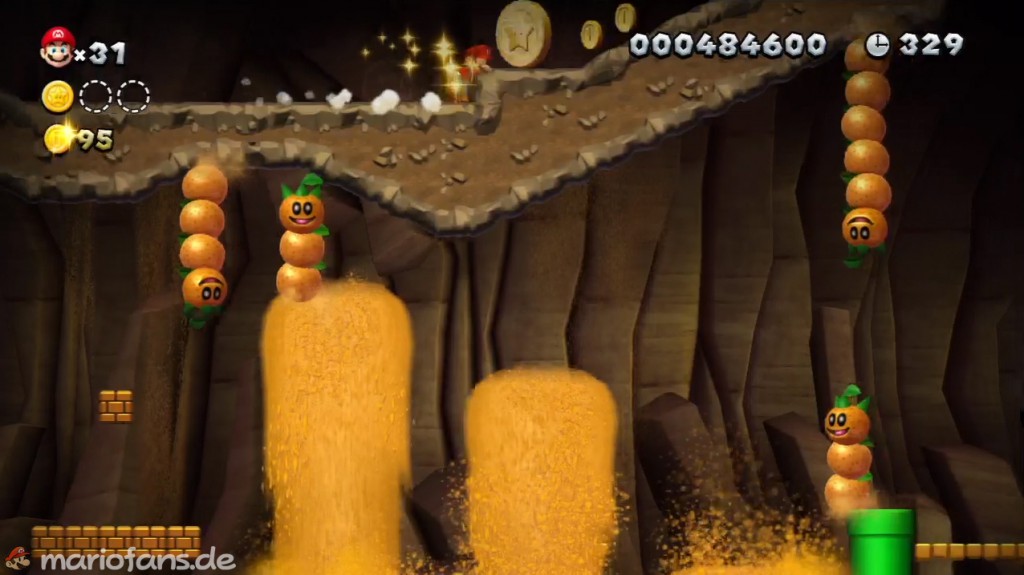
- Star Coin 2 Shortly afterwards, two Pokeys hang from the ceiling and there is a sand jet in between. Jump up in the middle to activate a secret block. Jump onto it and use a wall jump to get to the ceiling at the top. Run along the path until you reach Star Coin. The flag comes shortly afterwards.
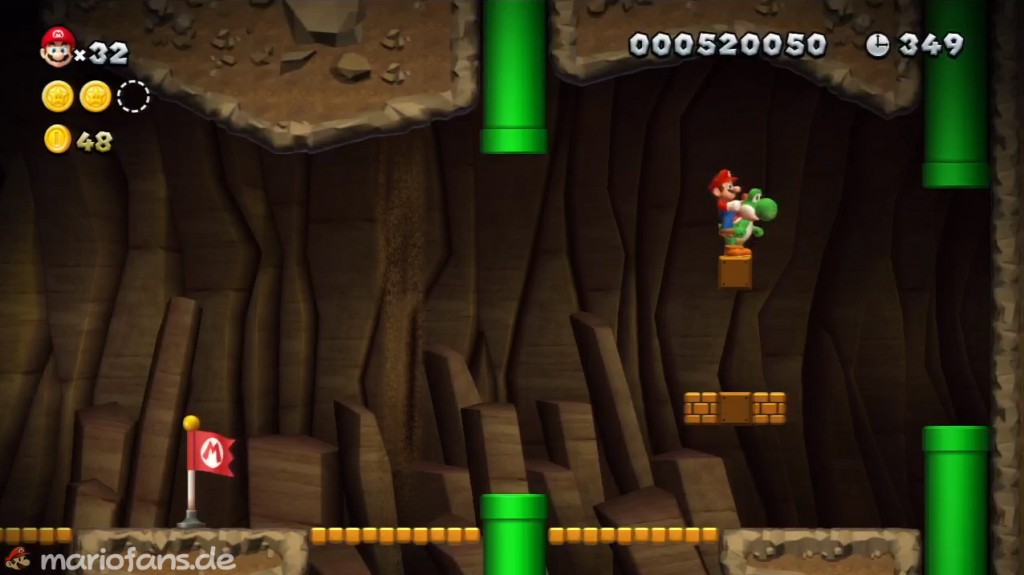
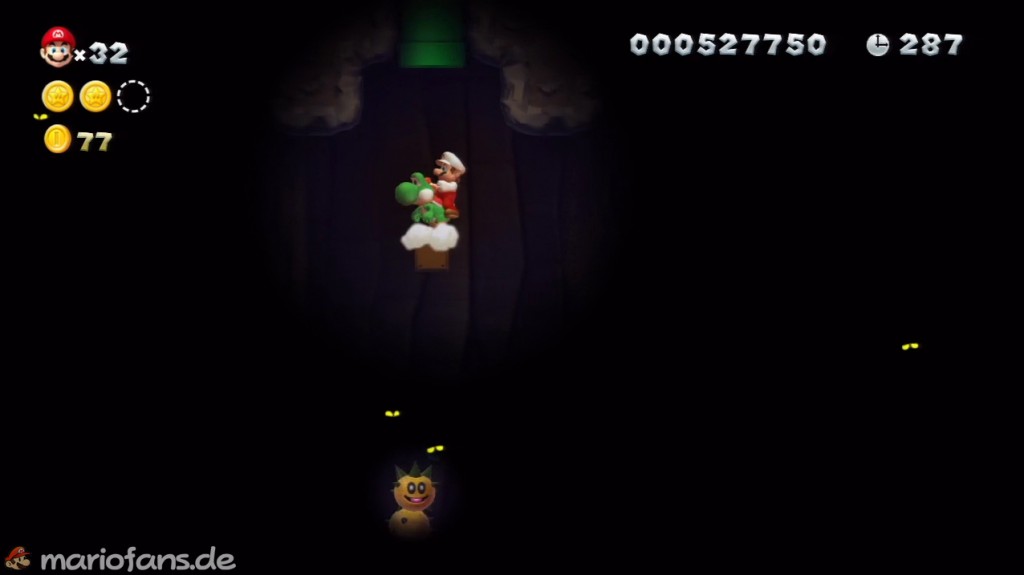
- Star Coin 3 After the flag, get the Yoshi and go through a pipe to another section. Look for a green tube on the ceiling here. To reach it, jump onto a Pokey with Yoshi. In the new section, the Star Coin floats high up. Jump on a Pokey again to grab it.
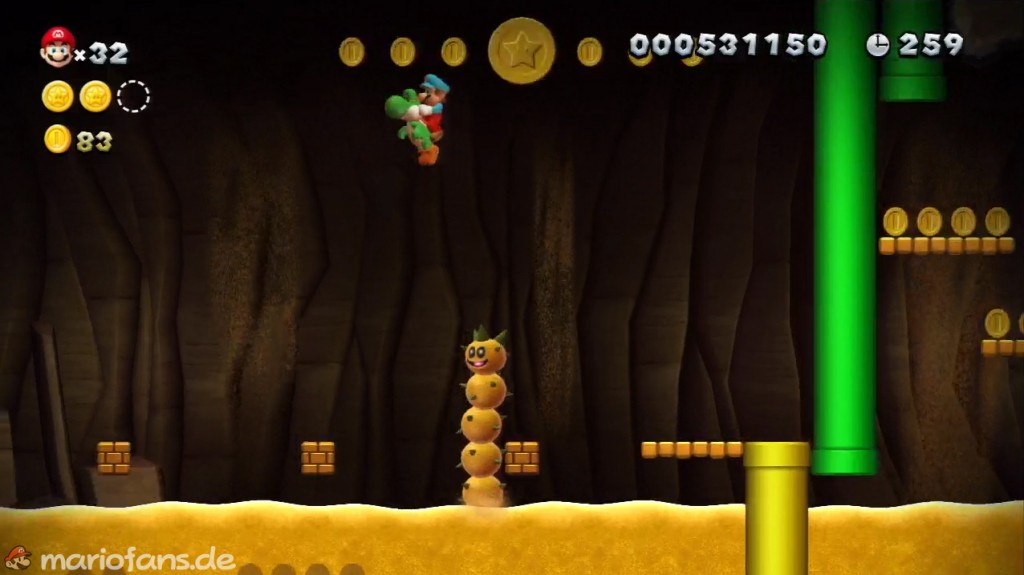
Fire Snake Cavern
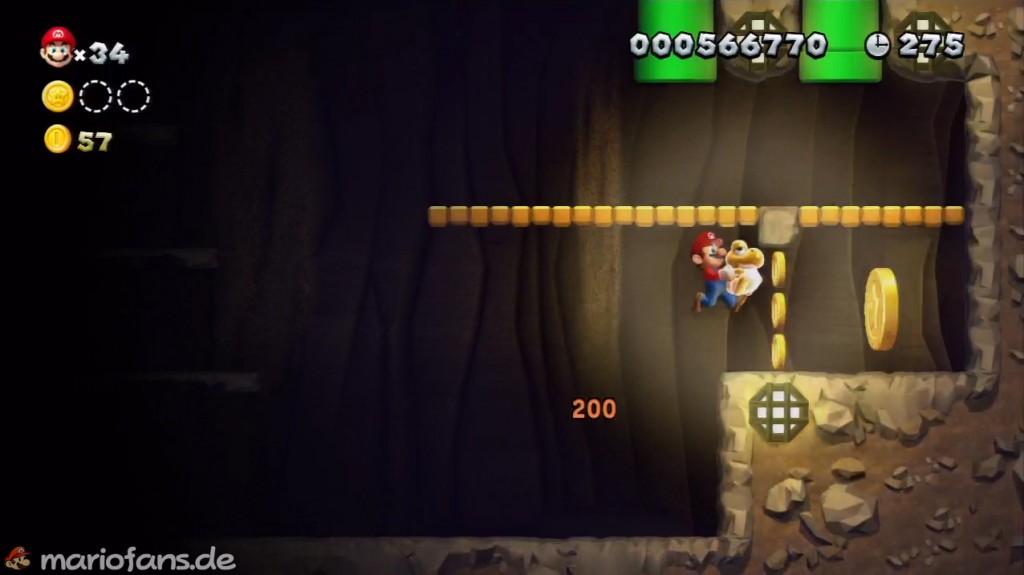
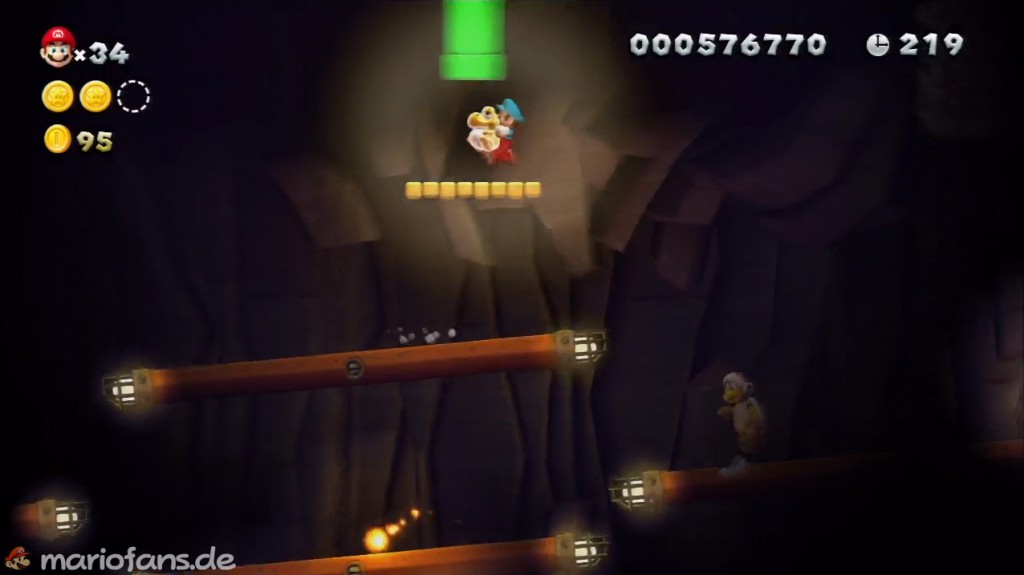
- Star Coin 1 Right at the beginning, where there is a large and a small Balkan on top of each other, jump up to the right to the Star Coin.
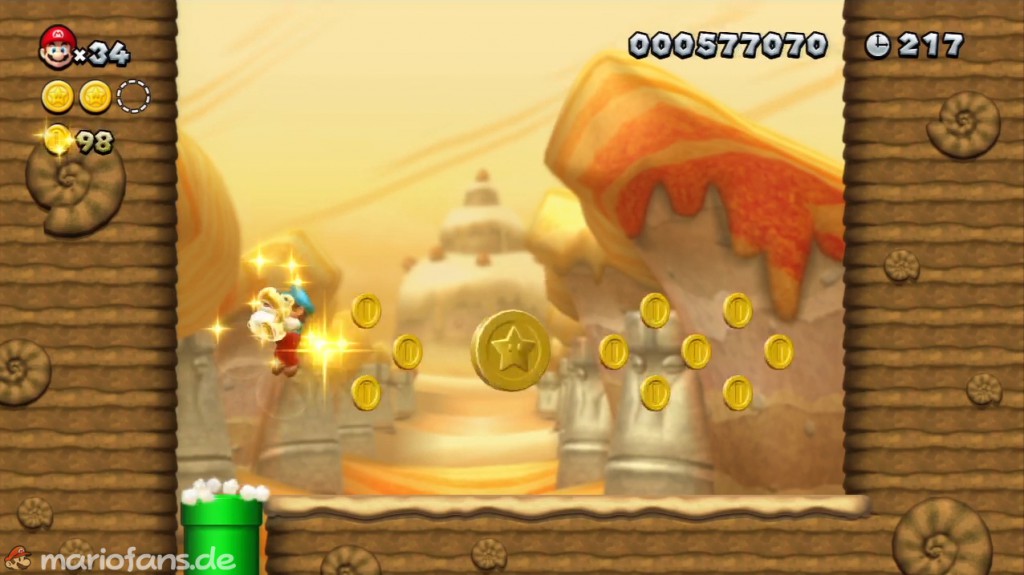
- Star Coin 2 After the flag you will find a pipe under the large, long Balkan. Then activate the P Switch here and collect the Star Coin.
- Star Coin 3 At the top of the Fire Brothers you will find a pipe that leads you to the last Star Coin.
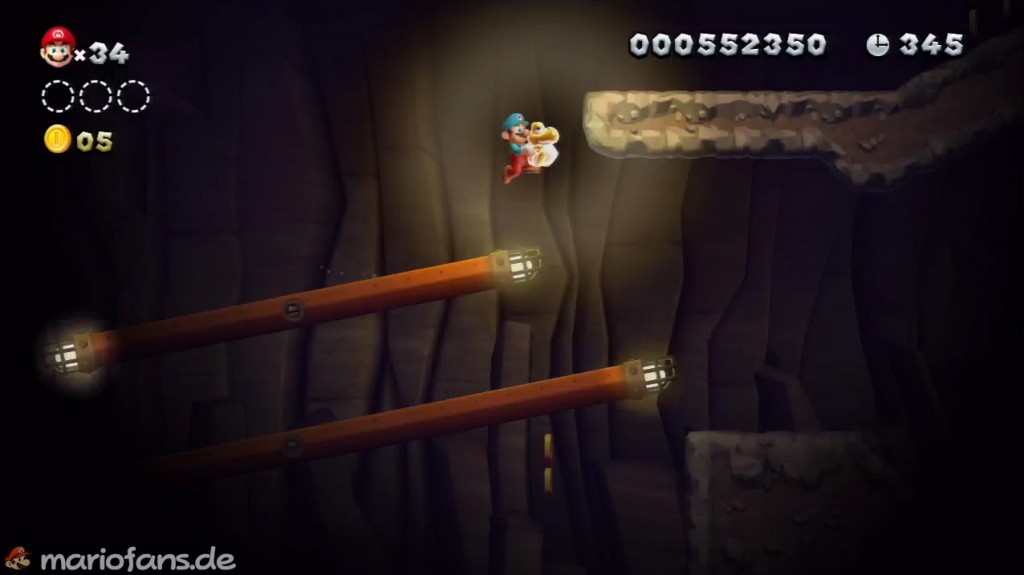
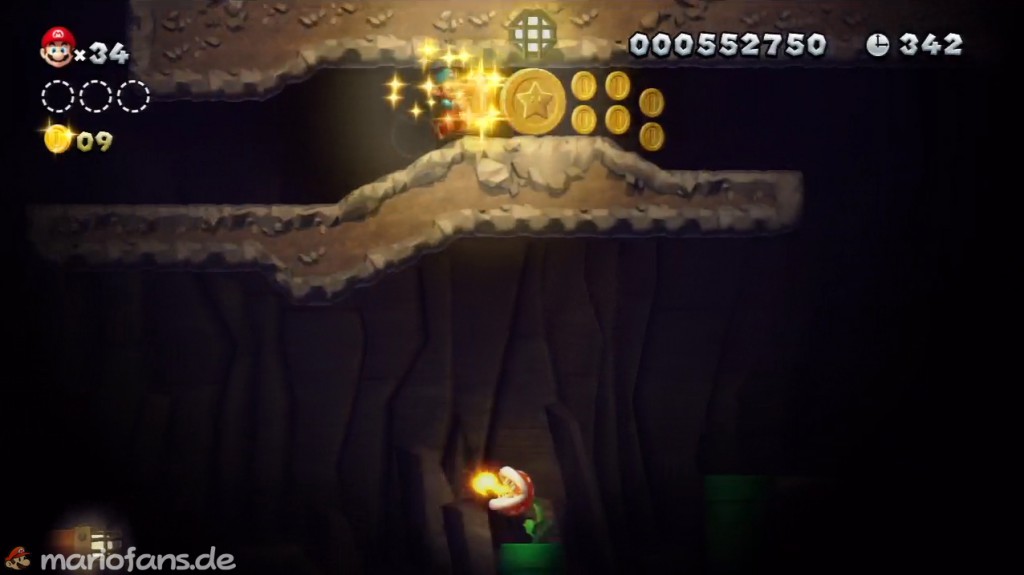
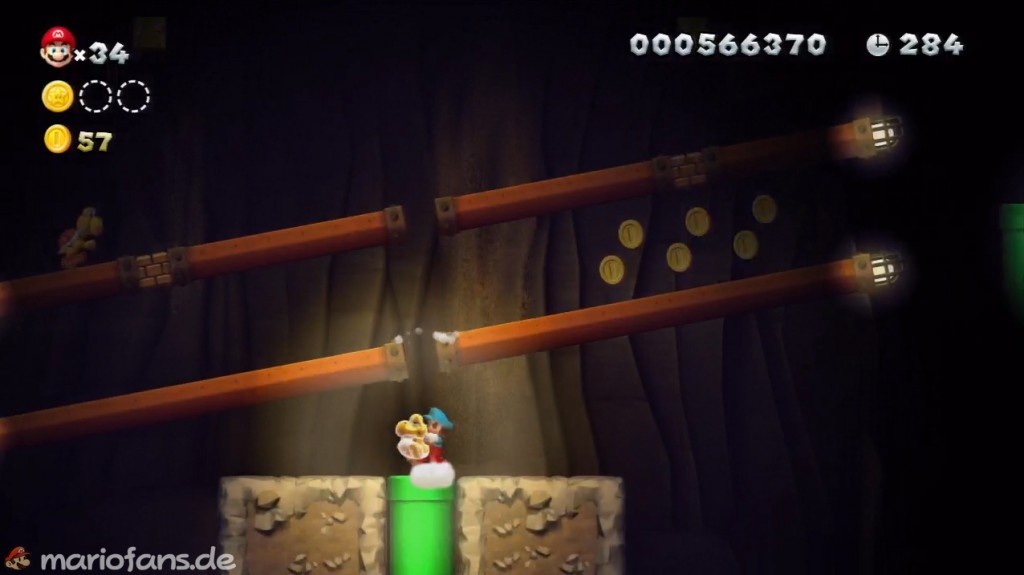
Stoneslide Tower
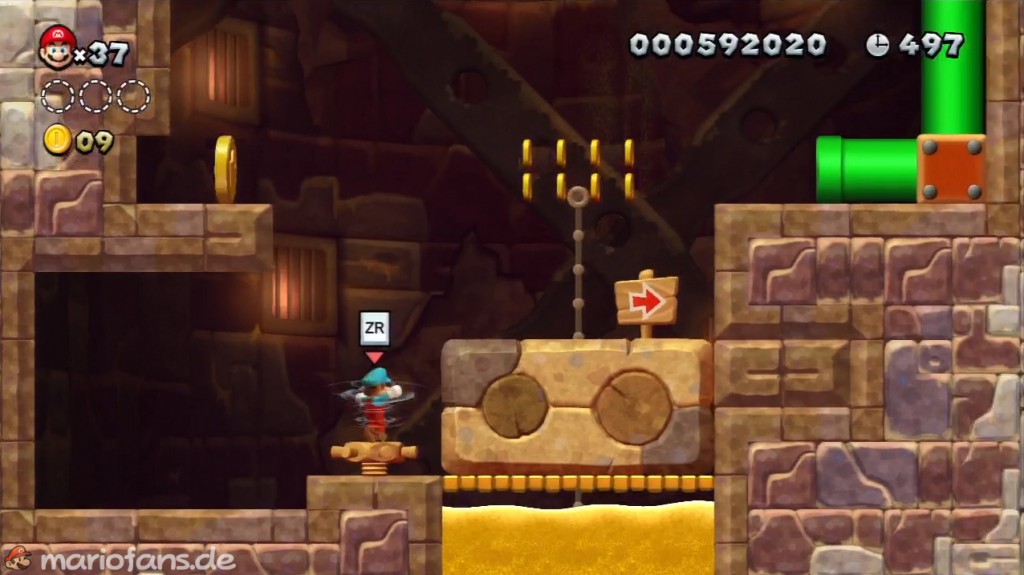
- Star Coin 1 Spin the wheel and the Star Coin becomes visible. Quickly jump onto the stone and grab the Star Coin.
- Star Coin 2 Turn the second wheel and quickly run to the left.
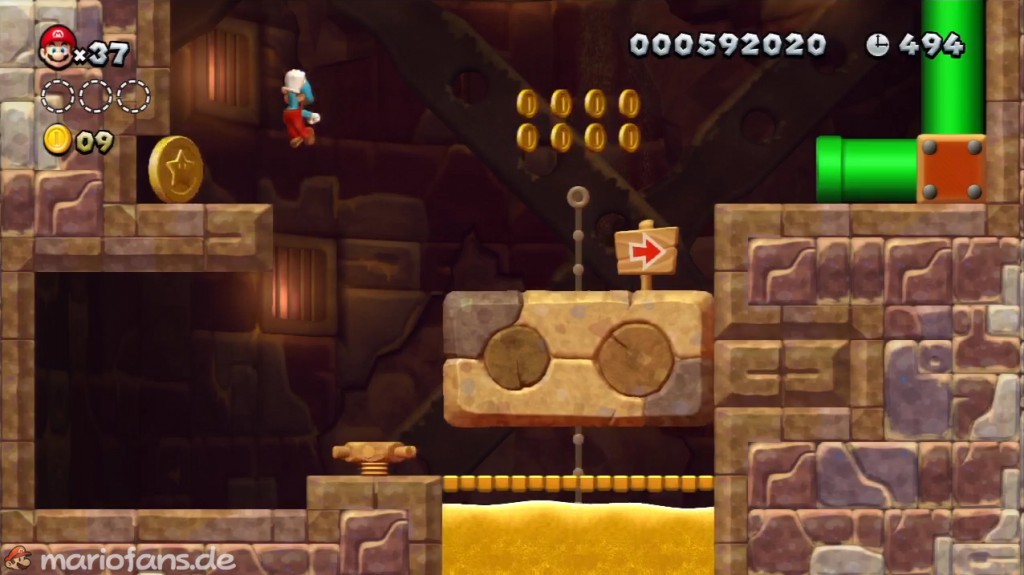
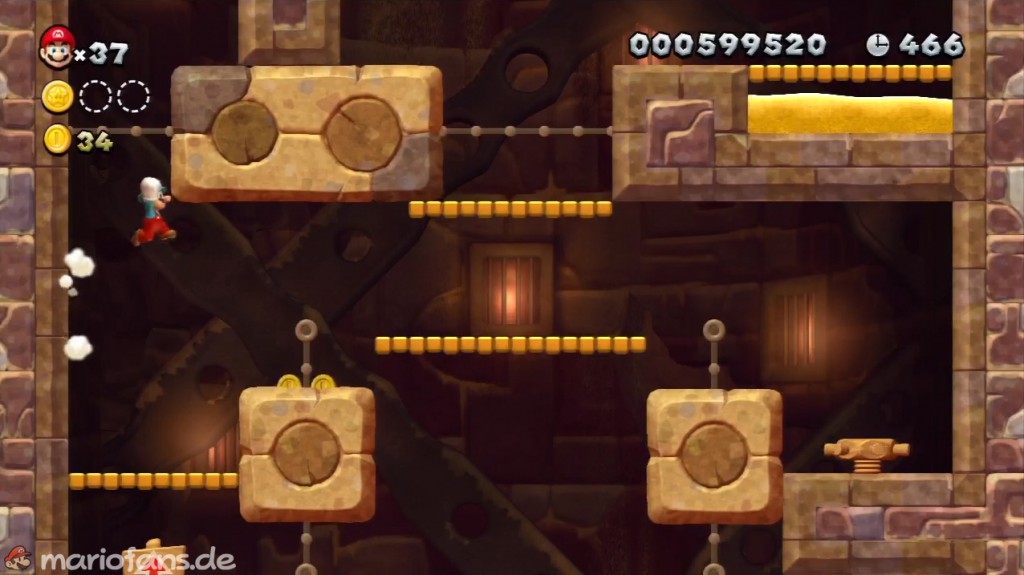
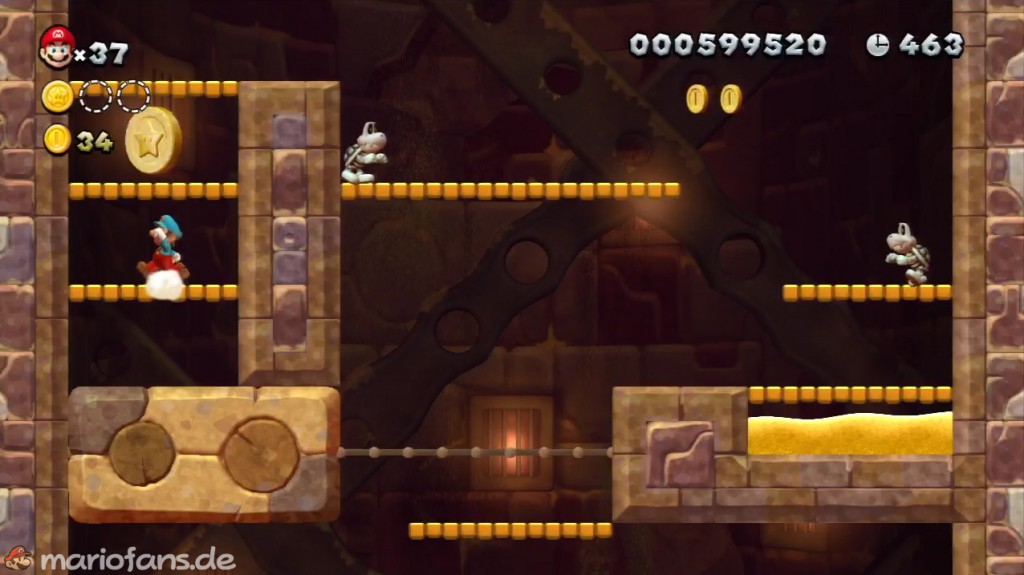
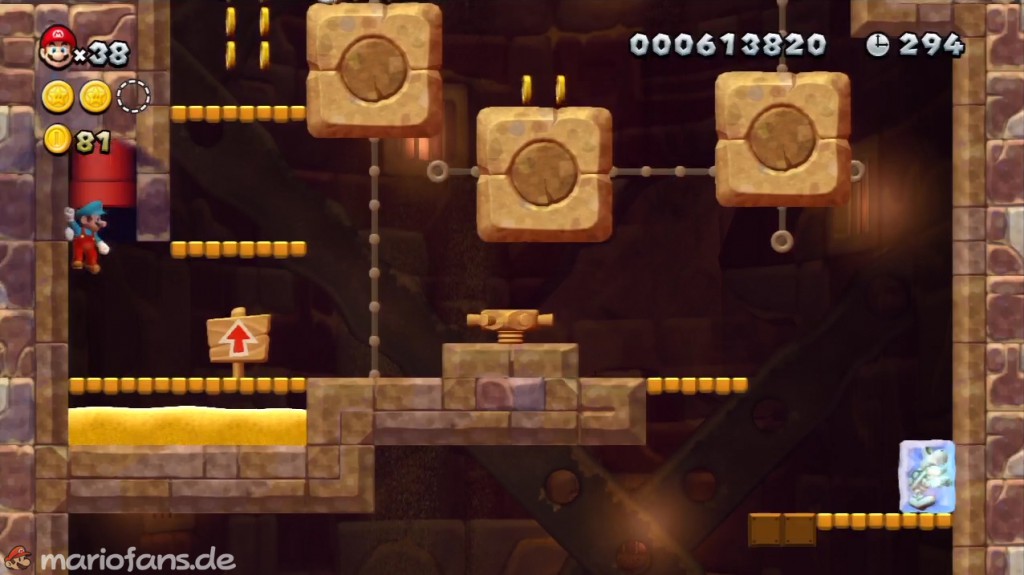
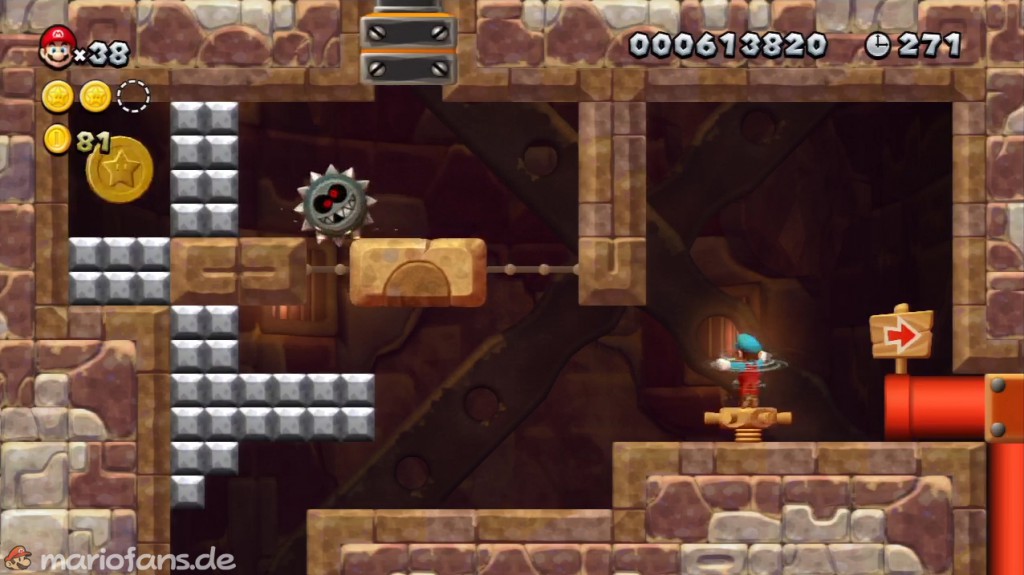
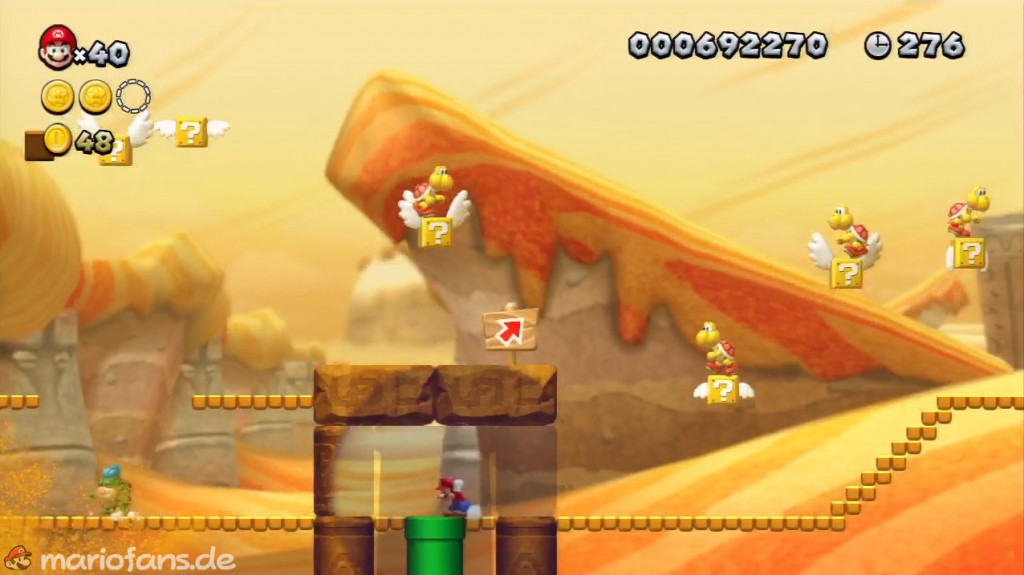
- Star Coin 3 After the flag, where the arrow on the sign points to the top right, you can go through the stone platform. You will find a pipe that leads you to the Star Coin. But be careful that you don’t get thrown out again by the sand blasts.
Spike’s Spouting Sands
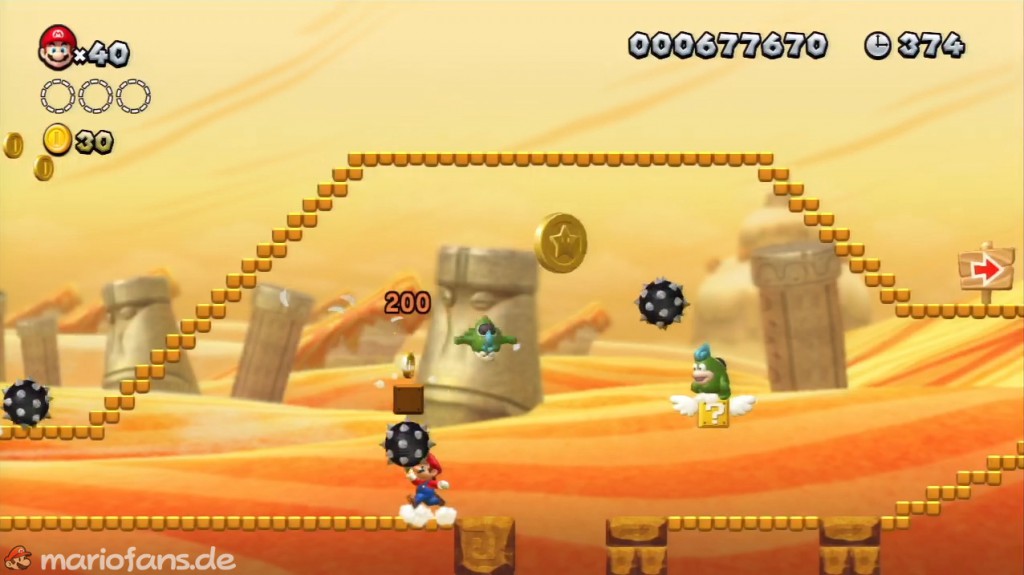
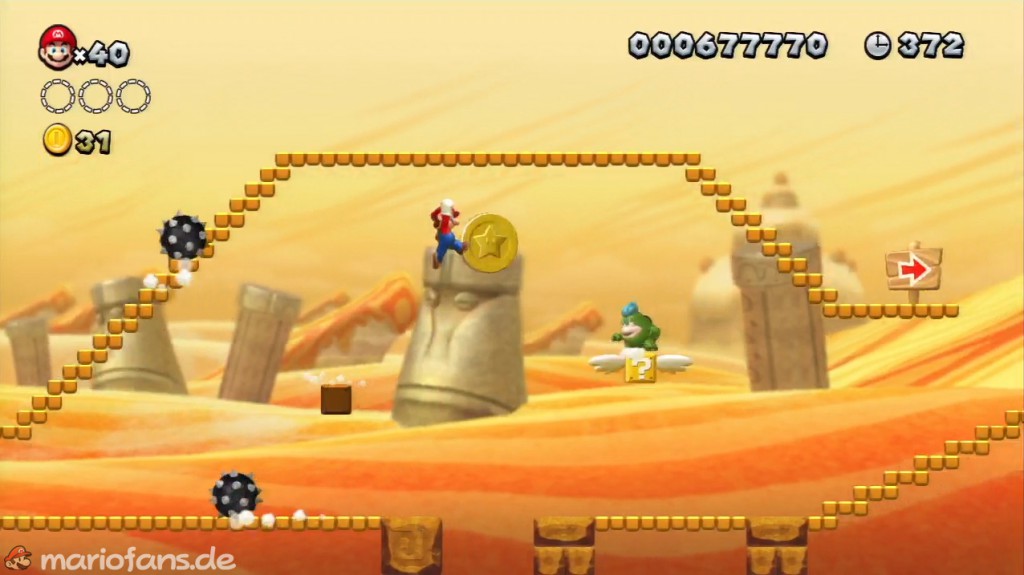
- Star Coin 1 At the beginning the path splits, stay on the lower one. The Star Coin floats between the two spikes. Jump against a block from below to reach the coin.
- Star Coin 2 Found in front of the flag. At the point where there is a spike on a geyser, you will find a hidden block with a vine that will lead you to the second Star Coin.
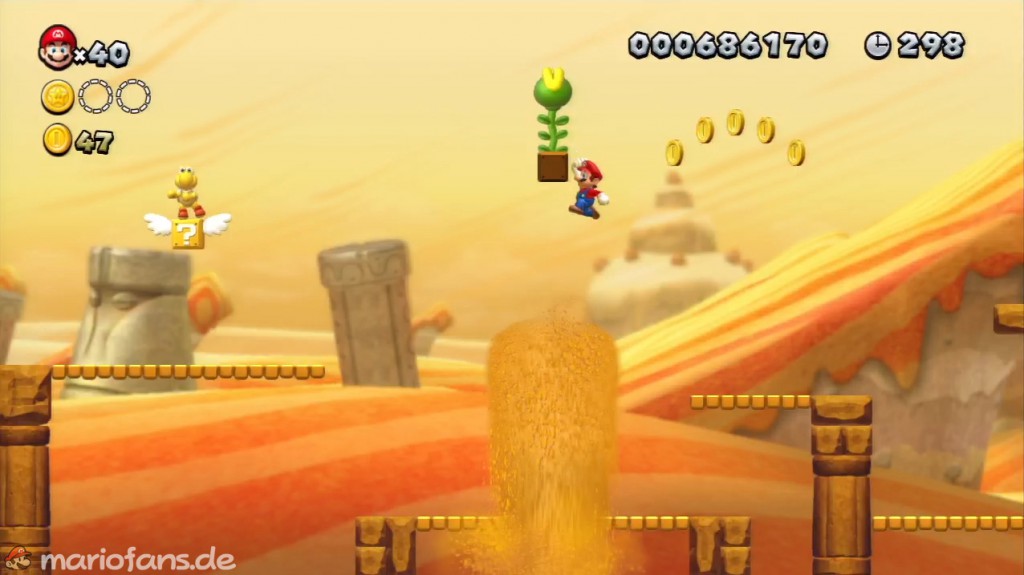
- Star Coin 3 A little further into the level there is an arrow pointing diagonally upwards on a sign. There is a hidden tube there that you should use. Here you grab the Mini Mushroom and continue to the right until you get to the Star Coin
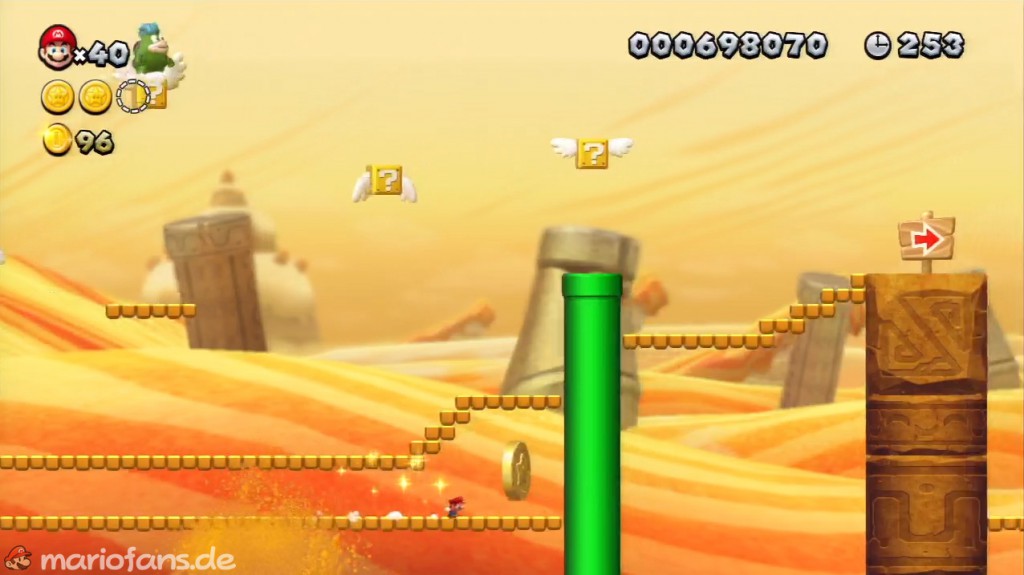
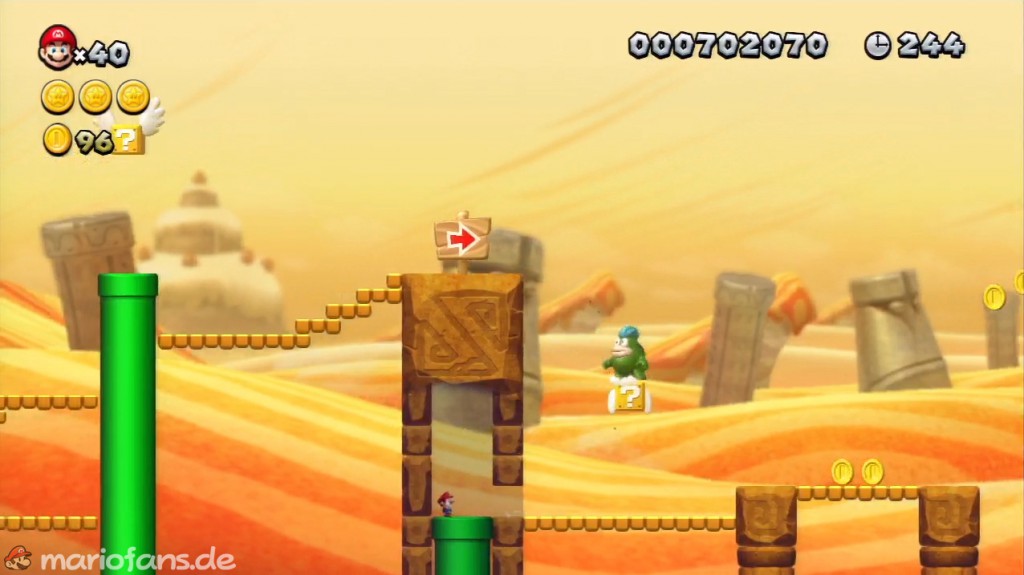
- Secret Exit Shortly afterwards you can go through the block as little Mario with an arrow pointing to the right. Alternatively, you can slide through as big Mario. There is also a hidden tube here. This time this leads you to a secret exit.
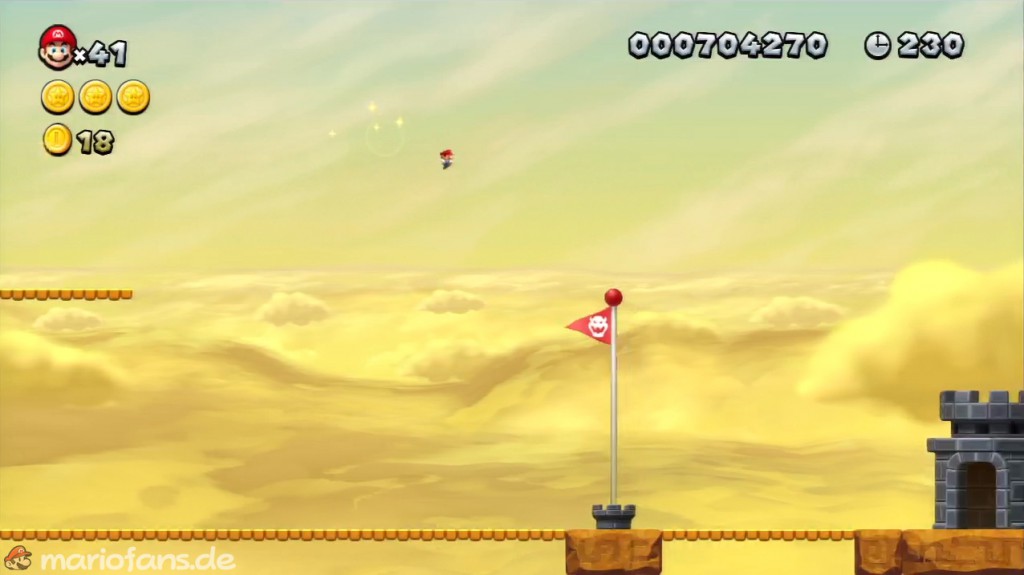
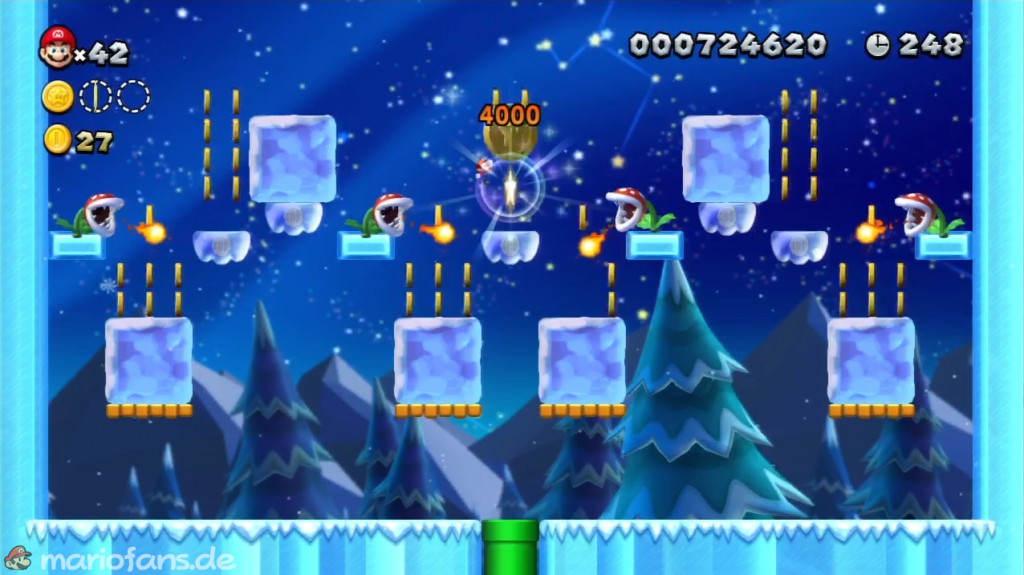
Piranha Plants on Ice
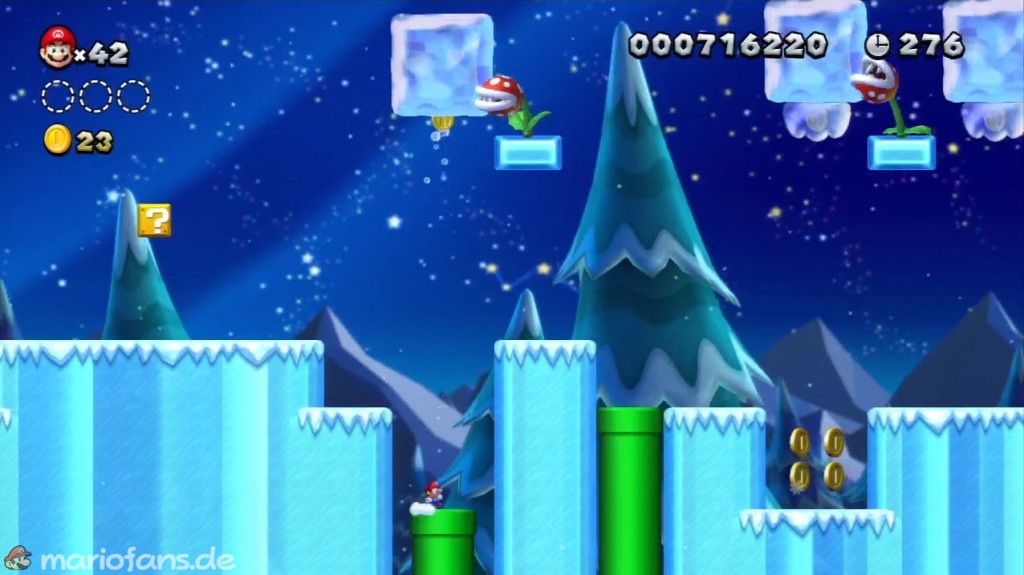
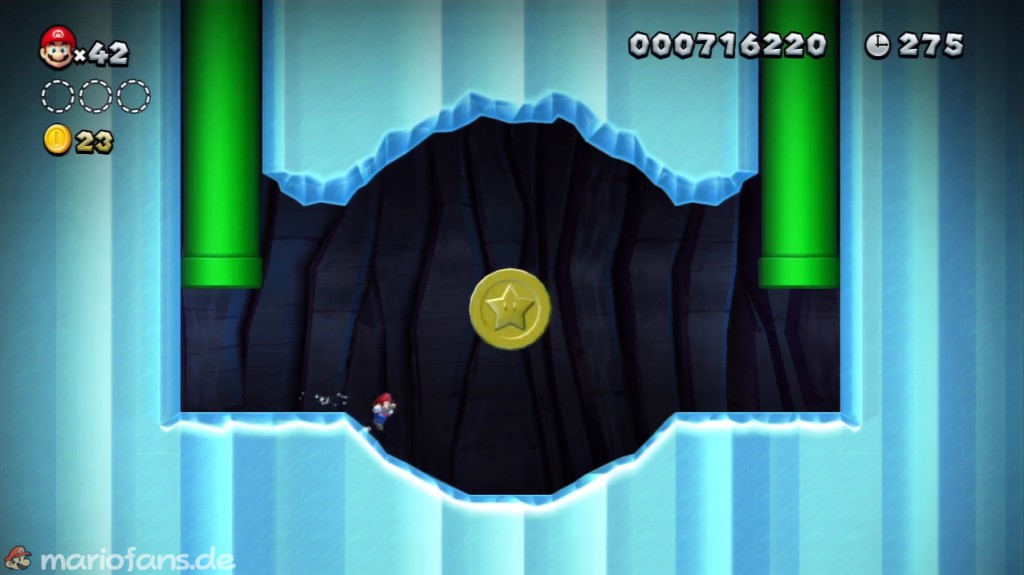
- Star Coin 1 Run quite far into the level until you come to the first pipe. Jump in quickly before a Piranha Plant blocks access with a block of ice. Until you are fast enough, you will receive the first Star Coin.
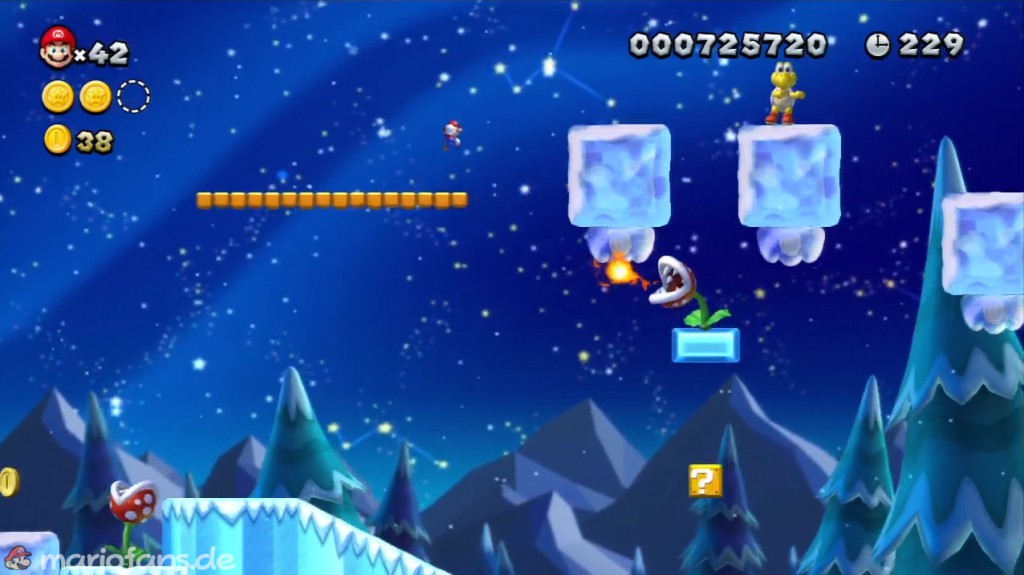
- Star Coin 2 Shortly after the green ring you will find two ice blocks on the right. Wall jump up these and you will reach the next pipe. In the new section you have to wait a moment until the first two ice blocks have fallen down and you can collect the Star Coin.
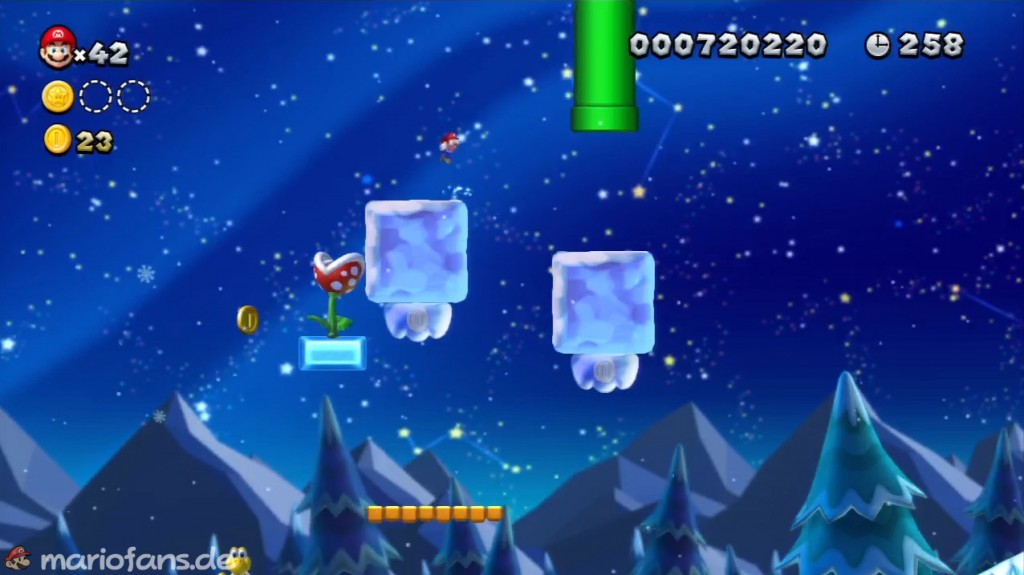
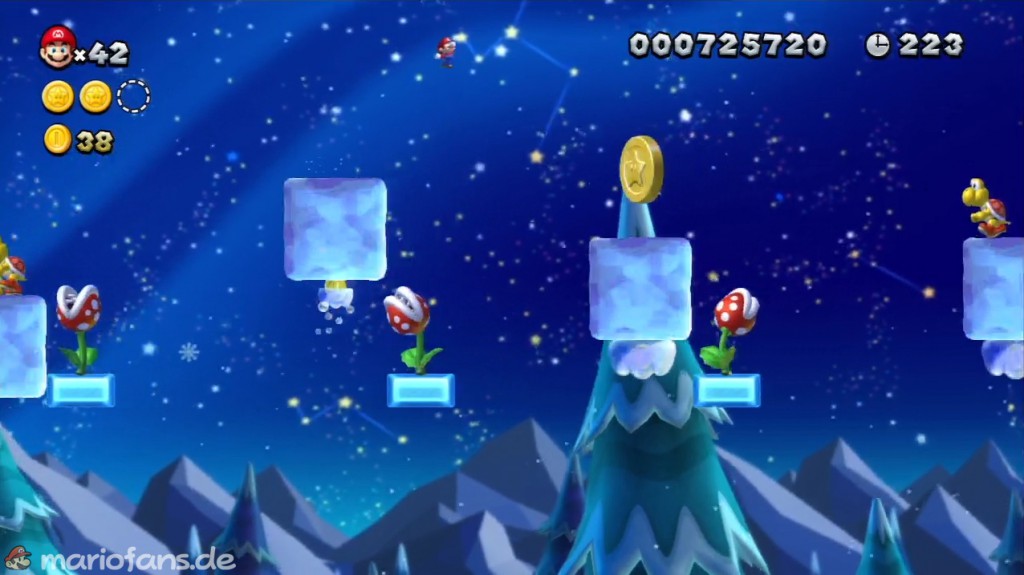
- Star Coin 3 Shortly afterwards, run on all the ice blocks to the end. Then jump up so that you land on another platform. Continue running on the ice blocks up here until you reach the Star Coin.
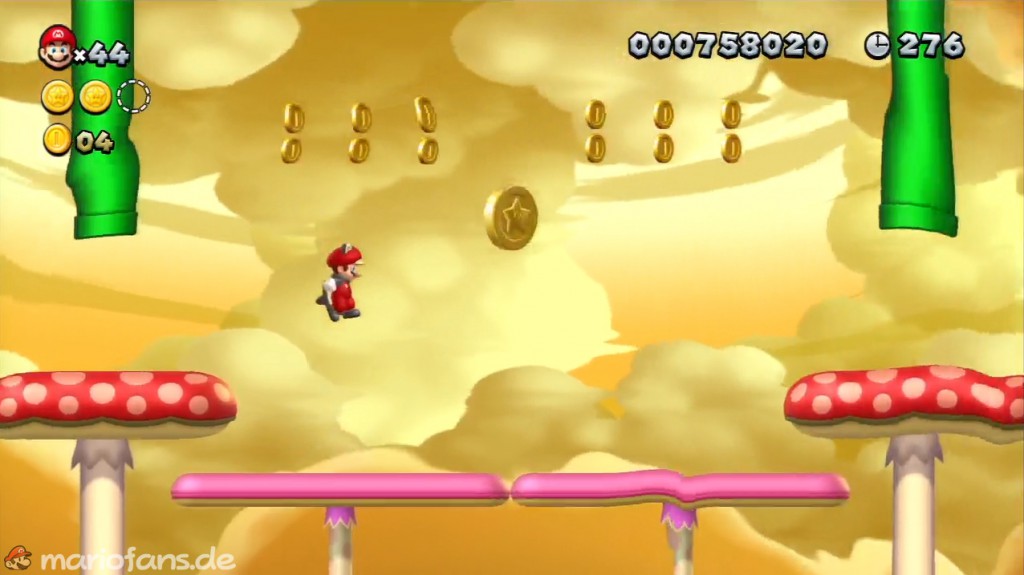
Dry Desert Mushrooms
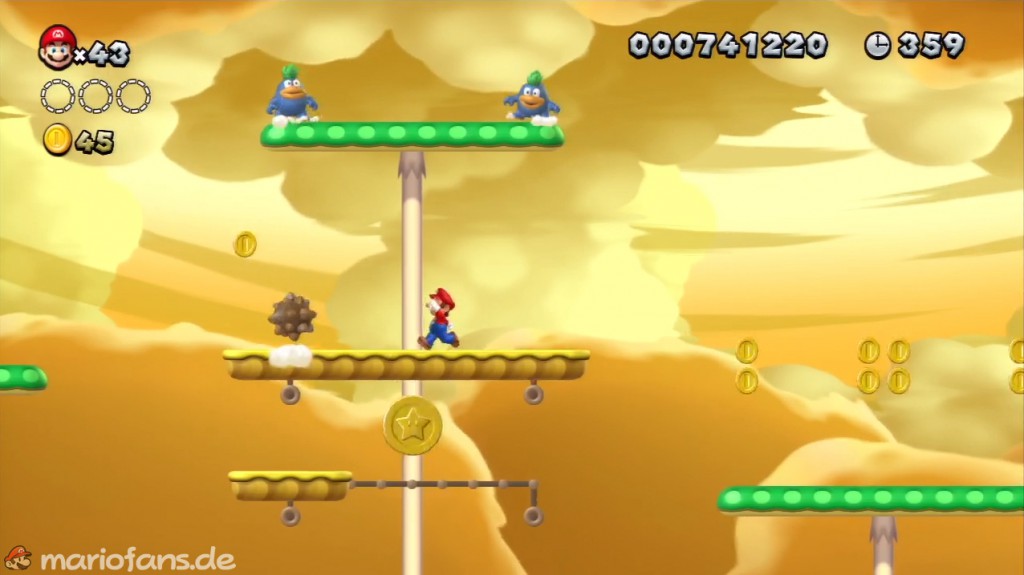
- Star Coin 1 Not to be missed. Jump to the lower platform to reach the Star Coin.
- Star Coin 2 After the flag, jump up on the platforms to the spikes. Between the two you will find the next Star Coin.
- Star Coin 3 Shortly afterwards go into the pipe and collect the POW block down there. When the mushrooms are big, throw it on the platform so that the Star Coin falls on the mushroom platform.
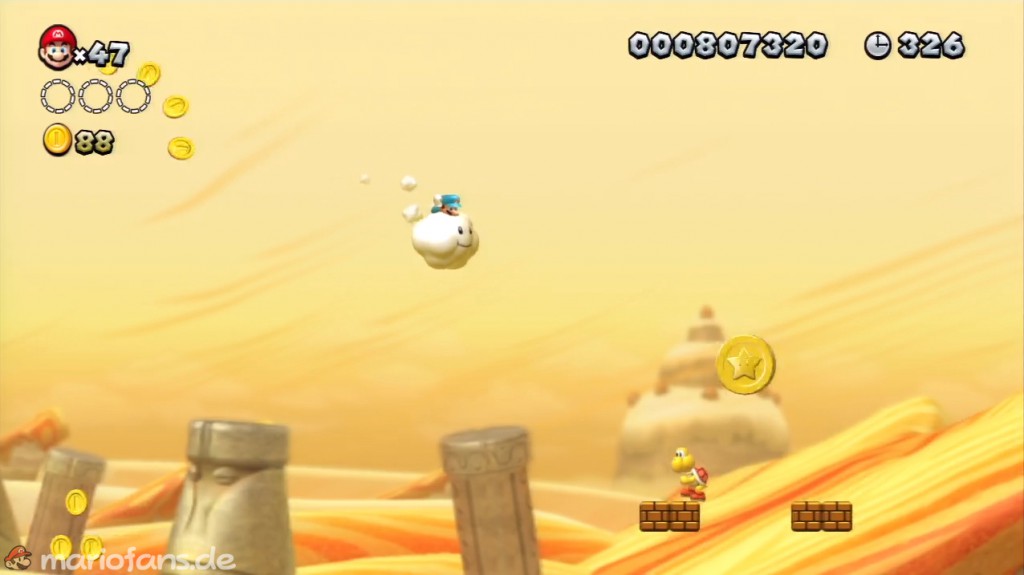
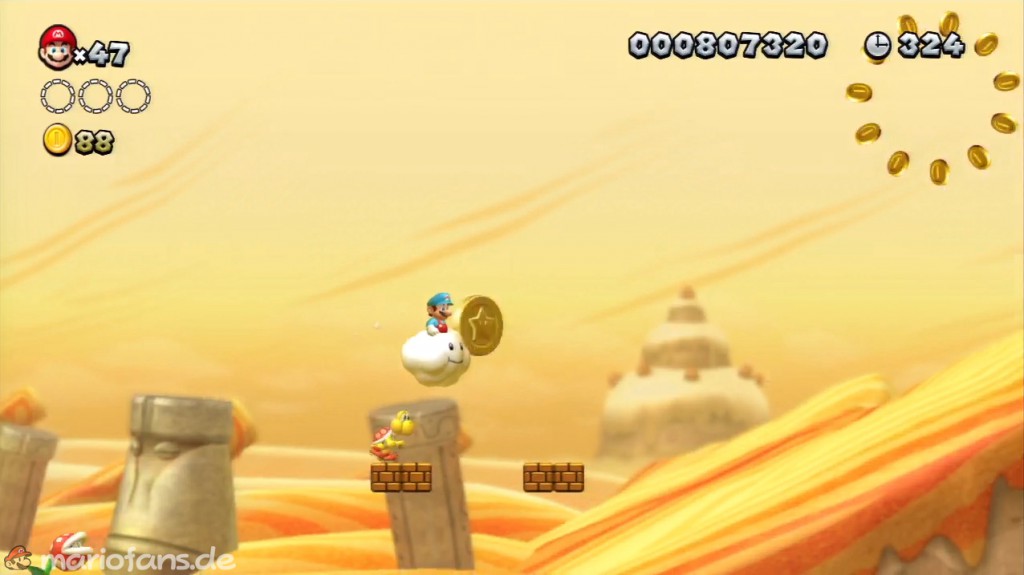
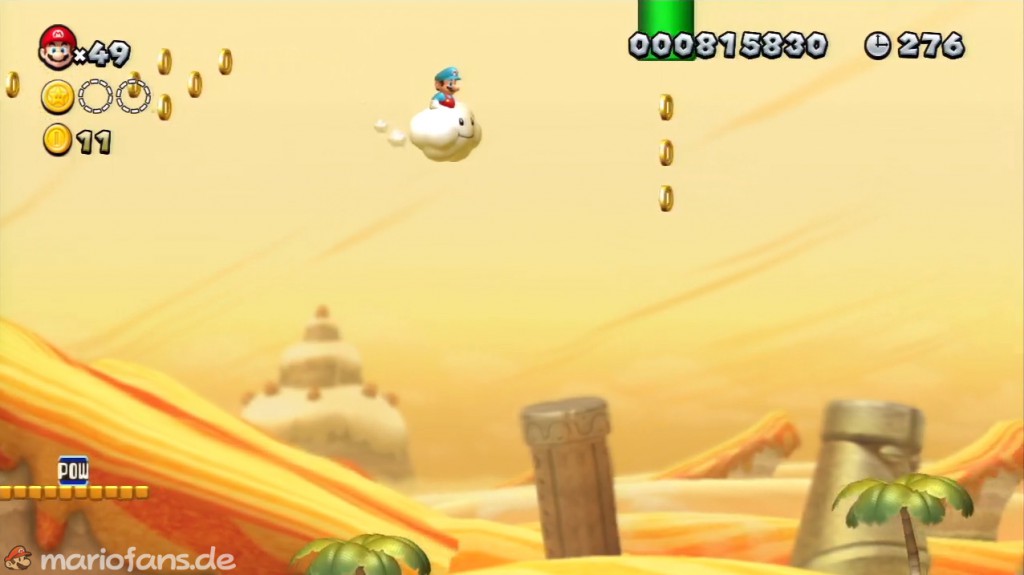
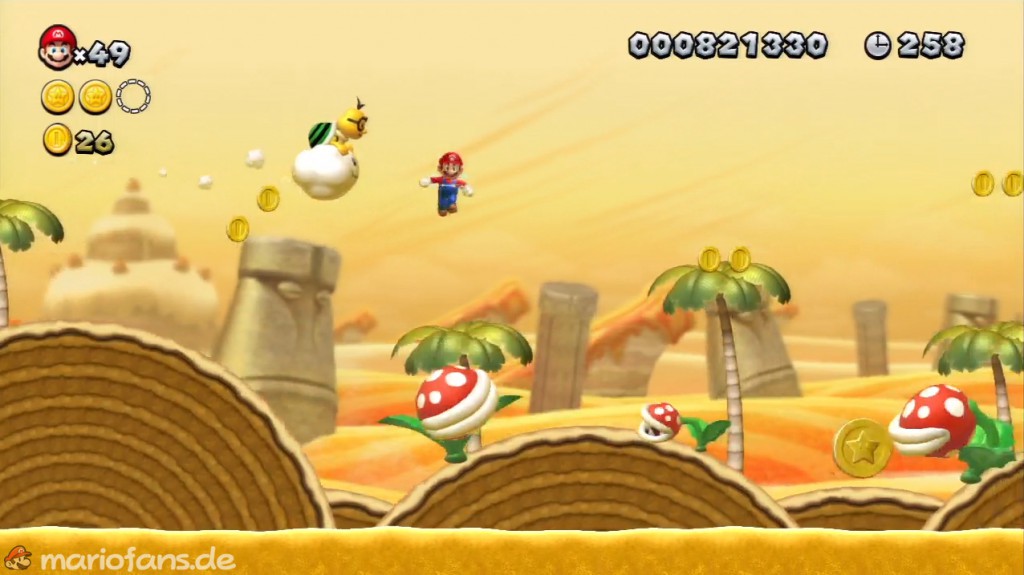
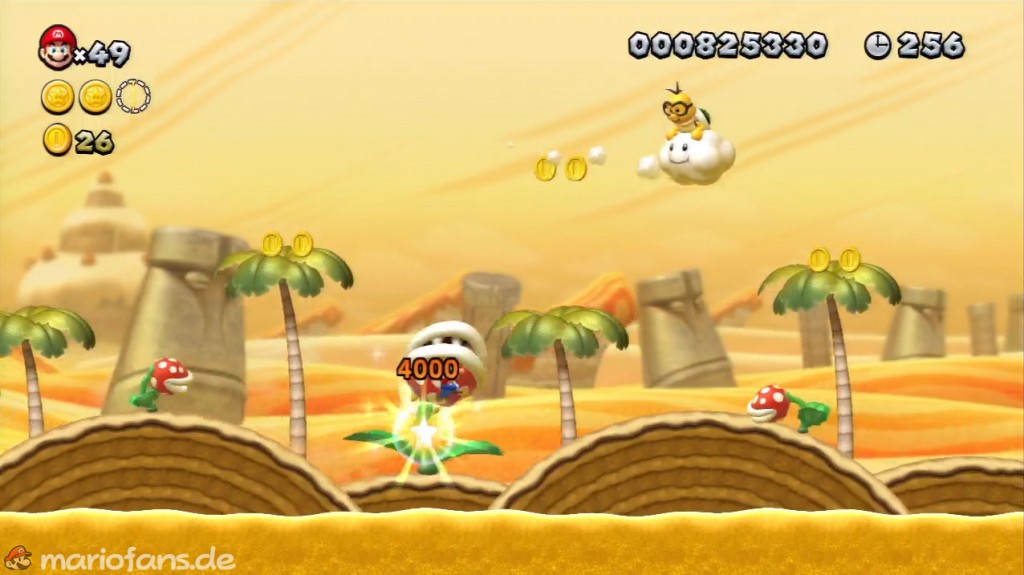
Blooming Lakitus
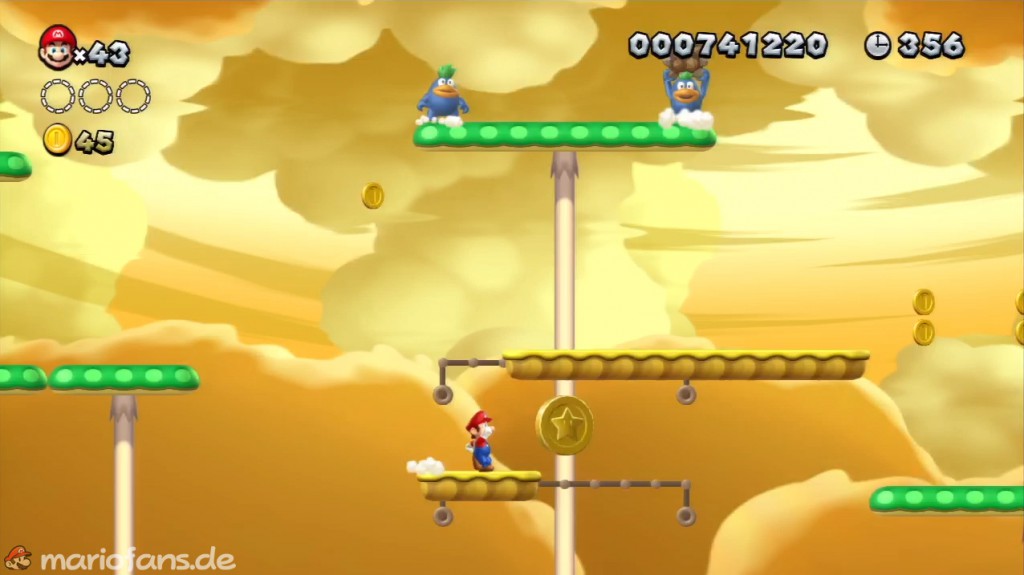
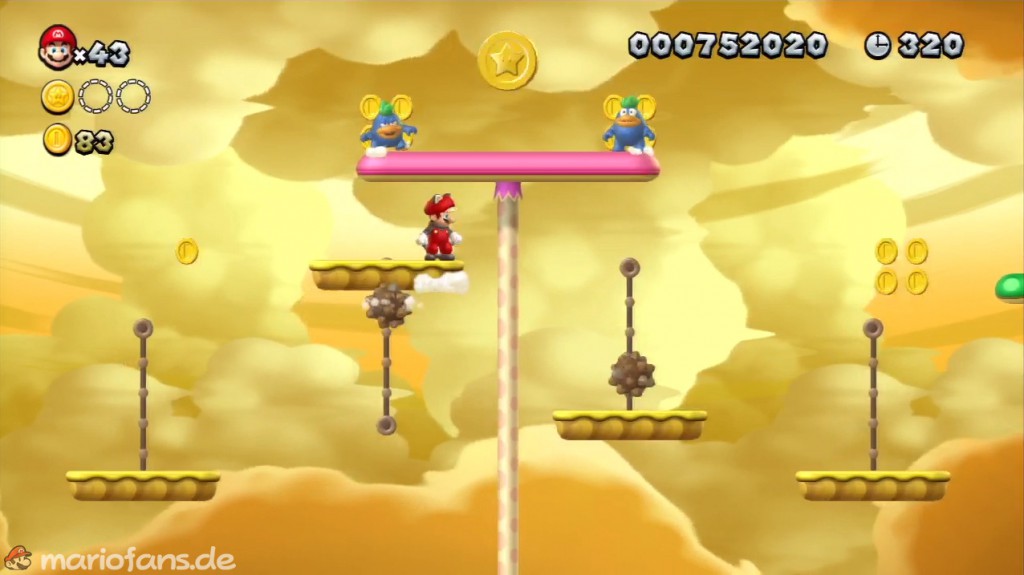
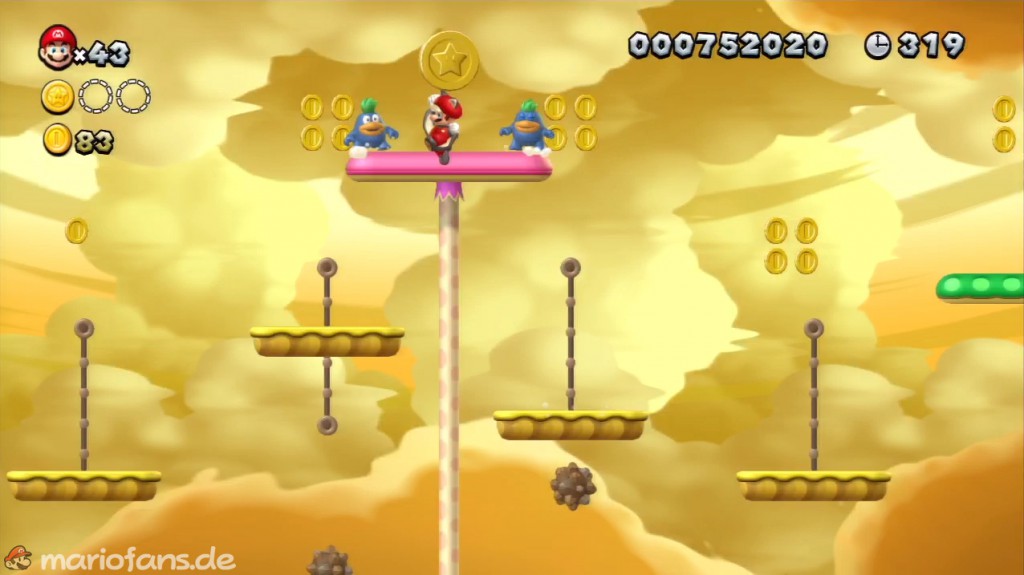
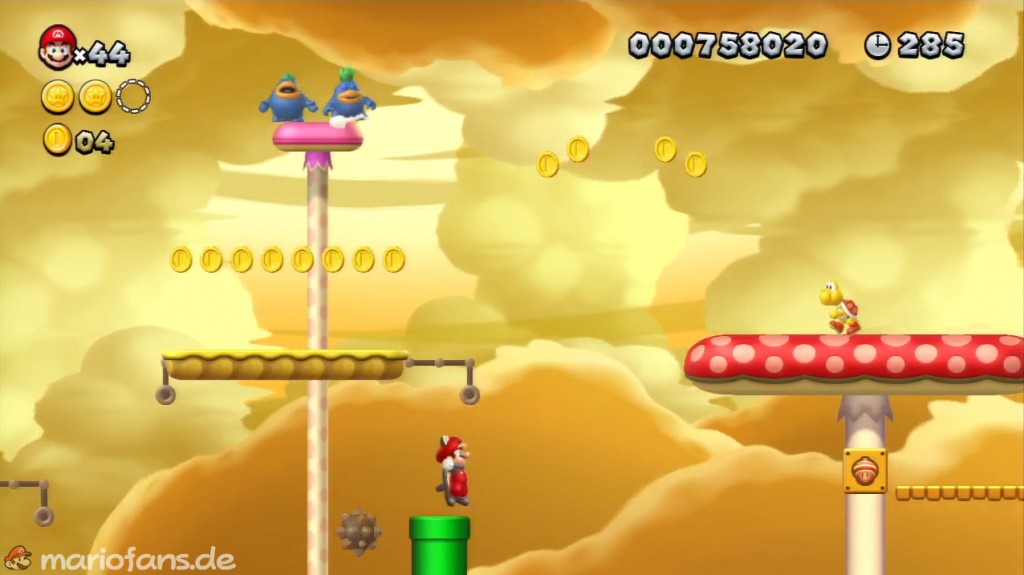
- Star Coin 1 Not to be missed. Reachable in one jump.
- Star Coin 2 Where you find the POW block, grab the cloud from Lakitu. Float up to the pipe. Behind this you will find the next Star Coin.
- Star Coin 3 Shortly before the goal you will find a Koopa shell. Throw it onto the many wheels so that it defeats all the Piranha Plants and collects the Star Coin at the same time.
Morton’s Compactor Castle
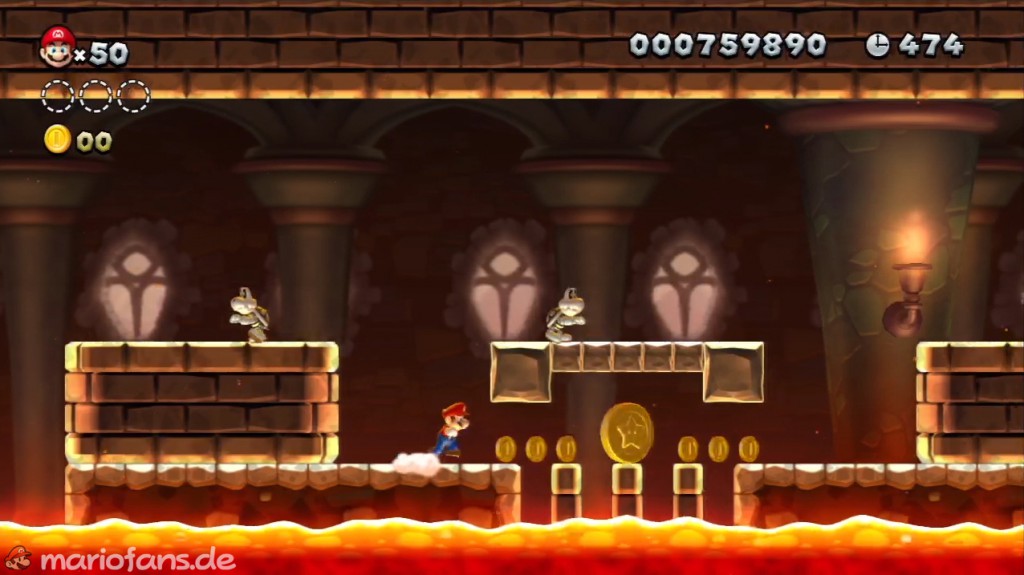
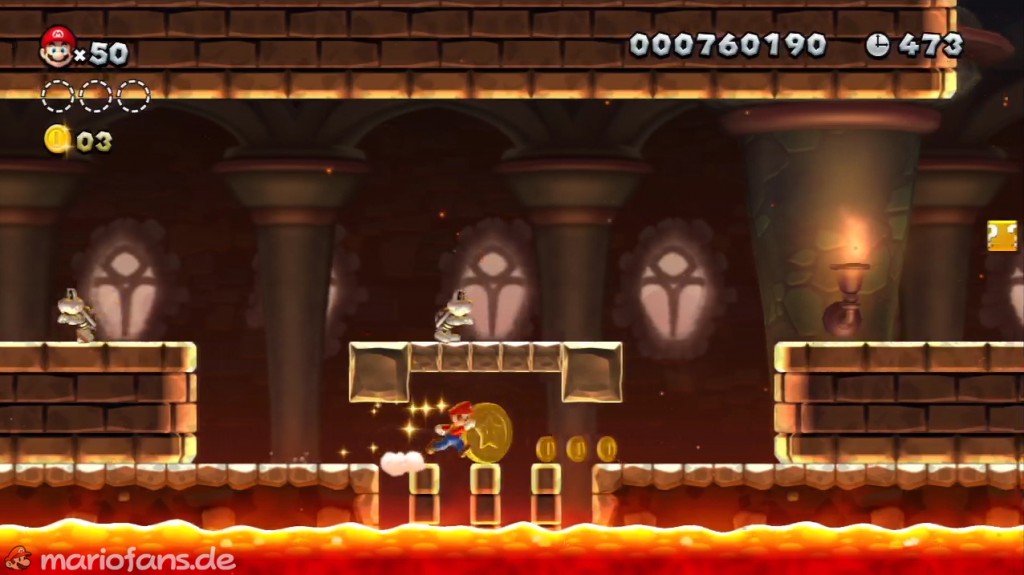
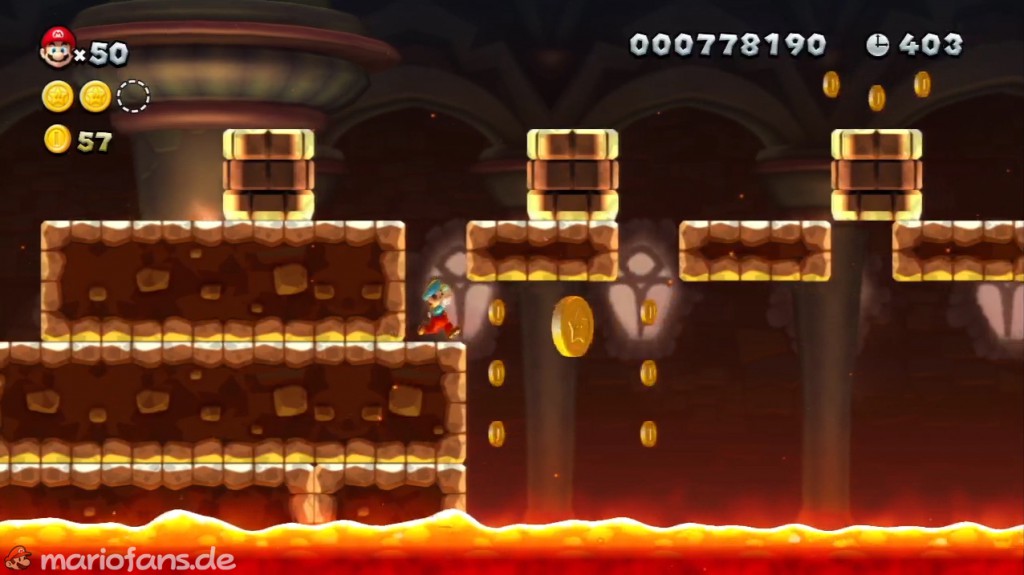
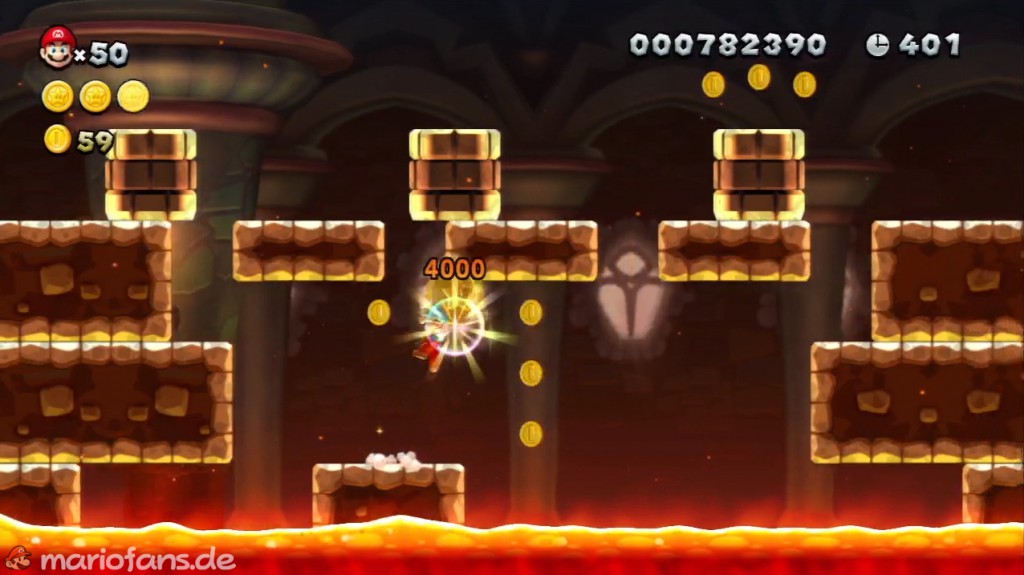
- Star Coin 1 Not to be missed. Run quickly from platform to platform to collect the Star Coin without falling into the lava.
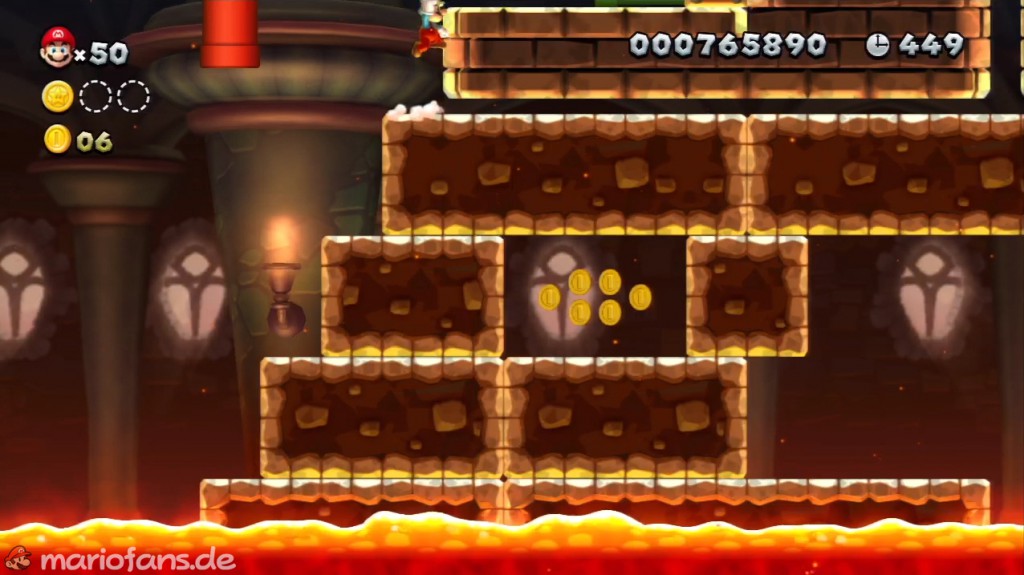
- Star Coin 2 At the red tube, jump up the platform on the right and come to a green tube. With a wall jump you get to the Star Coin.
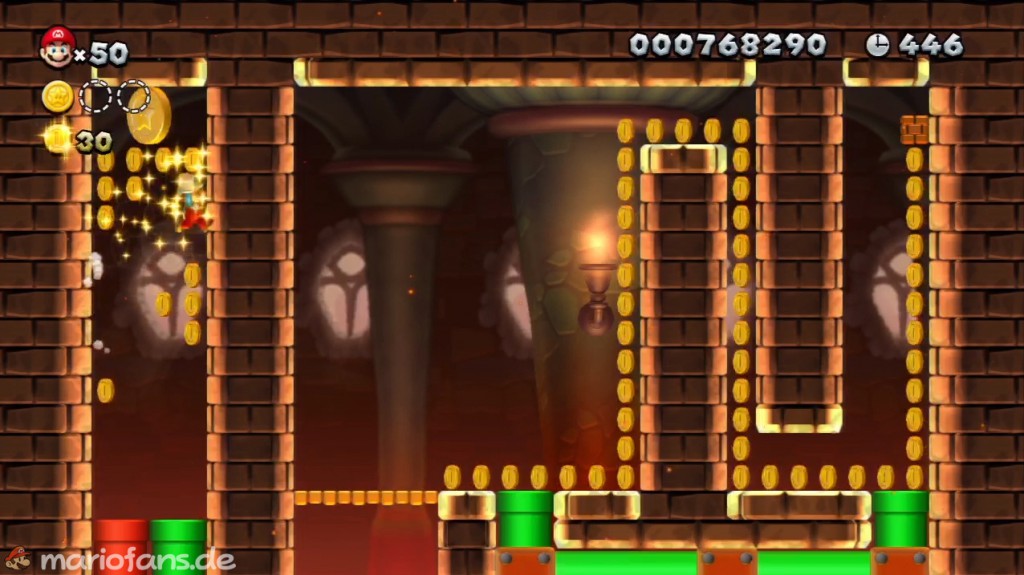
- Star Coin 3 Not to be missed. Jump down through the holes onto the platform and grab the last Star Coin.