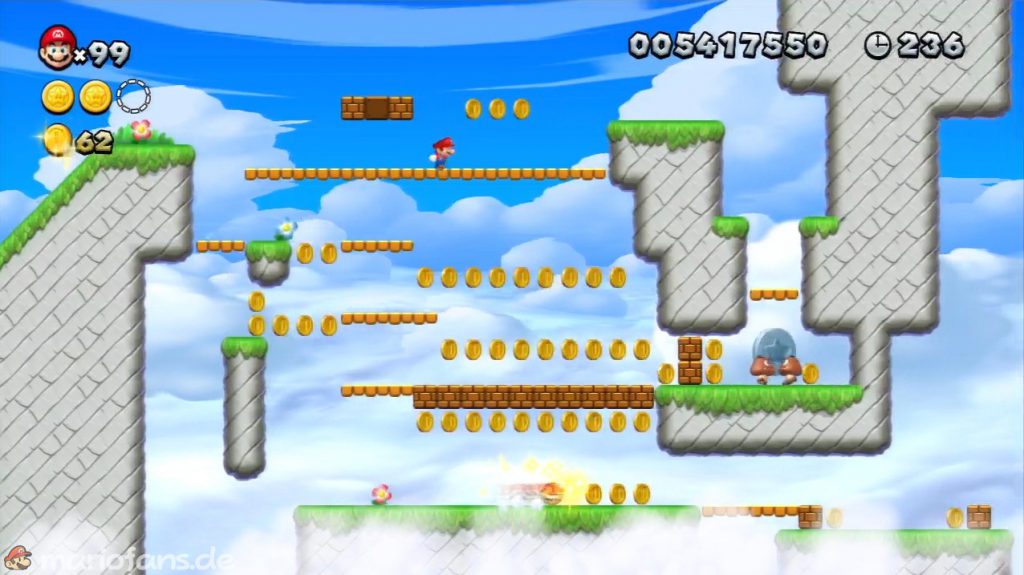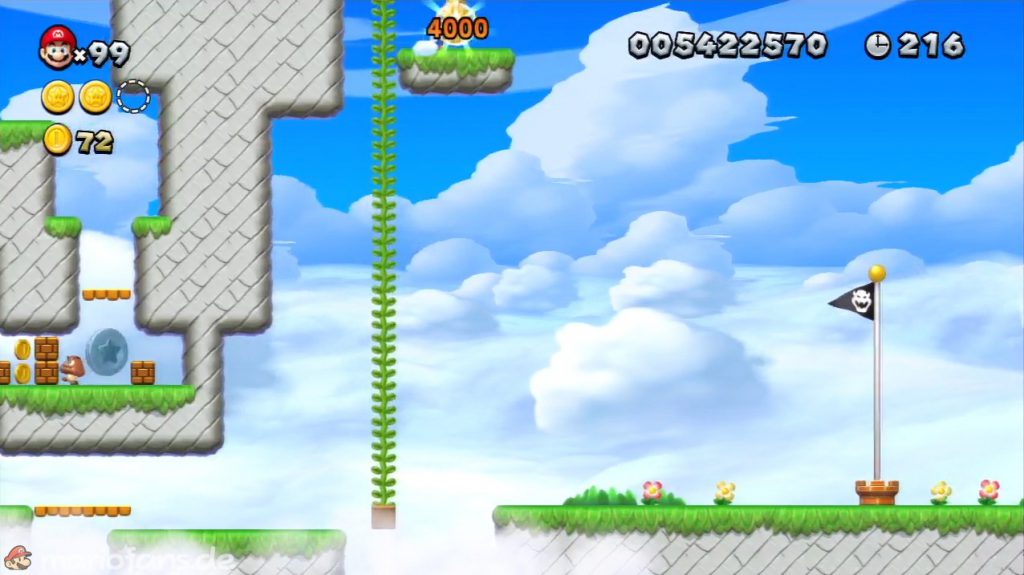

Spine-Tingling Spine Coaster
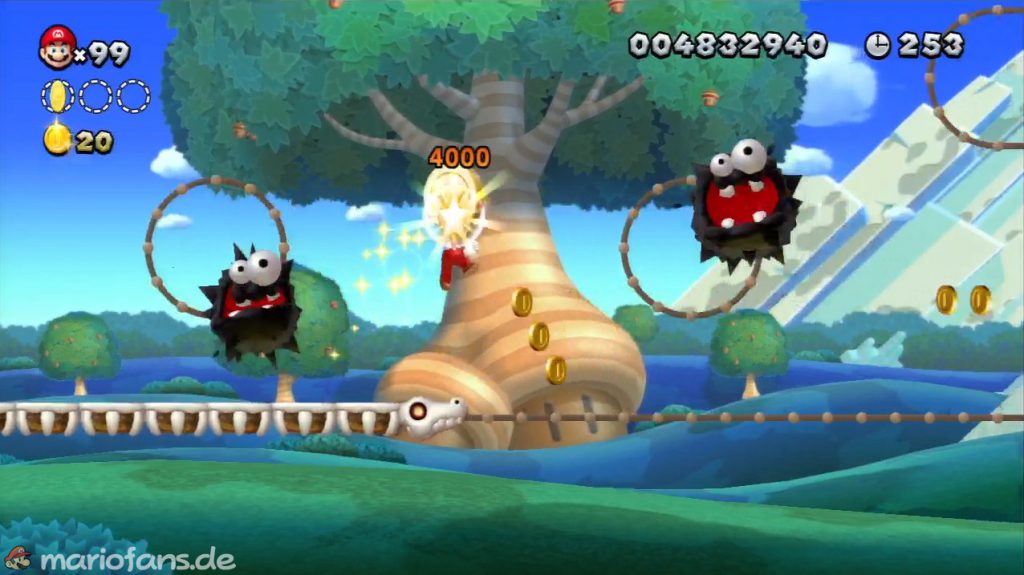
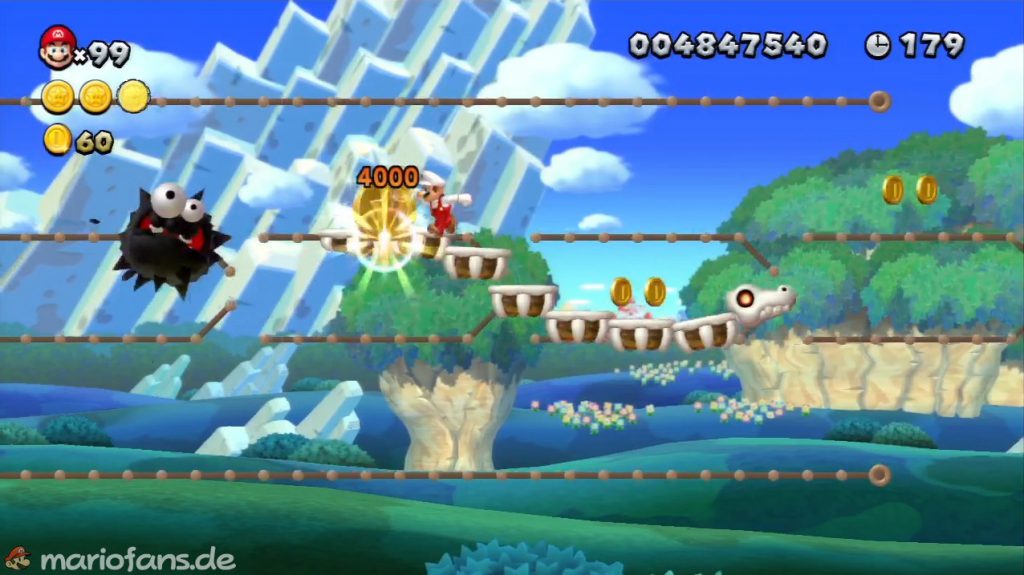
- Star Coin 1 At the beginning of the level this is located between two giant fuzzys. Easy to reach with one jump.
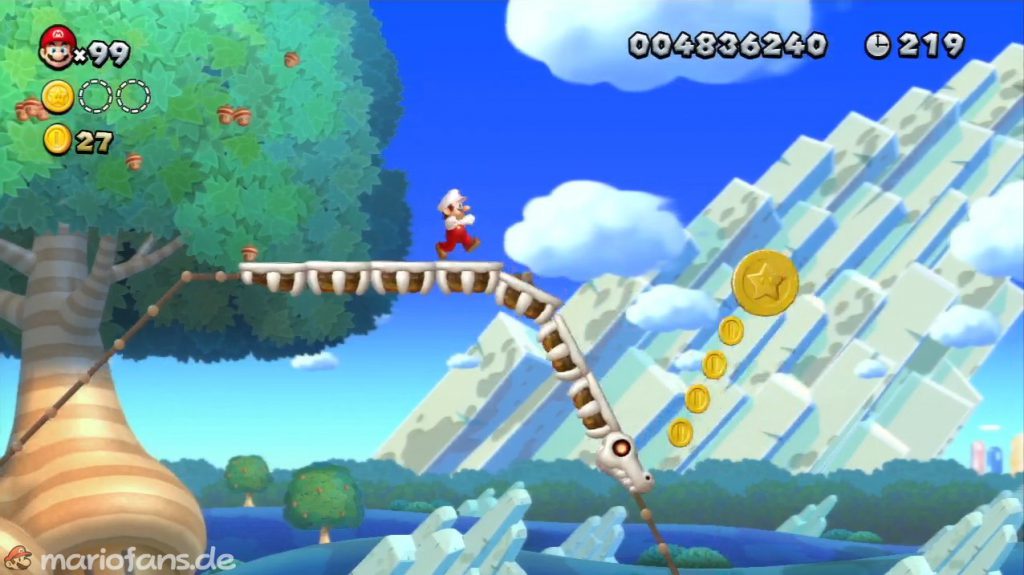
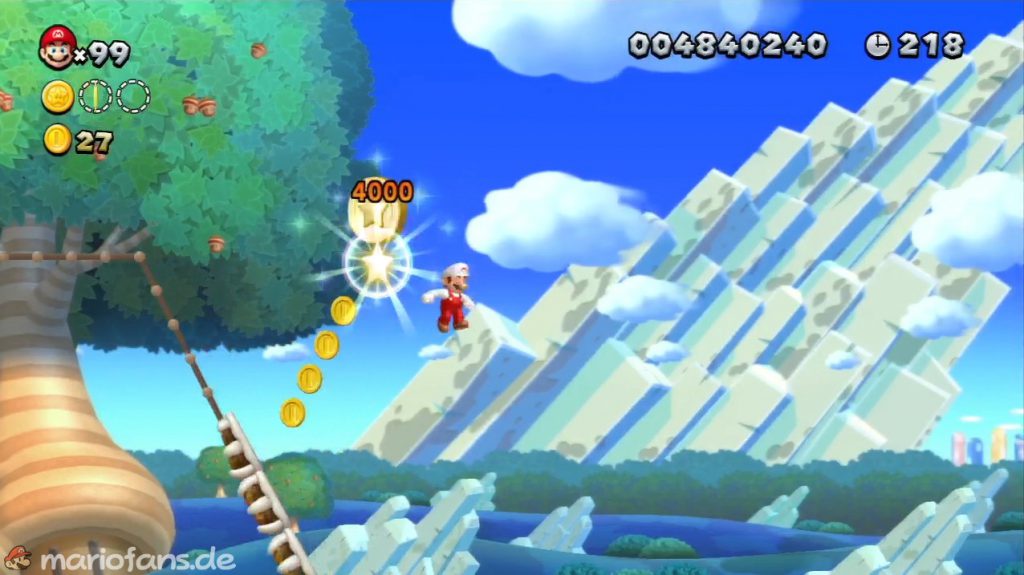
- Star Coin 2 You can reach this coin by jumping from the track.
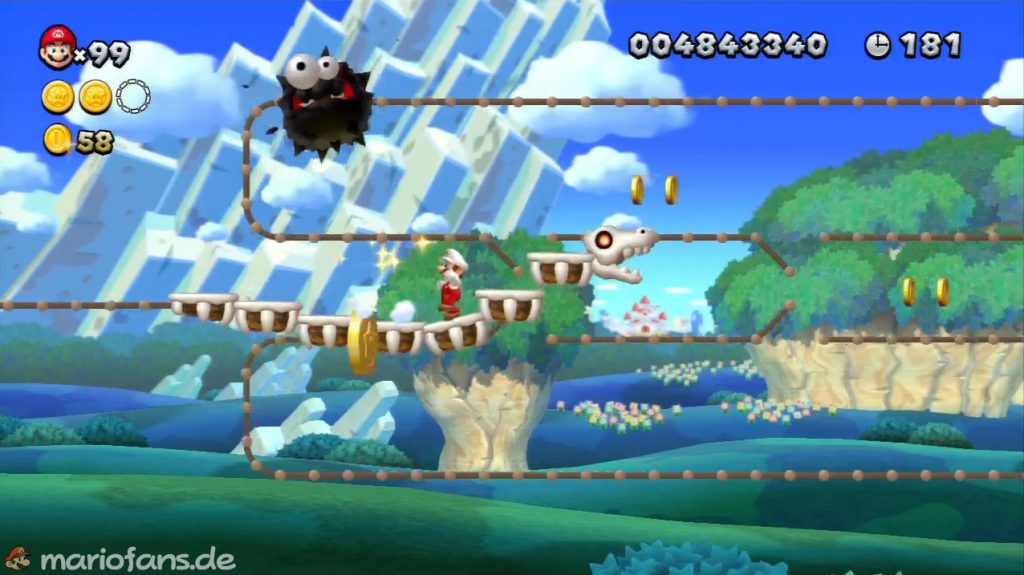
- Star Coin 3 Shortly before the destination the train changes its route. Stand at the end of the bone track to get the Star Coin.
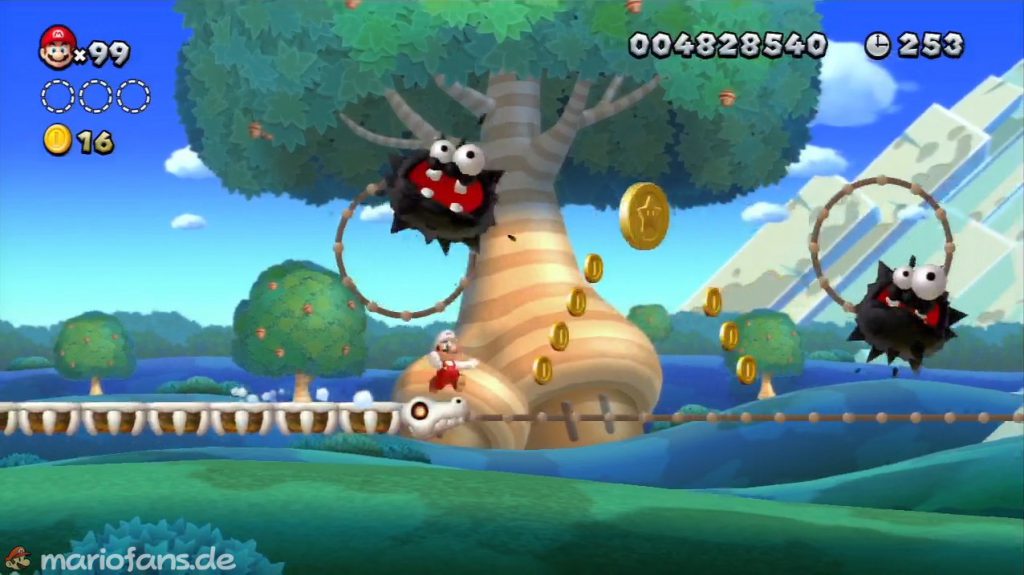
Run for It
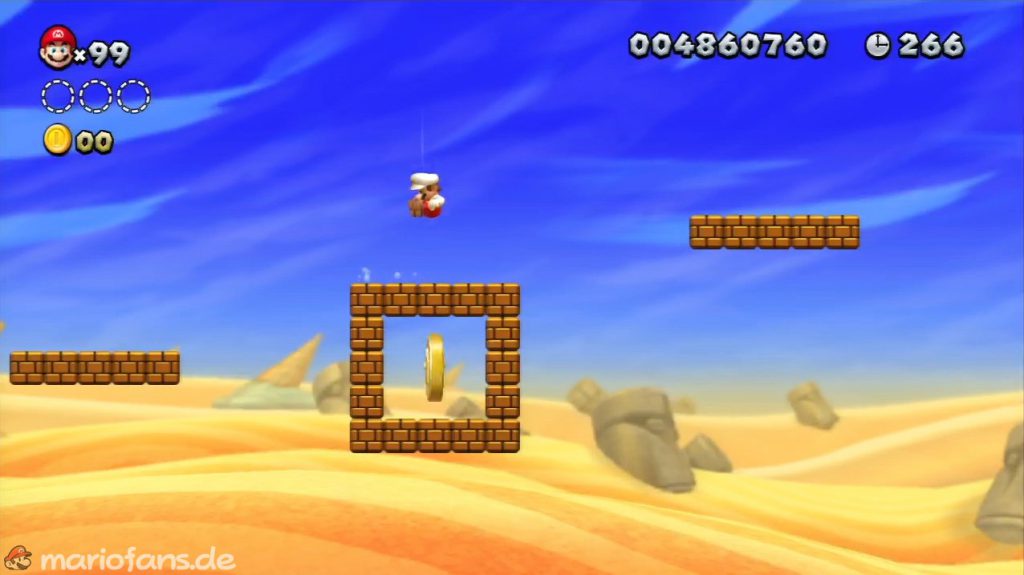
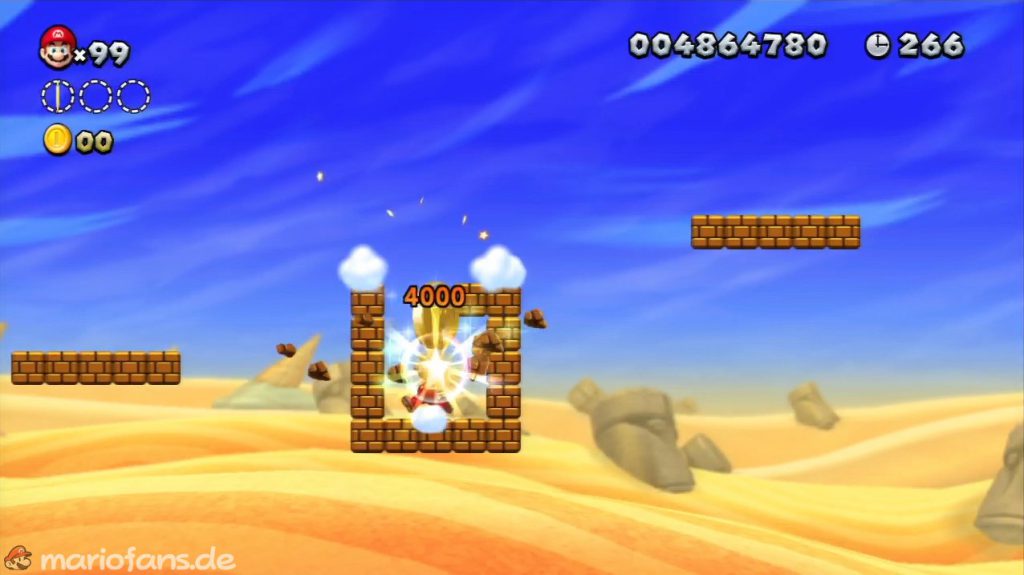
- Star Coin 1 Use a ground pound to destroy the first block layer and collect the coin.
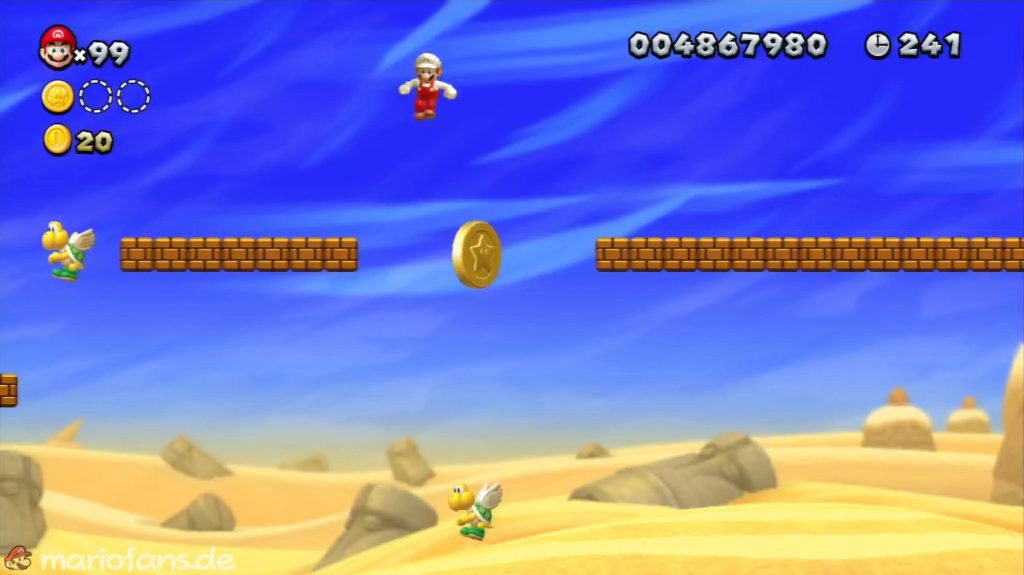
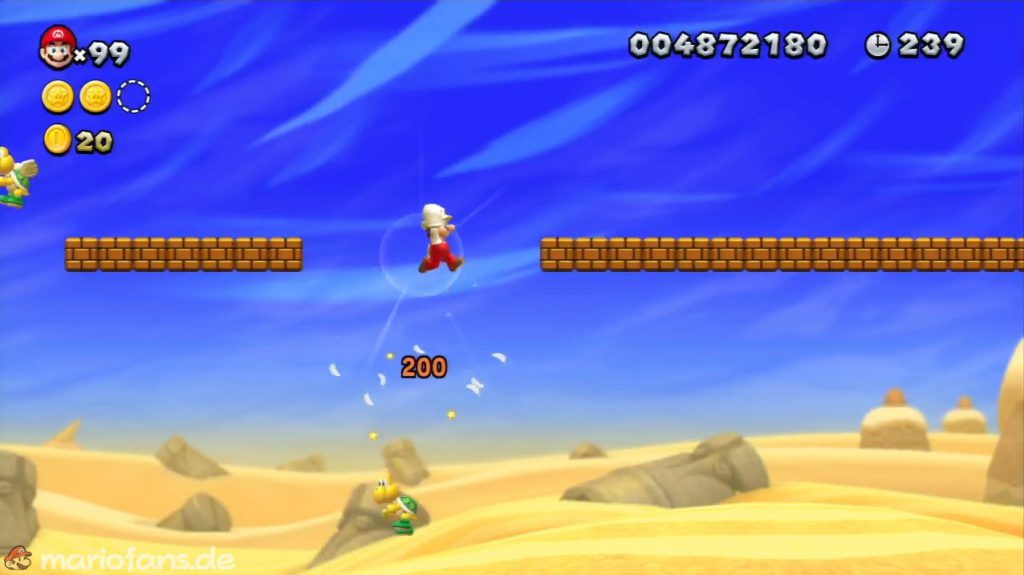
- Star Coin 2 With the help of a Koopa Paratroopa, you can reach the coin. Use the Koopa as a springboard.
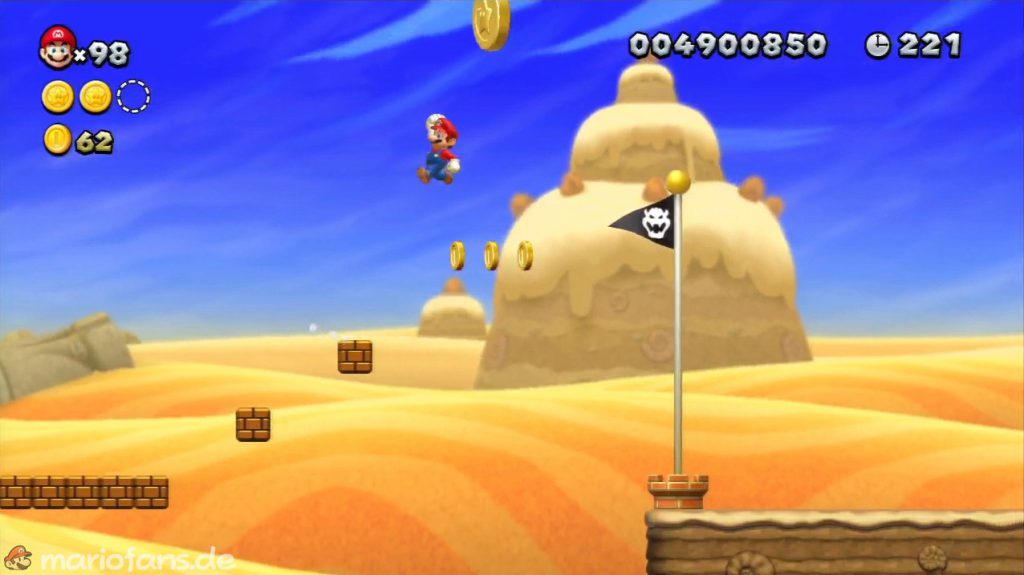
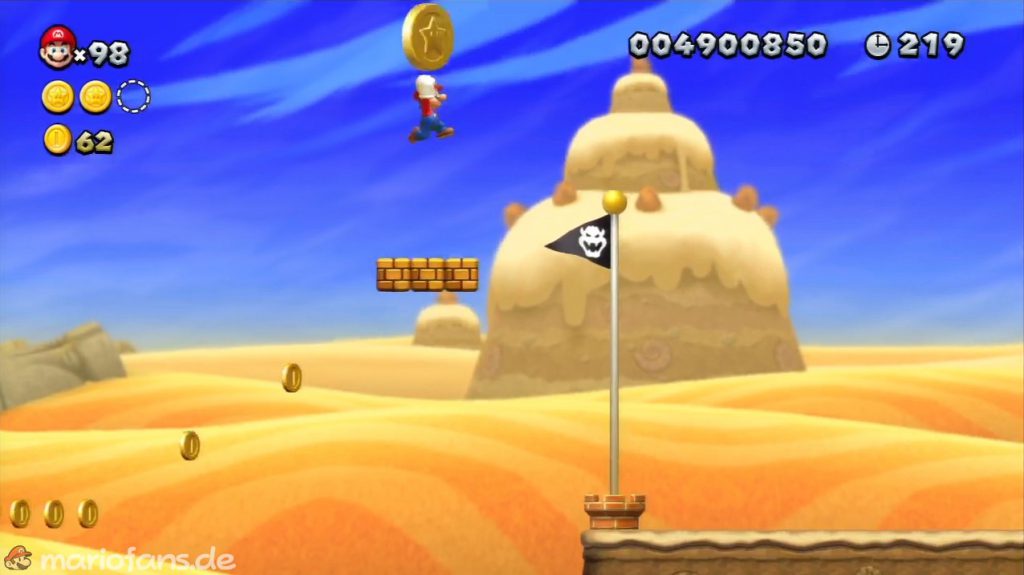
- Star Coin 3 Activate the P Switch. Run to the finish flag and wait for the effect to wear off so that the three coins become blocks again. Then you can reach the Star Coin.
Swim for Your Life!
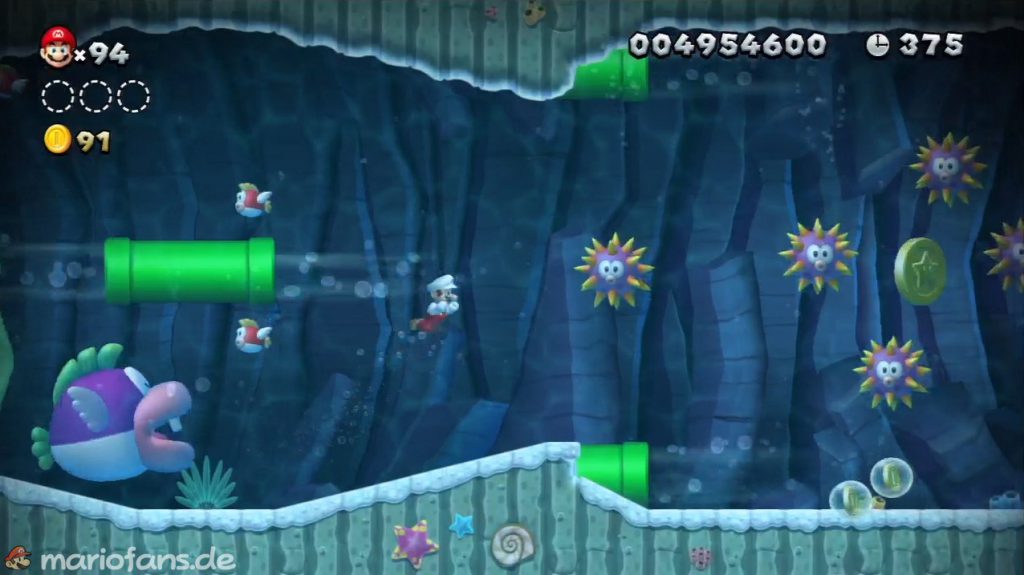
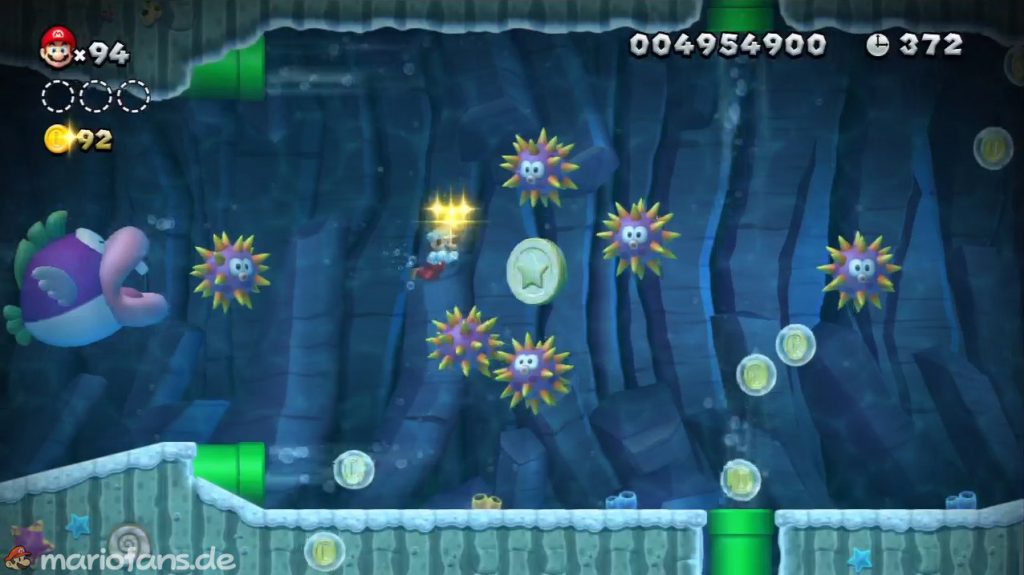
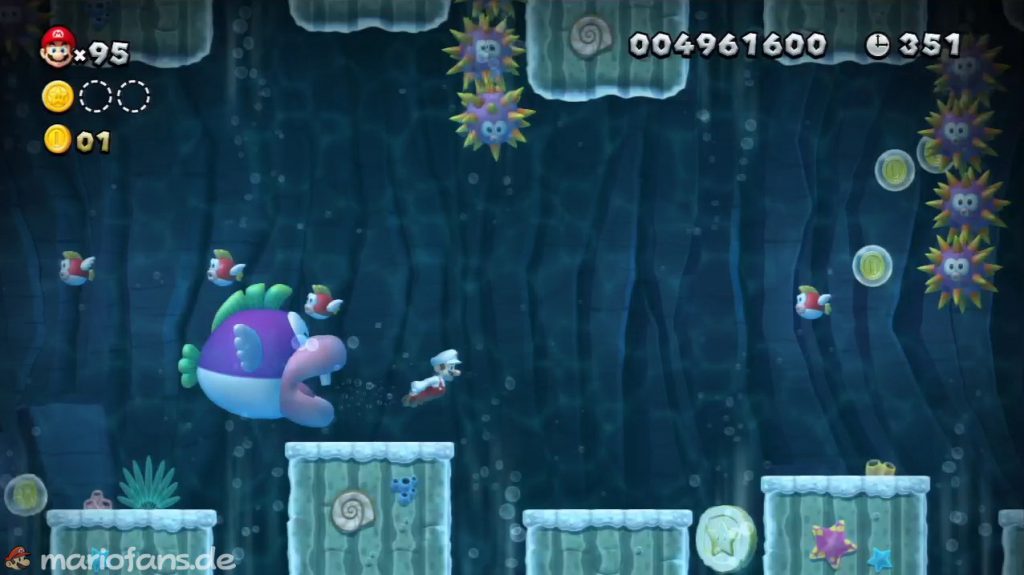
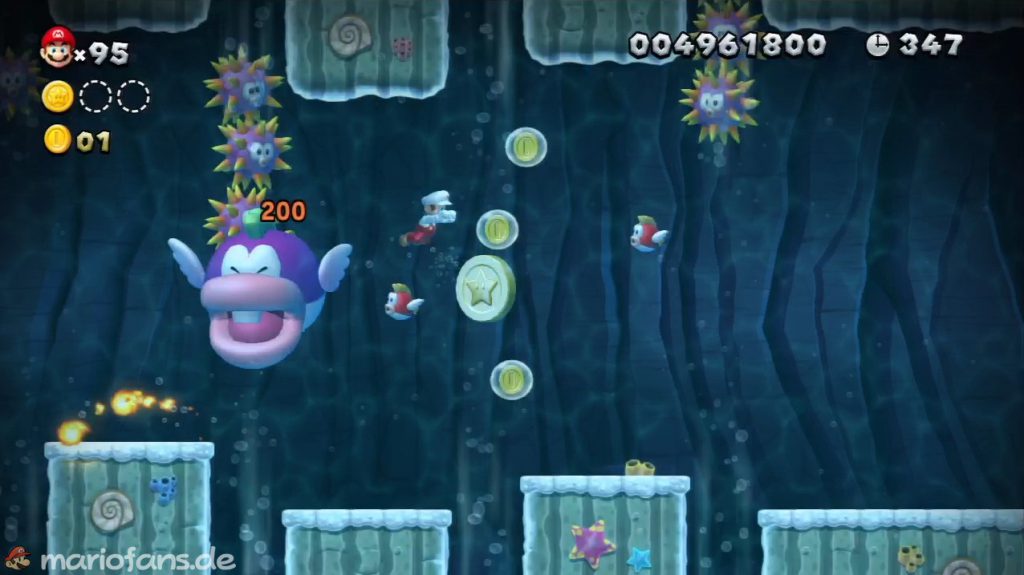
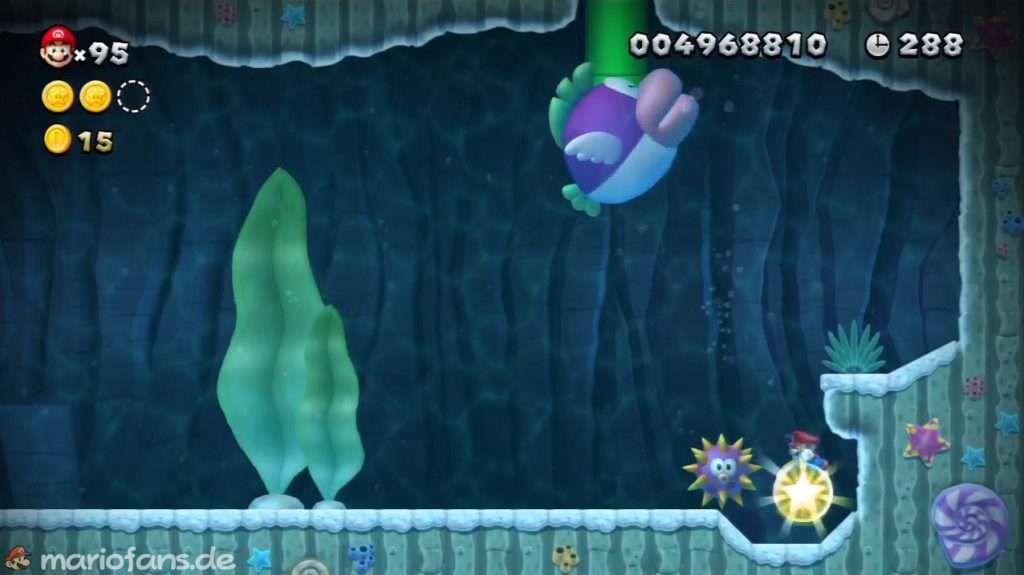
- You can defeat the Urchins with a Fire Flower or use the Cheep-Chomp to do it from behind.
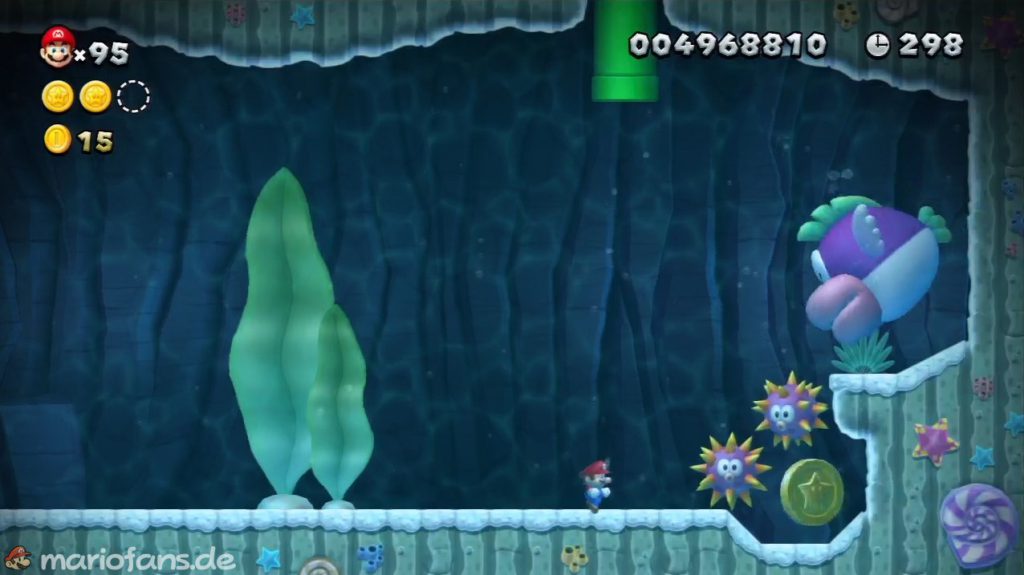
- Star Coin 2 Be careful when collecting it so that you don’t get eaten. The Star Coin floats back and forth between two currents.
- Star Coin 3 Either you still have the Fire Flower or you use Cheep-Chomp again to defeat the Urchins.
Hammerswing Caverns
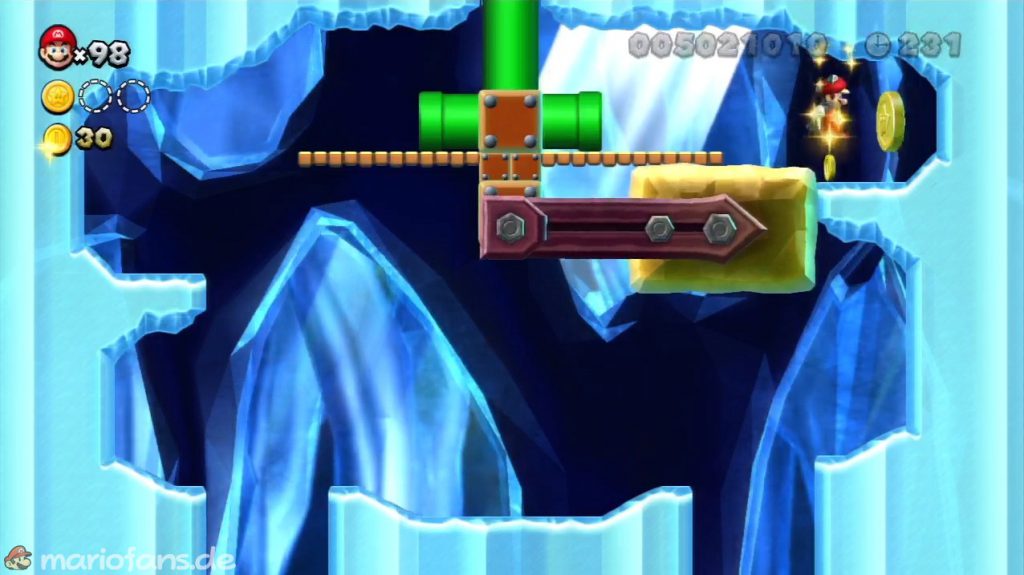
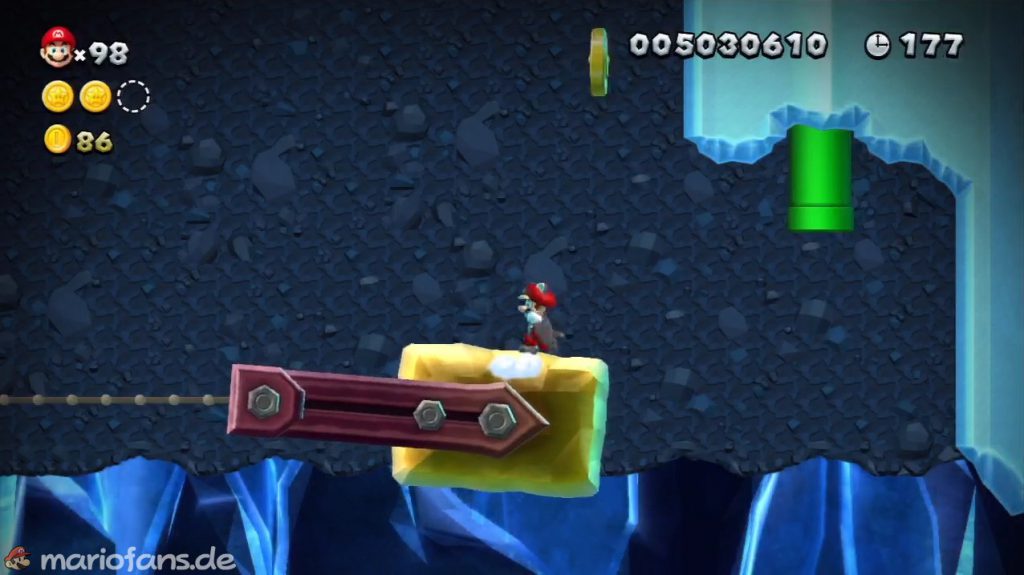
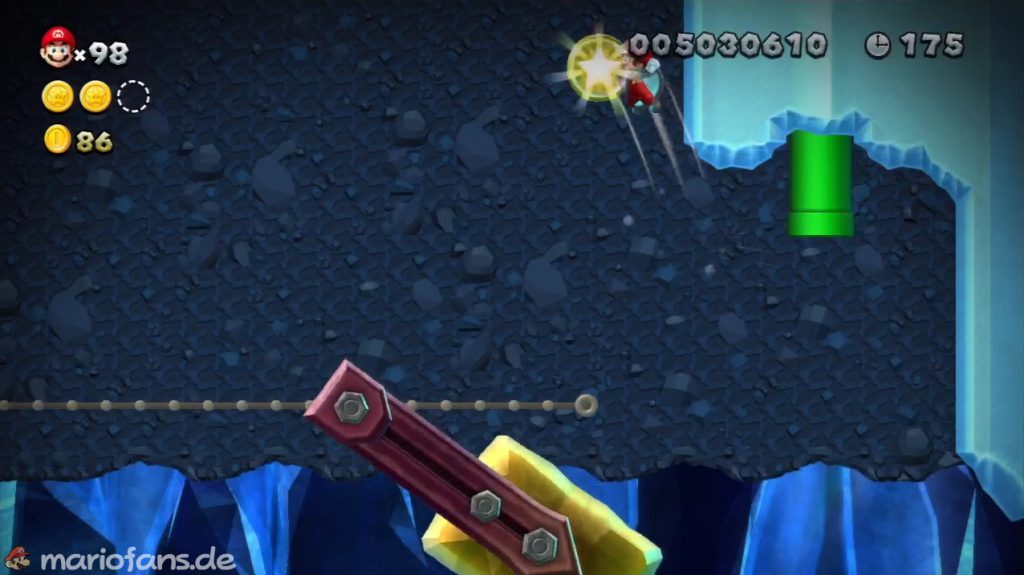
- Star Coin 1 After the first hammer platforms you will find the Star Coin in a niche in the ceiling.
- Star Coin 2 With a Super Acorn you can reach a pipe where you will find the second Star Coin
- Star Coin 3 For the last Star Coin you also need the Super Acorn.
Spinning Platforms of Doom
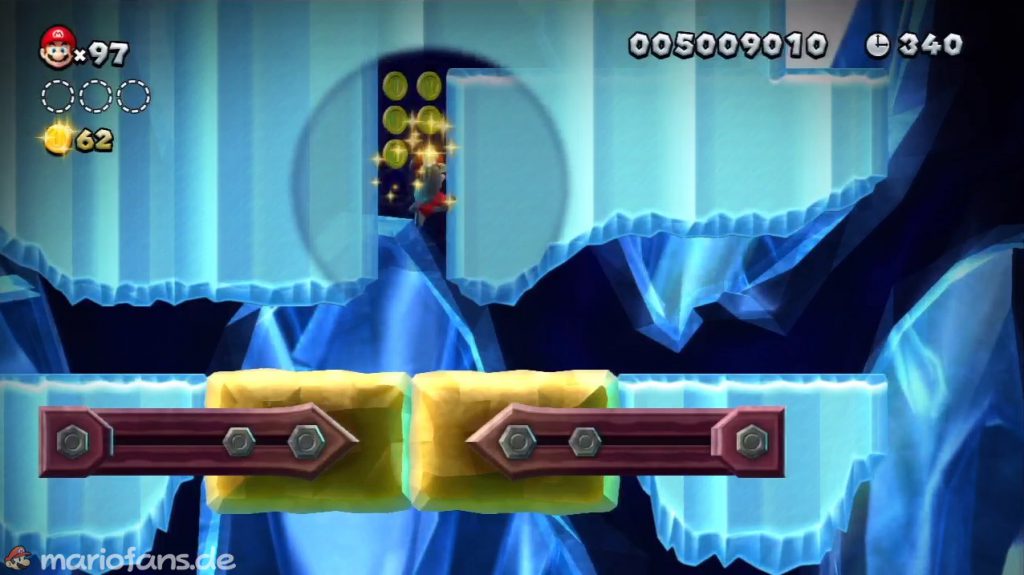
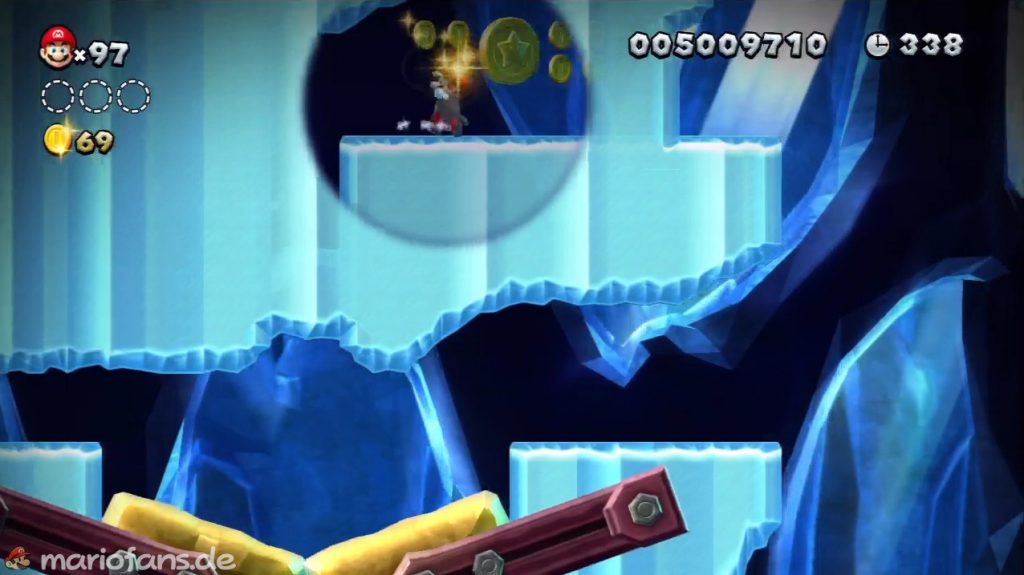
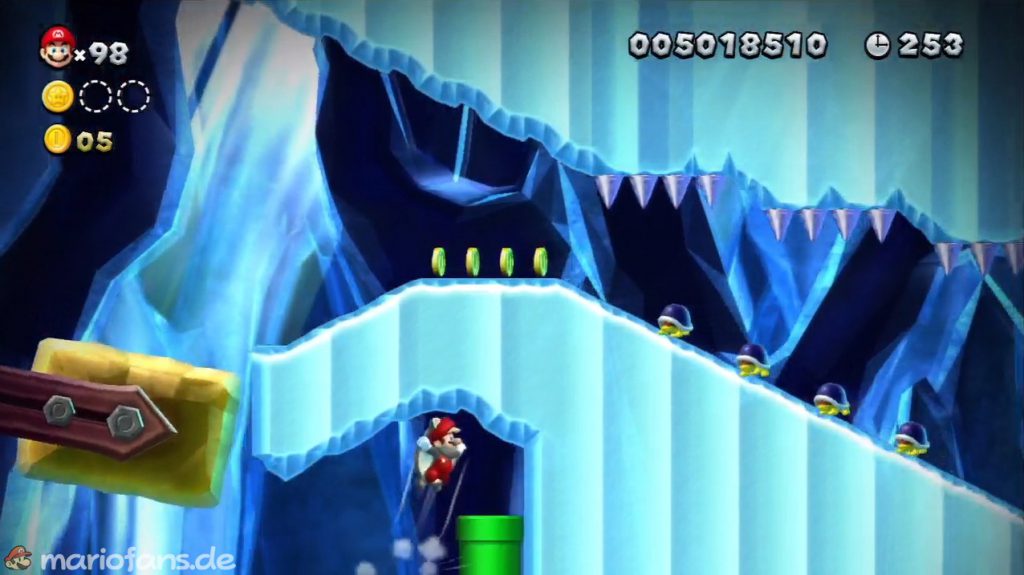
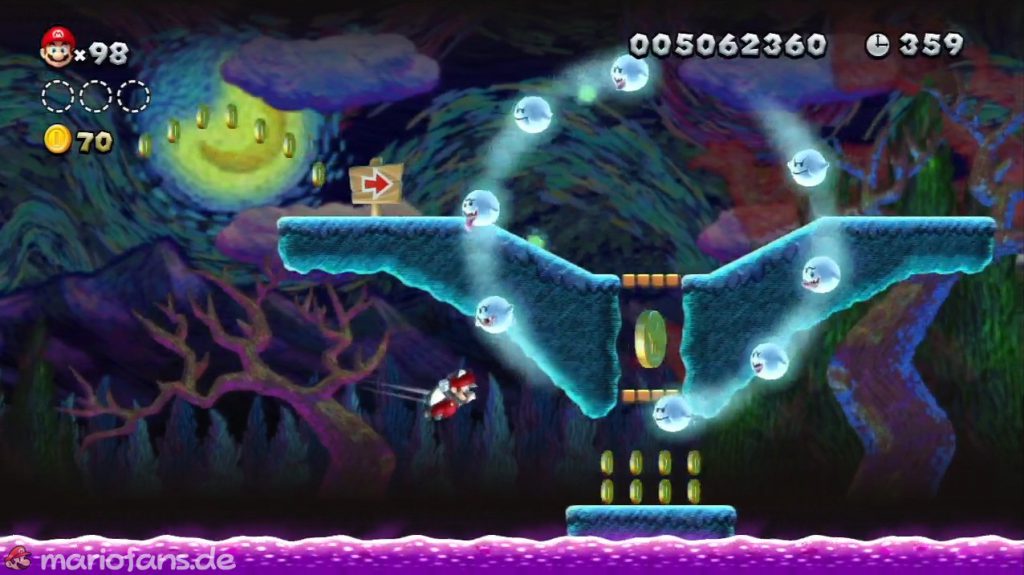
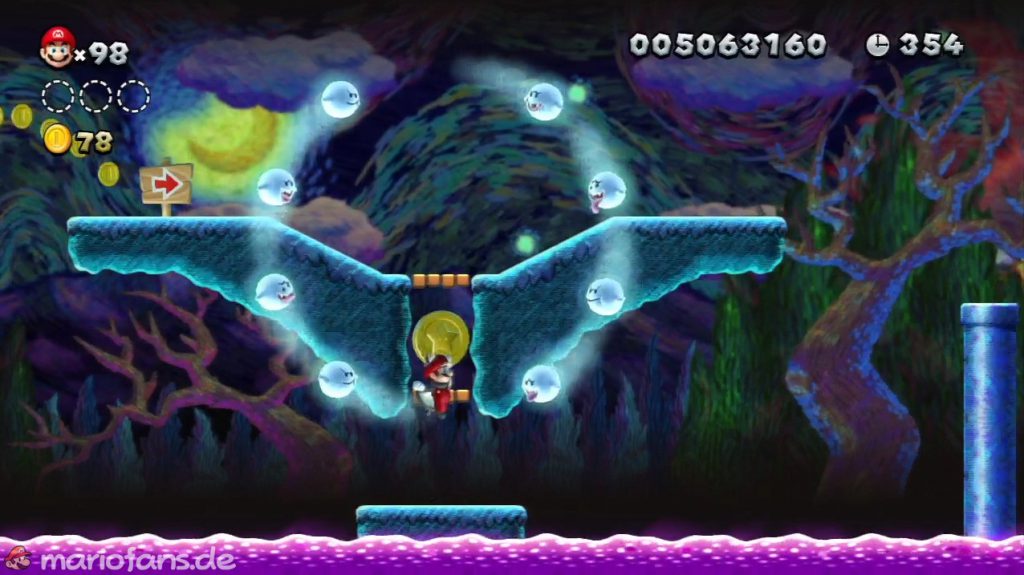
- Star Coin 1 Where the Boo circle is, you have to float onto the platform with the coins (as a squirrel). Jump up through the gap and get the Star Coin.
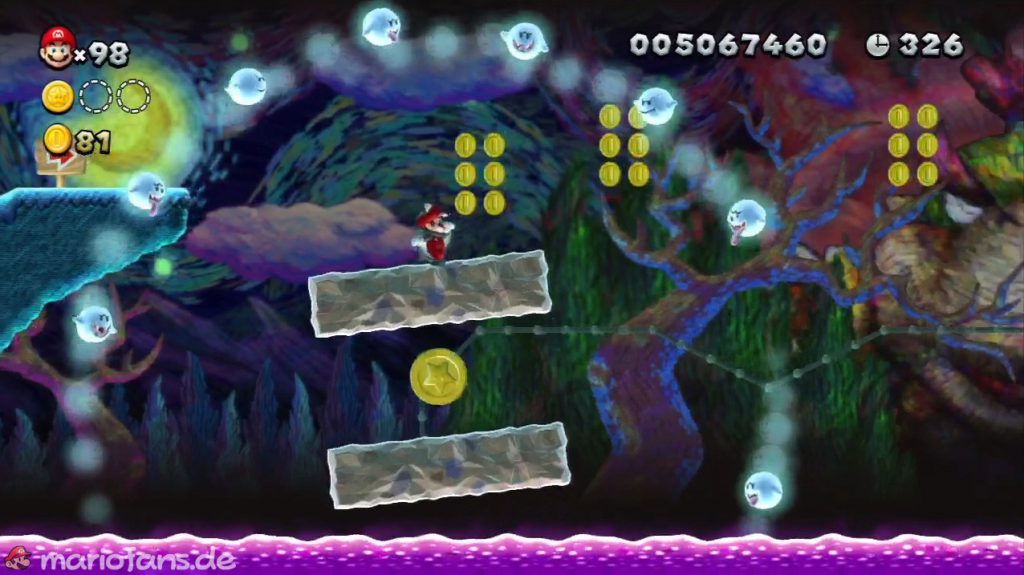
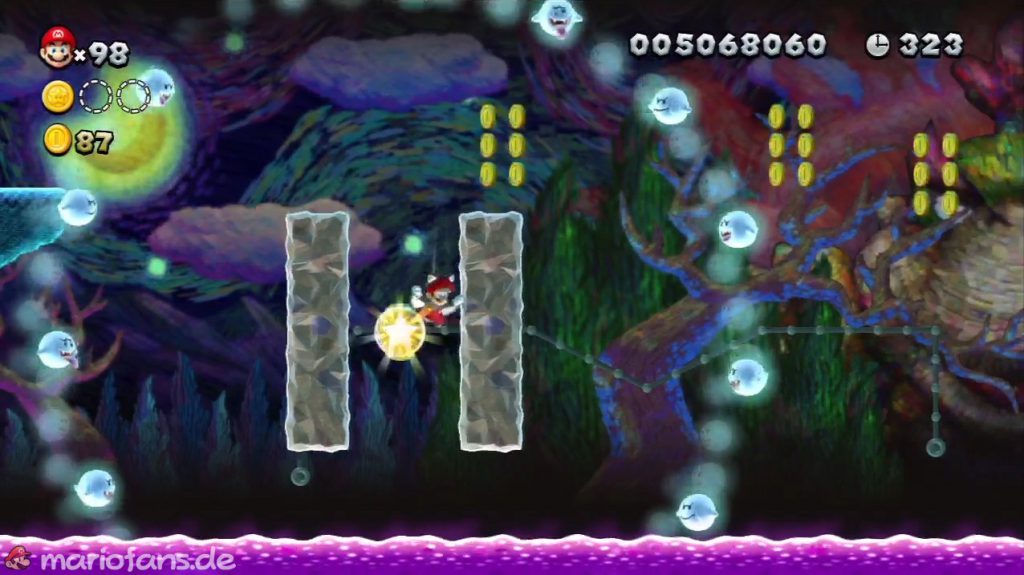
- Star Coin 2 You can wall jump between the two blocks to get the Star Coin.
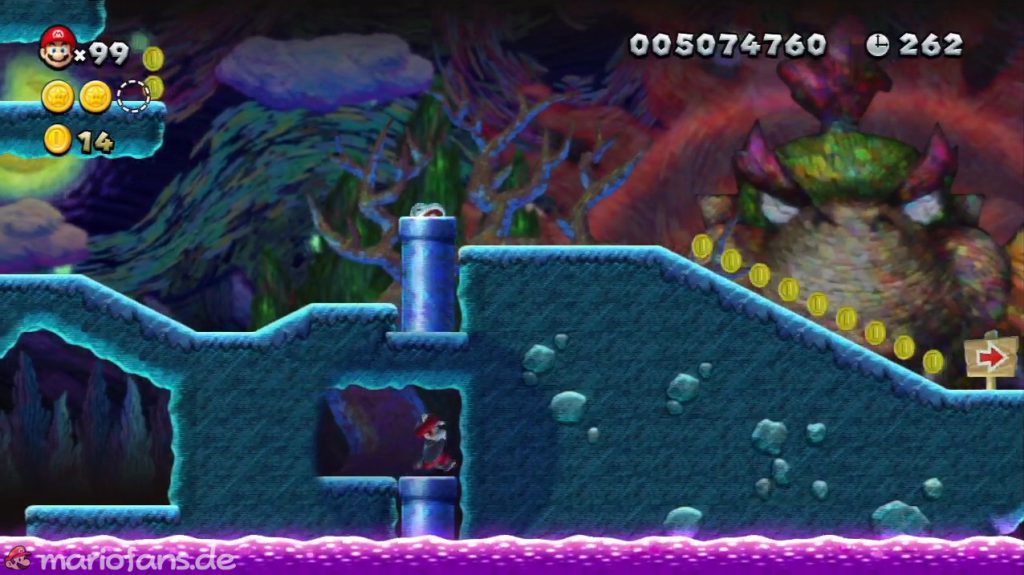
- Star Coin 3 Here again you need the Super Acorn. There is another one hidden under the blue tube. Fly there. In the secret room, the Star Coin floats in a small cave.
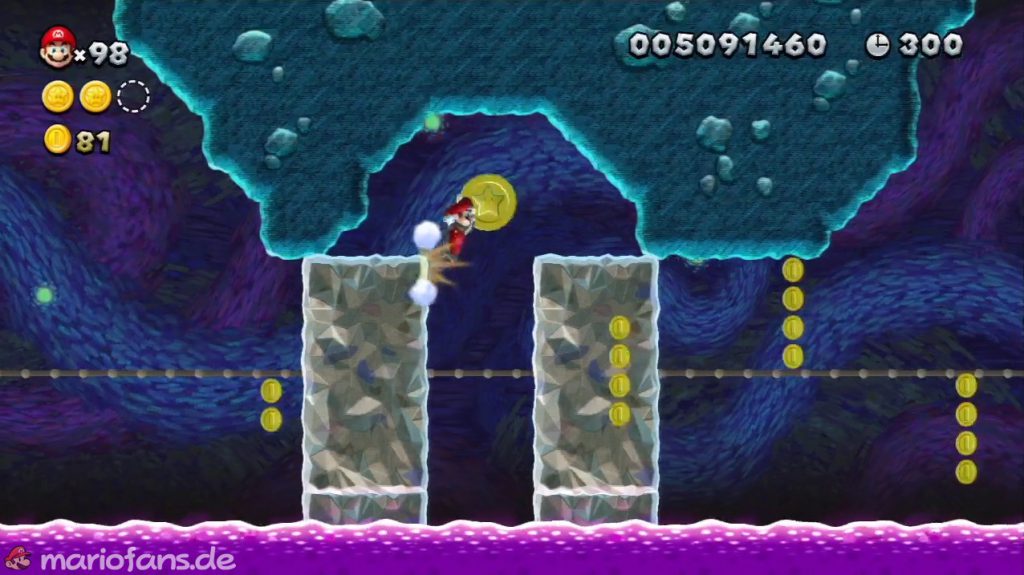
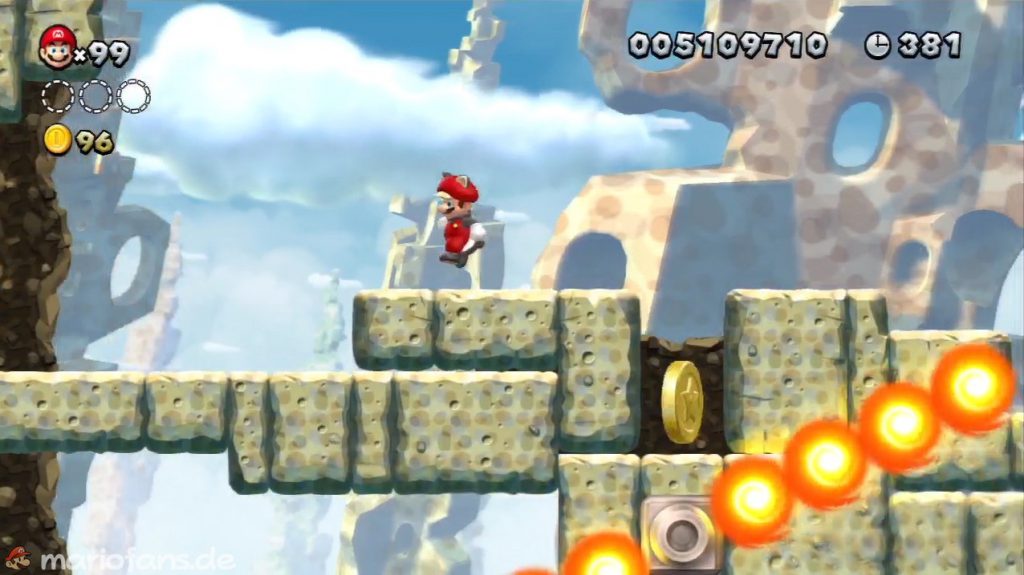
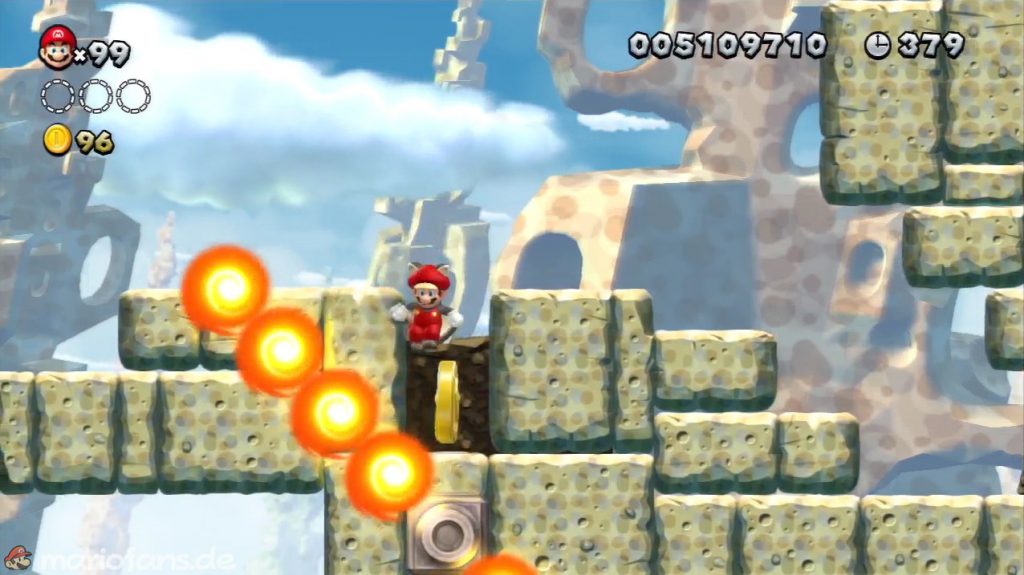
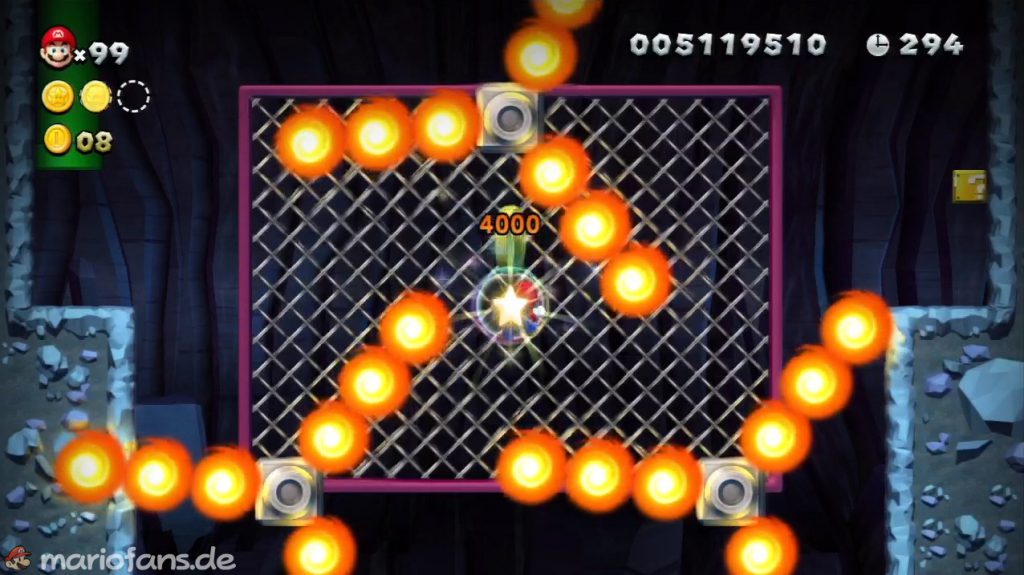
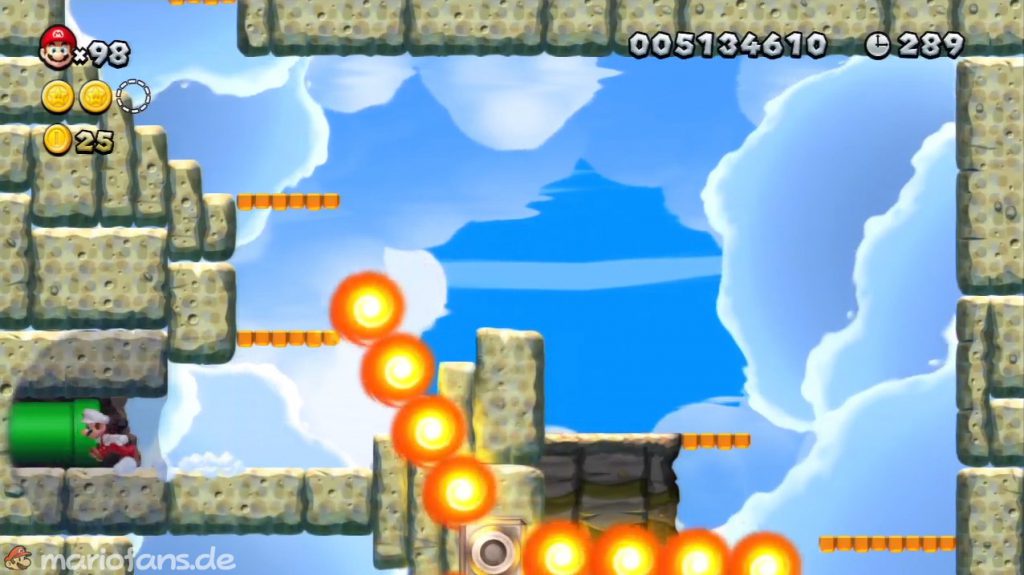
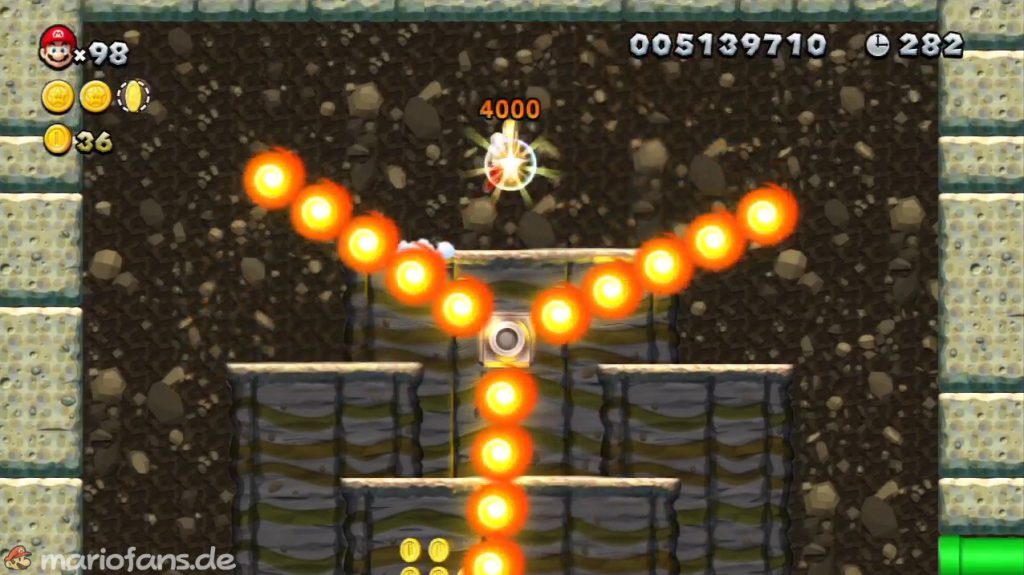
Fire Bar Cliffs
- Wait until there is a short gap, ideally when the fireballs are to the left of the coin.
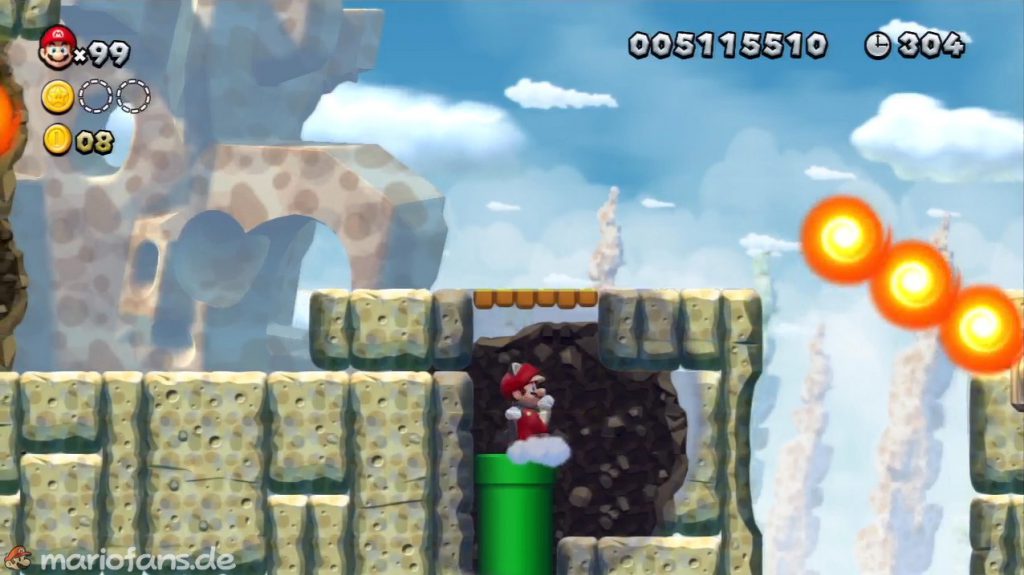
- Star Coin 2 In front of a row of fire rollers, a tube hidden in a wall leads to an underground area with the second Star Coin.
- Star Coin 3 Shortly before the goal you will find a hidden tube by the three beams on the left. Behind it is the last Star Coin.
Lakitu! Lakitu! Lakitu!
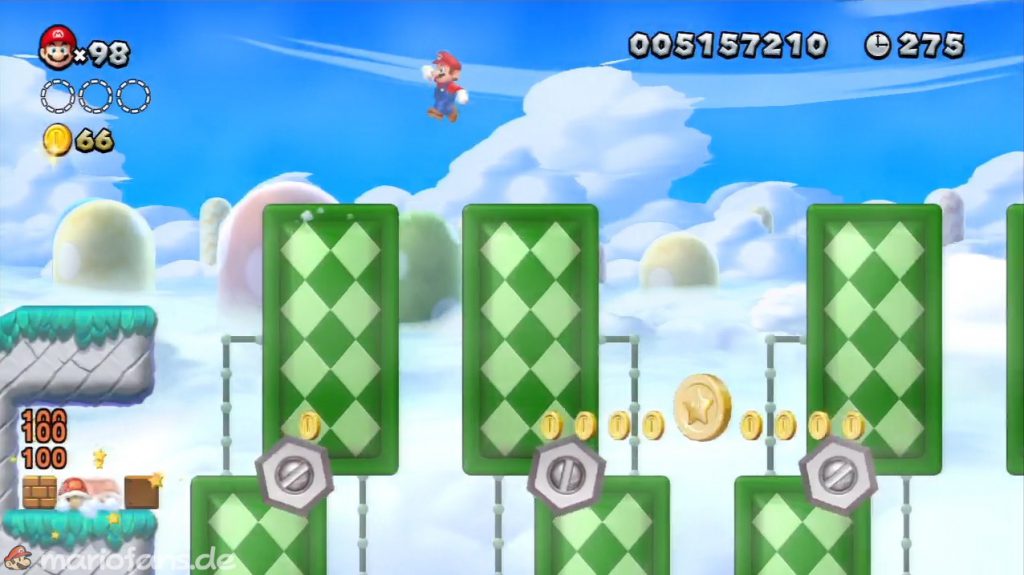
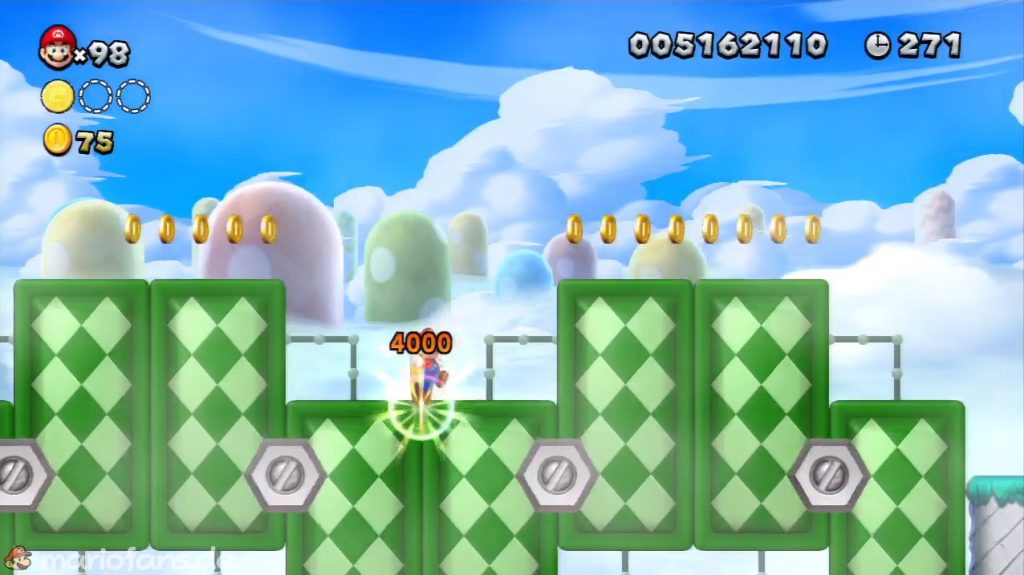
- Star Coin 1 As soon as the green blocks are down, get them.
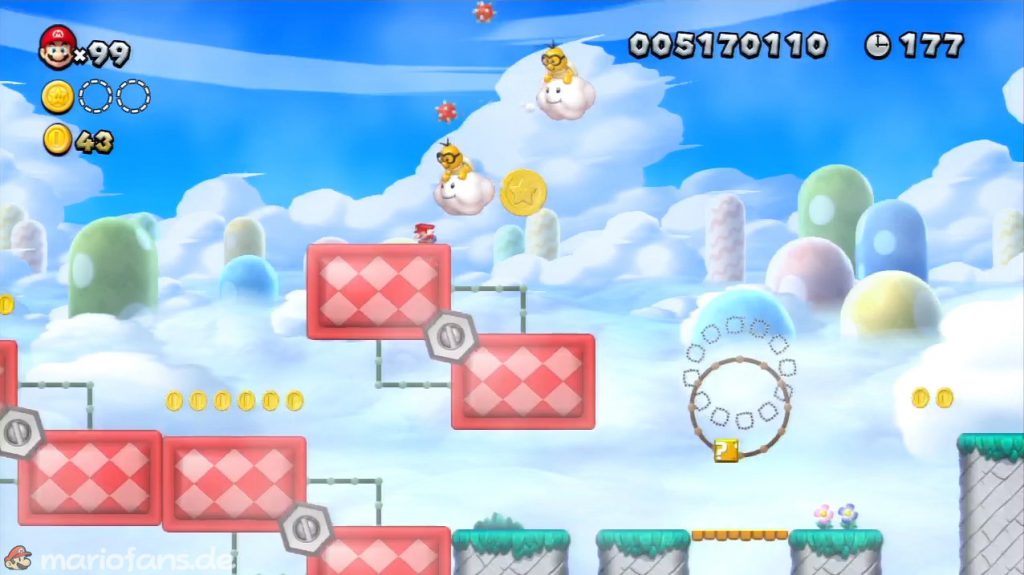
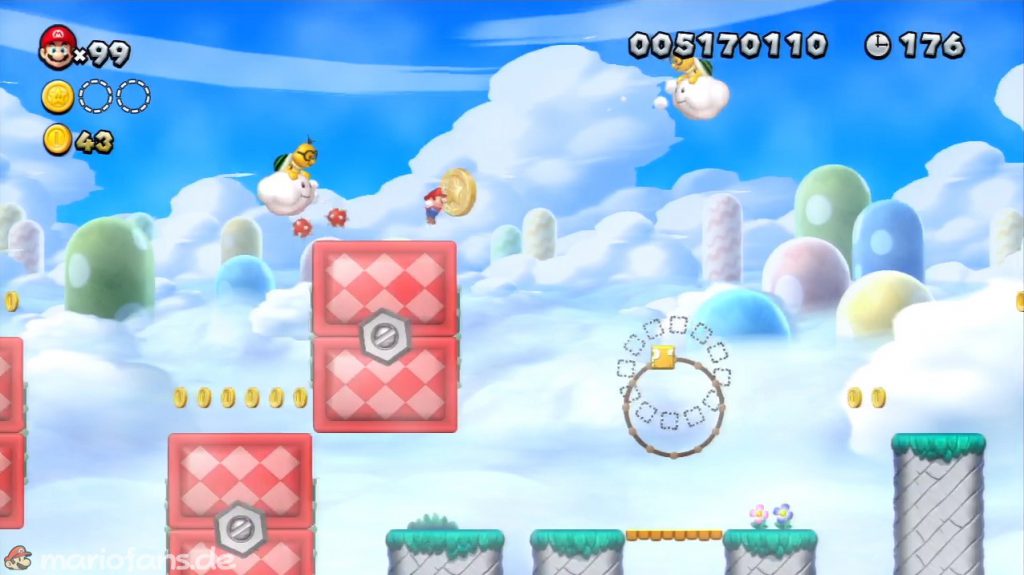
- Star Coin 2 This coin is also impossible to miss. You can reach them with targeted jumps.
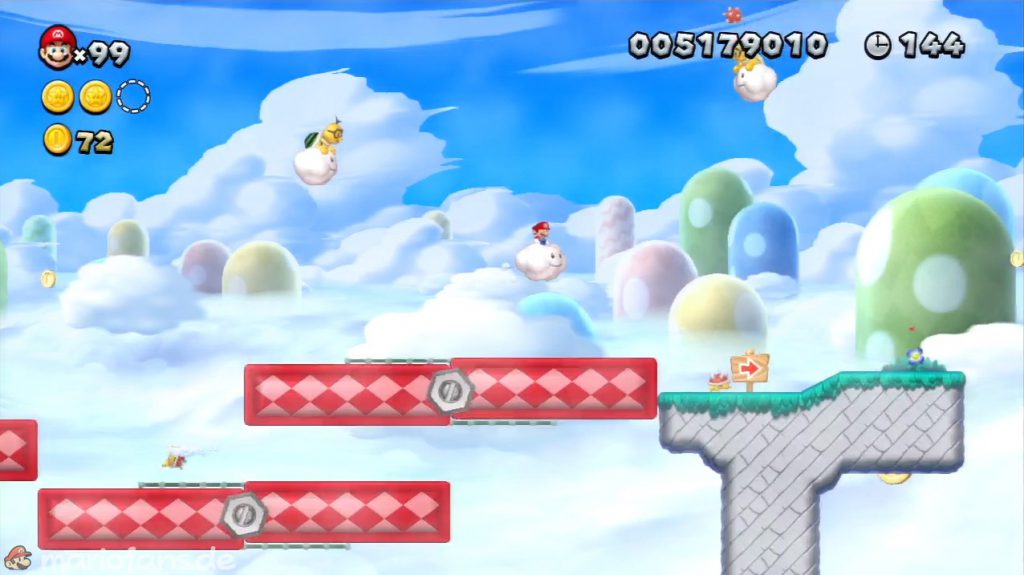
- Star Coin 3 Grab the Cloud of Lakitu and you will easily see the bottom of the Star Coin shimmering behind a rock. Fly there and get it.
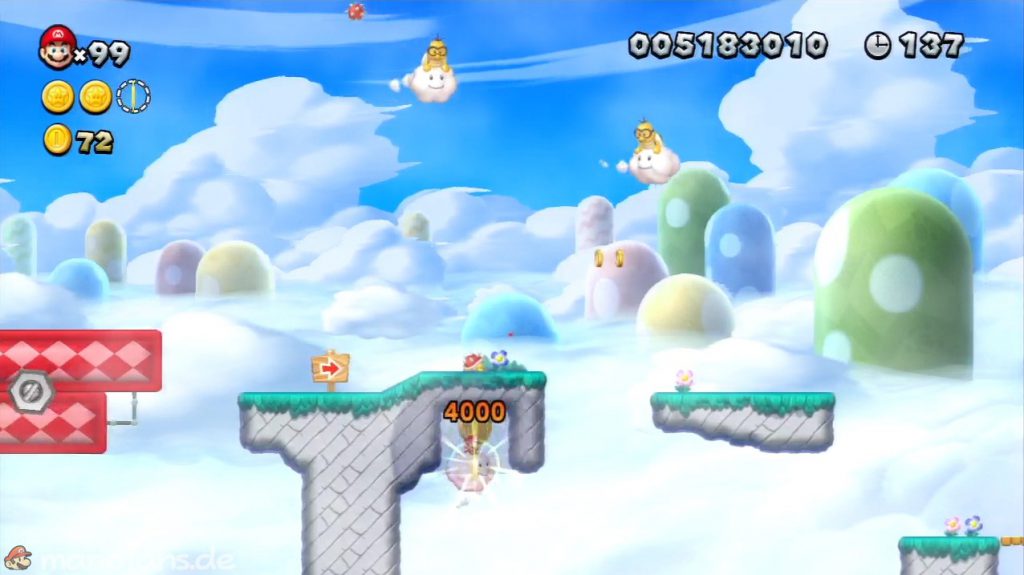
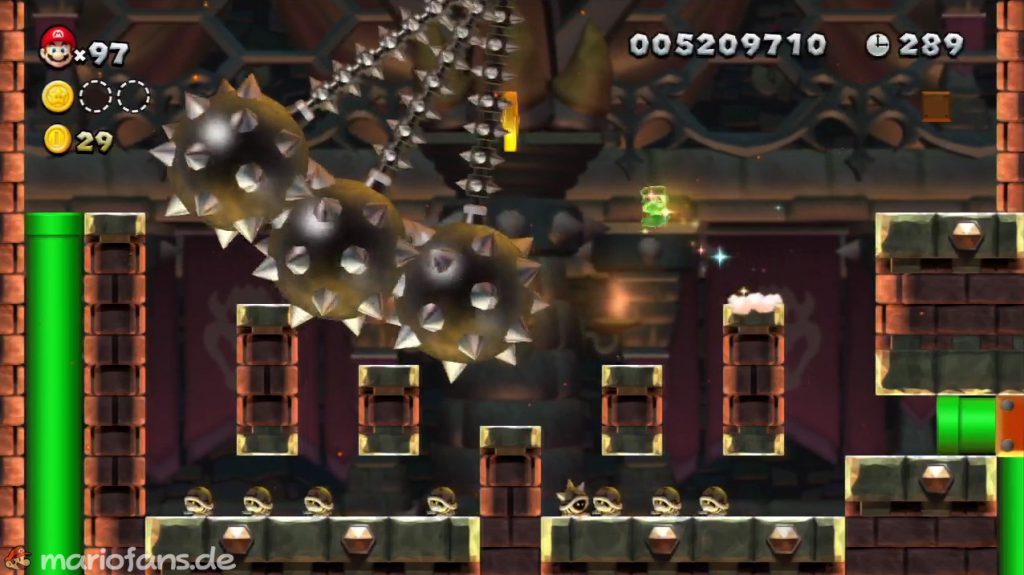
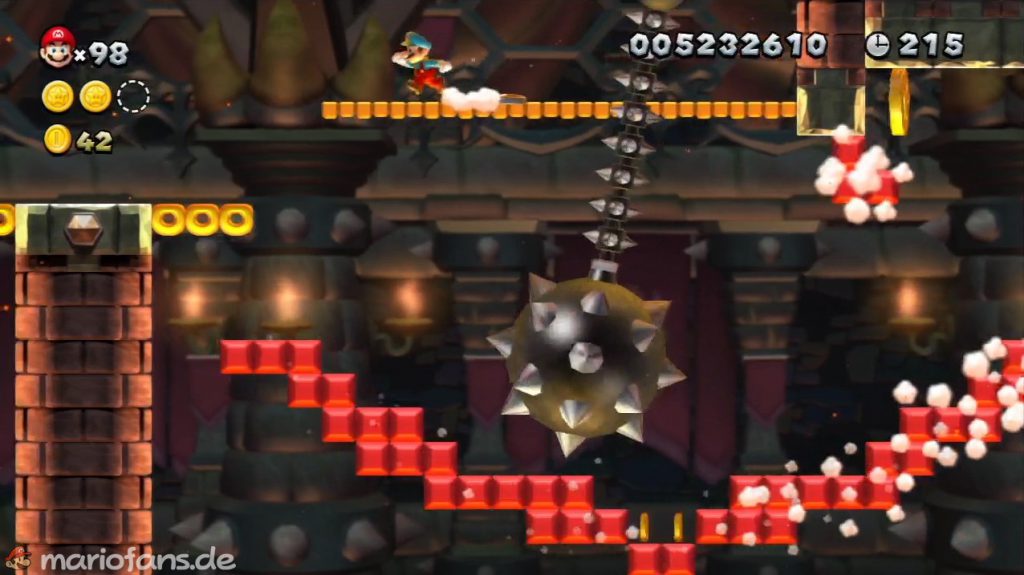
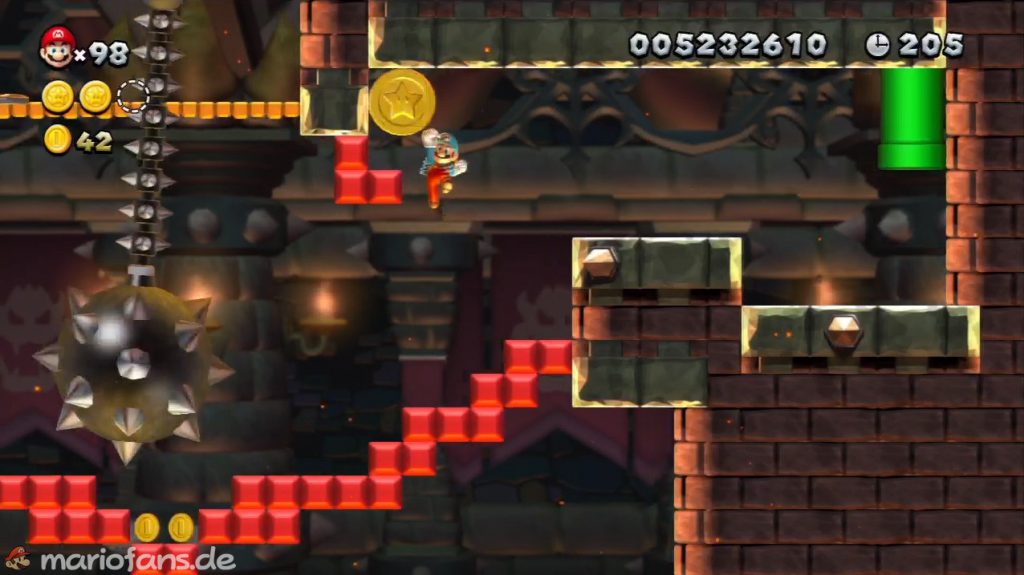
Pendulum Castle
- Star Coin 1 Stand over the Star Coin and wait for the donut block to fall down. Once you have it, jump up.
- Star Coin 2 At the end of the block row of coin 1 you will find a hidden tube in the top right. You will find a star at the top right, with this it is easy to reach the coin.
- Star Coin 3 Activate the red blocks. On the other side you can see and collect the Star Coin.
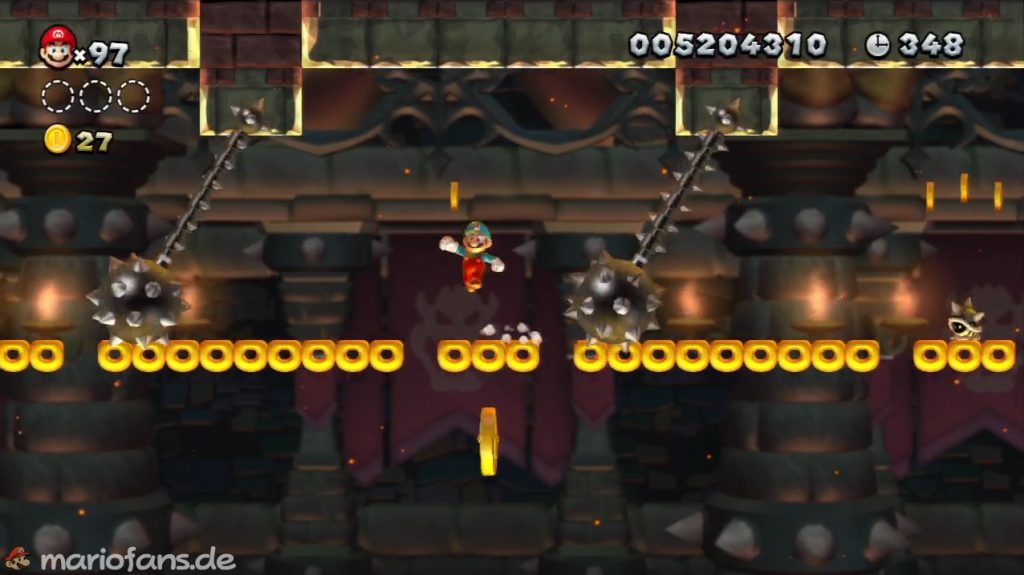
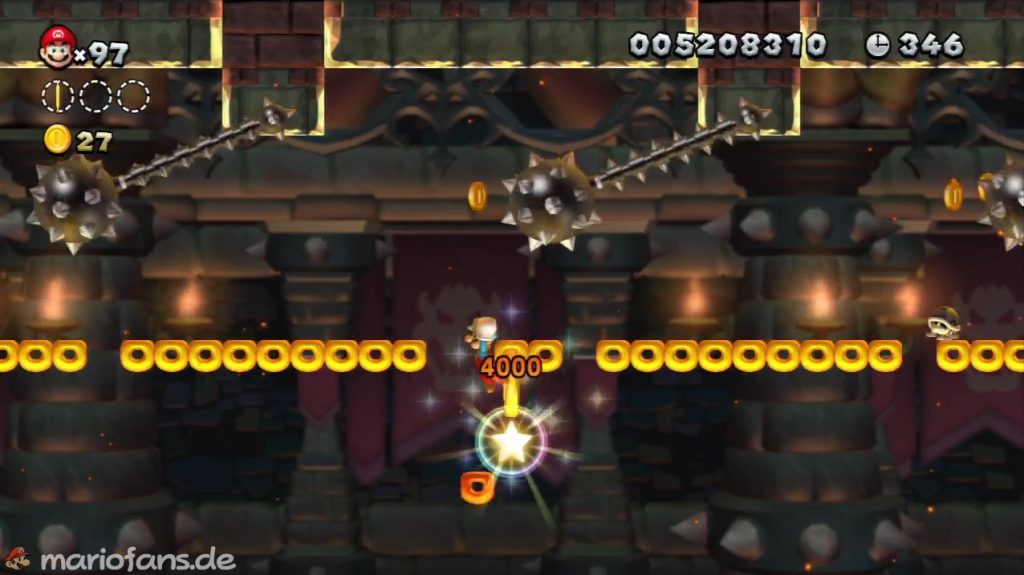
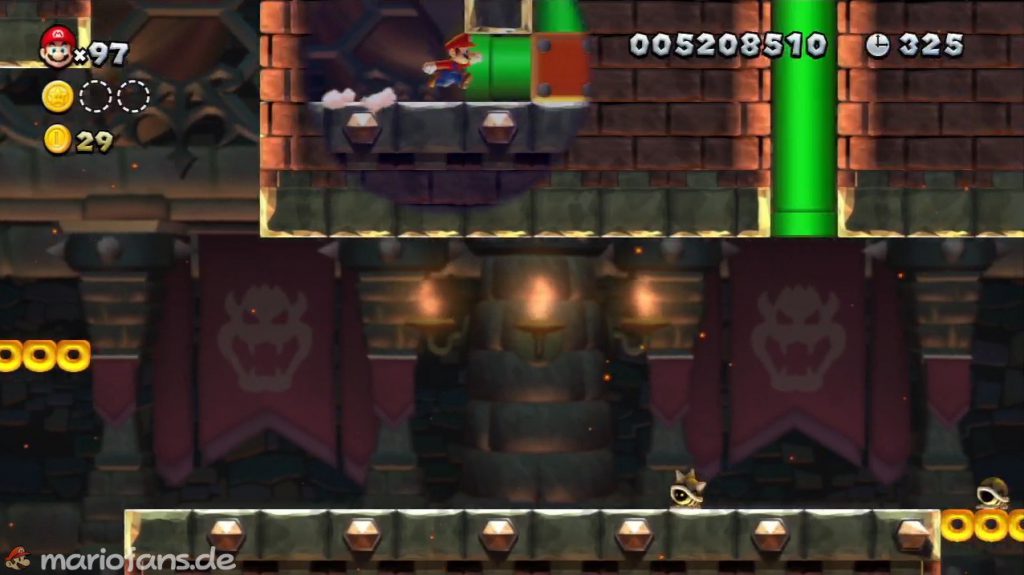
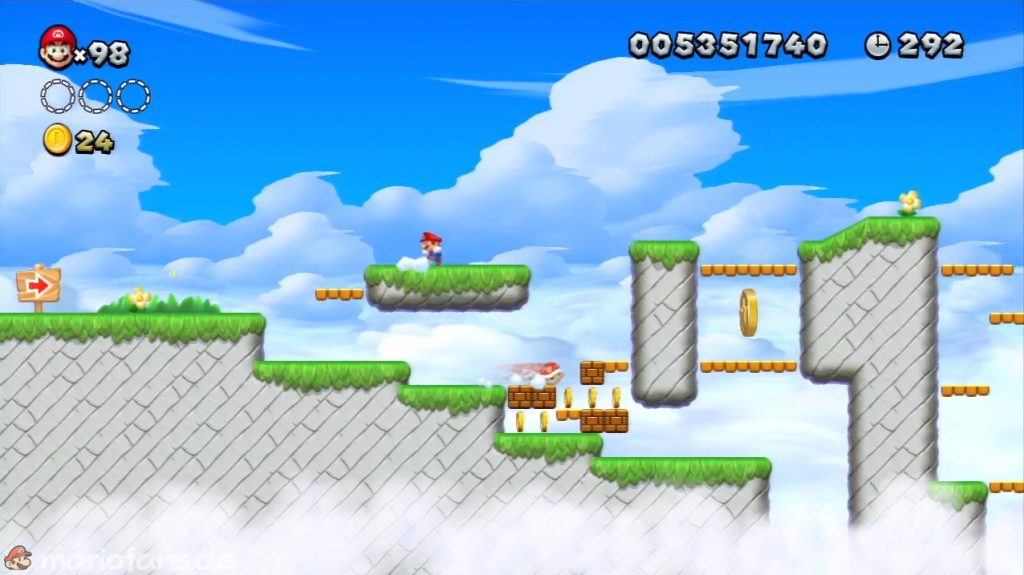
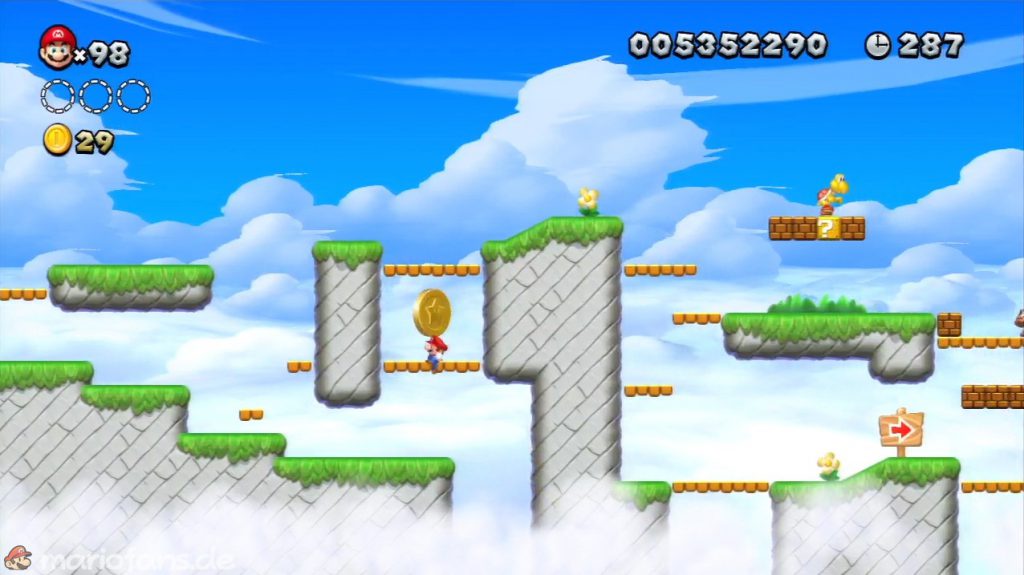
Follow That Shell!
- Star Coin 1 Take the Koopa shell and throw it on the blocks to clear the path to the coin.
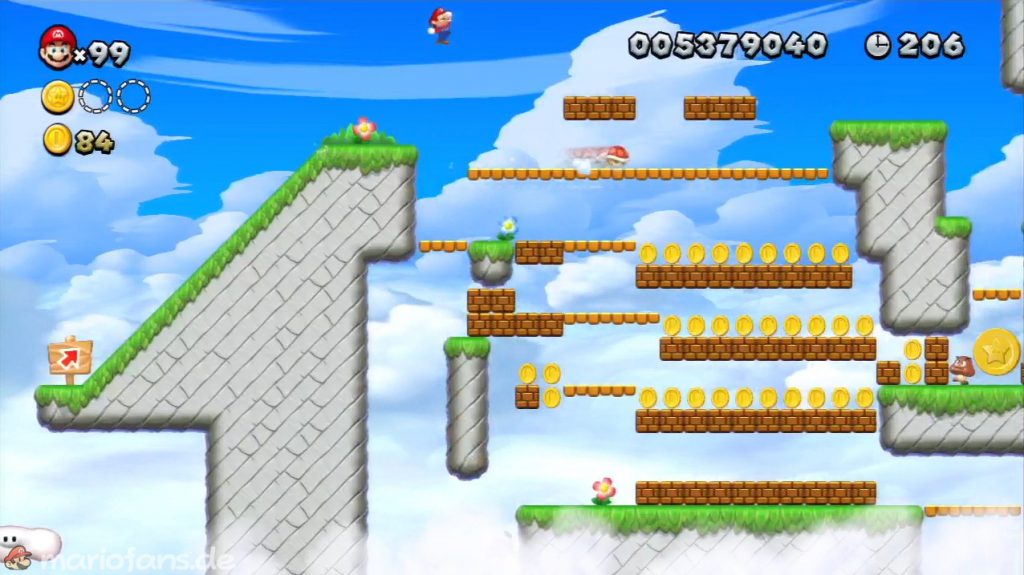
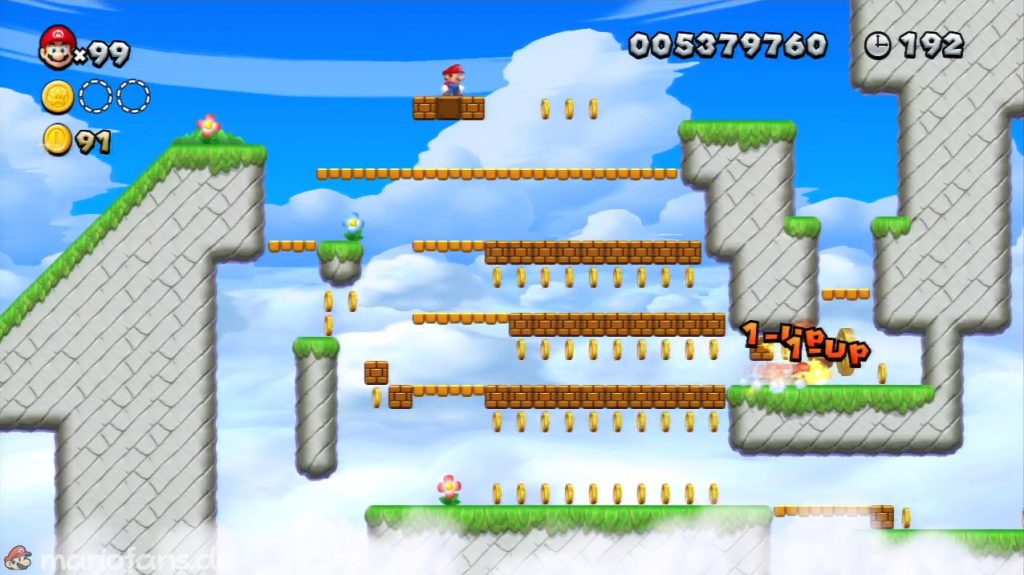
- Star Coin 2 Shortly before the finish post you will find an area that looks tempting for a shell. Throw this in and activate the P Switch in the second row of coins so that the shell automatically collects the coin.
- Star Coin 3 If you time it right, the shell will activate the beanstalk at the end, which will lead you to the last coin in the game. Otherwise you get a new shell and throw it against the block.