
The Mighty Cannonship
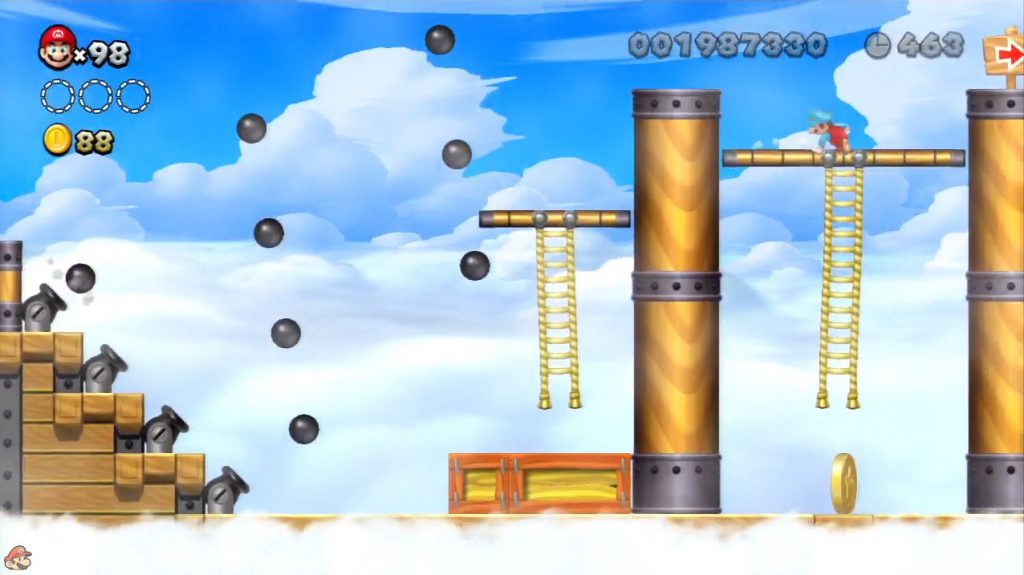
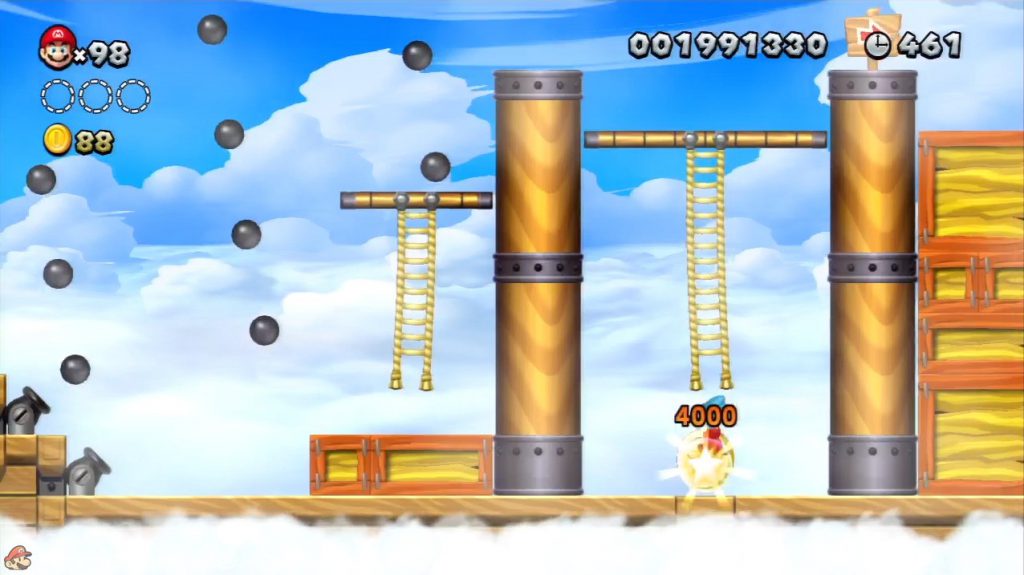
- Star Coin 1 The first Star Coin is behind a staircase with four cannons. Climb the ship’s mast and then down the rope ladder to collect them.
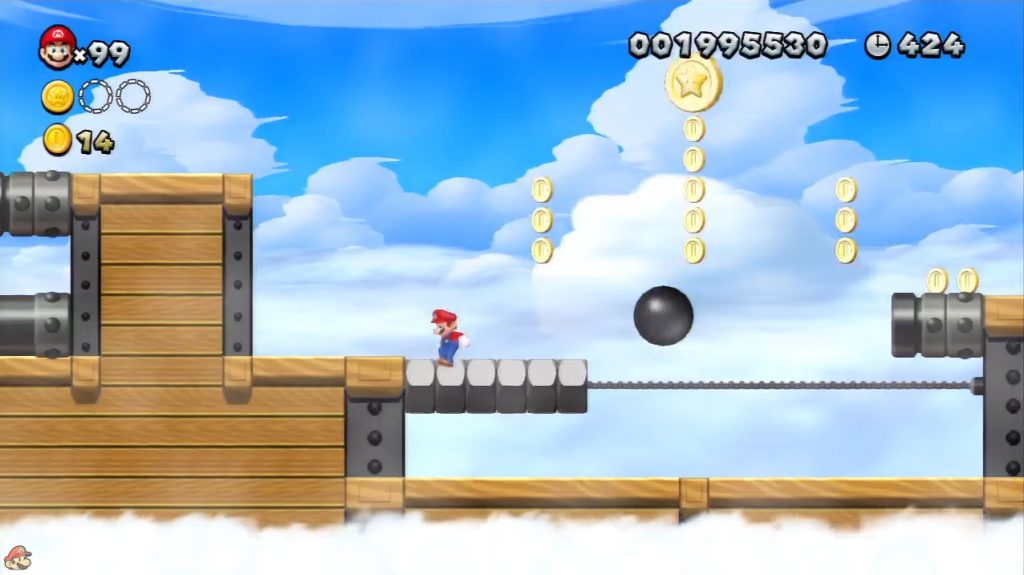
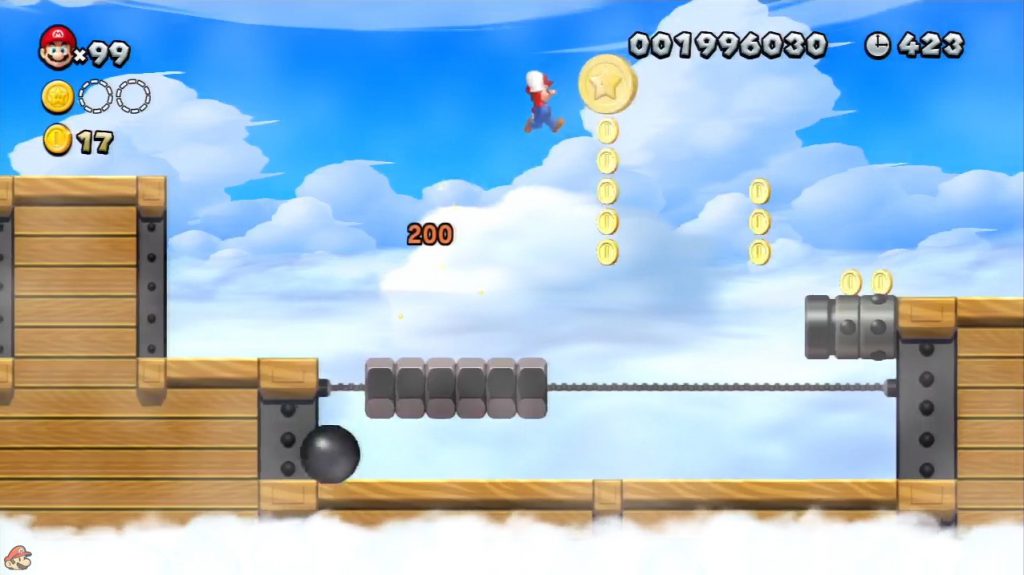
- Star Coin 2 The second coin cannot be missed either. Wait until a large ball comes and then jump on it to reach the coin.
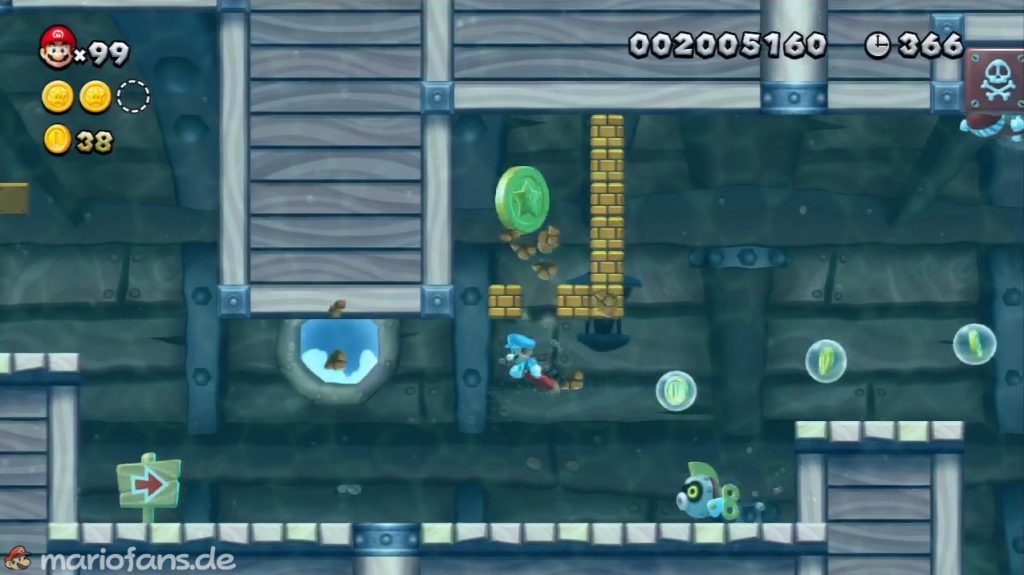
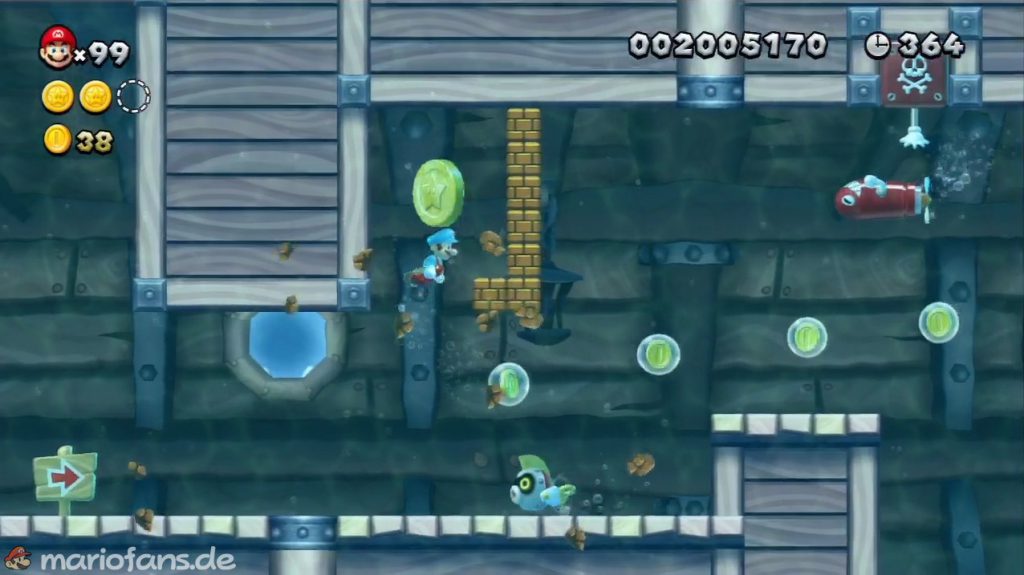
- Star Coin 3 You can find the last Star Coin in the flooded part of the airship. Destroy the blocks to reveal the Star Coin.
Jungle of the Giants
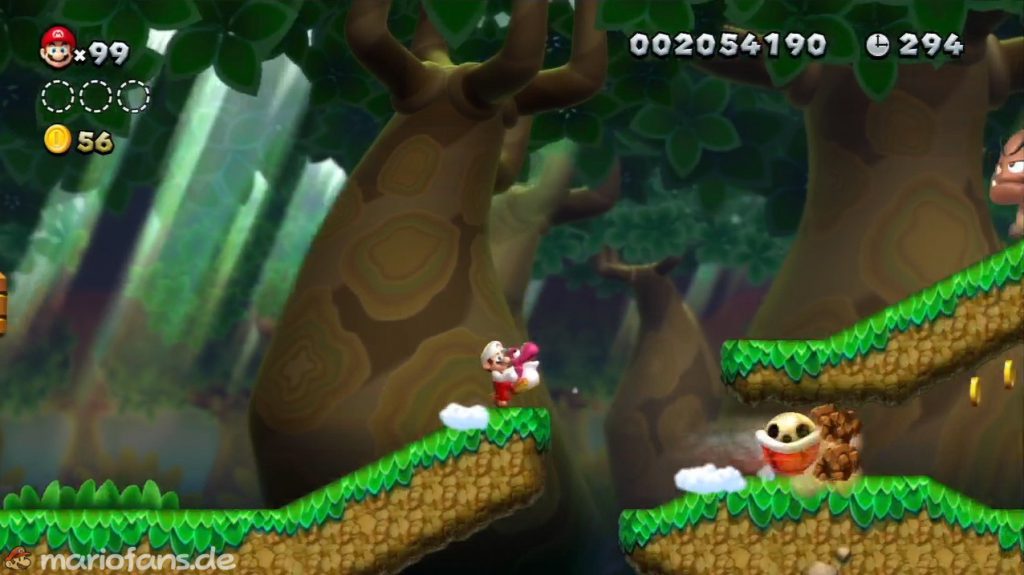
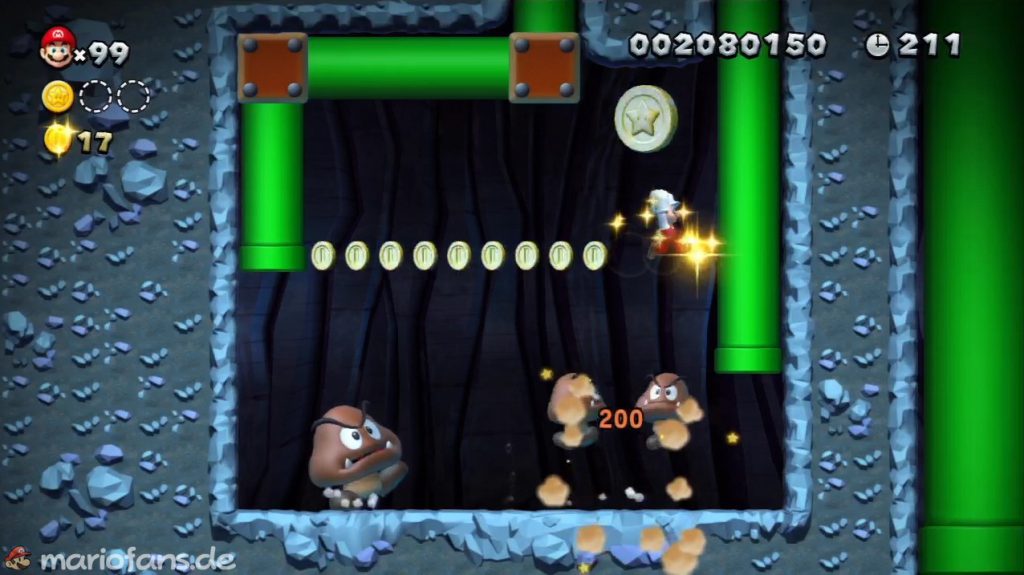
- Star Coin 1 The first Star Coin is on your way, but it is walled up. Jump to the top of the three levels and kick the Koopa shell to the right and follow it. He will clear the way for you to the Star Coin.
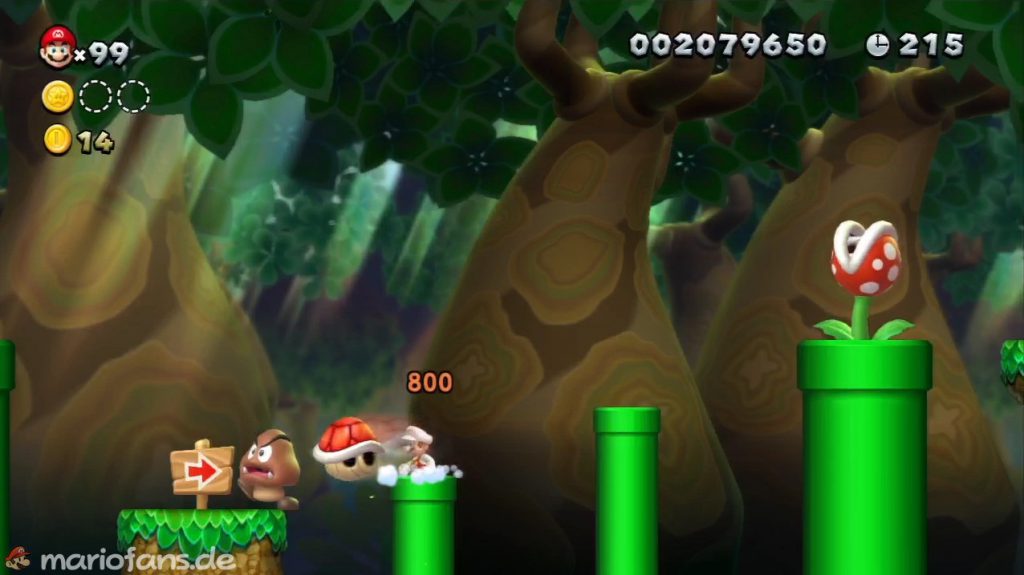
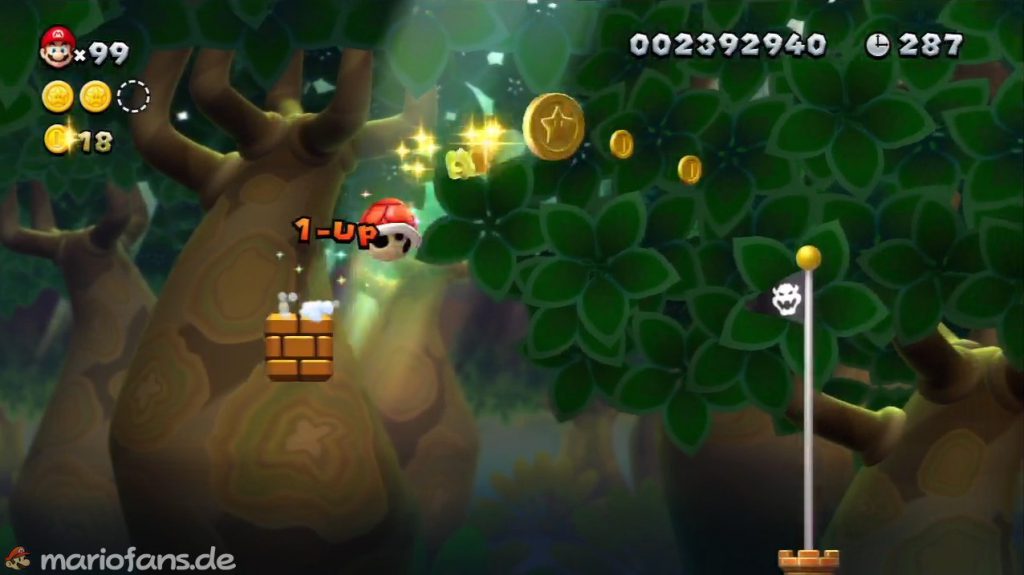
- Star Coin 2 After the flag you will find a sign pointing to a pipe. Enter this and get the Star Coin in the room.
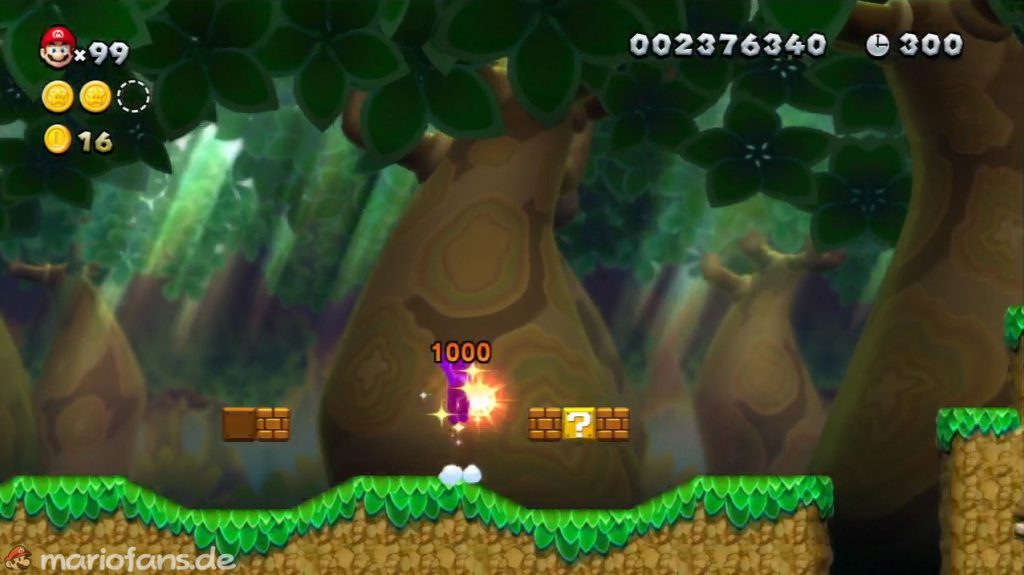
- Star Coin 3 First uncover the? Blocks with a Koopa shell and get a star. So you can run at high speed to the finish flag and climb the blocks with your opponents.
Bridge over Poisoned Waters
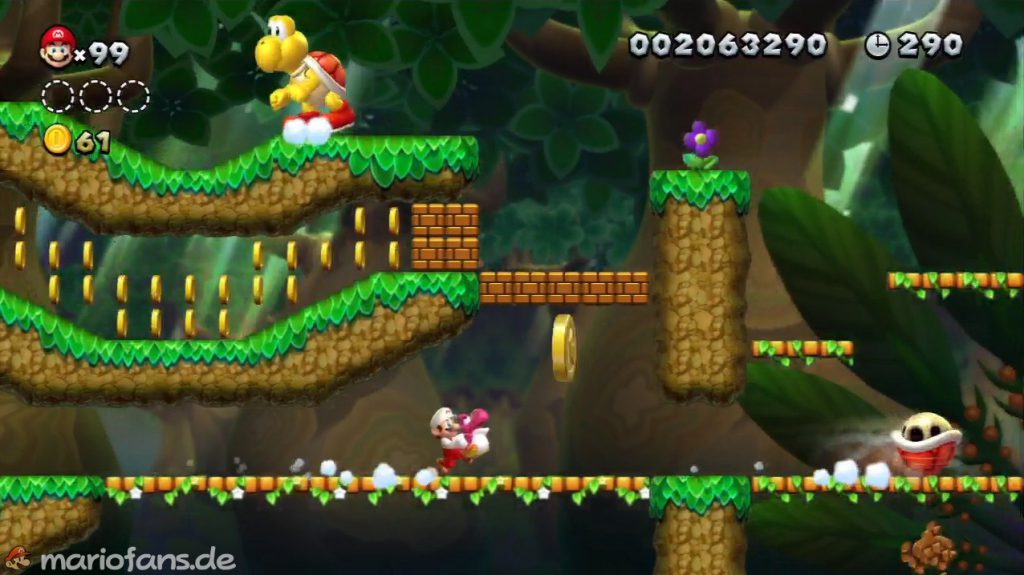
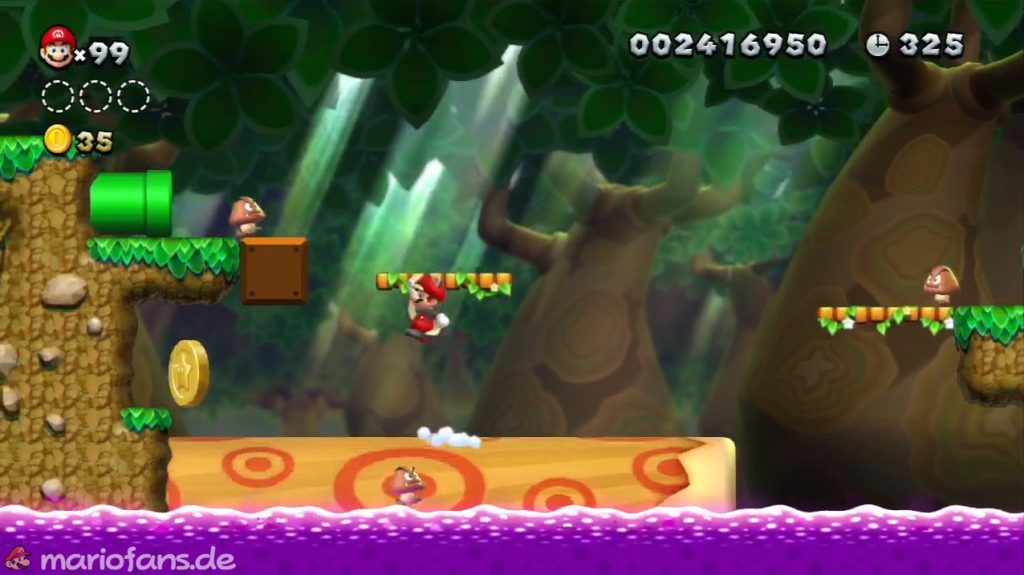
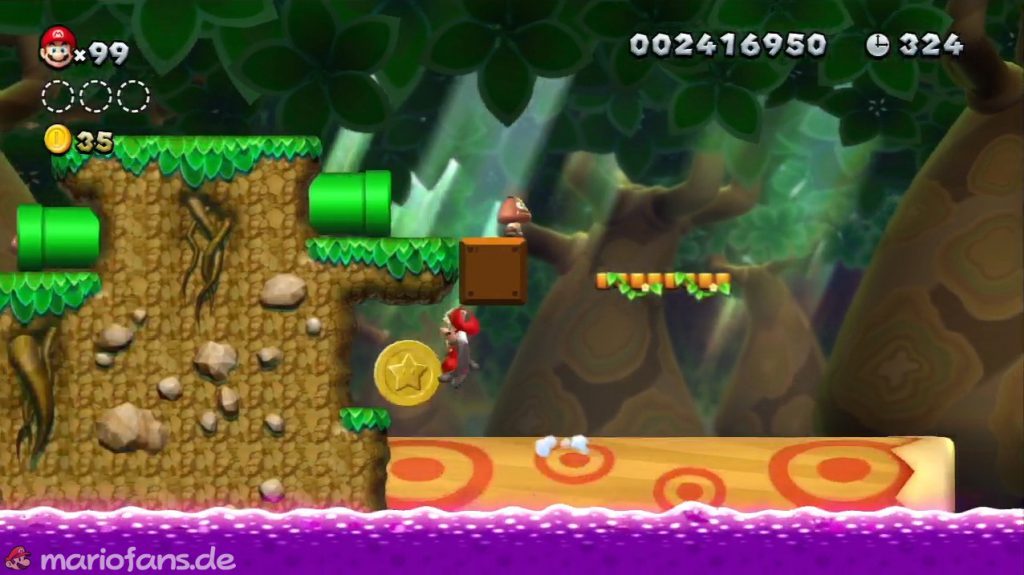
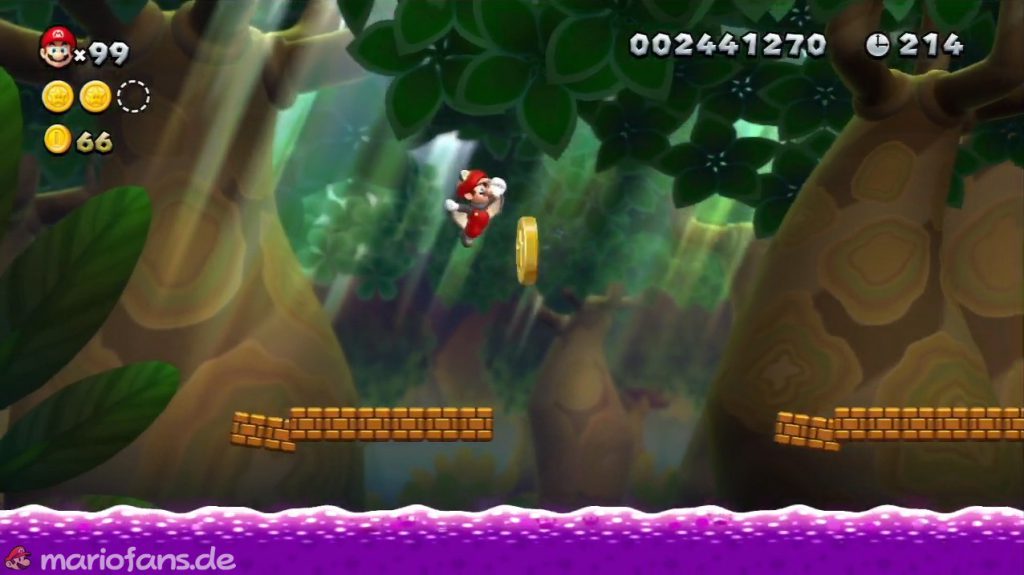
- Star Coin 1 The first Star Coin cannot be missed. Just go back on the beam.
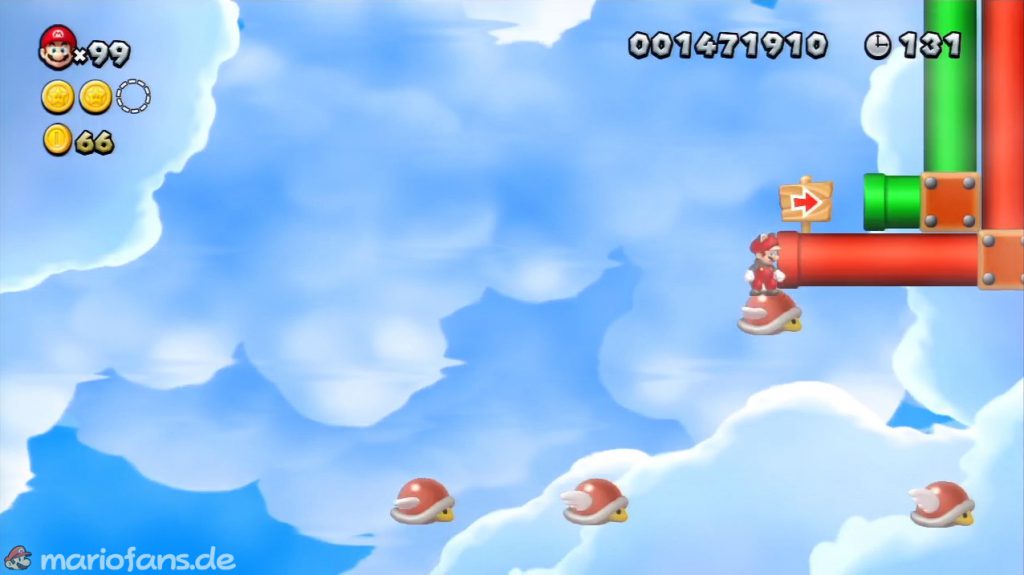
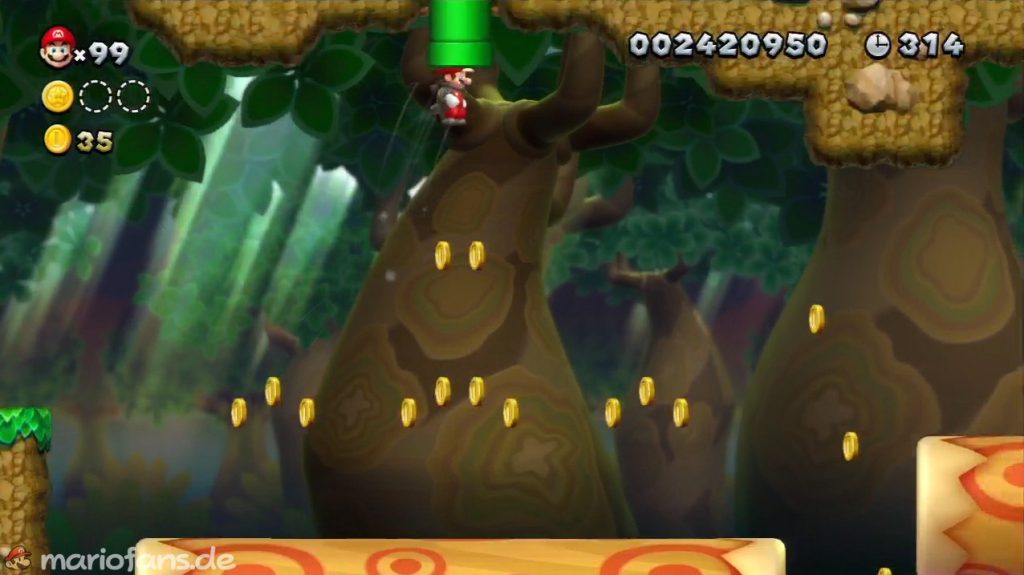
- Star Coin 2 For this you need a Flying Squirrel Suit. Go back to the pipes where the mini goombas come from and take a running start. Fly to the green tube on the ceiling. You can use the POW block to drop the Star Coin to the ground.
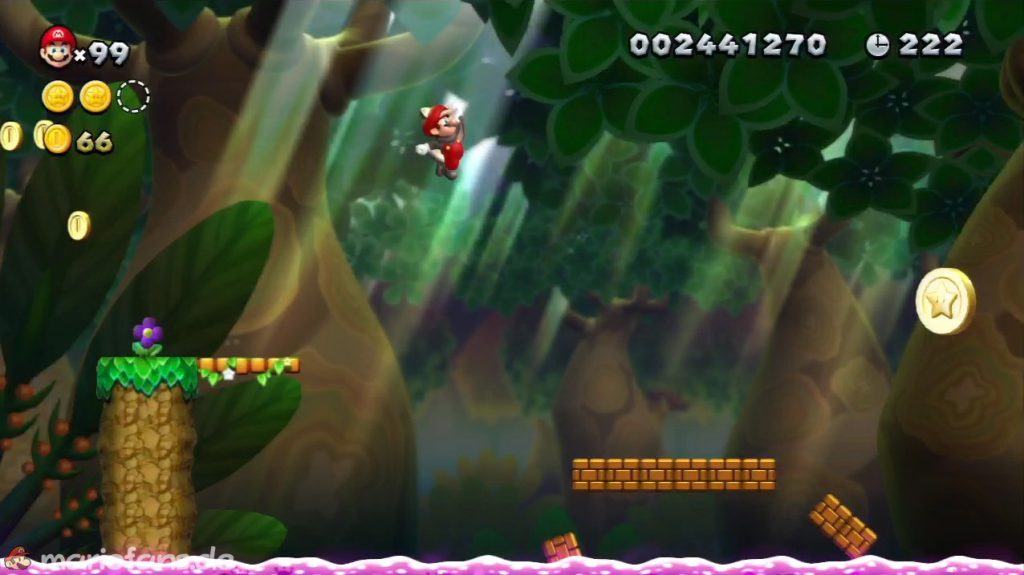
- Star Coin 3 The last Star Coin floats over the path that builds up in front of you, only to sink back into the poison shortly behind you. With one jump she’s yours.
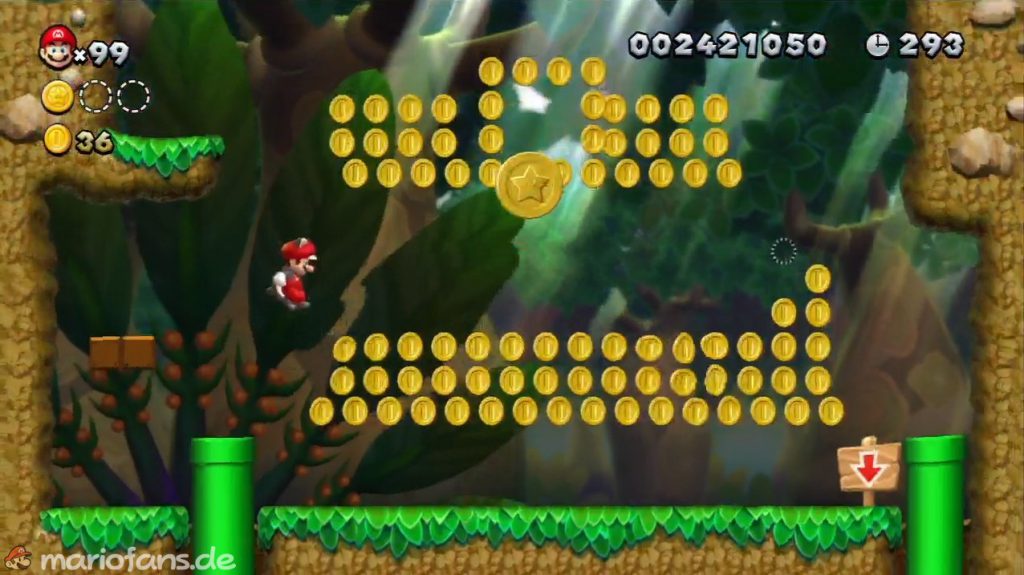
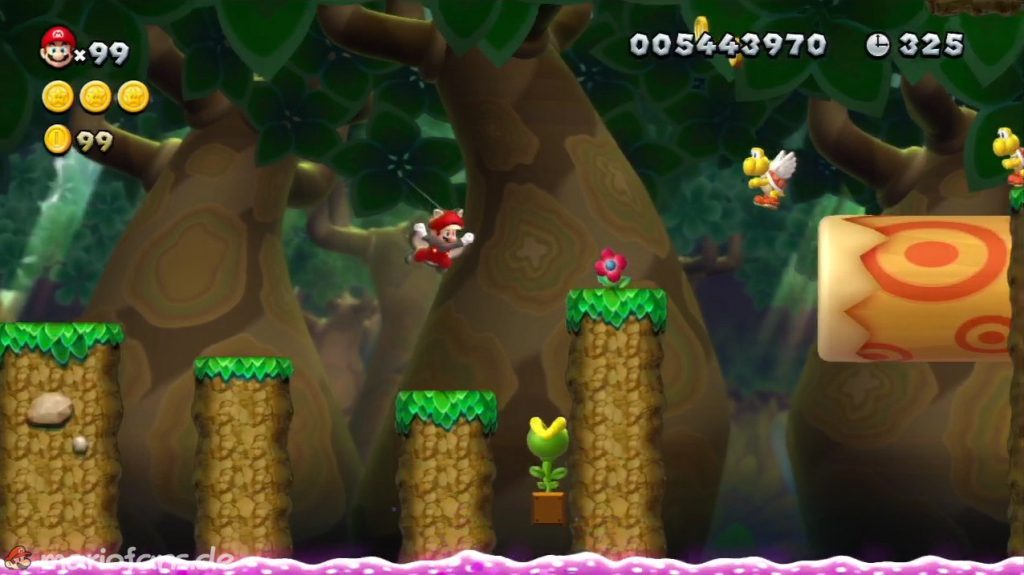
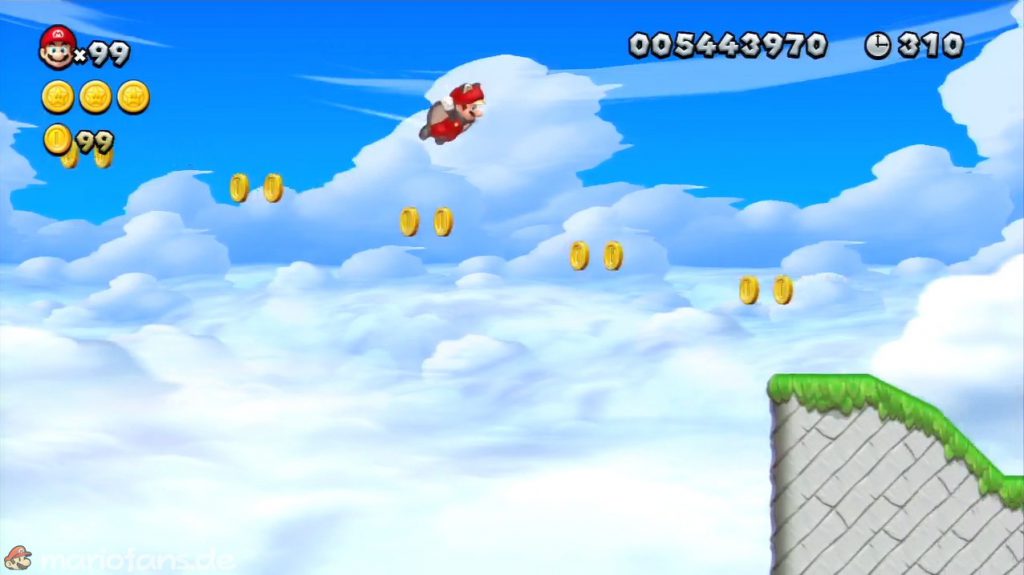
- Secret Exit Using the Koopa on one peak you can activate the Vine in the block and get to the top. Break time! Cloud Cover you will find a tube that will take you back. There are also two signposts and a coin trail. Use the levels on the left and a wall jump to get as high as possible and then use the flying squirrel form to fly to the right and reach the secret exit.
Bramball Woods
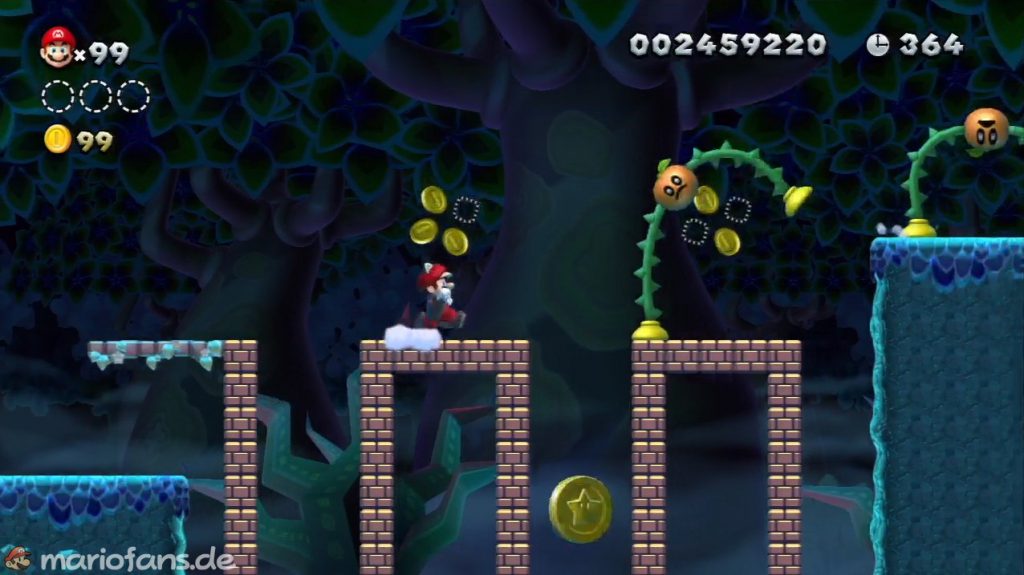
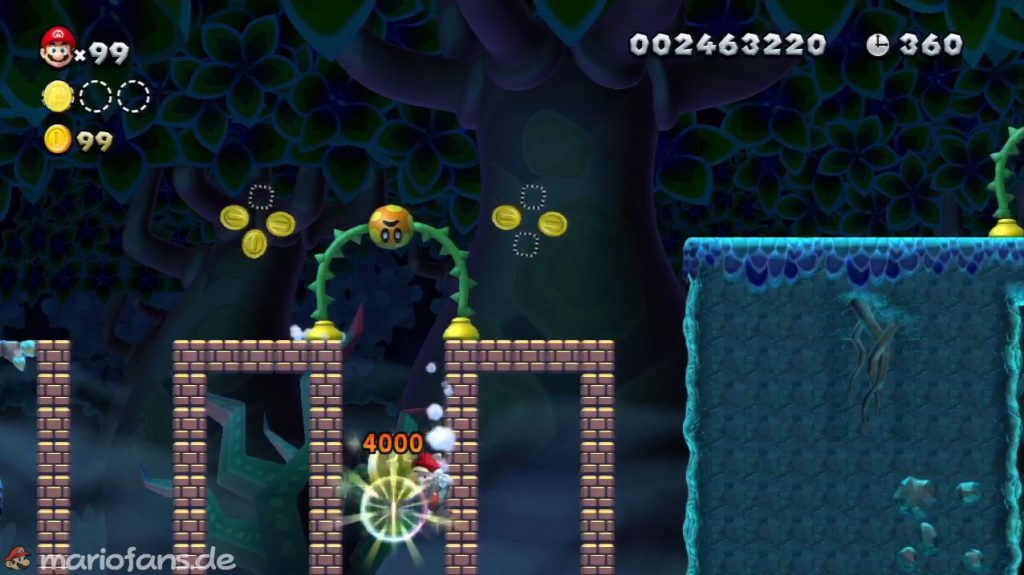
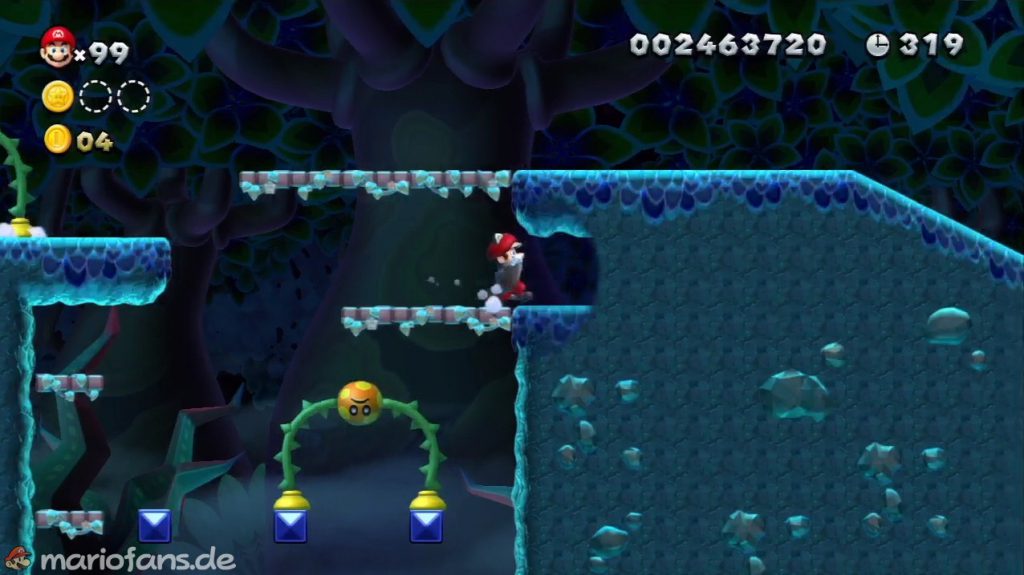
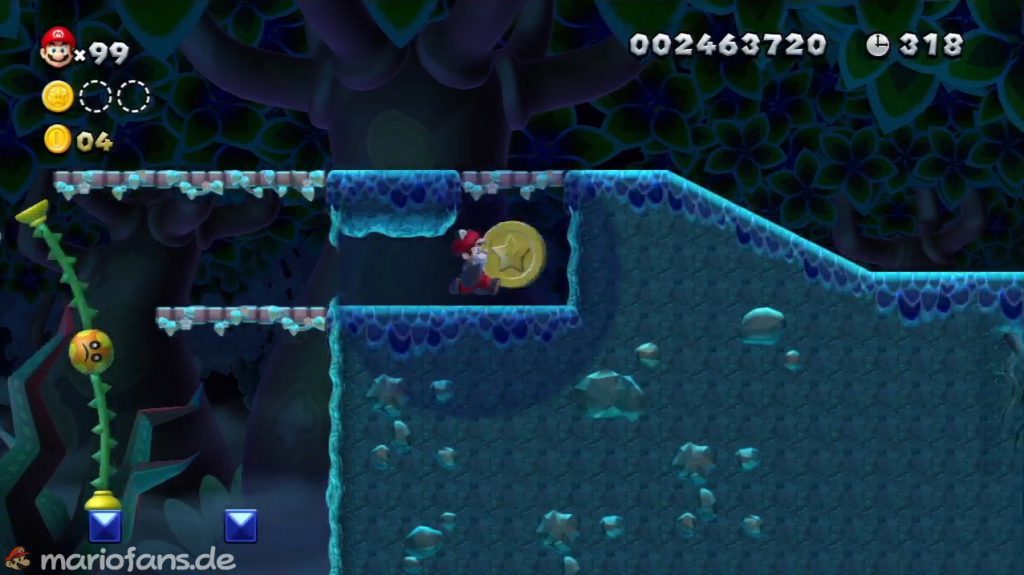
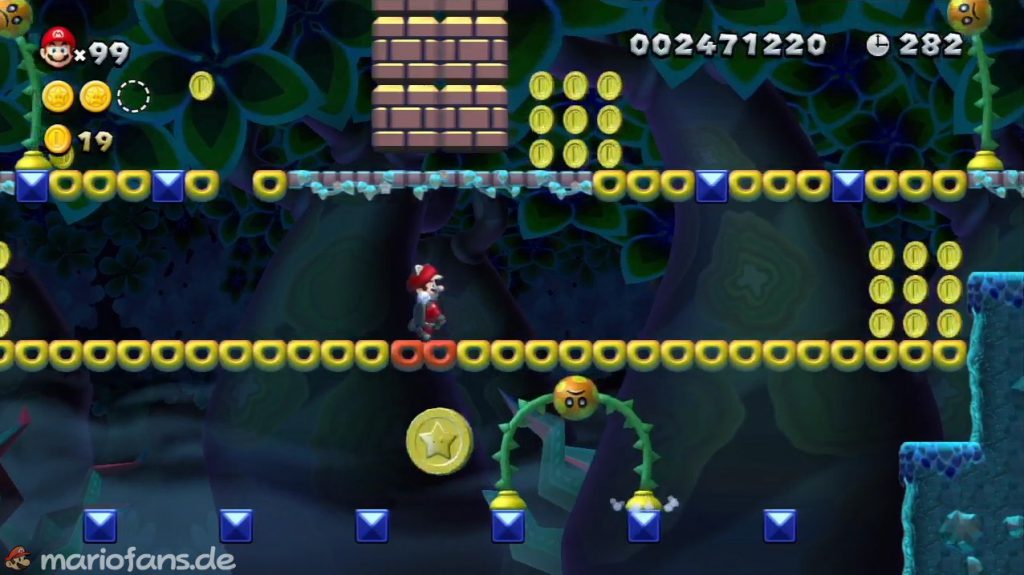
- Star Coin 1 The first Star Coin is located where several inverted U-blocks span the chasm. With a few wall jumps between the last two Us you should be able to get the Star Coin.
- Star Coin 2 You will find the second coin just a few meters later in the next ravine. You’ll see a suspicious ledge below the path that you can reach once you’ve killed the enemy. The second coin is in the wall.
- Star Coin 3 Keep the Star Coin on the blocks so that they fall down. Once you have collected the coin, jump back up so you can reach the goal.
Snake Block Tower
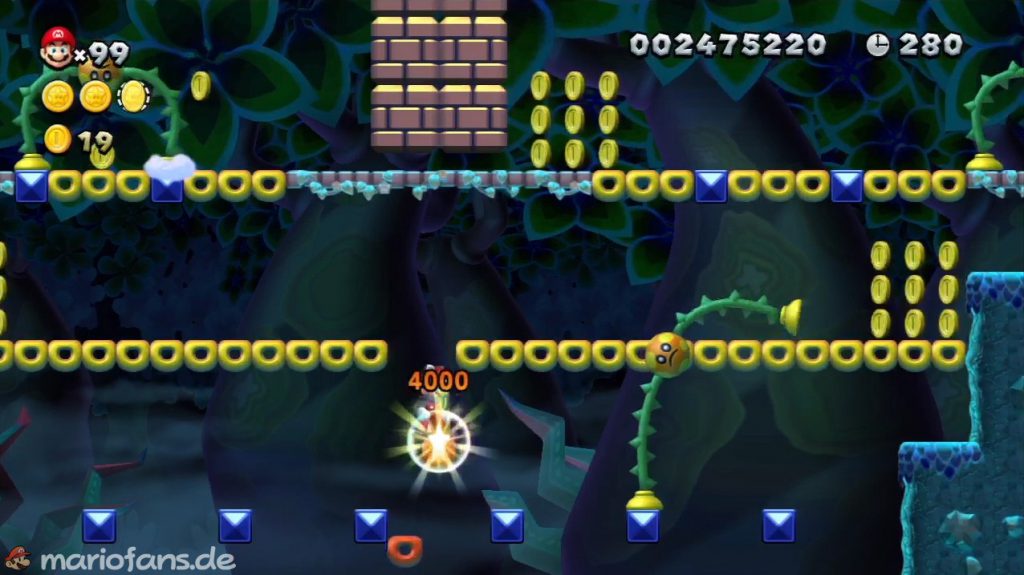
- Star Coin 1 Just follow the big snake block until it takes you to the Star Coin.
- Star Coin 2 You can reach the second Star Coin using the linen snake block. As soon as he appears, jump on him and follow him to the Star Coin. Then you should take a seat on your big brother again.
- Star Coin 3 You can find the third Star Coin in the second part of the level. Use the large snake block until a smaller version appears again. This will initially follow its big sibling, but will then split off to become the third Star Coin. Change the snake blocks and take the coin with you.
Which-Way Labyrinth
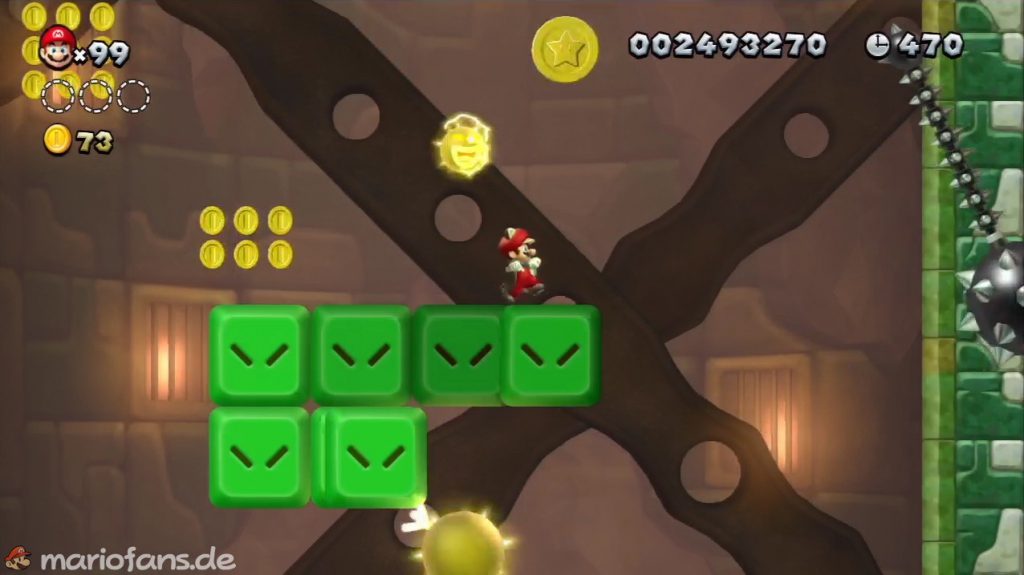
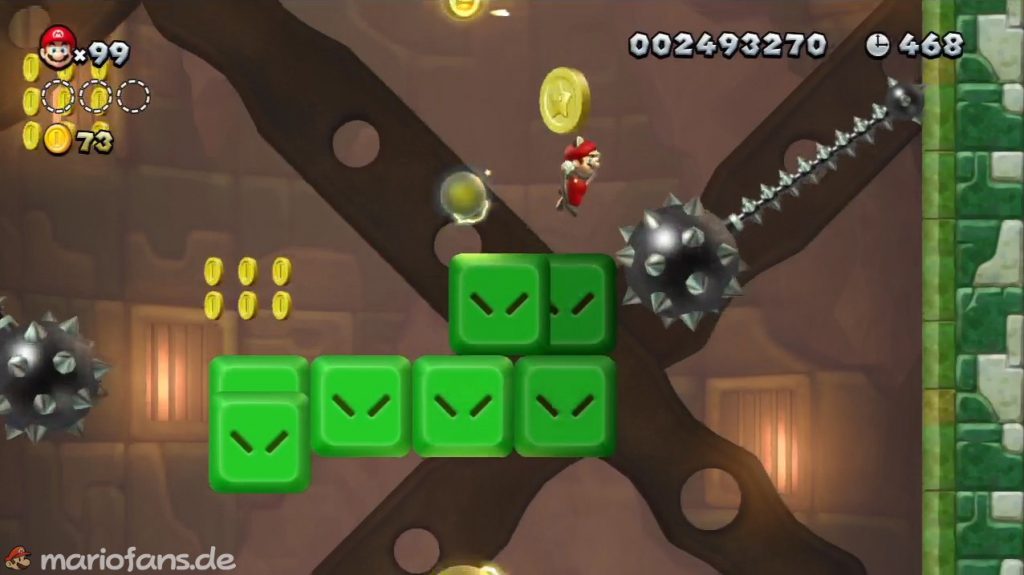
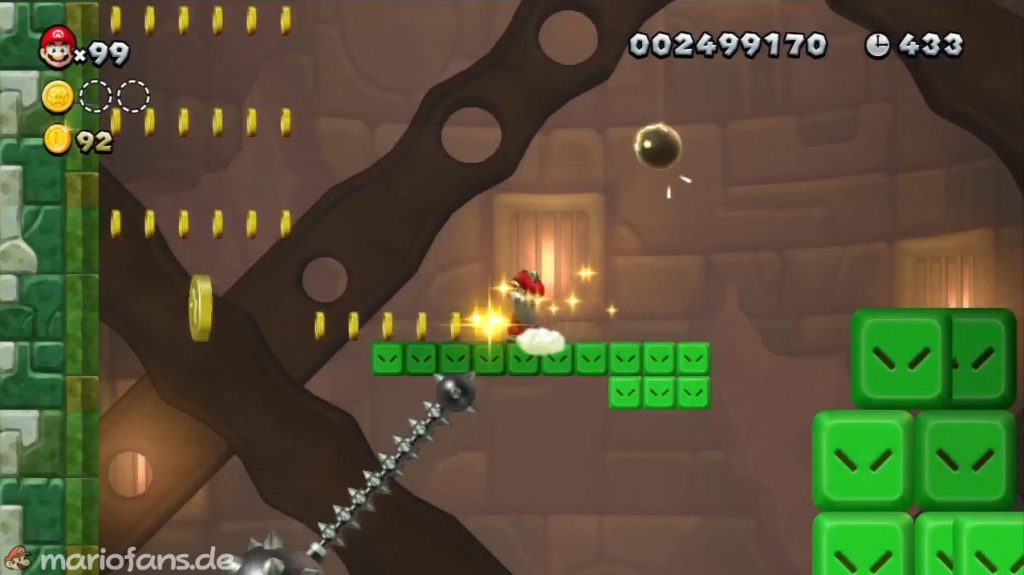
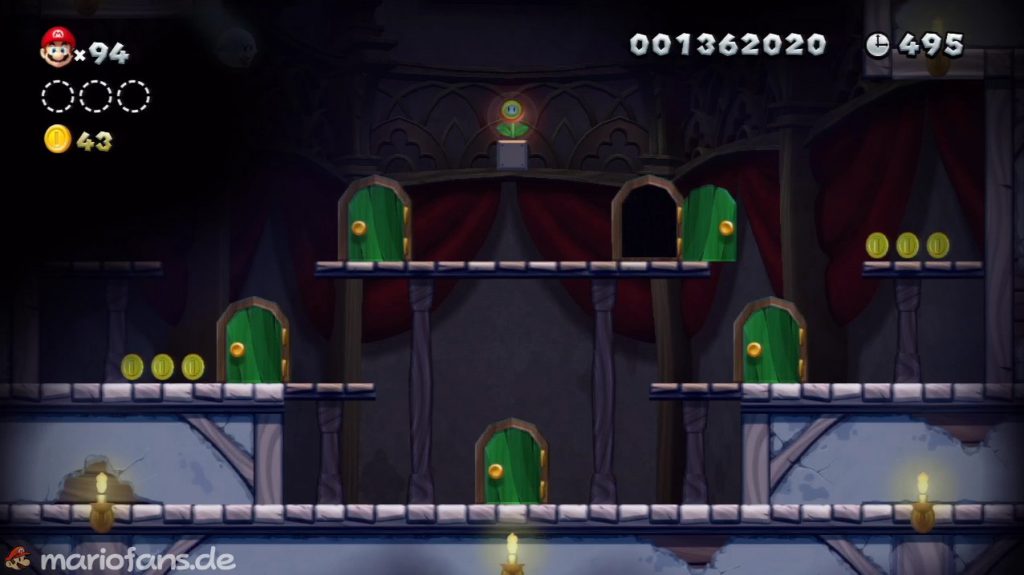
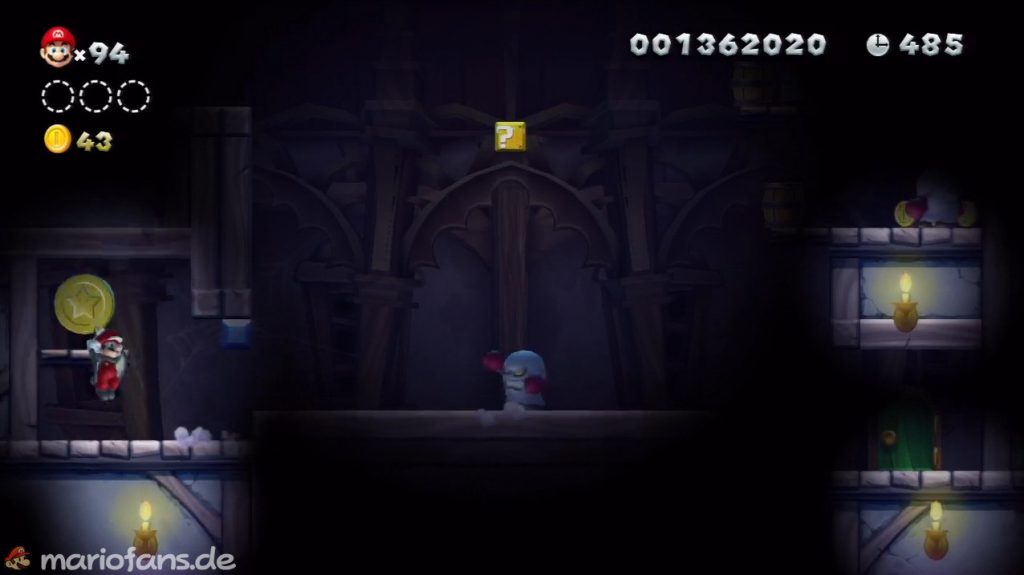
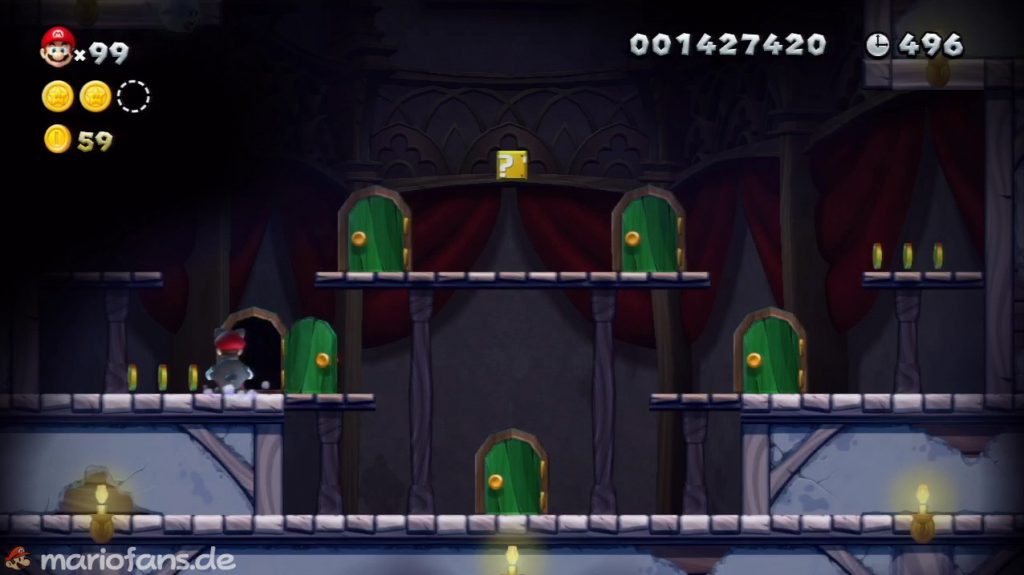
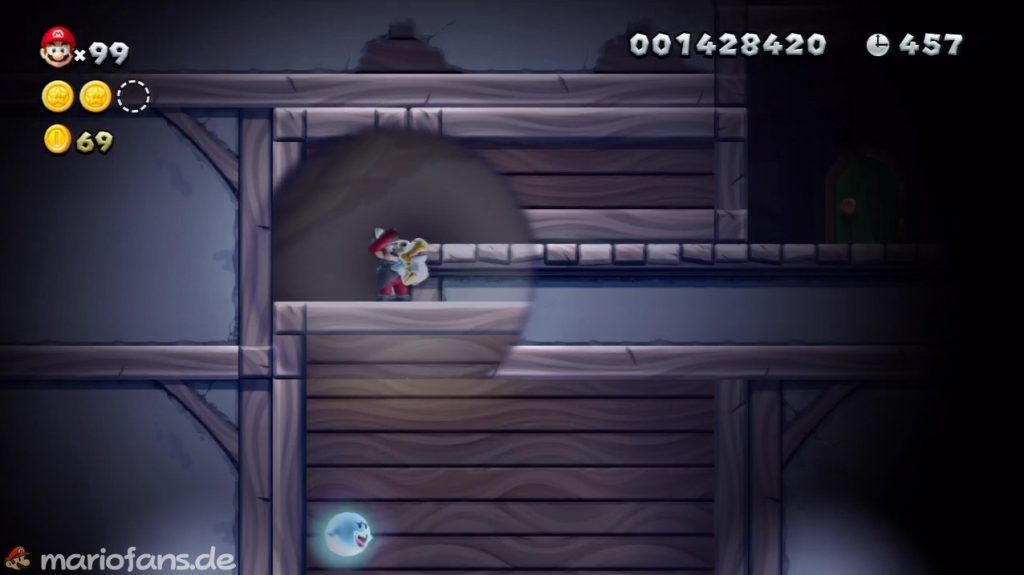
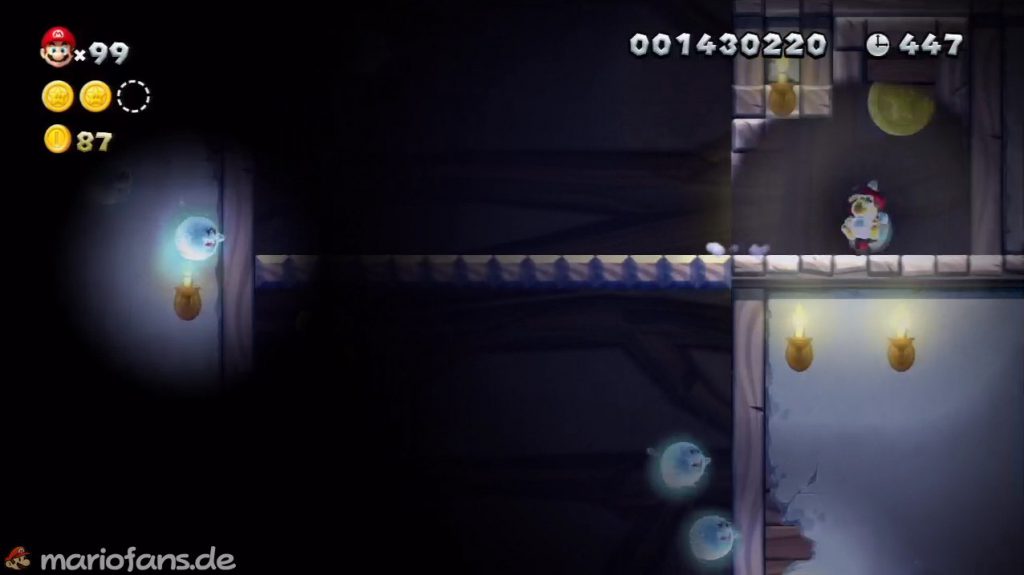
- Star Coin 1 Play until the room with five doors. Go through the door at the top right and you will again enter a dark room. Inside there is a wooden box that sinks as long as you stand on the box. Drop it down to the Boo-Boxer on the left and wait for him to destroy the wall. Dodge him and collect the first Star Coin.
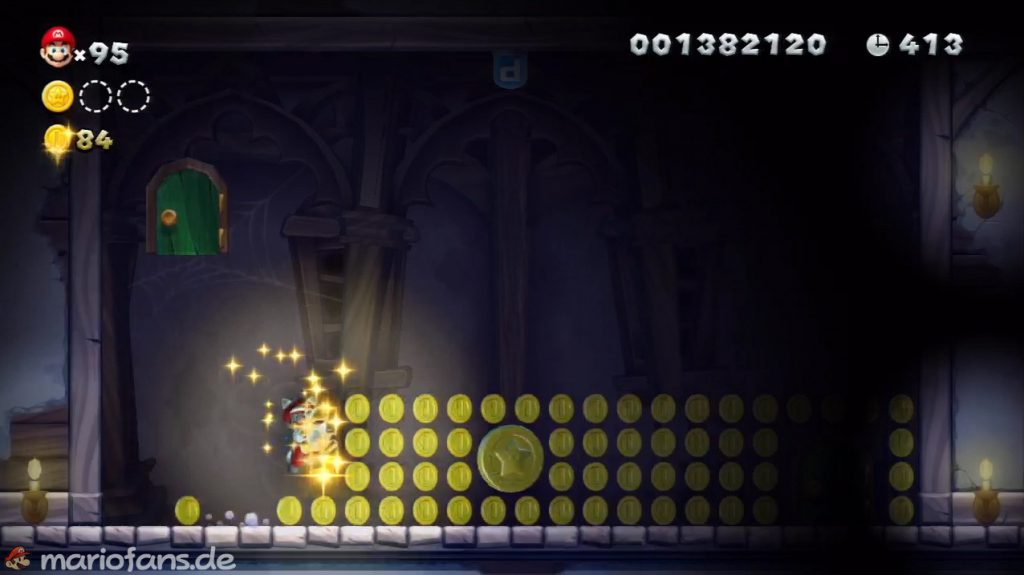
- Star Coin 2 In the room with the five doors, use the bottom door on the right and then master the passage. But don’t leave the room through the lower door, use the upper one. You can get to it by jumping into a secret room on the wall on the left. In the next area, climb both stairs and then jump to the top left into another secret passage to get to the door. There is a P Switch on the ceiling that you need to press. The coins will turn into stones and the blocks into gold pieces. Collect the coins and wait until the countdown is over and the stones become cash again. Now you can collect the Star Coin.
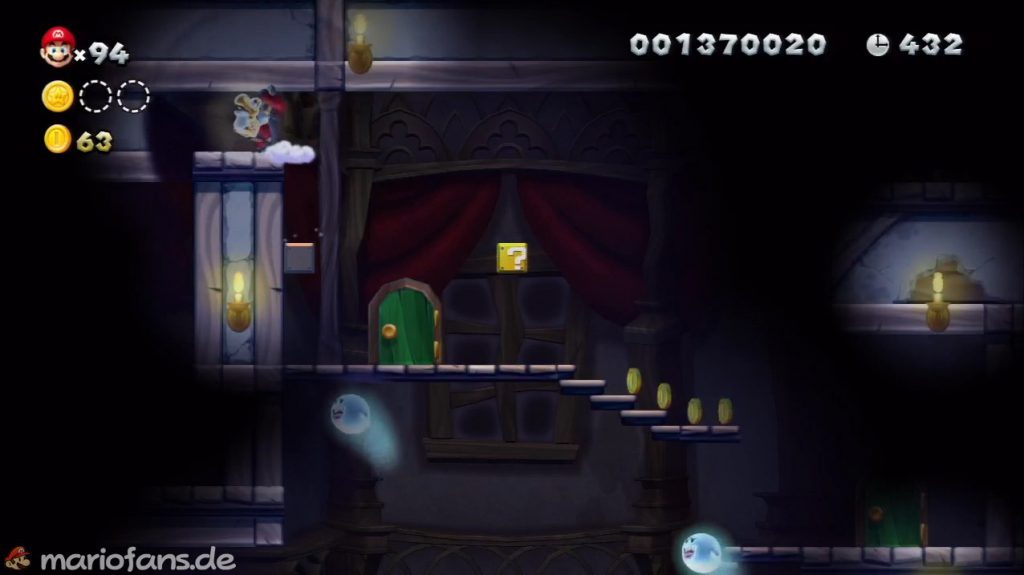
- Star Coin 3 You can find the third coin by using the bottom left door in the room with five doors and following the floating crate up. Don’t use the exit, but continue up to the ceiling to find a secret exit on the left. In the next room, drop through the first and second cloud floors and in the third, quickly go right into a secret room. There you will find the last Star Coin of the level.
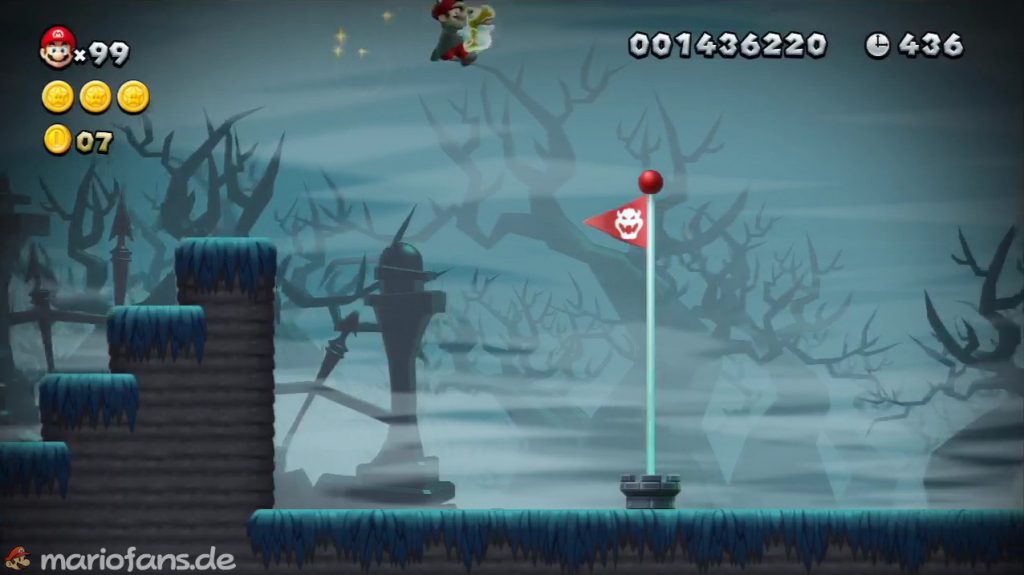
- Secret Exit If you are too slow, the cloud floor may disperse and you fall downwards. When you get to the bottom, go through the door and you’ll find the secret exit.
Painted Swampland
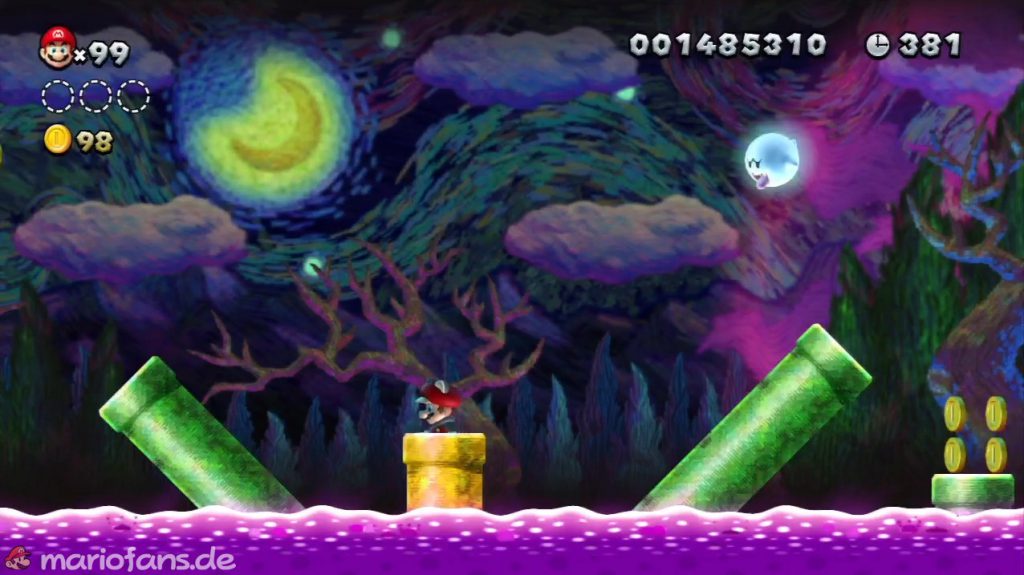
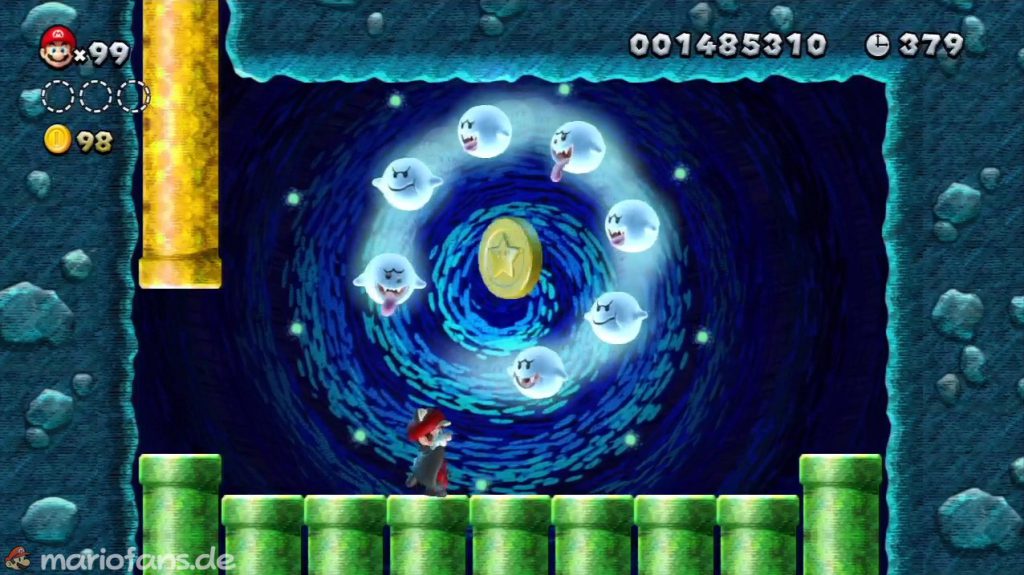
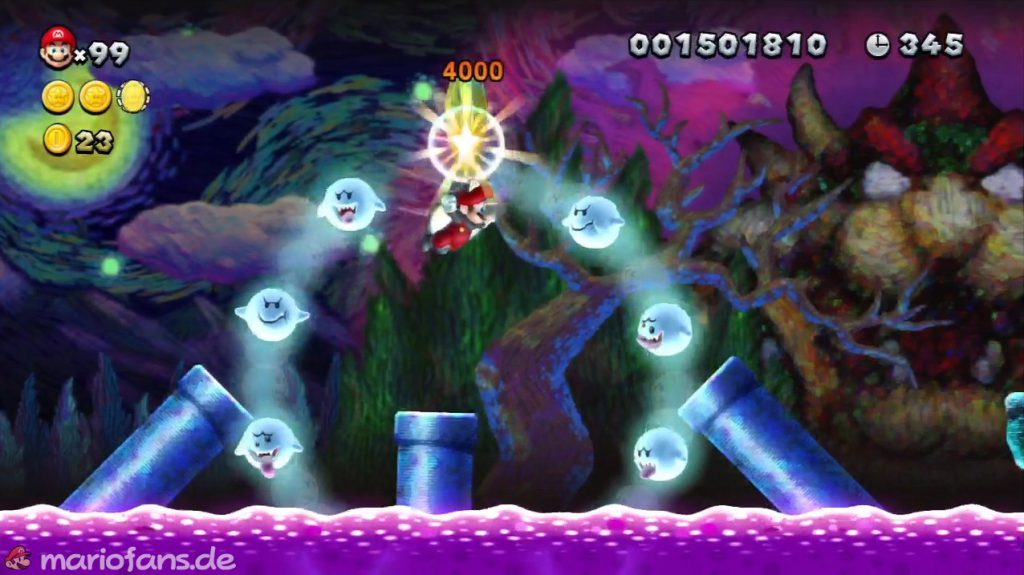
- Star Coin 1 Follow the path to the first yellow pipe with a Piranha Plant. Enter the pipe and get the first Star Coin by jumping into the Boo circle.
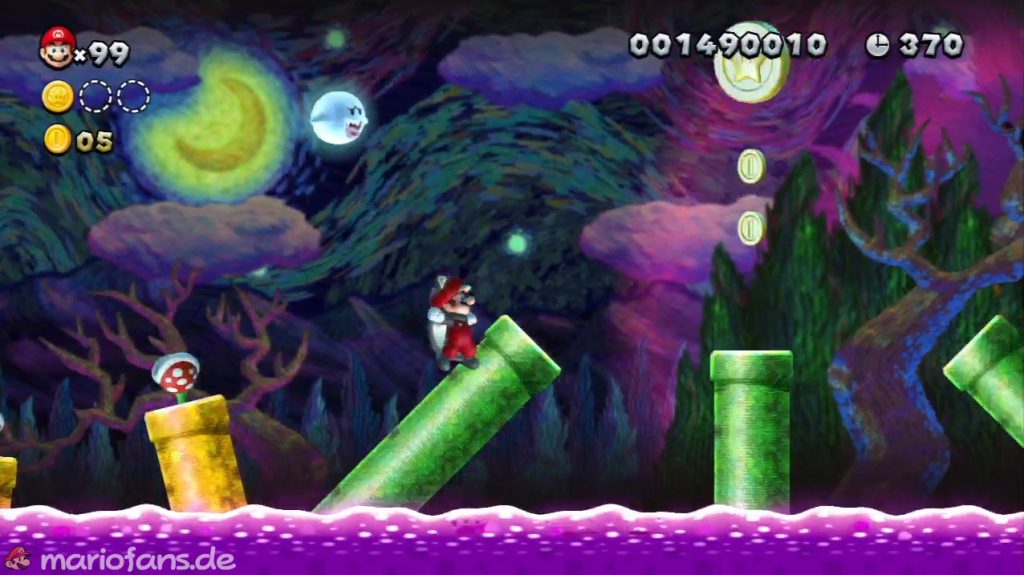
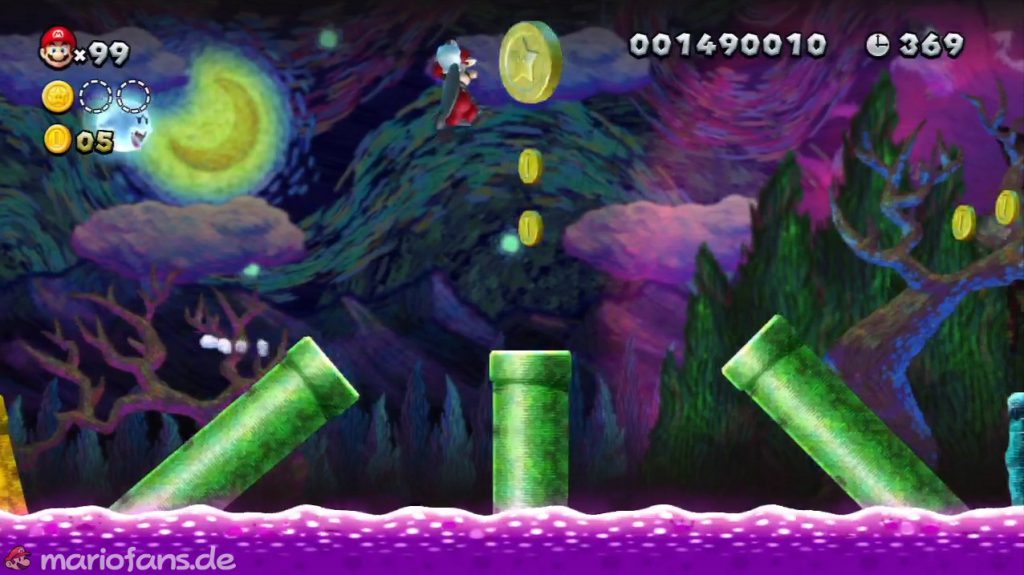
- Star Coin 2 A few pipes further you will find the second Star Coin. This floats above a green tube.
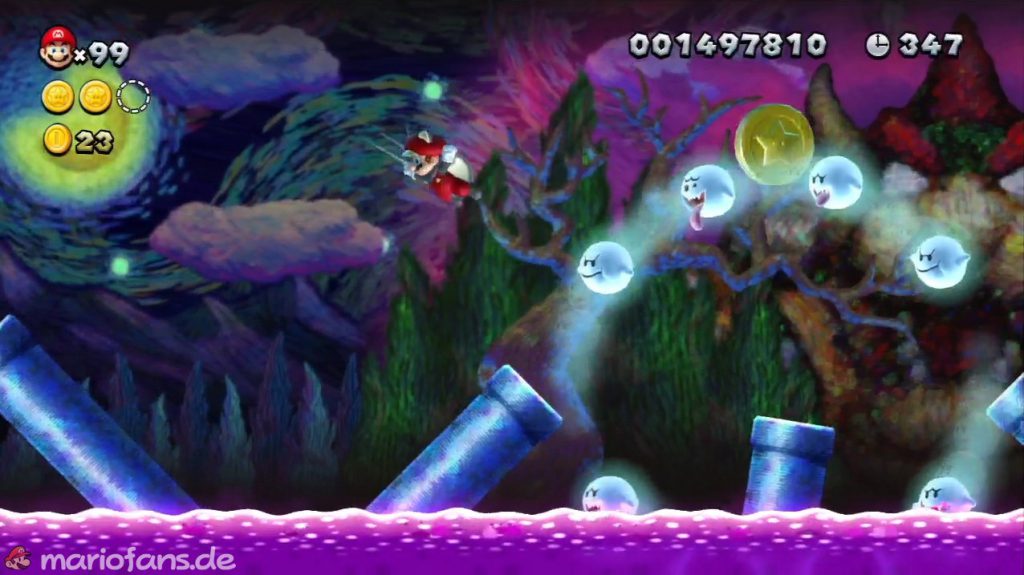
- Star Coin 3 After the checkpoint you will come across two boo circles again. The last Star Coin floats above the second circle.
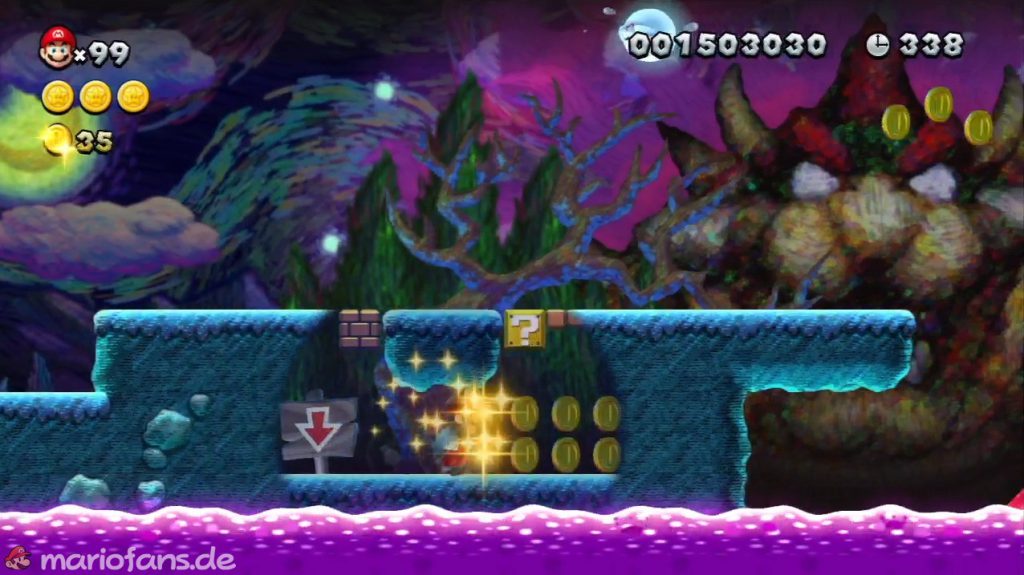
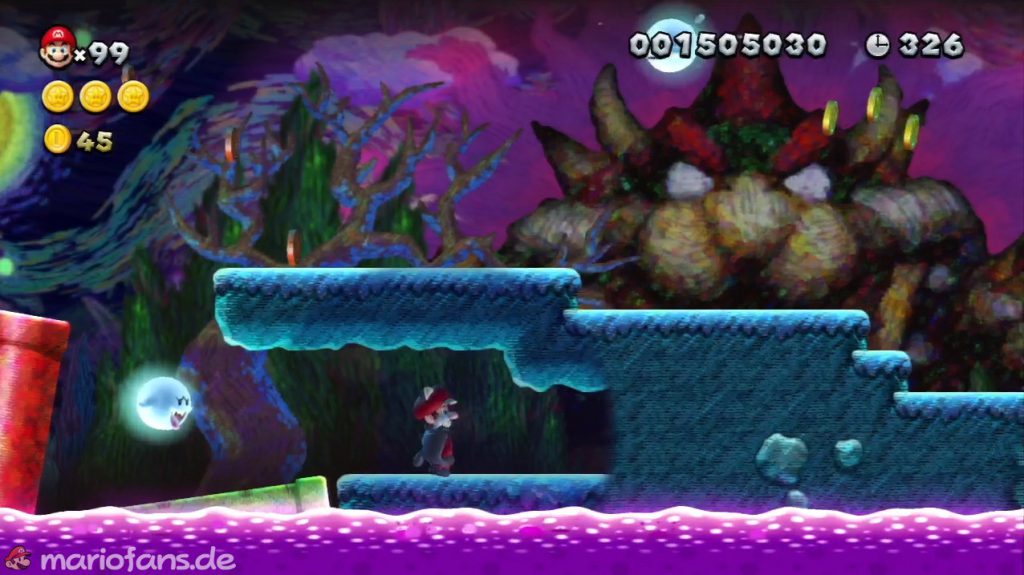
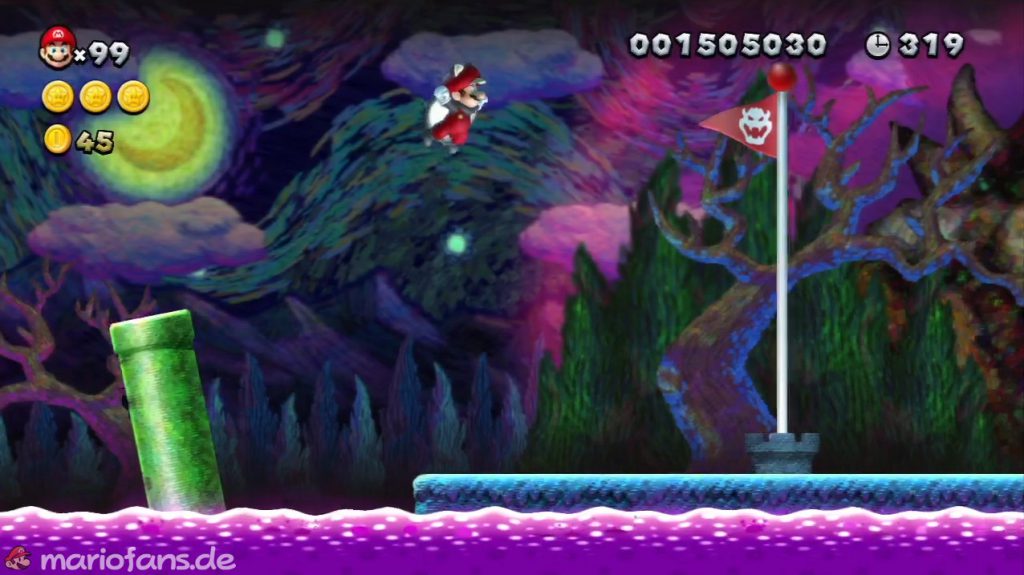
- Star Coin 3 On the next plateau there is a signpost pointing downwards. Continue on your way and take the red ring with you. At the next section of rock there is a suspicious ledge on the left that leads to a secret passage. Through two more pipes you reach the secret exit of the level.
Deepsea Ruins
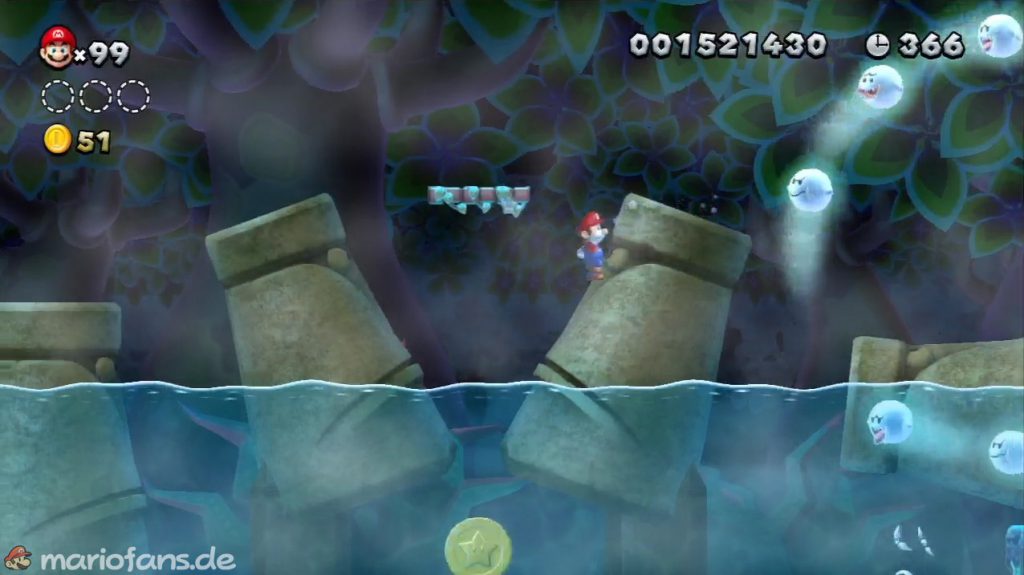
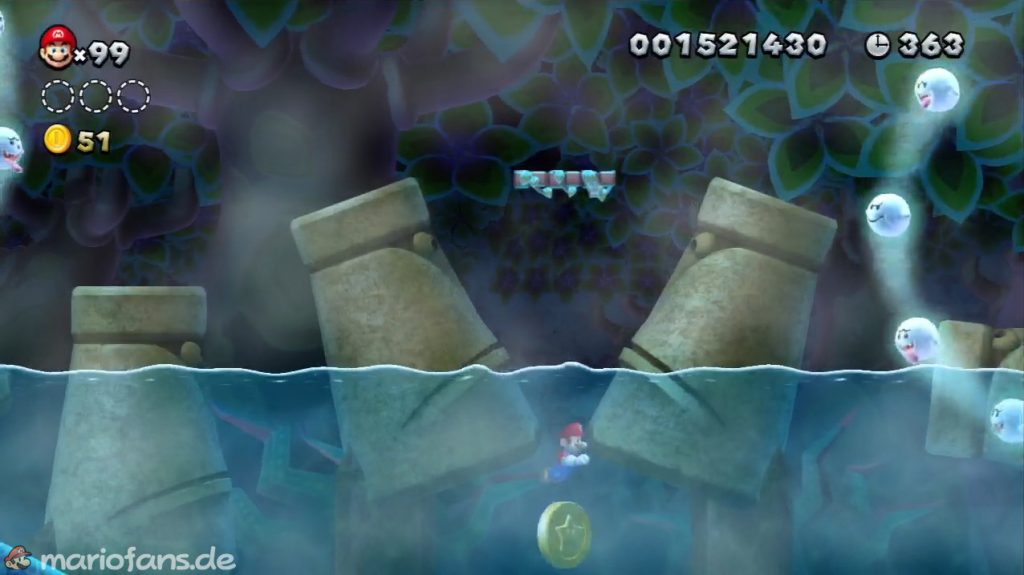
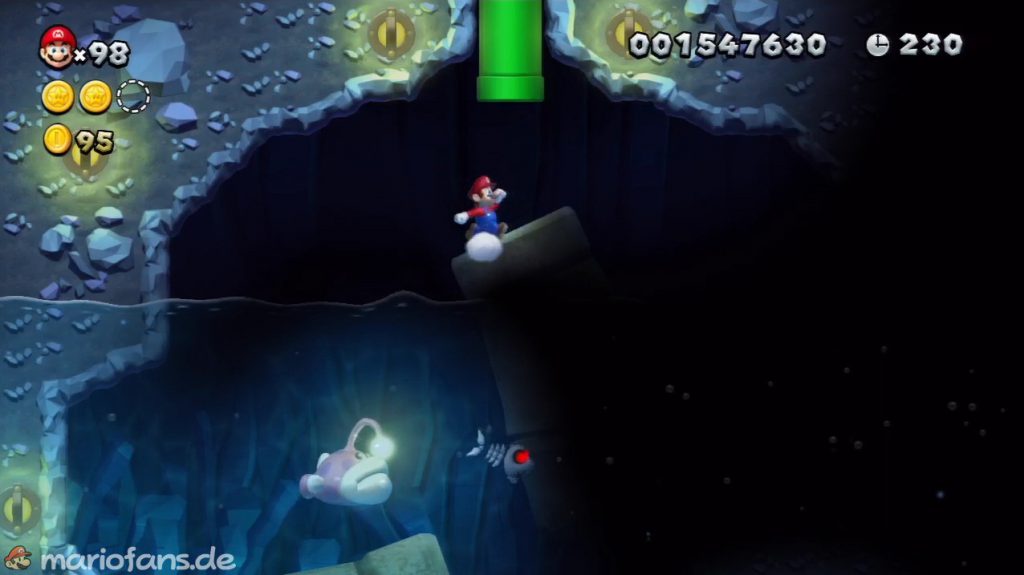
- Star Coin 1 You can find the first Star Coin between the first Boo circle and the second. At the point where a small island floats in the air between two stone heads, you have to jump into the water and dive.
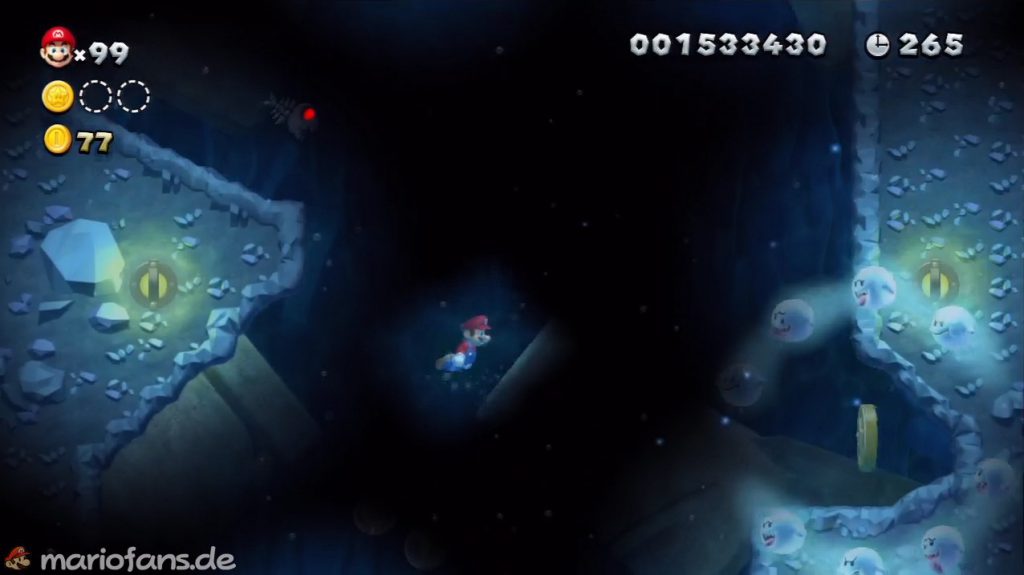
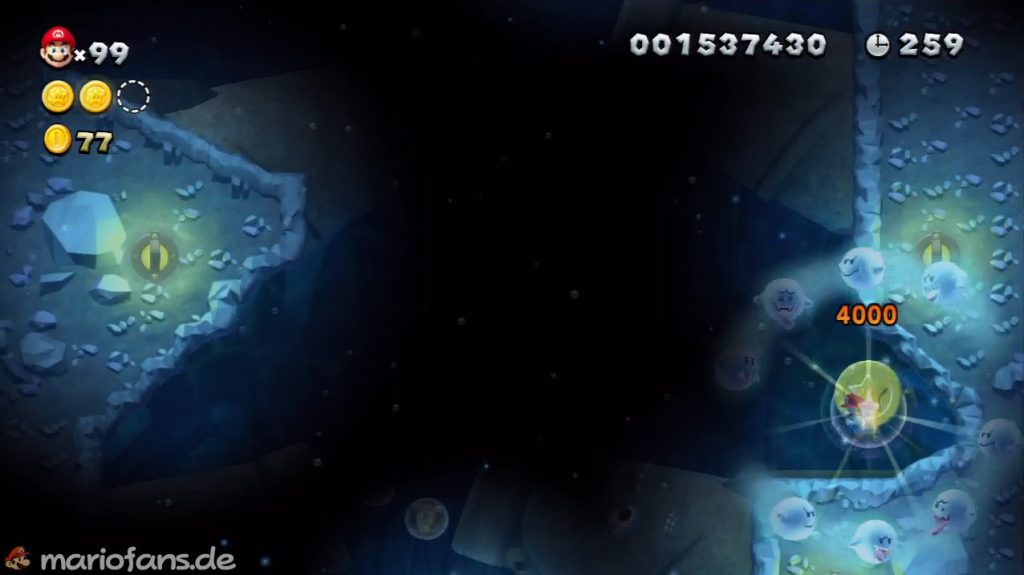
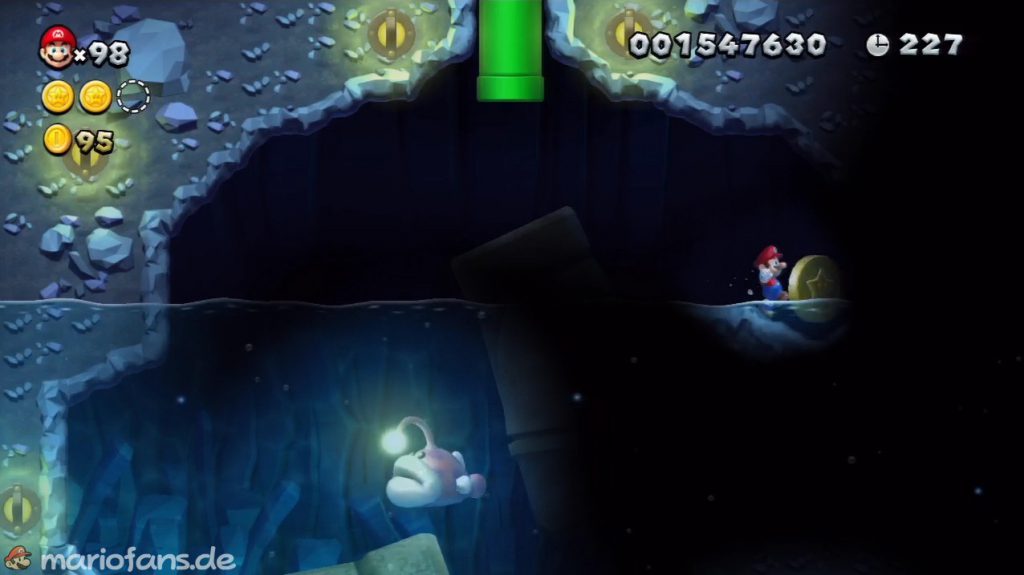
- Star Coin 2 In the dark section, the second Star Coin shines on the right edge in the Boo circle.
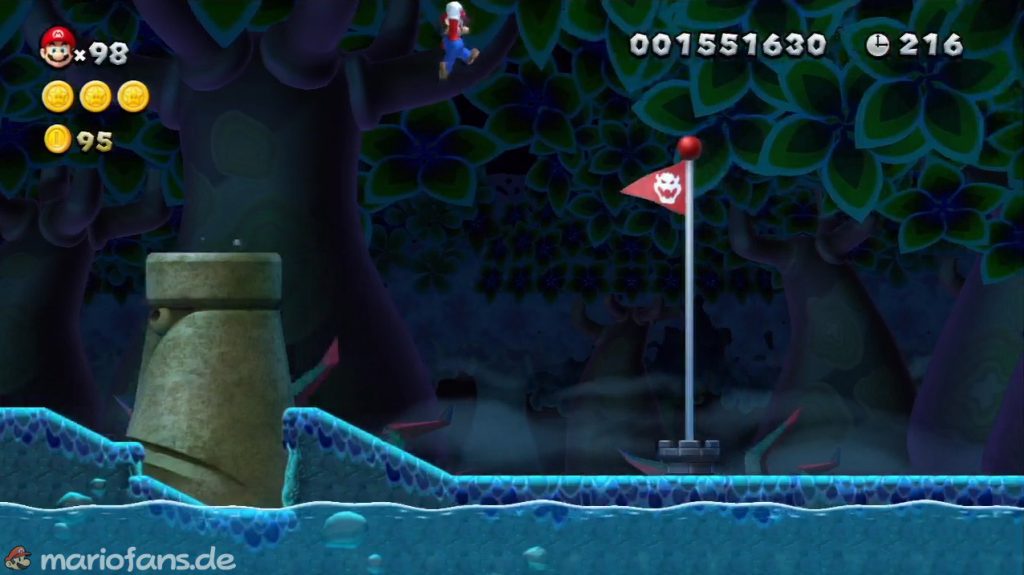
- Star Coin 3 You can find the third coin at the last rock statue that opens up the tube to the top. Don’t use the pipe, go right behind the stone head to collect the last Star Coin.
- Secret Exit The pipe behind the Star Coin takes you to a secret exit.
Seesaw Bridge
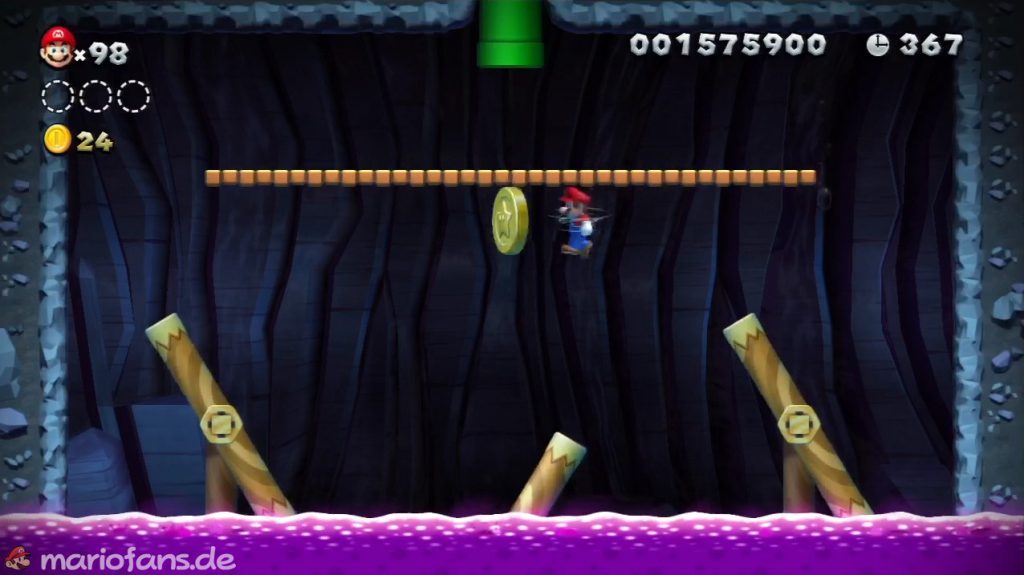
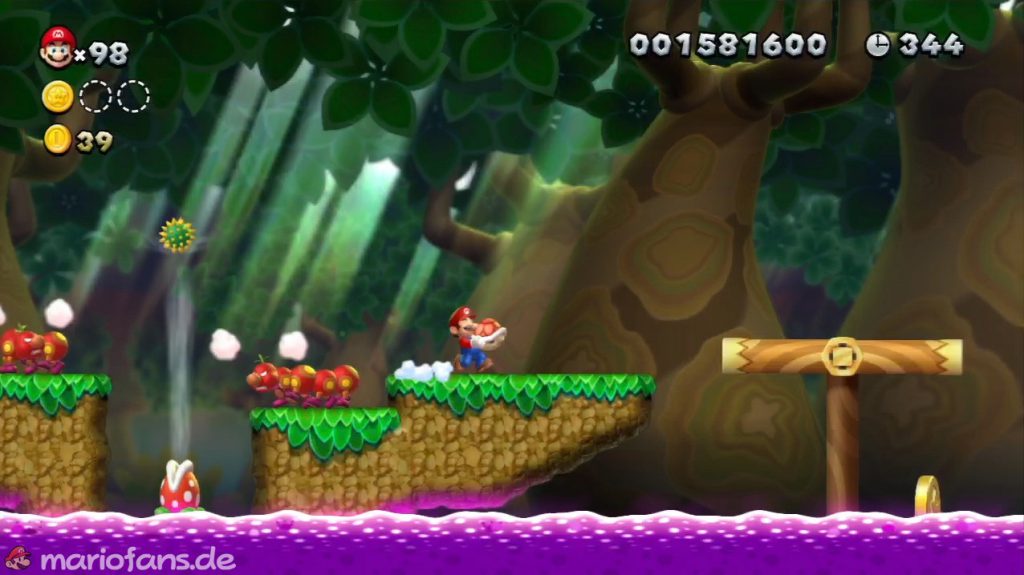
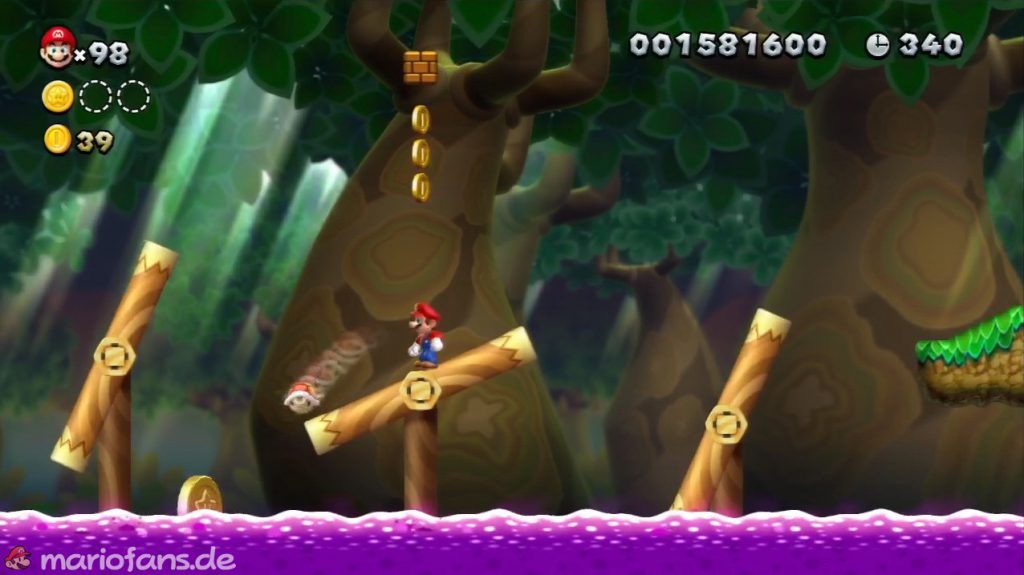
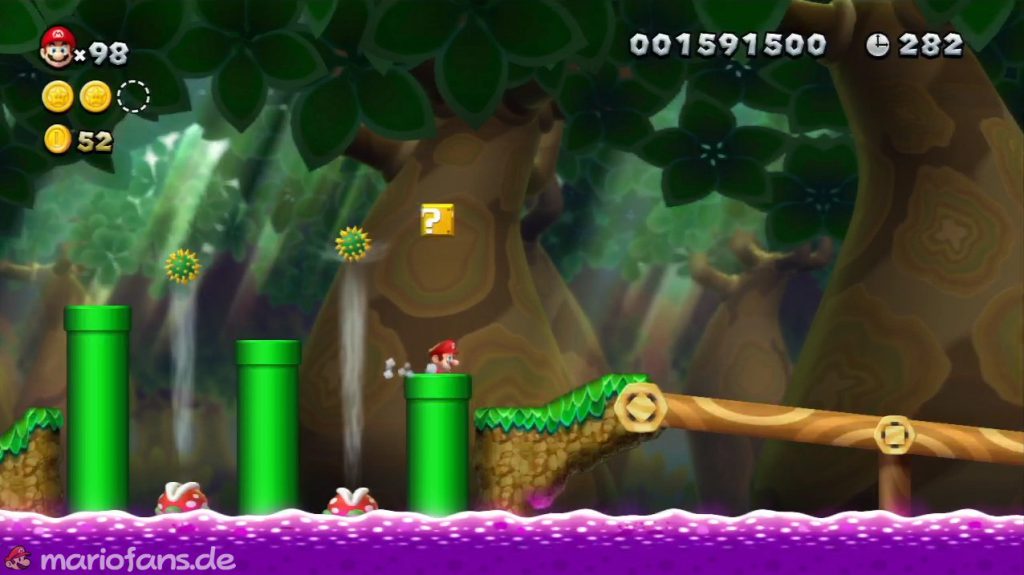
- Star Coin 1 Cross the first few bridges until you come to an island that looks something like a C and has a green pipe leading into it. Balance on the seesaws here to get the Star Coin.
- Star Coin 2 The next Star Coin is between the next two seesaws. To reach it you need a Koopa, which you can throw at the coin.
- Star Coin 3 At the three green tubes you can get into the last one. Run quickly on the stone bridge and keep jumping to activate the invisible blocks. At the end you jump up and now run on these blocks to reach the last Star Coin.
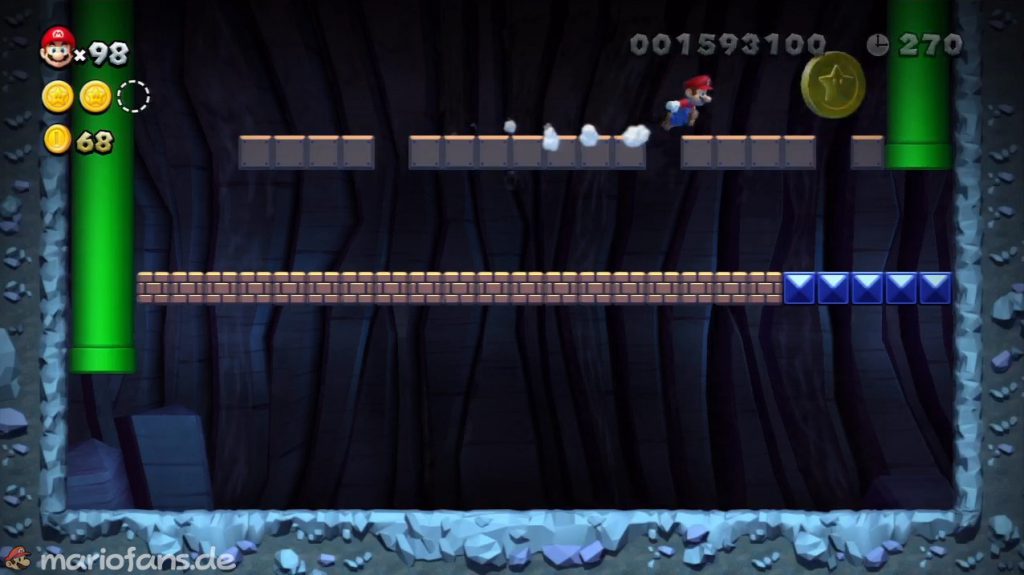
Wiggler Stampede
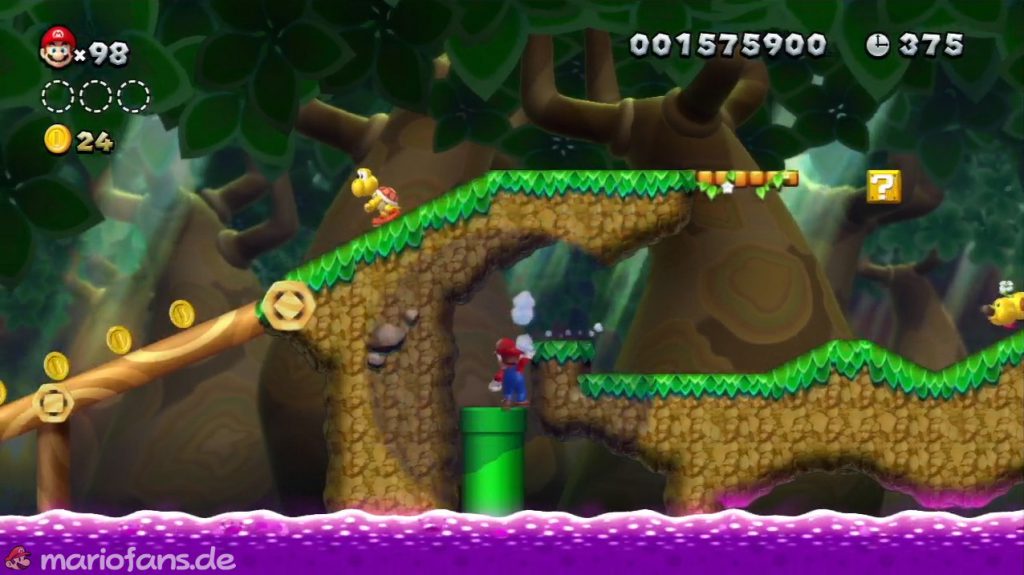
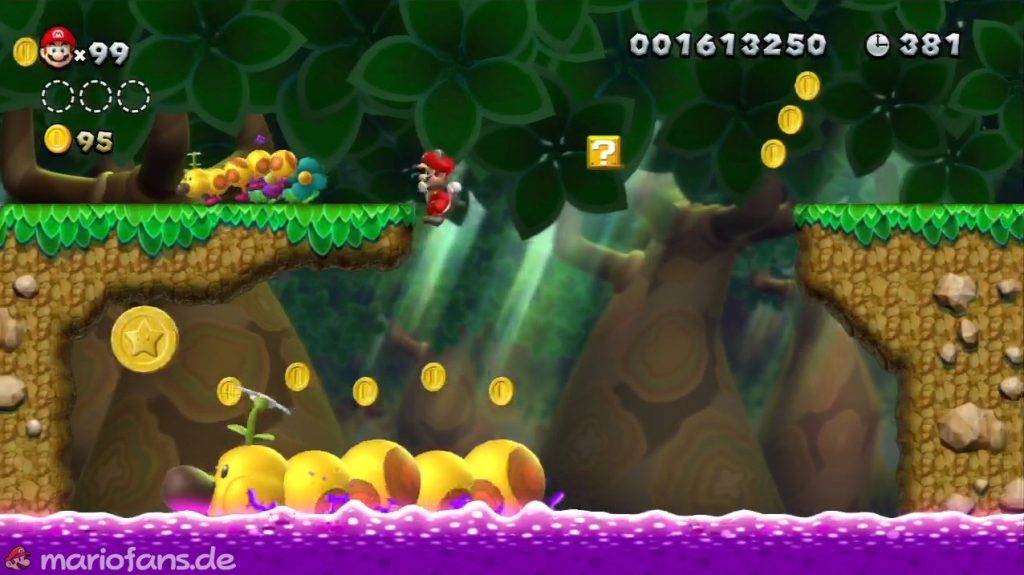
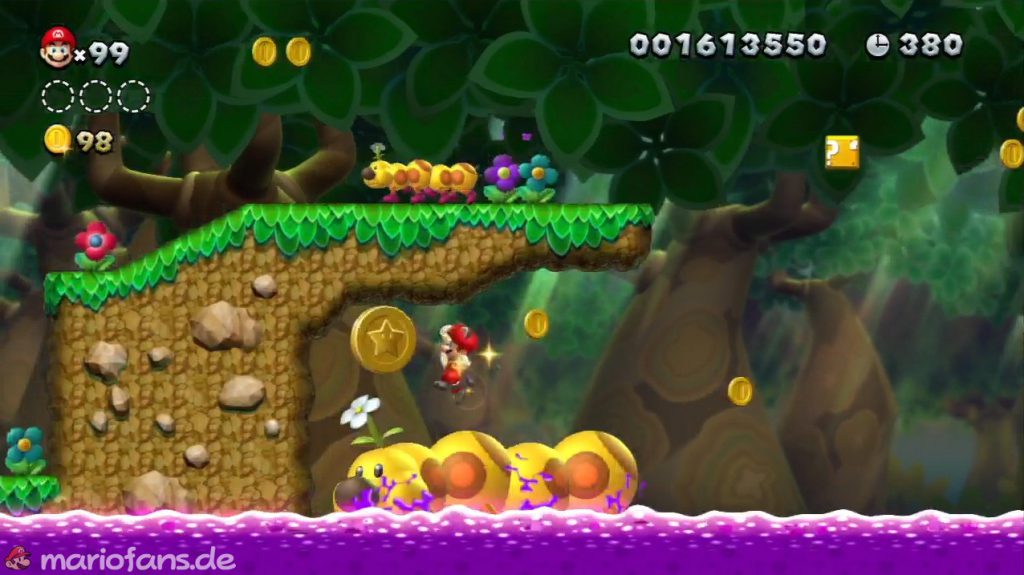
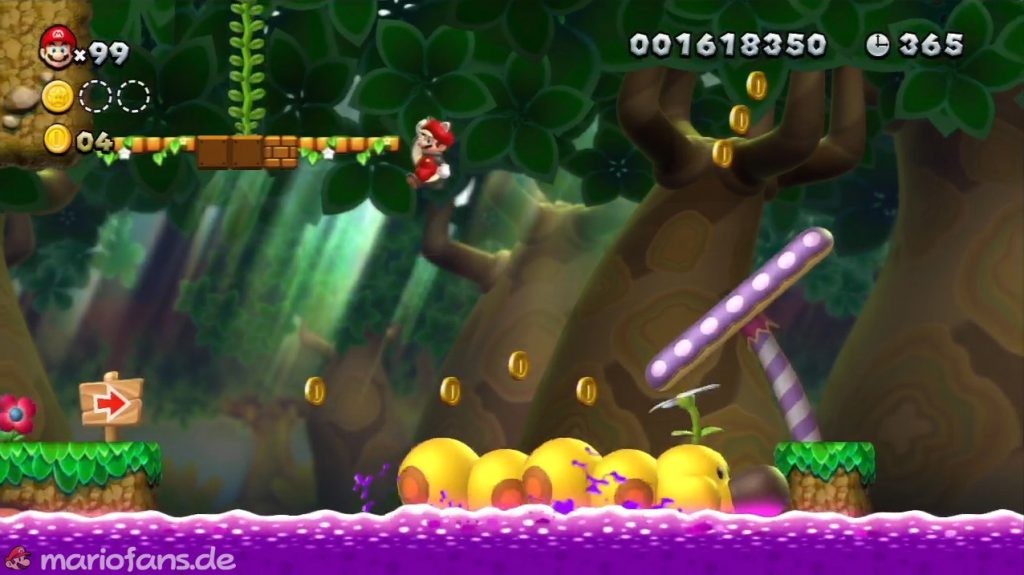
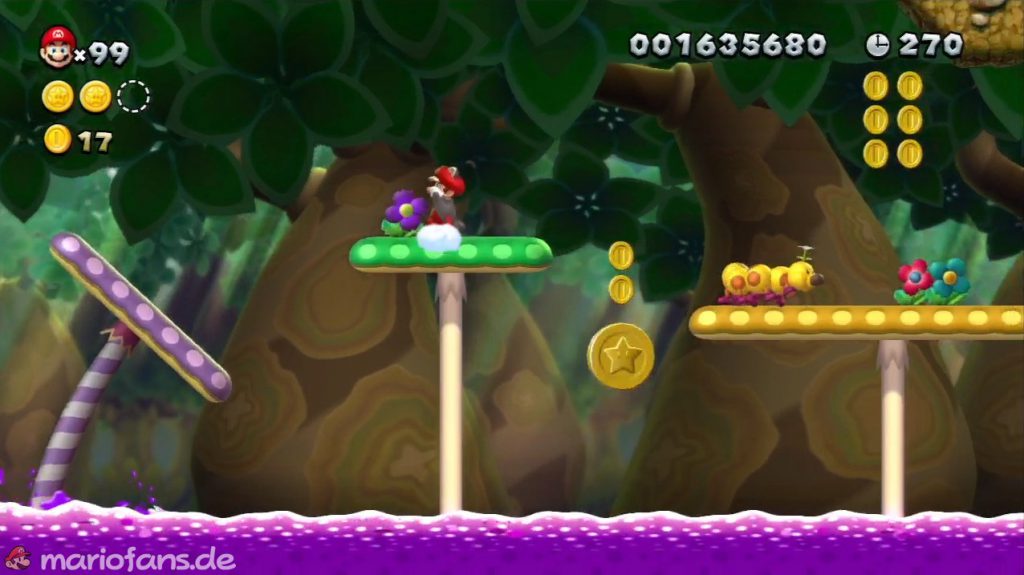
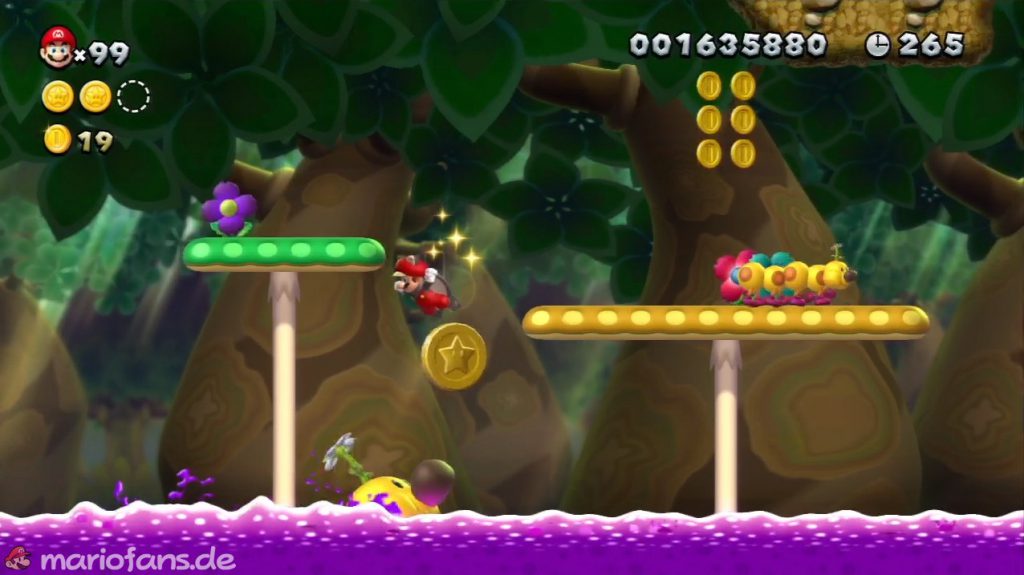
- Star Coin 1 Use the second big wiggler as a boat to get to the first Star Coin.
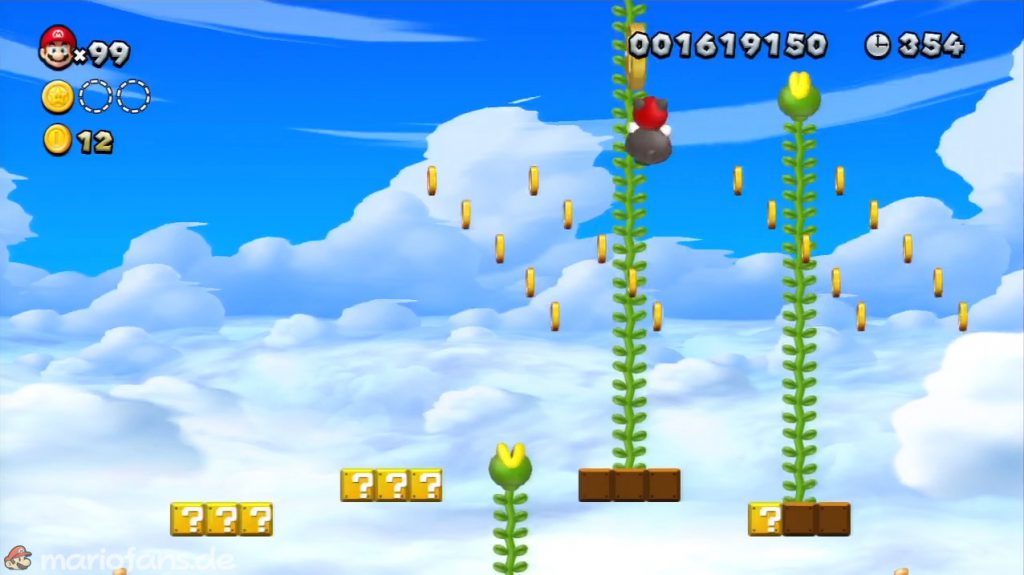
- Star Coin 2 Above the third Wiggler you will find two blocks, one of which houses a Vine. Use it to climb above the clouds and activate four more tendrils there. These will help you collect the Star Coin that is floating back and forth.
- Star Coin 3 During your long ride on the fourth big wiggler you will be able to collect the last Star Coin without any problems.
Iggy’s Volcanic Castle
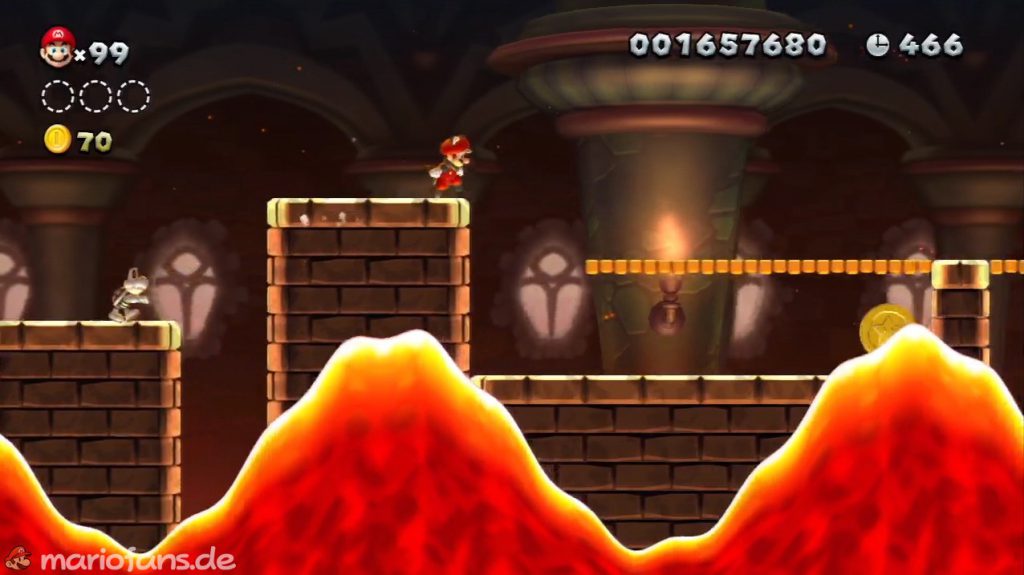
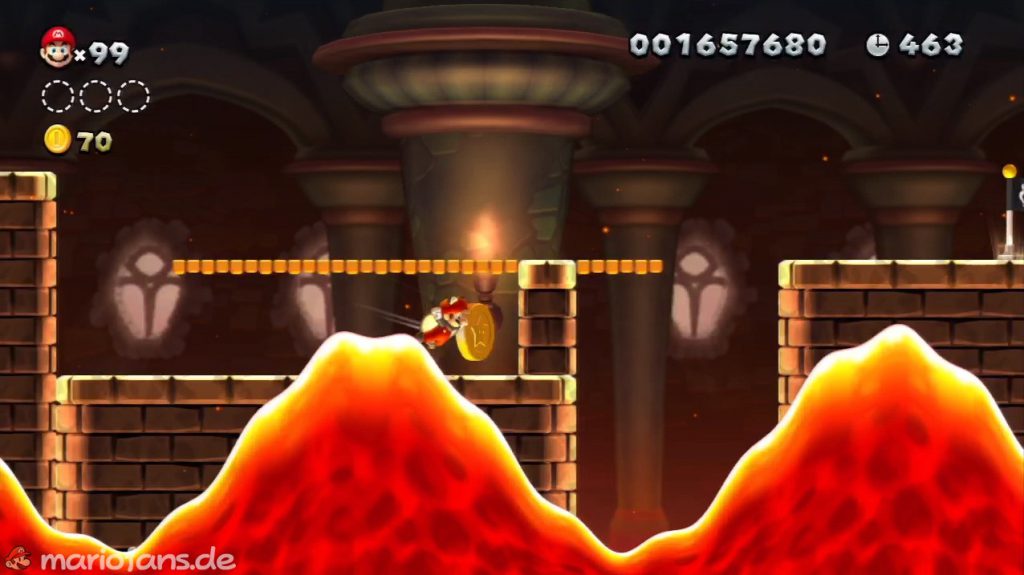
- Star Coin 1 The first Star Coin is located in a niche under the path just before the checkpoint.
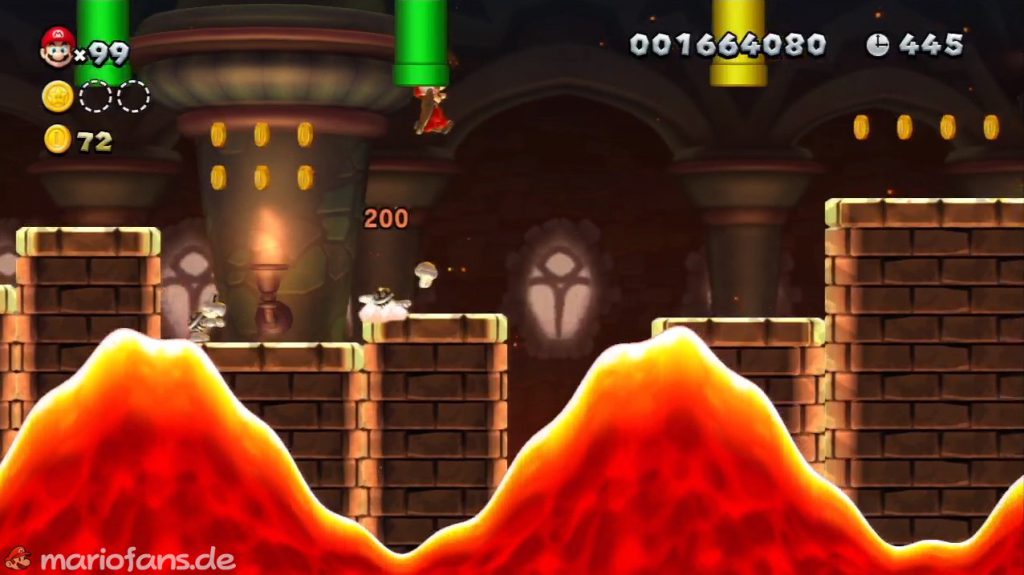
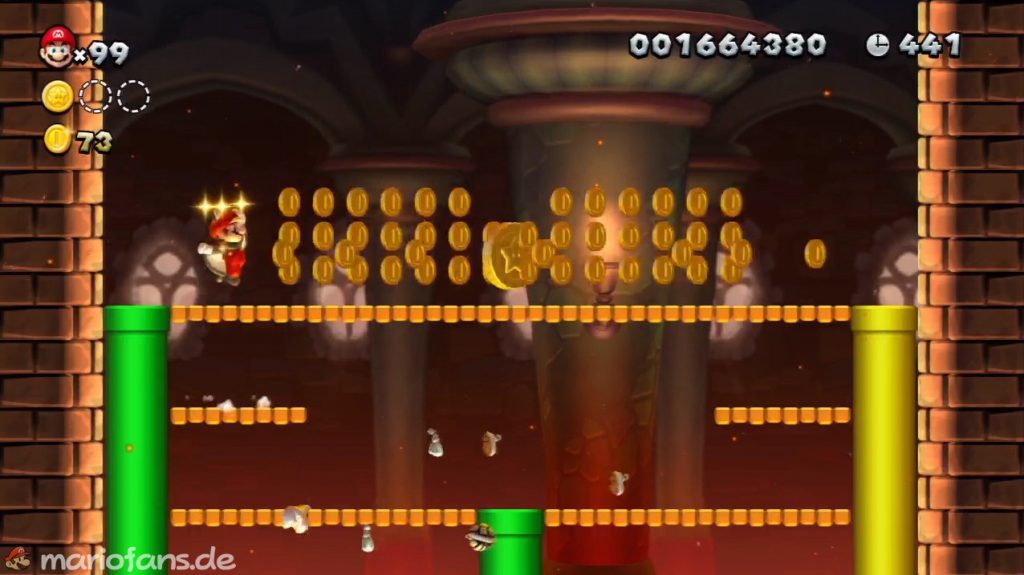
- Star Coin 2 After the red ring you will find three tubes on the ceiling. Use the middle one to get to a POW block. Activate this so that the Star Coin falls from the ceiling.
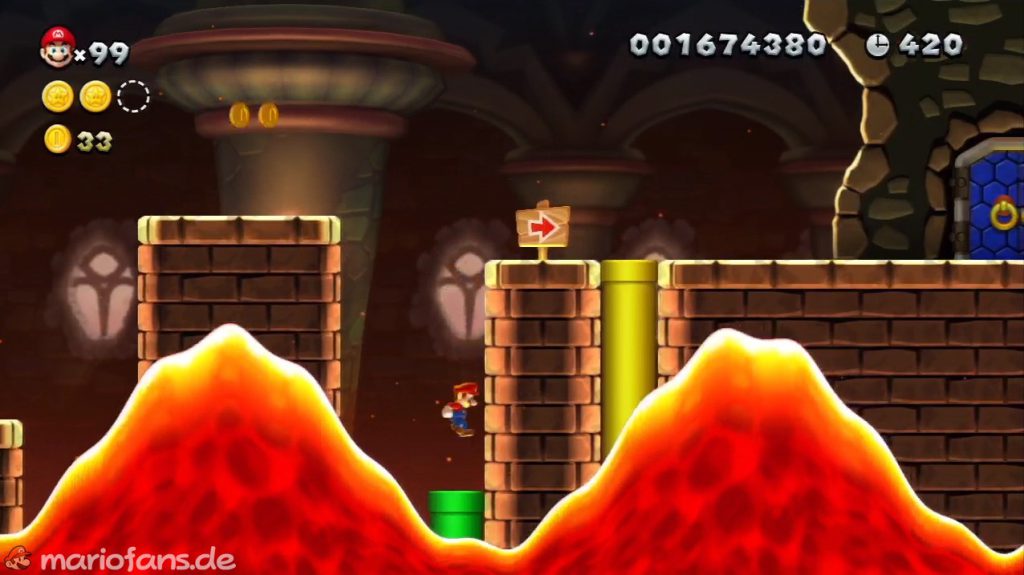
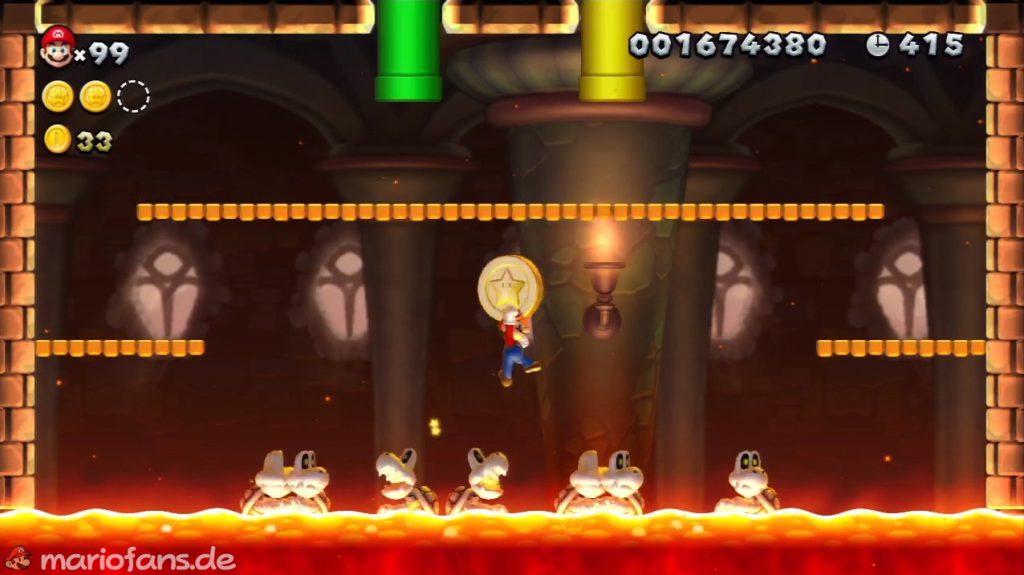
- Star Coin 3 Shortly before the boss door you will find a green pipe on the left. Wait until the lava wave releases it. Then, with a little skill, you can jump onto the dry bones and call the last Star Coin yours.
Flight of the Para-Beetles
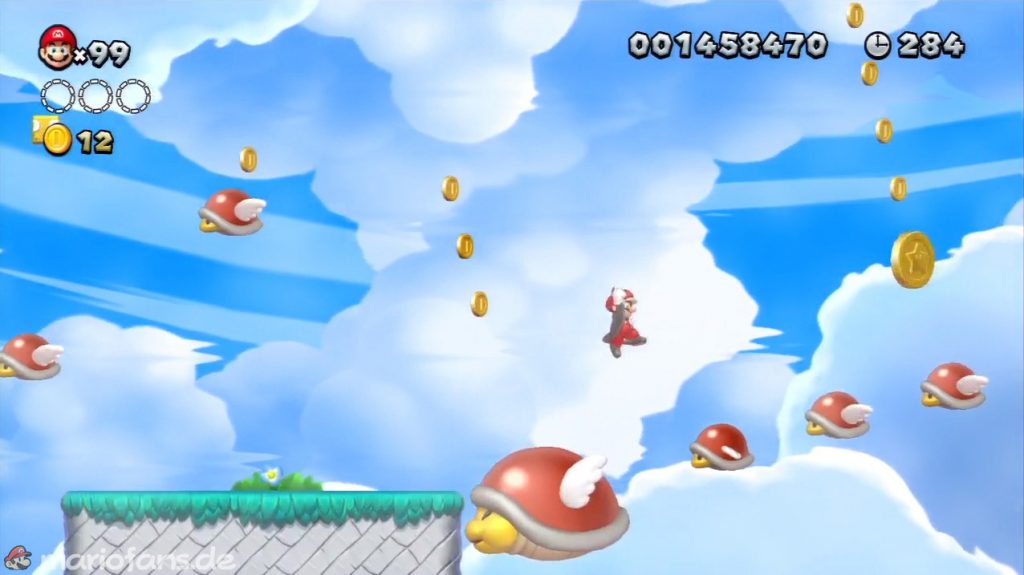
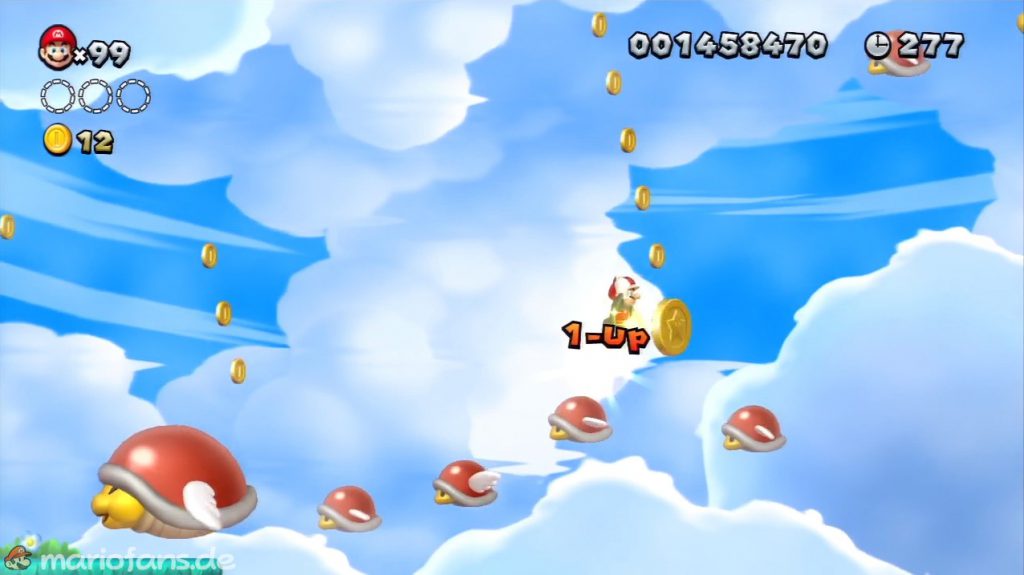
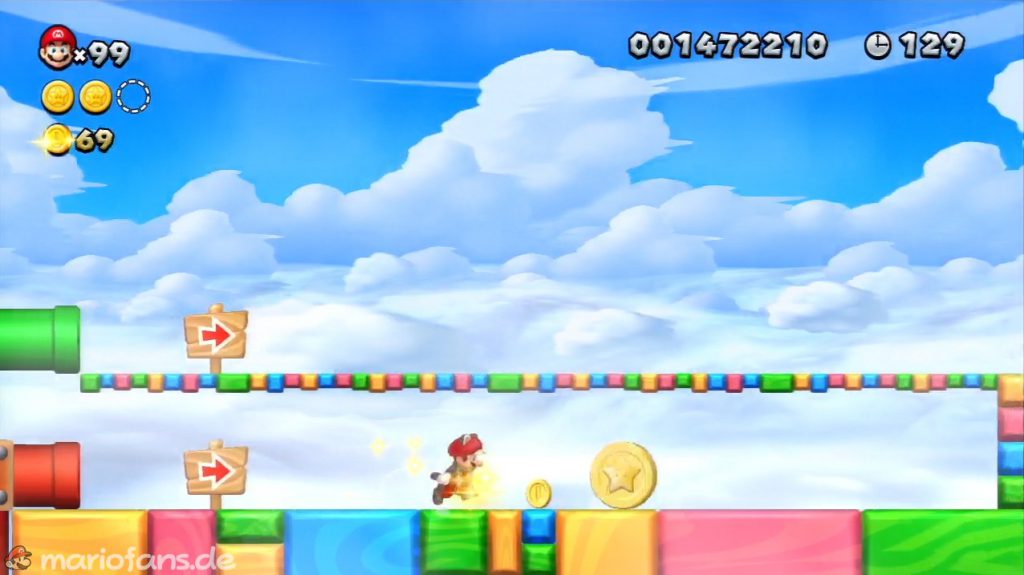
- Star Coin 1 In this level you have to jump from parabeetle to parabeetle. Go straight to the first Star Coin, collect it and then let yourself be carried up.
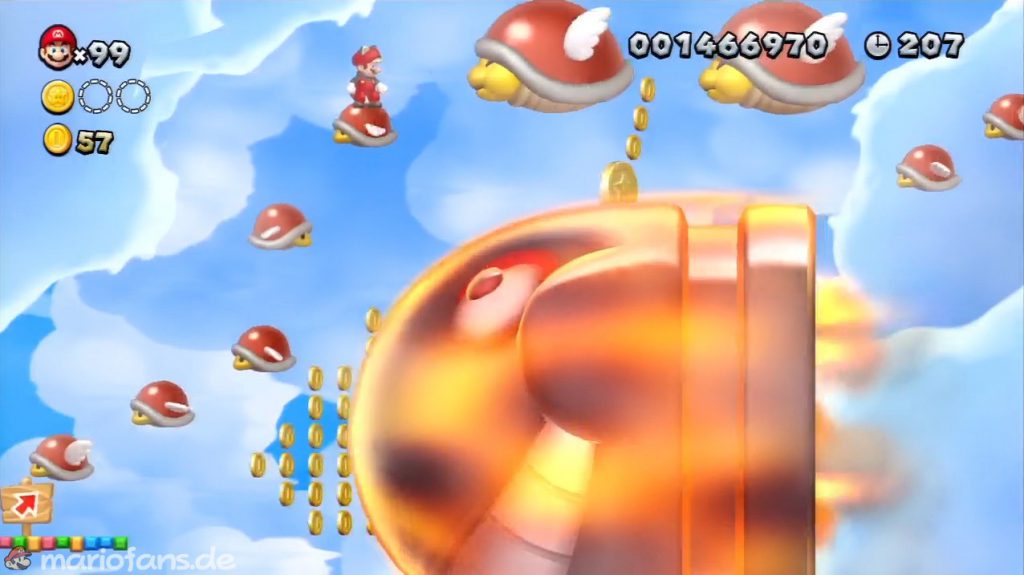
- Star Coin 2 You will find the second coin shortly after the colorful platform with the signpost. Wait until the giant bullet willy is through and then use a large parabeetle to lead you to the Star Coin.
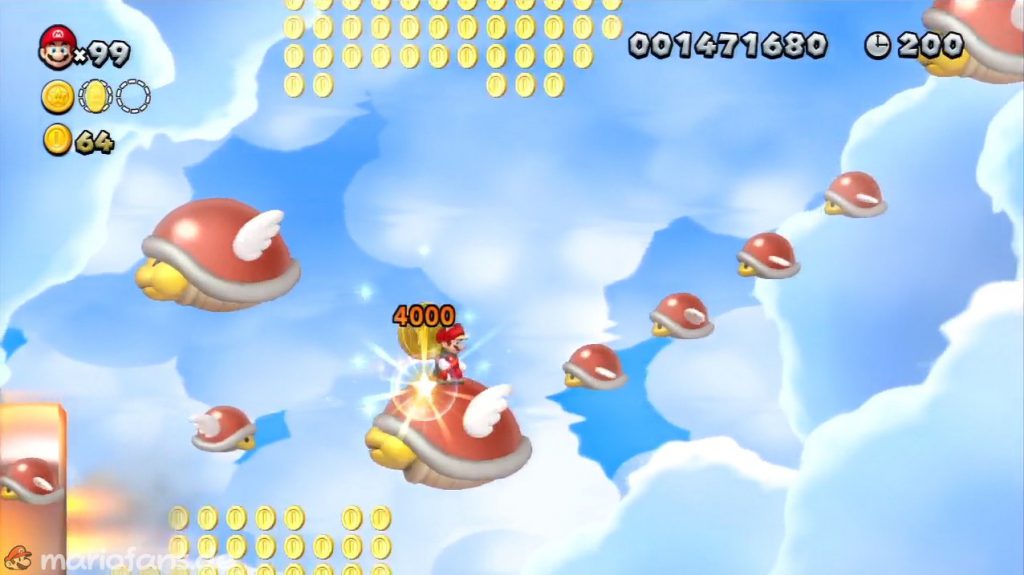
- Star Coin 3 The right timing is required for this. Use a small para beetle to carry you up to the red tube. The last Star Coin is waiting behind it.