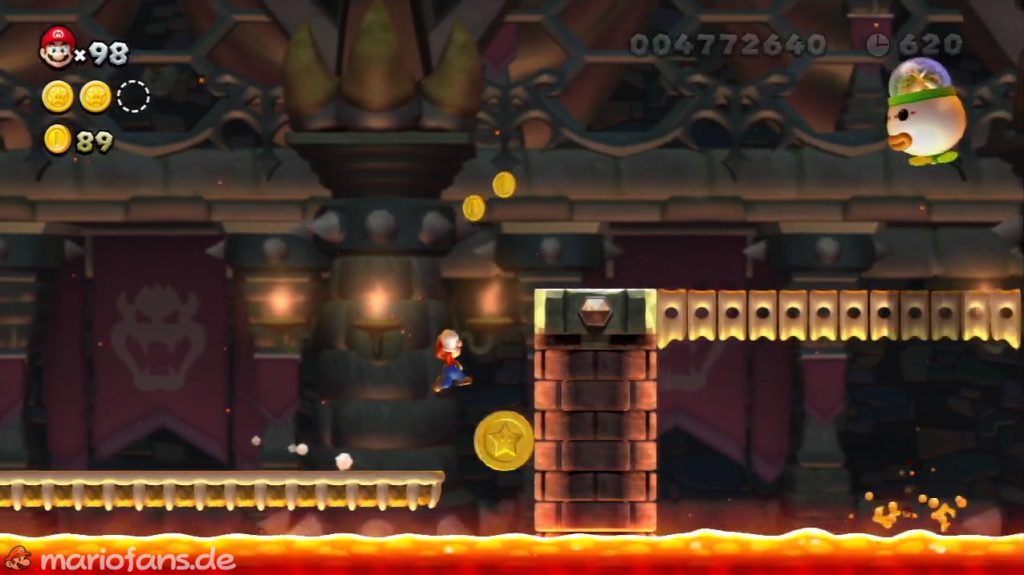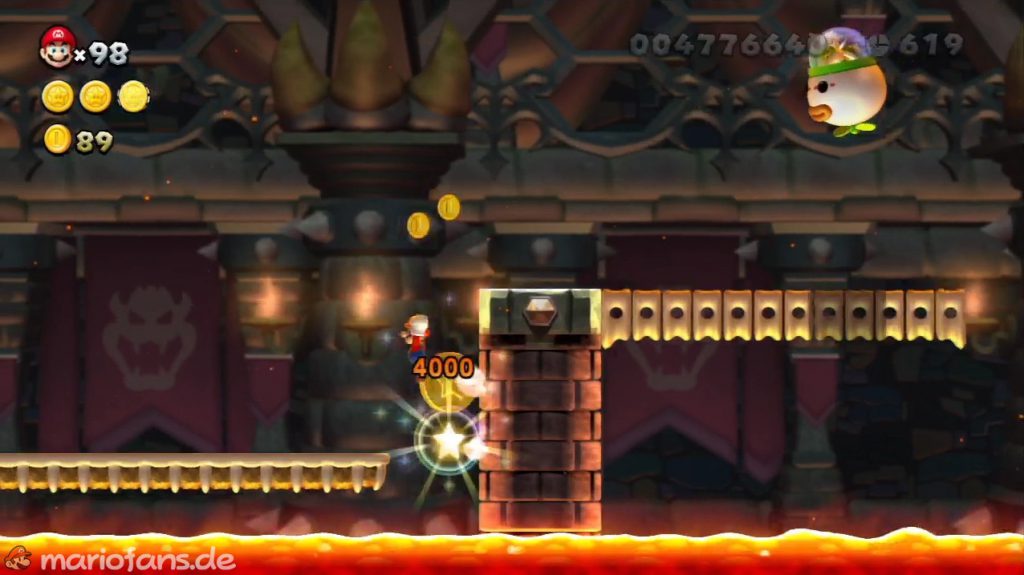

Meteor Moat
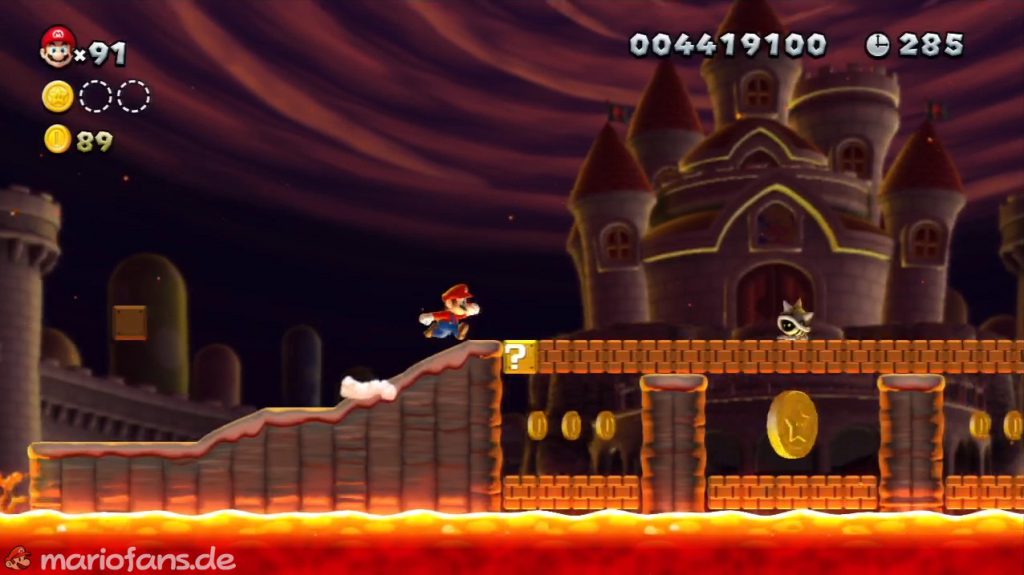
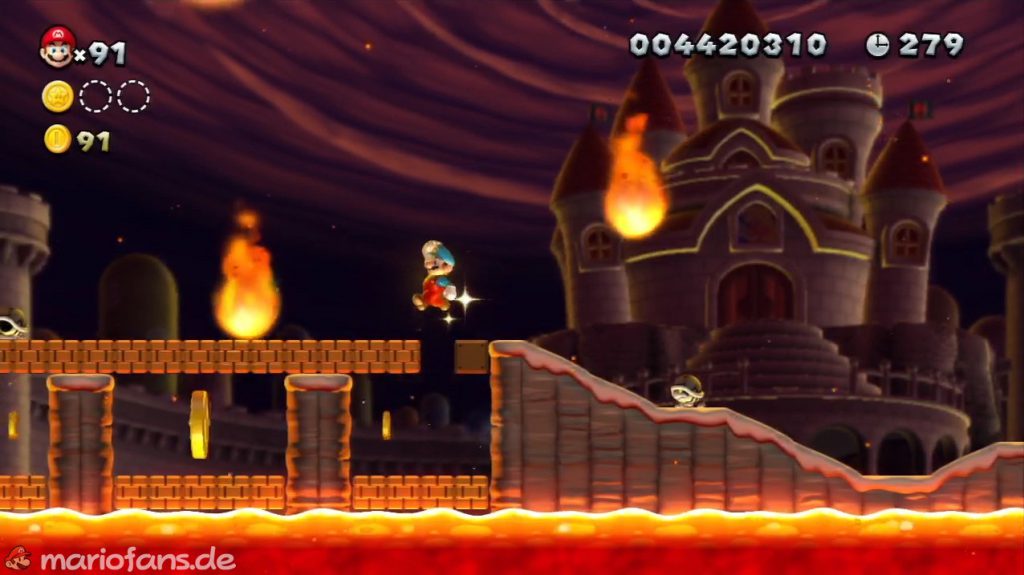
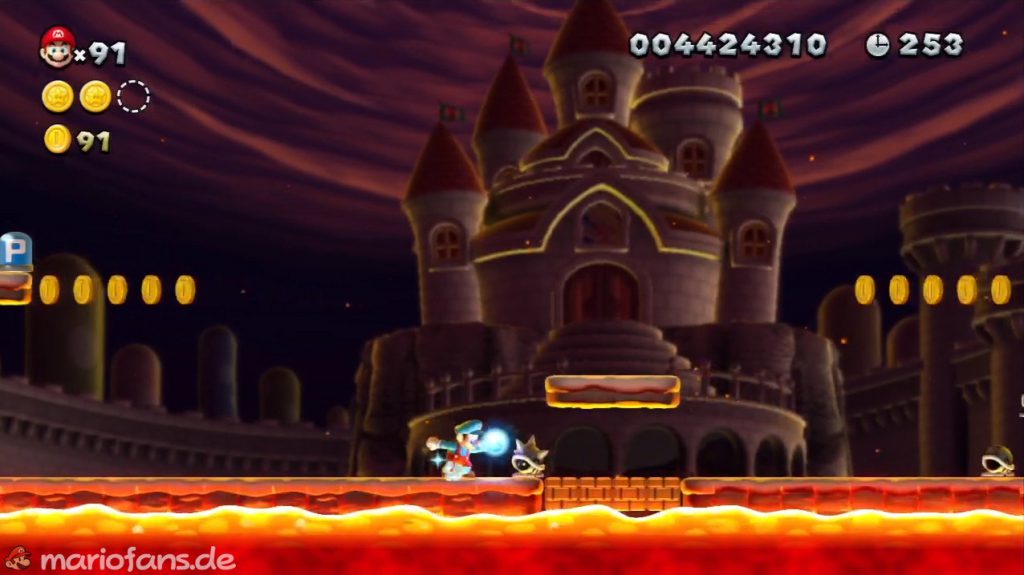
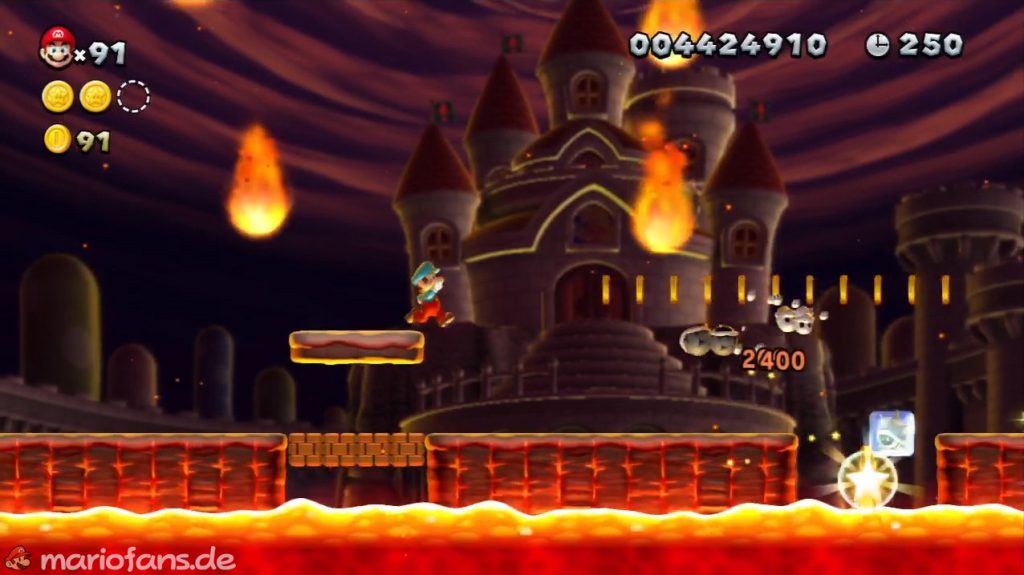
- Star Coin 1 The first Star Coin is in a depression, just a few meters before the checkpoint. It’s easy to spot, but you have to wait for the lava to recede.
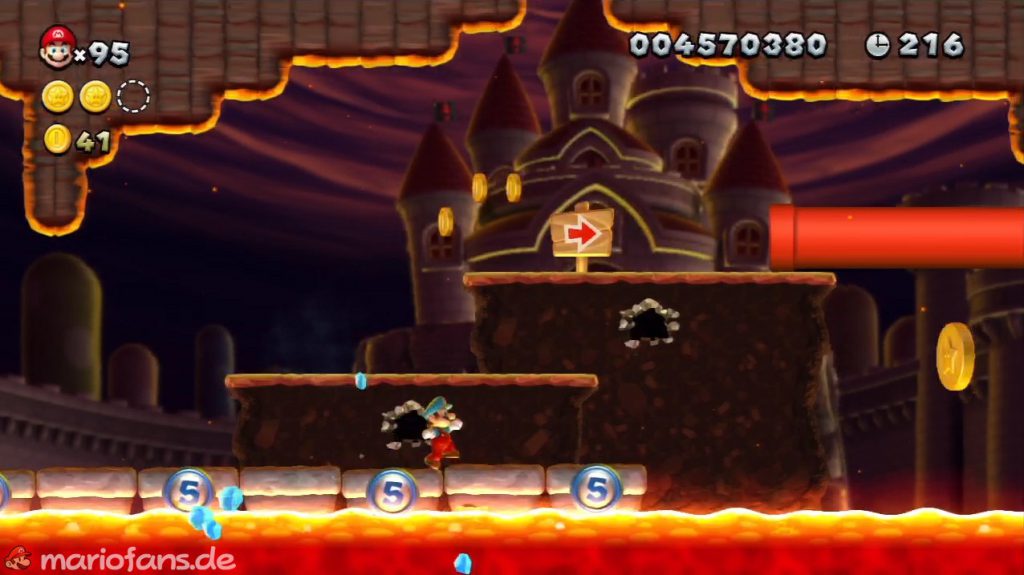
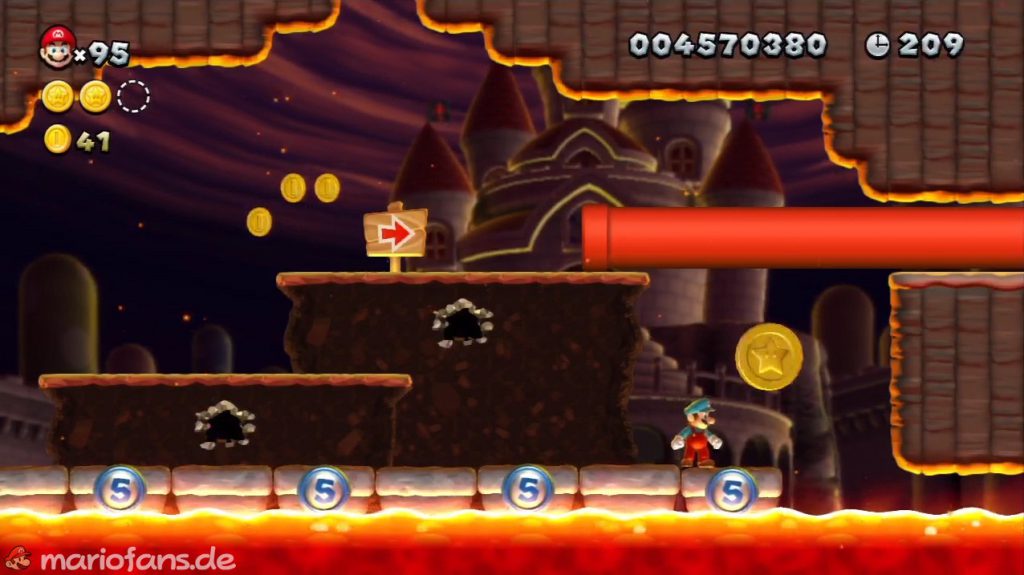
- Star Coin 2 The second Star Coin cannot be overlooked either. Wait until the fireballs have punched a few holes so you can reach them.
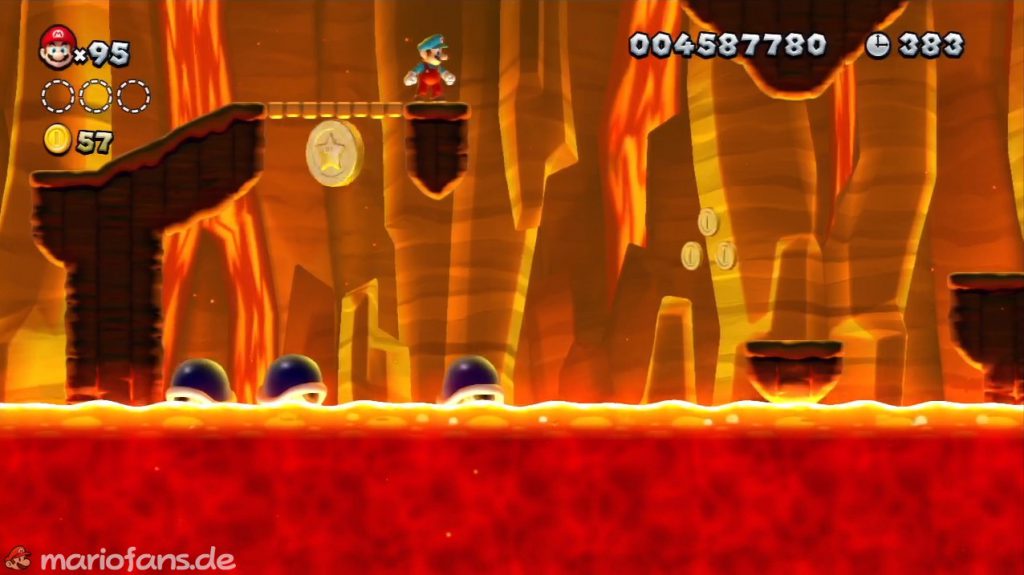
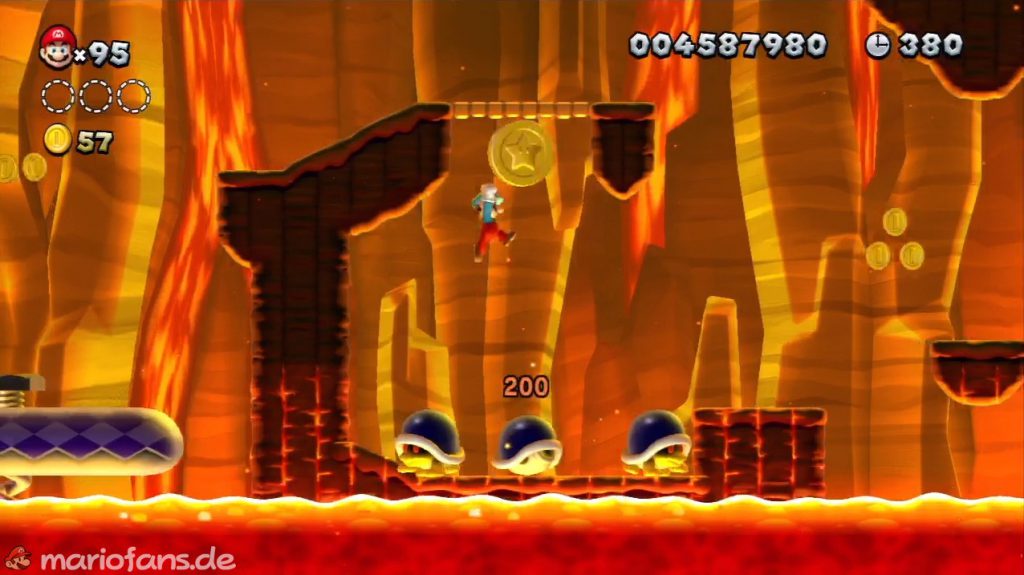
- Star Coin 3 The third coin, like its counterparts, is located in a depression in the ground. To reach it, freeze a Bony Beetle and throw it into the lava.
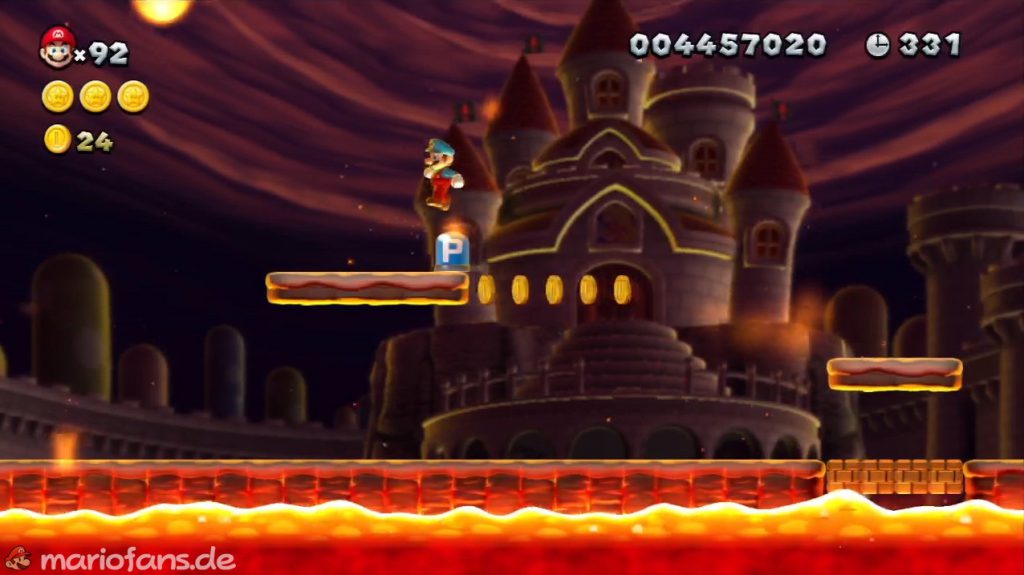
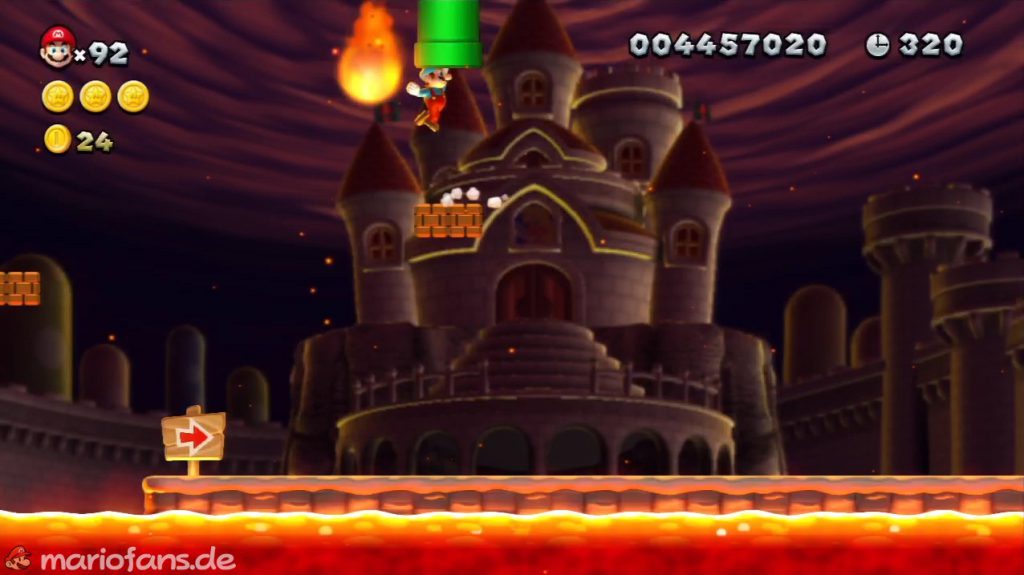
- Secret Exit After the checkpoint and just before the third Star Coin you will find a P Switch on a platform. Press it to turn all coins into blocks. Then jump from stone to stone to reach a pipe. Behind the pipe you will find the secret exit.
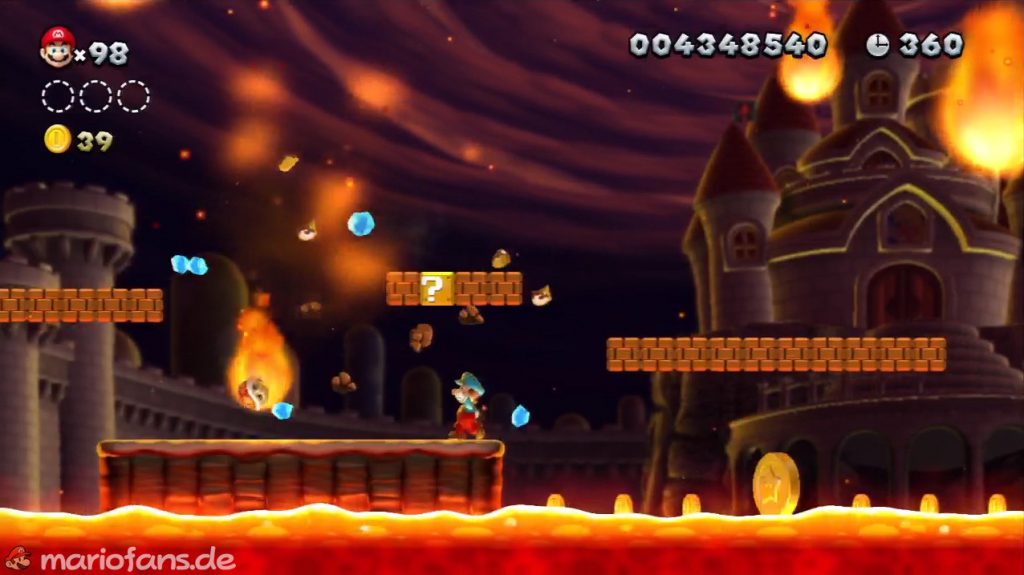
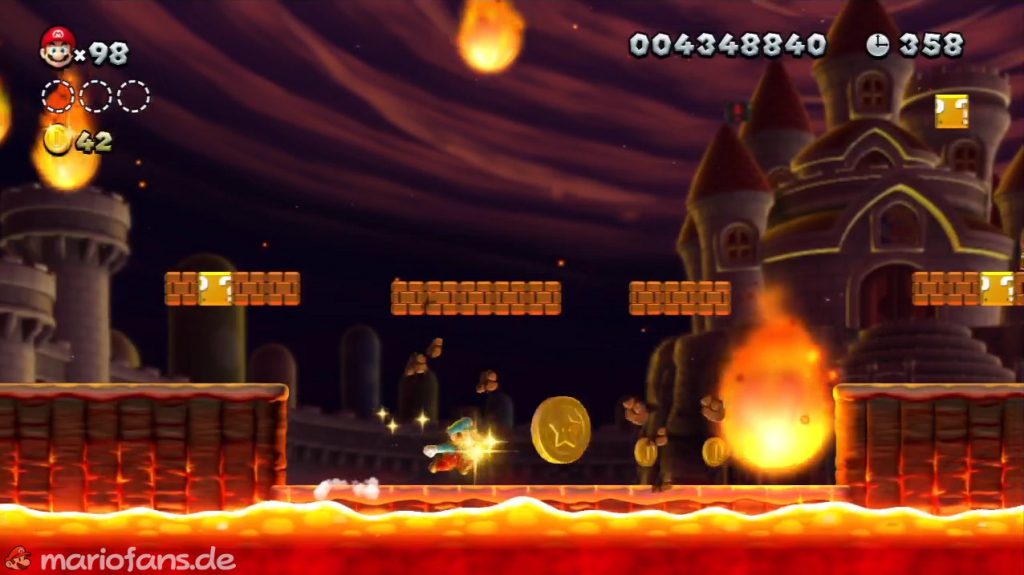
Magma-River Cruise
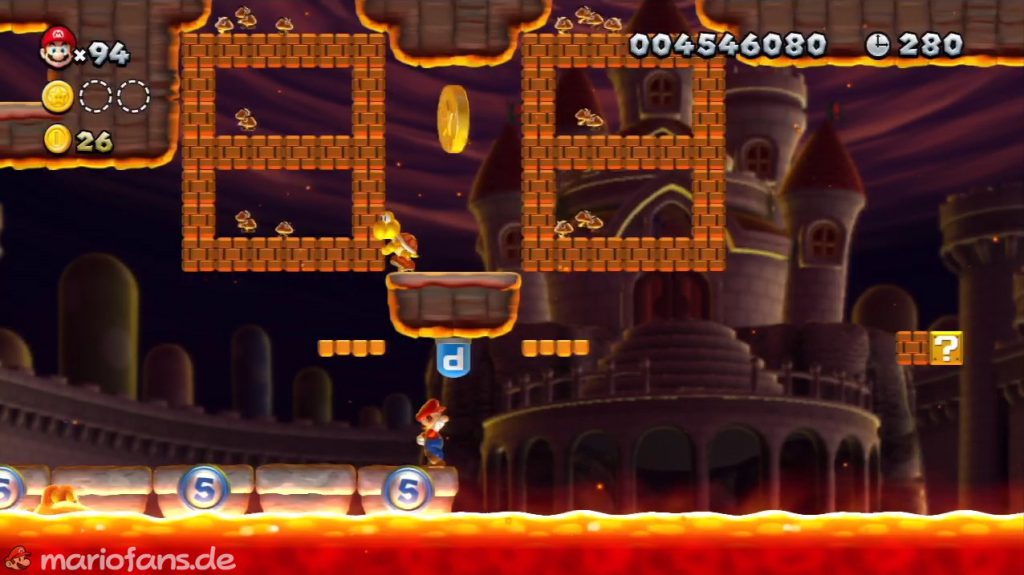
- Star Coin 1 You will find the first Star Coin at the beginning of the level on a rock pedestal. Jump onto the blocks where a Koopa is patrolling and uncover an invisible block at the left pinnacle. With its help you should be able to collect the Star Coin.
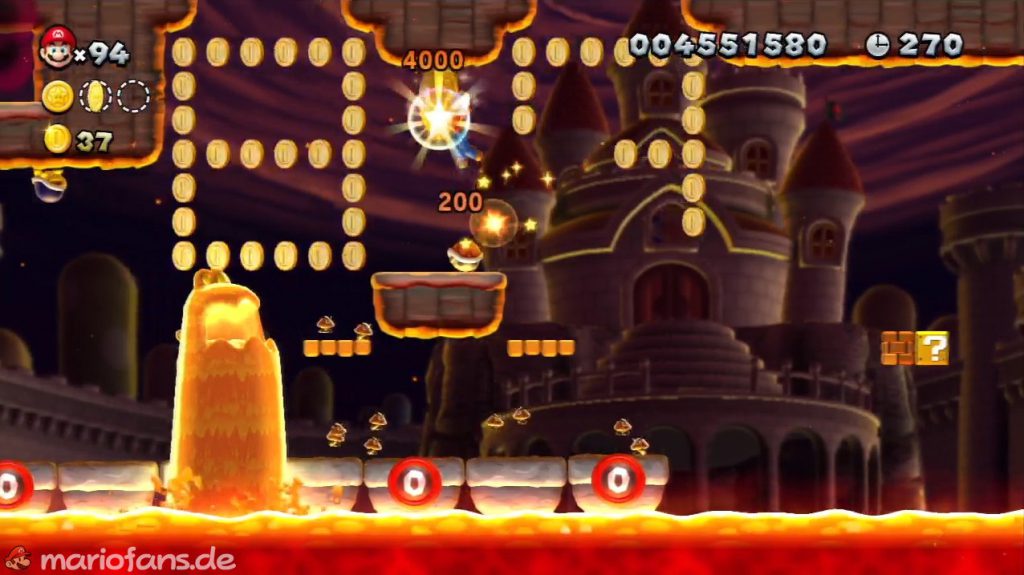
- Star Coin 2 The second Star Coin is walled up between blocks that look like a double eight. With the P Switch, the blocks turn into coins and you can easily collect them.
- Star Coin 3 The last Star Coin is below the pipe that leads you to the goal. Drive your ship to the coin and collect it. You can then use the tube.
Rising Tides of Lava
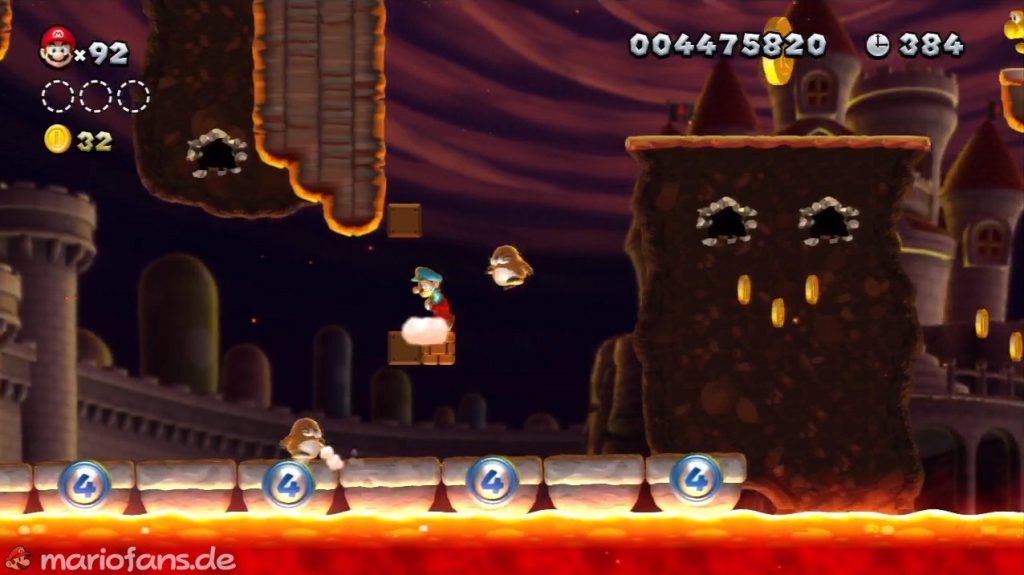
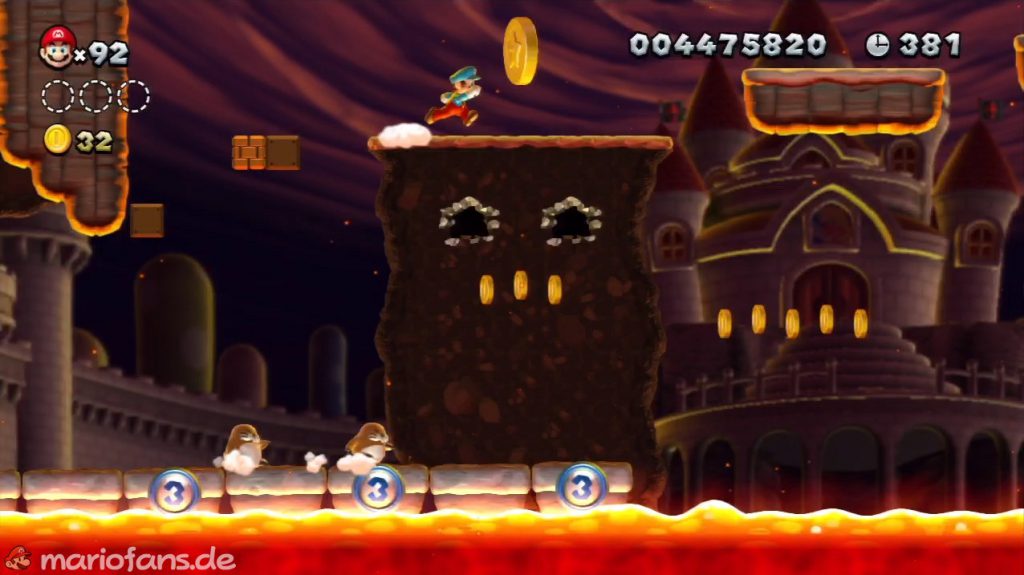
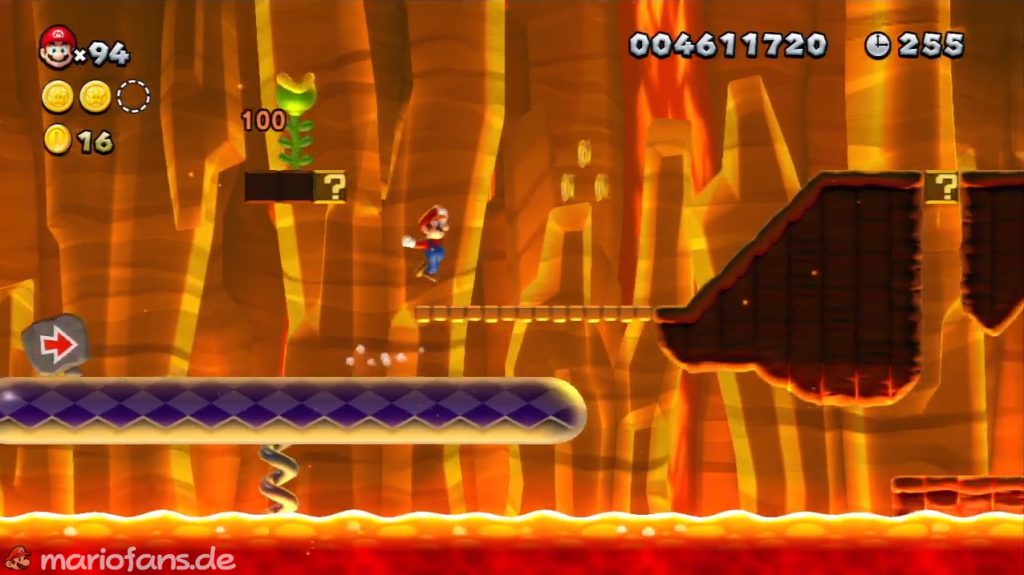
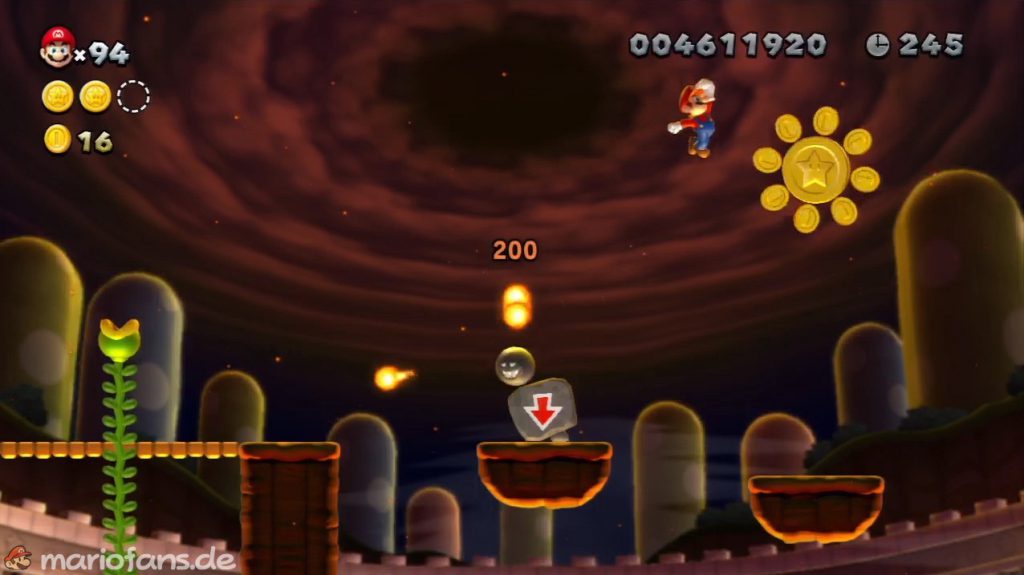
- Star Coin 1 The first Star Coin is behind the first screw platform. To reach them you have to use the turtles as a makeshift boat. Wait for the lava to recede, climb onto the armored girders and let them carry you to the Star Coin.
- Star Coin 2 Shortly before the checkpoint the path splits. One road leads along the bottom and is mostly flooded by lava, the second passage leads above the lava to the destination. Choose the riskier option and you will be rewarded with the second Star Coin.
- Star Coin 3 After a passage in which you had to use several turtles as islands, you come to two screw platforms. Above the second level you will find two question mark blocks. Between these two there is an invisible third one that houses a Vine. You can find the last Star Coin at the end of this vine. You can reach it with the cannonball.
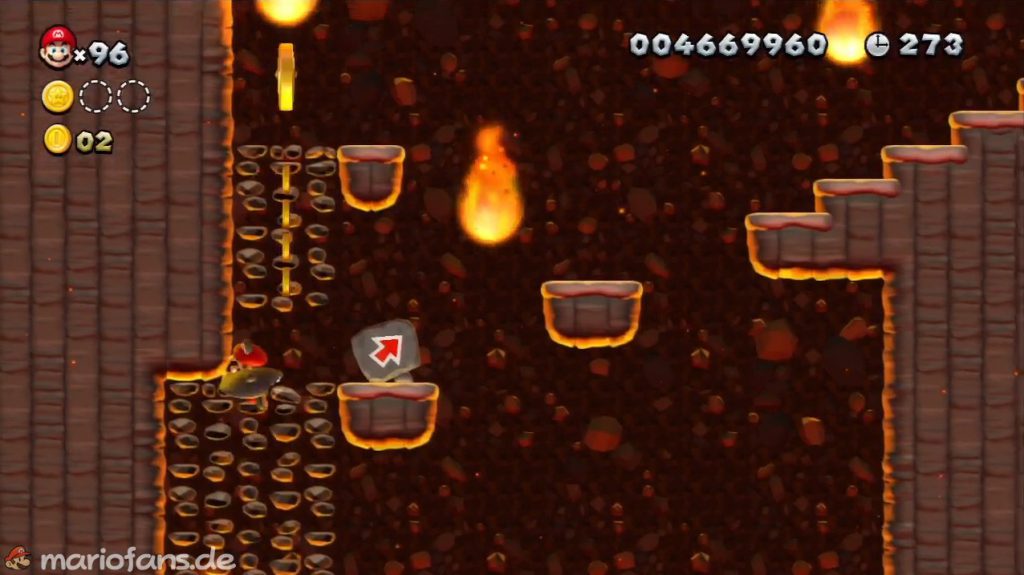
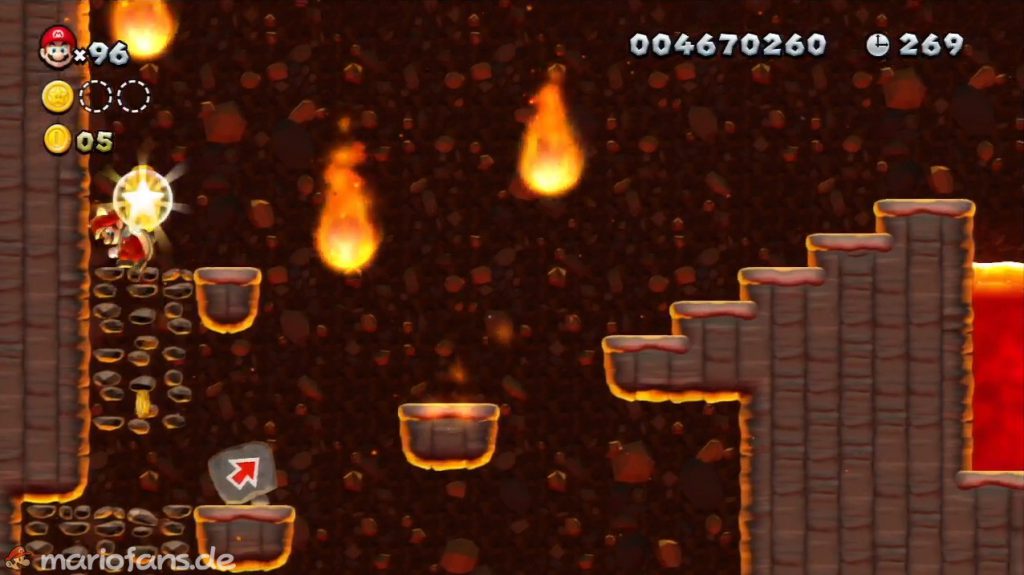
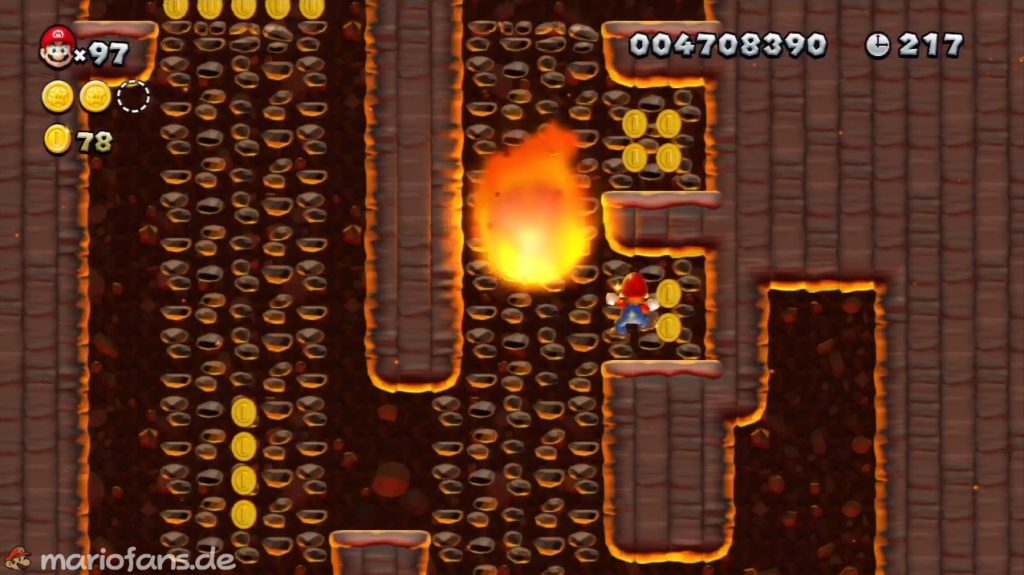
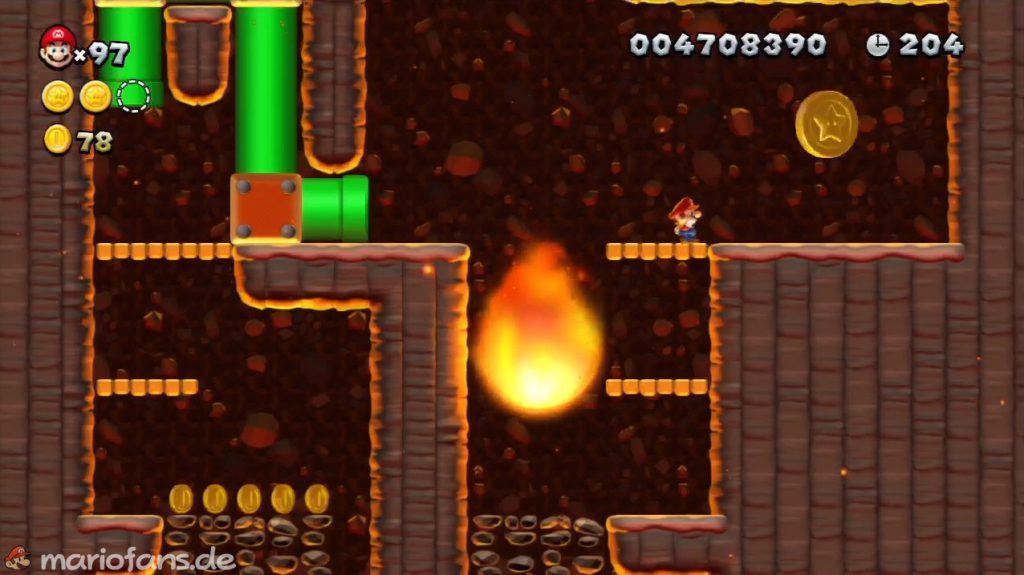
Firefall Cliffs
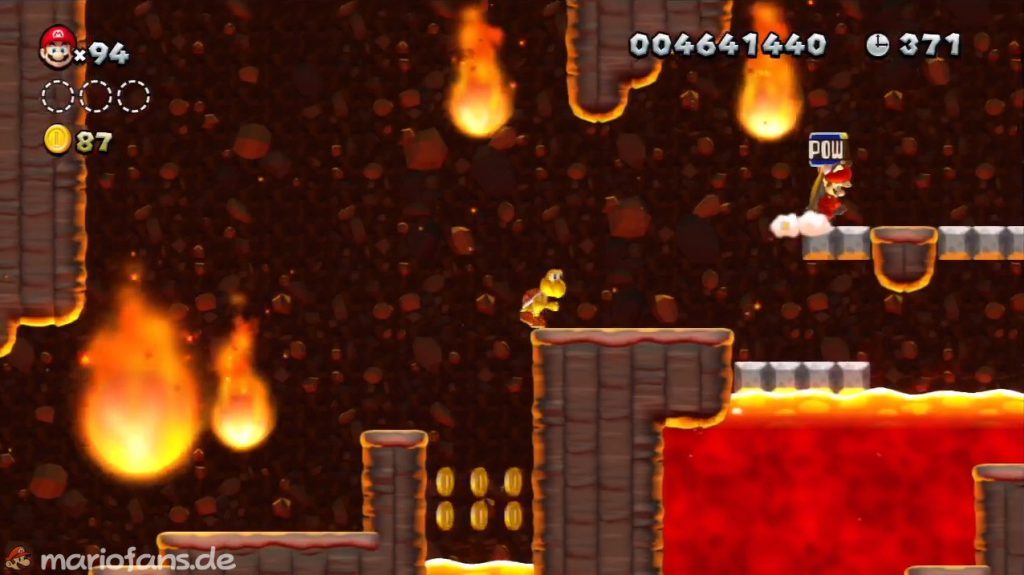
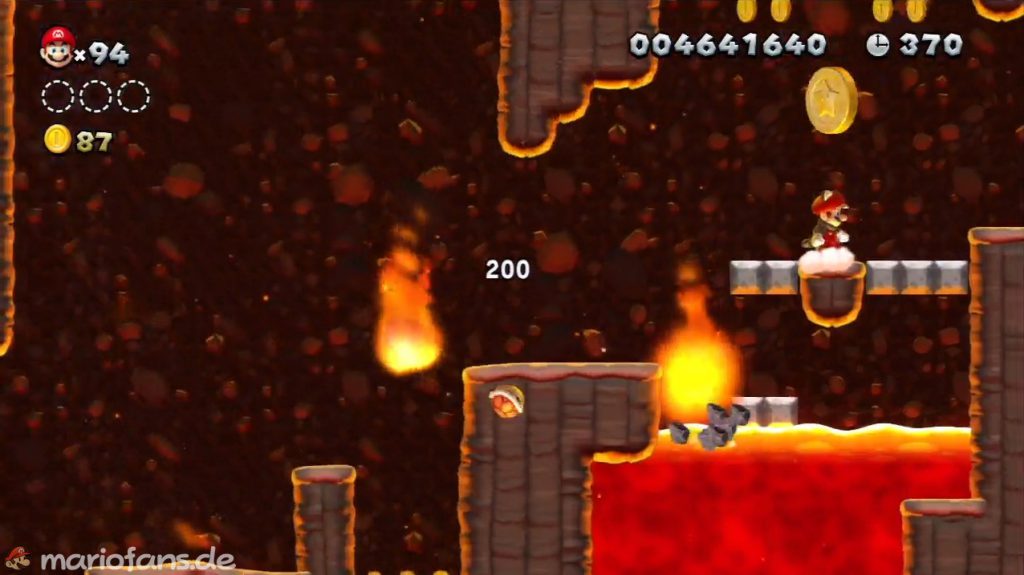
- Star Coin 1 After a few meters you will come across a POW block that you have to activate. As a result, the first Star Coin will fall from the sky.
- Star Coin 2 After the checkpoint you will come across several small rocky islands. To get the second Star Coin, you have to go upstairs. The coin floats above the second climbing wall on the left side of the rock.
- Star Coin 3 The last Star Coin is in the passage where you have to climb up. To collect the coin you have to choose the right path. Dodge the fireballs and climb the climbing walls until you reach the Star Coin.
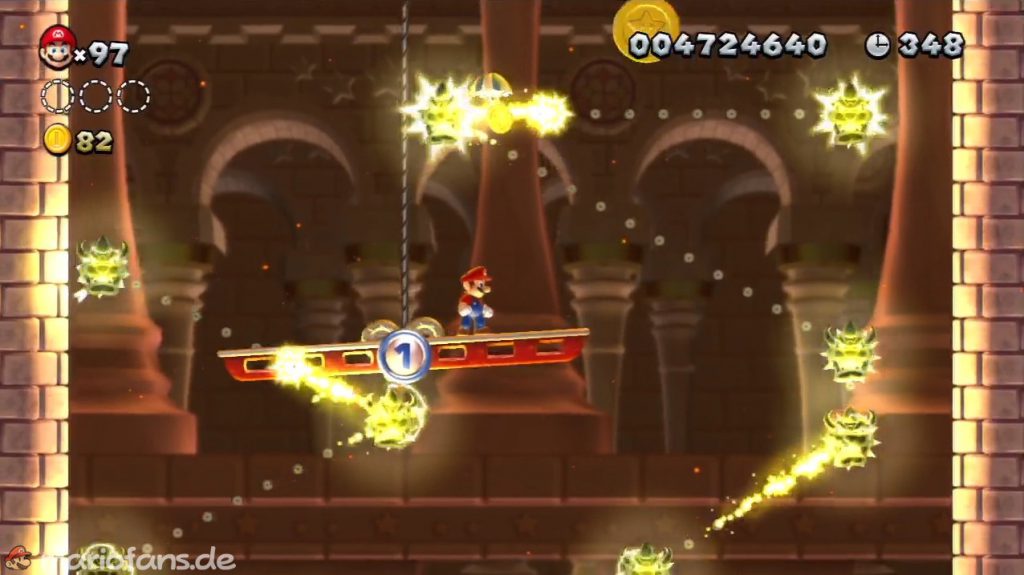
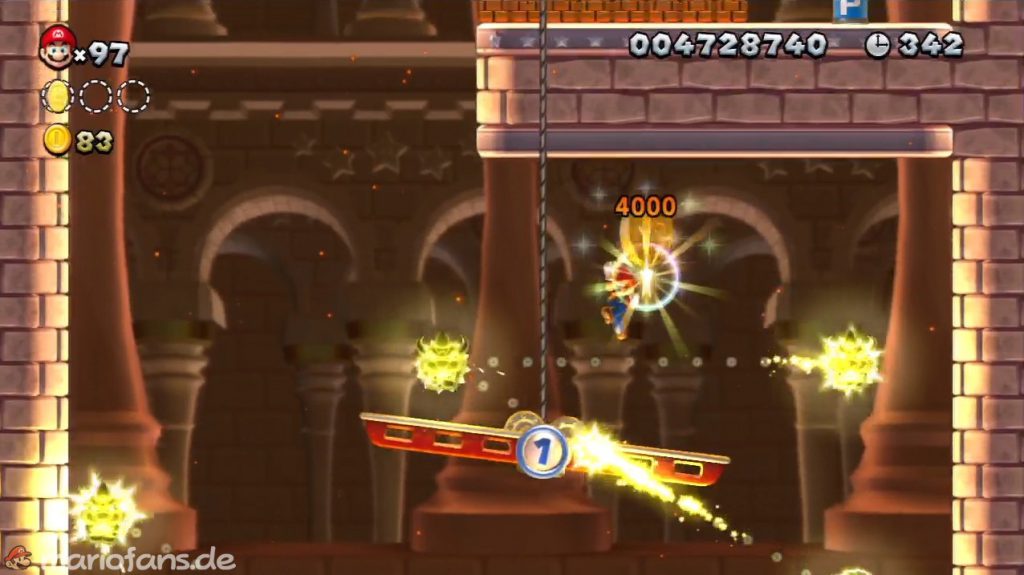
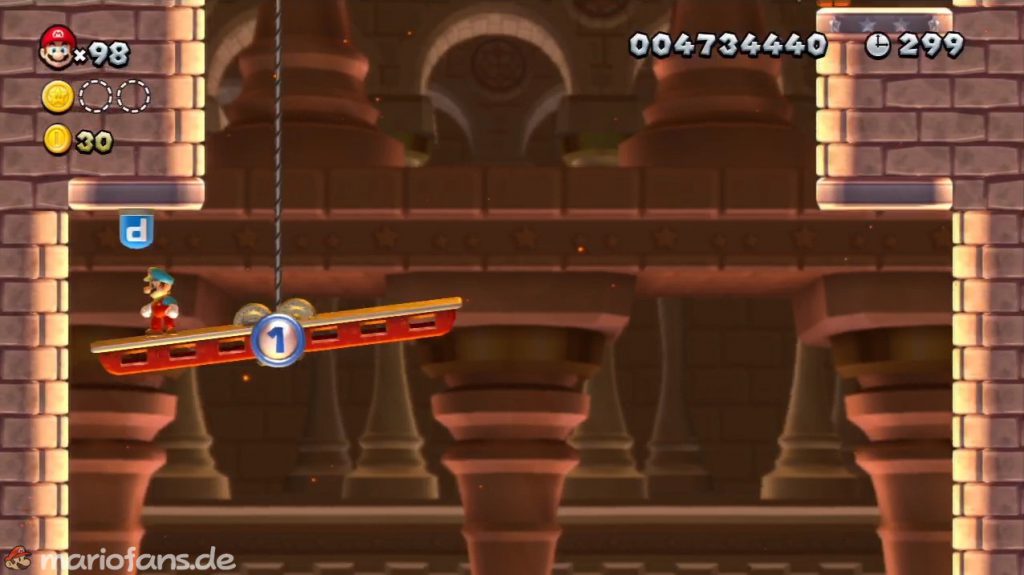
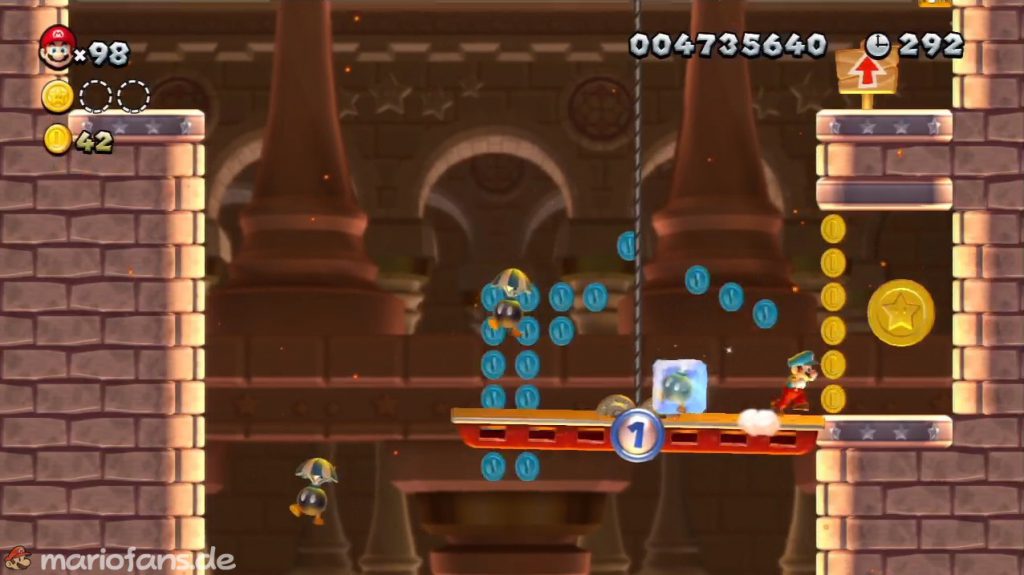
Red-Hot Elevator Ride
- Star Coin 1 Get on the “elevator” and go up. The Star Coin is on the right under a platform with a P Switch.
- Star Coin 2 A few moments later there is a P Switch on a ledge to the left. Activate it and follow the coin arrows to the Star Coin. This is located in a niche on the right.
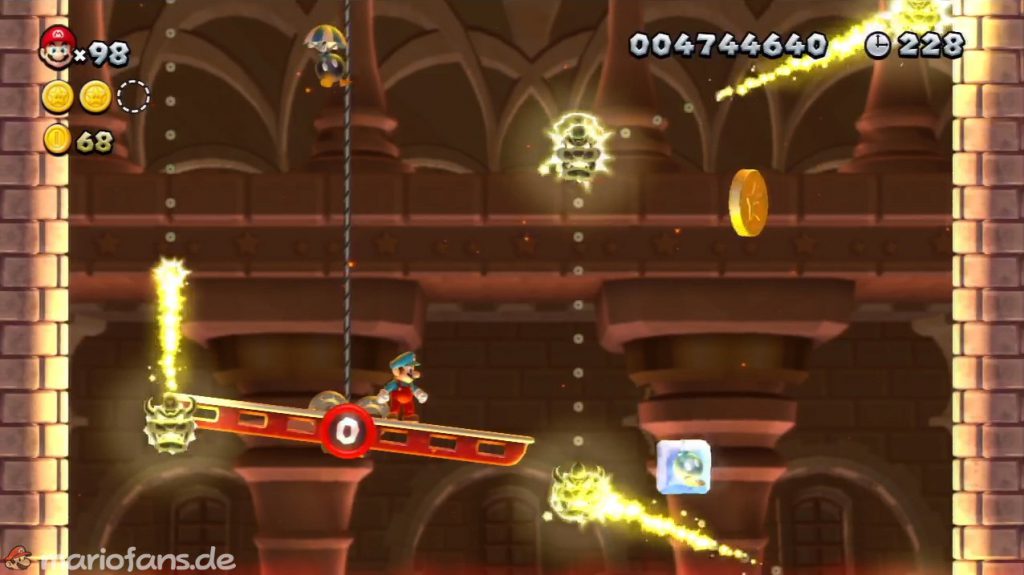
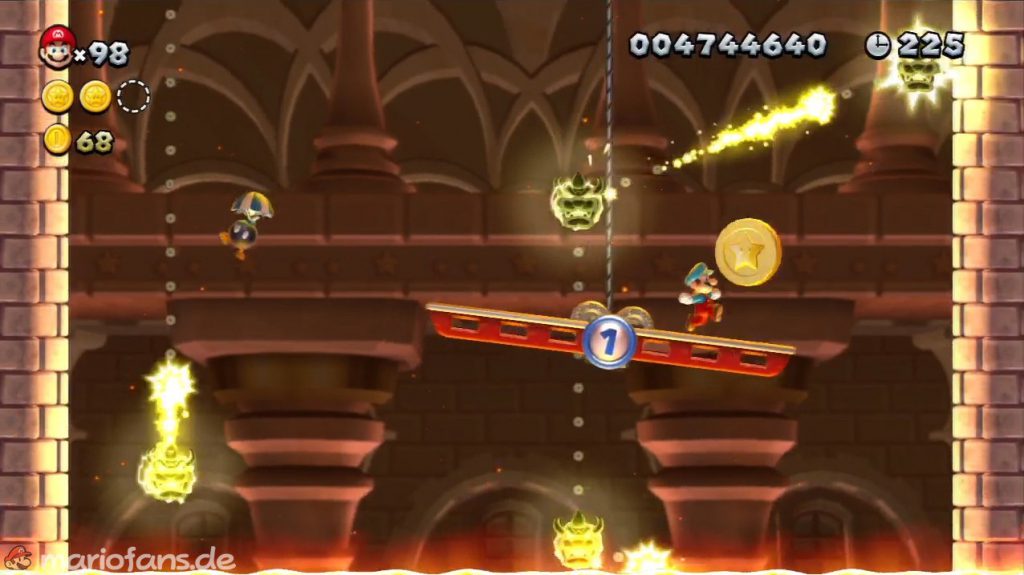
- Star Coin 3 The last Star Coin floats on the left on the way up. But be careful not to get an electric shock.
The Final Battle
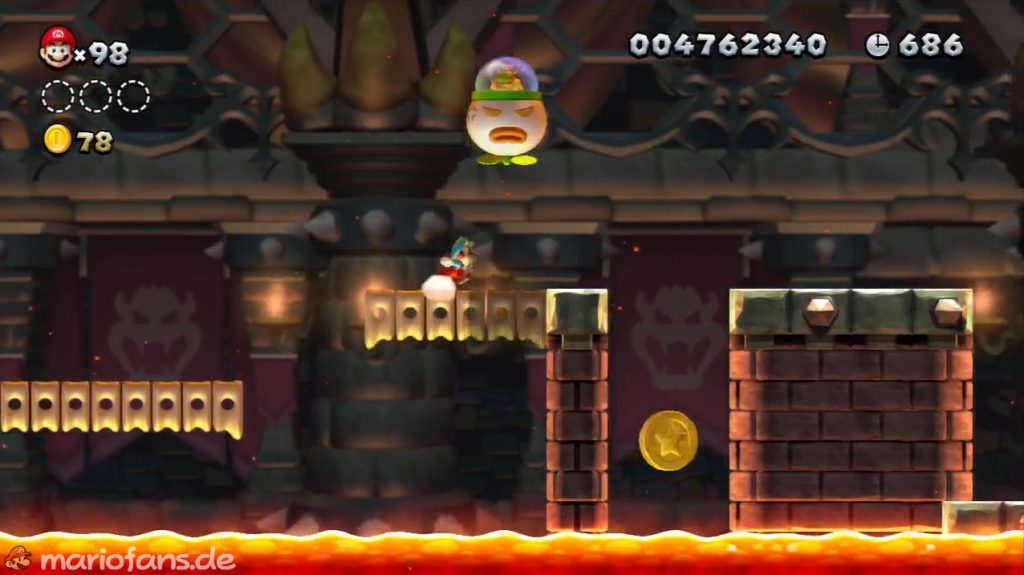
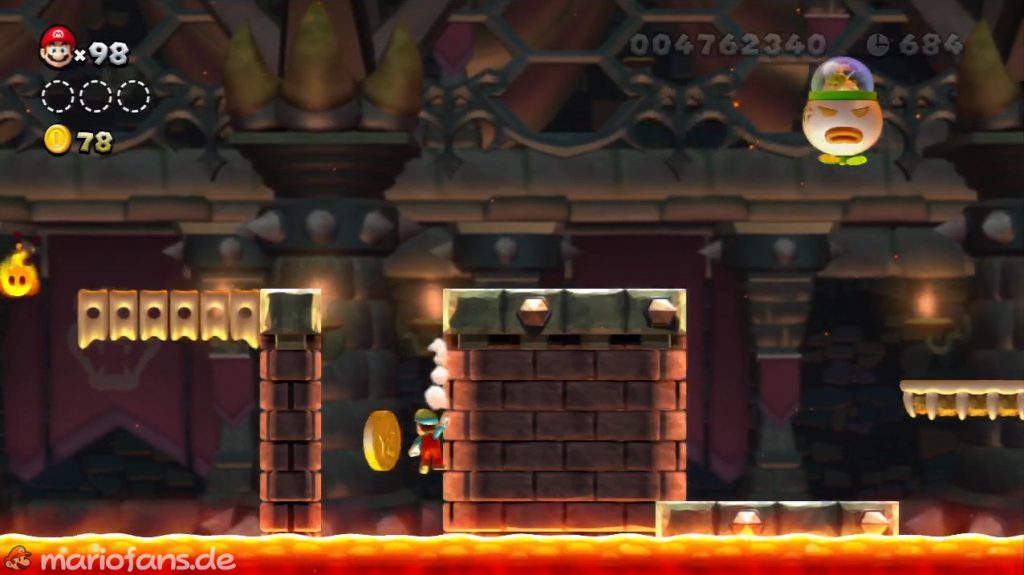
- Star Coin 1 The first Star Coin floats quite openly in a gap in the path. A wall jump should be enough to get them.
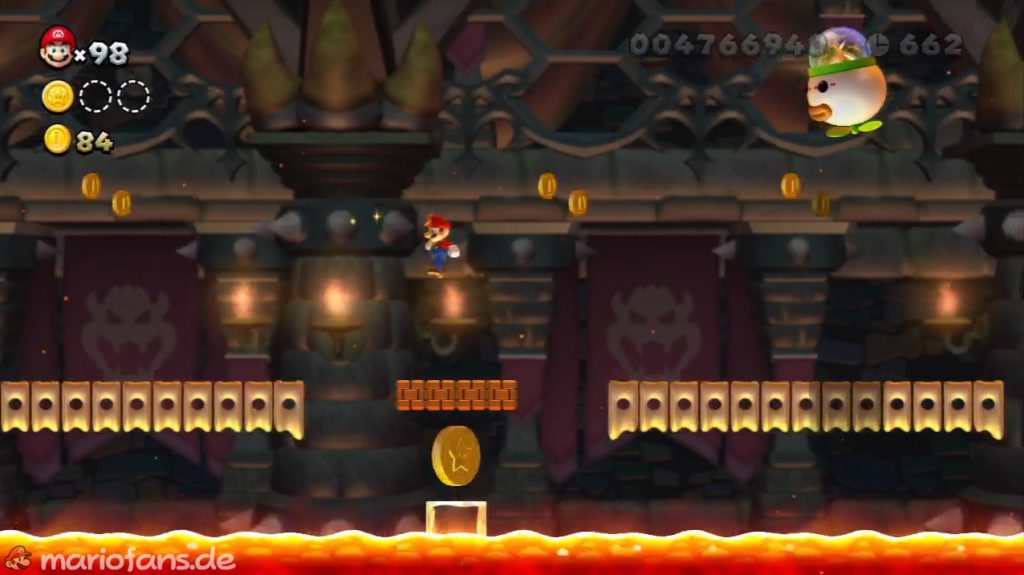
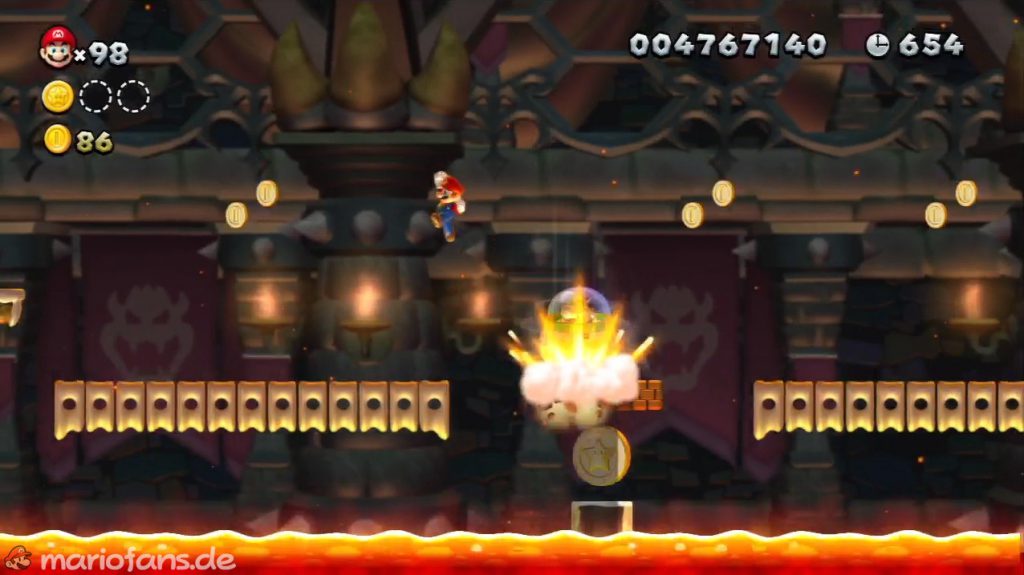
- Star Coin 2 The second Star Coin is on a small pedestal. Above it are blocks that Bowser Jr. has to destroy for you.
- Star Coin 3 The final Star Coin floats behind a passage of vertically moving platforms. A jump from the last platform and a subsequent wall jump back should secure you the good piece.