

Take both exits in Chocolate Island 2 and Chocolate Island 3. The first has a timed key route; the second requires you to continue beyond its first goal. Chocolate Secret skips ahead to Wendy, but the remaining main-route stages still need clearing for the full exit total.
Chocolate Island 1

Deal with the Dino-Rhinos before they force you toward a pit; after one stomp they become smaller Dino-Torches. Enter the first yellow cannon pipe to reach the version of the next section containing the checkpoint and its collectible route. The 3-Up Moon is high on a cloud platform above the first bowl-shaped valley after that transfer. Use the P Switch to bridge the Muncher hollow, then continue across the hills to Choco-Ghost House.
Choco-Ghost House

Watch the moving gaps in the first room and stay away from the blue flame dangling beneath Fishin’ Boo. In the second room, lure the Boo Blocks toward the central elevated exit ledge while looking away, then face them to turn them into solid stepping stones. Climb from the blocks to the door, or reach it with a cape. Continuing to the far-right end only reaches a dead end. This house has one exit, leading to Chocolate Island 2.
Chocolate Island 2
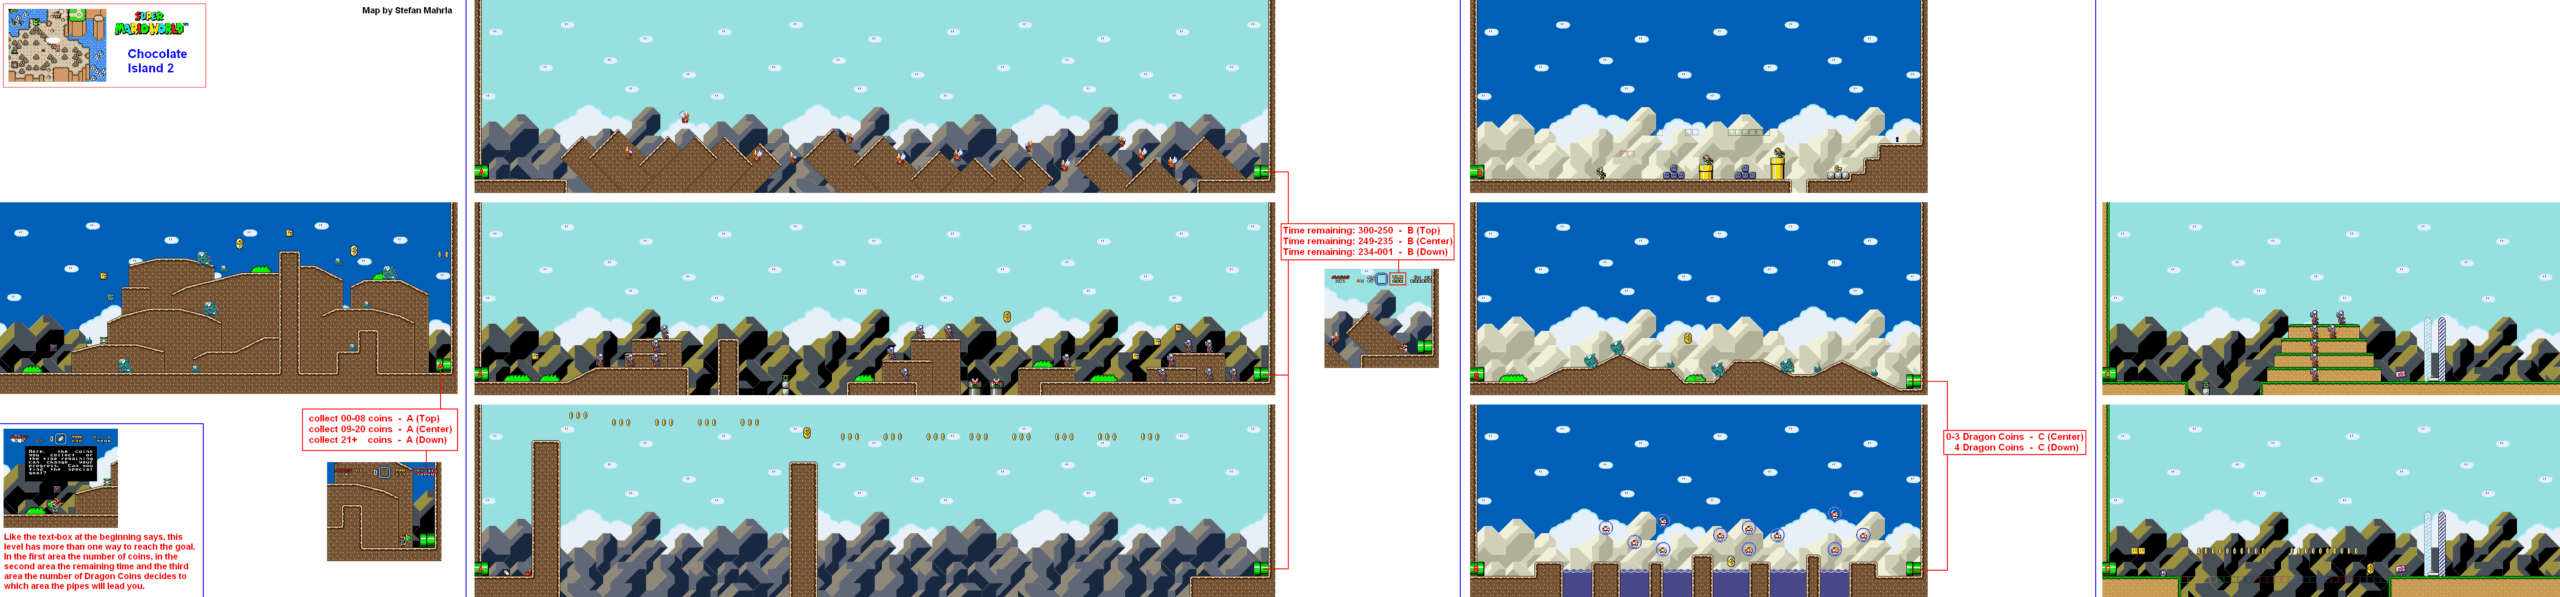
The pipes select different rooms according to your run. Coins collected in the first area choose the next room: eight or fewer gives the sloped-platform route, nine to twenty gives Rexes, and at least twenty-one gives the cape-flight route. At the next transfer, the remaining timer chooses the third room. For the secret exit, enter that transfer with at least 250 seconds left, then pass the Chucks to the key and keyhole. This opens Chocolate Secret. On a slower run, the ordinary goal opens Chocolate Island 3. In that route, your Dragon Coin total determines the last room; it does not decide whether you reach the key.
Chocolate Secret
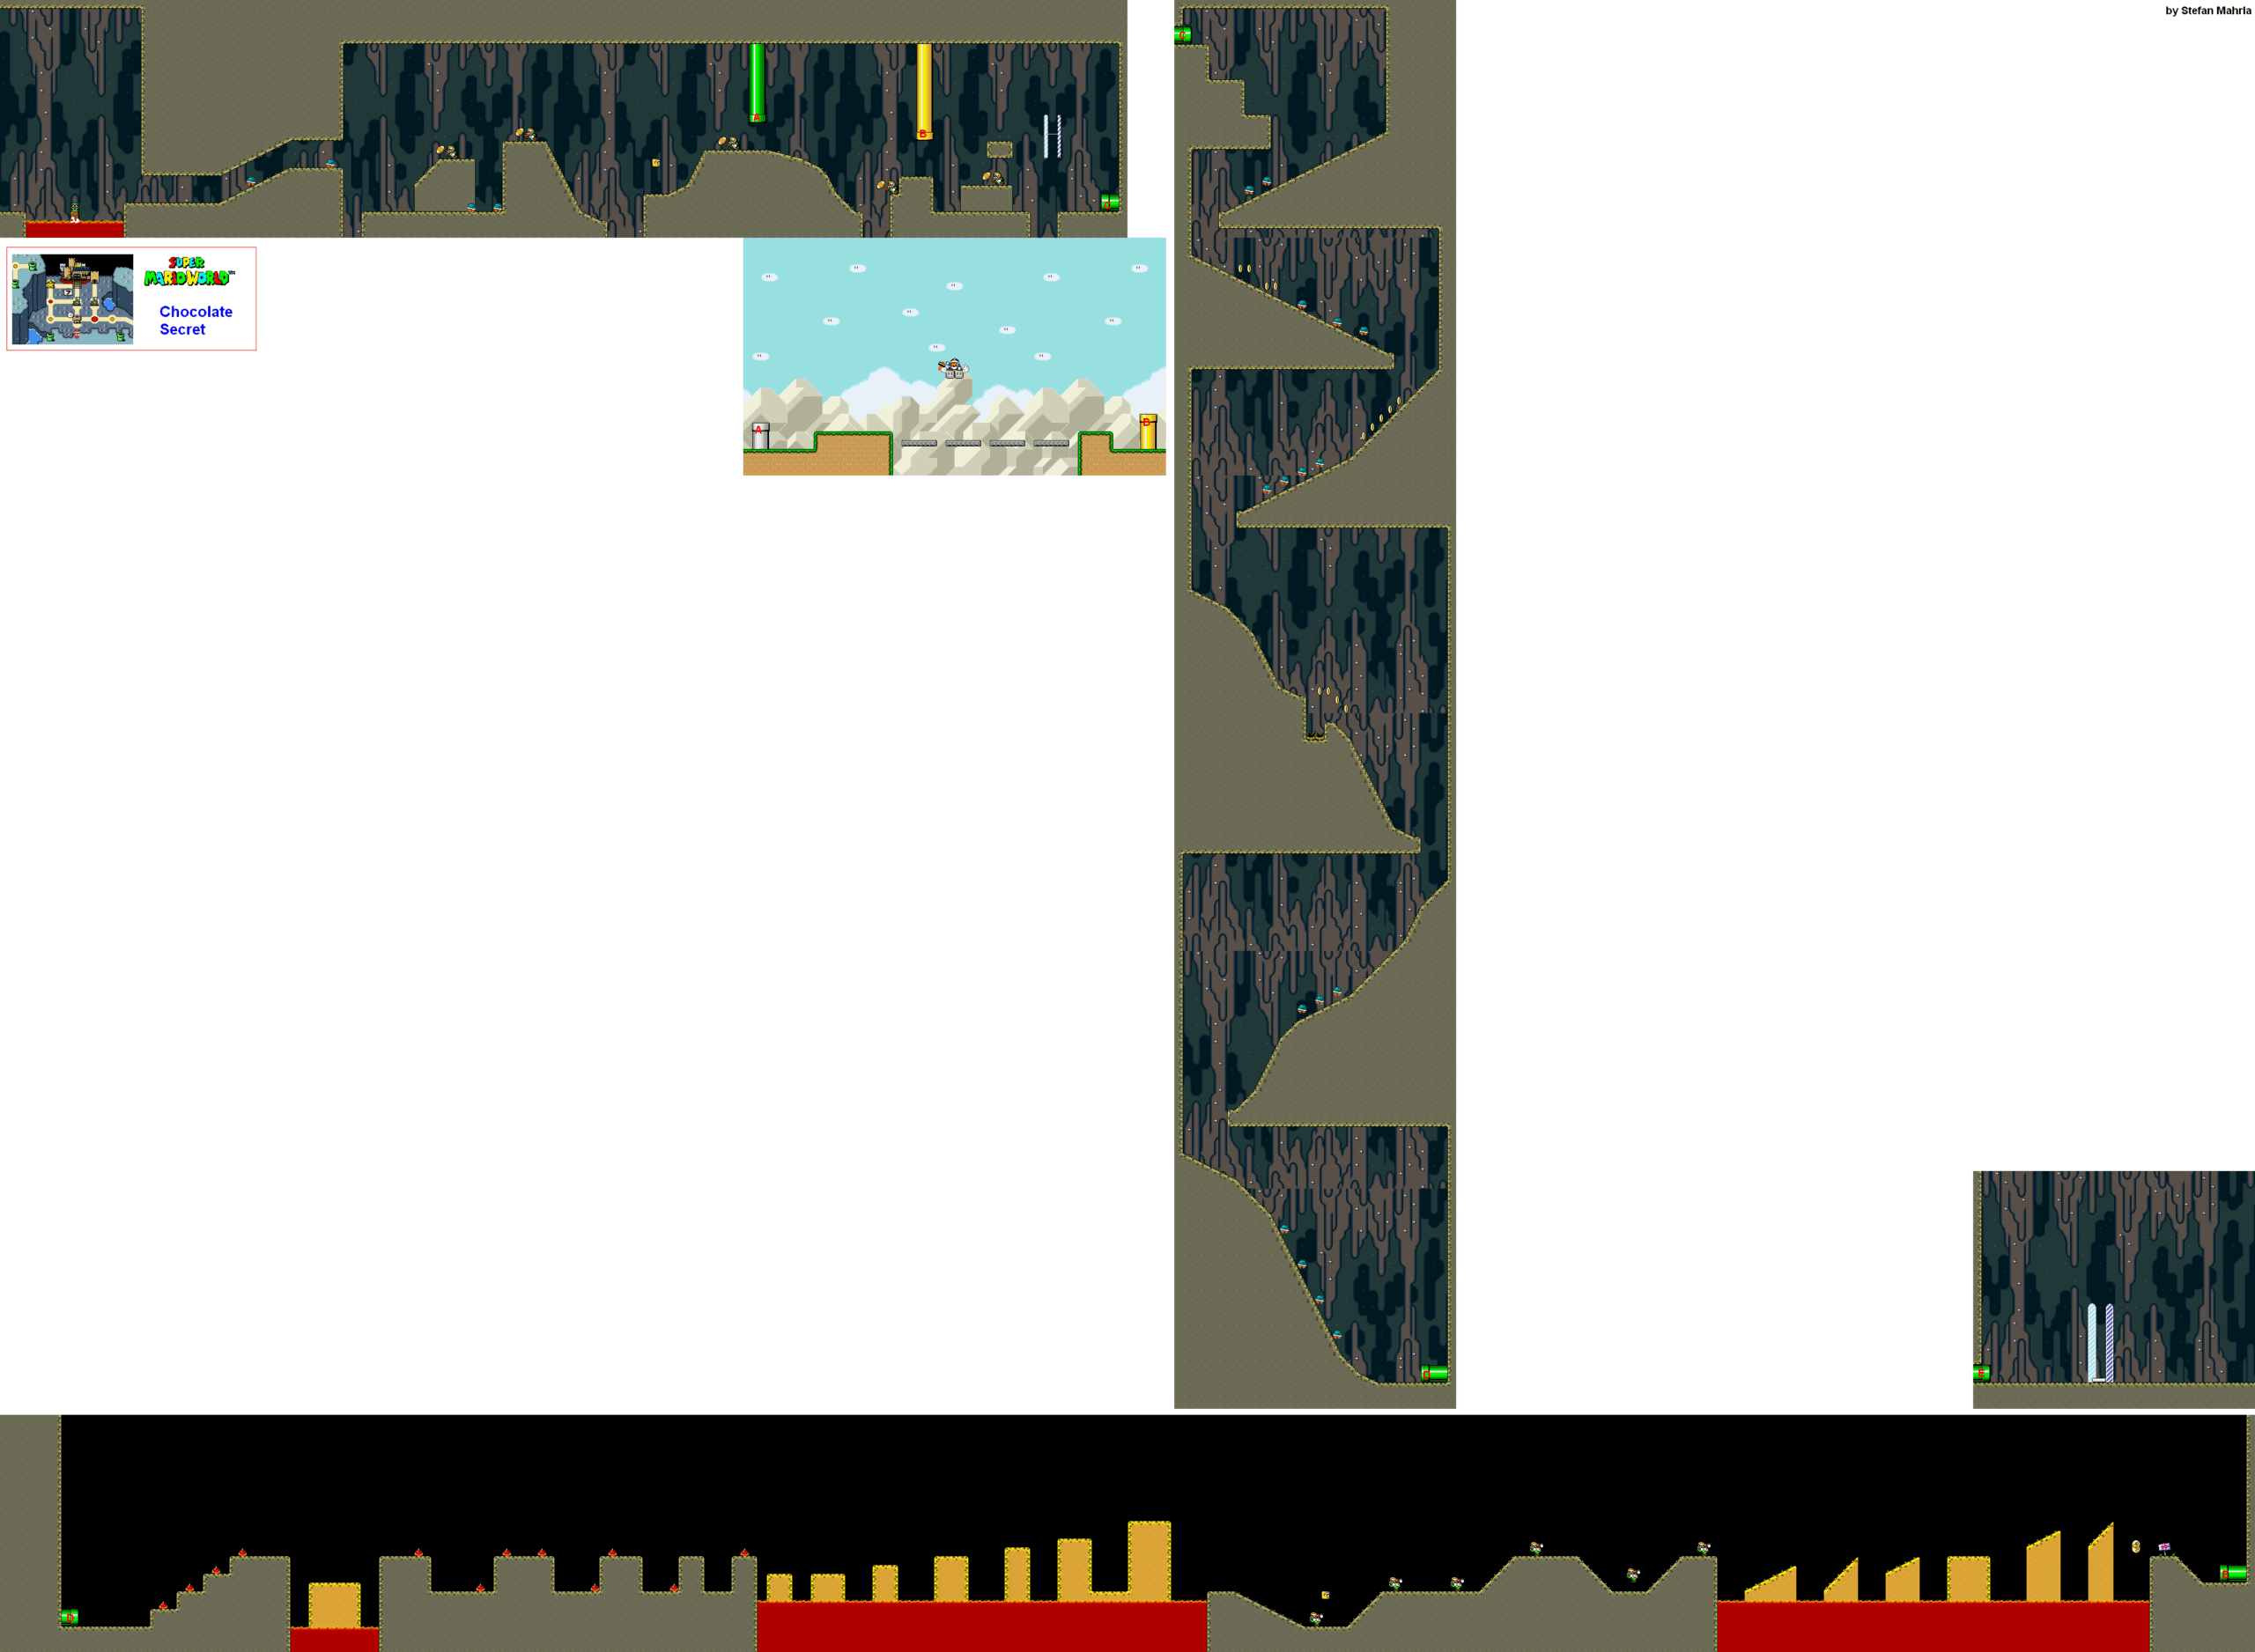
This shortcut leads directly to Wendy’s Castle. Avoid stepping off the first ledge into the lava; use the springboard and pass the football-throwing Chucks. The optional green pipe visits an outdoor platform section before returning to the cave. Beyond the checkpoint, slide down the sloped tunnel and enter the lower pipe. Cross the sinking sand above the lava, leaving each slope before it disappears. The SNES stage contains only one Dragon Coin, on the later sloping stretch. Follow the pipe at the end to the goal.
Chocolate Island 3

Transfer between the rotating platforms, watching for the Fuzzies around their centers. The first goal is reached by a vine and opens a map loop. Clear it once for your exit count, then return with a cape or flying Yoshi. From the goal area, cross the large gap farther right to the three 1-Up blocks and the second Giant Gate. This is the exit that opens Chocolate Fortress; it does not require the same under-the-tape dismount used at Cheese Bridge.
Chocolate Fortress

Wait for the wooden spikes to retract before passing their ends, and keep an eye on the Bowser Statue fireballs crossing the corridor. Take the checkpoint before entering the second room. Bait each Thwomp down, then move beneath it as it rises; do not jump into the smaller Thwimps’ landing arcs. The green block near the boss supplies a cape if activated. Defeat the four Reznors to open Chocolate Island 4.
Chocolate Island 4
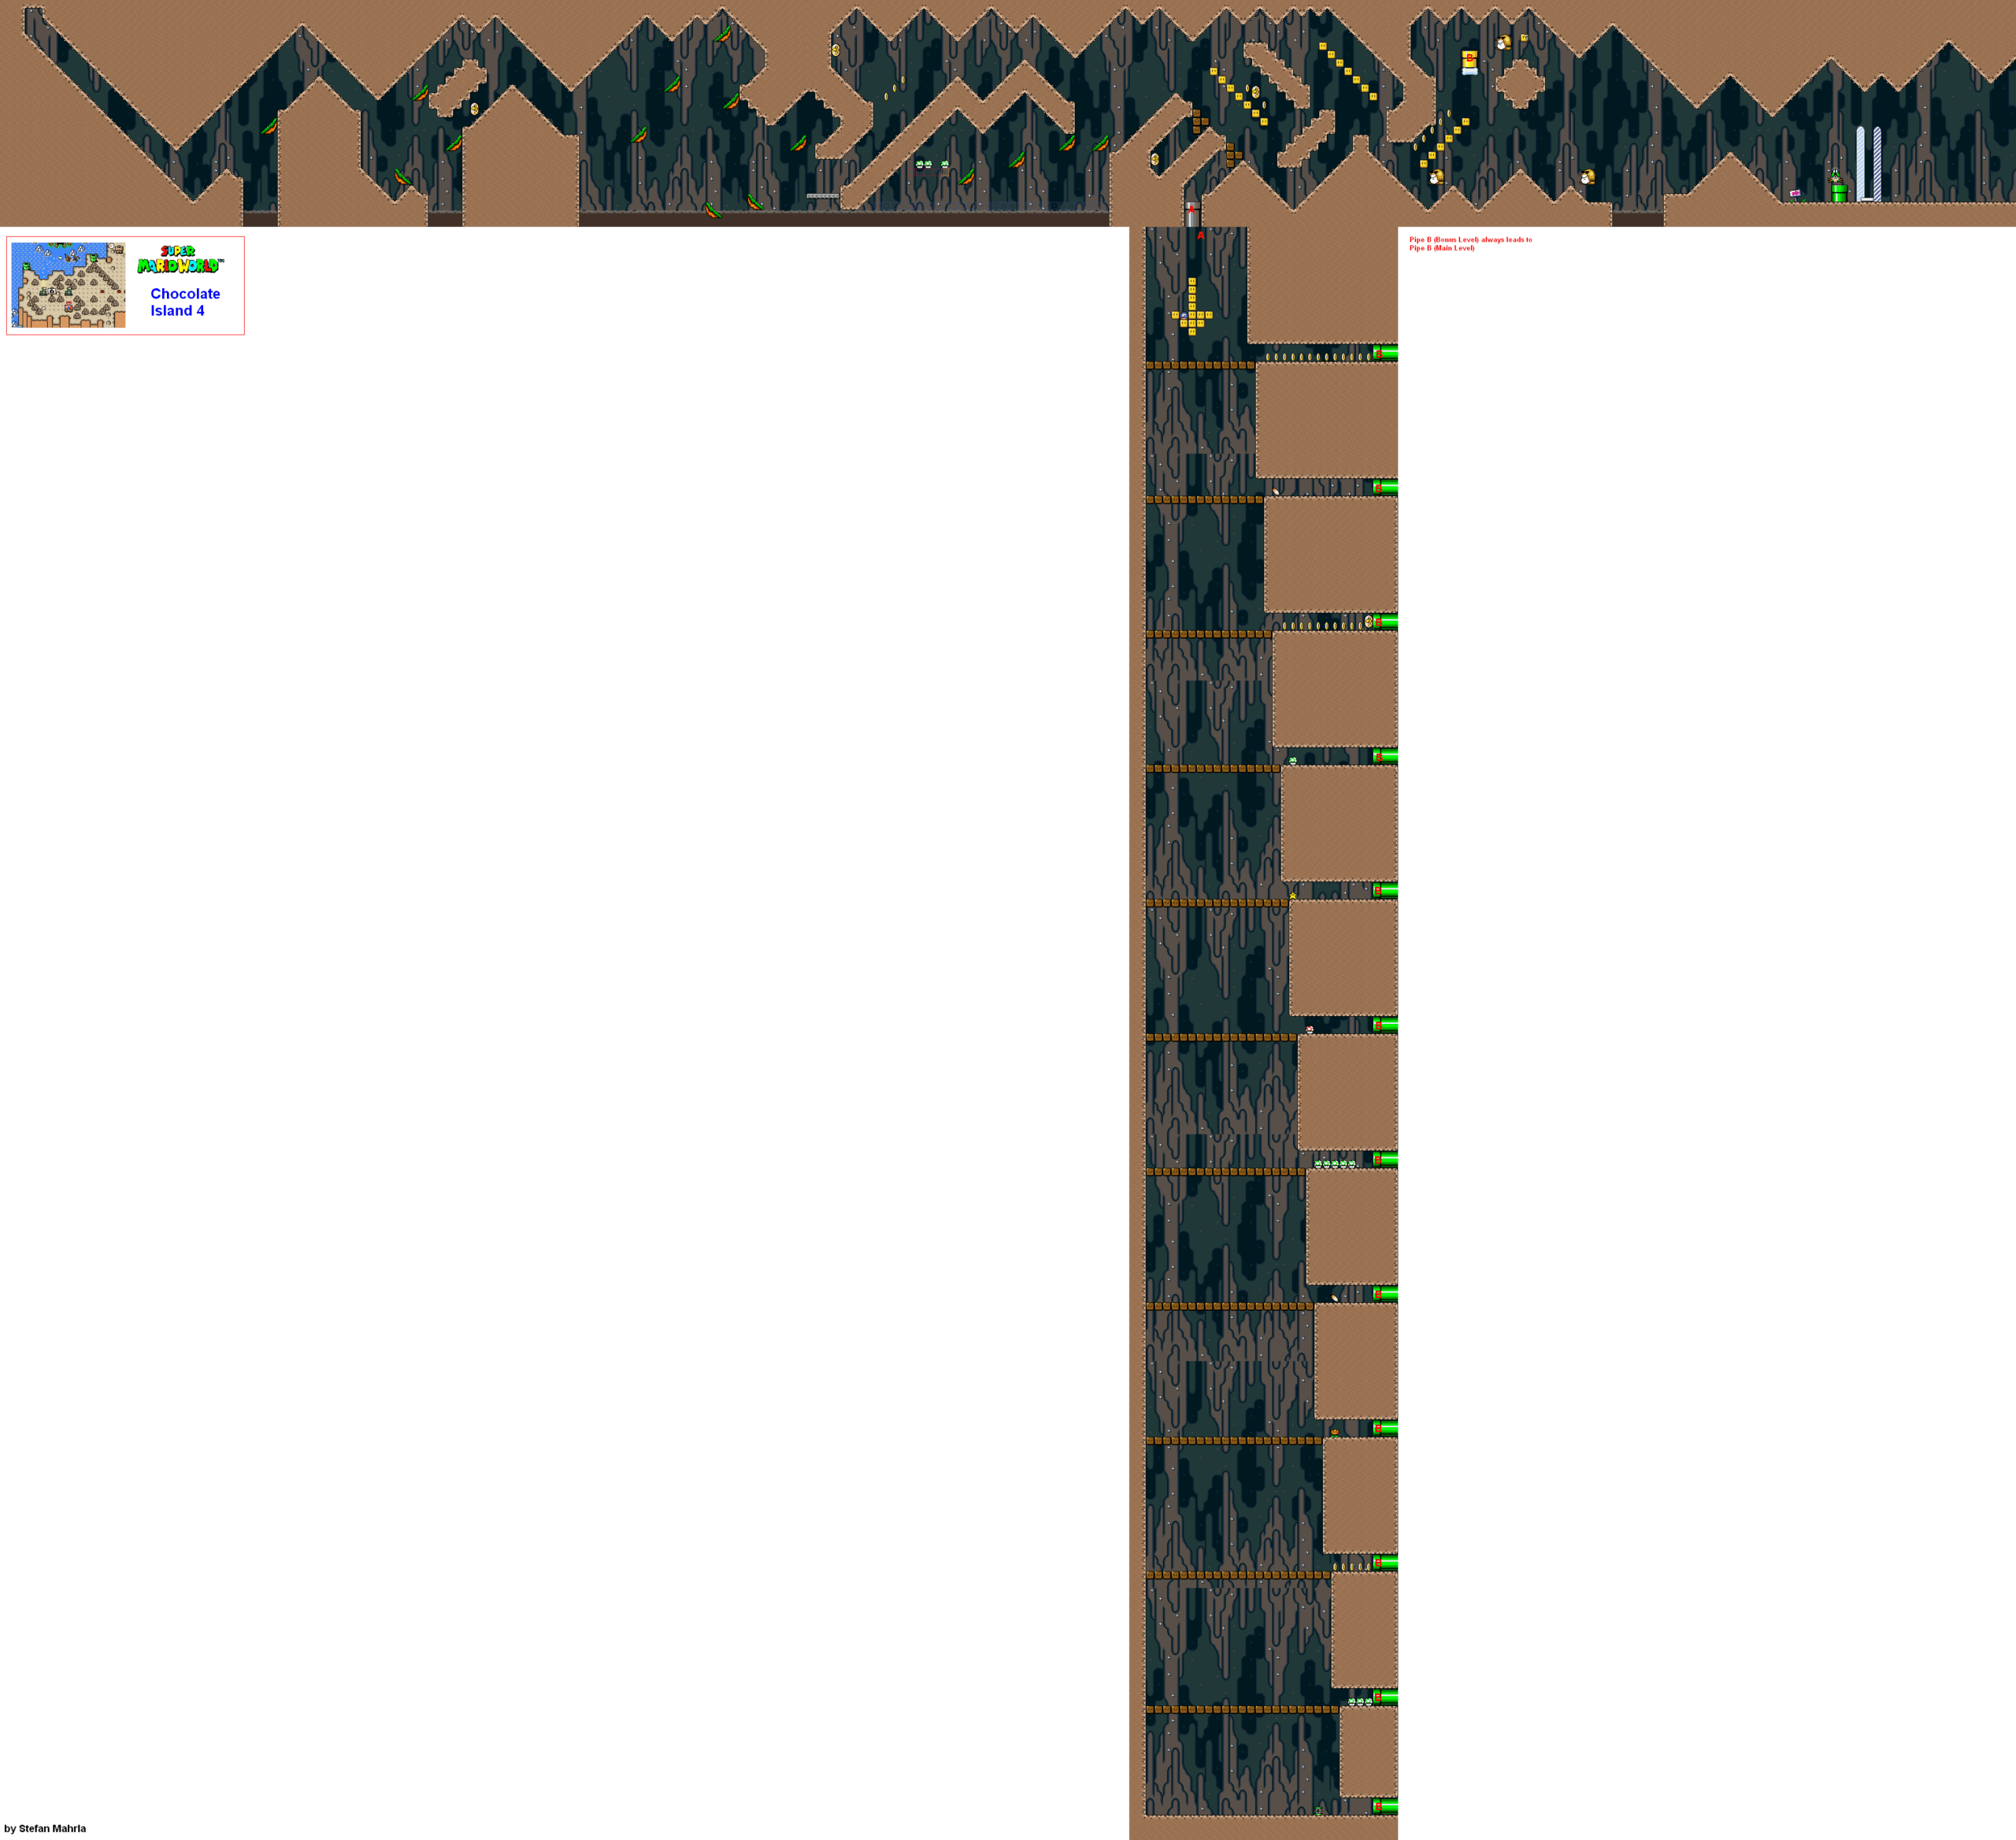
Choose the lower diagonal lifts that actually carry you across the boiling mud; several upper lifts end without progressing. Drop into the safe lower passage for the checkpoint. In the block area, use the P Switch to clear access to the pipe. Its bonus room lets you drop through coin platforms and choose a reward tier before taking an exit pipe. Back on the main path, avoid the Mega Moles, then pass the Chuck at the goal to reach Chocolate Island 5.
Chocolate Island 5

The blue P Switch frees the Spinies enclosed in brown blocks, so plan your landing before activating it. A gray switch above the starting area can turn those enemies into silver coins. Continue over the water and watch for falling Para-Goombas and Para-bombs. The yellow side pipe before the water leads to the bubble room with two Dragon Coins. Beyond the checkpoint, transfer across the moving pipes and stretch blocks, then clear the final Chucks to open Wendy’s Castle.
Wendy’s Castle
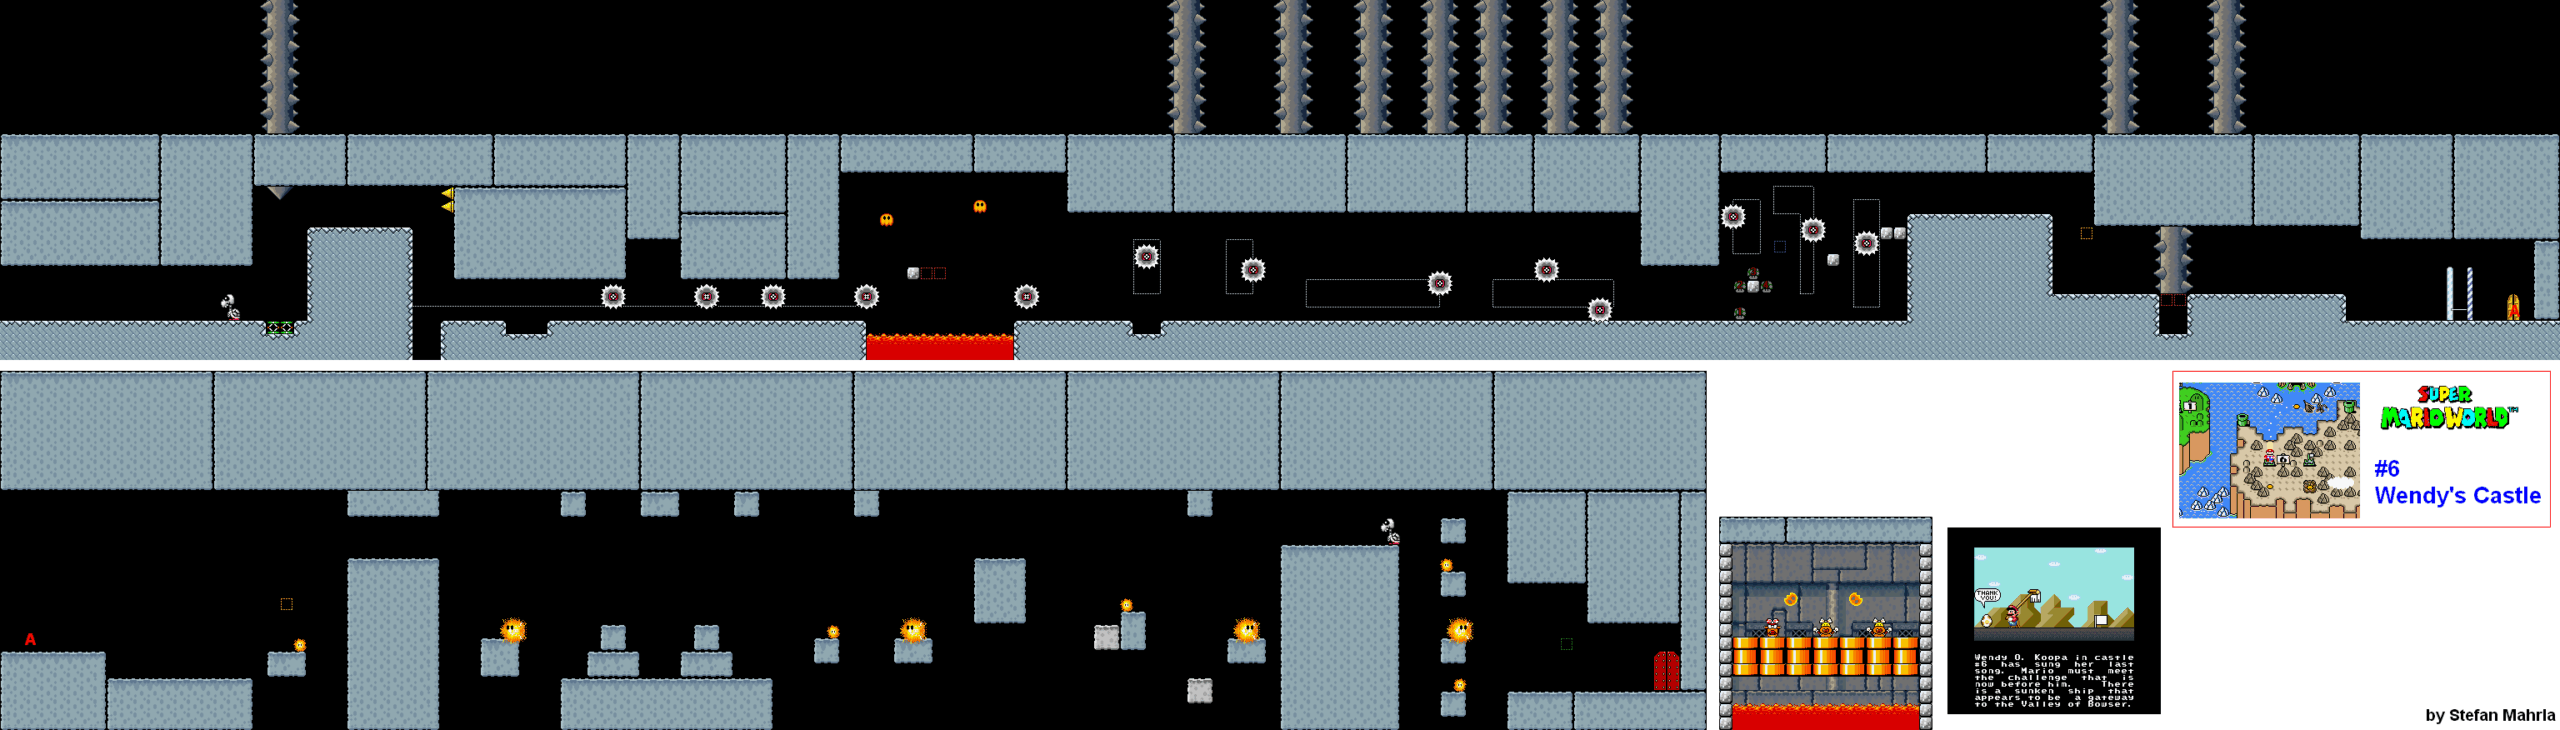
Move behind each rising Skewer and pause in the recesses between the Grinders. Take the checkpoint before entering the moving-block room. Hotheads and Lil Sparkies travel along the block edges, so wait for them to pass your landing rather than chasing them into a closing gap. Wendy appears from the pipes with two decoys. Identify her head, stomp it and move away from the two bouncing Lava Bubbles. Three hits open the way to Sunken Ghost Ship.