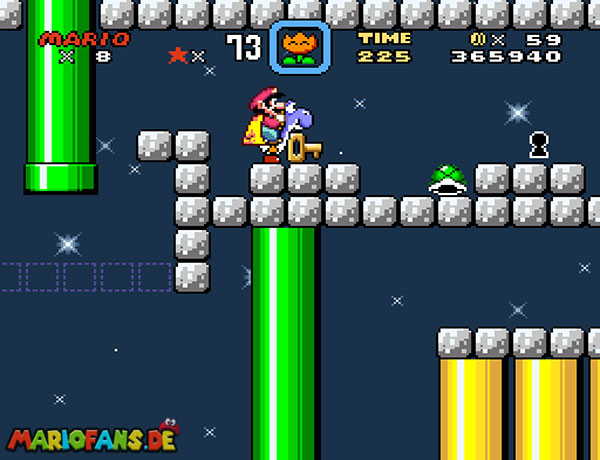

Use these routes alongside the world chapters when checking your exit total. A red map dot usually indicates two exits; Ghost Houses can also have two goals. Take each normal goal as well as its alternate route. Vanilla Ghost House and Choco-Ghost House each have only one exit.
Donut Plains 1
Fly to the upper key ledge near the end, or run up the activated green blocks. Opens Donut Secret 1. See the Donut Plains 1 route for the stage approach.
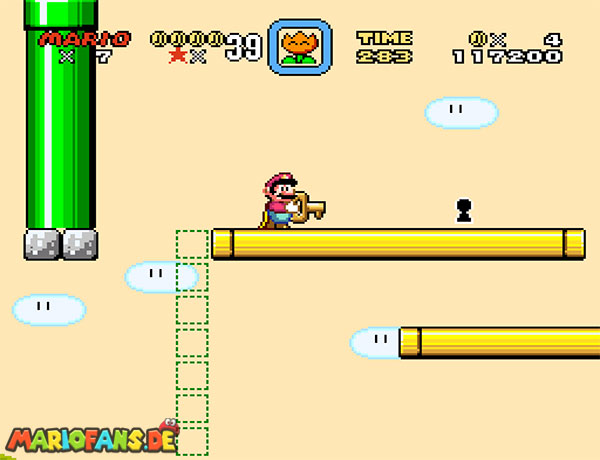
Donut Plains 2
Take the green ceiling pipe after the green block outline; use the blue shell to reveal the high vine. Opens Green Switch Palace. See the Donut Plains 2 route for the stage approach.
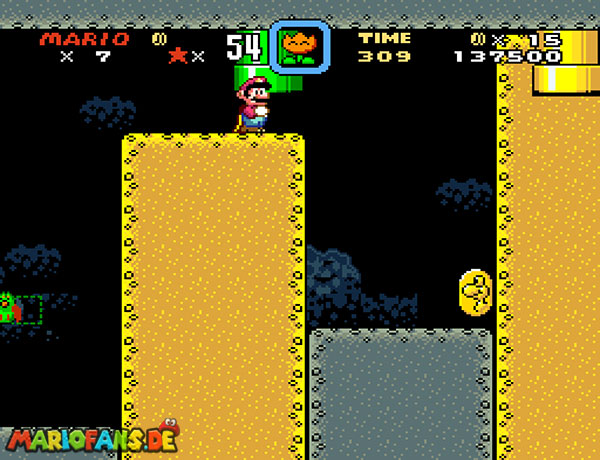
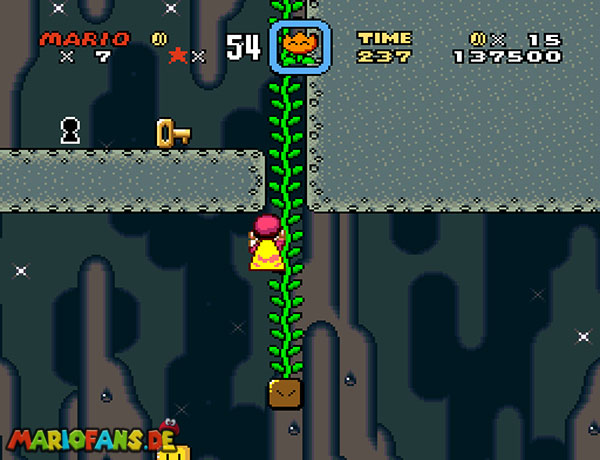
Donut Ghost House
With a cape, fly up at the far left of the first room and cross the ceiling to the hidden door. Opens Top Secret Area. See the Donut Ghost House route for the stage approach.
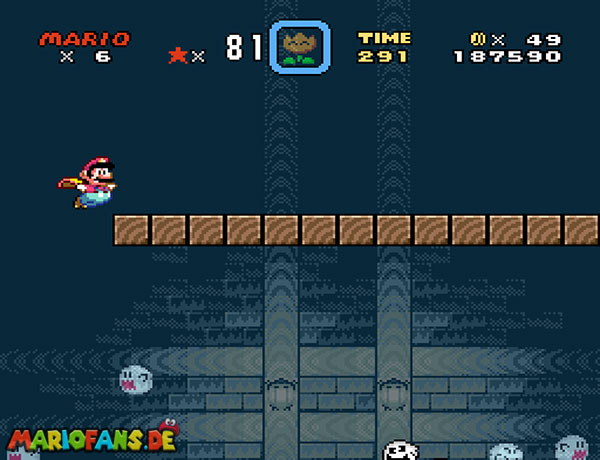
Donut Secret 1
Carry the P Switch to the keyhole barrier and use it there to reach the key block. Opens Donut Secret House. See the Donut Secret 1 route for the stage approach.
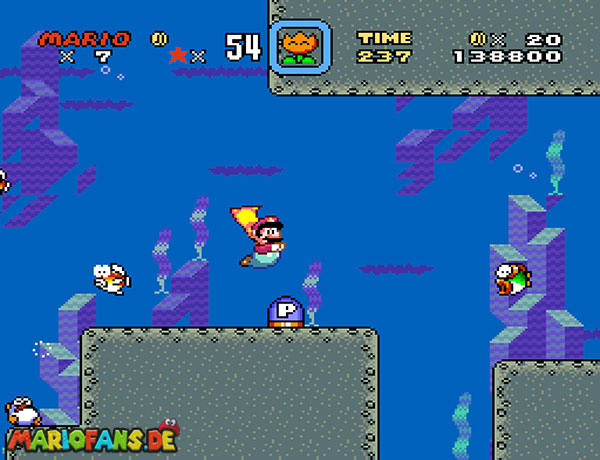
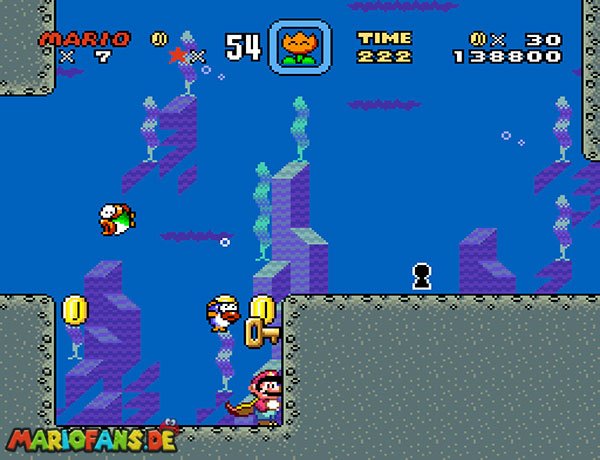
Donut Secret House
Reveal the vine above the timed blocks, climb to the upper blue door and defeat Big Boo. Opens Star Road. See the Donut Secret House route for the stage approach.
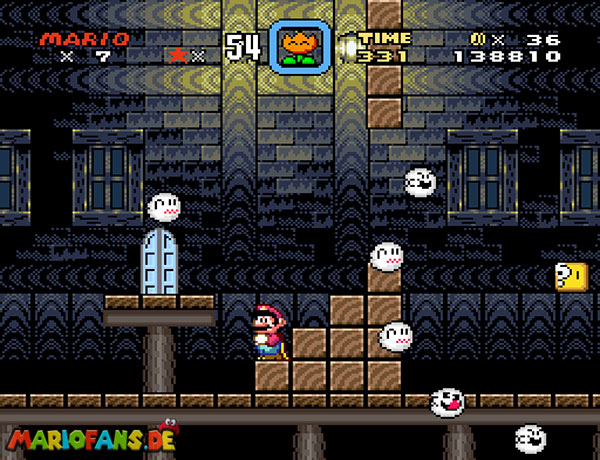
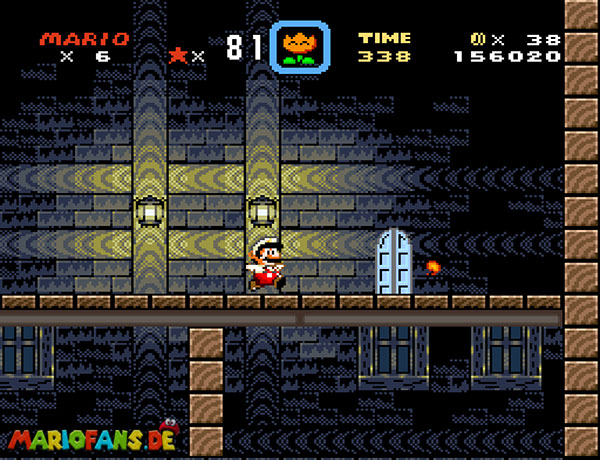
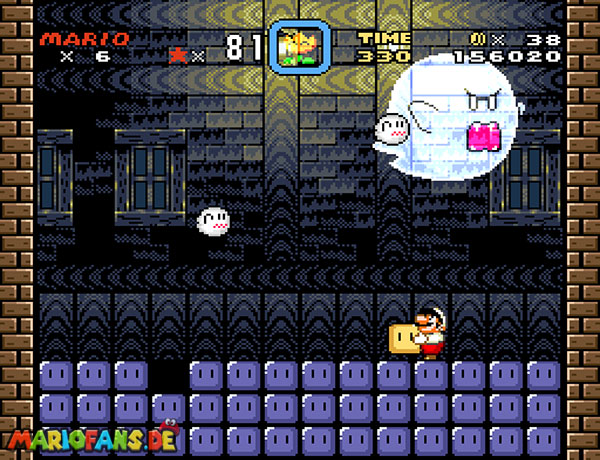
Vanilla Dome 1
Use the red switch-block steps to reach the vine between the yellow pipes. Opens Vanilla Secret 1. See the Vanilla Dome 1 route for the stage approach.
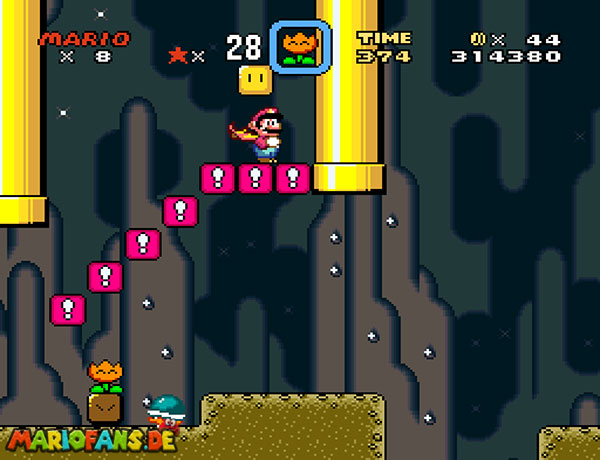
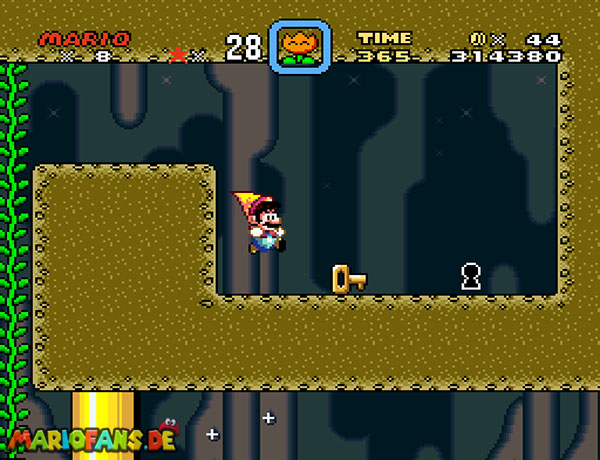
Vanilla Secret 1
Reach the high left pipe using the springboard on blue blocks or a cape. Opens Star Road. See the Vanilla Secret 1 route for the stage approach.
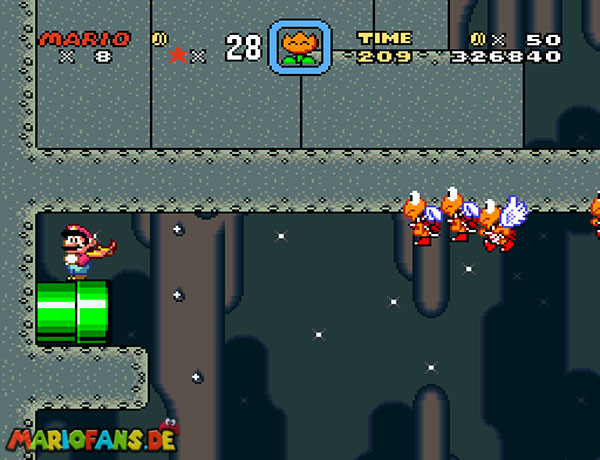
Vanilla Dome 2
Carry the P Switch back to the brown barrier and drop through the nine-coin gap. Opens Red Switch Palace. See the Vanilla Dome 2 route for the stage approach.
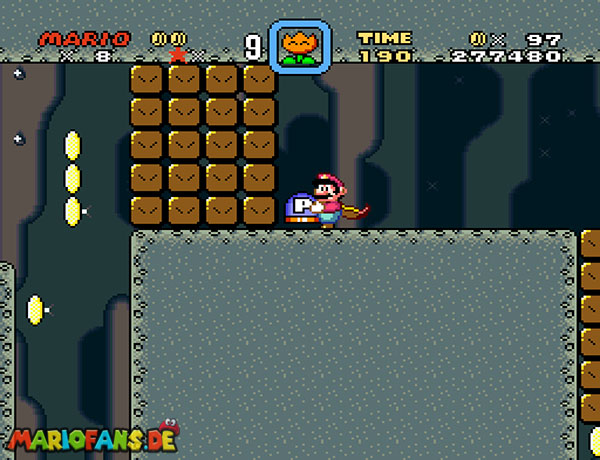
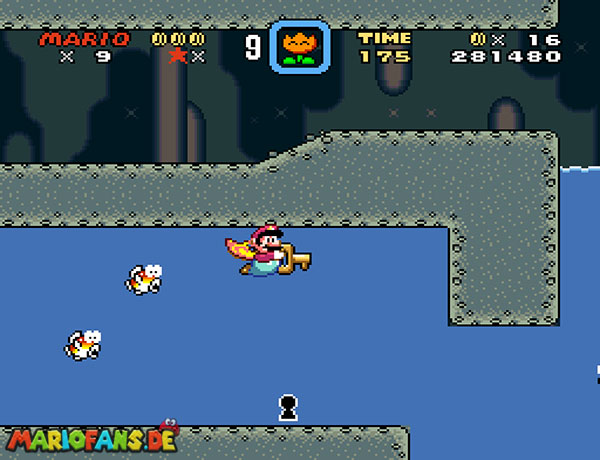
Cheese Bridge Area
Pass beneath the first goal tape, recover onto the ground behind it and continue to the second goal. Opens Soda Lake. See the Cheese Bridge Area route for the stage approach.
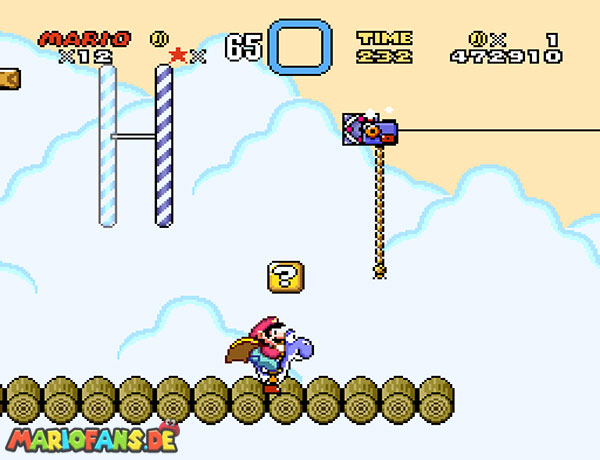
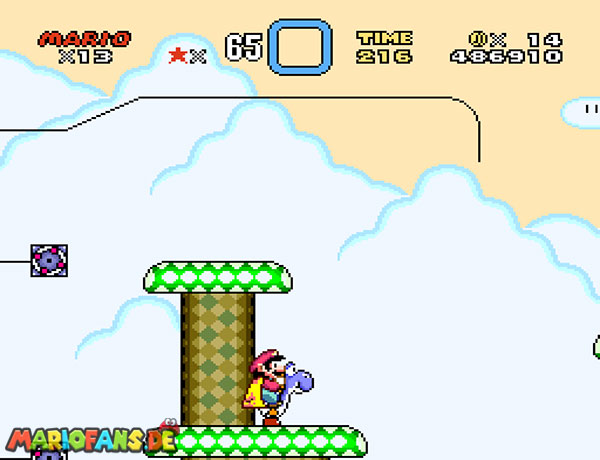
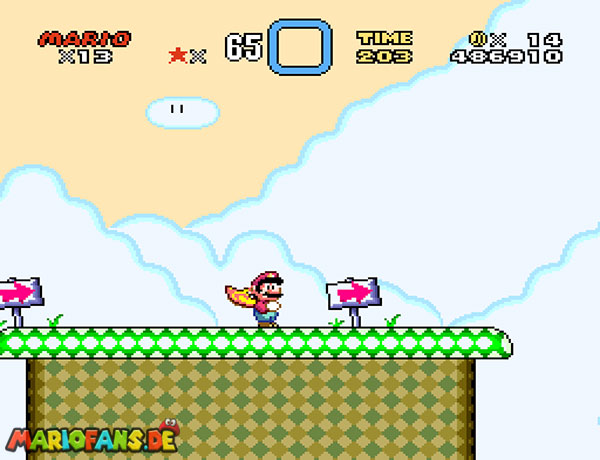
Forest of Illusion 1
Float backward from the late Power Balloon to the key ledge below the main route. Opens Forest Ghost House. See the Forest of Illusion 1 route for the stage approach.
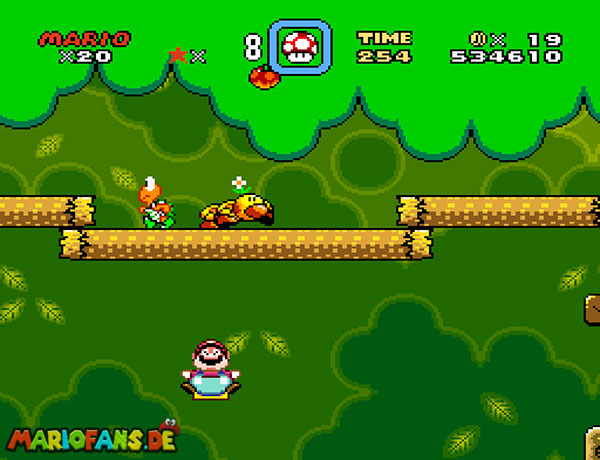
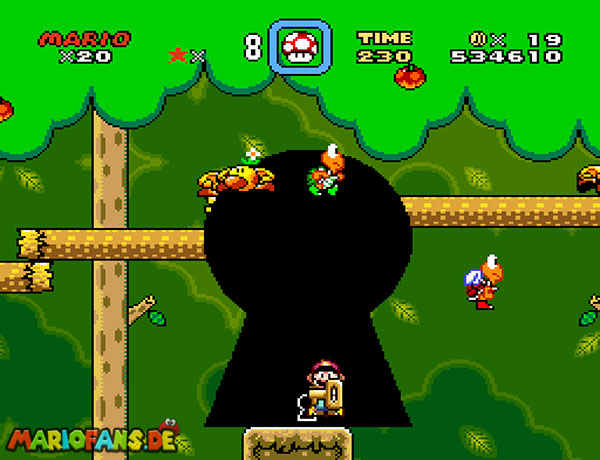
Forest of Illusion 2
Near the final fish area, swim left past the yellow block into the concealed wall passage. Opens Blue Switch Palace. See the Forest of Illusion 2 route for the stage approach.
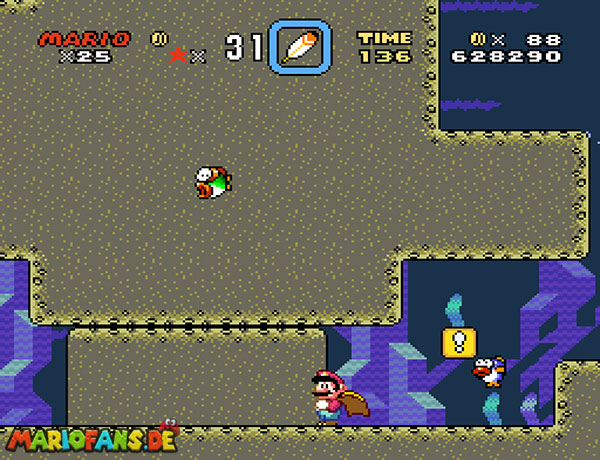
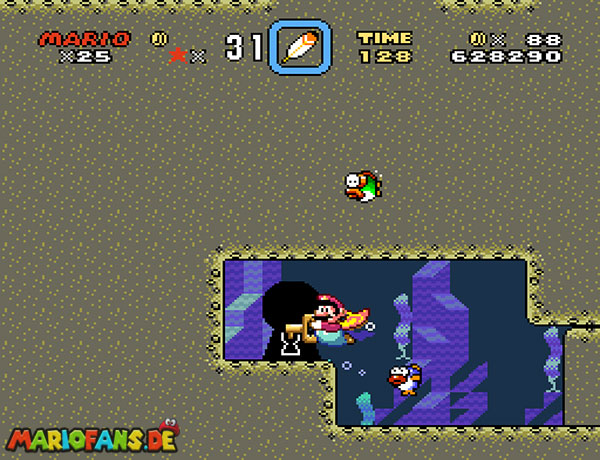
Forest of Illusion 3
Enter the tall green pipe near the late Splittin’ Chuck and Spin Jump into the key enclosure. Opens Roy’s Castle. See the Forest of Illusion 3 route for the stage approach.
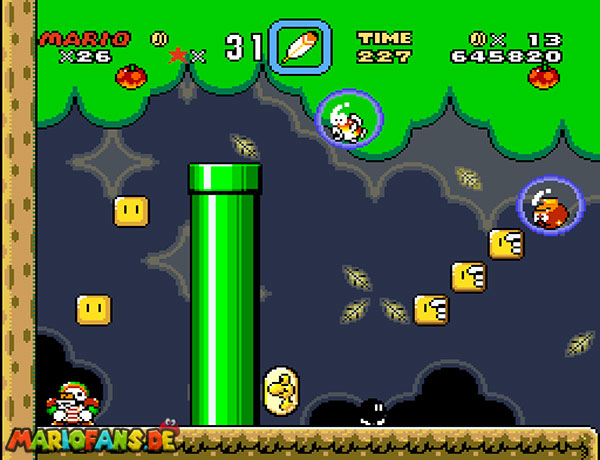
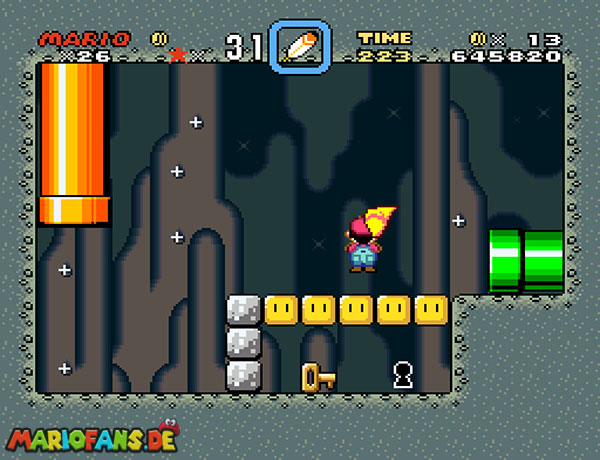
Forest Ghost House
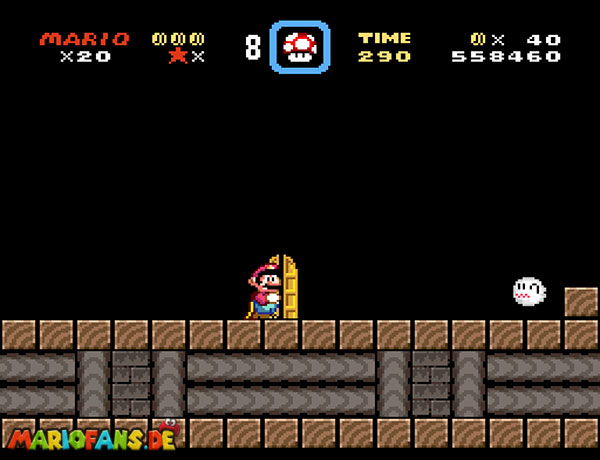
In the upper return corridor, pass the first yellow door and use the farther-left one. The goal beside the 3-Up Moon reconnects to Forest of Illusion 1; the other goal leads to Forest of Illusion 4. See the Forest Ghost House route for the stage approach.
Forest of Illusion 4
Enter the raised blue pipe beyond the checkpoint, using a Paratroopa bounce or cape to reach it. Opens Forest Secret Area. See the Forest of Illusion 4 route for the stage approach.
Chocolate Island 2
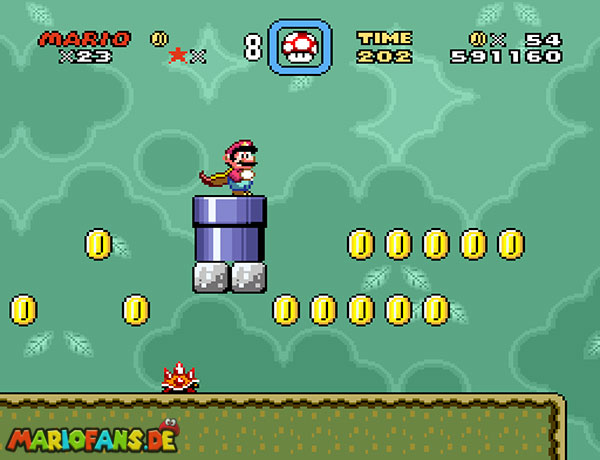
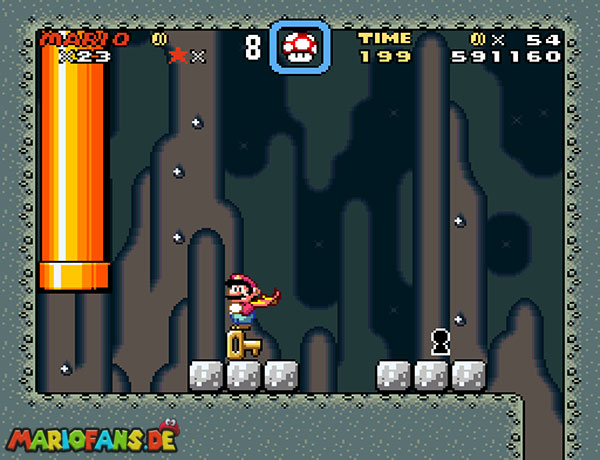
Leave the second area with at least 250 seconds remaining to enter the key route. Opens Chocolate Secret. See the Chocolate Island 2 route for the stage approach.
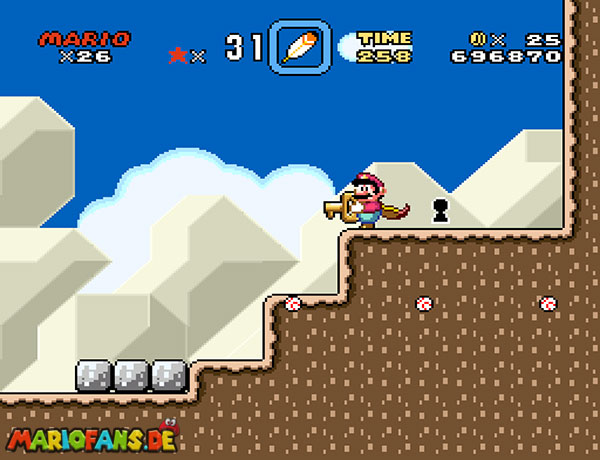
Chocolate Island 3
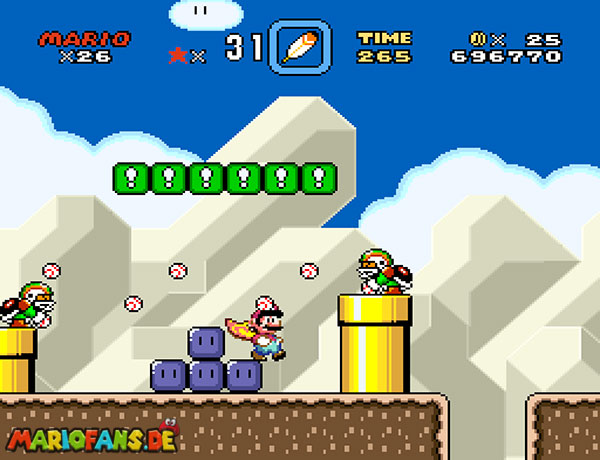
Fly across the wide gap beyond the first goal to the second Giant Gate. Opens Chocolate Fortress. See the Chocolate Island 3 route for the stage approach.
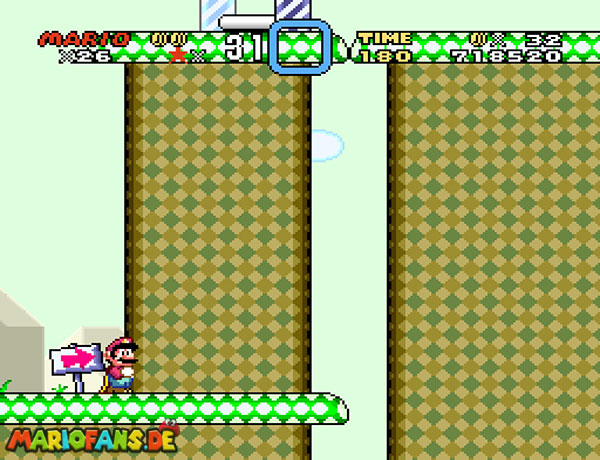
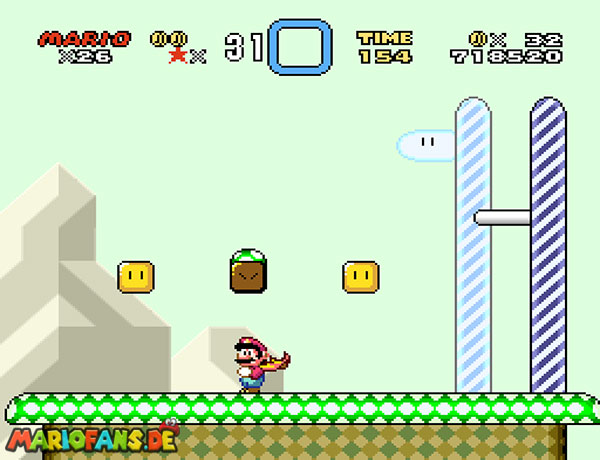
Valley of Bowser 2
Ride the first rising sand mass in the third section, jump onto the left ceiling and walk left. Opens Valley Fortress. See the Valley of Bowser 2 route for the stage approach.
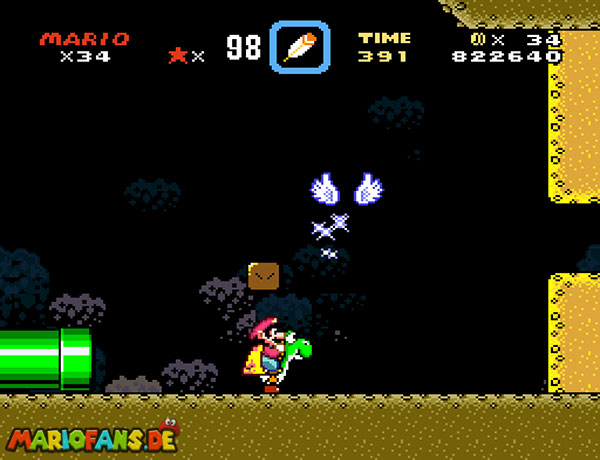
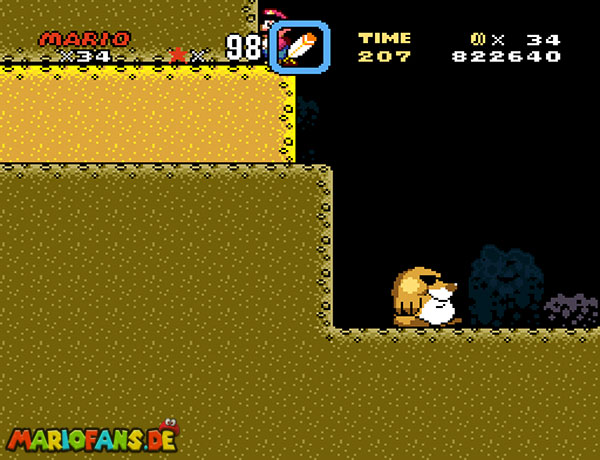
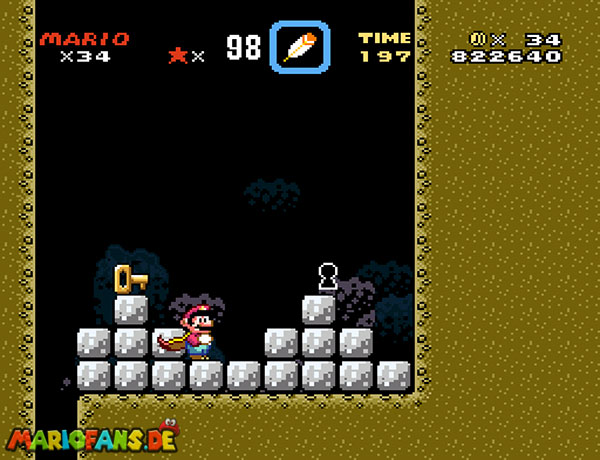
Valley Ghost House
Use the far-right timed door, then shape the Control Coin trail into stairs to the upper-right key passage. Opens Larry’s Castle. See the Valley Ghost House route for the stage approach.
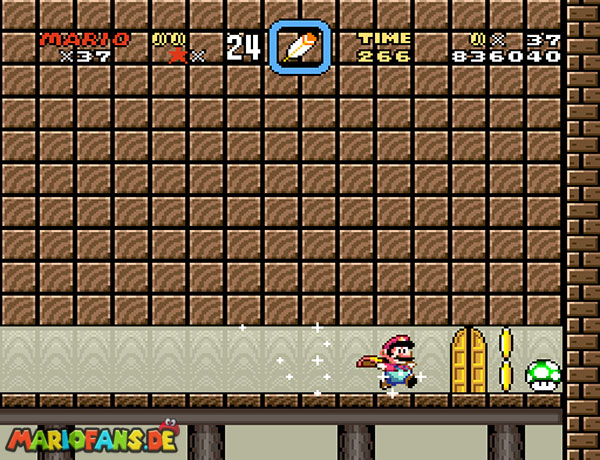
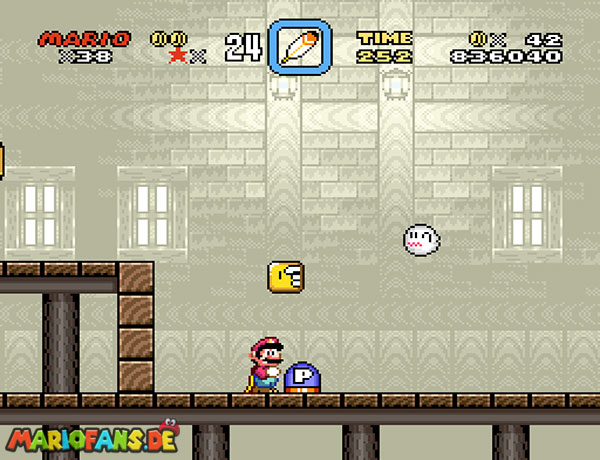
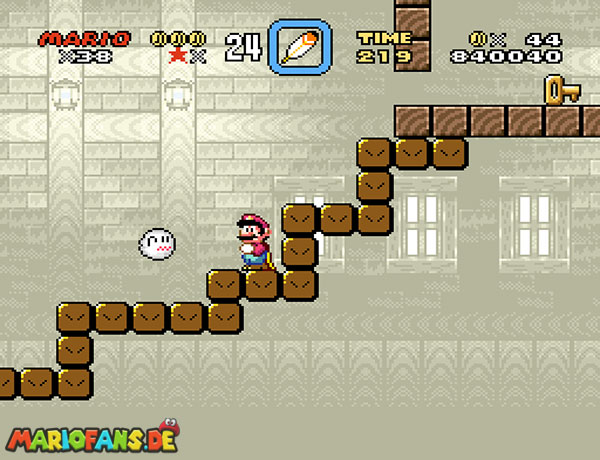
Valley of Bowser 4
Bring Yoshi to the wall near the goal and use his tongue to take the enclosed key. Opens Star Road and the Front Door. See the Valley of Bowser 4 route for the stage approach.
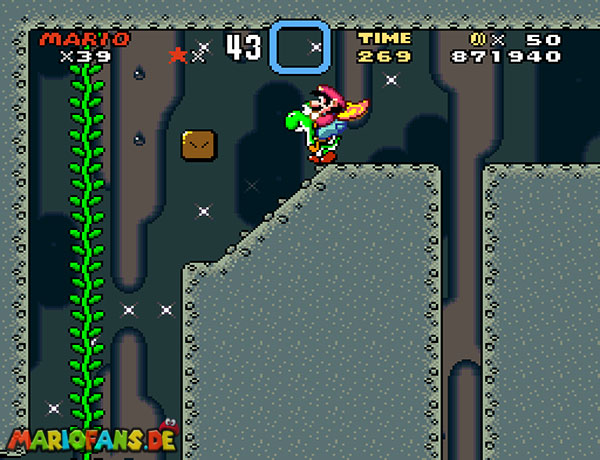
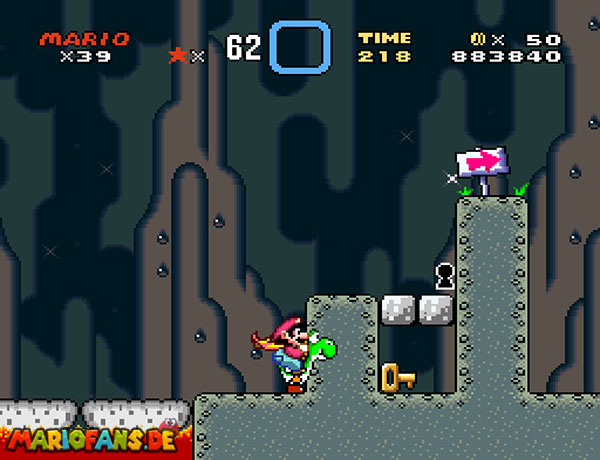
Star World 1
Spin Jump down the far-right turn-block shaft to the key ledge. Opens Star World 2. See the Star World 1 route for the stage approach.
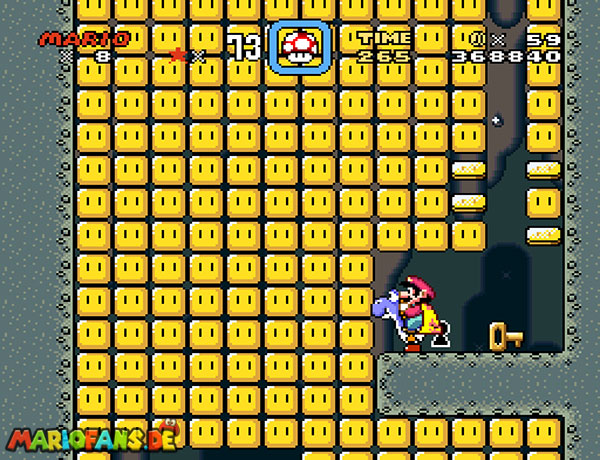
Star World 2
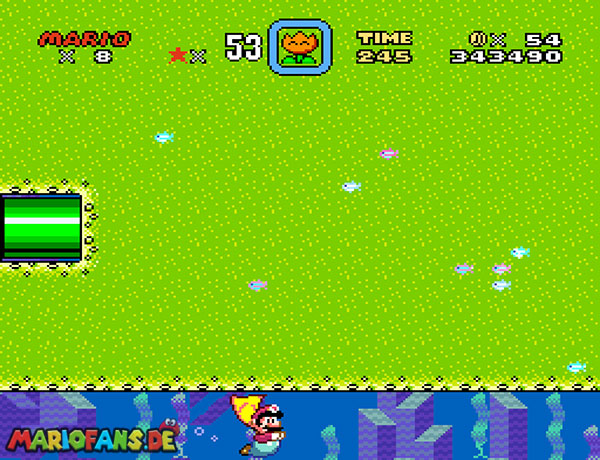
Swim beneath the last green pipe and continue right to the keyhole. Opens Star World 3. See the Star World 2 route for the stage approach.
Star World 3
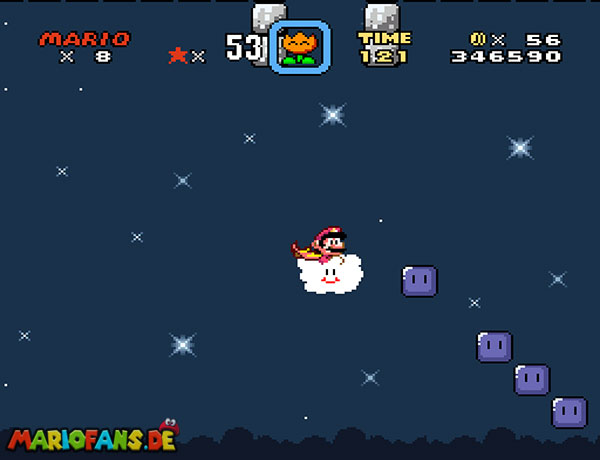
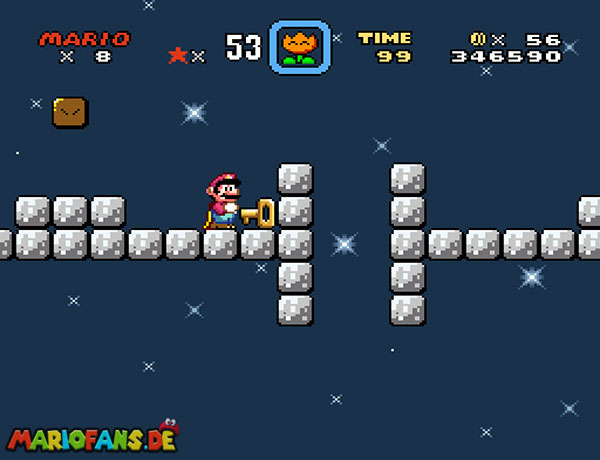
Take Lakitu’s cloud through the central gap; the key block is on the left and keyhole on the right. Opens Star World 4. See the Star World 3 route for the stage approach.
Star World 4
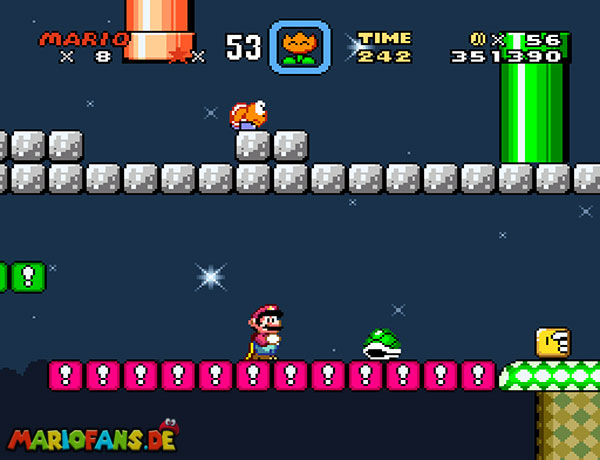
Follow the lower green and red block path beneath the orange pipe, then open the key block. Opens Star World 5 and the Bowser warp. See the Star World 4 route for the stage approach.
Star World 5
Reach the high colored-block path by cape, flying Yoshi or its vine approach. Follow it to the key. Opens the Special Zone. See the Star World 5 route for the stage approach.