

Bring a cape and replenish your reserve item at Top Secret Area before starting. These eight stages have no secret exits. Clear them in the order below, taking the offered save points before moving on.
Gnarly
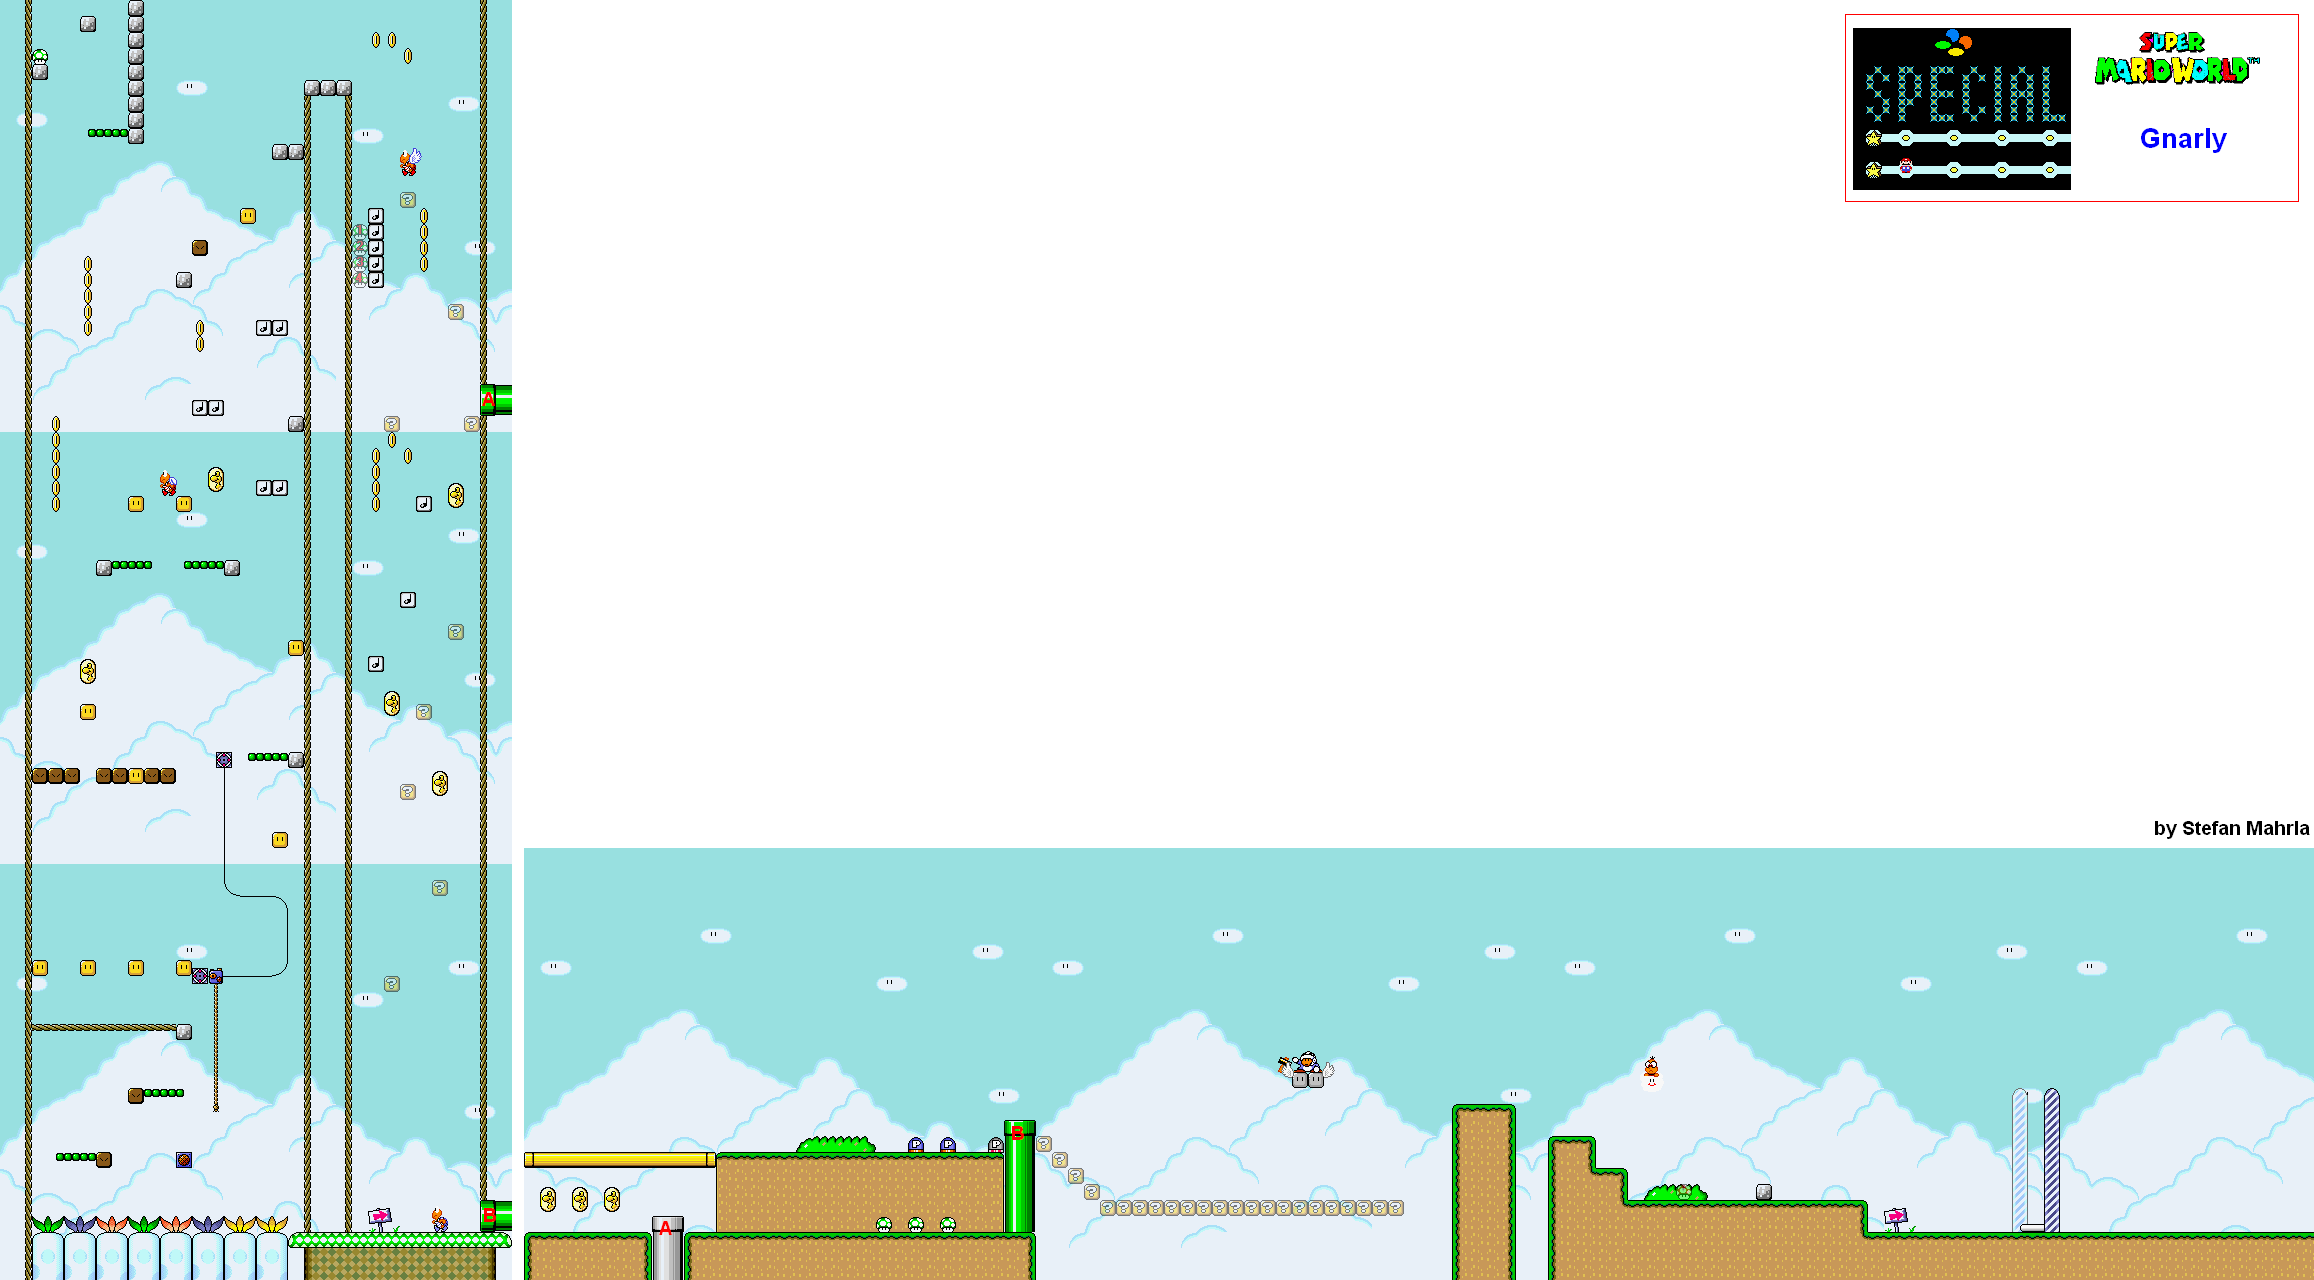
Climb the spring platforms to the four vine blocks. The rightmost vine gets past the overhead obstruction. Above it, reveal the next vine and the P Switch, then carry the switch up the note blocks. Activate it at the top and drop along the right wall to the pipe. In the second area, check both sides for Dragon Coins and hidden 1-Ups before continuing. Use a cape, or the Hammer Brother’s platform and P Switch route, to cross the final gap.
Tubular

Clear the opening pipes, then take the first Power Balloon beside the last pipe. Float between the Volcano Lotus shots and Chargin’ Chuck projectiles, heading for the next balloon before the current one runs out. The second balloon is near the vertical Paratroopa group; the third is below the first football-throwing Chuck. Avoid holding one direction continuously when an enemy blocks the route. A prepared Blue Yoshi and cape offer another approach, but the balloon route works without importing those items.
Way Cool

Ride the track platforms and use the ON/OFF switches to choose a rail that avoids the Fuzzies and chainsaws. Watch the branch ahead before hitting a switch: the correct choice depends on your current platform position. A cape can reach the high yellow pipe. Its room supplies Yoshi, and the next small platform has Yoshi’s Wings, offering a shortcut and extra Dragon Coins. Otherwise, continue on the moving ropes to the ordinary goal.
Awesome

Brake early on the ice. The opening flashing shell chases Mario, so clear it before attempting a careful landing; Yoshi can eat it. Beyond the first stretches, the P Switch lets you reach a star block near the start of the hazardous second half. Time jumps between the leaping fish and Banzai Bills, keeping the final single-block landings in view. A cape helps recover height, but landing too fast still sends you sliding off the ice.
Groovy

Use the first red shell to hit the nearby Yoshi block. Yoshi makes the Pokeys and Piranha Plants easier to handle, while the roulette block after the first Volcano Lotus can supply a star. Work across the relatively short ground route, giving the Lotus projectiles time to spread before jumping. Three clapping Chucks guard the final goal, so avoid jumping directly into their hands.
Mondo

Wait for the tide to rise when a high pipe blocks the route, then swim over it; when the water drops, use the Hammer Brother’s platform instead. The Cheep Cheeps change from swimming to flopping as the tide recedes, so do not assume their ground movement will match their underwater path. Take the early feather and Yoshi if available. Follow the pipes and block platforms right to the exit, and save when offered.
Outrageous

The first half combines cannons, Wigglers and springboards. Look for the next Bullet Bill before leaping, and avoid enraging a Wiggler on a narrow landing. Beyond the tall orange pipe, Hammer Brothers and Piranha Plants guard the gaps between pipes. A Yoshi block in this later section gives an extra chance to recover. At the final two cannons, time your jump after a shot has passed and cross to the goal beyond the last gap. A cape can bypass much of the ground route if you can sustain flight.
Funky

The 200-unit timer is the main pressure. Start with Yoshi or hatch him from the high early block, then eat the green berries along the route to add twenty units apiece. Strike Sumo Brothers from beneath their platforms or pass after their fire clears. Use the P Switch in the first of the paired turn blocks to open the later block arrangement. Keep moving through the Koopas, gaps and final three Chucks until you reach the congratulatory coin message and goal. On SNES, clearing Funky opens the return warp and changes the map to autumn. Check your saved exit total afterward; this change alone does not prove you have all 96 exits.