

This region introduces the Cape Feather and several branching exits. Open the Green Switch Palace and Top Secret Area early, then follow the main route to Morton. Return to any red-dot stage for the other exit.
Donut Plains 1

Stomp a flashing-caped Super Koopa to obtain a Cape Feather. Use the open ground to build running speed before taking flight; the overhead pipe area offers room to practise. The normal goal opens Donut Plains 2. For the secret exit, fly up near the far-right end to the key ledge, or return after activating the Green Switch Palace and run up the green blocks using the triangular block. Carry the key into its keyhole to open Donut Secret 1.
Donut Plains 2
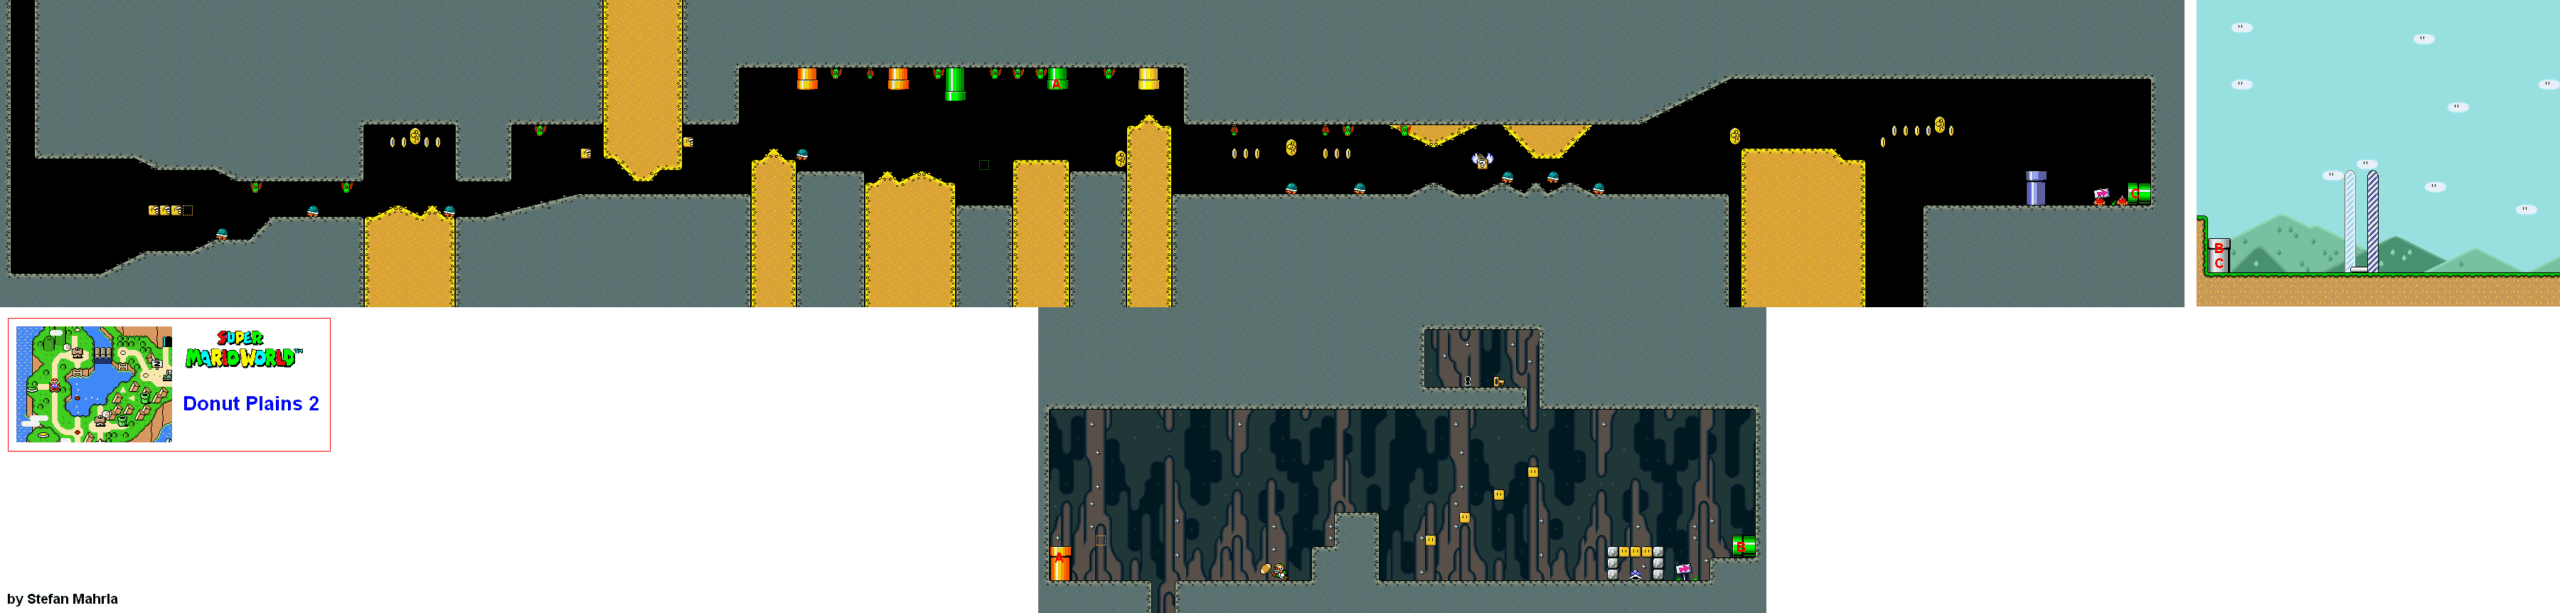
Stay ahead of the scrolling cave wall while watching the rising sand and the Swoopers overhead. Continue right for the normal goal and Donut Ghost House. For the Green Switch Palace, enter the green ceiling pipe just after the green switch-block outline. In the side room, throw the blue shell upward at the highest turn block to reveal a vine. Climb to the key and keyhole. A cape or Yoshi holding the blue shell can also reach this upper ledge. Return for the normal exit afterward.
Green Switch Palace
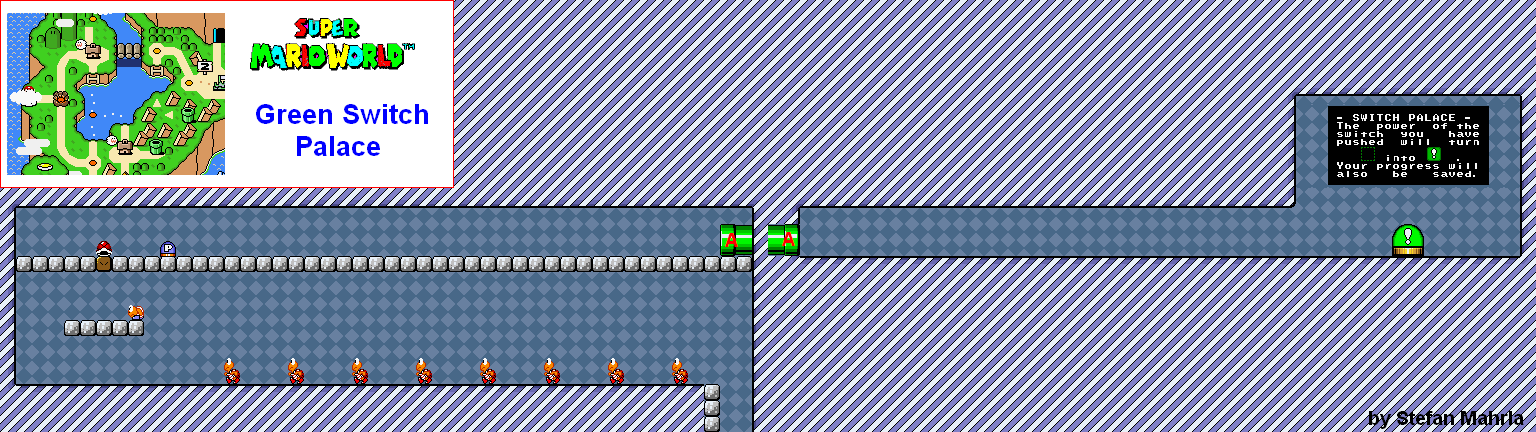
You can cross the upper walkway directly to the pipe, or use the lower shell-and-Koopa arrangement for an extra life. In the second room, press the large green switch. Green blocks now fill their outlines, and striking one releases a Cape Feather. This makes several secret routes and later castle approaches safer.
Donut Ghost House
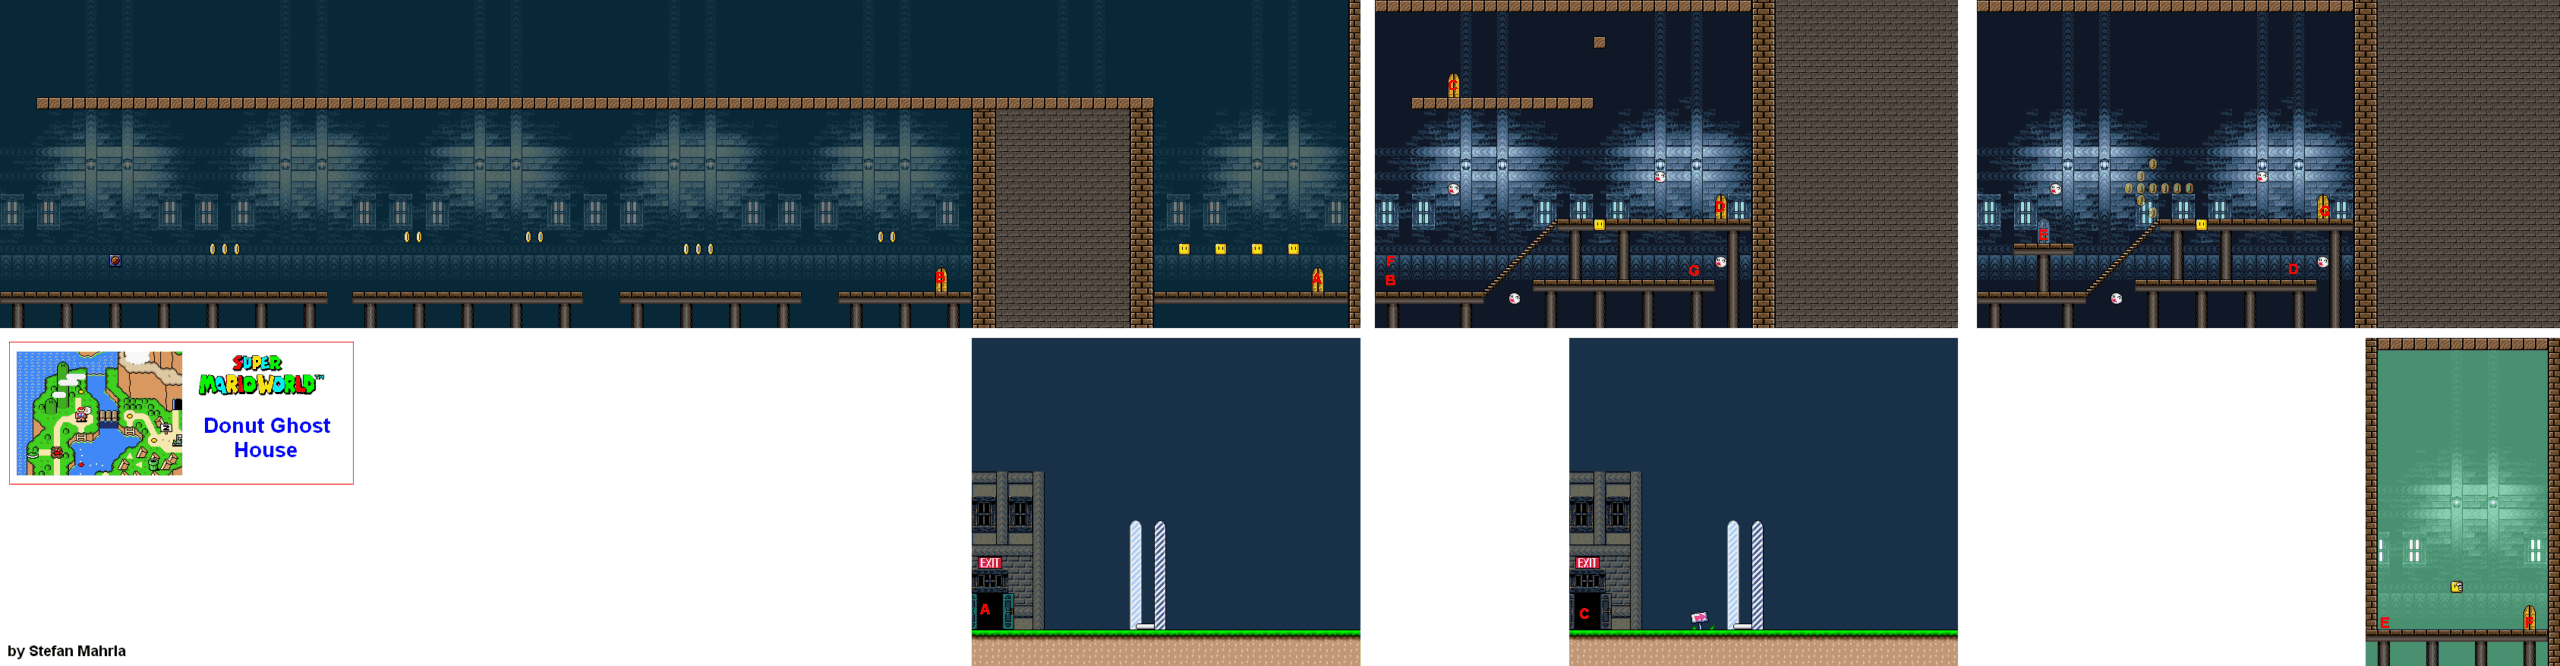
In the opening room, face approaching Boos to stop them, then move when the way behind you is clear. At the staircase room, enter the upper door once. Hit the block below the stairs if you want the P Switch bonus, but return through the upper staircase door to change to the otherwise identical room containing a vine. Hit its block and climb to the exit. For Top Secret Area, start with a cape and fly up the opening at the far left of the first room. Run right along the ceiling to the four 1-Up blocks and the hidden exit door.
Top Secret Area
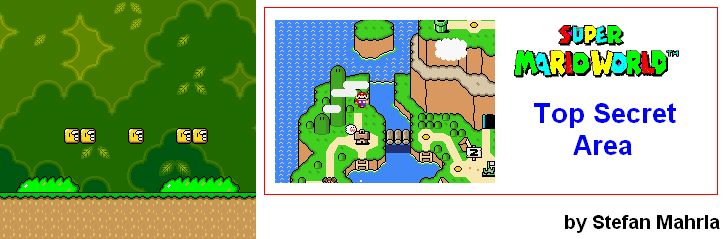
Revisit this safe supply stop whenever you need equipment. The left pair of blocks supplies Fire Flowers, the right pair supplies Cape Feathers, and the middle block supplies Yoshi. As Small Mario, first take a Mushroom, then hit another item block for the stronger power-up. If you already have Yoshi, the middle block gives a 1-Up. Leave and re-enter to replenish the blocks before tackling a difficult secret exit.
Donut Secret 1
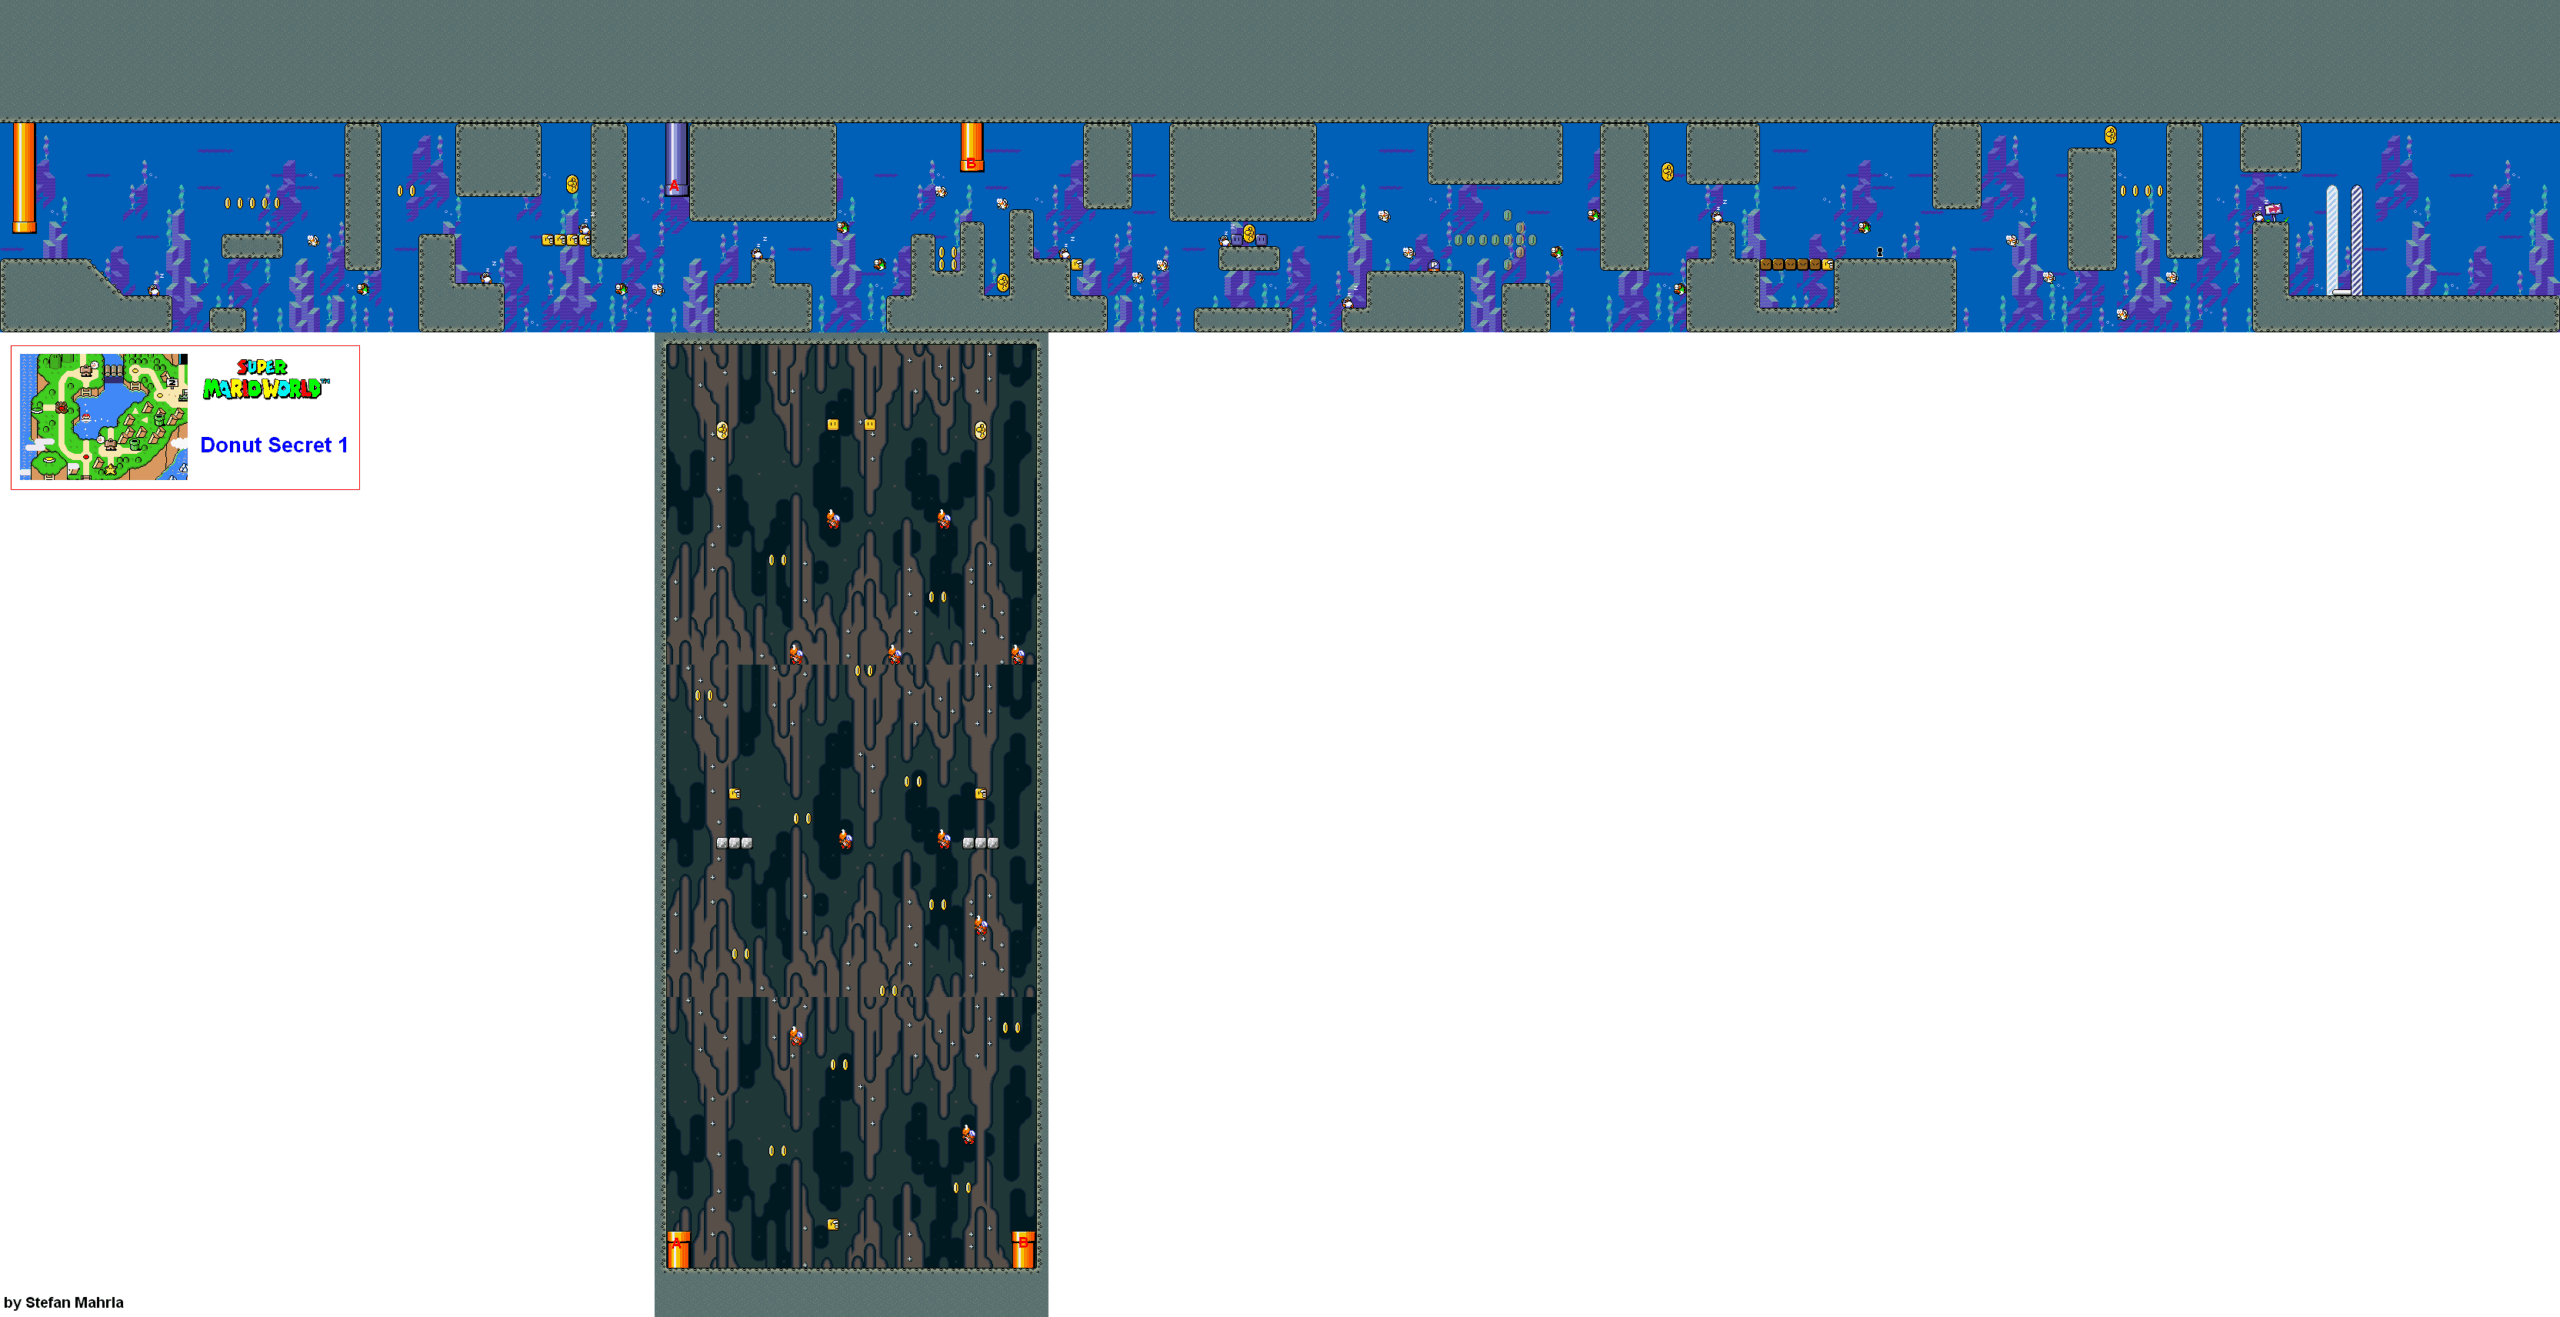
Swim through the lake while giving the sleeping Rip Van Fish room. The first blue pipe contains a balloon bonus room with additional Dragon Coins. The normal goal leads to Donut Ghost House. For the secret exit, carry the P Switch to the used-block barrier beside the keyhole. Press it there, collect the coins that replace the barrier, then hit the newly accessible ? Block for the key. Use it before leaving to open Donut Secret House.
Donut Secret House
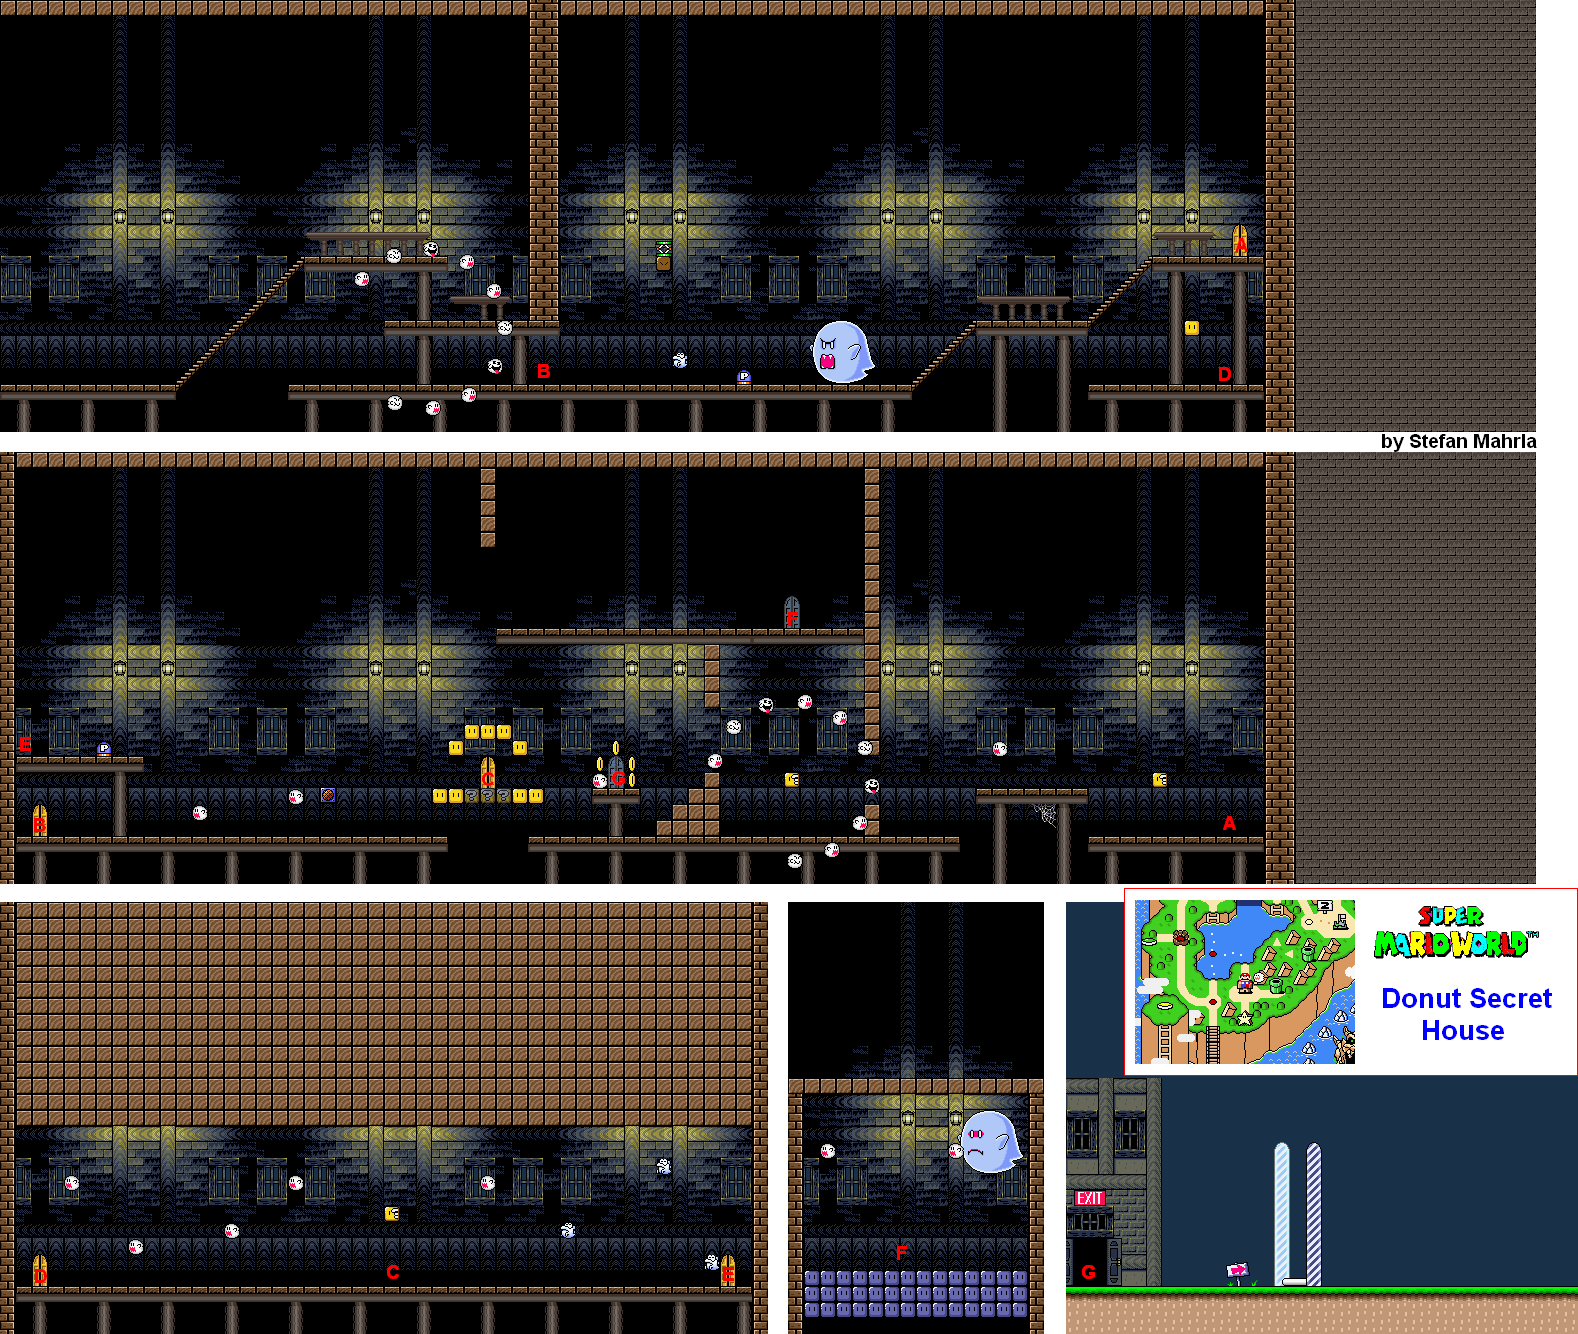
Pass the circling ghosts to the second room. For the normal exit, first collect the five coins on the raised platform, then activate the P Switch on the left and return to the blue door. This opens Donut Secret 2. For Star Road, activate the switch and stand on the middle of the three newly accessible ? Blocks beneath the overhead turn block. Hit it, climb the vine and run right along the upper platform to the timed blue door. Throw three floor blocks at Big Boo while it is visible, leaving yourself enough floor to stand on. The smaller Boos remain dangerous.
Donut Secret 2
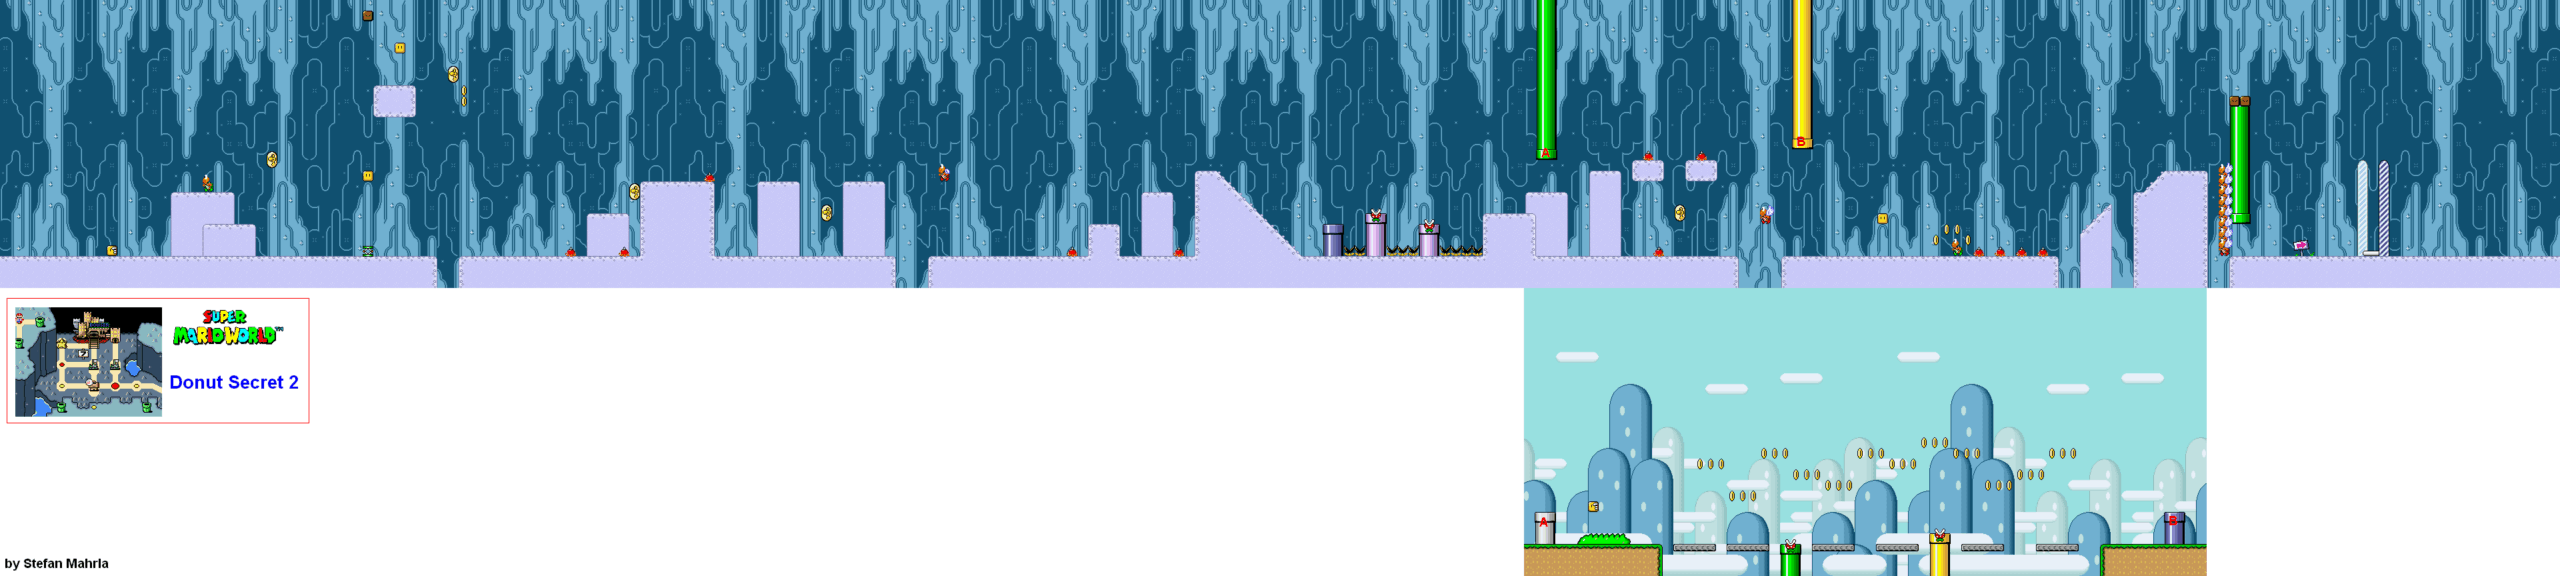
This is an ice cave, so release the run button before narrow landings and avoid sliding into Spike Tops. Near the beginning, the springboard and vine lead to a star. The green ceiling pipe above the Munchers opens a sky bonus area with a Power Balloon. Back in the cave, use controlled jumps between the pipes and the vertical Paratroopas, then take the ordinary goal. This is a single-exit stage.
Donut Plains 3

Use the swinging platforms to reach the first track lift. Hit the ON/OFF switches before it reaches a broken branch so that its rail leads onto the next safe segment. Beyond the checkpoint, watch the Fuzzies sharing the rails and jump over them without abandoning the lift too early. A yellow pipe in the second half contains a 1-Up bonus room. Rejoin the platforms and ride the last lift toward the goal.
Donut Plains 4

Watch for Para-Goombas dropping from above and the Hammer Brother riding its flying platform. The early blue pipes contain side rooms; one before the checkpoint holds a Dragon Coin. A cape also reaches the cloud ledges above the main ground. At the large final gap, knock the Hammer Brother off its platform from below, then ride that platform across. Alternatively, fly with a cape or Yoshi holding a blue shell. The goal opens Morton’s Castle.
Morton’s Castle
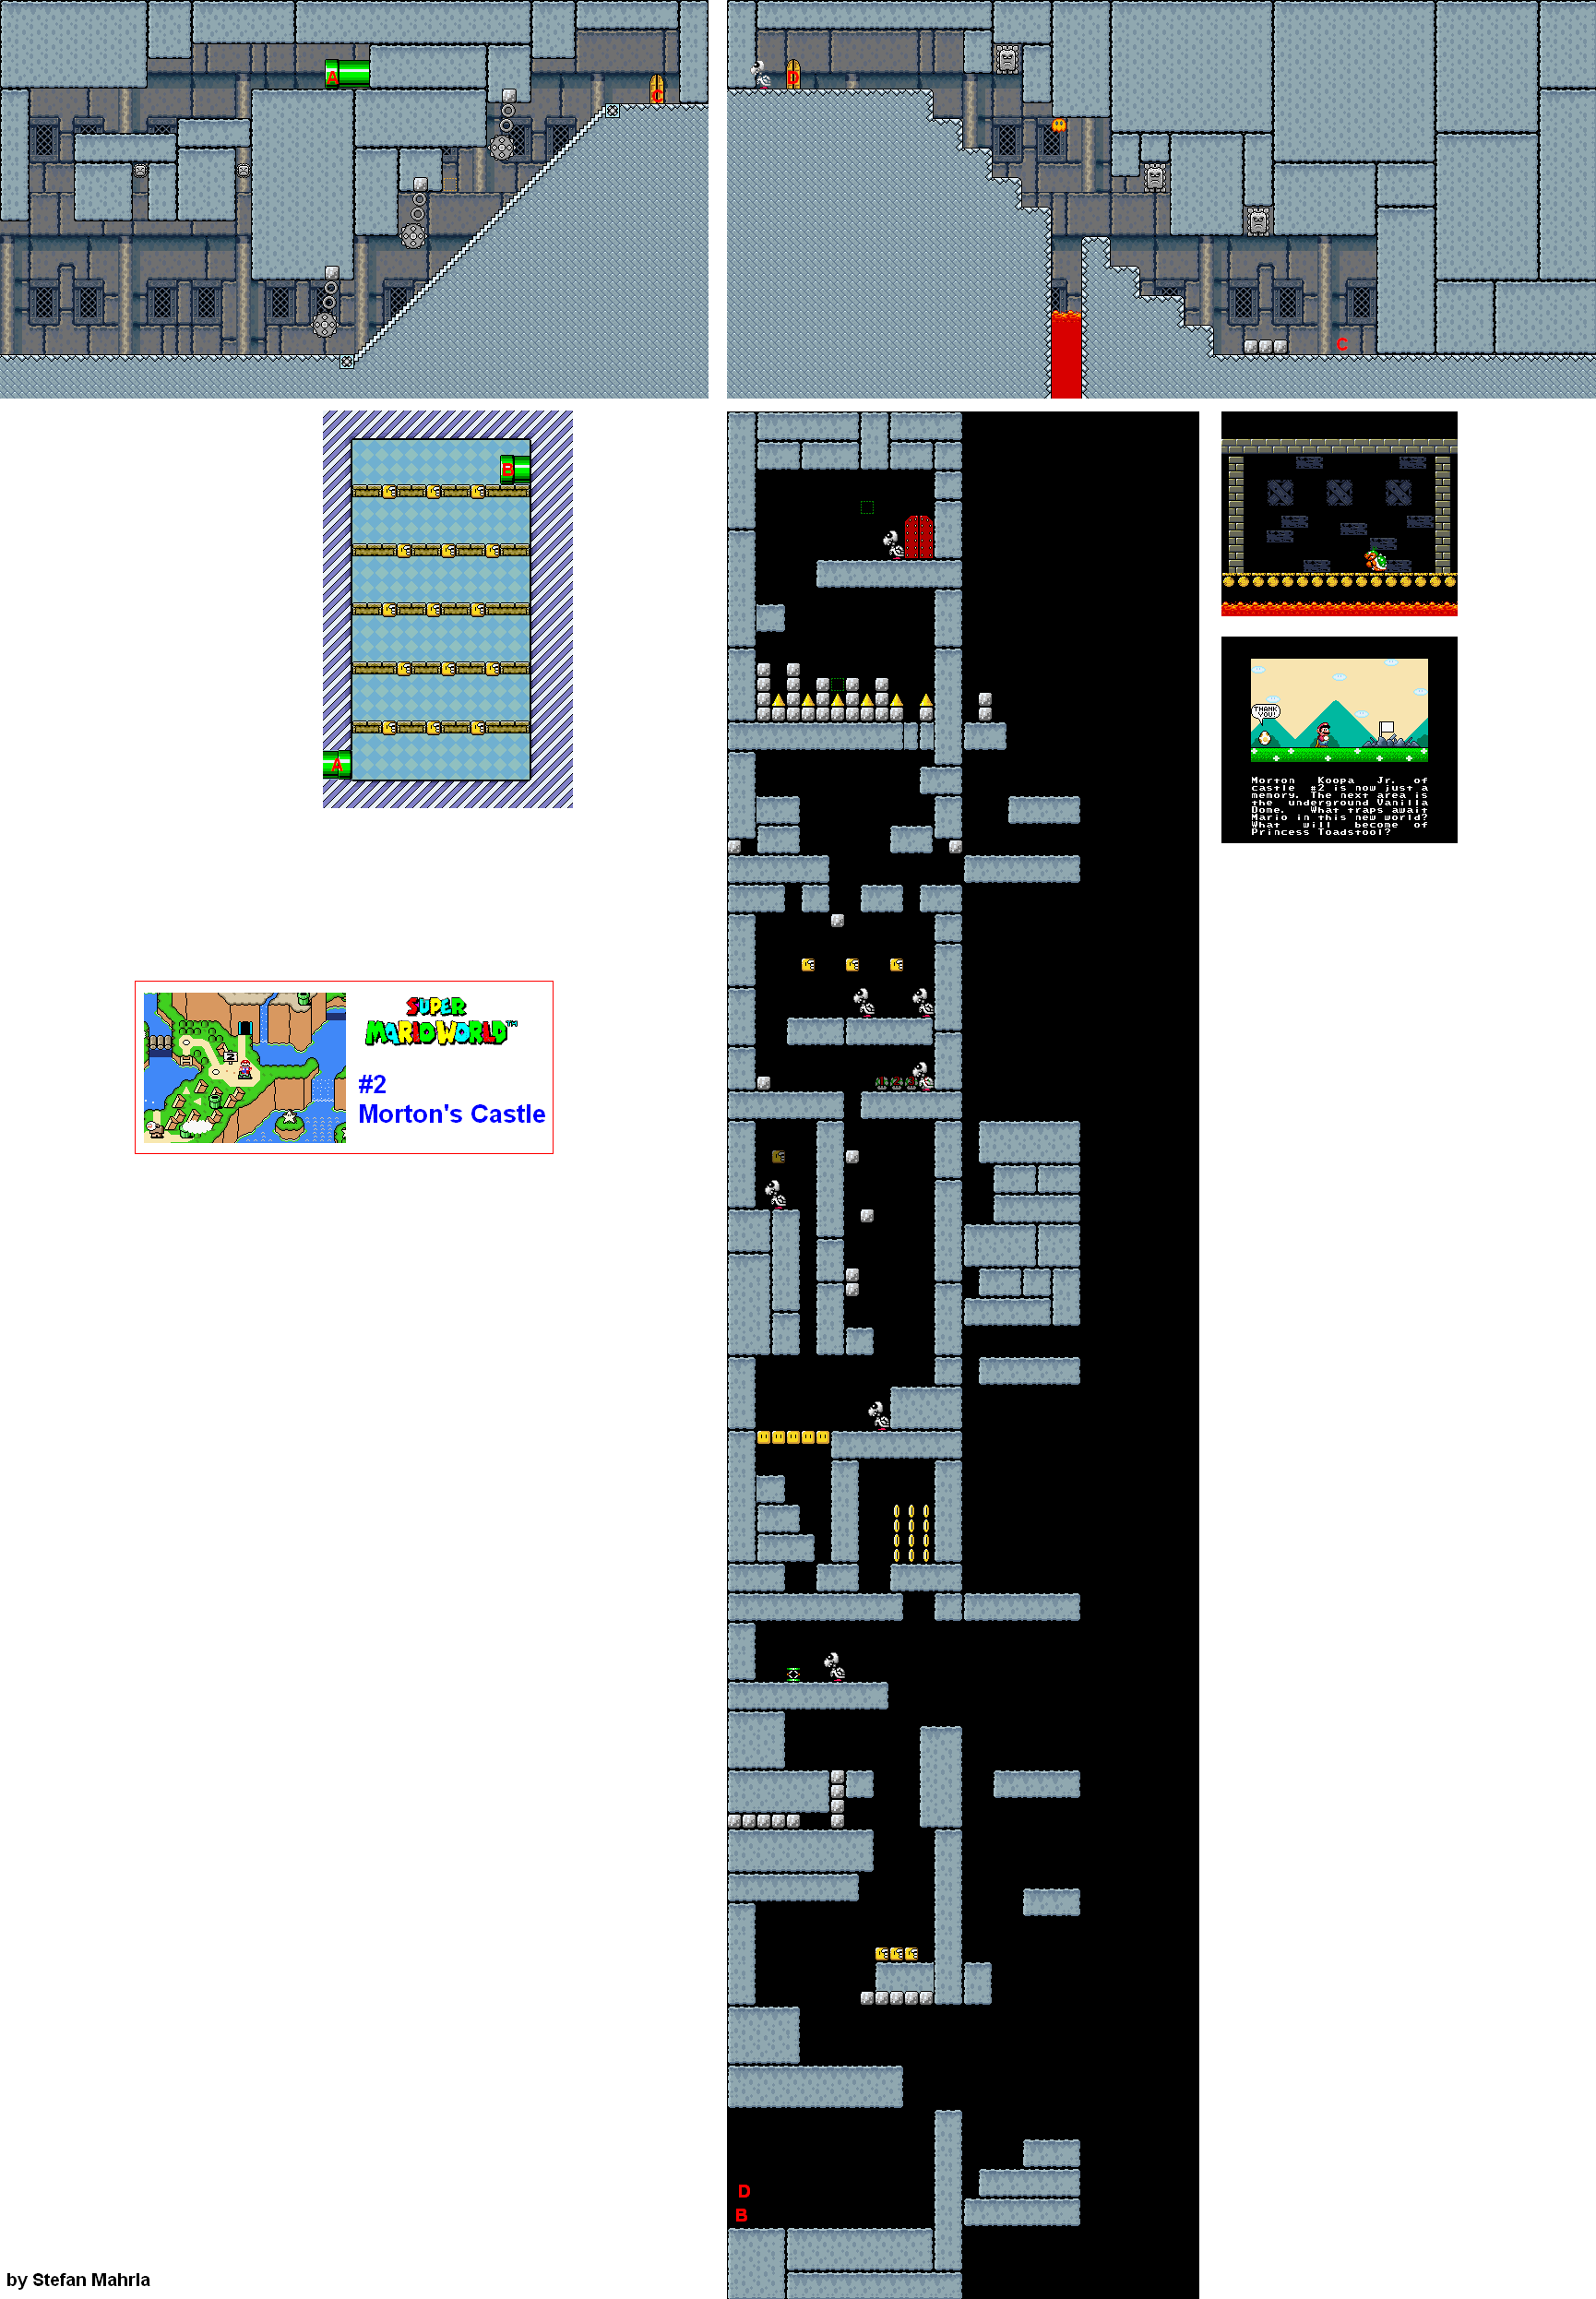
Pass the Thwimps and the rotating Ball ’n’ Chains, then cross the lava room beneath the Thwomps. In the vertical chamber, use the ledges that slide out from the walls; wait until each has enough surface exposed before jumping. Morton climbs the walls and drops from the ceiling. Jump before he lands to avoid being stunned, then stomp him while he is back on the floor. Three successful stomps defeat him and open Vanilla Dome.