

Each Star World stage has a normal goal and a key exit. Clear both when working toward 96 exits, even when a normal goal opens no new path. The keys link the star stages, and the fifth key opens the Special Zone.
Star World 1
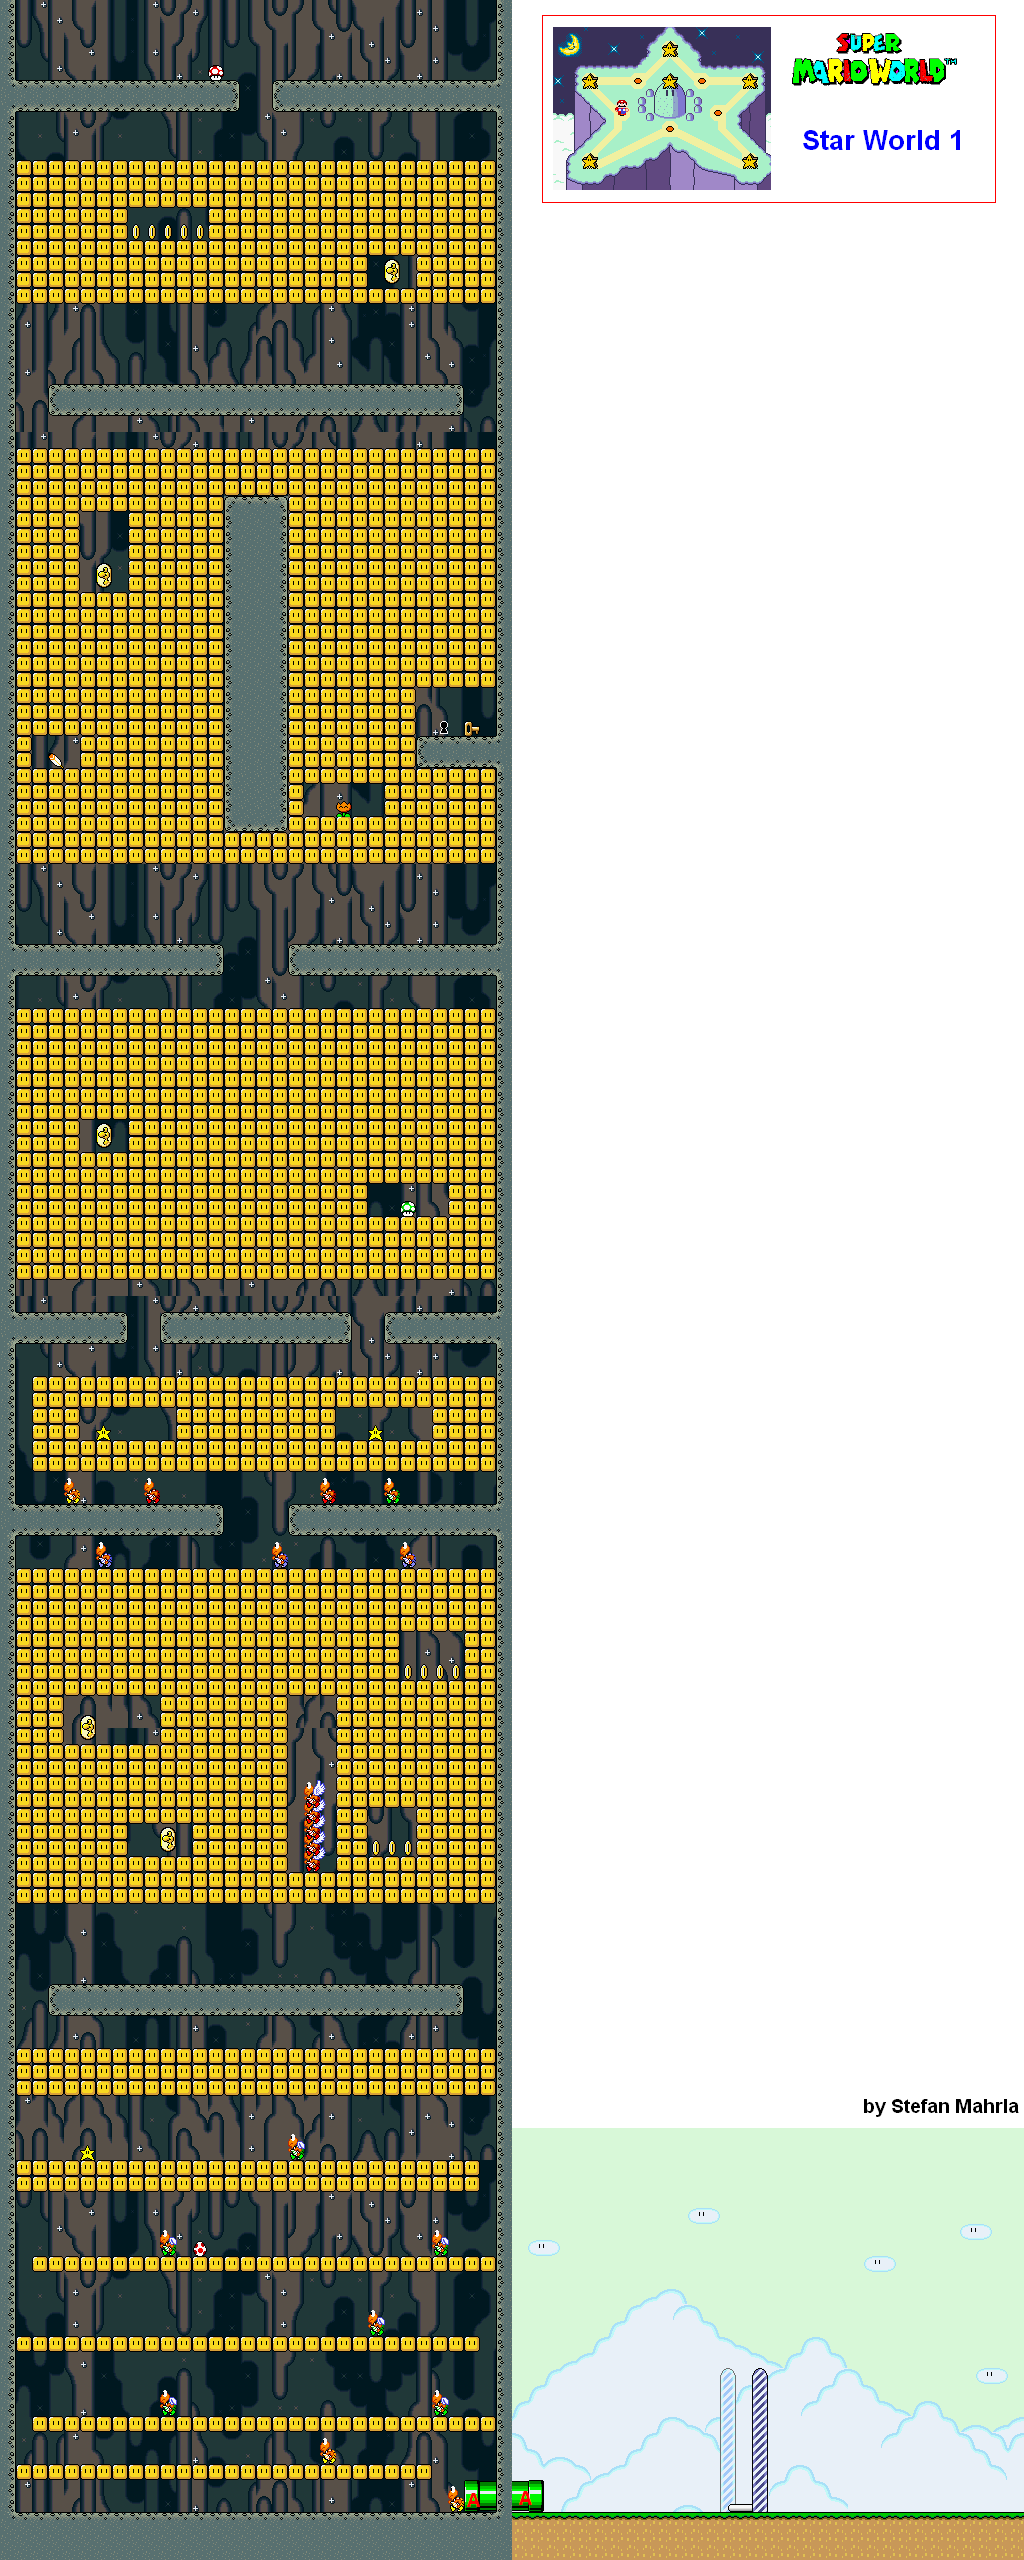
Stay large and Spin Jump through the turn-block columns. The far-right shaft leads down to the key and keyhole, opening Star World 2. For the normal exit, continue to the bottom and take the right-hand pipe to the Giant Gate on a separate run. The baby Red Yoshi can grow by eating enemies or a power-up. This is the only Star World stage with Dragon Coins in the SNES version.
Star World 2

Feed the opening star to the baby Blue Yoshi to grow him immediately, or take the star yourself for temporary invincibility. Swim right through the fish groups. For the normal exit, enter the green pipe near the end. For the secret exit, swim beneath that pipe and continue right to the key and keyhole, keeping high enough to remain inside the level. This opens Star World 3.
Star World 3
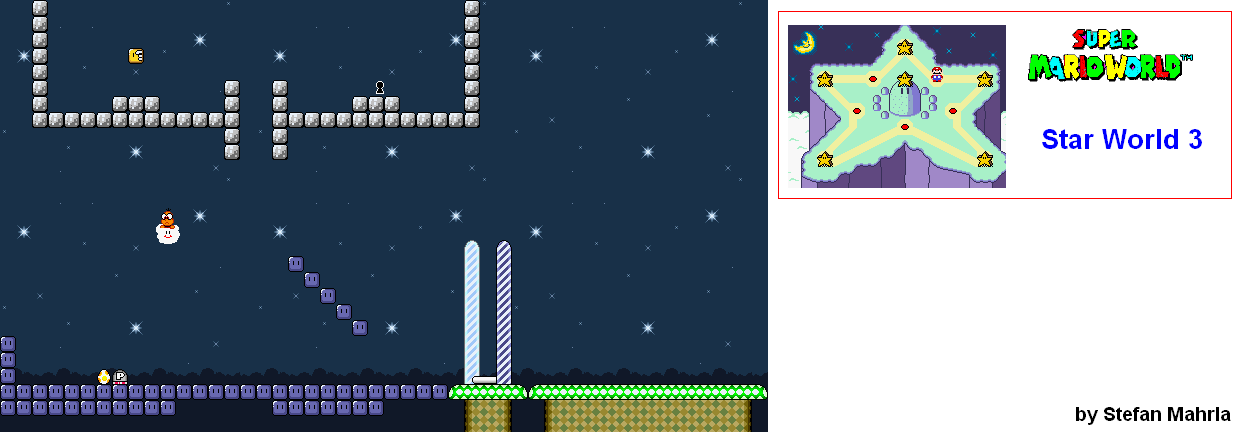
The ordinary goal is close to the start. For the key route, throw a Grab Block at Lakitu, then jump into its cloud. Rise through the central opening, hit the ? Block on the left for the key and carry it across to the keyhole on the right. A cape also reaches the high ledge. Leave enough blocks beneath you to avoid opening an unnecessary hole in the floor. The key exit opens Star World 4.
Star World 4

Cross the sky platforms for the normal goal. For the secret exit, drop beneath the orange-pipe area onto the lower green switch blocks, then follow the red blocks to the key ledge. Bring a shell to hit the ? Block holding the key, or strike it with your cape. The Red and Green Switch Palaces make this approach straightforward; a flying Yoshi can reach it without them. The key exit opens Star World 5 and the warp toward Bowser’s Front Door.
Star World 5

Cross the falling platforms to the P Switch and Control Coin. Steer the coin trail right, turn it into blocks and use it to cross the gap. The normal goal loops back toward Star World 1. For the Special Zone, use a cape or flying Yoshi to reach the high line of colored switch blocks, then follow it right to the keyhole. With the switch palaces active, the hidden vine in the later turn-block row also reaches this upper path. The key opens Gnarly; it does not by itself trigger the autumn map.