

The ordinary cave route leads to Lemmy and Cheese Bridge. The secret upper route leaves through Vanilla Secret 1, crosses the mountaintop and reaches Butter Bridge through Vanilla Fortress. Complete both branches when collecting every exit.
Vanilla Dome 1

Pass below the large turn-block structure, watching for Buzzy Beetles and falling Swoopers. The pipe beyond it leads to a sinking platform over lava: take the star and run across before the platform sinks. Follow the cave passages beyond the checkpoint to the normal goal. For Vanilla Secret 1, return after pressing the Red Switch. Its blocks form steps between two yellow pipes beneath a vine block. Hit that block and climb to the keyhole. A suitable Yoshi or cape approach can reach the vine without those steps.
Vanilla Dome 2

Swim through the first cave and climb out near the power-up block. The normal route continues right past the checkpoint, Chucks and Swoopers to Vanilla Ghost House. For the Red Switch Palace, take the P Switch back left to the wall of brown blocks. Activate it there, run left and drop through the newly opened gap marked by the nine coins. Swim left to the key and keyhole. Do not spend the switch before you have returned to the barrier.
Red Switch Palace
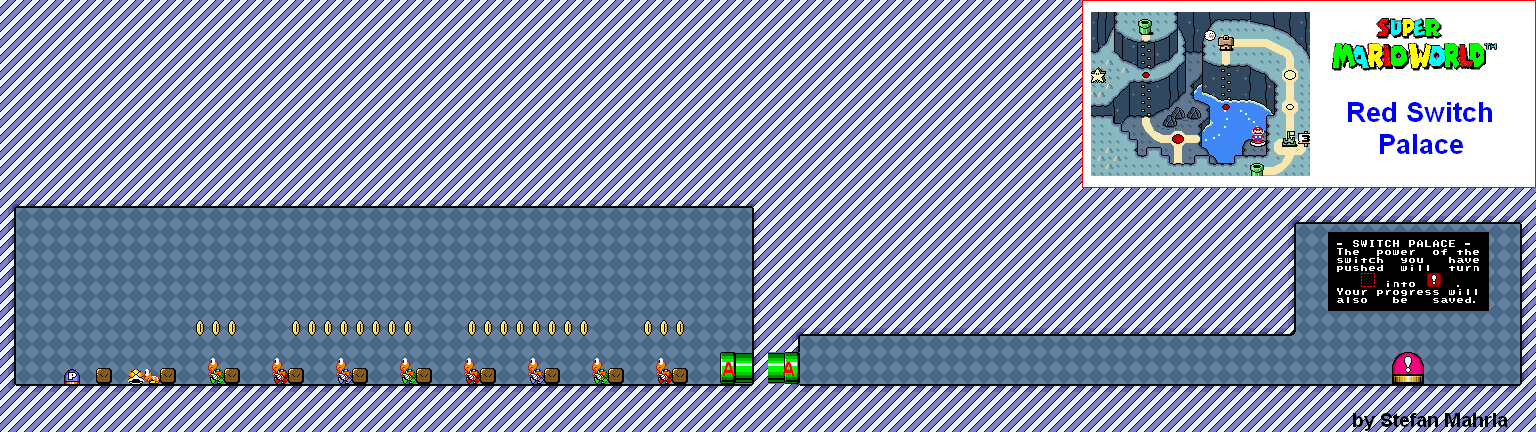
In the first room, the flashing yellow shell follows your position. Press the P Switch and run along the temporary blocks above the Koopas to guide the shell through them for extra lives. The pipe leads to the large red switch. Press it to turn red outlines into solid platforms; these blocks help with the upper branch out of Vanilla Dome.
Vanilla Ghost House
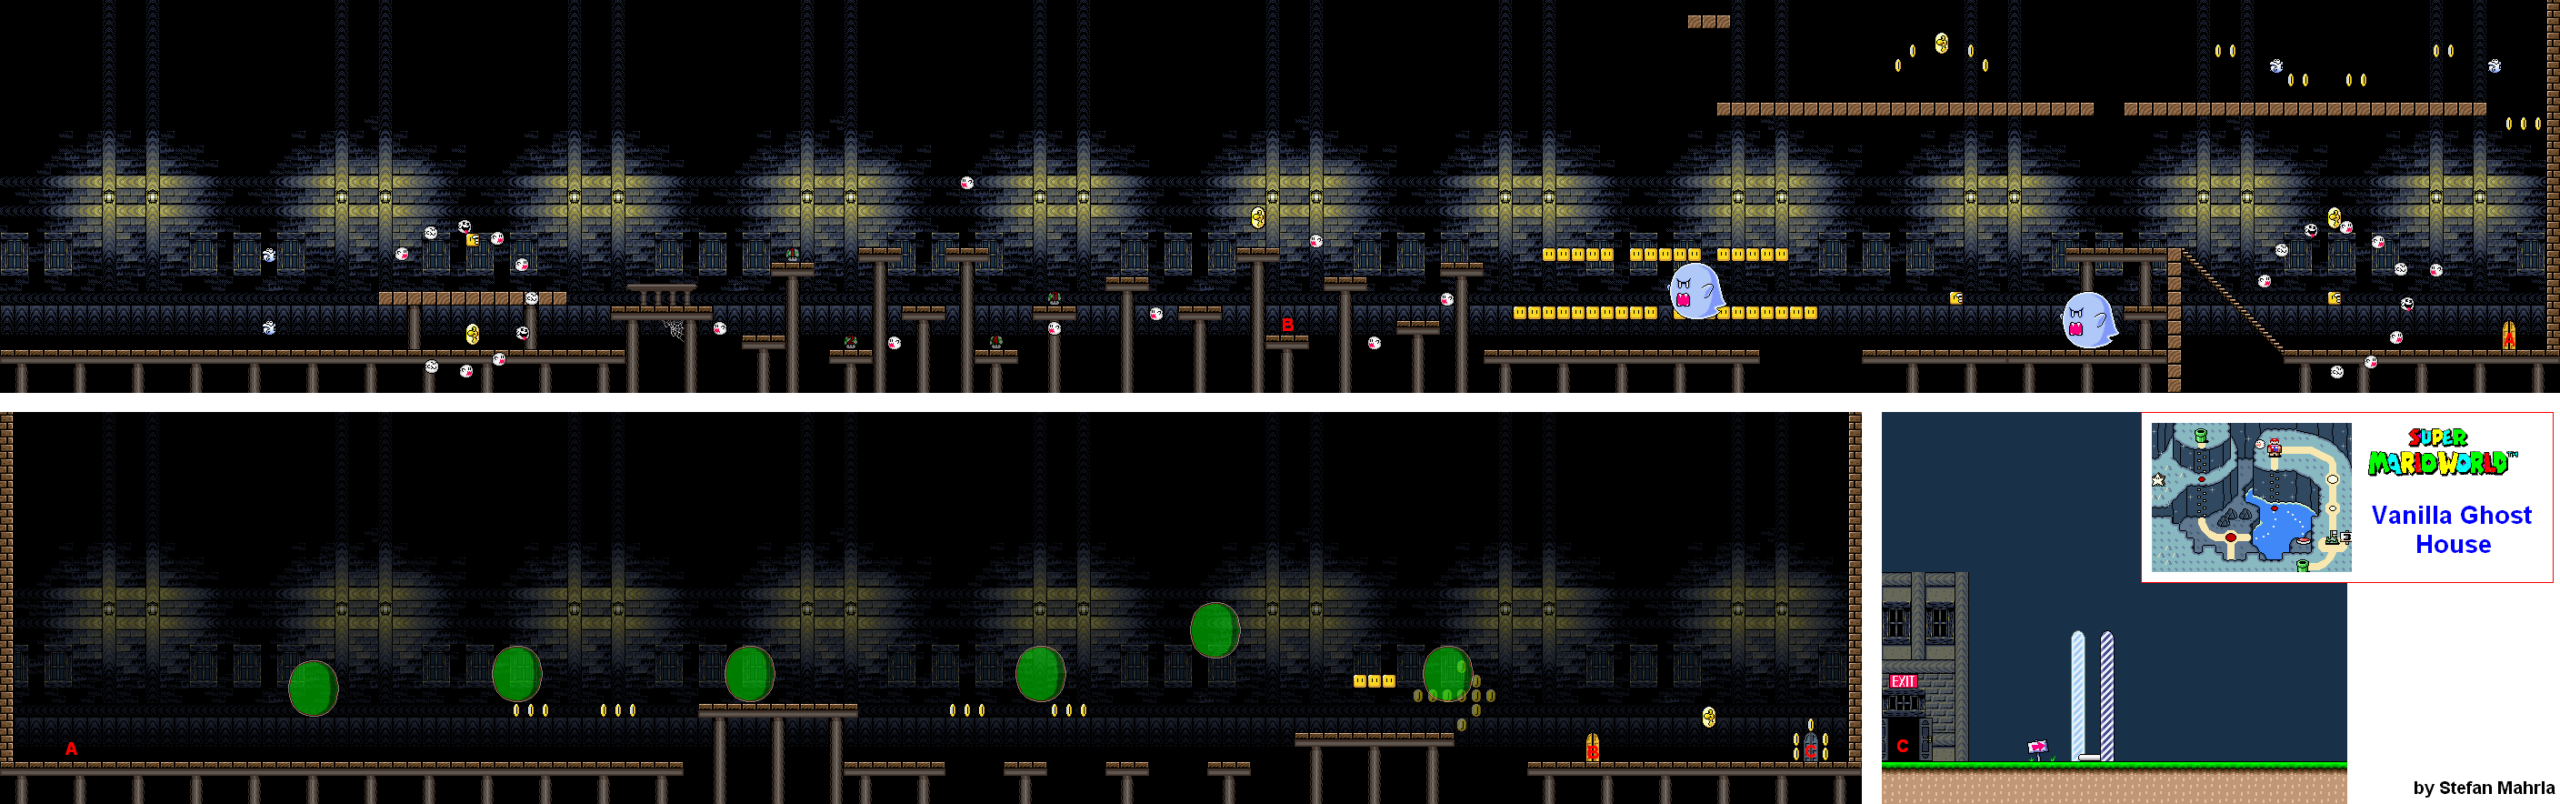
Cross the small platforms while watching the Eeries and circling ghosts. The optional vine reaches an upper coin route. In the second room, carry the P Switch right past the ordinary reset door. Collect the coins forming a door outline, then press the switch and enter the blue door that appears. This opens Vanilla Dome 3. There is only one exit in this Ghost House, so do not search for another hidden branch here.
Vanilla Dome 3

Ride the skull rafts along the lava river, jumping to solid ground before a Blargg rises into your path. Near the orange pipes, reveal the hidden block to clear the obstacle. A concealed feather lets you fly toward the high left ledge with a 3-Up Moon. The yellow pipe contains an icy detour. After the checkpoint, hatch Yoshi from the overhead block using the shell if needed, then ride the remaining rafts to Vanilla Dome 4.
Vanilla Dome 4

Use the green bouncing platforms to clear the tall narrow pillars. Bullet Bills enter from the screen edges; after the checkpoint, they also fire vertically, so check the space above and below your next landing. Hold the jump button on a bounce when you need extra height. The route stays above the long pit and eventually reaches Lemmy’s Castle through the ordinary goal.
Lemmy’s Castle
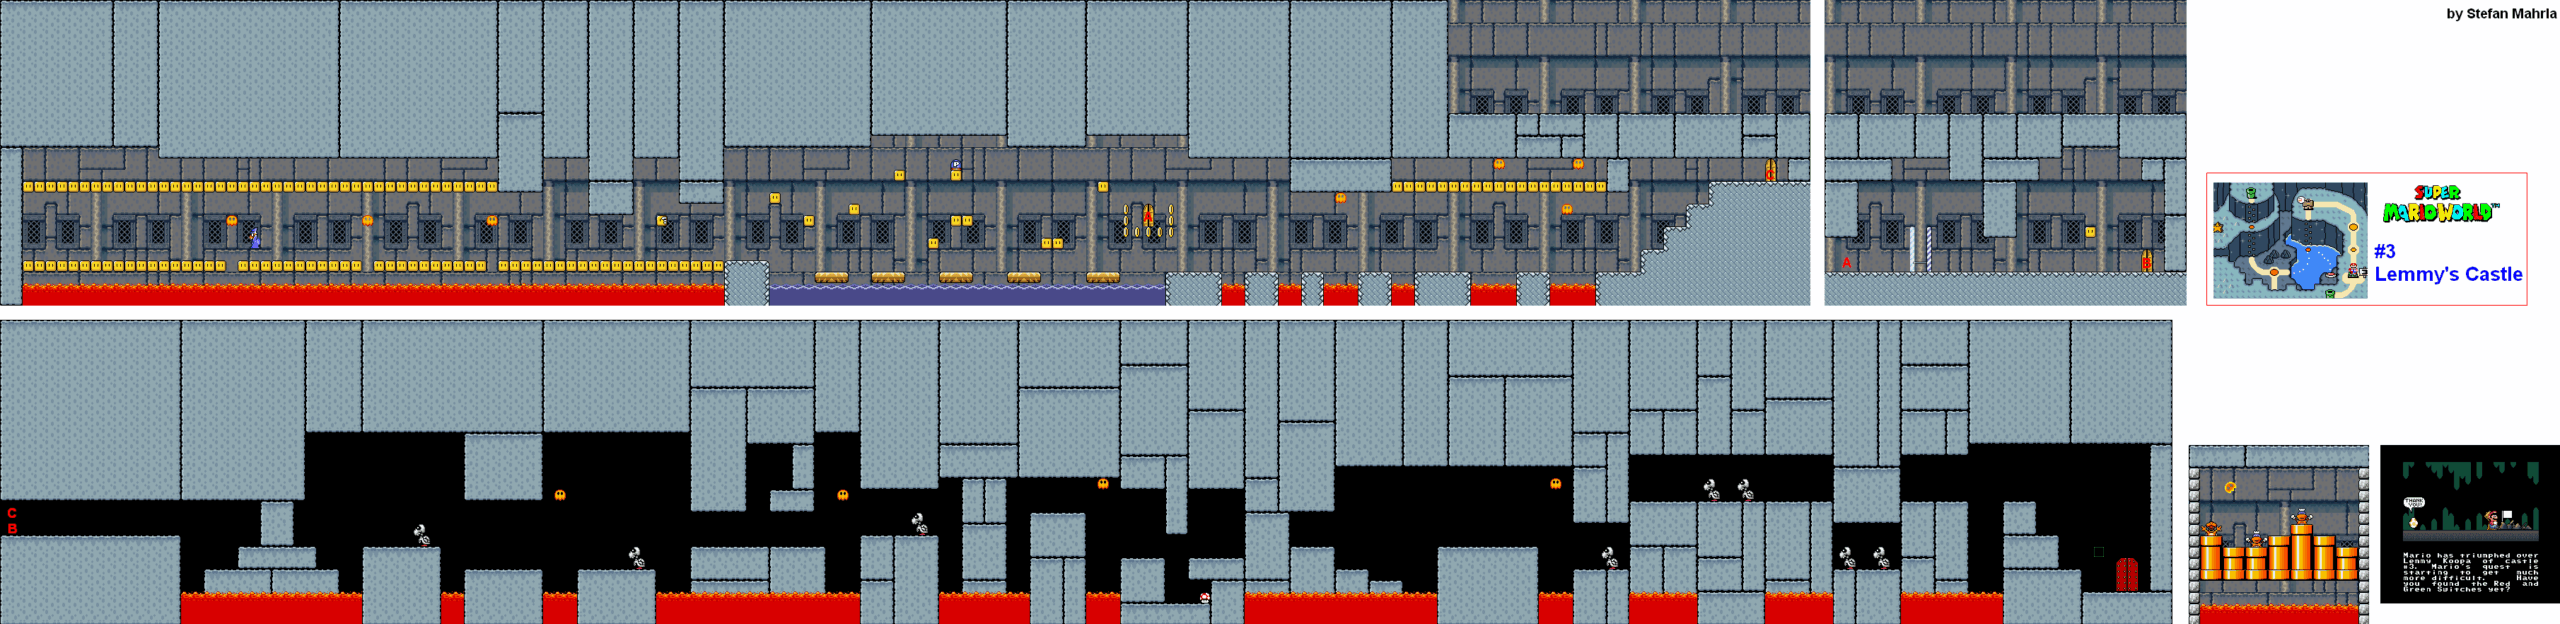
Let Magikoopa’s spells remove blocks where the opening is too low, then pass while it is moving or temporarily defeated. The later corridor has large moving walls: enter a recess while the gap is open and wait there for the next cycle. In the boss room, Lemmy emerges from the pipes alongside two decoys. Stomp the real Koopaling, avoiding the bouncing Lava Bubble, then wait for the next appearance. Three hits open Cheese Bridge Area.
Vanilla Secret 1
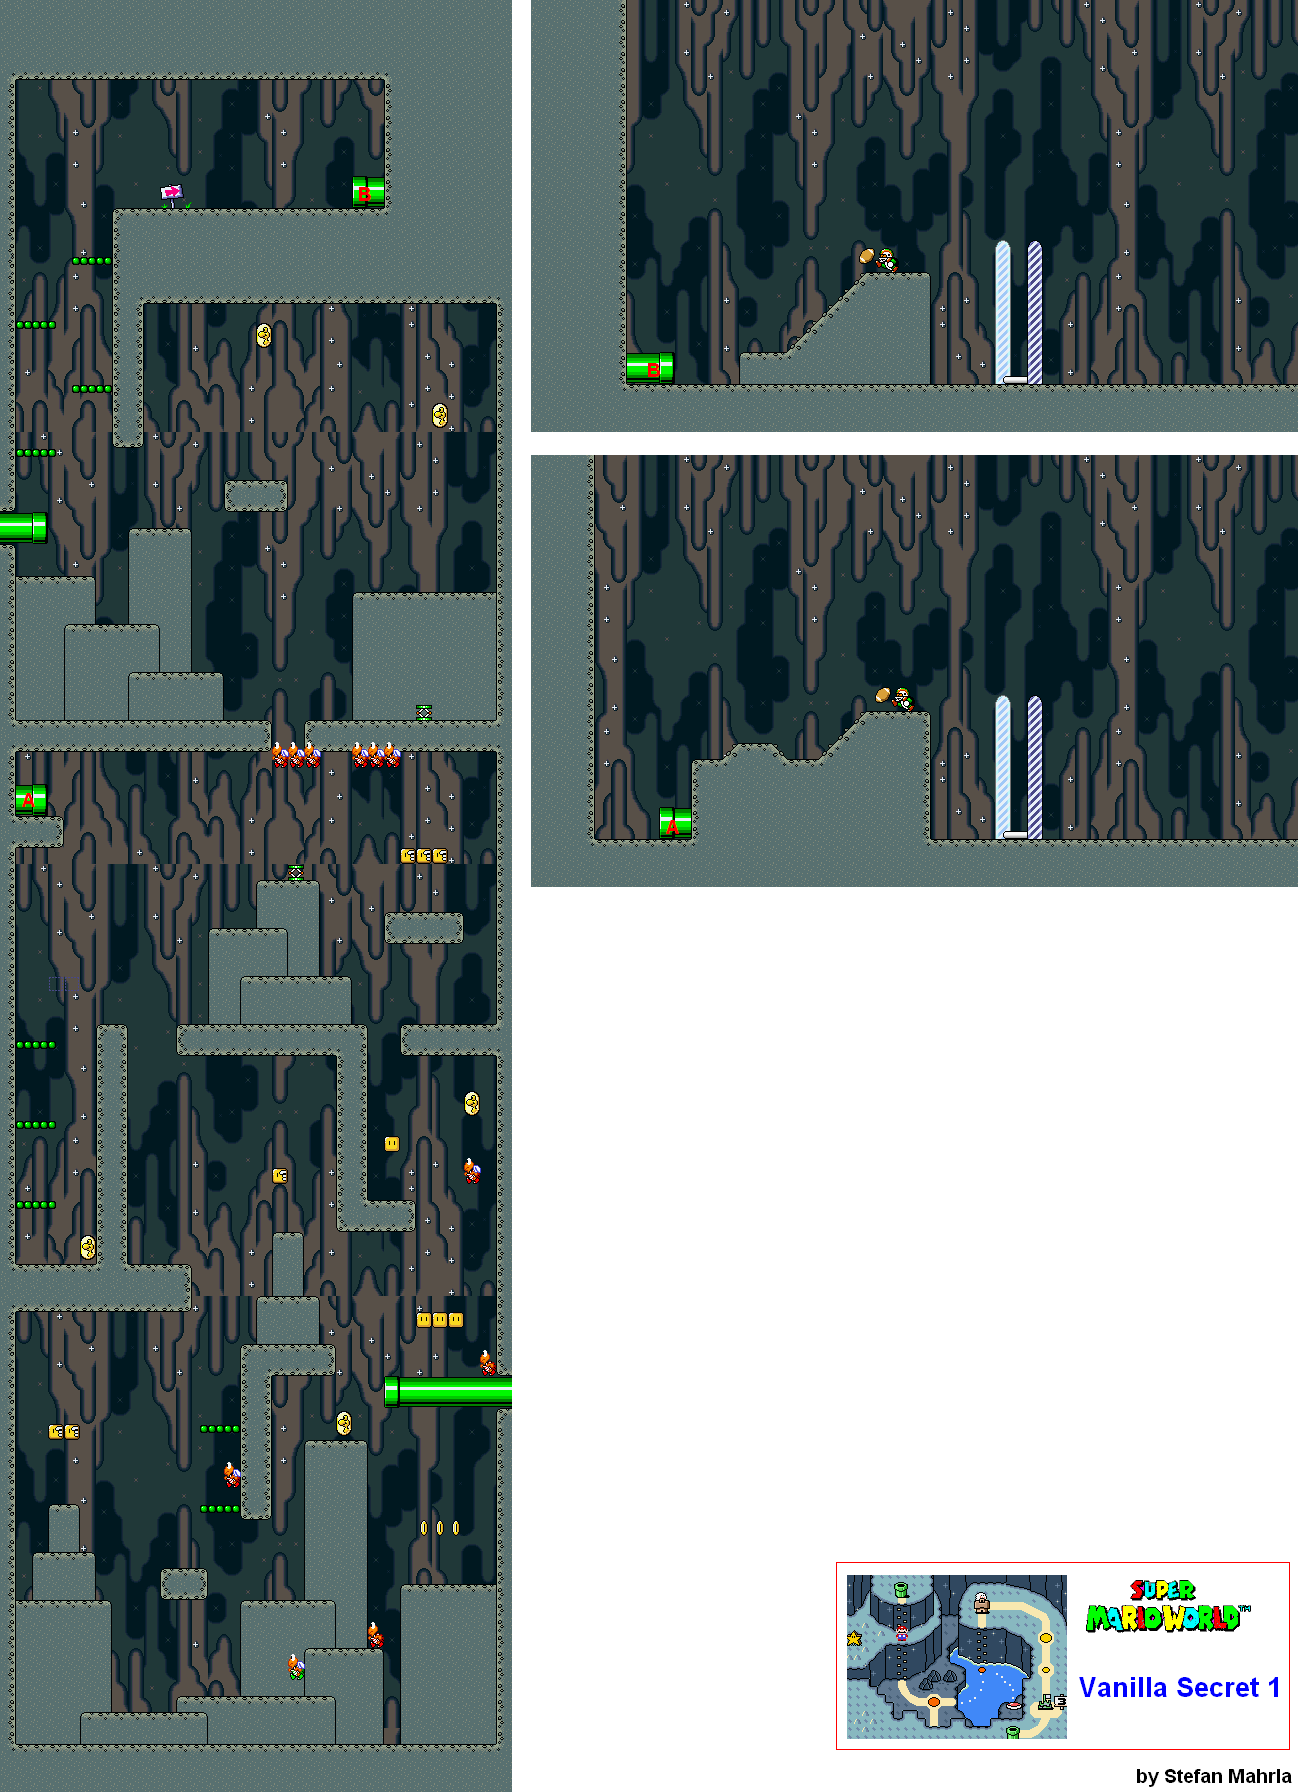
Climb the spring platforms and vines through the vertical cave. Hit the middle block over the early pipe to grow the first vine, then continue upward using the springboard. The normal exit opens the mountaintop route to Vanilla Secret 2. For Star Road, carry the first springboard left to the blue switch blocks and bounce into the high left pipe. A cape can reach that pipe before the Blue Switch Palace has been activated.
Vanilla Secret 2

Cross the open mountaintop past the jumping Koopas, Piranha Plants and Spinies. Yoshi is available early, and the green block supplies a cape if the switch is active. Near the Spinies, the second turn block contains a gray P Switch. Carrying it back to the earlier Koopa groups gives more silver coins and extra lives than spending it immediately. Continue right past the Lakitu section to Vanilla Secret 3.
Vanilla Secret 3

Use the dolphins as temporary stepping stones across the water. Some move horizontally while others jump straight upward, so wait for a dolphin’s rising phase before committing to the next gap. A Porcu-Puffer joins halfway through: staying on the dolphins keeps you away from its body. Follow the coin arrows to the horizontal green pipe and the goal beyond it. This opens Vanilla Fortress.
Vanilla Fortress

Swim through the flooded fortress, keeping clear of Fish Bones and the rotating Ball ’n’ Chains. Small Mario can use the low shortcut pipe in the first room. On the full route, watch for falling spikes before entering the purple pipe. Either passage in the next chamber leads toward the boss door. Hit each Reznor platform from underneath to knock its occupant off. Once the floor begins to collapse, move onto the rotating platforms. Victory opens Butter Bridge 1.