

Course 6 — Hazy Maze Cave. After the first Bowser, enter the basement’s metal pool to reach the cave. Wario’s strength and metal transformation solve several DS-specific objectives. This chapter covers the seven named DS missions and the separate 100-Coin Star.
Stars in this course
- Swimming Beast in the Cavern
- Elevate for 8 Red Coins
- Metal-Head Wario Can Move
- Navigating the Toxic Maze
- A-Maze-Ing Emergency Exit
- Watch for Rolling Rocks
- Underground Switch Star
- 100-Coin Star
Mission 1 — Swimming Beast in the Cavern
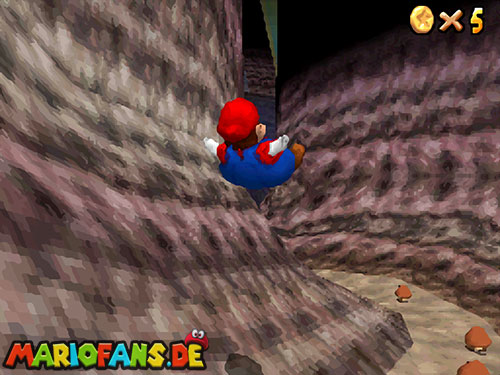
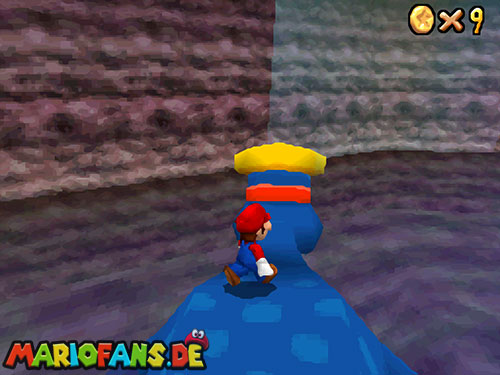
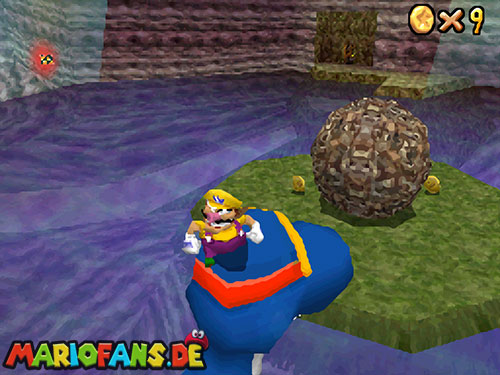
Take the left branch from the entrance, cross the rolling-rock passage and descend to the underground lake. Swim to Dorrie and ground-pound his back so he lowers his head. Stand on his head and face the central island to guide him there.
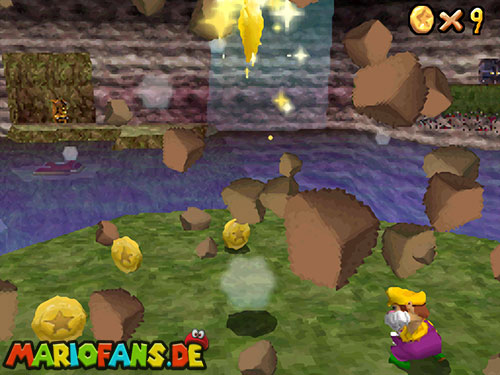
In the DS version, the star is sealed in the island’s Black Brick. Use Wario’s ability, borrowing the yellow cap from Dorrie if needed, and break the brick to free it. Merely riding to the island is enough in the older N64 layout but does not finish this DS mission.
Mission 2 — Elevate for 8 Red Coins
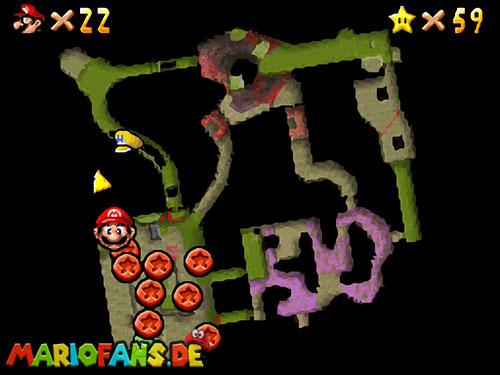
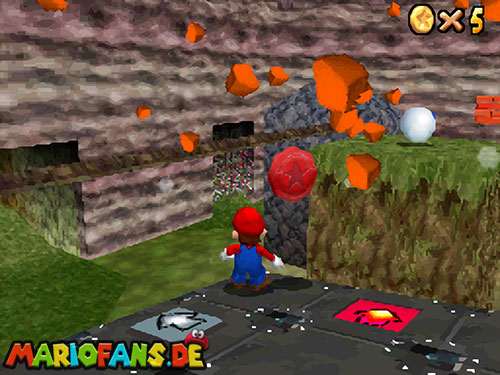
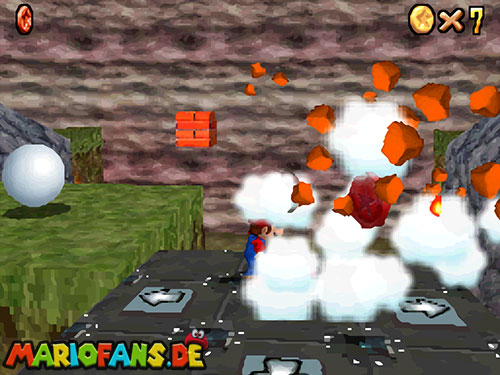
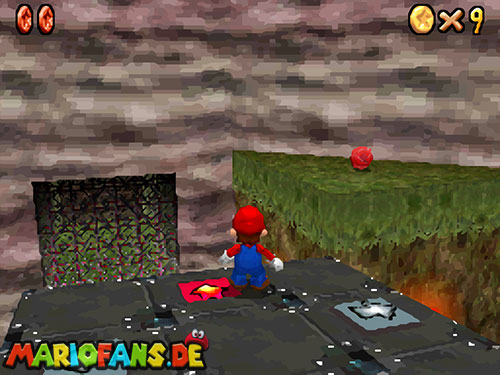
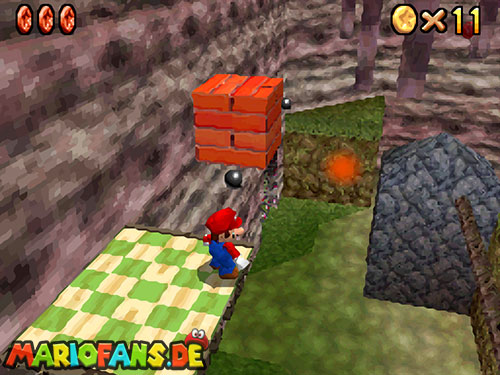
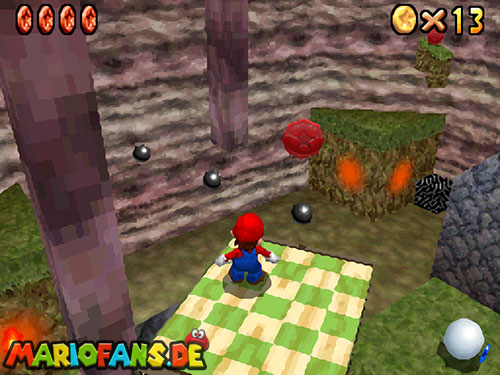
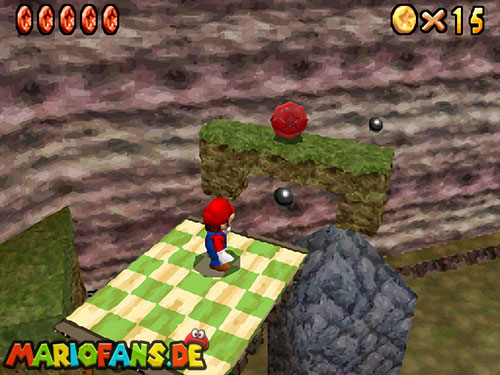
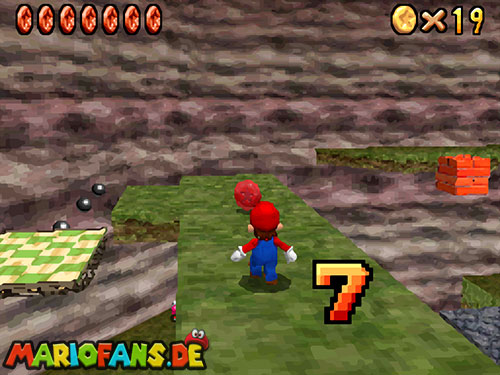
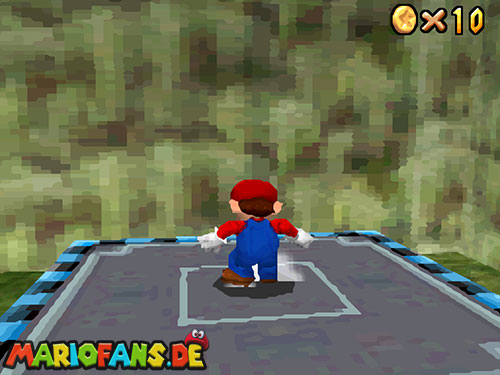
Take the route to the large room with the work elevator. Ride the four-button platform by stepping on its directional controls. Collect the lower coins, including those hidden in the breakable crates and the corner of the room.
Use the pole and upper moving platform to reach the remaining coins along the higher route, including its crate, small platform and long wall ledge. All eight belong to this elevator room. Once they are collected, descend to the star marker rather than leaving through the toxic maze. Turn the camera before moving the elevator into a wall.
Mission 3 — Metal-Head Wario Can Move
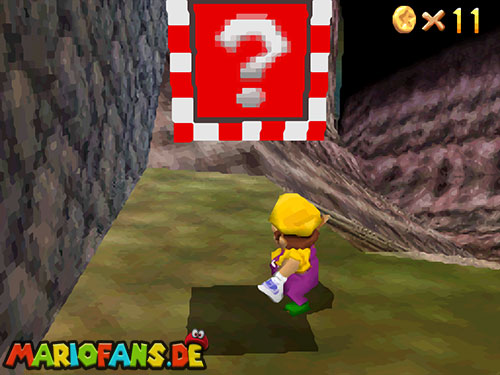
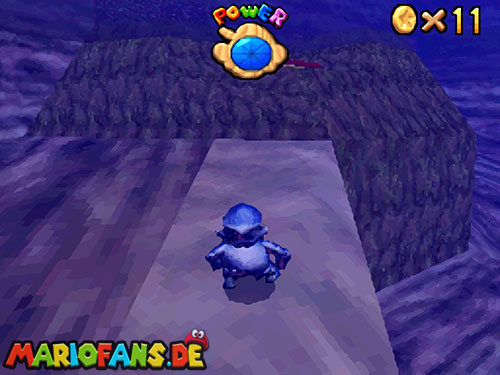
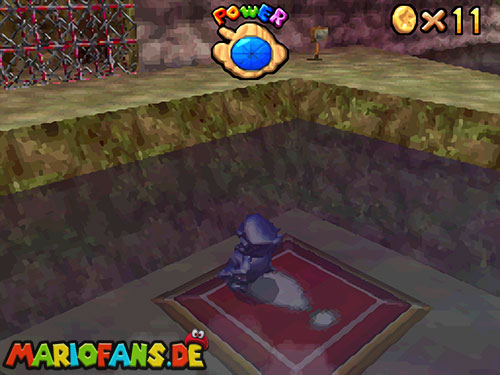
Use Wario and active ? Blocks. Reach Dorrie’s lake and collect a Power Flower to become Metal Wario. Follow the pale underwater path to the switch on the lakebed and step on it to open the barred doorway on shore.
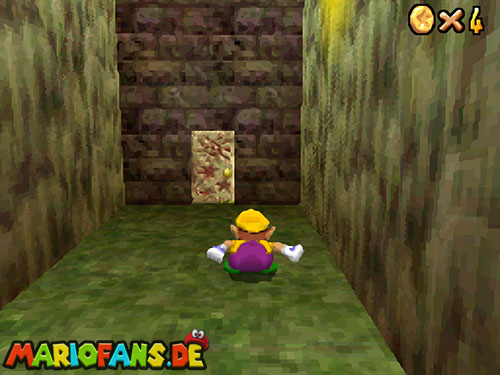
Enter that passage and long-jump across the gaps to the star. The DS mission assigns the metal ability to Wario. An ordinary swimmer cannot press the underwater switch in the same controlled way. If the flower effect is nearly gone, renew it before beginning the walk.
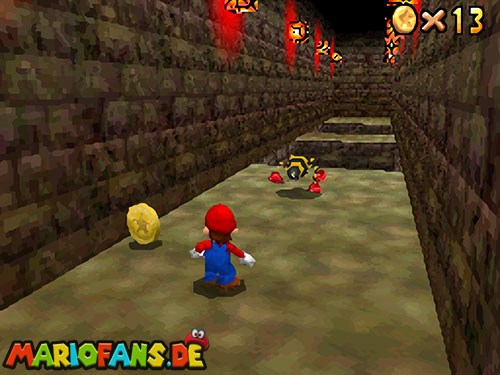
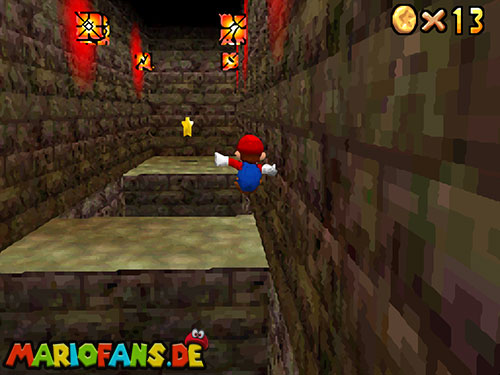
Mission 4 — Navigating the Toxic Maze
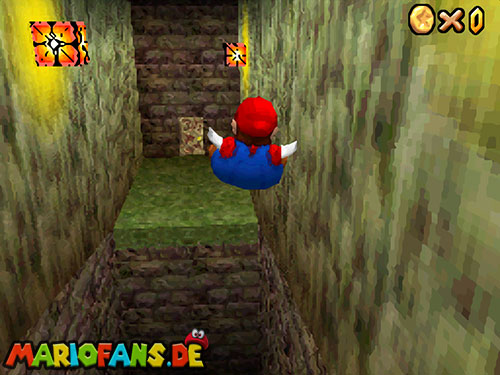
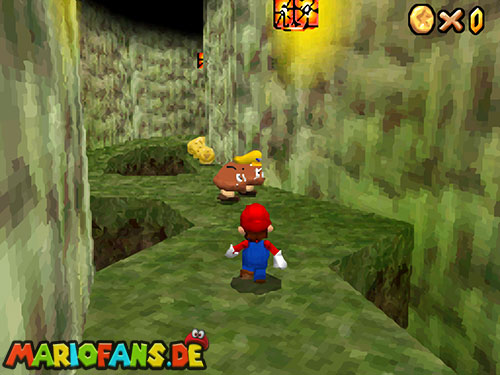
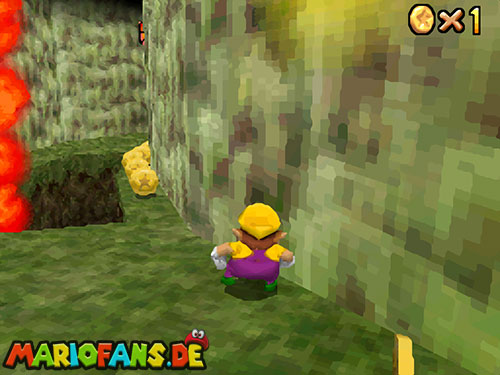
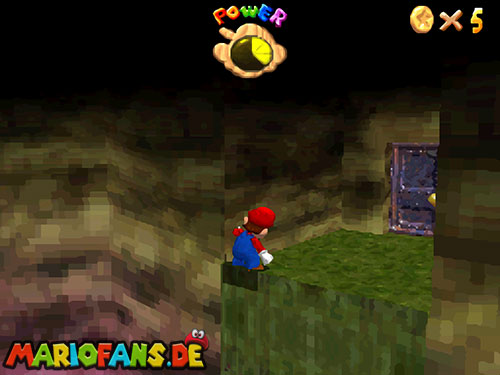
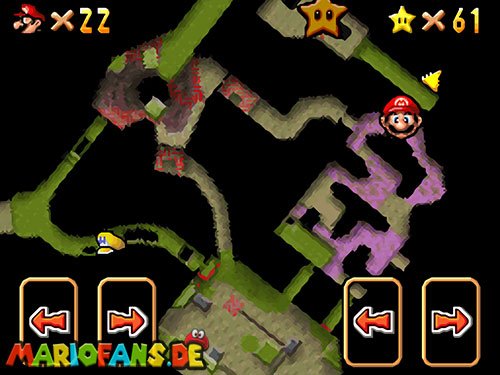
Enter the toxic maze and follow the left wall. Look for the second high exit opening with green markings beneath it. Jump up into that passage and take its lift toward the star.
Mario’s Power Flower makes it easier to rise above the gas while looking for the correct opening; Metal Wario also helps resist the maze’s hazards. Keep an eye on the Power Meter and use safe raised ground to recover your bearings. The first high doorway belongs to a different mission, so check which branch you have entered before climbing all the way out.
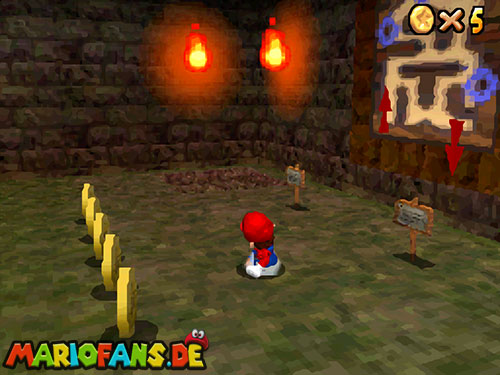
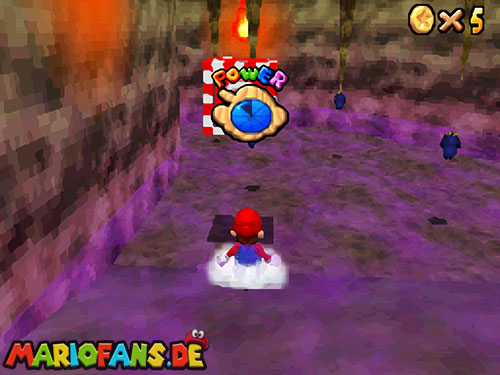
Mission 5 — A-Maze-Ing Emergency Exit
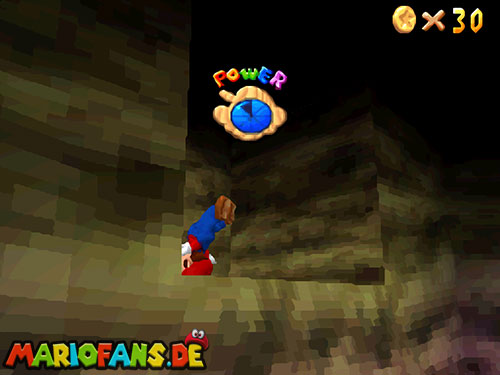
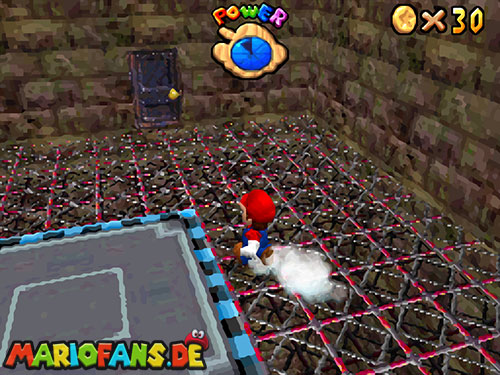
Enter the toxic maze again and stay along the left wall. Take the first high metal doorway, then ride its lift into the upper part of the rolling-rock room.
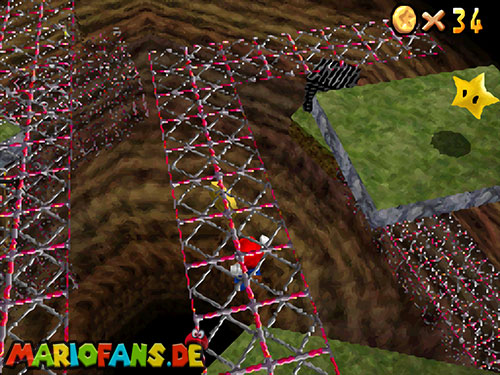
Jump to the ceiling grating and move hand over hand along it. Take the right-hand branch above the room to reach the star’s ledge, then drop only when solid ground is beneath you. The maze exit gets you to the ceiling route; dropping early puts you back on the dangerous lower path and means repeating the climb.
Mission 6 — Watch for Rolling Rocks
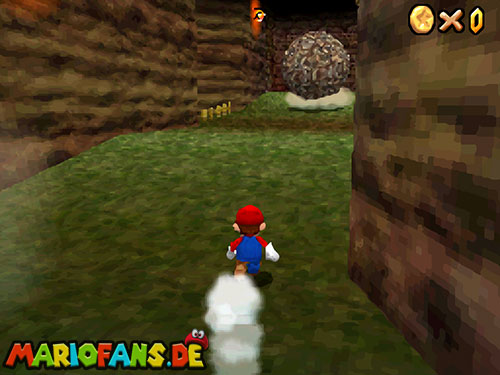
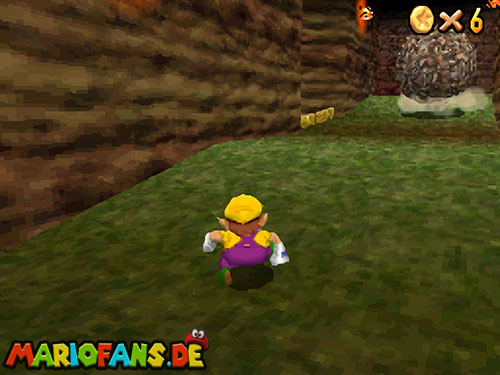
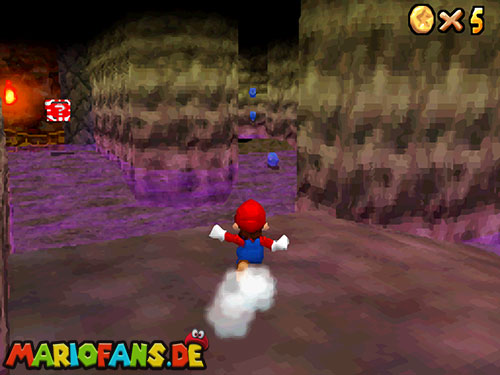
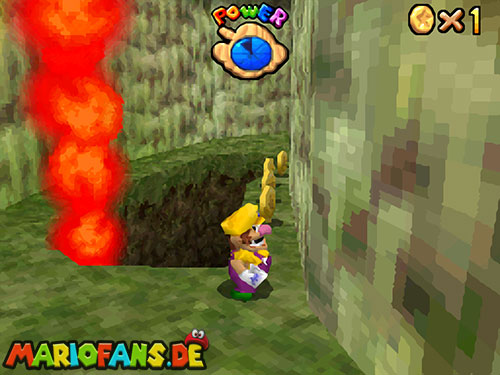
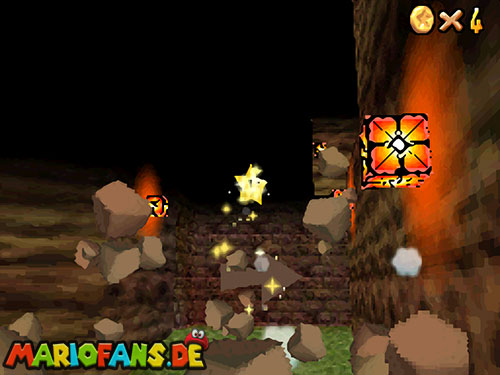
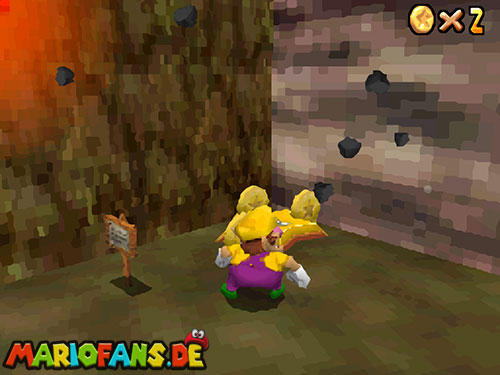
Bring Wario to the rolling-rock corridor. Break the Black Brick beside the rock pit to uncover a Mushroom, collect it and become giant. Now smash three of the large rolling rocks while the transformation lasts.
The third destroyed rock releases the star. Breaking the first brick alone does not complete the mission, and the N64 instruction to wall-kick into an alcove is not this version’s objective. Line yourself up with the boulders while giant and keep away from the pit edge. If the Mushroom expires too early, return to its block for another attempt.
Mission 7 — Underground Switch Star
Use Wario in the red-coin elevator room and break the Black Brick hiding the Star Switch. Check the sphere’s location near the Bob-omb Buddy side of the room first.
Press the switch, return to the four-button platform and steer it toward the sphere before time expires. Face the direction of travel and step onto the appropriate arrow rather than repeatedly changing buttons in the middle. The route combines Wario’s block-breaking ability with controlled elevator movement; the switch does not move the platform automatically.
100-Coin Star
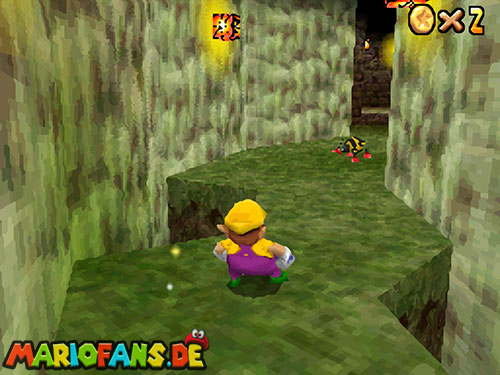
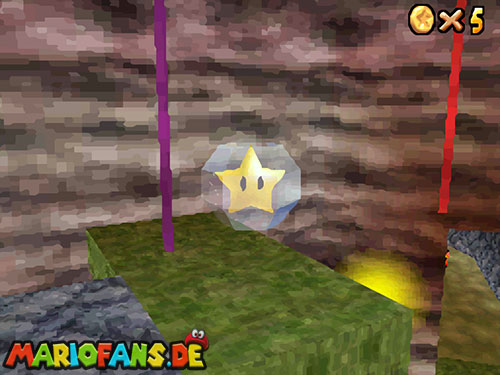
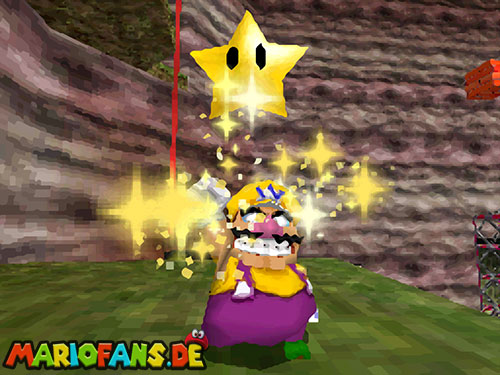
Collect the starting crates and Goombas, then take the spider coins and the elevator room’s Red Coins. Search its breakable crates and upper ledges as part of the same sweep. Save the maze portion until you have a clear route out.
Flying enemies in the maze provide additional coins, and Metal Wario lets you work through the gas more safely while his effect lasts. Use the remaining block and corridor coins to reach one hundred. Plan a safe final pickup and avoid falling into the rolling-rock pit while carrying a nearly complete total.
Continue your star collection
Previous course: Big Boo’s Haunt · Walkthrough overview · Next course: Lethal Lava Land