

Course 8 — Shifting Sand Land. In the basement corridor beside Lethal Lava Land, jump through the unmarked wall at the dead end. Watch the Tox Boxes before entering their quicksand maze. This chapter covers the seven named DS missions and the separate 100-Coin Star.
Stars in this course
- In the Talons of the Big Bird
- Shining Atop the Pyramid
- Inside the Ancient Pyramid
- Stand Tall on the Four Pillars
- Tox Box Switch Star
- Pyramid Puzzle
- Free Flying for 8 Red Coins
- 100-Coin Star
Mission 1 — In the Talons of the Big Bird
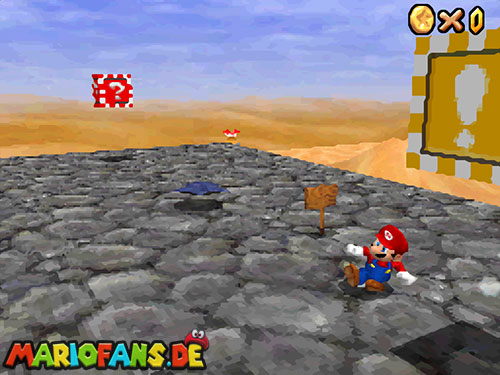
Find Klepto flying near the tall pillars. Climb or run up a pillar and jump into the bird when it passes close enough, or approach with Mario’s feather after activating the ? Switch.
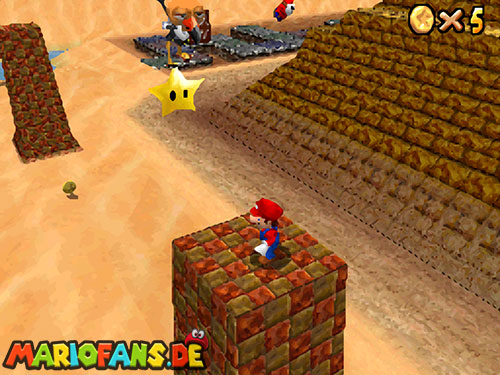
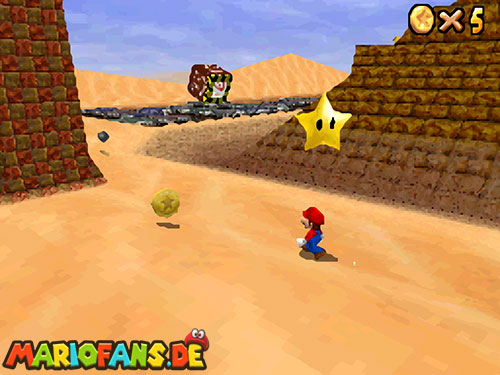
Hit Klepto to release the star, then cross to its landing place on the opposite side of the pyramid. Watch the quicksand around the pillars and avoid chasing directly beneath the bird on unsafe ground. The star is awarded for taking it from Klepto, not for defeating every enemy around the oasis.
Mission 2 — Shining Atop the Pyramid
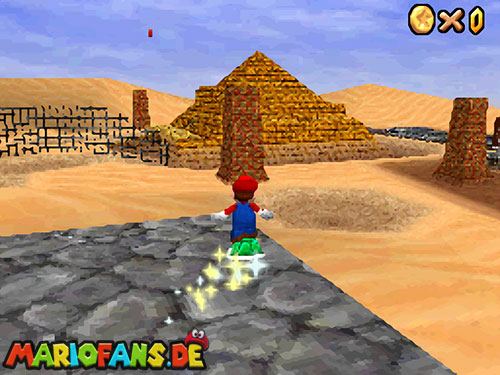
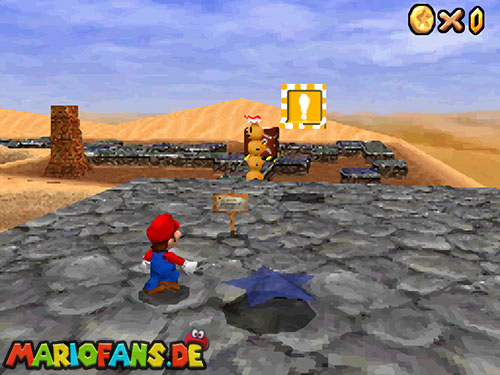
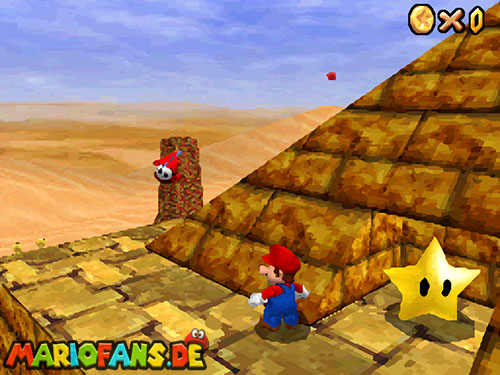
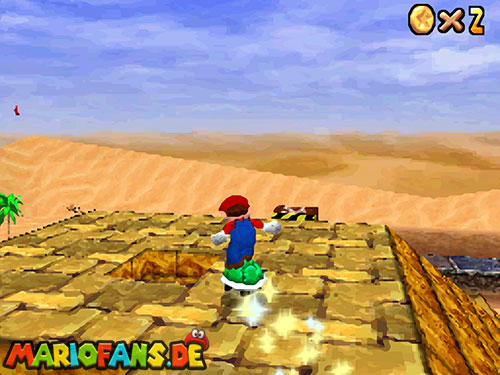
Reach the pyramid’s outside ledges and climb toward its upper face. Use the surrounding solid stone and avoid sliding down into the sand. Mario’s feather or the nearby Koopa Shell can shorten the approach if you can control the landing.
Collect the star near the top of the pyramid’s exterior. Do not enter the main opening at its base: the long indoor climb belongs to the next mission. If you use flight, aim for a broad ledge first and make the final approach on foot.
Mission 3 — Inside the Ancient Pyramid
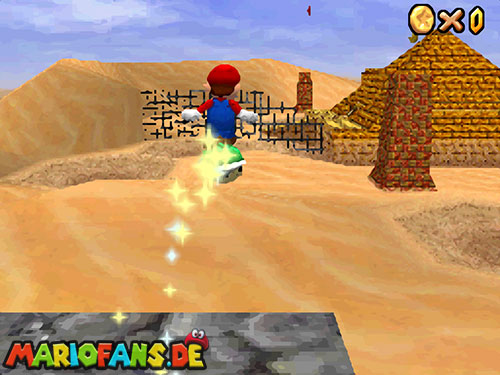
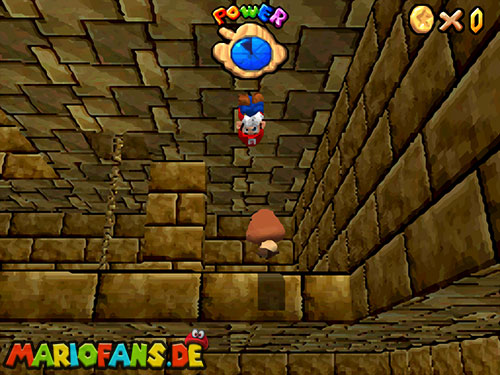
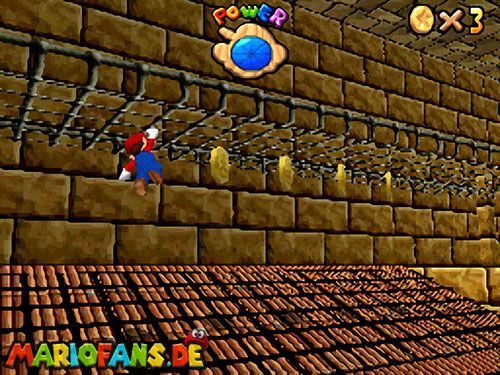
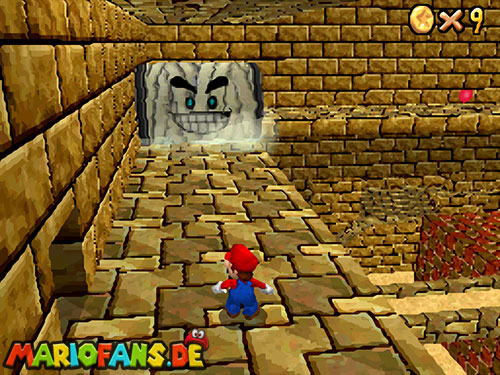
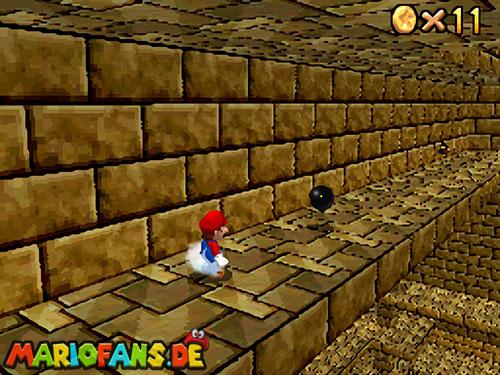
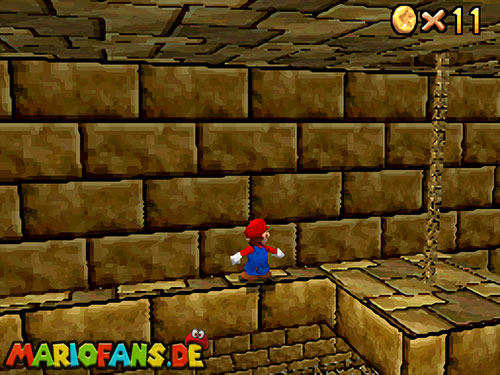
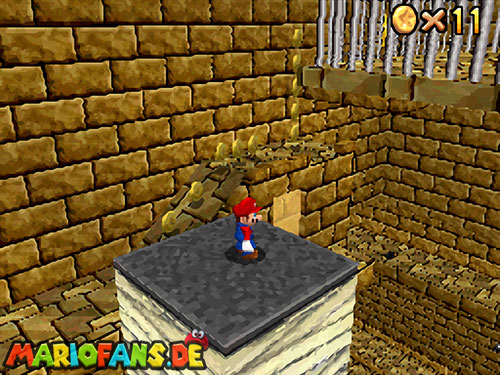
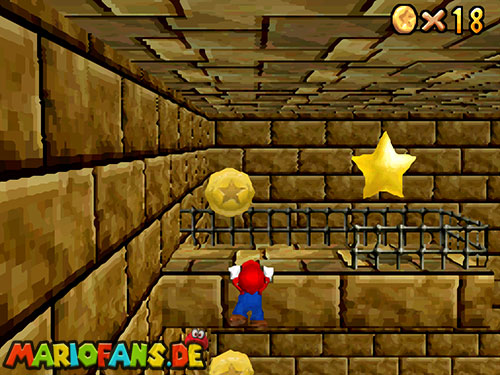
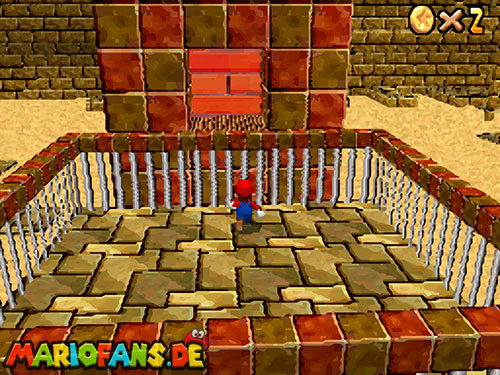
Enter the pyramid at its base. Follow the indoor ramp and climb the platforms around its walls, watching for the rolling stone obstacles and electric enemies. Cross the grating and use the poles and moving sections to continue upward.
Work toward the top platform where the star waits. Keep the camera aligned before narrow jumps and avoid dropping into the central sand channel unless you are deliberately taking the Silver Star route. If combining this with one hundred coins, collect the outdoor supply before entering: the indoor climb has its own separate supply but no quick outdoor return.
Mission 4 — Stand Tall on the Four Pillars
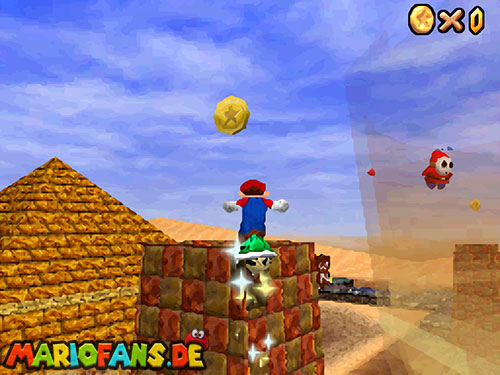
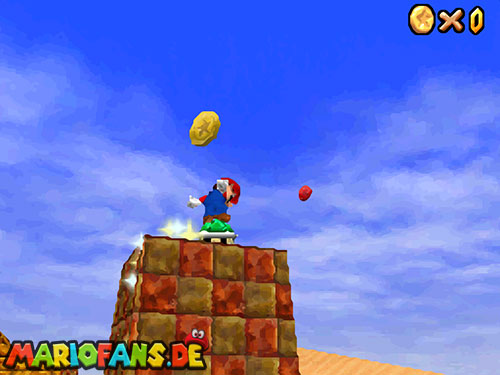
Stand on the tops of all four tall pillars outside the pyramid. Mario’s feather or the shell helps reach them, but you must actually touch down on each pillar top. Completing the four opens the pyramid’s upper entrance.
Enter from above and ride the lift down to Eyerok. Wait for a hand to open its eye, strike that eye and move away before it slams or sweeps across the platform. With Mario, each hand needs three successful hits. Wario’s stronger punches can defeat each hand in two. Finish both hands rather than counting only three hits across the whole fight. Keep away from the outer edge during the hands’ combined attacks.
Mission 5 — Tox Box Switch Star
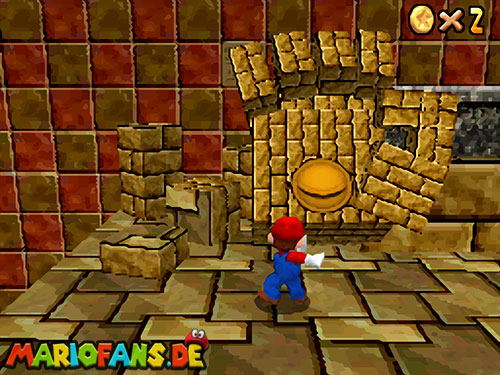
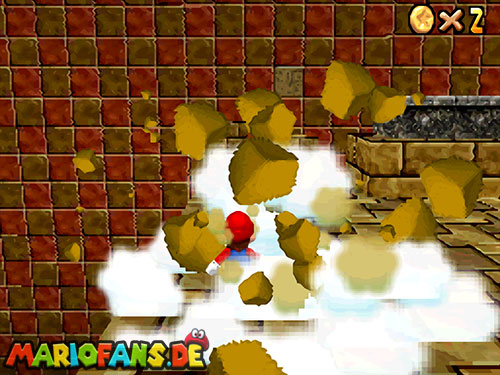
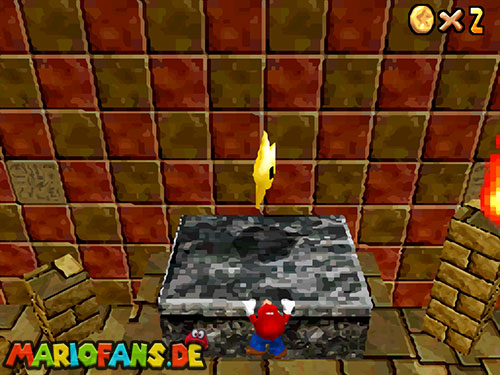
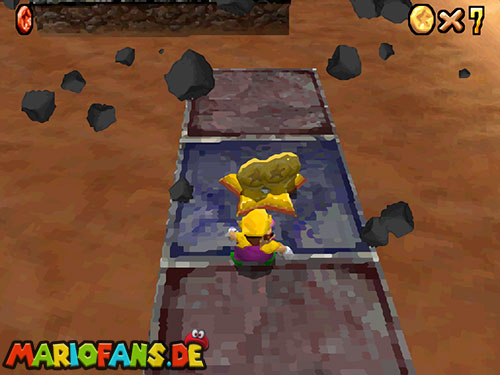
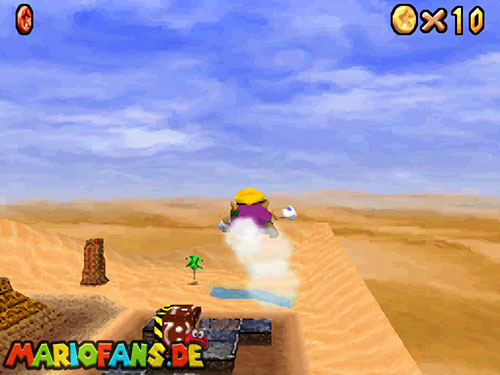
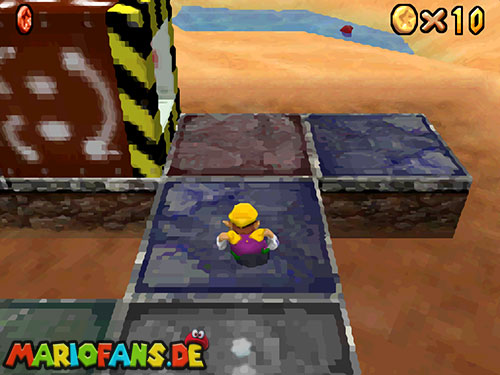
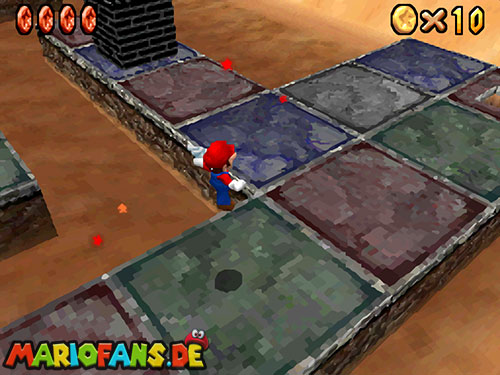
Bring Wario to the far side of the Tox Box maze. Avoid the crushing boxes by using their open sides and wait on a clear tile before crossing the next lane. Break the Black Brick in the back-right area to expose the Star Switch.
Locate the sphere by the oasis, then press the switch and race there. Keep to safe ground instead of cutting across the lethal quicksand. A clear route is more valuable than a small straight-line saving that puts you beneath a moving Tox Box.
Mission 6 — Pyramid Puzzle
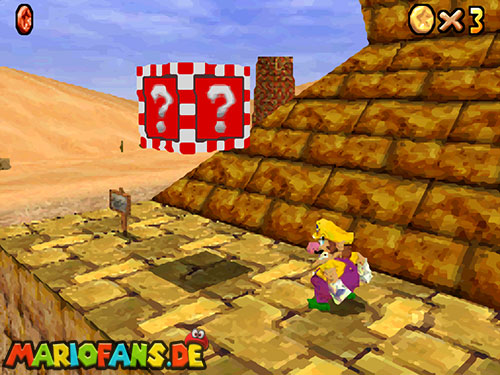
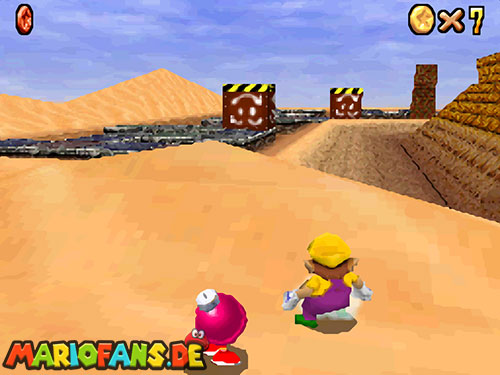
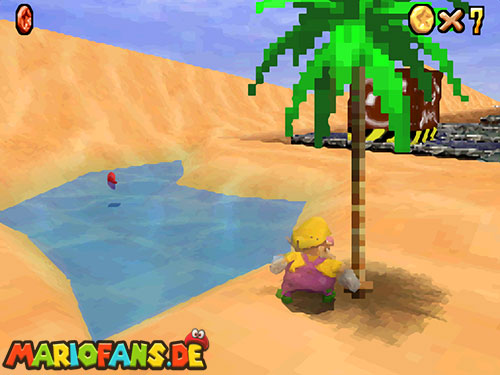
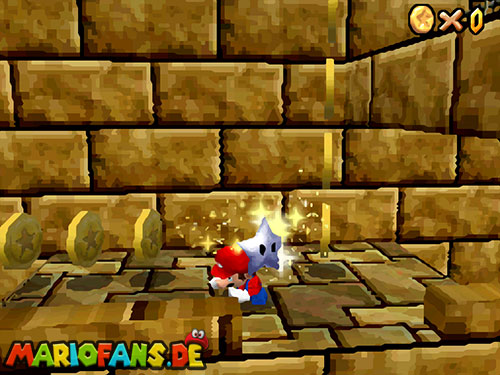
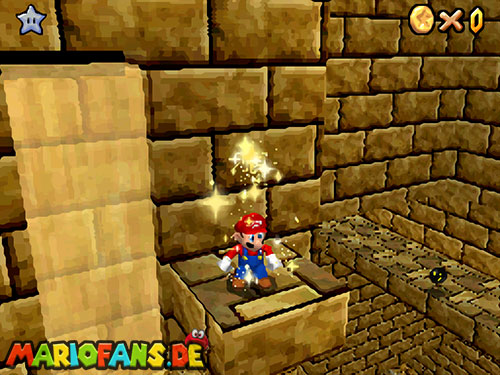
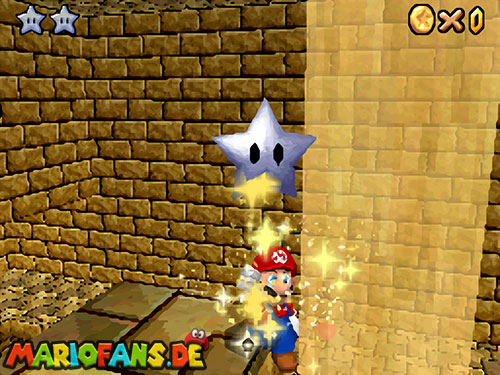
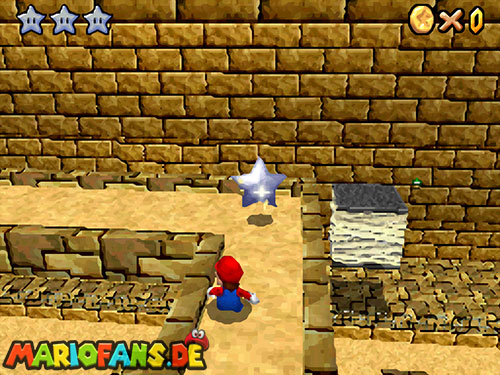
Climb the inside of the pyramid toward the upper platforms, then follow the five Silver Star markers downward. The route uses the high ledges and the sand-channel section; approach the drops one at a time so you do not pass a collectible without a way back.
Luigi’s jump control helps with the narrow ledges. Collect the full set and return to the Star Sphere. This DS objective uses Silver Stars instead of merely touching the five N64 coin secrets, so watch for an actual missing Silver Star if the sphere remains empty.
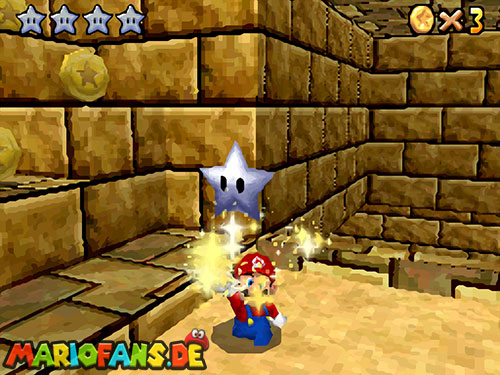
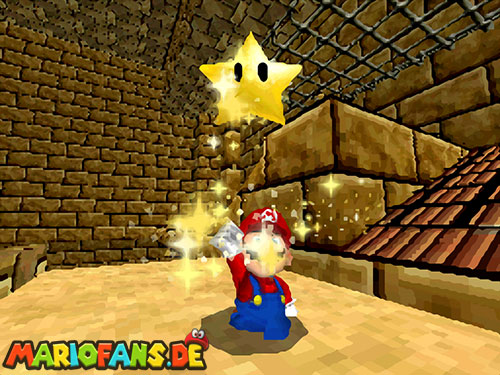
Mission 7 — Free Flying for 8 Red Coins
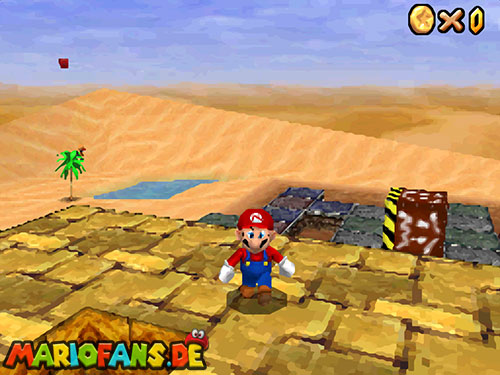
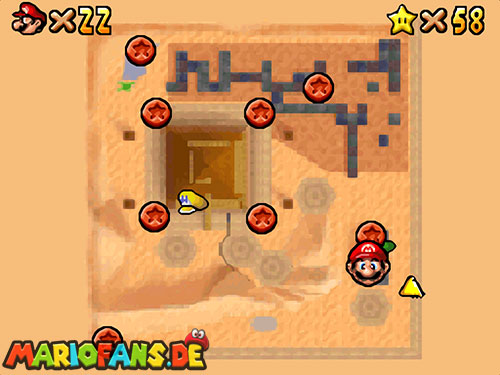
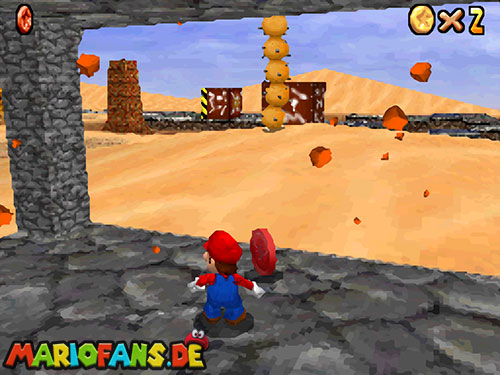
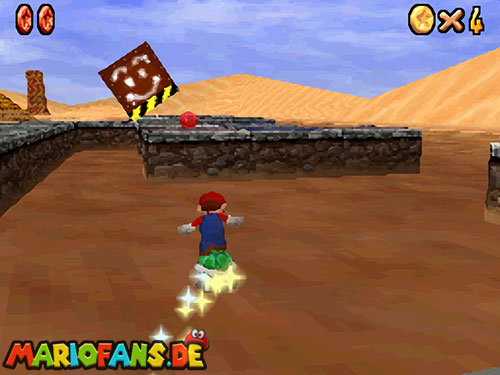
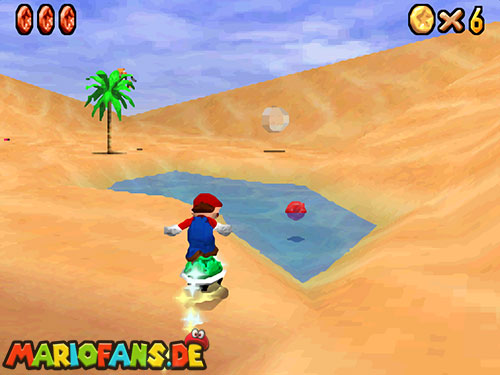
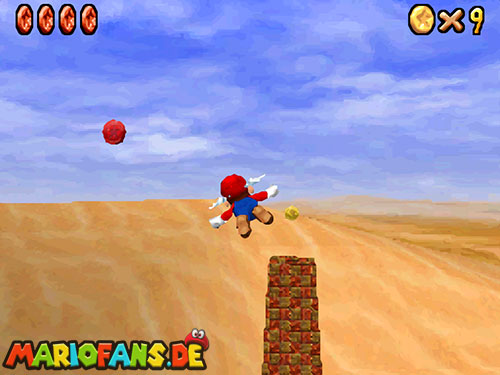
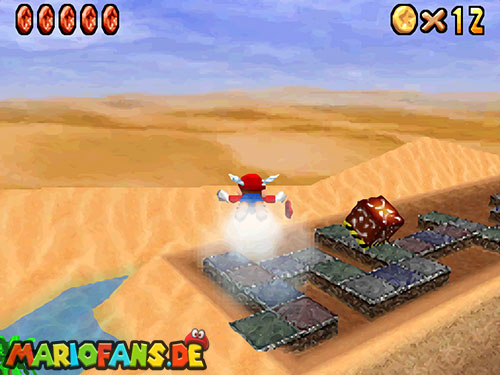
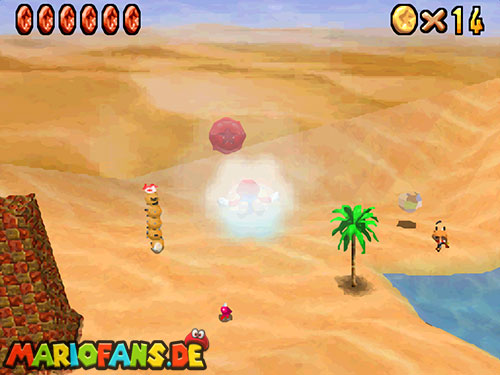
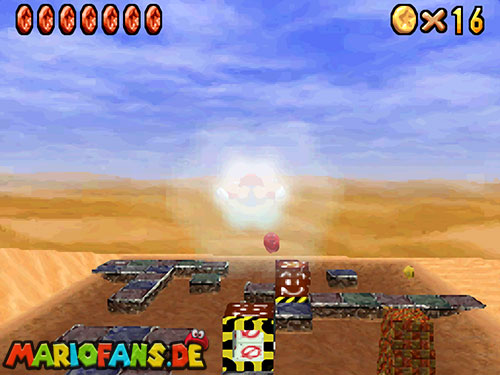
Use Mario with the feather for the four Red Coins suspended in the air between the pillars. These are airborne coins, not four coins simply resting on the pillar tops.
Collect the ground-level coin behind the starting point, the coin in a brick beneath the stone shelter, the one along the Tox Box maze and the one over the oasis water. Use the Bob-omb Buddy’s map markers to find any remaining height difference. Complete all eight, land safely and collect the star at its marker.
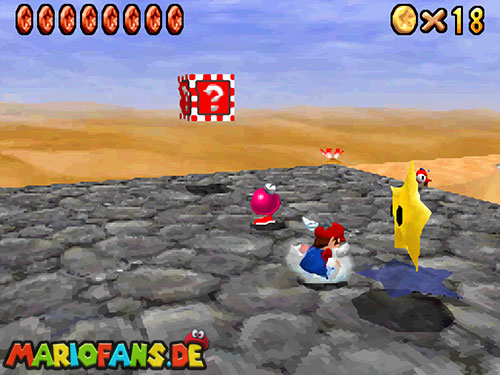
100-Coin Star
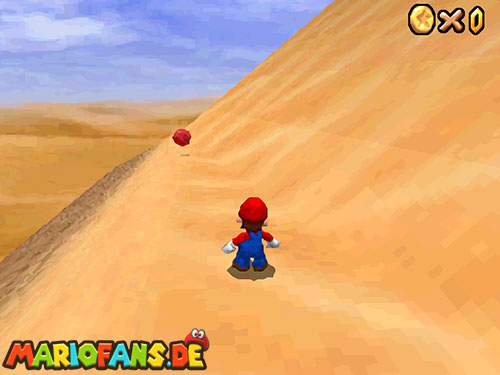
Sweep the outside first, including the oasis, block supplies and Pokeys. Defeated Pokeys give valuable Blue Coins. Gather the reachable Red Coins before committing to the pyramid interior.
Inside, collect the ramp and platform trails and activate the Blue Coin Switch when you are ready for its four-coin route, worth twenty. Continue upward for the remaining coins. Be especially careful not to let the hundredth coin appear above a deep drop while falling: arrange the last pickups on a broad ledge wherever possible.
Continue your star collection
Previous course: Lethal Lava Land · Walkthrough overview · Next course: Dire, Dire Docks