

Course 7 — Lethal Lava Land. After opening the basement with Bowser’s first key, jump into the fire painting. The two volcano stars use different indoor climbs. This chapter covers the seven named DS missions and the separate 100-Coin Star.
Stars in this course
- Boil the Big Bully
- Bully the Bullies
- 8-Coin Puzzle with 15 Pieces
- Red-Hot Log Rolling
- Hot-Foot-It into the Volcano
- Inside the Volcano
- Flaming Silver Stars
- 100-Coin Star
Mission 1 — Boil the Big Bully
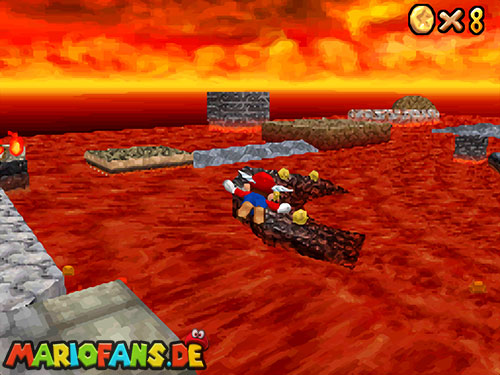
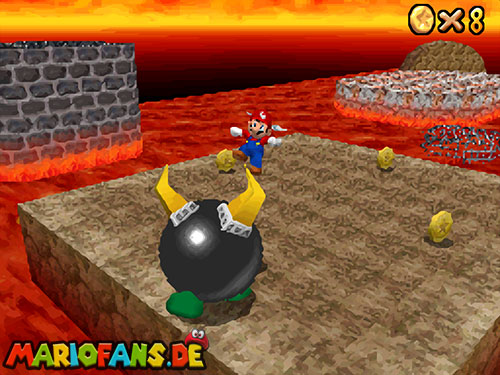
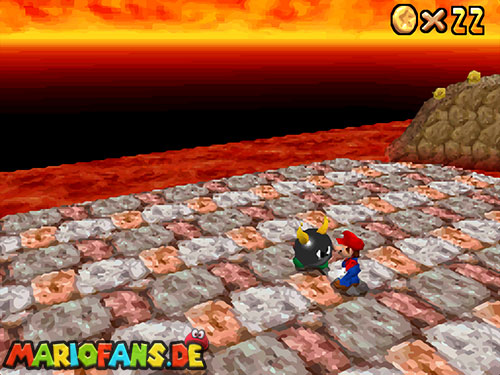
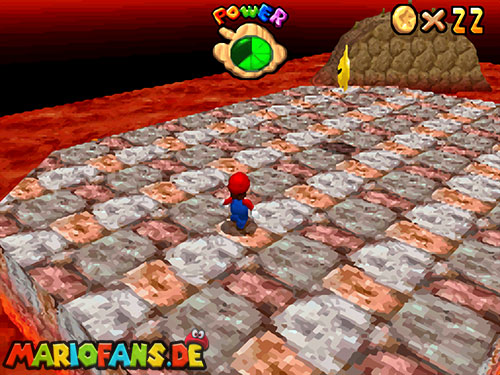
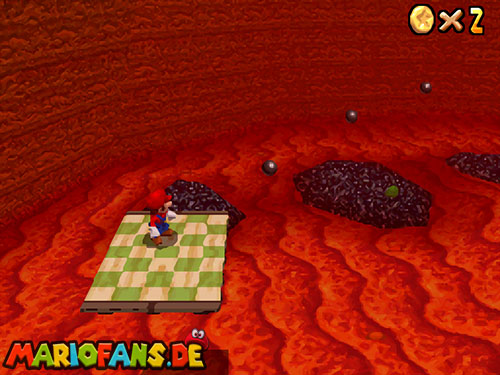
Cross the early lava platforms toward the large platform at the back-left of the course. Jump onto the solid center and face the Big Bully.
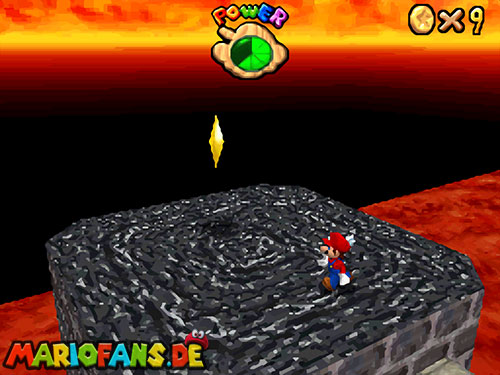
Use well-timed jumps and attacks to push him toward an edge, moving back when he charges so you are not the one knocked into the lava. Continue until he falls off. The stairs to the star then appear. Recover with nearby coins if needed before crossing the new route; a victory does not make the surrounding lava harmless.
Mission 2 — Bully the Bullies
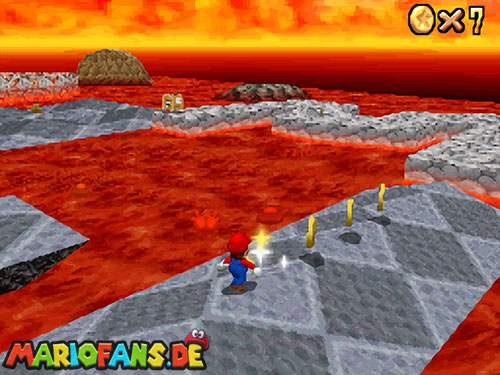
Near the first Big Bully’s platform, take the moving grating to the platform with three smaller Bullies. Knock each one into the lava without allowing the others to surround you. Jumping attacks help separate them near an edge.
After all three are gone, a Big Bully appears. Push him off as well, using the same controlled approach as the first mission. Take the star that follows. Avoid rushing the first three while standing with your back to the lava; reposition into the middle whenever several charge together.
Mission 3 — 8-Coin Puzzle with 15 Pieces
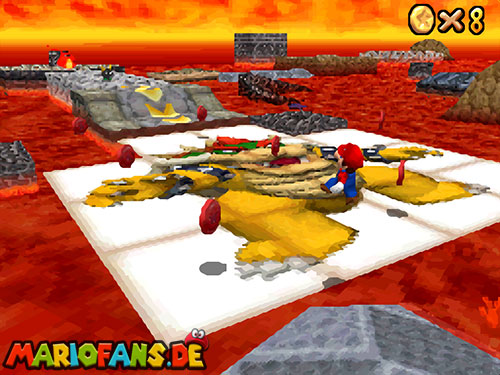
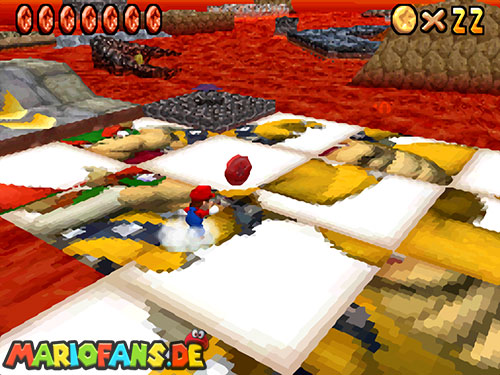
Reach the sliding Bowser puzzle and collect its eight Red Coins. Watch which tile is about to move and jump between complete pieces rather than following a coin directly over an opening.
All eight coins are concentrated around this puzzle, so there is no need to search the volcano. When the set is complete, collect the star nearby. Solving the sliding picture can also give ordinary coins, useful for recovering from a lava hit or for a separate one-hundred-coin attempt.
Mission 4 — Red-Hot Log Rolling
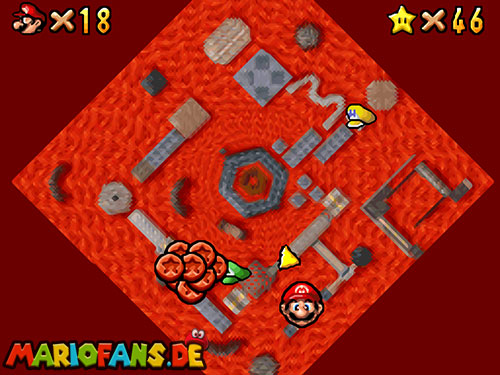
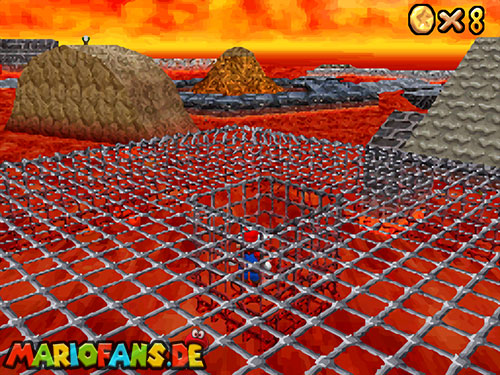
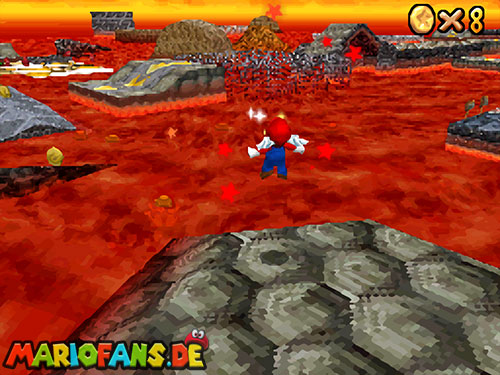
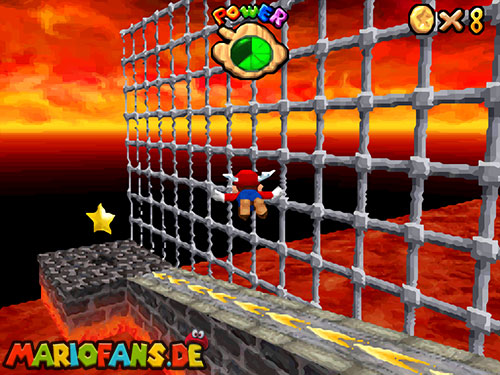
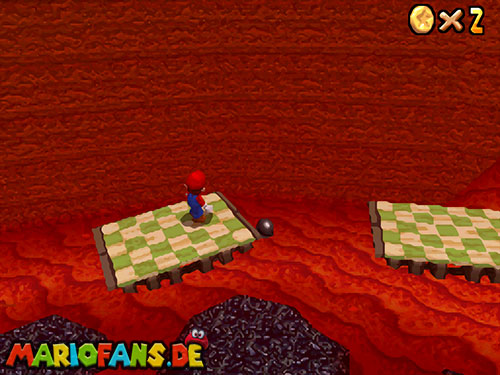
Take the right-hand route from the starting area toward the octagonal platform with two Bullies. Continue over the moving grating to the rolling log. Jump onto the log near its center, then run along it to make it roll toward the far landing.
Keep your movement on the log controlled; running off its side drops you into the lava. Step onto the destination platform and collect the star. Mario’s flight can offer an alternative after the ? Switch is active, but the log is the course’s intended crossing.
Mission 5 — Hot-Foot-It into the Volcano
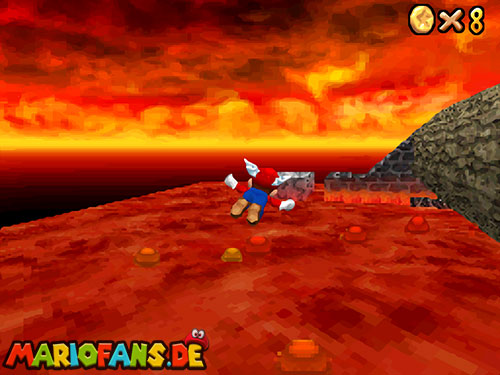
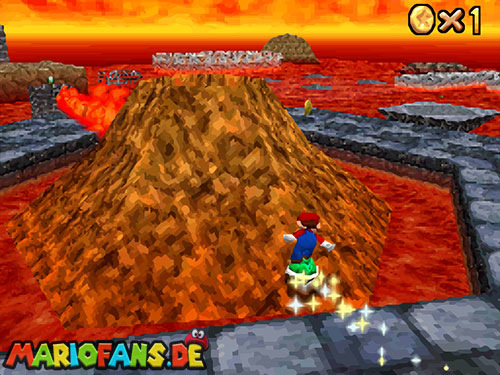
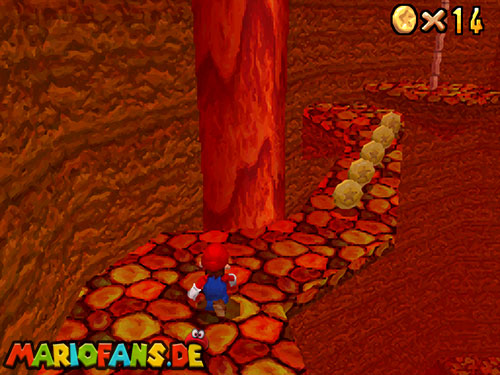
Enter the opening at the top of the volcano between its eruptions. Once inside, follow the platforms along the outer wall rather than jumping immediately onto the moving lifts. Climb past the flame hazards and the wall that swings outward.
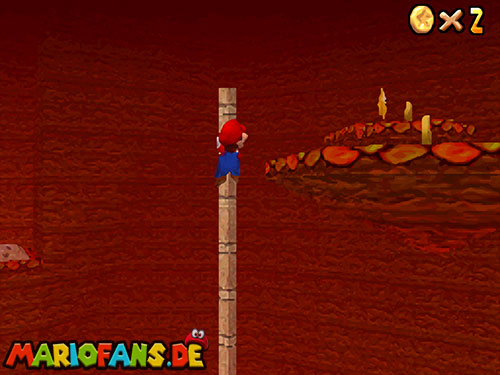
Continue up the narrow platforms and poles to the upper star. Stop on a safe landing before adjusting the camera. There is no easy return from inside the volcano to the surface, so gather outdoor coins first if combining this route with the one-hundred-coin challenge.
Mission 6 — Inside the Volcano
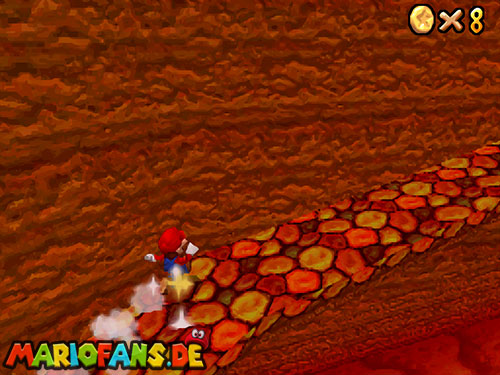
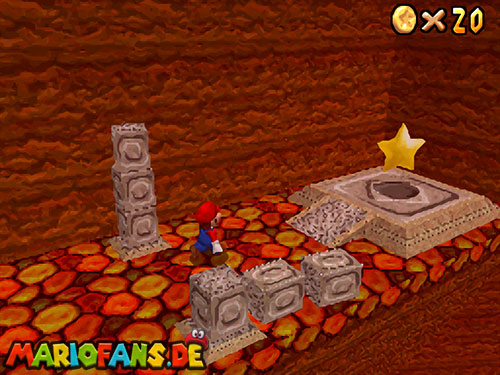
Drop into the volcano and take the moving-lift route instead of the outer-wall climb. Stay on the first lift until the next platform is within jumping distance, then transfer to the second lift.
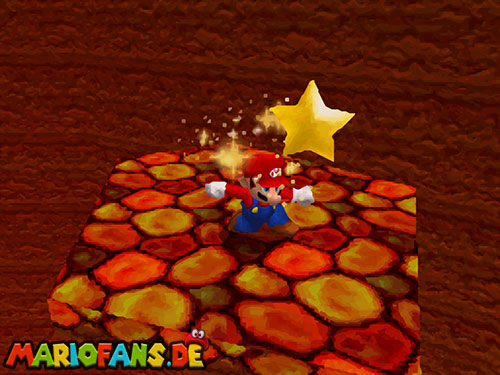
Use the poles to climb the final section, avoiding the rotating flame as you line up the jump. Reach the high platform and take the star. Do not jump after a lift has already carried you beneath an obstruction; wait for another cycle when necessary rather than forcing the transfer.
Mission 7 — Flaming Silver Stars
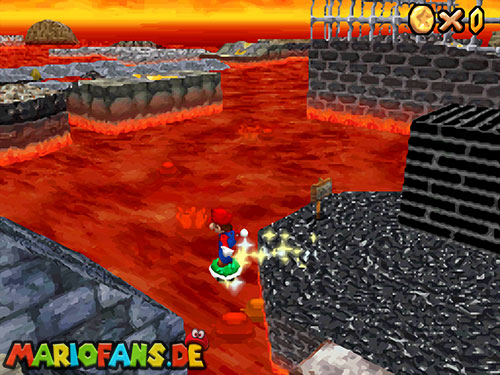
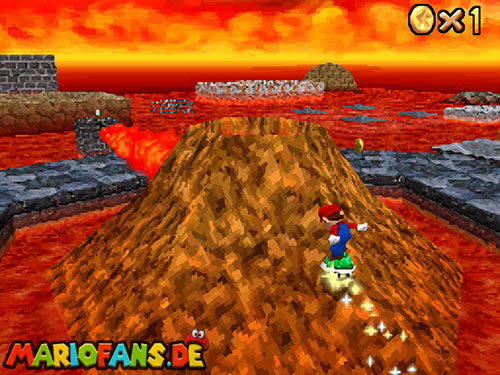
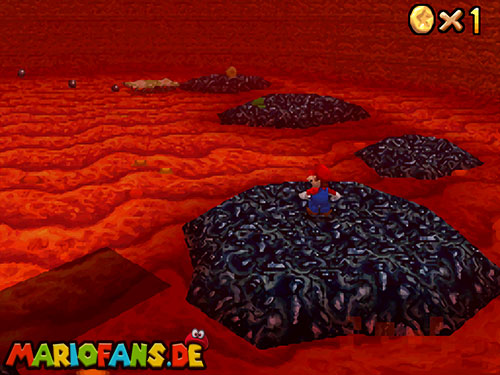
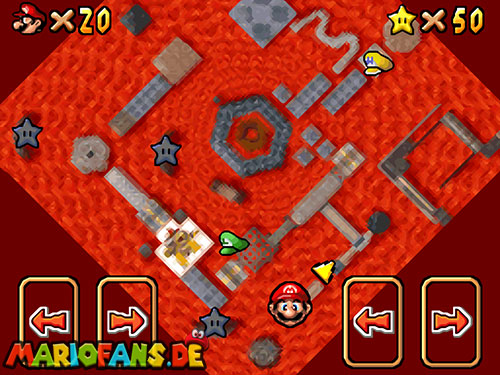
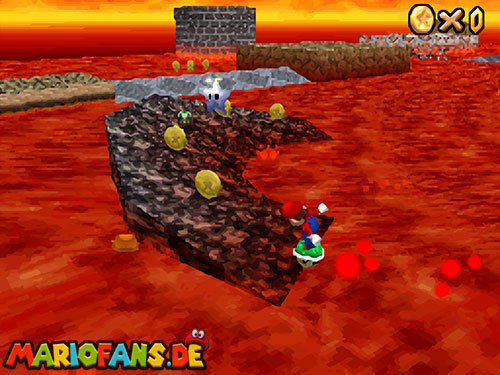
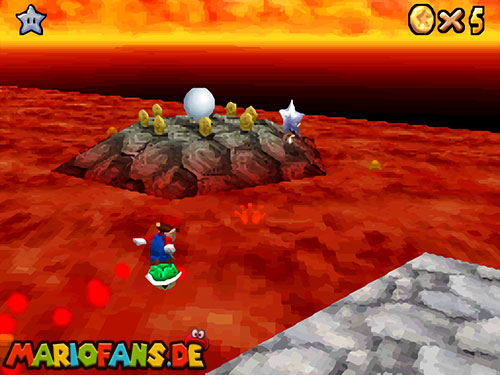
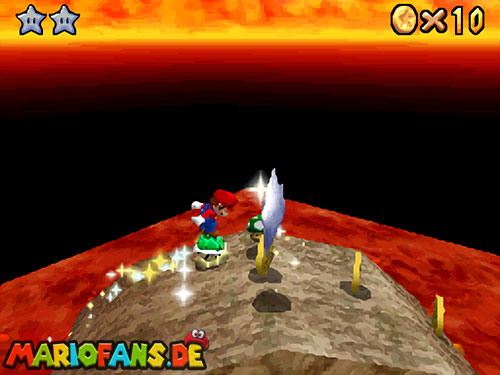
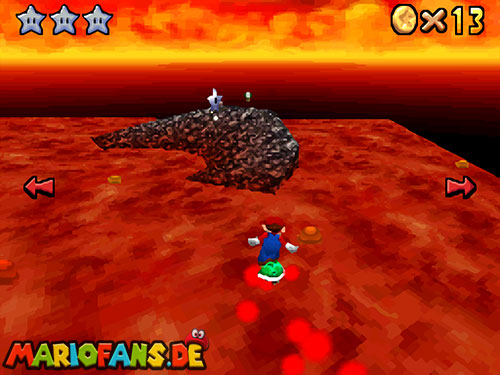
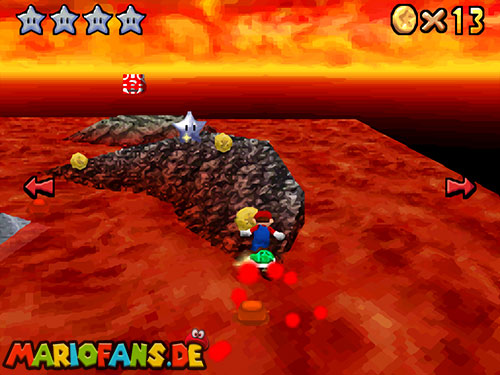
Select this mission to place five Silver Stars around the surface. Follow their lower-screen markers and use the Koopa Shell for the long lava crossings. Mario can also use the feather or balloon power where available.
Collect all five without losing them to a hit, then go to the Star Sphere. A shell keeps you moving over the surface but does not protect you from every enemy or obstacle. If you lose it, return to a solid platform and plan another route instead of walking across the lava to the next marker.
100-Coin Star
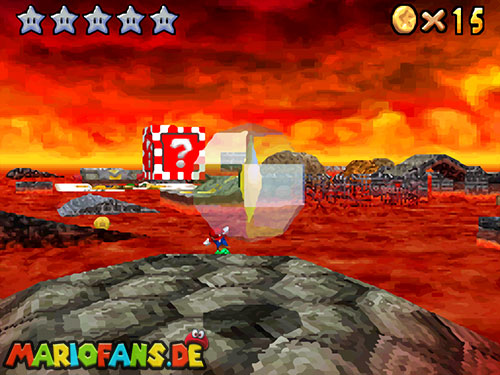
Collect the surface coins before entering the volcano. Sweep the Bowser puzzle for its Red Coins and ordinary puzzle reward, defeat accessible enemies and ride the shell from the yellow block available in the later missions to collect the lava trails.
Use the volcano’s platforms, blocks and enemies for the rest only after finishing outside, because you cannot simply climb back out. Try to keep the final few coins beside a secure platform. Reaching one hundred over the lava produces a star you still have to collect, so approach the threshold with a safe landing in mind.
Continue your star collection
Previous course: Hazy Maze Cave · Walkthrough overview · Next course: Shifting Sand Land