

Course 3 — Jolly Roger Bay. Enter the ship painting behind the lobby’s three-star door. The DS mission order puts Blast to the Stone Pillar before Red Coins on the Ship Afloat. This chapter covers the seven named DS missions and the separate 100-Coin Star.
Stars in this course
- Plunder in the Sunken Ship
- Can the Eel Come Out to Play?
- Treasure in the Ocean Cave
- Blast to the Stone Pillar
- Red Coins on the Ship Afloat
- Switch Star of the Bay
- Through the Jet Stream
- 100-Coin Star
Mission 1 — Plunder in the Sunken Ship
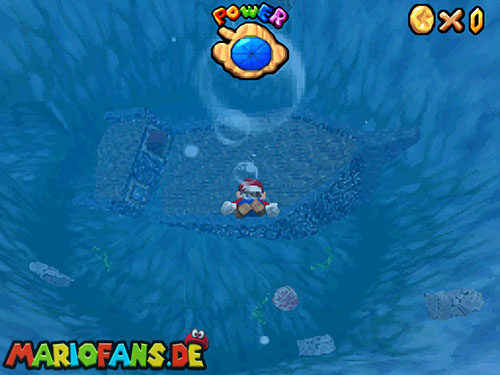
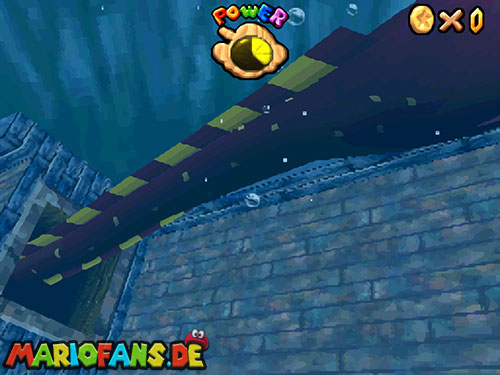
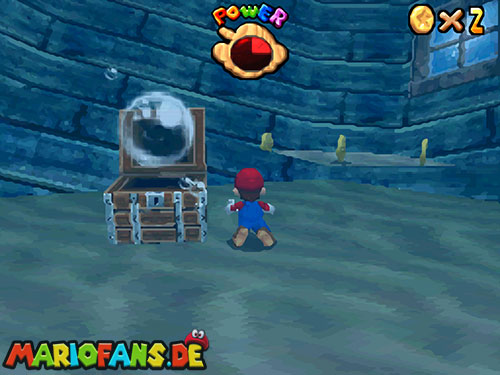
Swim to the sunken ship and lure Unagi out of the opening in its side. Give the eel space, come up for air if needed and dive through the vacated hole. Inside the ship, open the single treasure chest to drain the water.
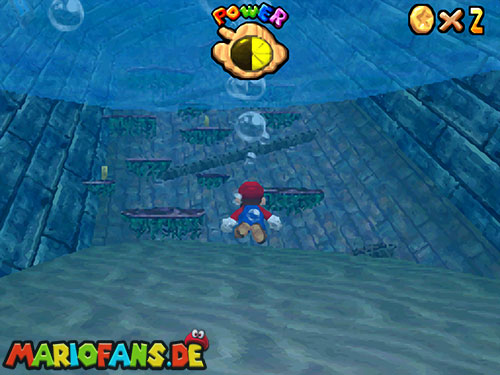
Climb the exposed platforms to the yellow block and take its star. The DS ship uses one chest here; the four-chest sequence belongs to the N64 ship. Do not spend your remaining air searching this room for three additional chests. Coins can replenish the Power Meter during the approach, but return to the surface before it runs empty.
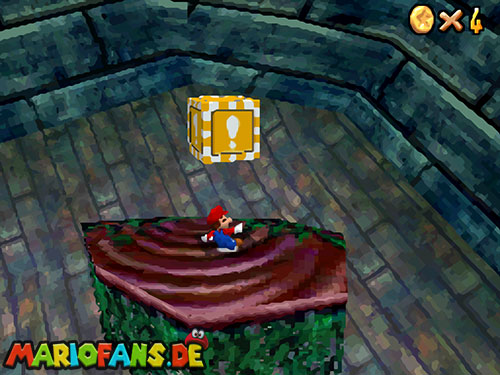
Mission 2 — Can the Eel Come Out to Play?
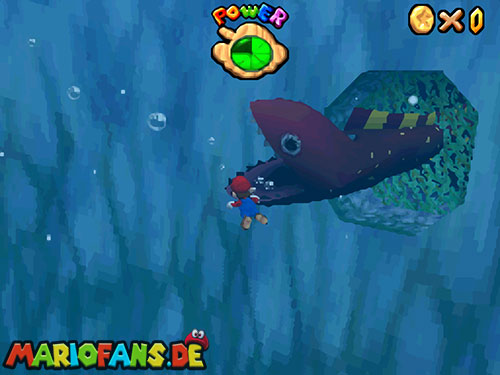
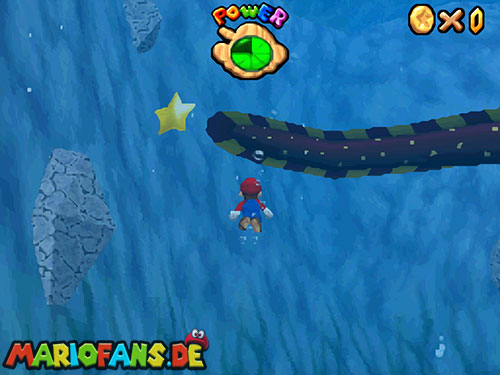
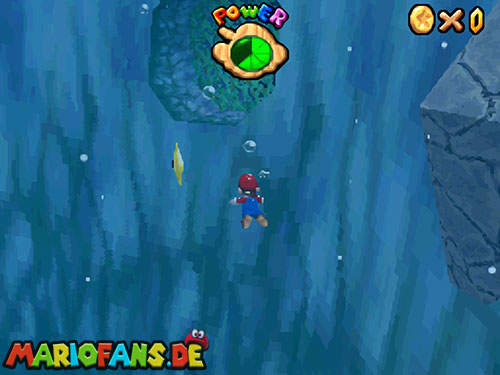
After the ship has risen, find Unagi in the wall opening in the deep part of the bay. Swim close enough to draw the eel out, then move aside so its head and body pass without contact.
Follow behind and touch the star attached to its tail. Once freed, the star moves to its collection point; swim there and take it. Avoid chasing from directly in front of the eel, where a collision is more likely. If you are low on air or health, break off the attempt and recover before making another pass.
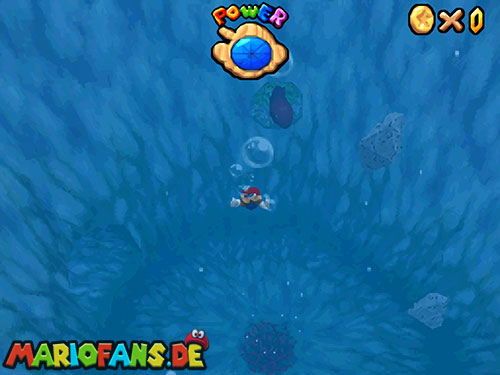
Mission 3 — Treasure in the Ocean Cave
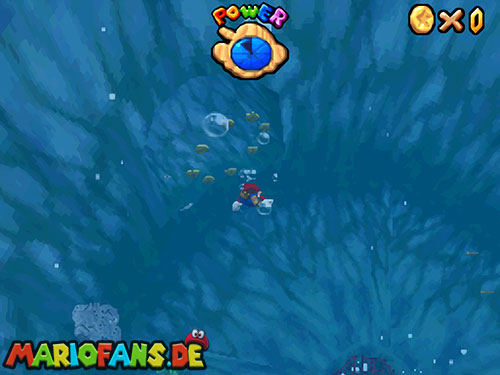
Dive through the underwater tunnel at the bottom of the bay and surface in the ocean cave. Pass the falling stone pillars by moving away from their approach, or use an appropriate Power Flower transformation if the blocks are active.
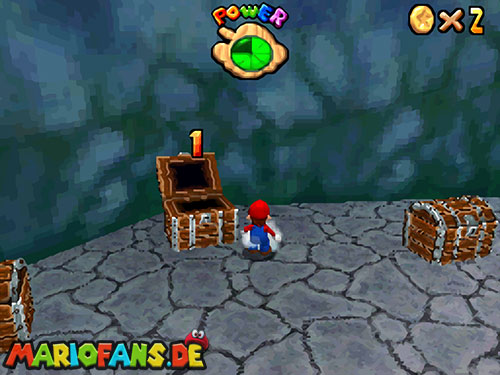
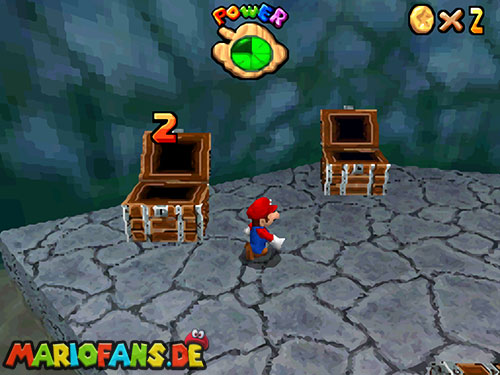
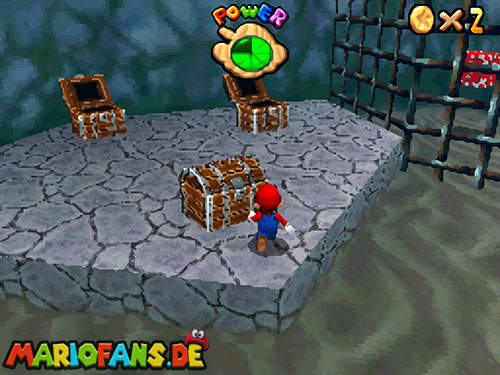
Stand facing the group of four treasure chests from its entrance side. Open them in the order back, left, right, front. Touch the front of each lid to activate it. A wrong choice shocks you and resets the sequence, so recover your position before trying again. The final chest releases the star.
Mission 4 — Blast to the Stone Pillar
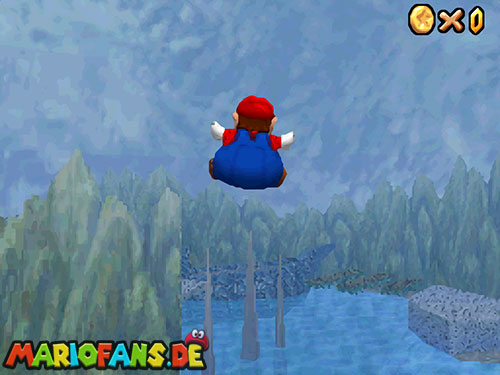
Speak to the Bob-omb Buddy to open the cannon, then aim toward the stone pillars beyond the water. Target the leftmost usable pillar high enough to catch it; a low shot hits its side or falls short.
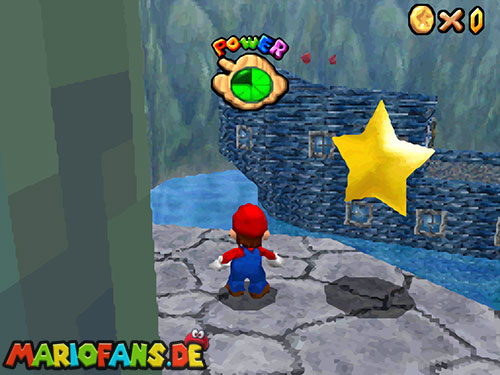
From the pillar, turn toward the nearby ledge and jump over to the exposed star. Use the pillar as the intermediate landing instead of trying a low direct shot at the ledge. This DS mission is number four; the ship’s Red Coins are the following mission.
Mission 5 — Red Coins on the Ship Afloat
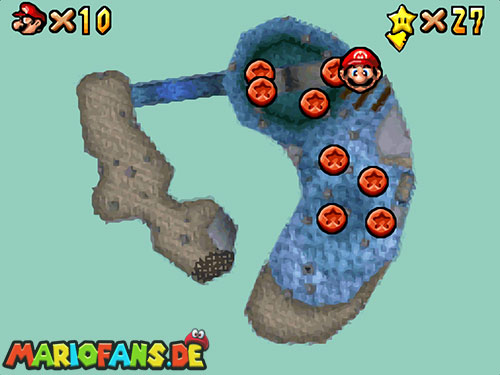
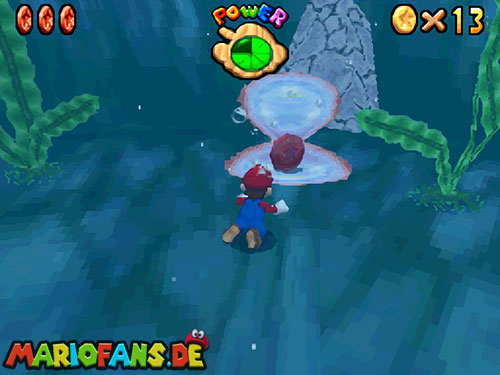
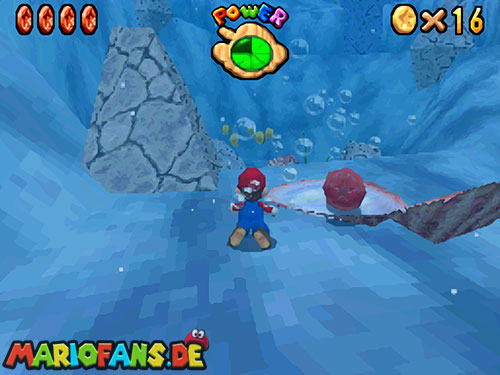
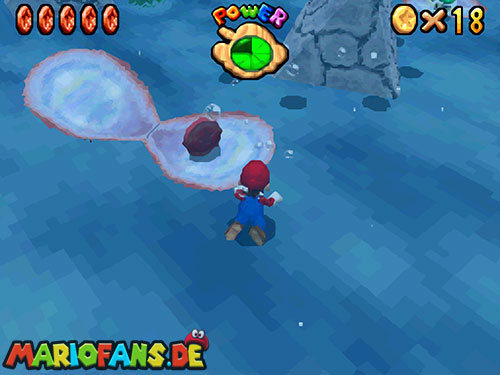
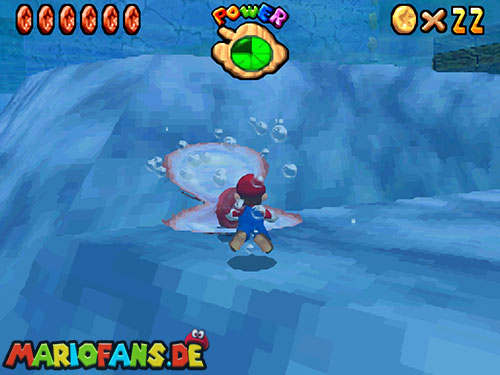
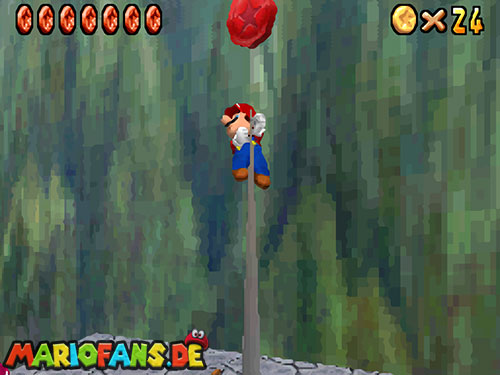
Collect three Red Coins in the shallow-water clams, then dive for the fourth clam coin in the deeper part of the bay. Wait for each shell to open before swimming inside. Another coin is on top of the stone pillar near the Bob-omb Buddy.
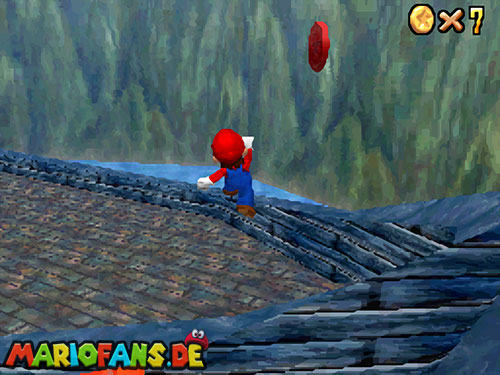
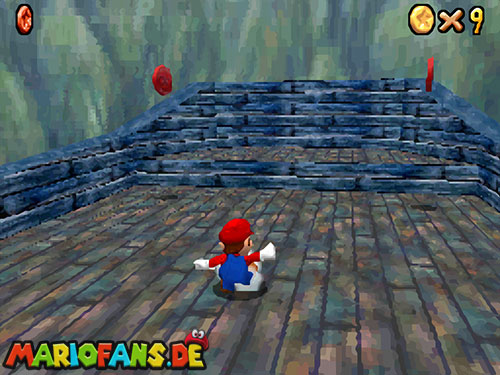
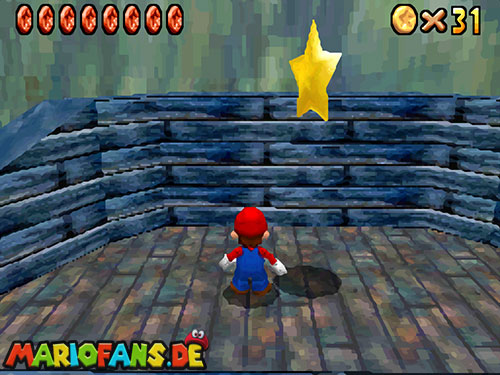
The last three are on the raised ship. Use the nearby switch and temporary platforms to board it, then gather the deck coins. Once all eight are collected, take the star on the ship. Check the lower-screen markers if a clam coin remains: swimming against a closed shell will not release it.
Mission 6 — Switch Star of the Bay
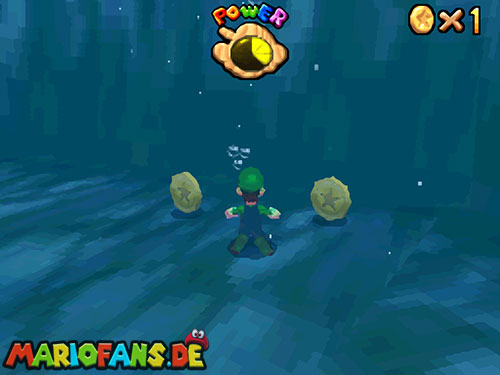
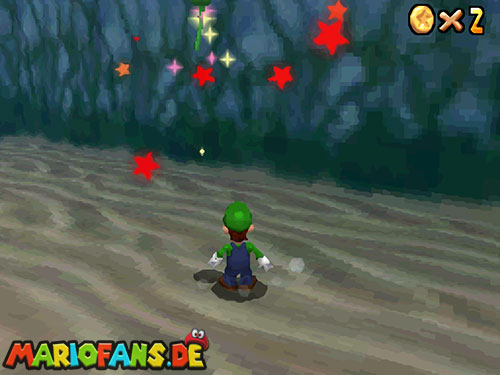
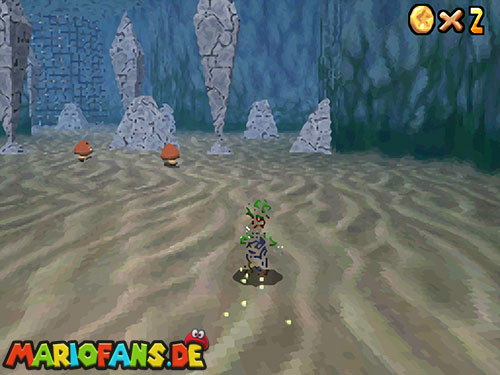
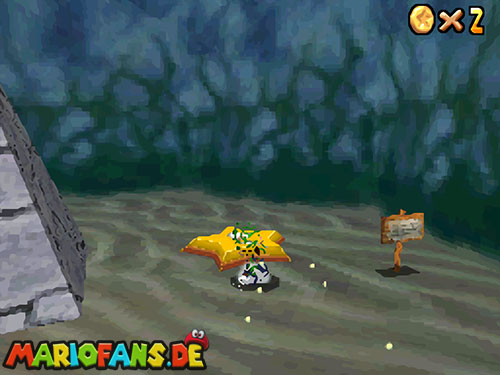
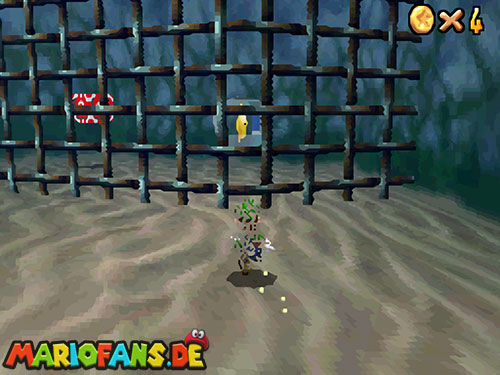
Enter as Luigi and make sure the red ? Blocks are active. Swim through the deep tunnel into the cave, find the Star Switch and check the barred sphere’s position before starting the timer.
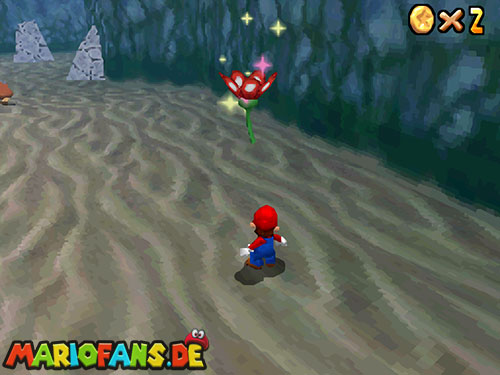
Activate the switch and use the cave’s Power Flower to make Luigi invisible. Hurry to the bars and pass through them to reach the star while both effects last. The flower gives Luigi the ability to cross the barrier; it is not a Wing Cap or a Metal transformation. Repeat the switch if time expires rather than waiting beside the empty sphere.
Mission 7 — Through the Jet Stream
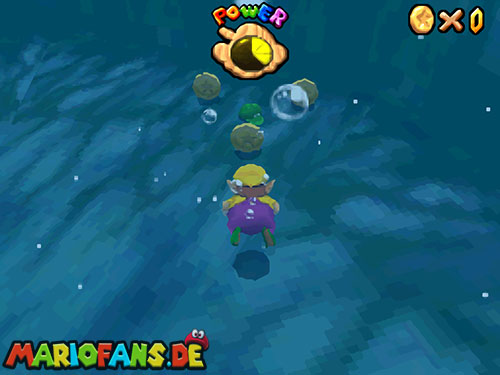
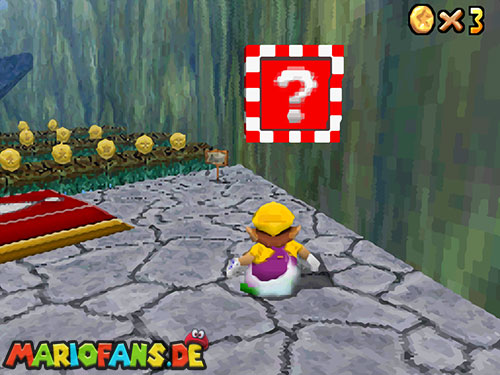
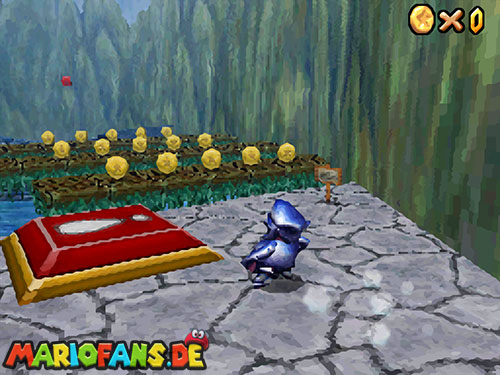
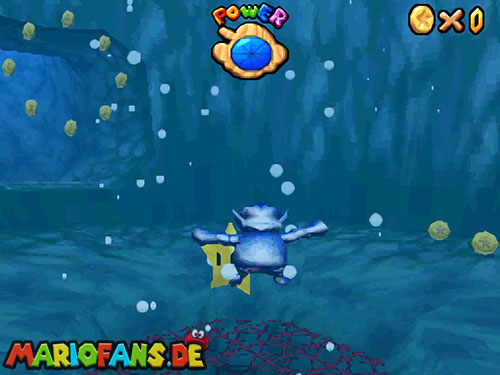
Use Wario and activate the ? Blocks beforehand. Find the Power Flower that turns him into Metal Wario, then enter the water and walk along the bottom toward the rising current.
Collect the star within the jet stream while the metal effect lets you resist it. Swimming into the current in an ordinary form pushes you away. Start with a clear route from the flower to the water so you do not spend most of the temporary effect searching for the outlet. Return to the surface to recover before another attempt if it wears off too early.
100-Coin Star
Collect the shoreline and shallow-water coins first, including the starting crates. Gather the underwater trails while keeping enough air to reach the next coin group. The Red Coins contribute sixteen to the total.
Use the Blue Coin Switch near the beginning and take its temporary coins above the water, then search the platforms and ocean cave for the rest. Luigi is a comfortable choice for the jumping portions. Finish on an accessible coin rather than allowing the star to appear in an awkward position beneath an obstacle. The one-hundred-coin target is separate from the seven named missions.
Continue your star collection
Previous course: Whomp’s Fortress · Walkthrough overview · Next course: Cool, Cool Mountain