

Course 2 — Whomp’s Fortress. The Whomp painting is behind a one-star door in the castle lobby. Hoot appears when selecting missions three to seven, and the tower opens after the first mission. This chapter covers the seven named DS missions and the separate 100-Coin Star.
Stars in this course
- Chip Off Whomp’s Block
- To the Top of the Fortress
- Shoot into the Wild Blue
- Red Coins on the Floating Isle
- Fall onto the Caged Island
- Blast Away the Wall
- Switch Star of the Fortress
- 100-Coin Star
Mission 1 — Chip Off Whomp’s Block
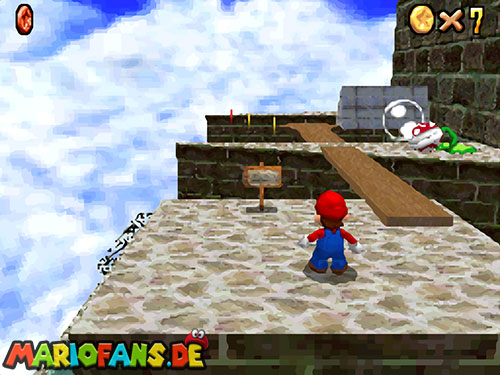
Follow the path past the extending blocks, Thwomps and sleeping Piranha Plants. Cross the rotating bridge while it offers a stable route to the upper fortress, then climb to the Whomp King.
Stand in front of him long enough to trigger his falling attack and move aside before he lands. Jump onto his exposed back and ground-pound it. Retreat before he gets up and repeat for three hits. Trying to attack his front wastes the opening and risks being flattened. Collect the star after the third successful pound.
Mission 2 — To the Top of the Fortress
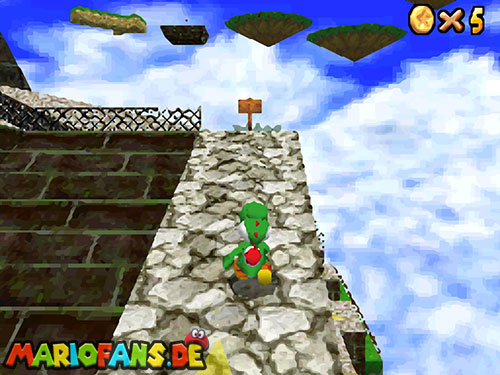
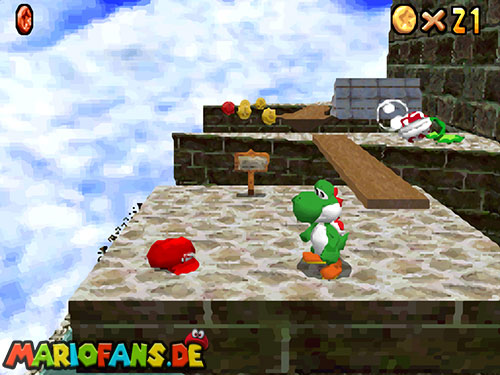
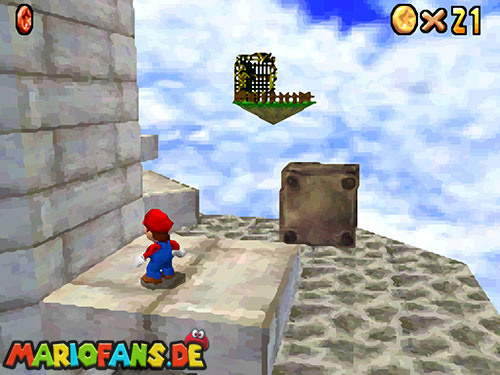
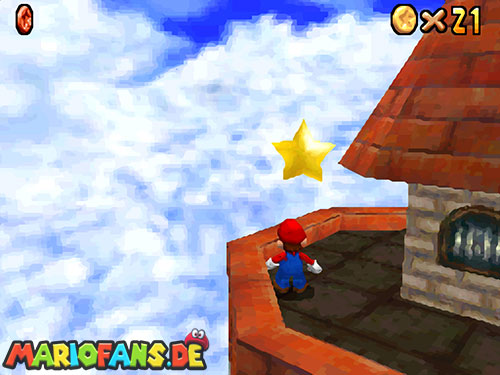
After defeating the Whomp King, return to the top of the fortress. A tower now stands where the first boss fought. Climb its narrow outer platforms, pausing for the moving sections rather than jumping around a blind corner.
Take the last lift to the roof and collect the star. The route is a platform climb, so there is no second Whomp King to defeat. If you fall onto a lower ledge, stop your movement before attempting to recover; the nearby vertical walls make an immediate running jump less reliable.
Mission 3 — Shoot into the Wild Blue
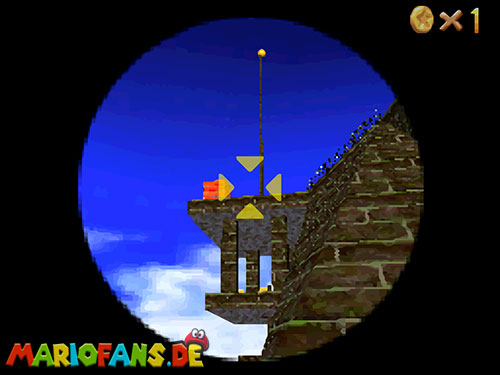
Find the Bob-omb Buddy by the shallow pool and speak to open the nearby cannon. Enter it and aim for the balcony with a vertical pole beneath the main route. Give the shot enough height to catch the pole rather than hitting the wall below it.
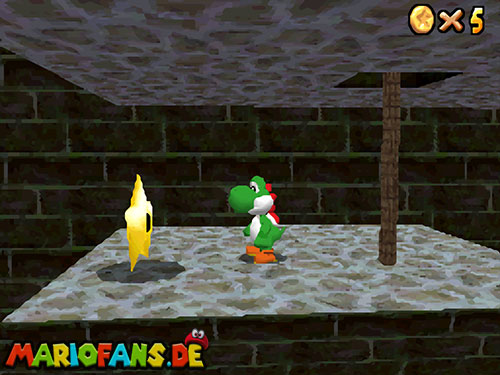
Once attached, slide down carefully to the lower platform and collect the star. You do not need to fire directly into the star itself. If the first shot misses, return to the cannon and adjust the height in a small step; the pole provides a much clearer target than the open ledge.
Mission 4 — Red Coins on the Floating Isle
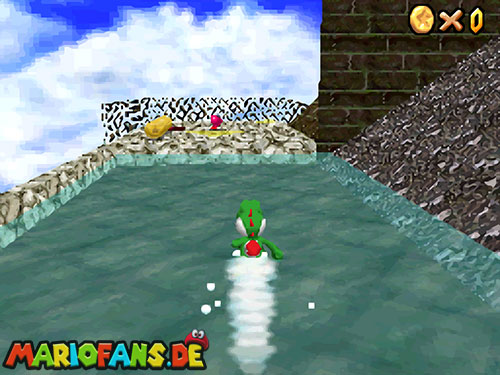
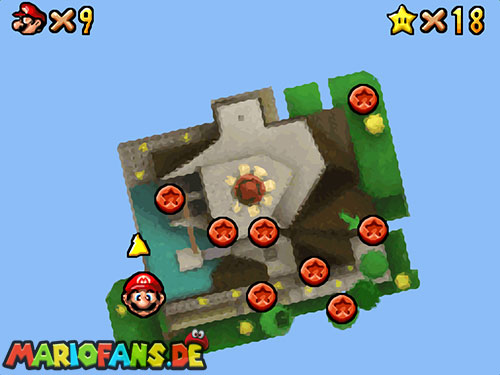
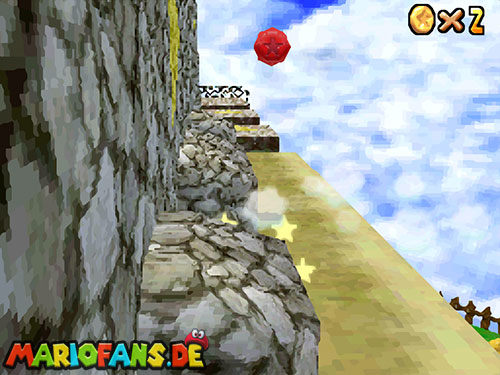
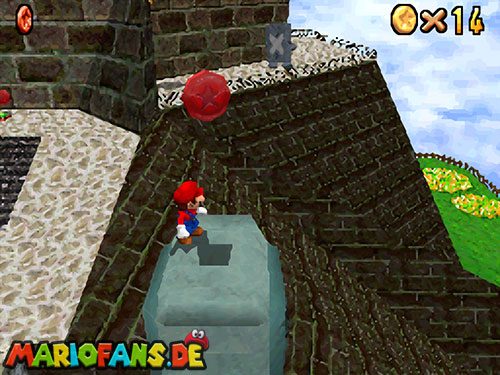
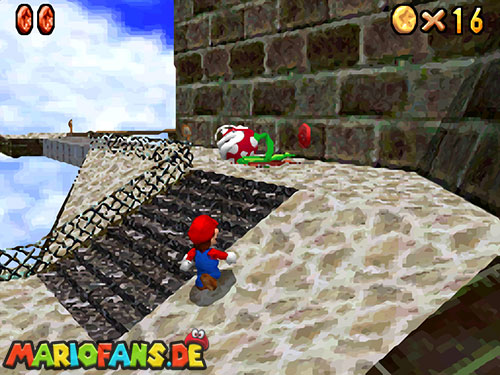
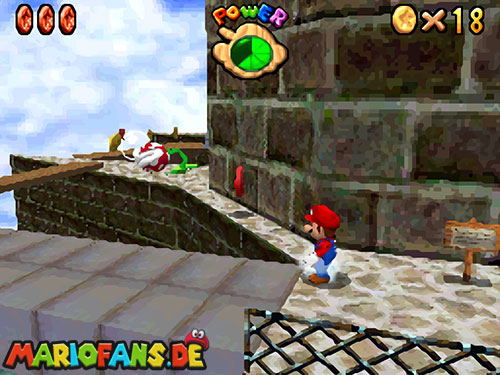
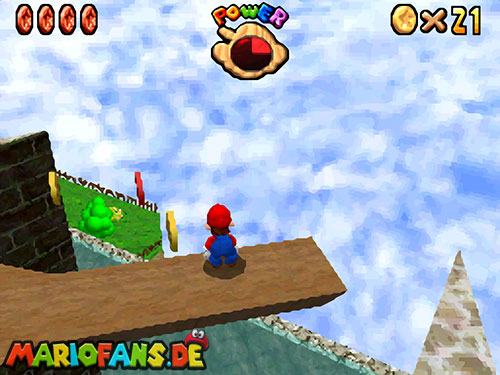
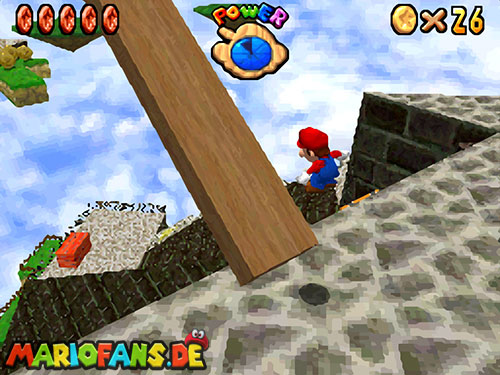
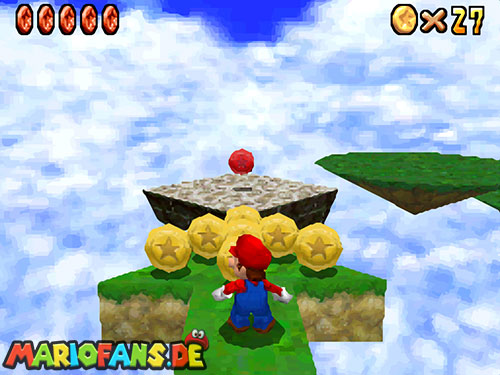
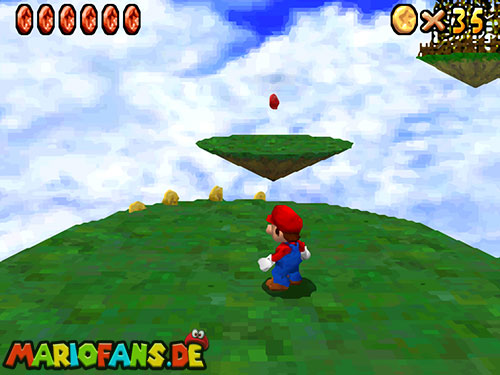
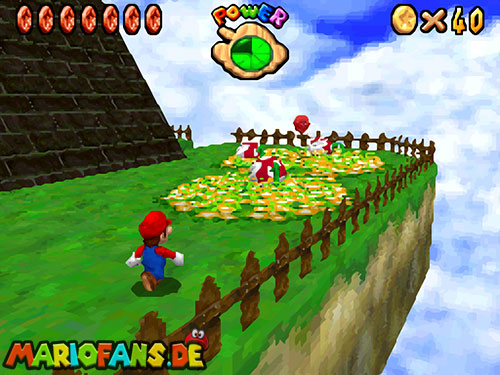
Collect the coin above the extending wall blocks, the one above the second Thwomp, the one behind the second sleeping Piranha Plant and the one on the narrow ledge beside the collapsing bridge. Another sits on the rotating bridge.
In the DS version, check the new path around the fortress’s rear for the sixth; the old N64 slope location does not apply. Reach the two coins on the high floating islands by knocking down the wooden beam or riding Hoot. After all eight, return to the star marker at the base. Use the Bob-omb Buddy’s map markers to confirm the last missing coin.
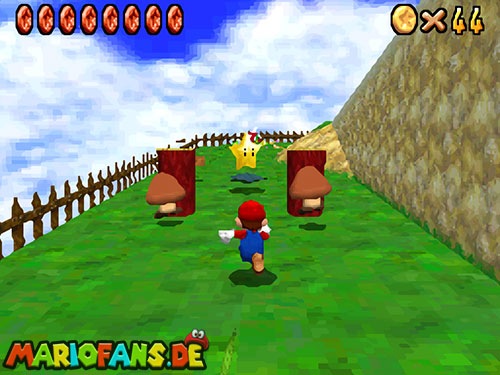
Mission 5 — Fall onto the Caged Island
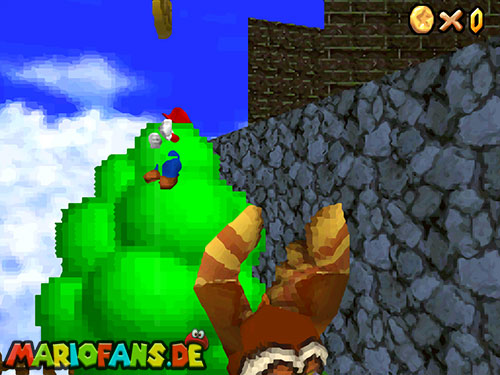
Choose a mission from number three onward so Hoot appears in the tree near the start. Climb the tree to wake him, then jump beneath him and hold the jump button to grab his feet. Steer over the small island enclosed by a cage.
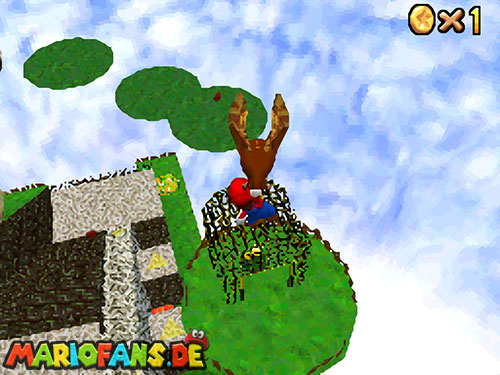
Line up directly over its opening and release the button to drop inside. Correct the approach before letting go: drifting into the cage’s side will not collect the star. Hoot eventually tires, so plan the flight promptly and use a second ride rather than waiting indefinitely above the fortress.
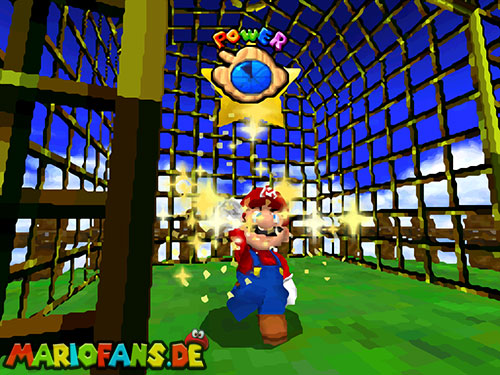
Mission 6 — Blast Away the Wall
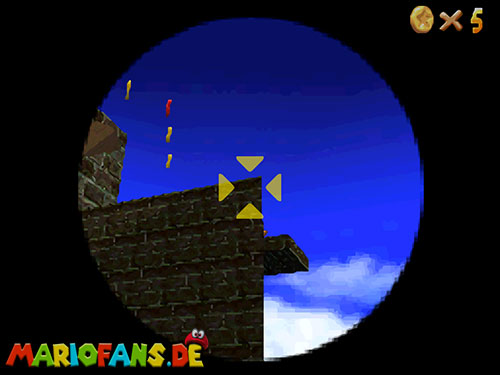
Open the cannon by the shallow pool, then aim at the upper corner of the wall on the right side of the rotating bridge. Fire into that corner to break it and reveal the star.
Return to the fortress path and collect the revealed star from the broken wall. Hitting the other wall corner can expose coins but is not the required star location. Check the view from the cannon before firing so you aim at the masonry beside the bridge, rather than at the bridge or tower above it.
Mission 7 — Switch Star of the Fortress
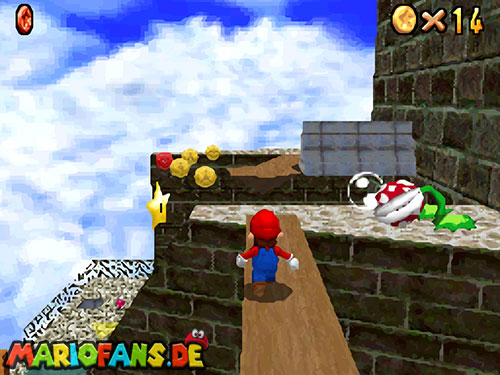
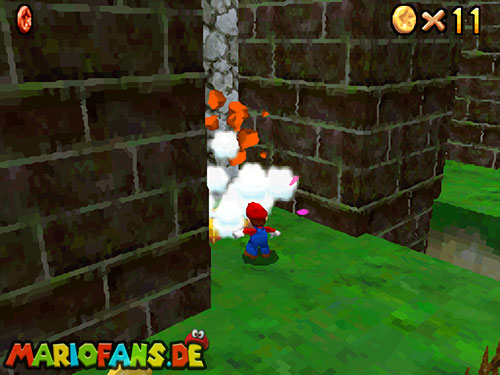
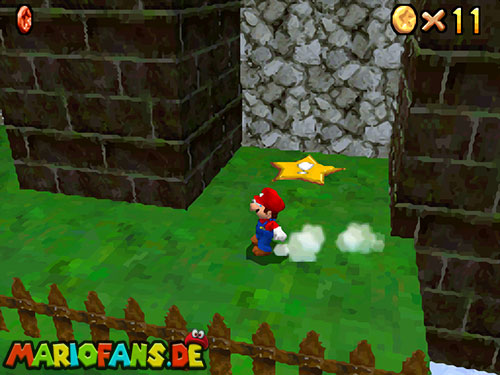
Use Mario, Luigi or Wario so you can break the brick on the lower grassy path near the fence. It hides the Star Switch. Locate the empty sphere before pressing it, then activate the switch and run back along the cleared lower route.
Reach the sphere before the timer expires. The task needs a brick-breaking character, not Wario’s special Black Brick ability. If a borrowed cap is your only way to punch the block, keep away from the plants until the switch is exposed; afterward concentrate on the timed run.
100-Coin Star
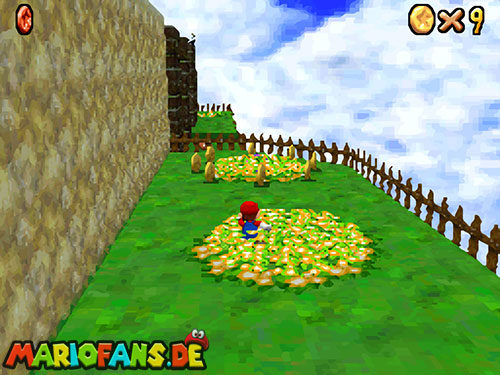
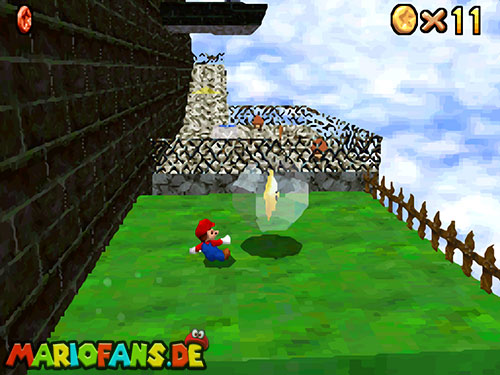
Sweep the lower area, defeat the Piranha Plants for valuable Blue Coins and collect the Red Coins while climbing. Run around the small wooden posts to release their coins. Check the block supplies before moving onto the narrow upper platforms.
The Blue Coin Switch releases four Blue Coins, worth twenty in total. Plan that short route before pressing it so none disappear while you are climbing back. Combine them with the enemy coins and the red-coin set to reach one hundred. Keep the last few coins on a solid platform if you can, making the resulting star easy to collect.
Continue your star collection
Previous course: Bob-omb Battlefield · Walkthrough overview · Next course: Jolly Roger Bay